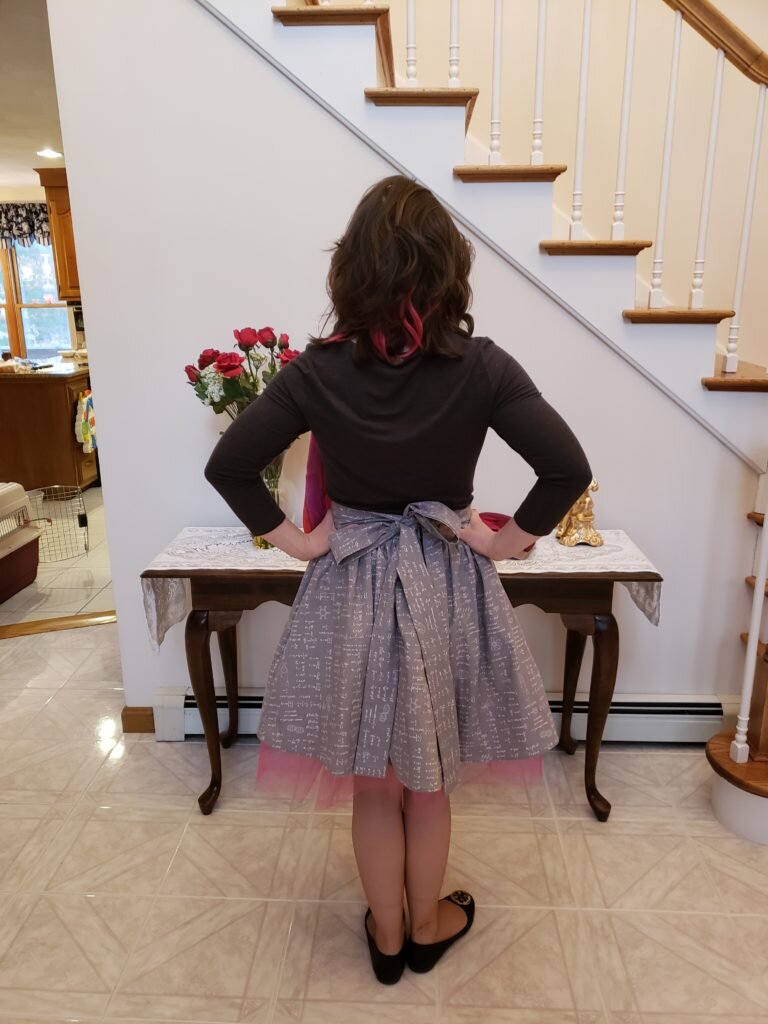
Sorry dear friends, I was terribly sick yesterday and I was out of commission for blog posting, or for anything really. Julius keeps incubating more and more terrible bugs it seems because this one was the worst so far! But I owe you a post about my science skirt! (Or my I’ve-been-watching-too-much-Mrs. Maizel skirt?) I got this adorable fabric at fabric.com and the next day we decided on “science” for a fun Friday theme. Serendipity? Sort of! I do have a bit of say in our fun friday themes…
Just like the underskirt, I based the pattern on piece 8 of the Simplicity dress pattern here. Somehow I forgot to take a picture of the skirt the day I wore it and I look like a train wreck today, so you’ll have to just settle for my perky mannequin until I feel better (UPDATE 3/3/19 – I finally added photos of me wearing the skirt). Other adjustments to this skirt for when I feel better? Pockets. How could I forget pockets?! 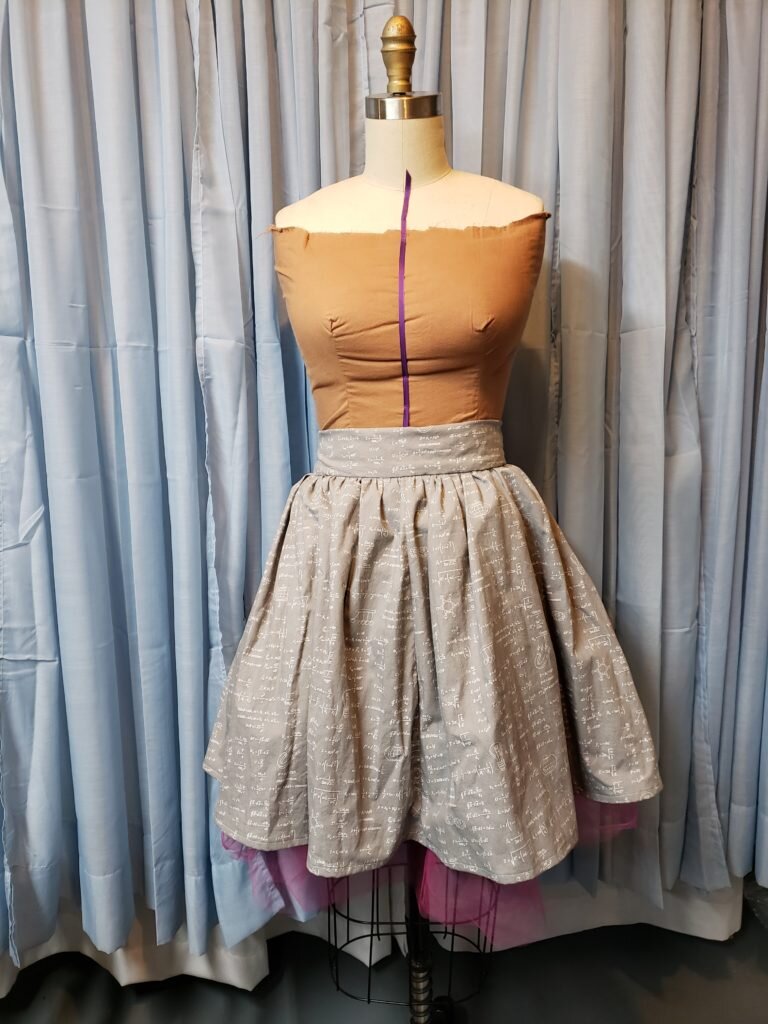
1950’s style skirt
What you’ll need:
- 3 yards of cotton material (pre washed & dried)
- 1 7inch zipper
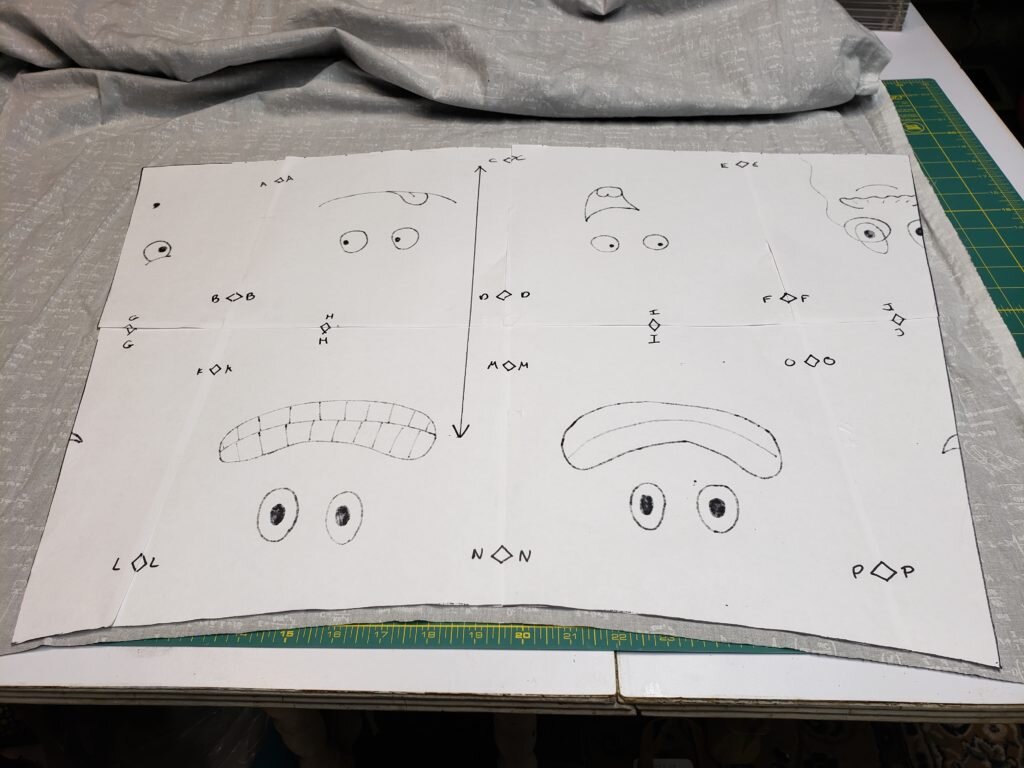
- Pattern here*
*I am a size 4/6, but the skirt pattern should work for a couple sizes up since it is very full. You’ll just have to gather a bit less to fit your waistband. If you are tall (I am only 5’3″ you may need to lengthen the skirt a bit to your liking).
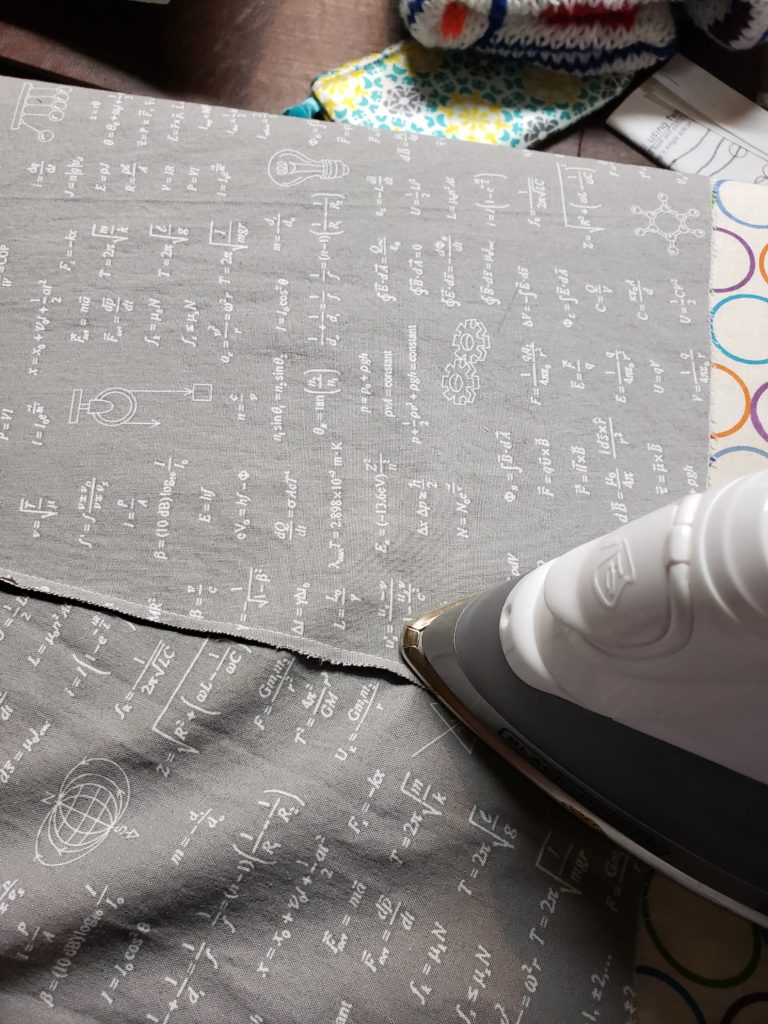
- Cut out 4 pieces of the pattern in cotton.
- Pin 4 cotton pieces, wrong sides together, edge to edge along 3 seams with 1/4″ seam allowance. Stitch. Trim seam allowance to 1/8″. Press.
- Turn seams right side in this time (so the seam you just stitched is sandwiched inside). Pin & stitch a 1/4″ seam again. (This is a french seam). OR skip step 2 and 3 and stitch seams together (right sides together) as usual and serge.
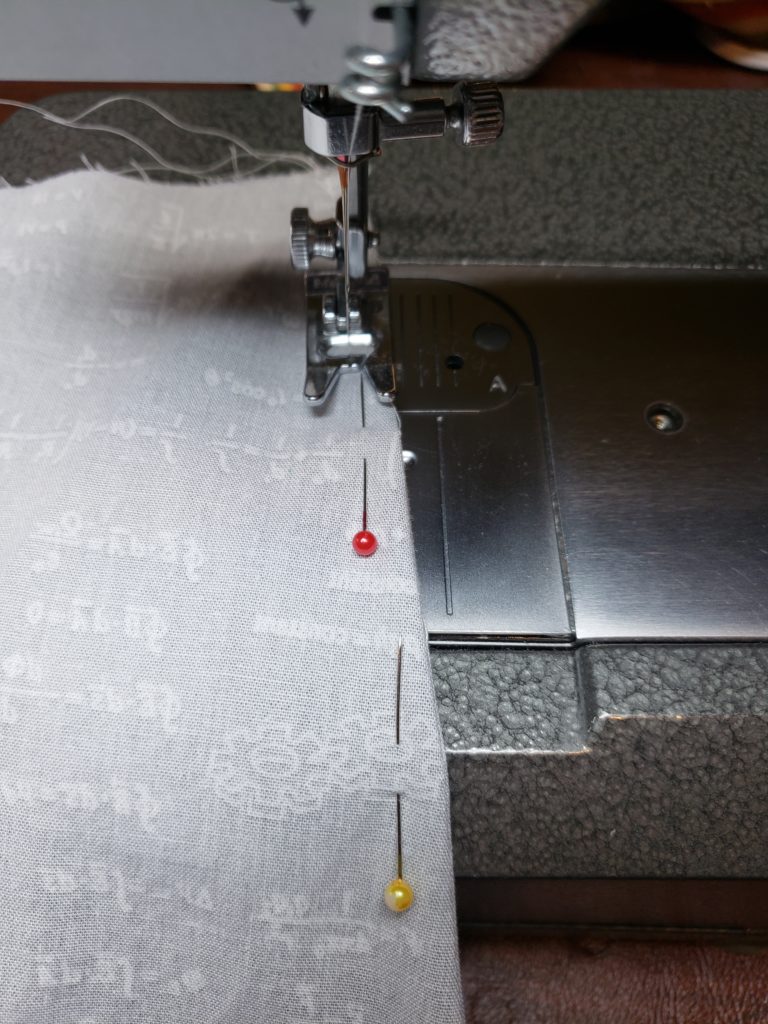
- For the 4th seam (the back seam), serge along each unfinished edge. Place right sides together and stitch with 1/2″ seam allowance leaving a 4.75″ gap from the waist end of the skirt. Press 1/2″ seam allowance.
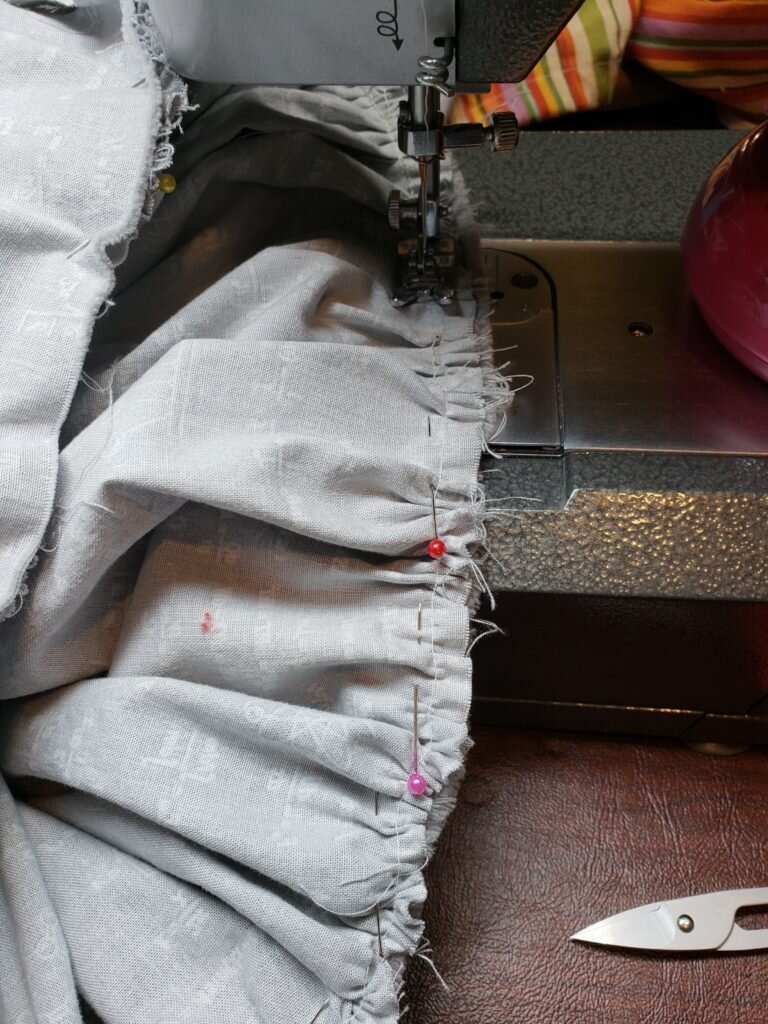
- Stitch along the 1/4″ mark using the longest stitch length. Repeat along the 3/8″ mark. Gather.
- Measure your waist and add one inch for seam allowance. Cut a 6″x(waist+1)” strip of material for the waistband.
- Fold the waistband in half lengthwise (right sides in). Stitch 1/2″ from each edge. Trim the corner, turn right side out and press.
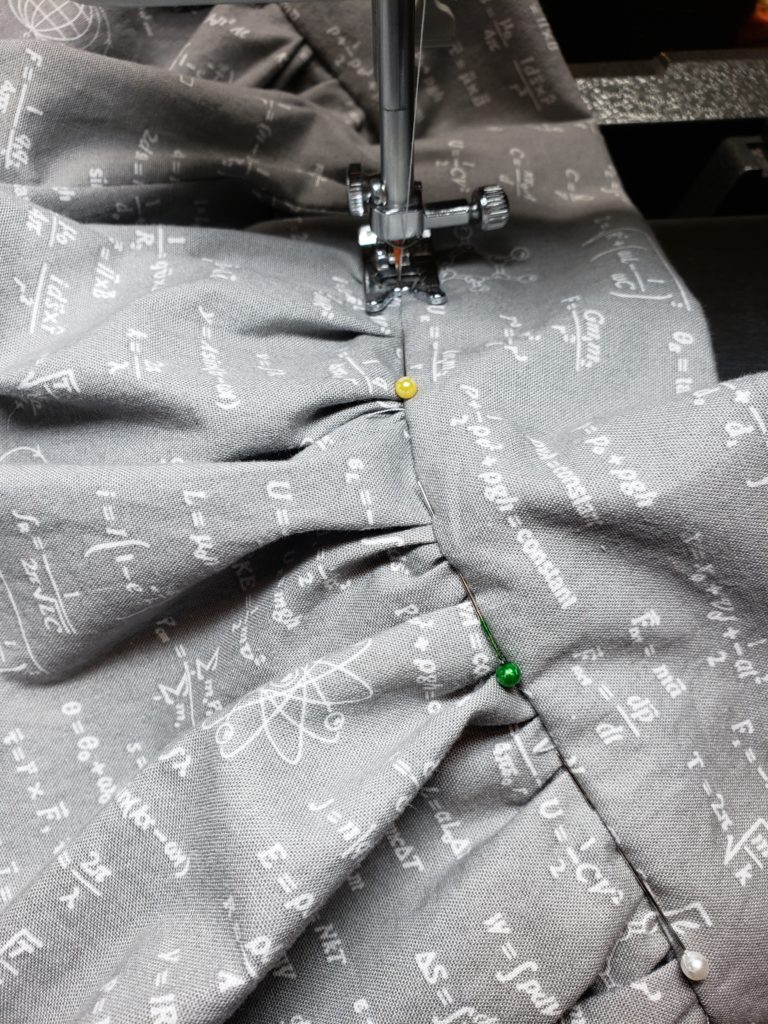
- Turn waistband inside out. Pin unfinished edge of waistband to waist of skirt, right sides together, pulling up gathering stitches to fit. Stitch. (Make sure that the fold from the 1/2″ seam allowance on the skirt in step 4 matches with the fold of the waistband.)
- Turn waistband back right side out. Fold the unfinished end of the waistband under 1/2″ so it encloses the unfinished gathers of the skirt. Pin and stitch in the ditch along the right side of the skirt near the waistband so stitching is not sewn.
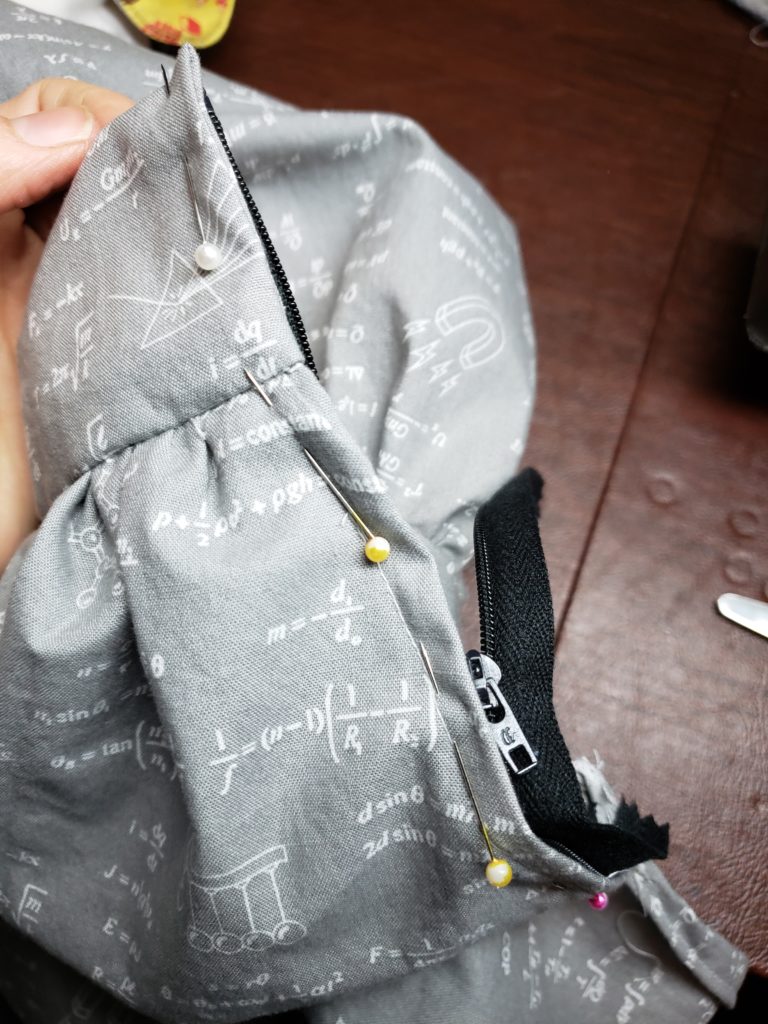
- Insert zipper. Pin zipper to waistband and seam allowance you pressed in step 4 following zipper instructions. Bottom of zipper should end slightly under the seam in step 4.
- Steps 11-13 are optional: Cut 2 30″x6″ strips for ribbons.
- Fold each strip in half lengthwise. Stitch along length of each strip and one side of each strip. Trim seams and clip corners and turn right side out. Press.
- Fold the unfinished edge into the ribbon 1/2″ so it does not show. Pin each opened end of the ribbons to the waistband, 6″ from the zipper on either side. Opened end should point towards the zipper and the finished end should point away. Stitch along each opened end to attach to skirt and seal.