I hope all the mothers out there had a wonderful mother’s day! I certain did! Will and Julius let me sleep in both days of the weekend, and gave me lots of fun presents! Julius added a sticker to my card which I knew was his signature. My favorite present was a necklace that Will got me that says “mama bear”. I call Julius “little bear” all the time, so I am very proud to be labeled mama bear. (Sometimes when I call him my little bear he says “roar” in a quiet whisper voice, and it is freaking adorable.)
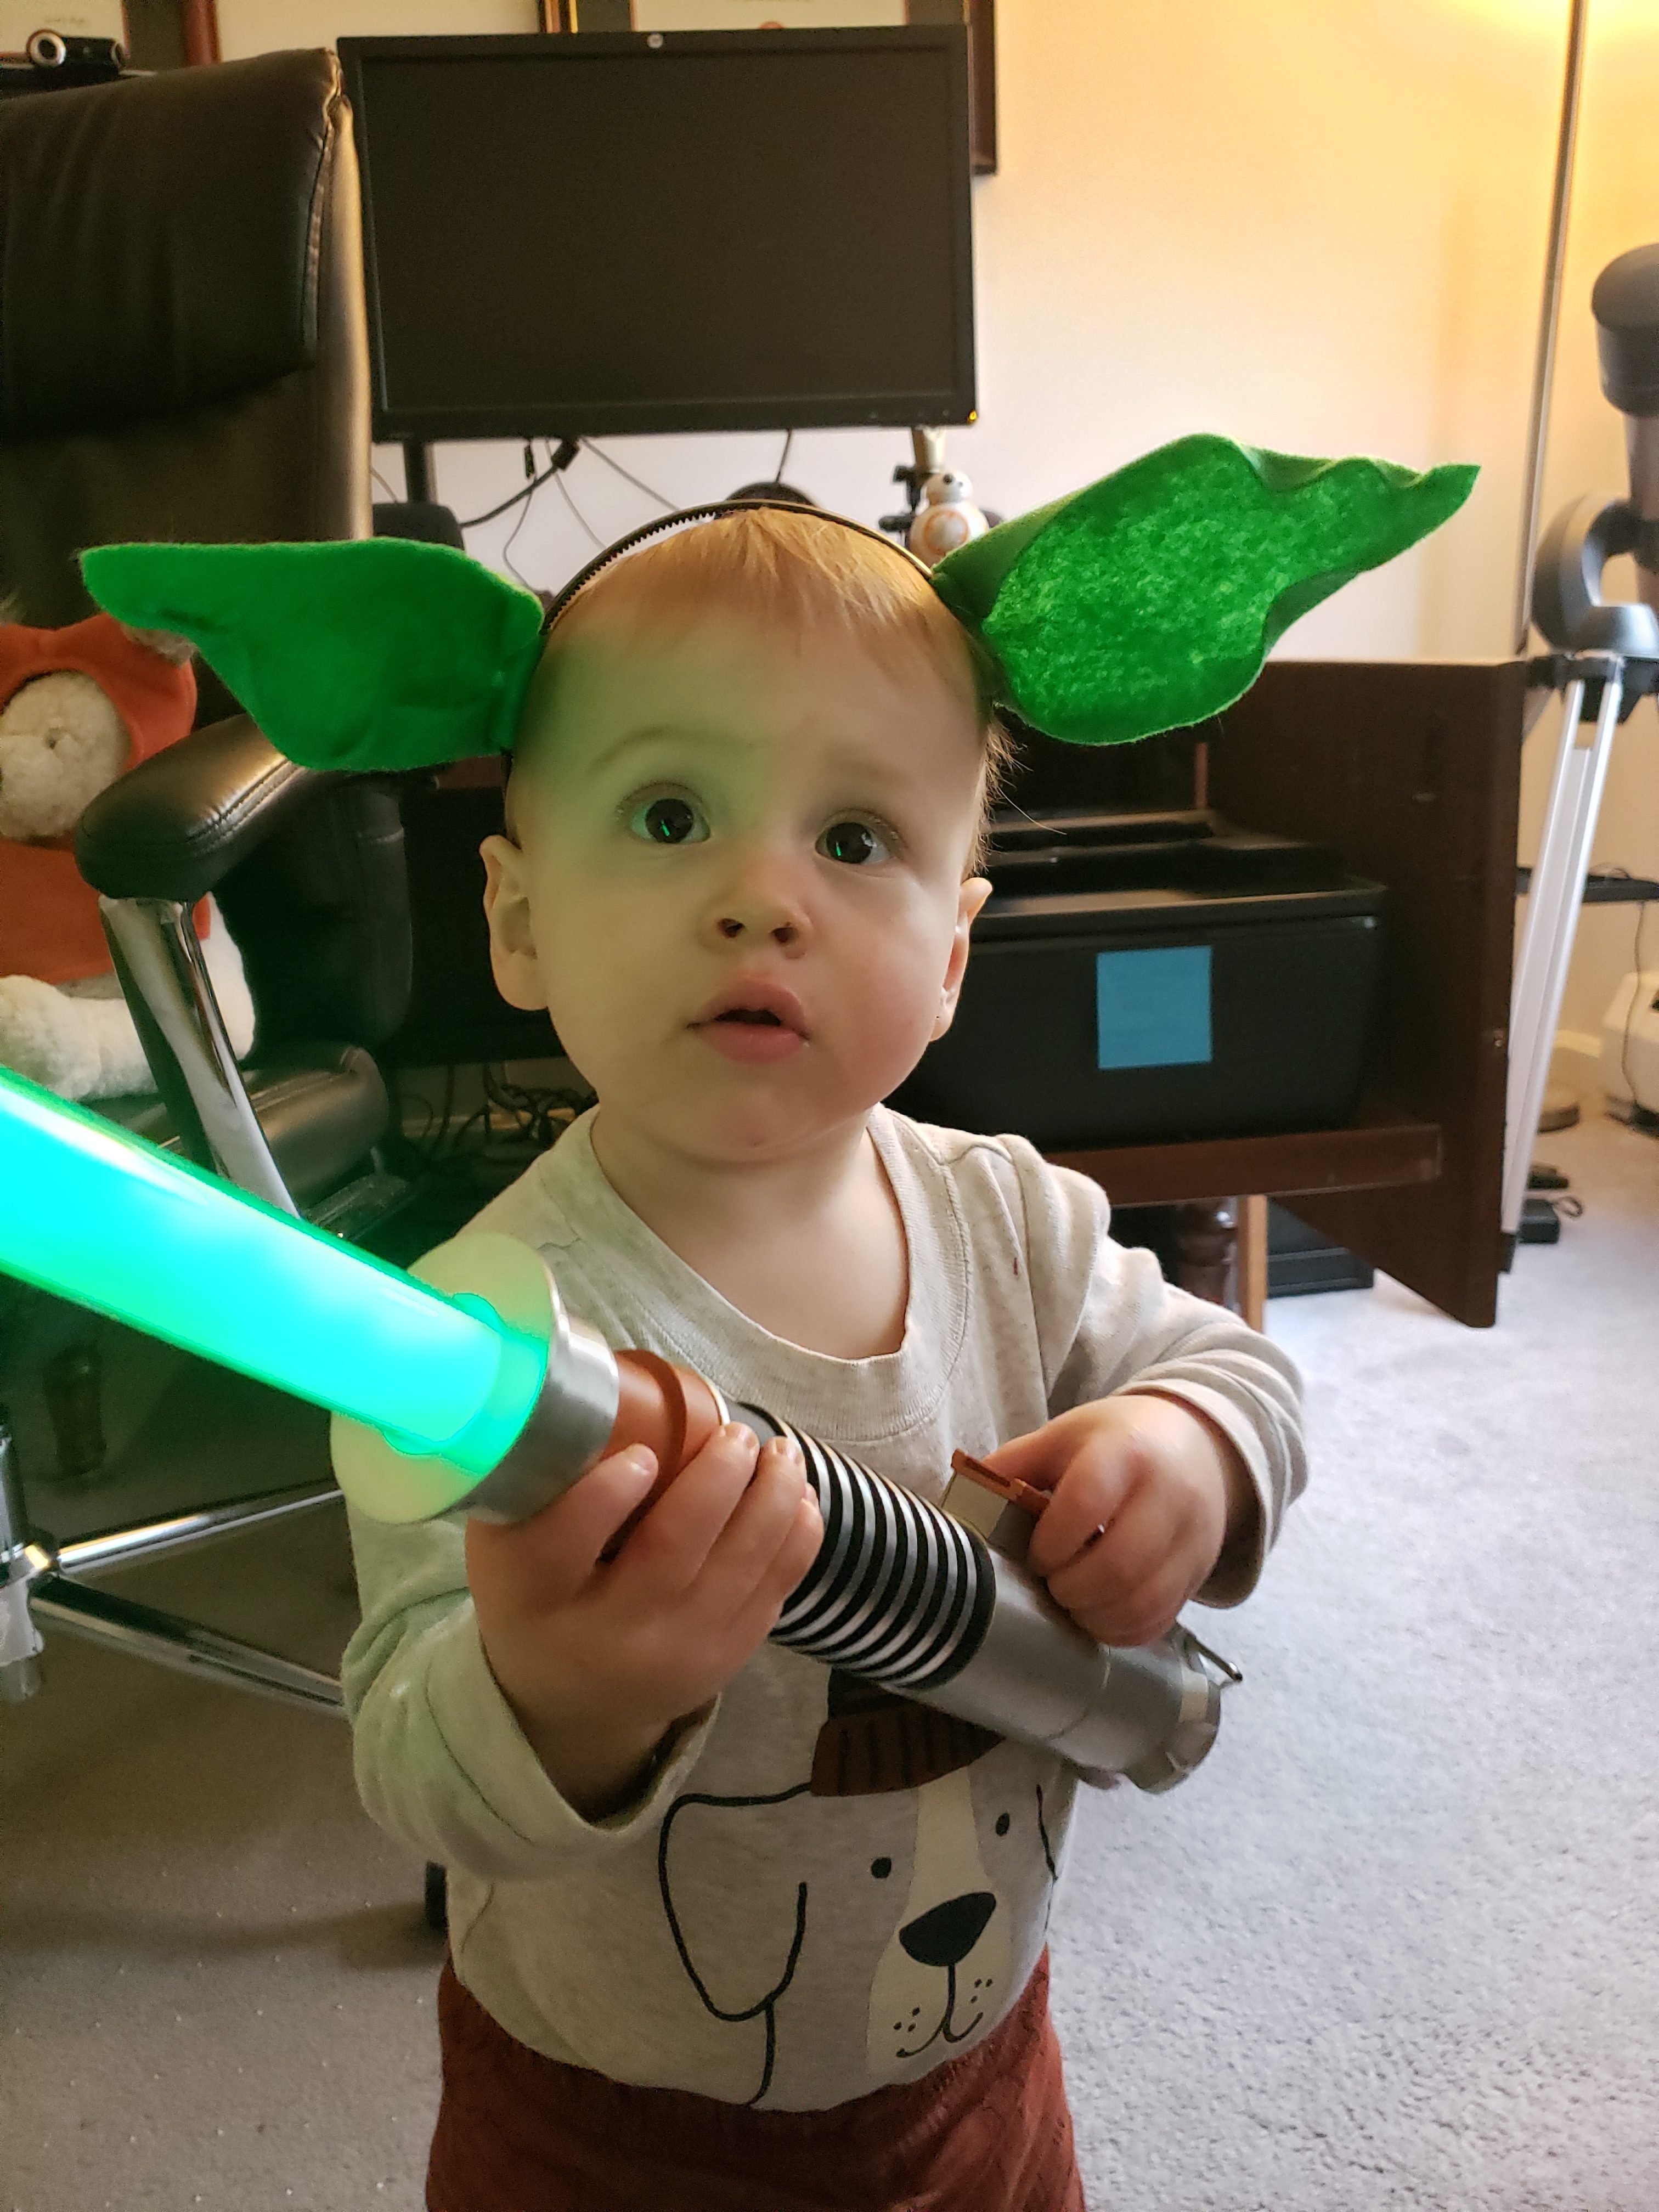
Julius is definitely working to improve his linguistic skills. The cutest thing he started to do recently is pick up exclamatory statements. He’ll say “wow” or “oh, wow” or “oooh” in his cute little serious voice when he is looking at something he finds exciting. Today I heard Julius exclaim, “wow, oh wow” while I was throwing the ball for Dany and I asked him what was so interesting. He kept saying “oh, wow” and pointing at the ground so I went over to take a look. It was raining and he had found a sandy ant hill and was mushing the wet sand between his fingers. Pretty exciting. Later he exclaimed “wow” about a dandelion that had no more seeds attached. I really love his enthusiasm for everything, it is quite refreshing. 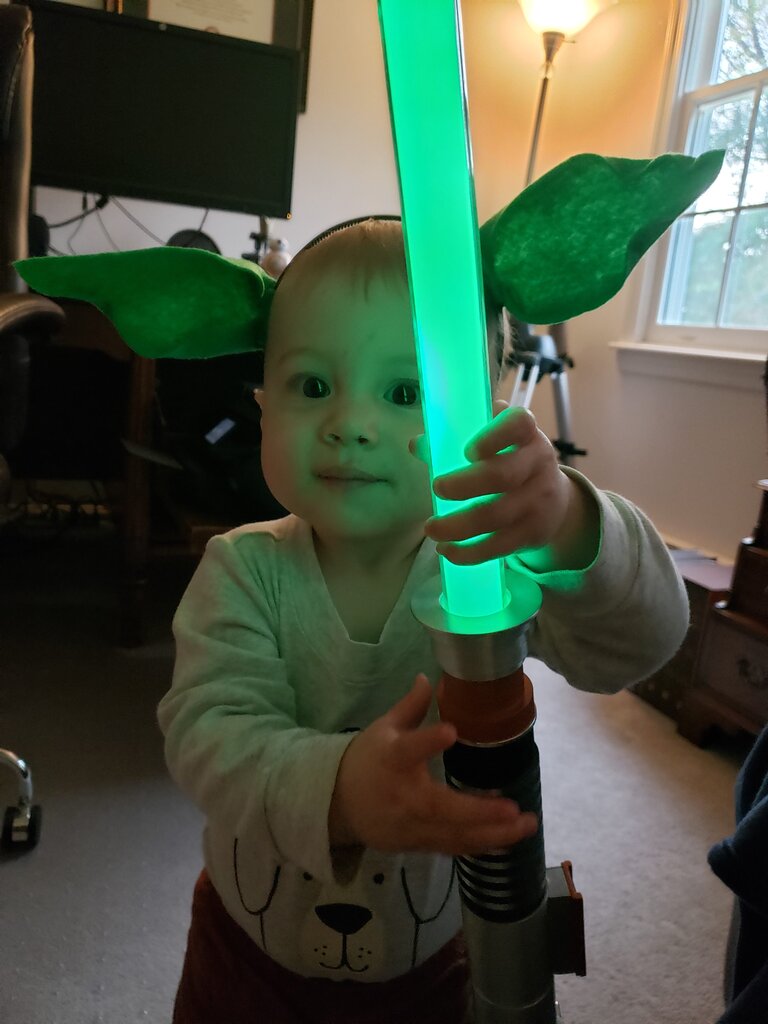 You know what else Julius loves? These Yoda ears I made! He refuses to wear hats, but he wouldn’t let us take the Yoda ears off him. They’re very simple to make so you could outfit a whole party with them. You should know that the wookie cookies are also Julius approved. As promised, here are those tutorials from last week.
 Yoda Ears
What you’ll need:
- scrap green felt
- a headband
- hot glue gun
- pattern here
Cut out two of the ear patterns of felt, making sure to flip the pattern for one of the ears so you have both a left and right.
Fold loosely along the fold lines marked and lightly hot glue in a couple spots to keep the shape.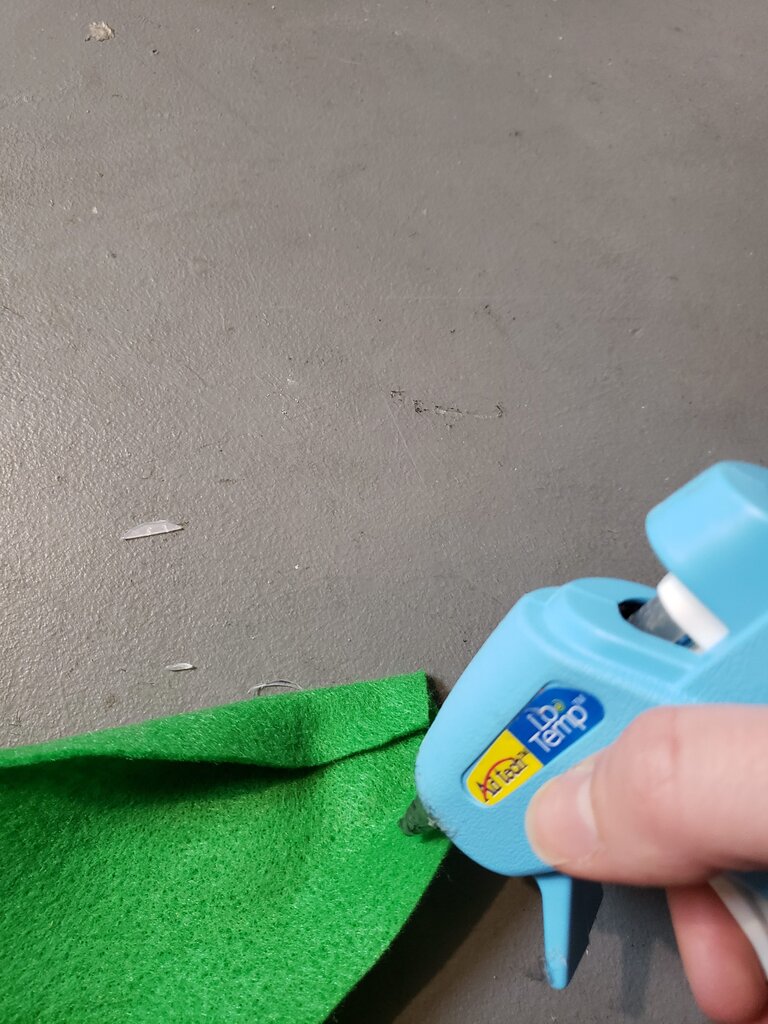
Hot glue gun the base of one ear to the side of the headband, wrapping around the headband so it does not show. Repeat for second ear on other side of headband.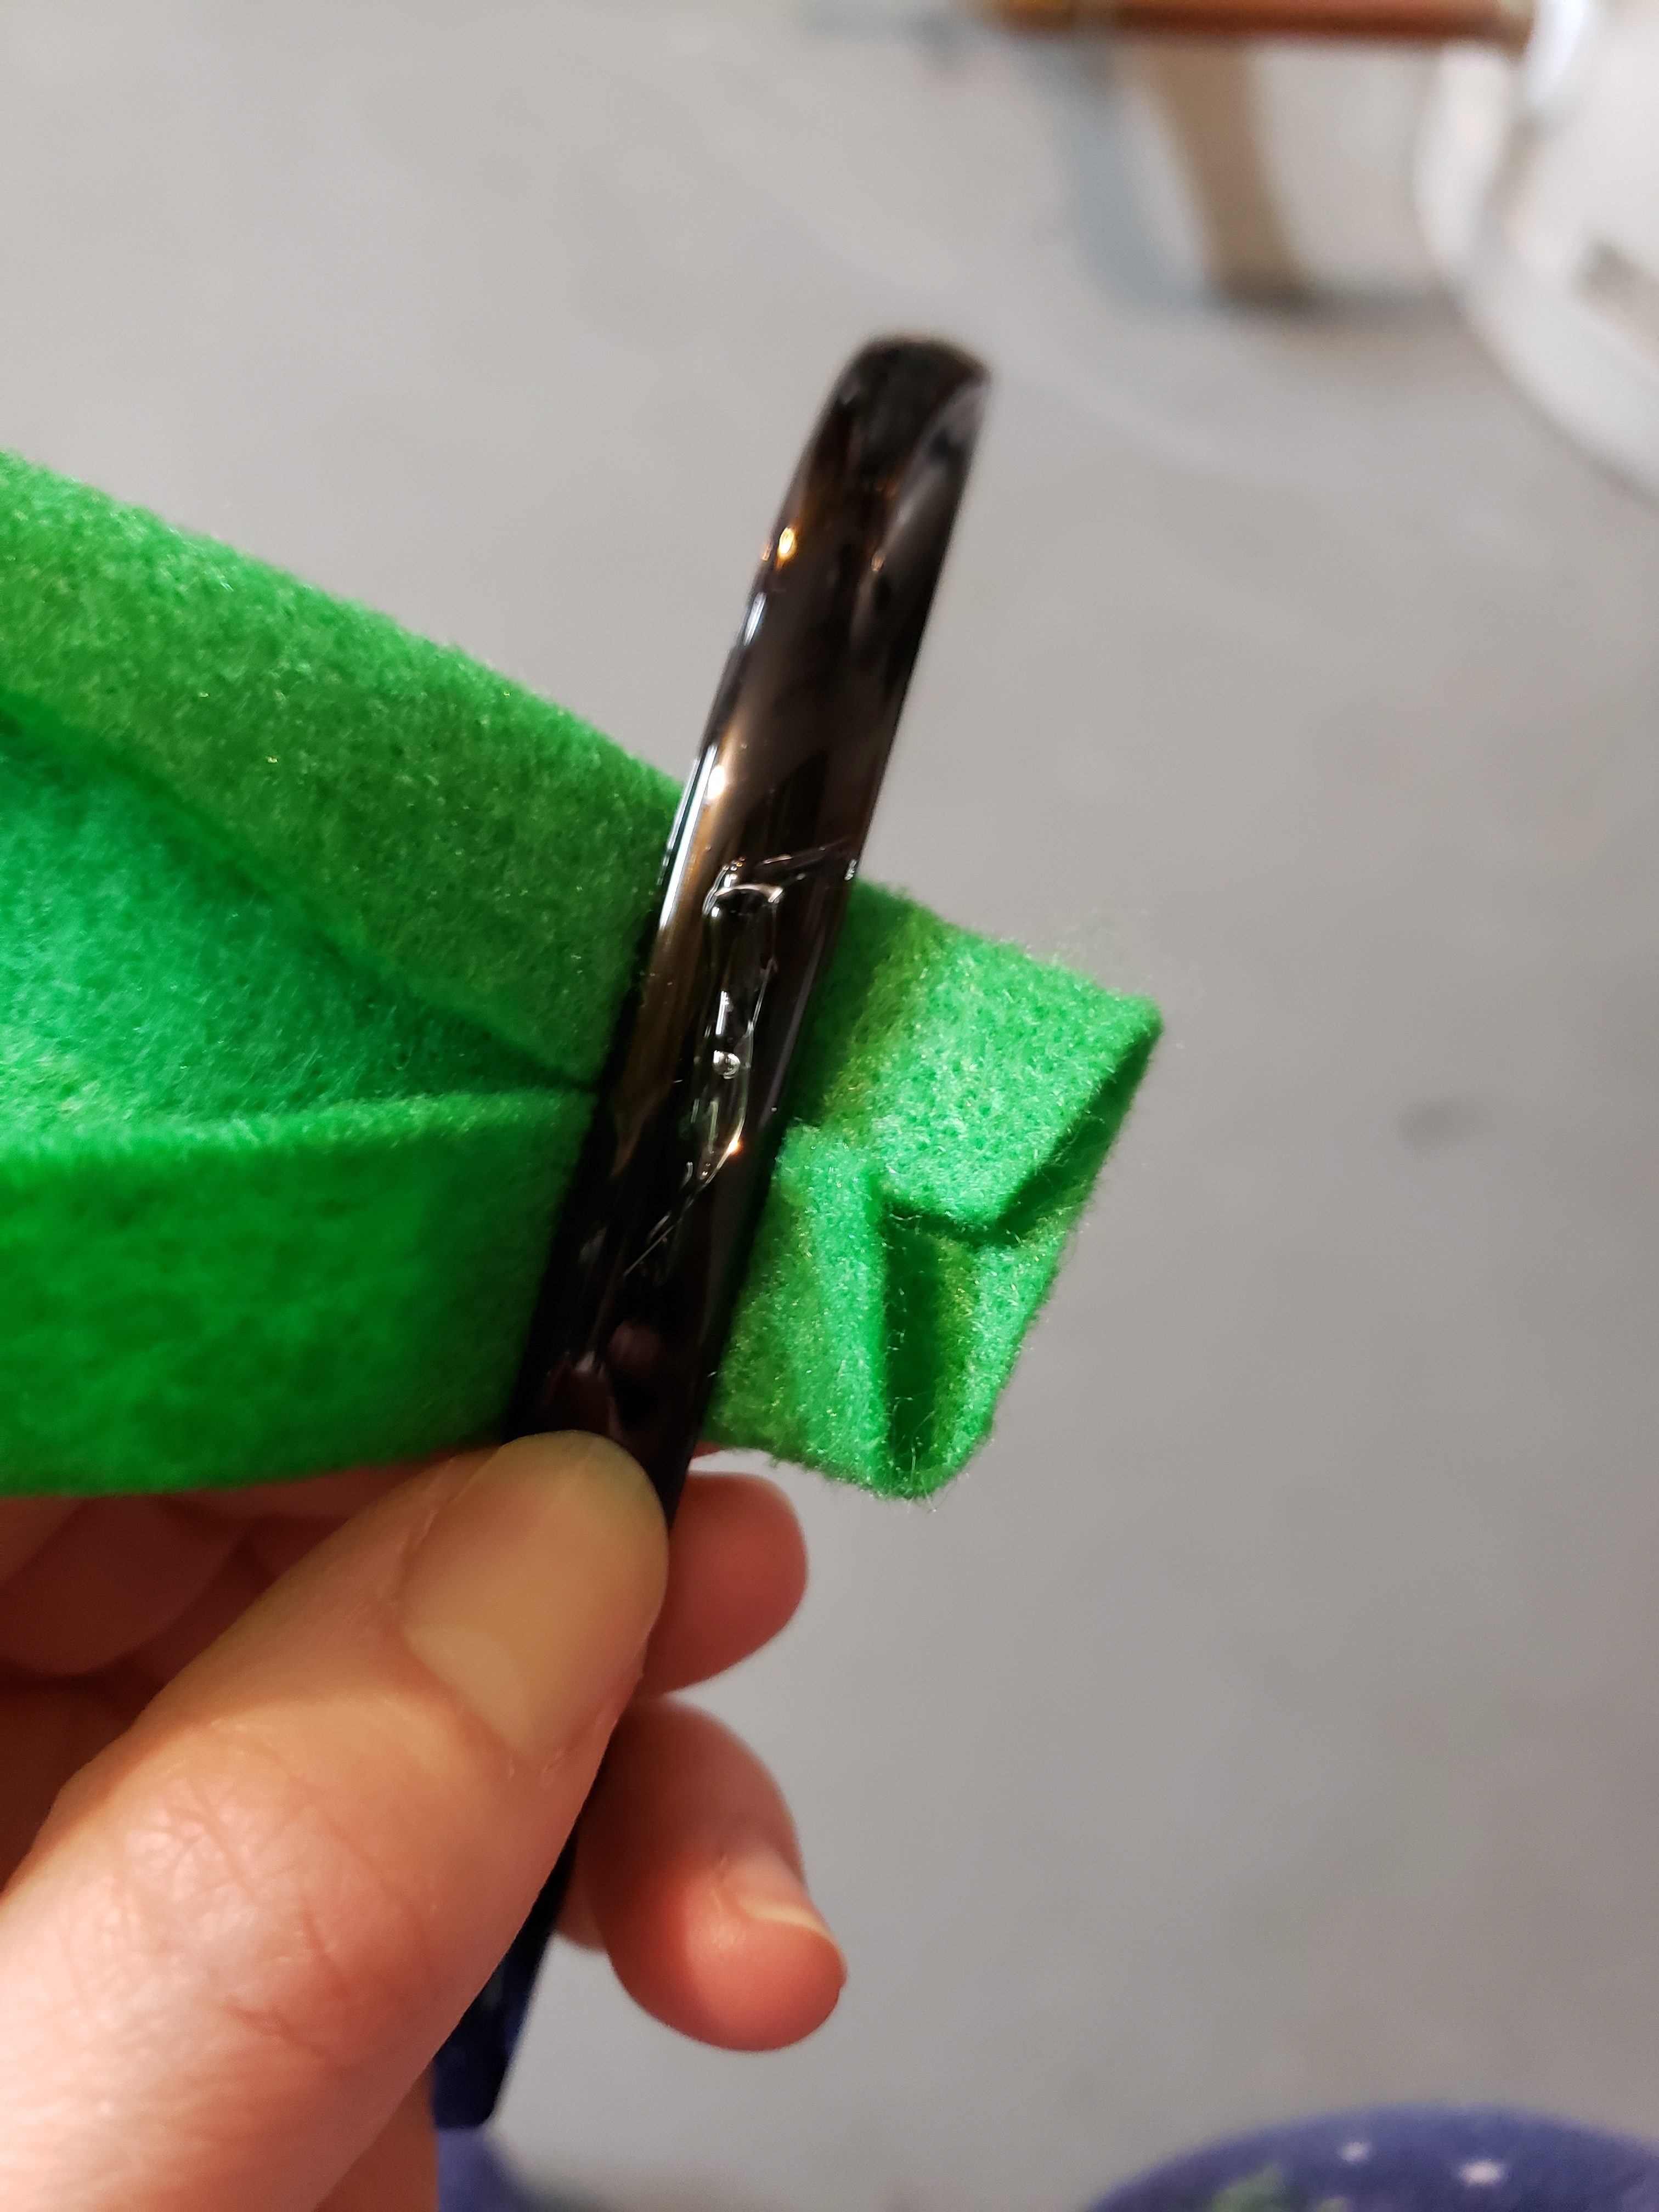
Wookie Cookies
This recipe is from smitten kitchen. The recipe is really delicious, but I think the name “Brownie roll out cookies” is extremely misleading. They are not at all soft and brownie like. They are really great, sturdy chocolate sugar cookies that are great for cutting and frosting. They are nearly impossible to roll if they are cold, so I recommend ignoring her recommendation to chill them. I first used this recipe to make chocolate mustaches for the PAX cookie brigade.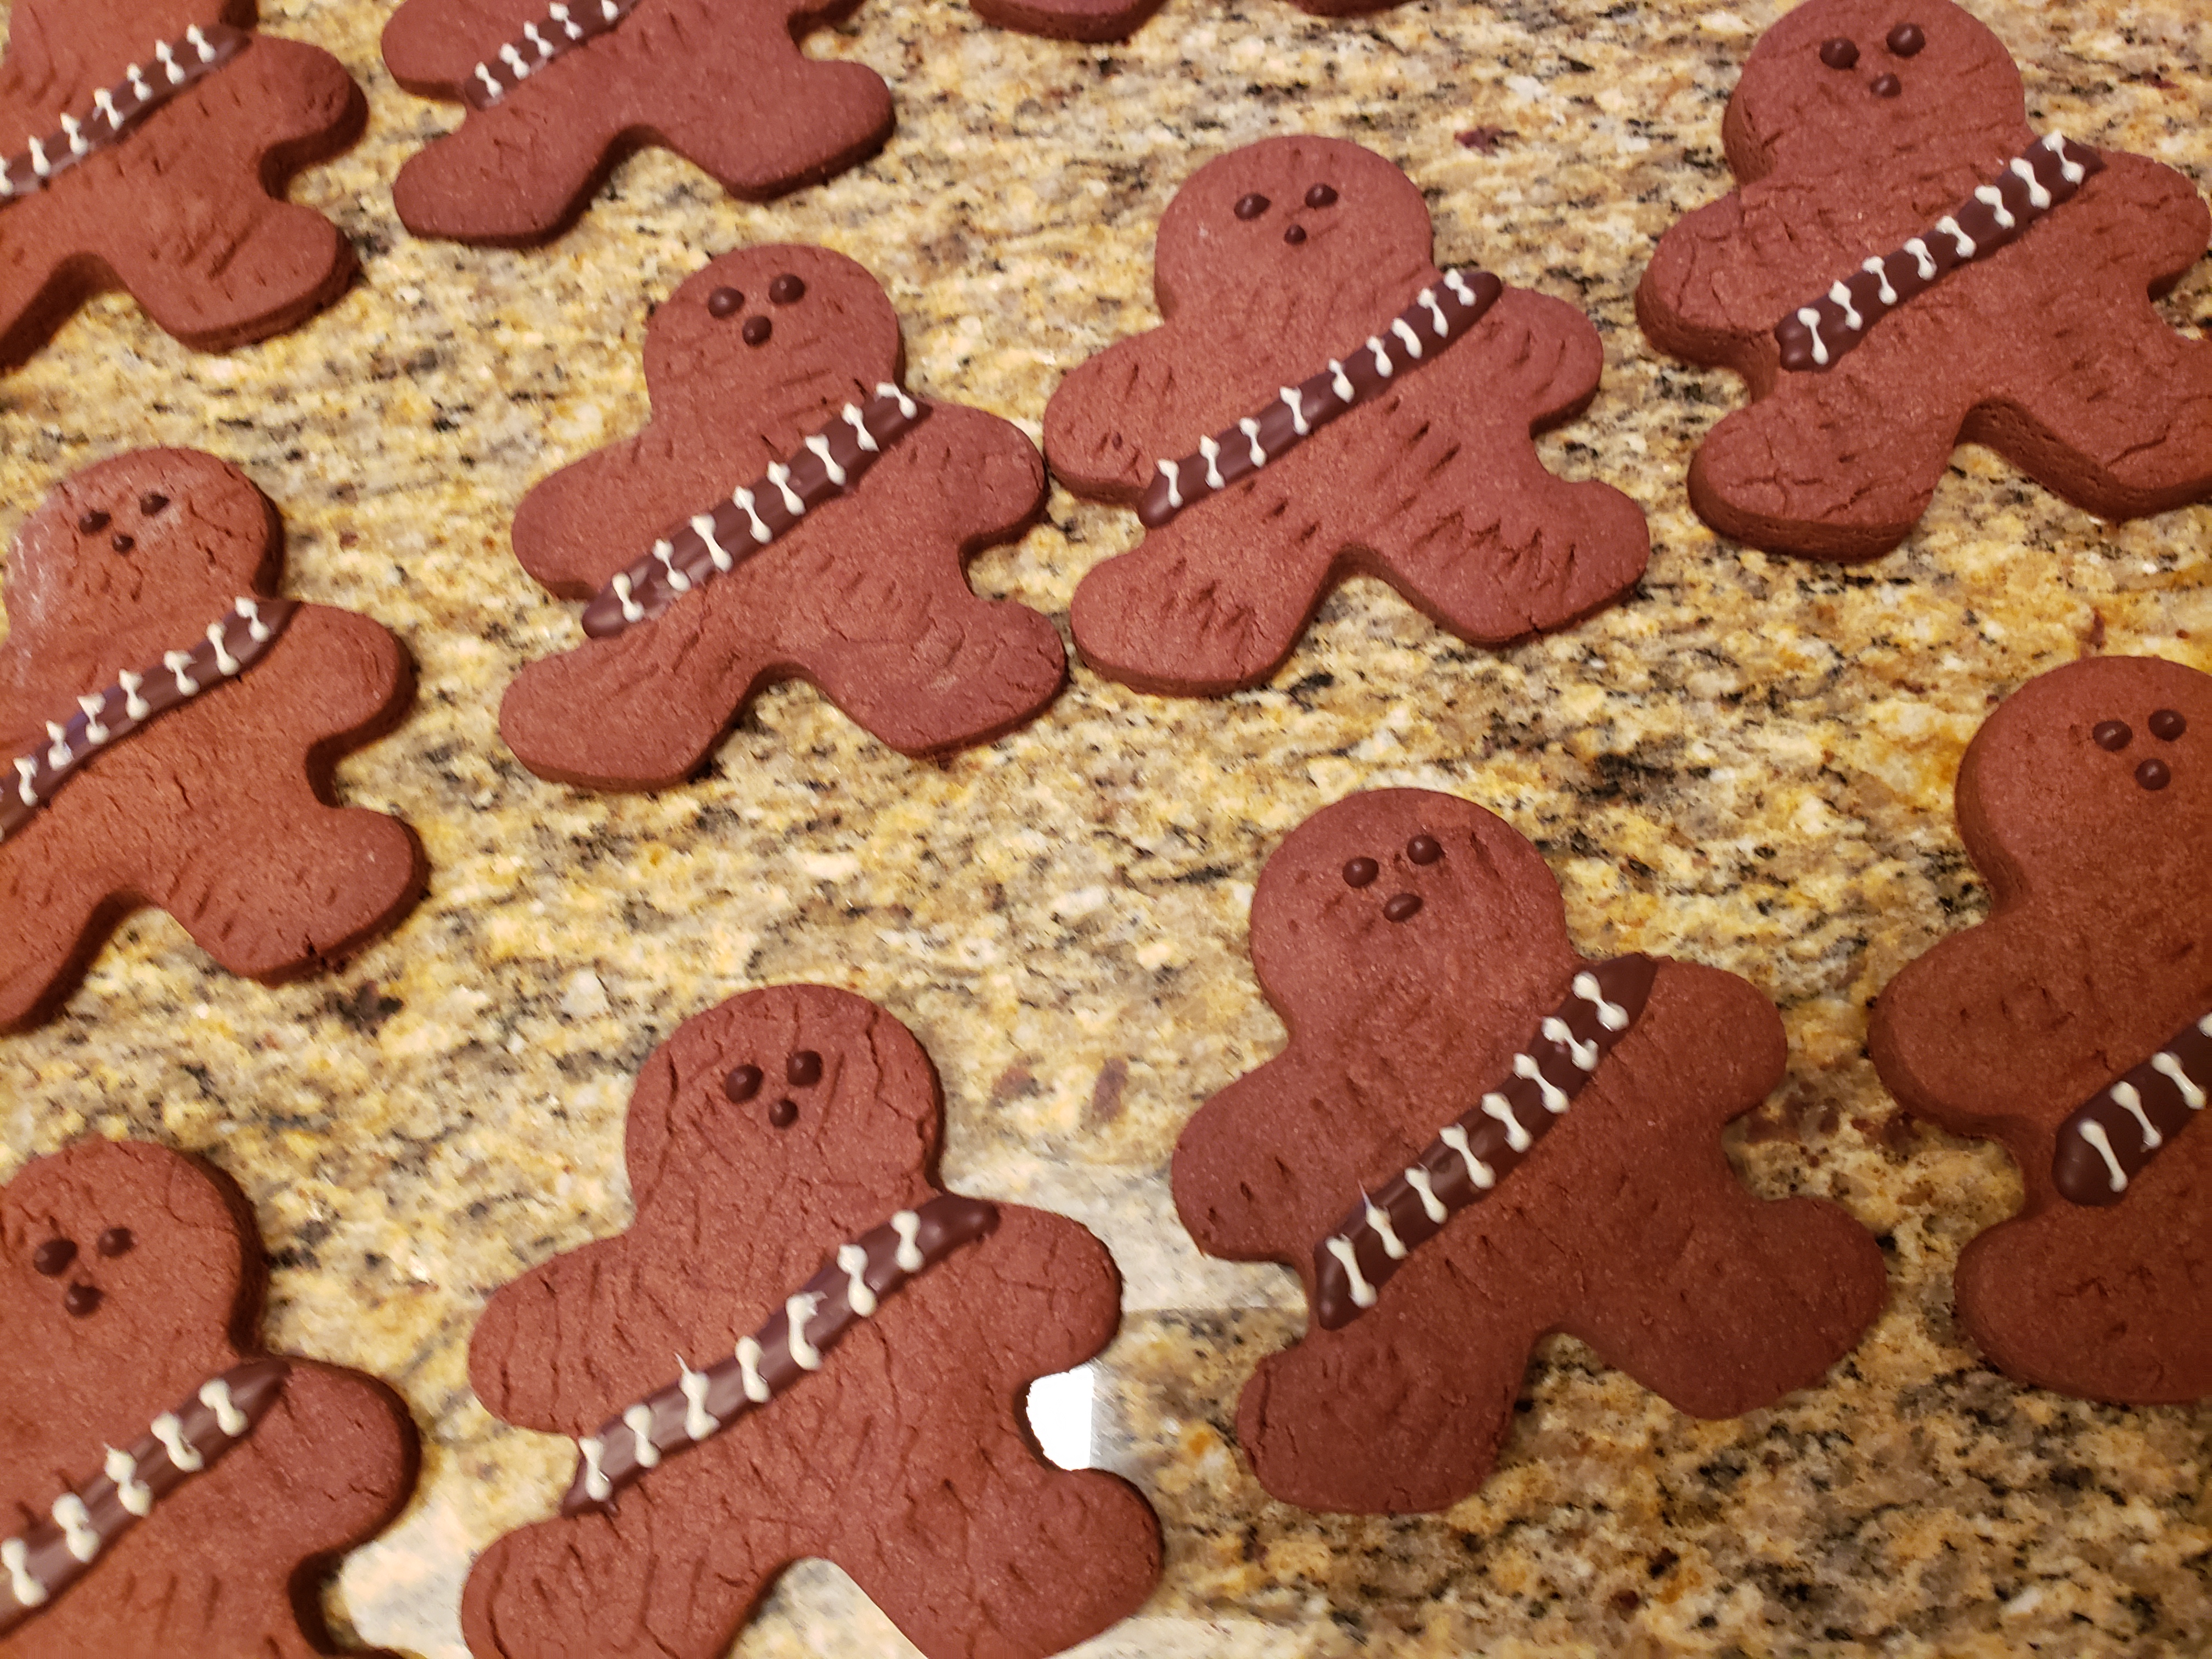
What you’ll need:
- Recipe above
- Semi sweet chocolate (I use Ghiradelli)
- White chocolate
- a piping bag and Ateco #1 and #00 round tips (very fine).
Roll out dough and cut out cookie using a basic gingerbread man cutter. Transfer to parchment lined baking sheet. To make fur use a fork to swipe across the dough in short swipes. Turn 45 degrees and swipe again across the cookie.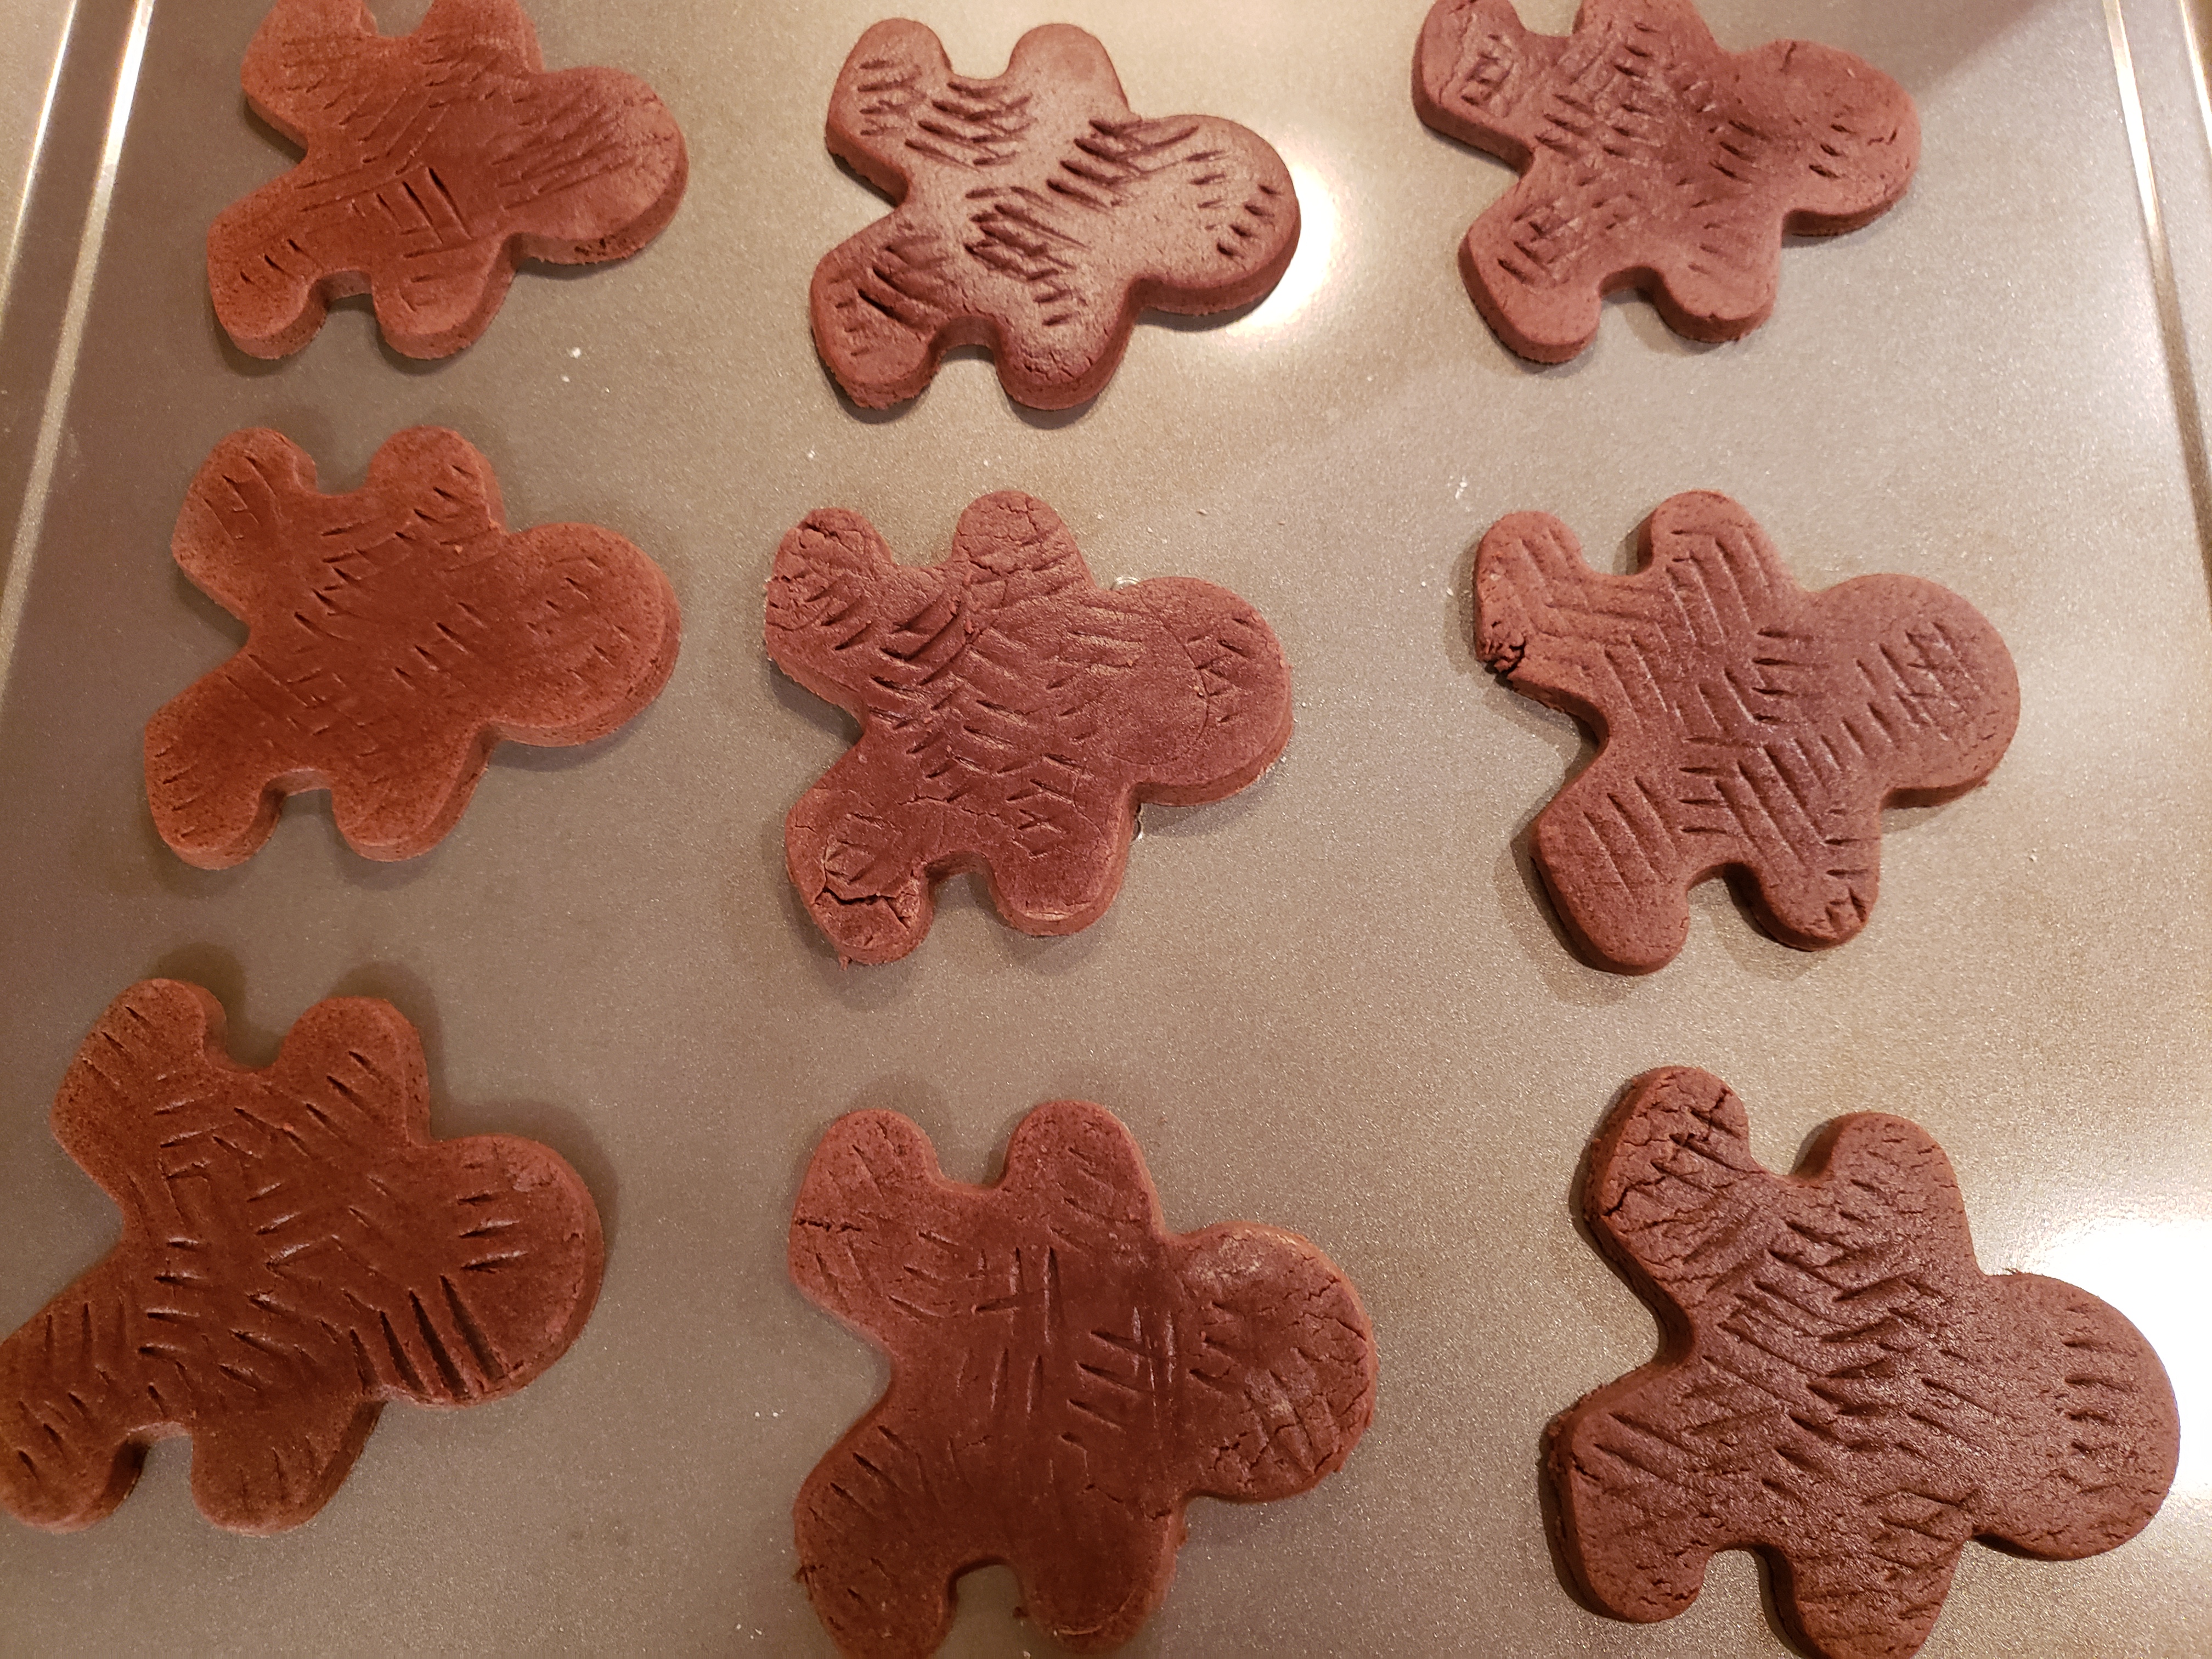
Bake cookies as directed and let cool completely. When cookies are completely cool, melt 1/2 cup of semisweet chocolate in a double boiler. Let cool slightly (about 10 minutes) until slightly warm to the touch then scoop into piping bag fit with #1 round tip.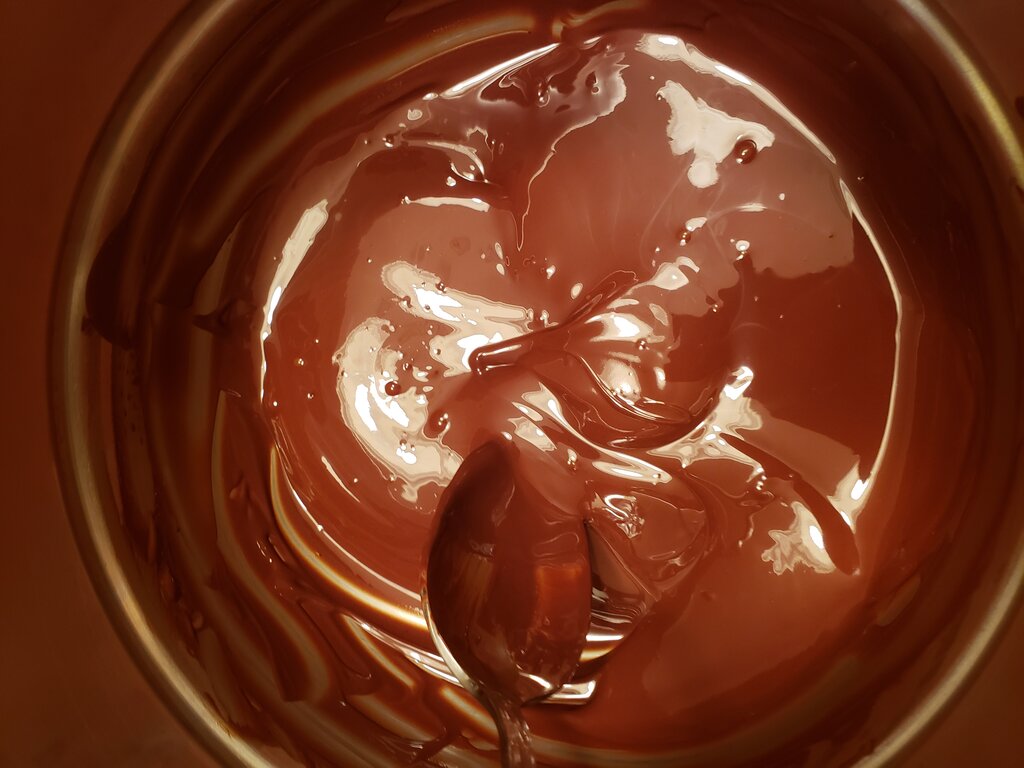
Pipe ammo belt from under right arm of gingerbread man to above left arm, making it about 1 cm thick.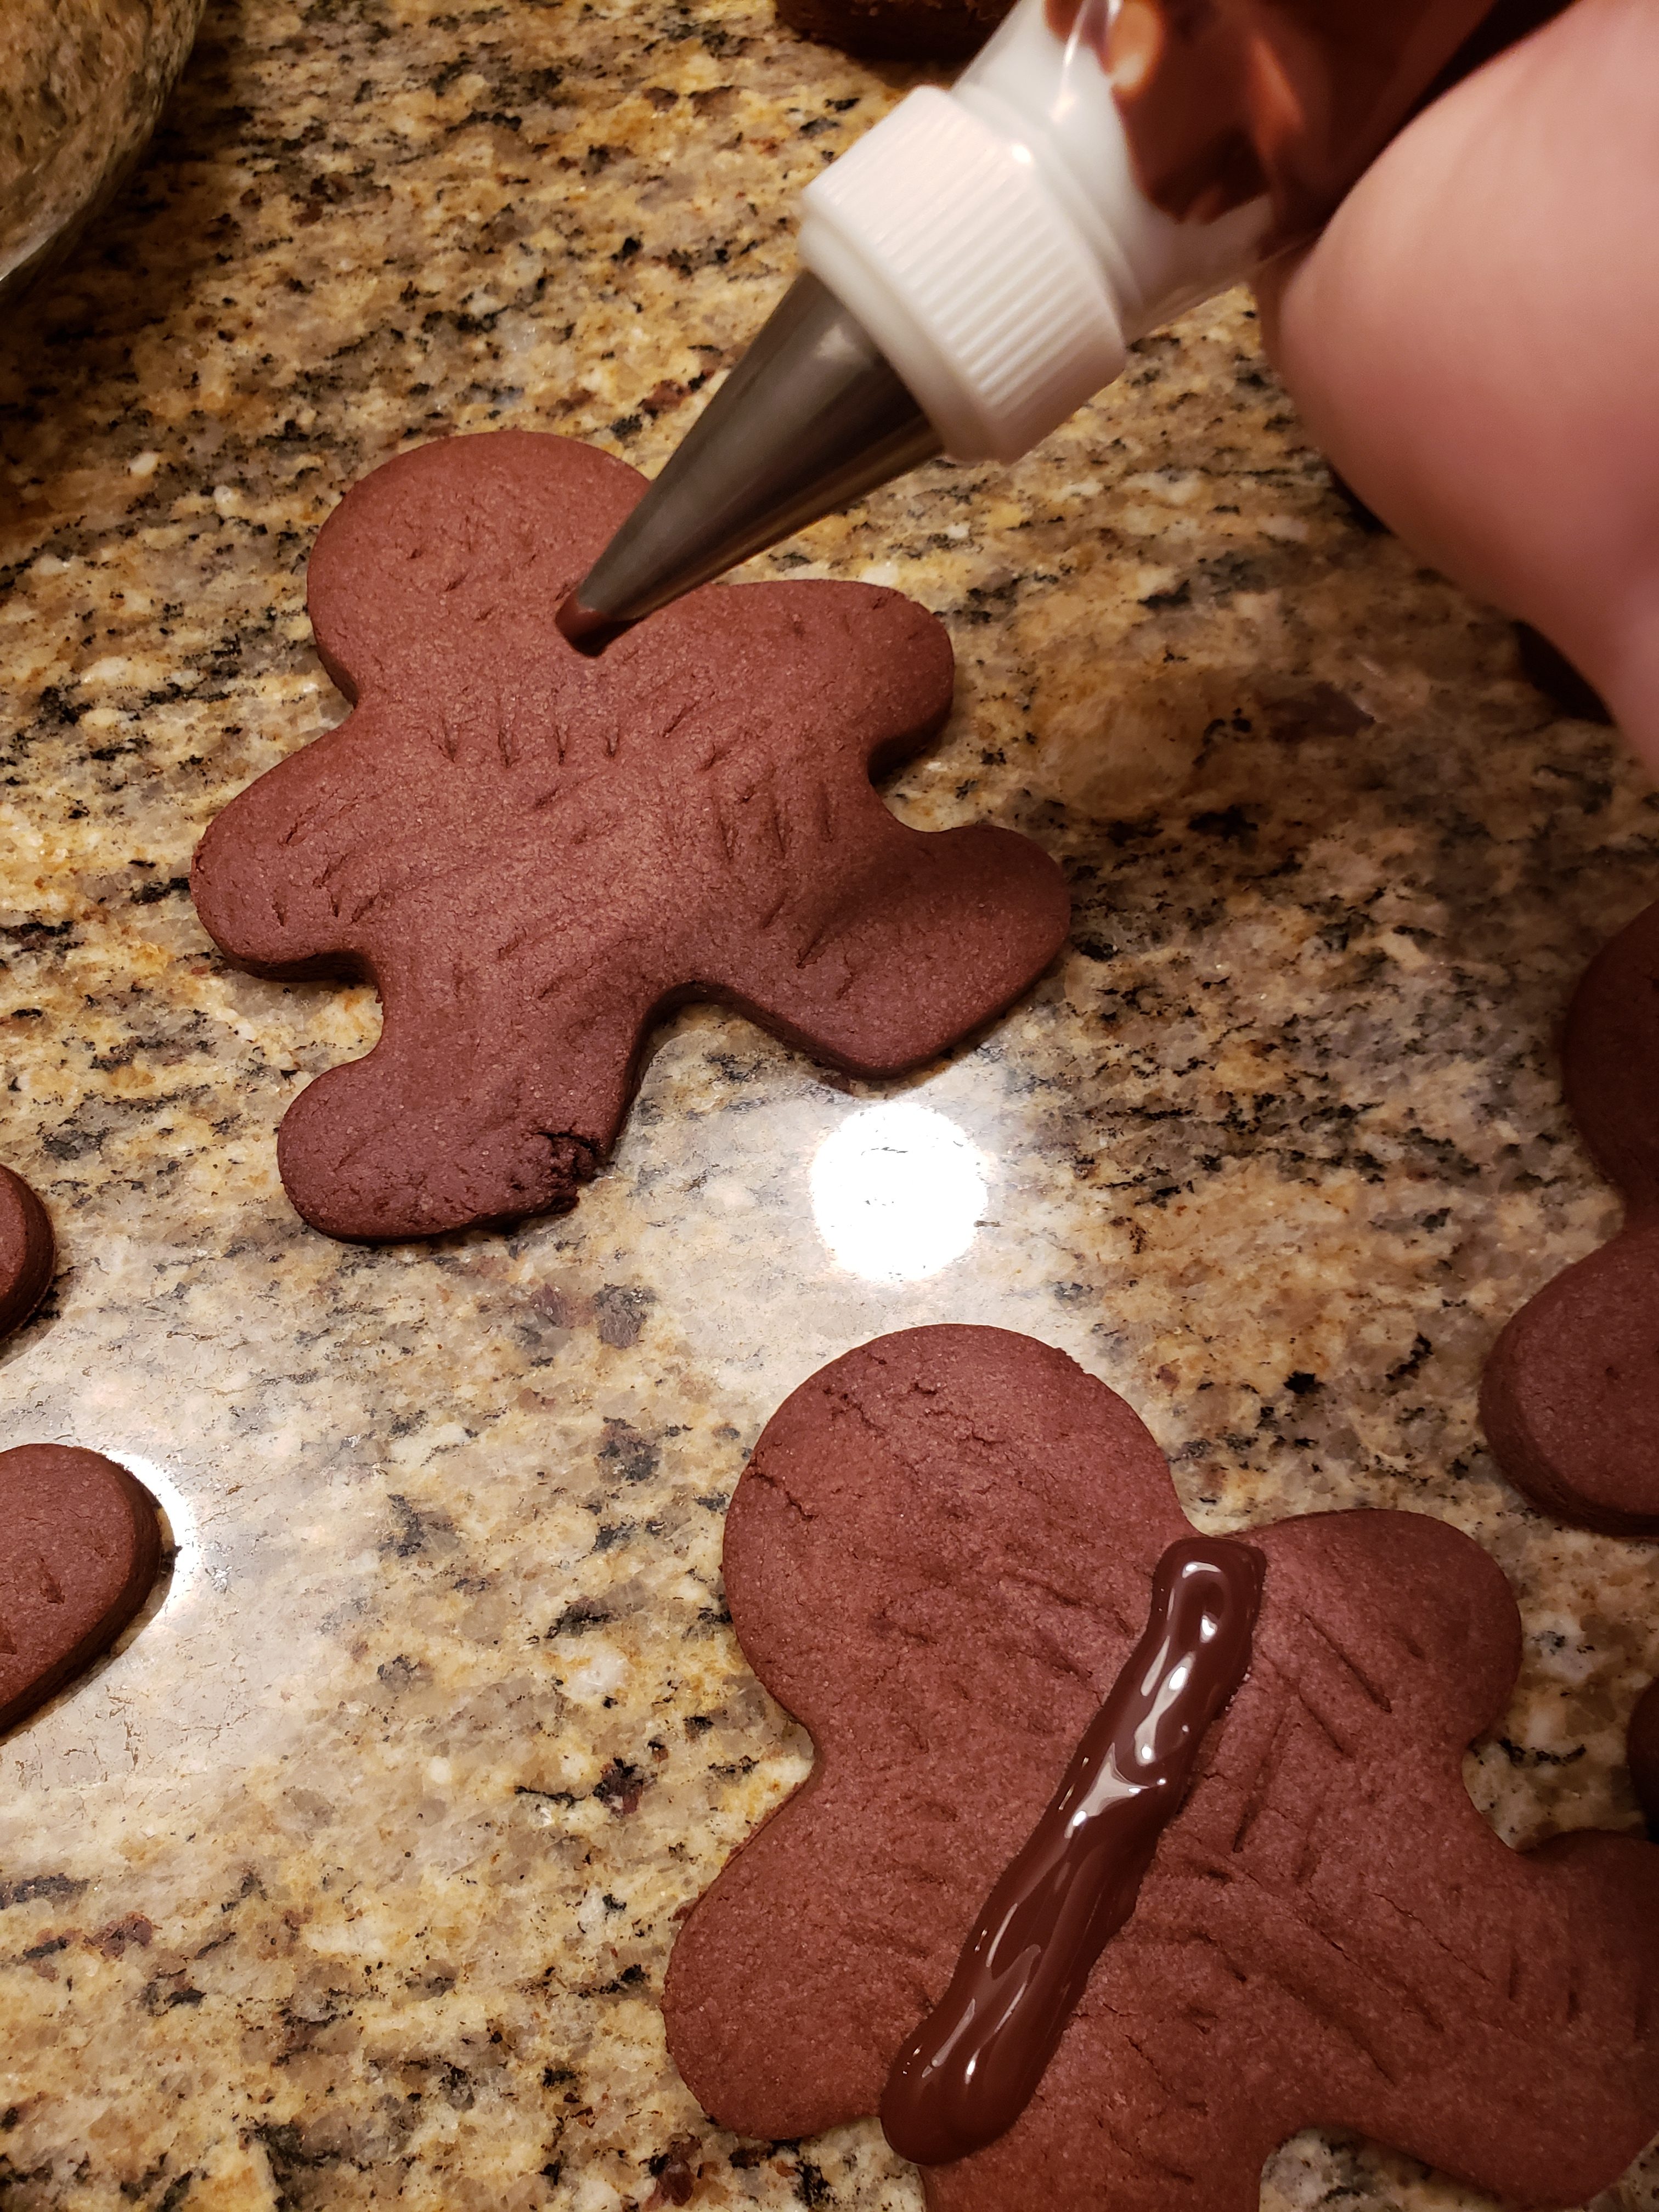
Pipe two large dots and a smaller dot for the nose.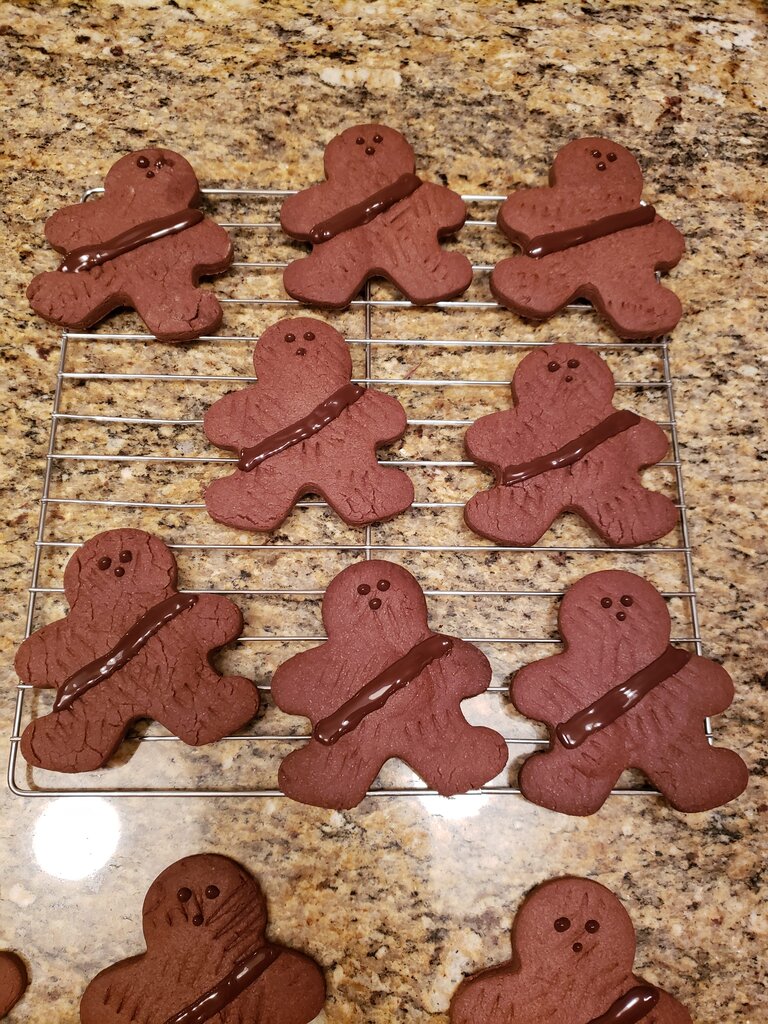
Let set. If you’re in a rush you can place them in the fridge for about 5 minutes but no more than 10 minutes to set quickly.
After chocolate has set, melt 1/4 cup of white chocolate in a double boiler. Let cool slightly (about 10 minutes) until slightly warm to the touch then scoop into a piping bag fit with #00 round tip.
Pipe ammo on ammo belt as two slightly sloppy, connected dots per piece of ammo. This really doesn’t take as long as it looks. All the piping (white and dark chocolate) took me around 30 minutes total.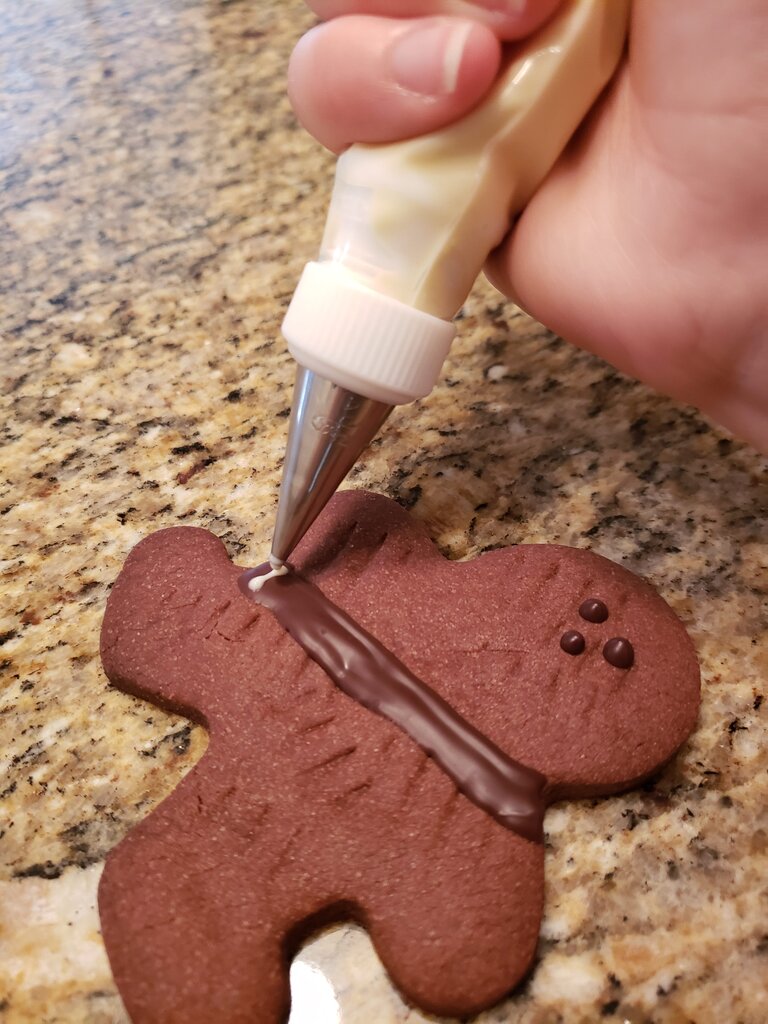
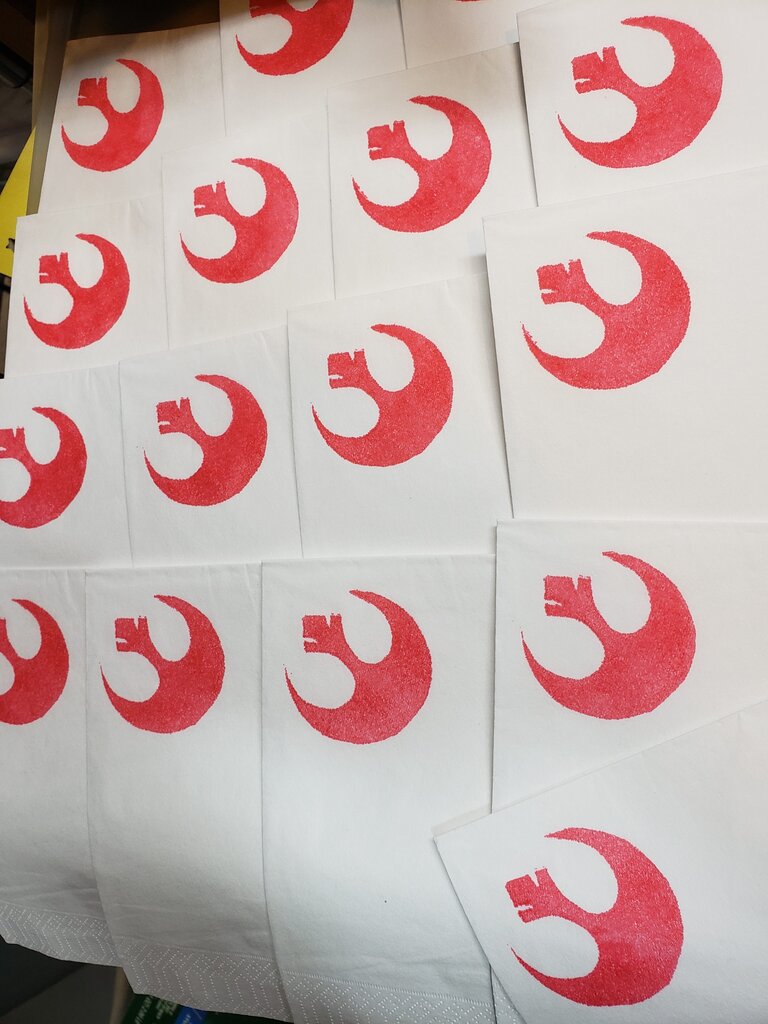
Rebel Napkins
I made these napkins so I could use plain napkins and add a non toxic stamp for a pop of color so I could compost the napkins afterwards.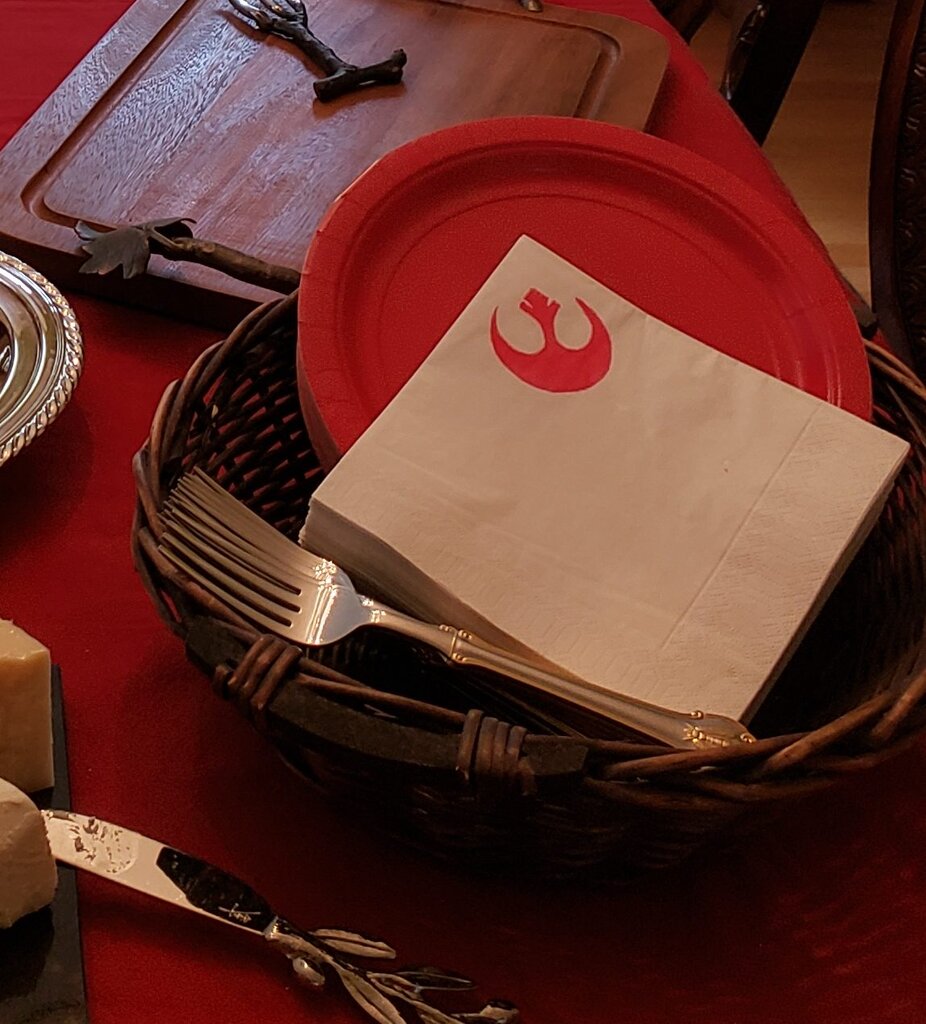
What you’ll need:
- plain white napkins
- red non-toxic stamp pad
- rubber stamp (Or rubber eraser and linoleum cutters)
Create your stamp by drawing the alliance symbol on a large rubber eraser and outlining it with progressively larger linoleum cutters. Remove all the negative space around the symbol to a depth of 1/8″.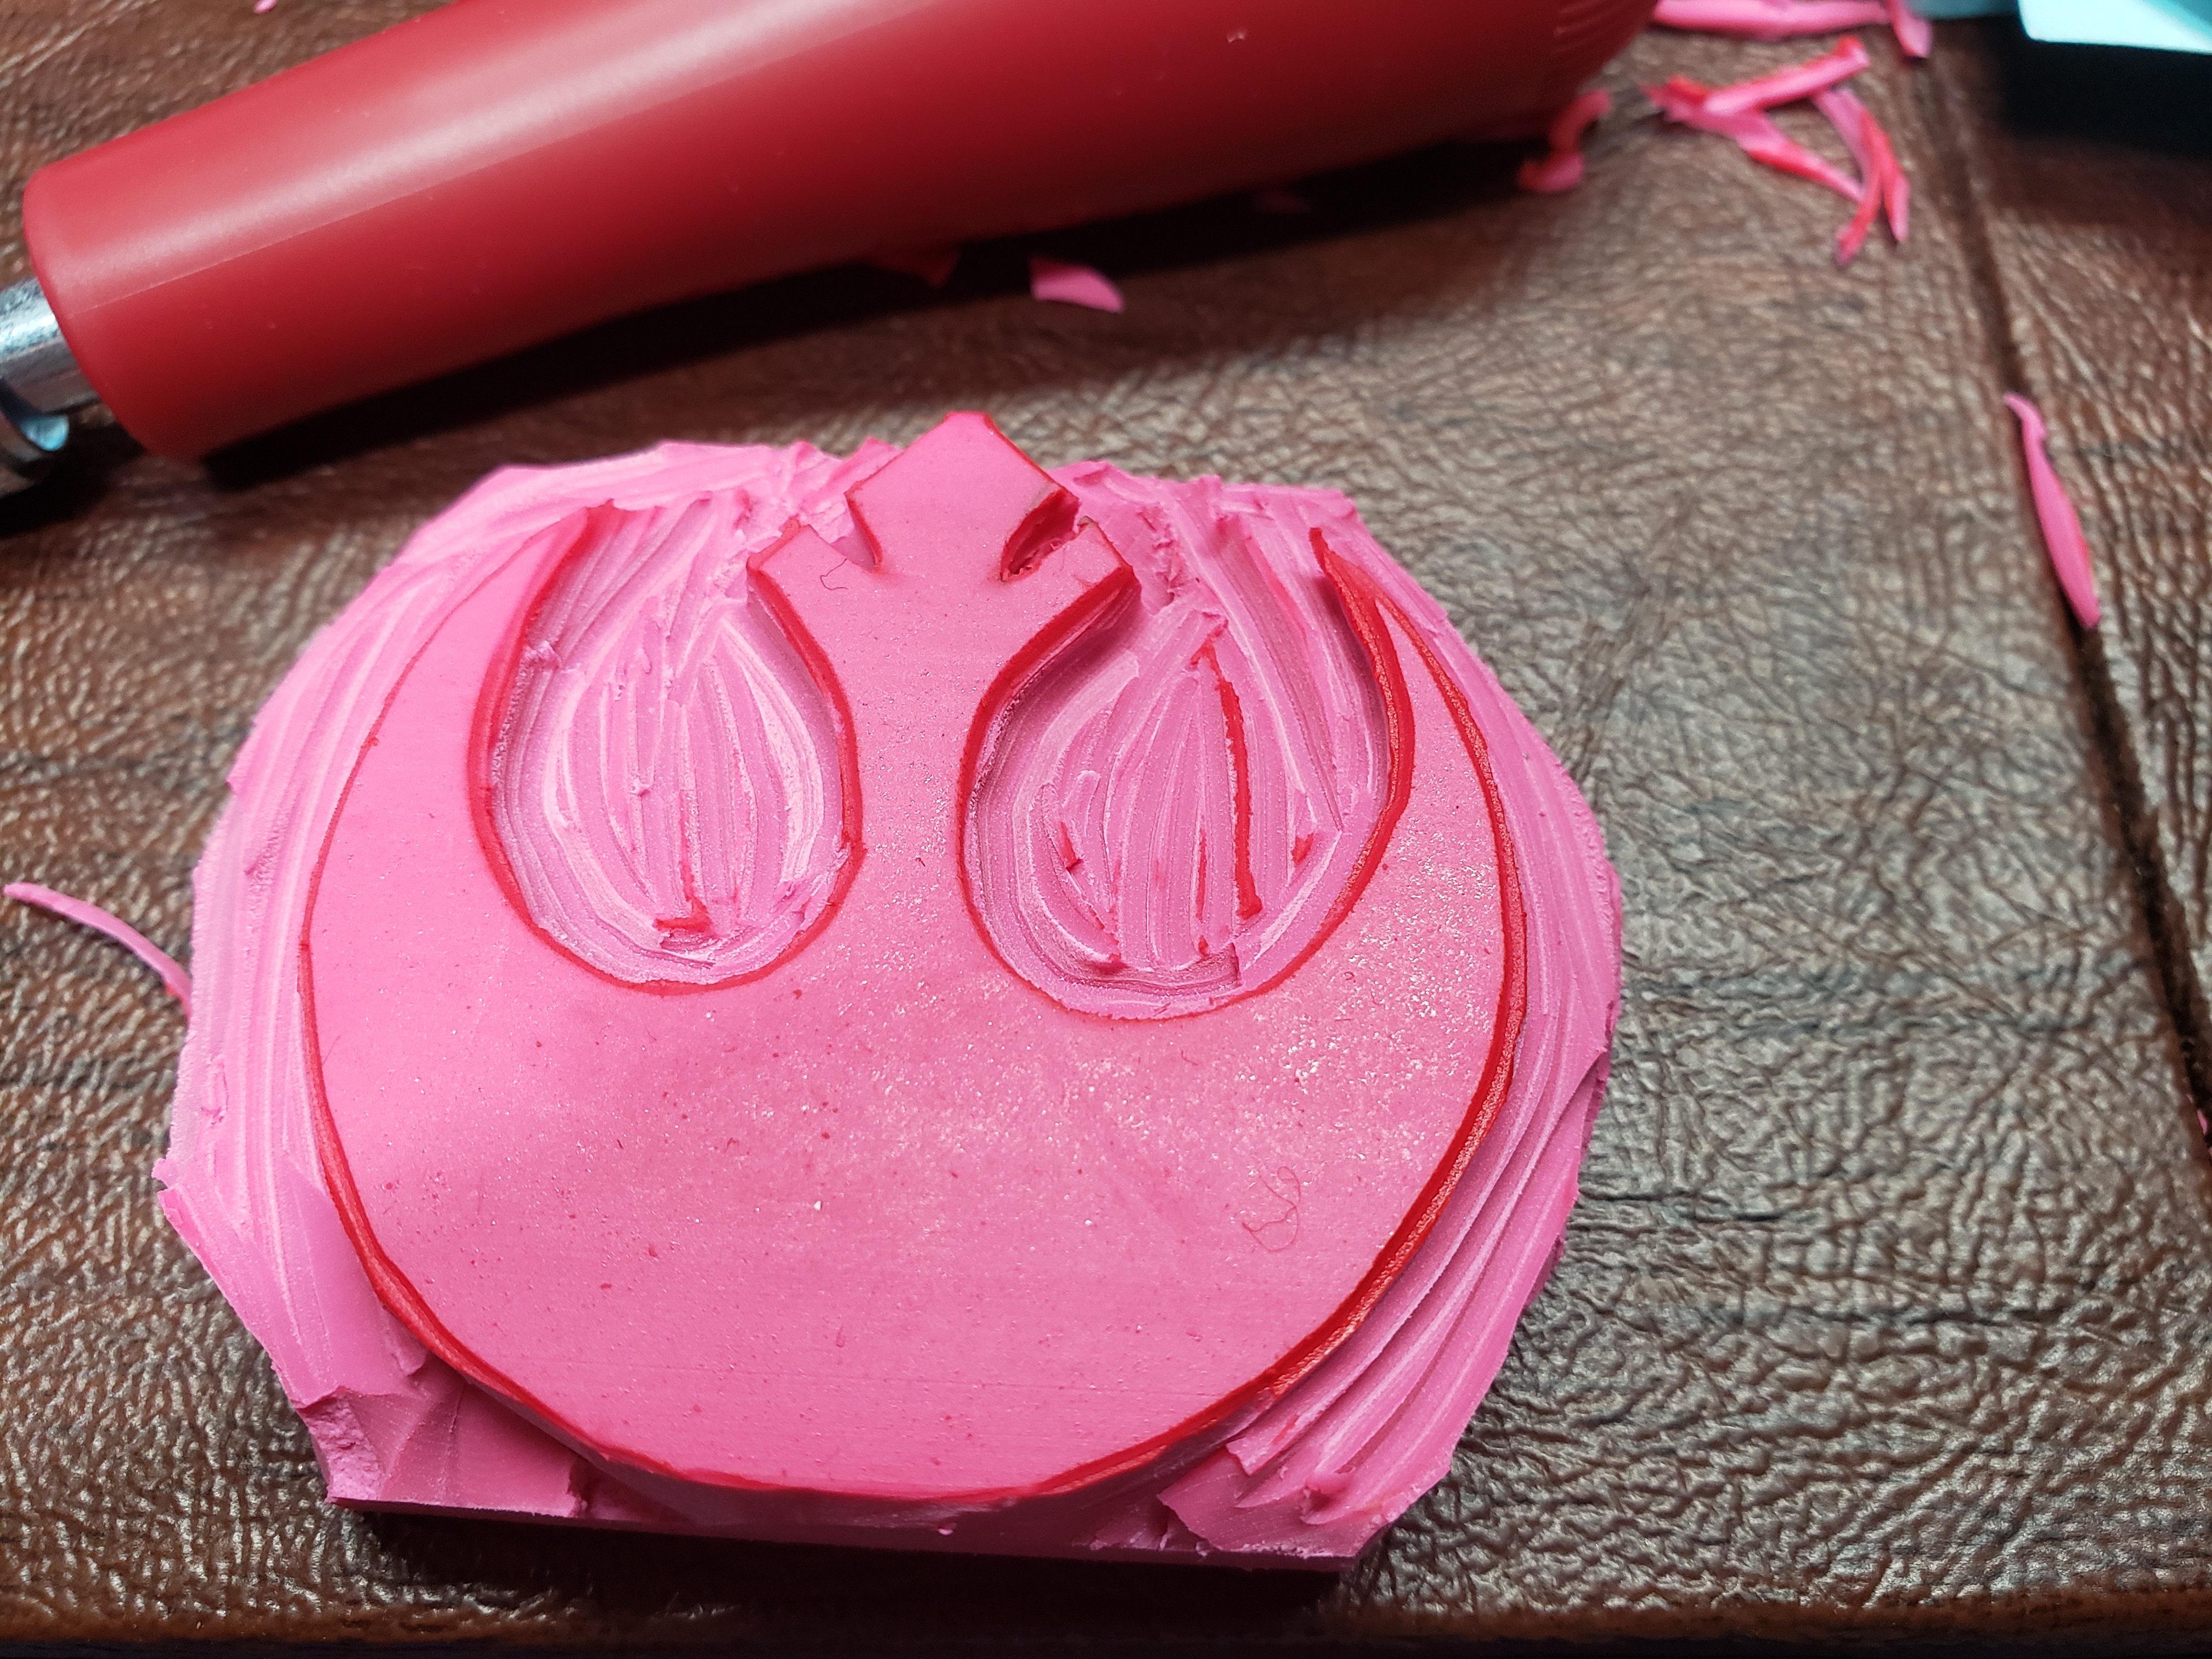
Ink your stamp on red stamp pad. Press firmly onto napkin on a flat surface.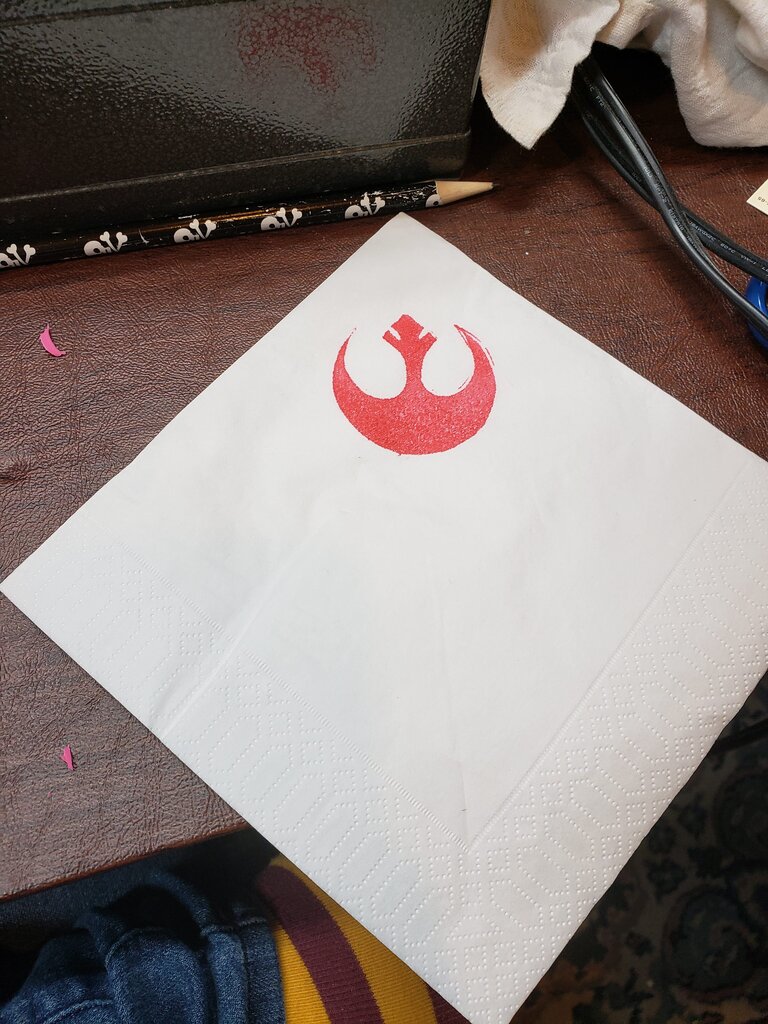
Let napkin dry 48 hours.