Okay, I really didn’t mean to troll you again. There will be no pictures of adorable tiny fluffy dogs this week. But next week. Next week for sure. The reason? It is Earth week! Honestly I had this whole ridiculous idea planned for Earth Day this year. Will and I were going to hype it up to Julius as if it were Christmas and start all sorts of fun Earth Day traditions! Then we could have an Earth Day “party” to crown the week off (yeah I know, I was still working on this one). Anyway I was thinking about all this about right before the shit hit the fan whole coronavirus outbreak hit the US.
Well, we still have plans to have a happy Earth day and to wish Mother Earth to continue healing so she can support our raucous, frequently ungrateful abundance of human life. So don’t forget to show a little love to your Earth Mother this Wednesday and let her know you’re thinking of her. Some ideas? Eat vegetarian! Sign up for a local CSA who uses IPM! Plant a tree! Clean up litter! Send an email to the Trump administration explaining (in short sentences) how they are sacrificing the planet! Yes I’m still bitter right now about this and this and how about going back to the start of it – this? Sorry, I digress, the whole point of this paragraph was to explain that later in this post there will be an environmentally friendly craft so stay tuned!
Anyway, want to hear some adorable stories instead of more doom and gloom?! Well the other day Will relayed to me a cute conversation. Will found Julius peering down the cellar stairs and Will asked, “why are you opening the basement door Julius?” To which he replied “checking for bears.” Will returned “are there any bears?” And Julius replied “I hope not.” I hope not either buddy. I think I had better tone down the “bear hunts” in our neighborhood.
Will and I have gotten into a sort of routine with Julius throughout the past few weeks. We are somehow each able to do 8 hours of work while watching Julius throughout the day. While exhausting, we each get to spend a lot more time with Julius which is really nice. I do like that little guy. And I want to give a shout out to teacher of the month Will over here – Will has been doing a great job teaching Julius the written alphabet and Julius can now recognize all the letters! He gets confused on a couple – but who doesn’t?! On to algebra!
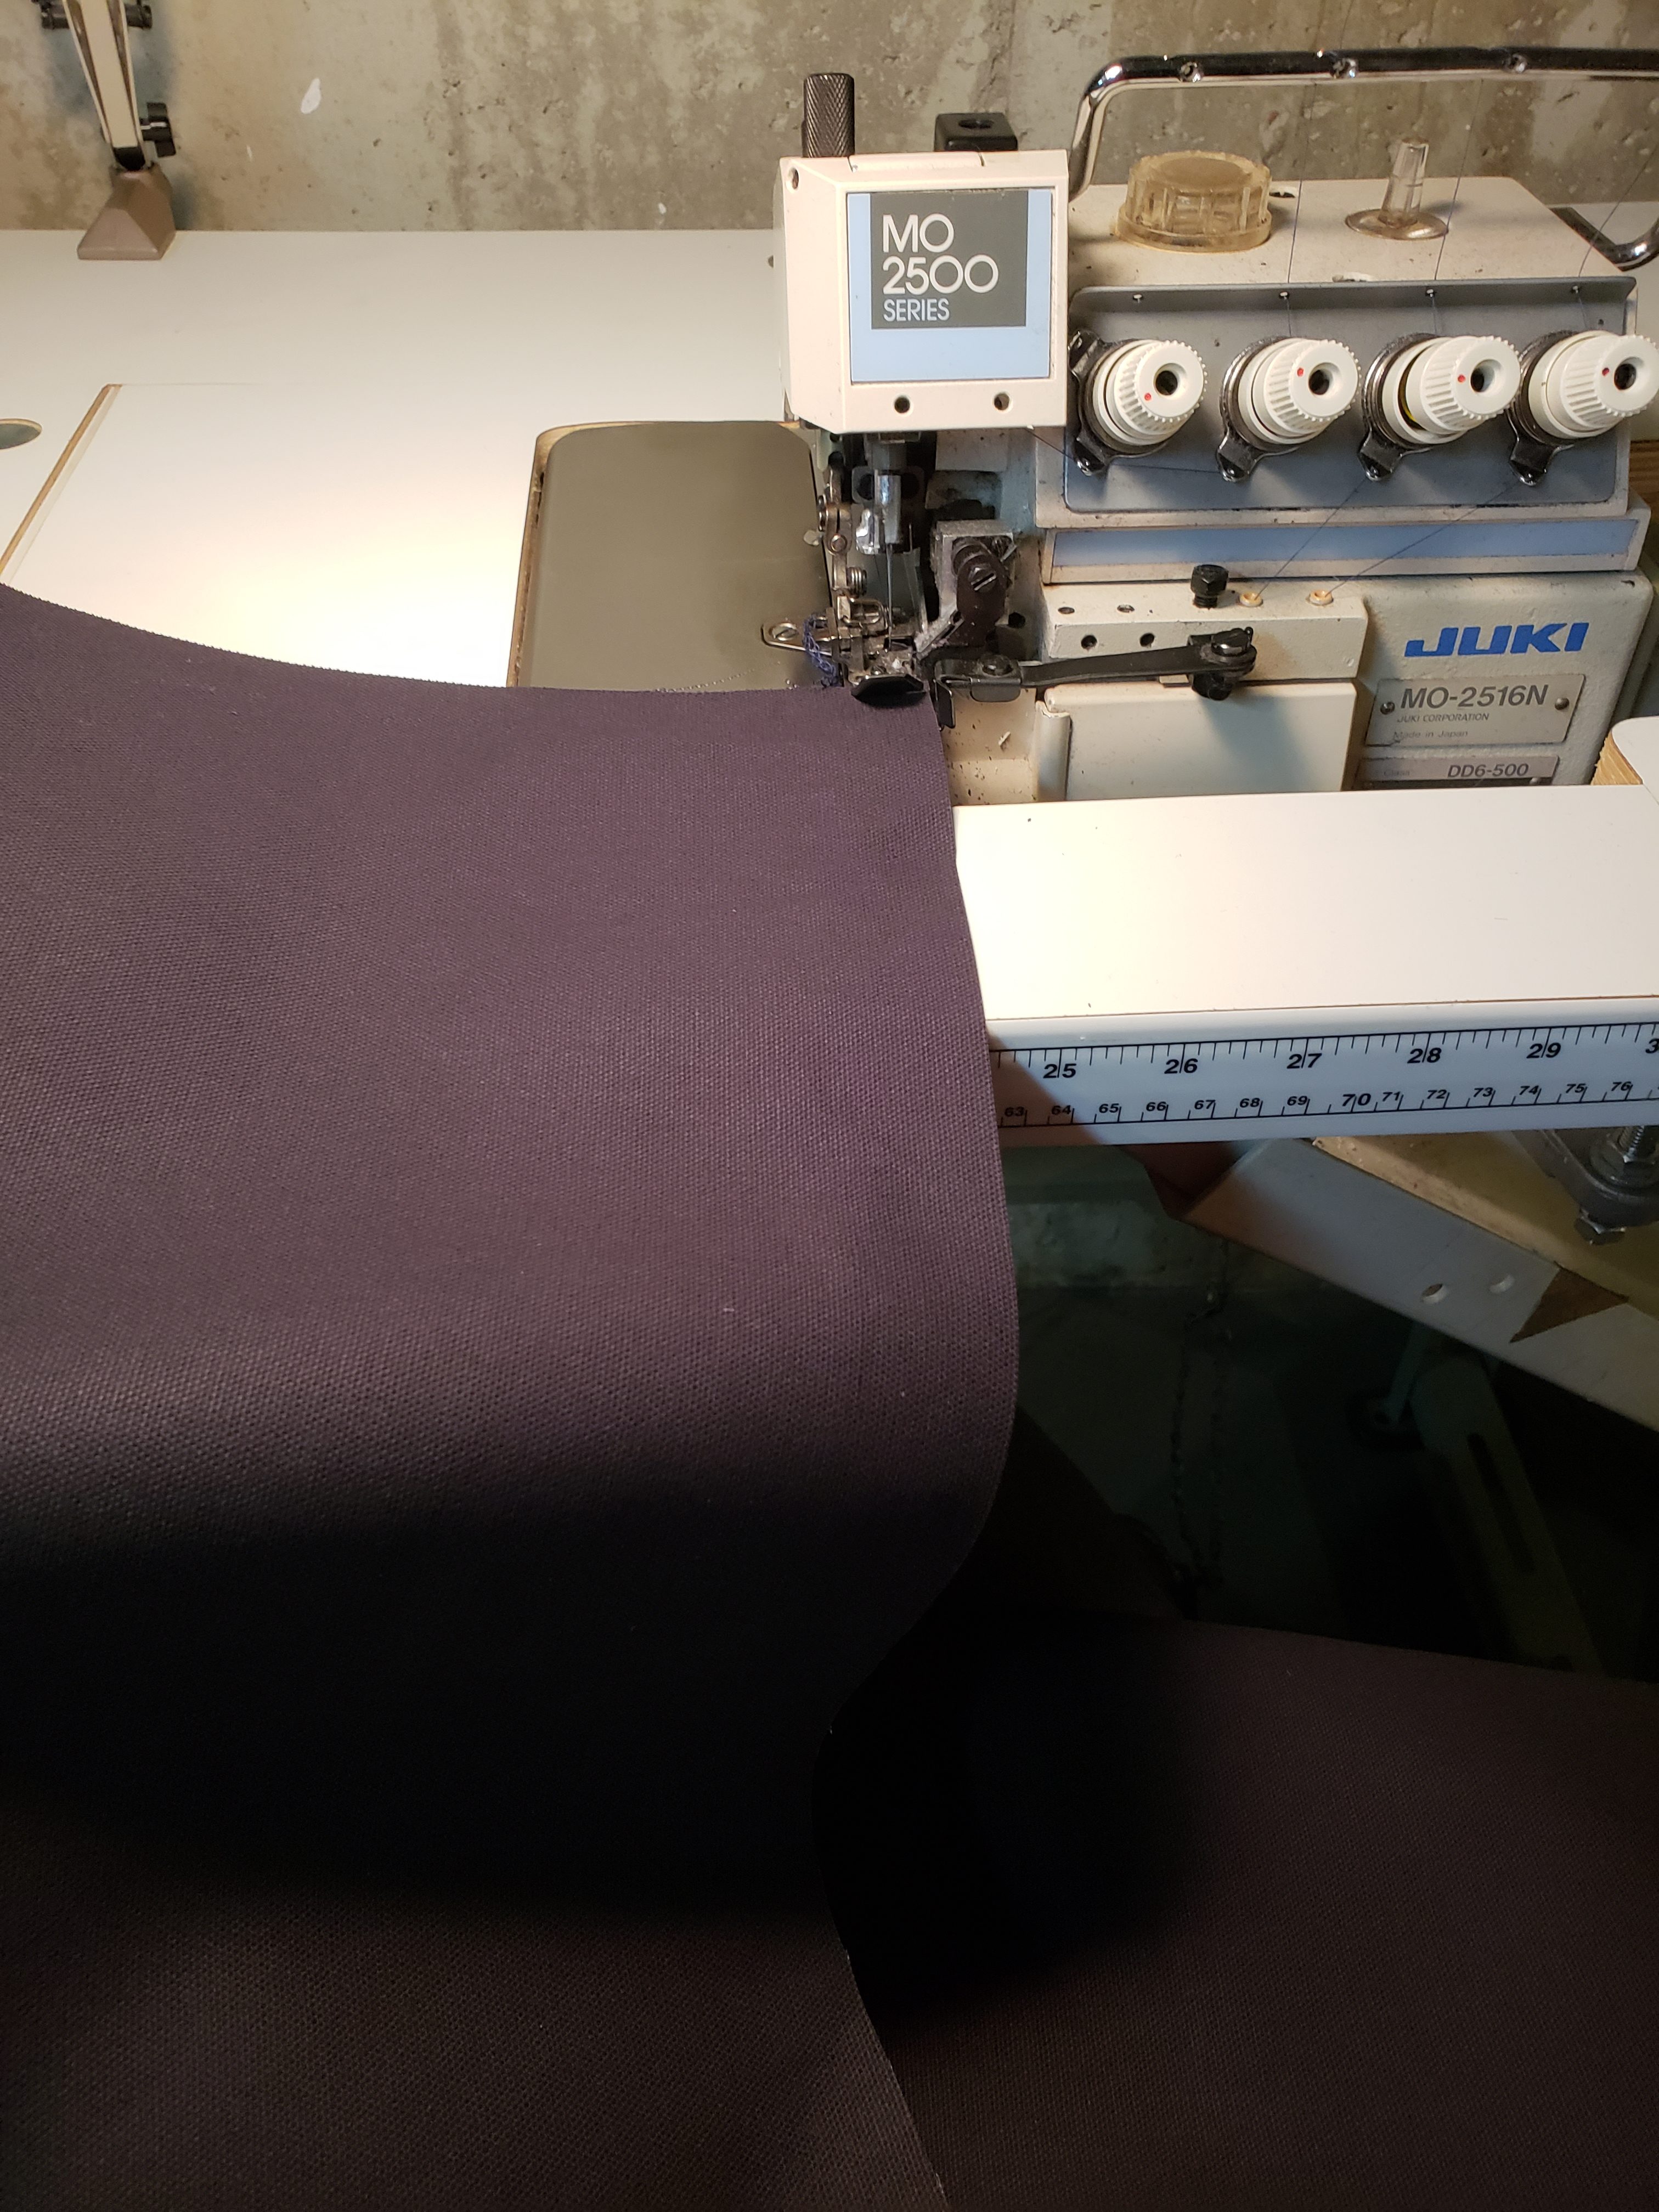
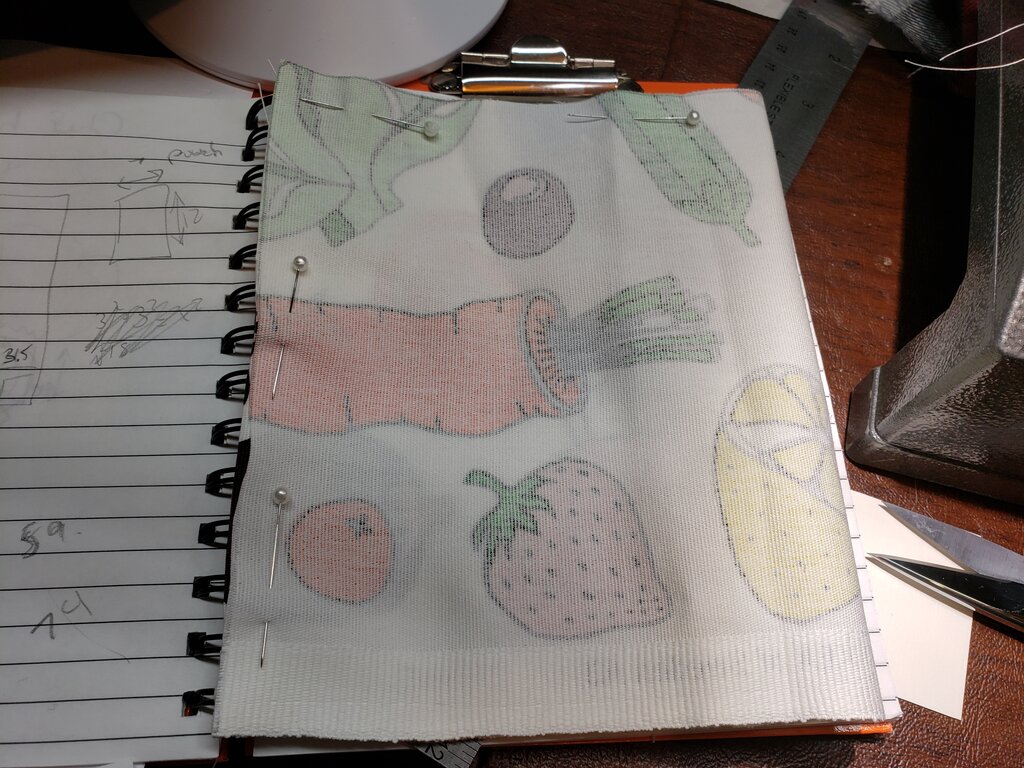
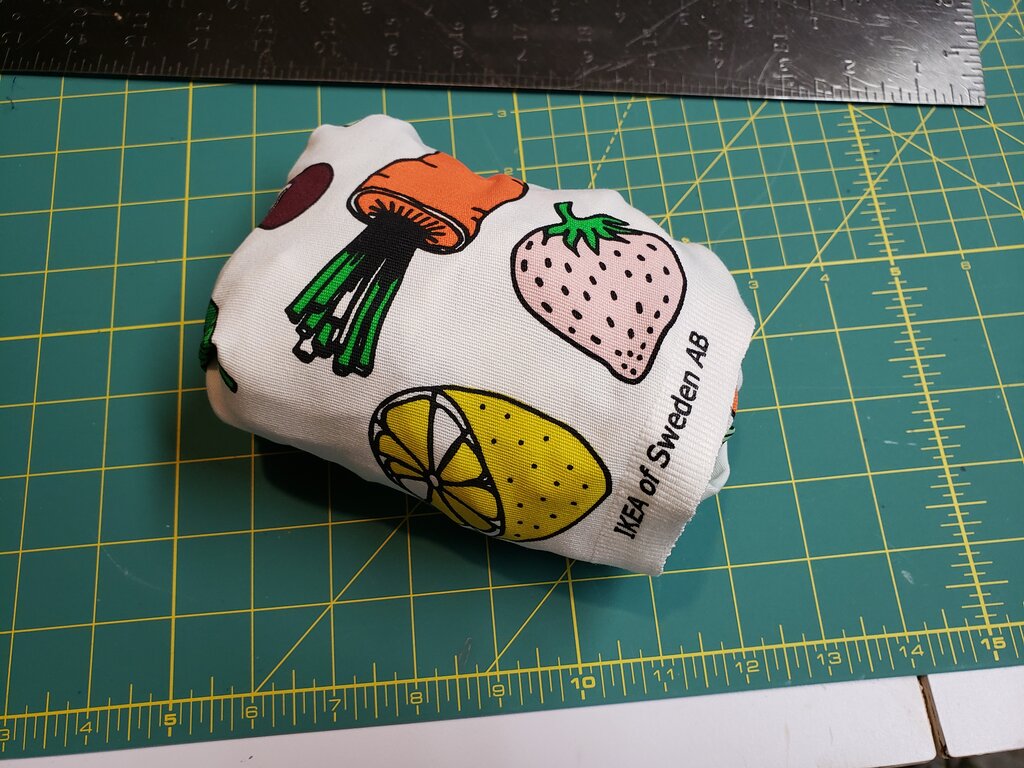
So this tote is very similar to the bags I made for Danycon last year. Those bags are a nice size for toting your lunch to the beach, but I wanted a bigger bag to carry bulky grocery items in so they don’t get squished. I’d purchased this adorable farmer’s market fabric at Ikea a couple years ago, and I guess it screamed out farmer’s market tote. It is PERFECT for the farmers market (or grocery produce section since I don’t have a farmer’s market near me). Roomy, and I can throw it in my purse so I don’t inevitably forget to bring it! It was super quick to make and I plan to make several more to give away. 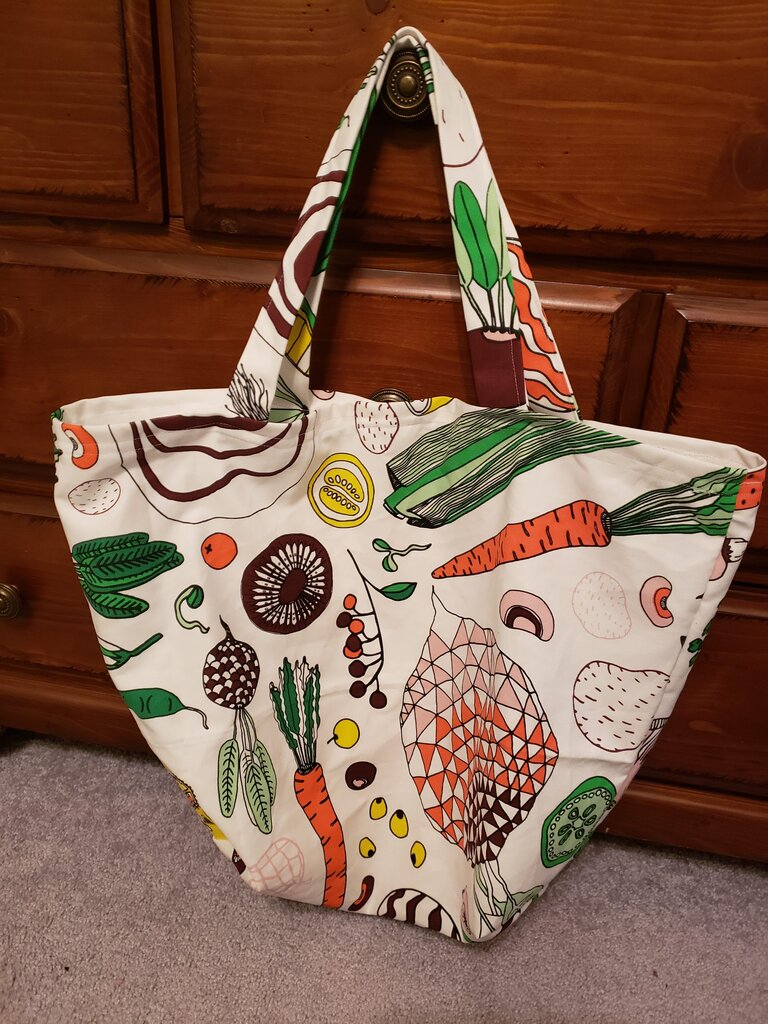
Farmer’s Market Tote
- 23″x40″ rectangle of sturdy fabric
- 2 xxy rectangles of same fabric for handles
- 1 7″x12″ rectangle for pocket, with 12″ side along seam allowance.
- 1 5″x1″ strip for bag hanging hook
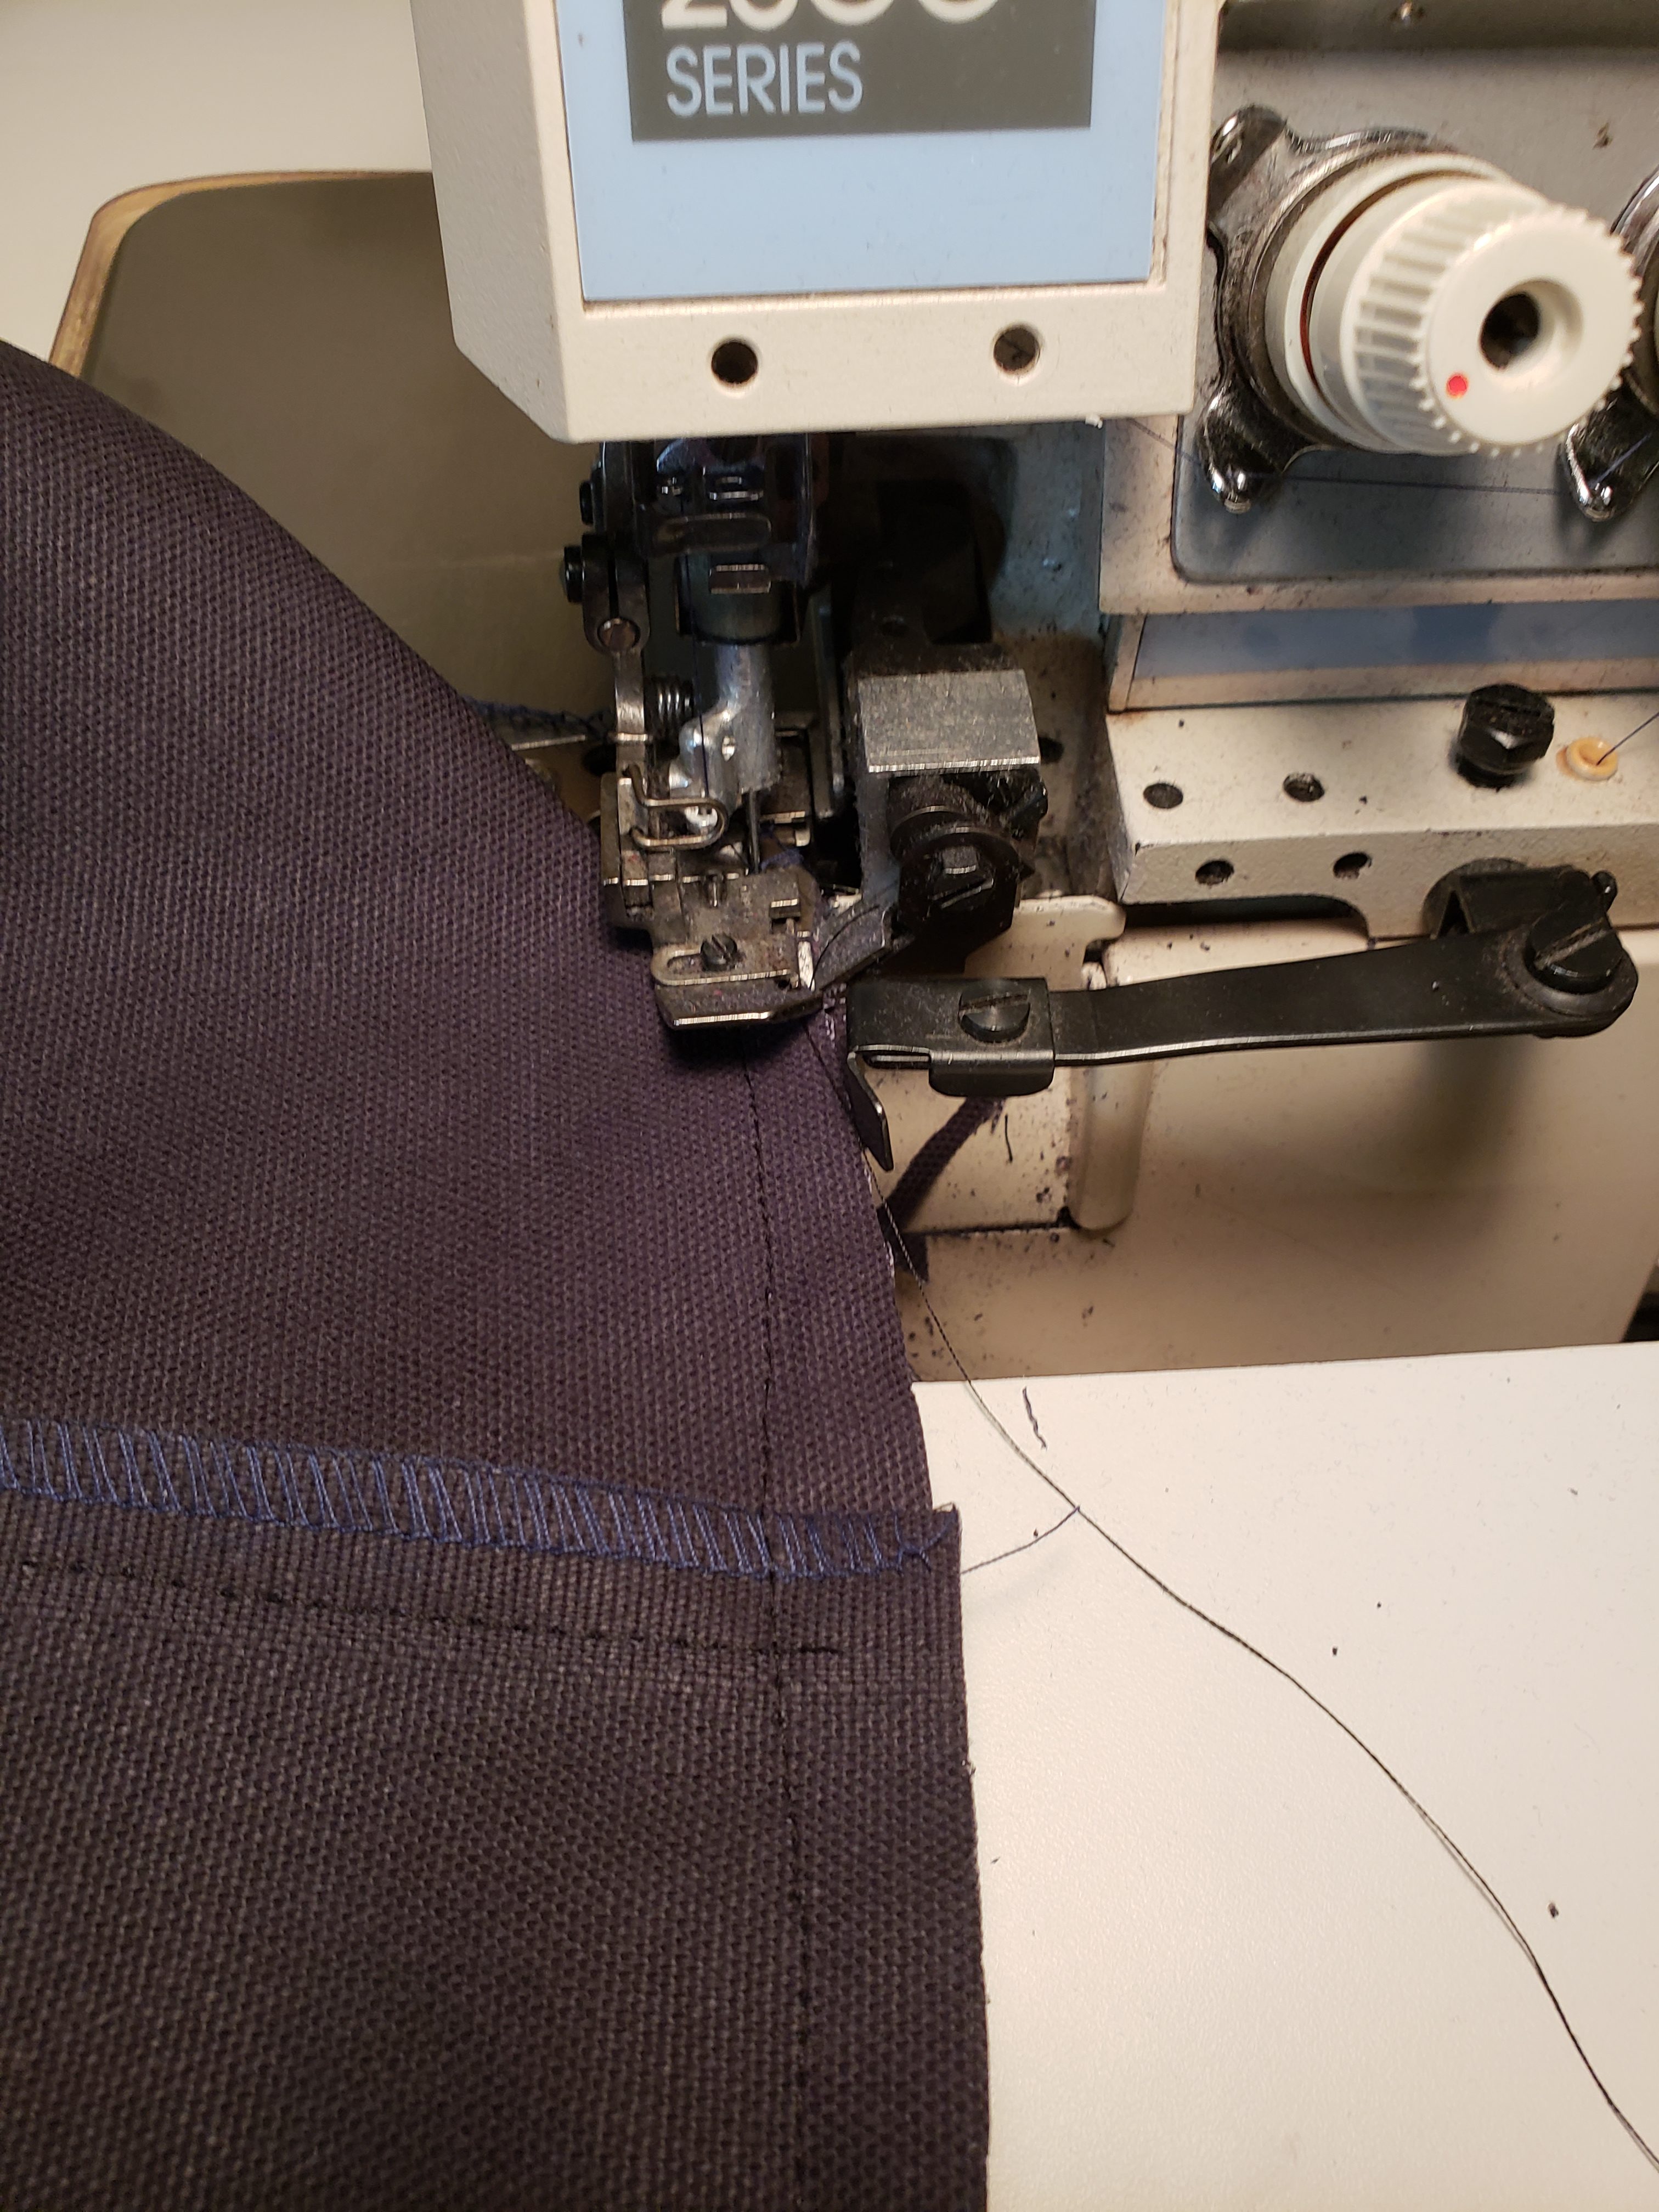
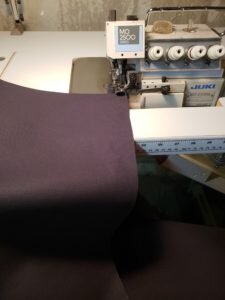
- Serge each 23″ edge of fabric to prevent unraveling.
- Fold canvas rectangle in half to form an 23″×20″ rectangle. Stitch down both sides adjacent to the fold with 1/2″ seam allowance.
- Serge along these two sections to reinforce.
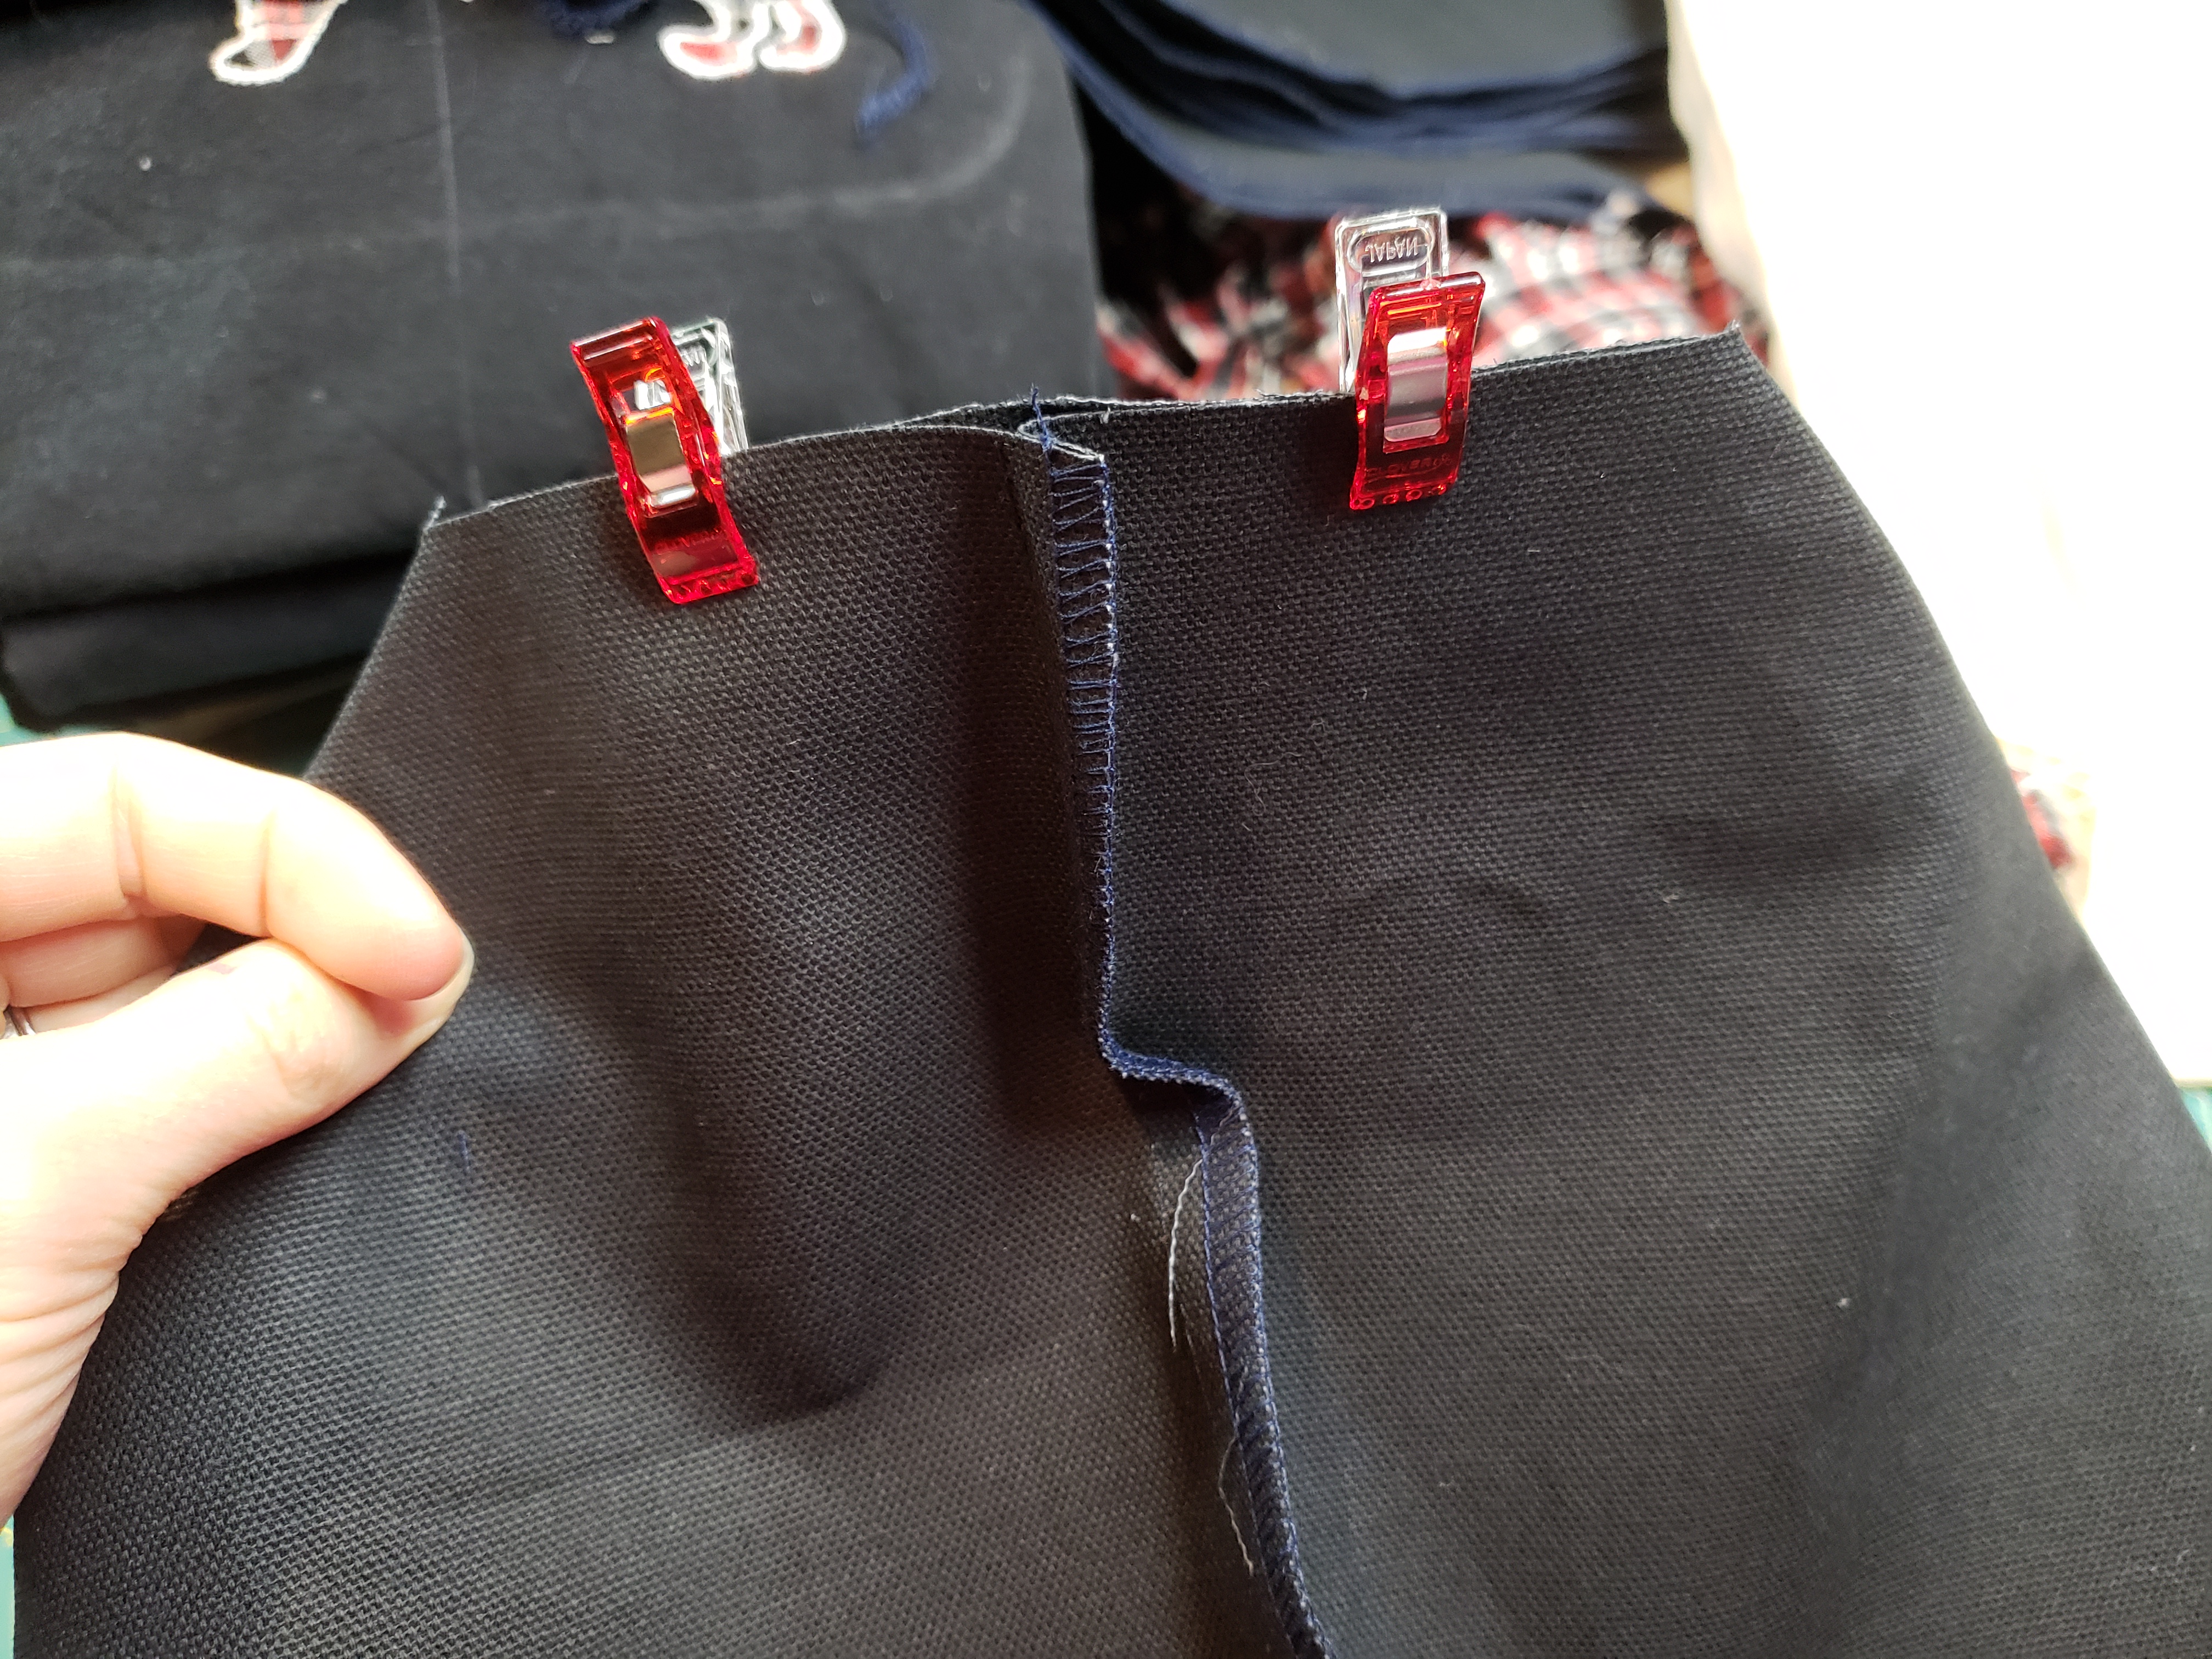
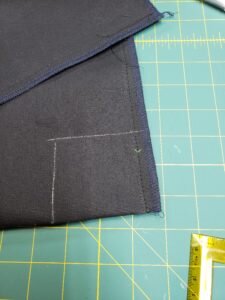
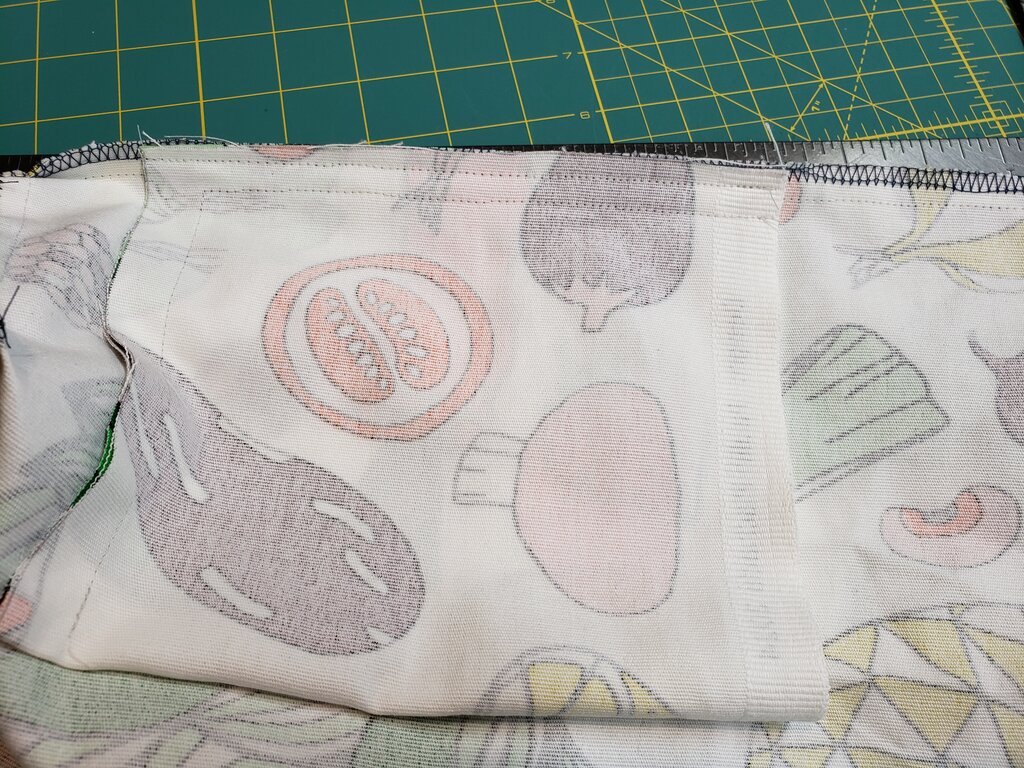
- Mark a 4″x3.5″ square in each of the bottom corners of the bag (4″ side is into the seam allowance, so effectively creating a 3.5″x3.5″ square within the non seam allowance portion of the bag).
- Cut out rectangles. Starting with one side of the bag, pull the points of the two negative space rectangles you just created apart so that the two seams meet and the unfinished edges line up. Pin. Repeat for second corner of bag.
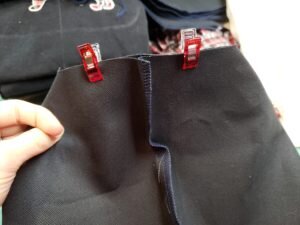
- Stitch along the areas you just pinned. Serge along each seam to reinforce.

- Fold rectangles for handles in half the long ways, wrong side in, then fold under 1/2″ on each lengthwise side. Press and stitch.
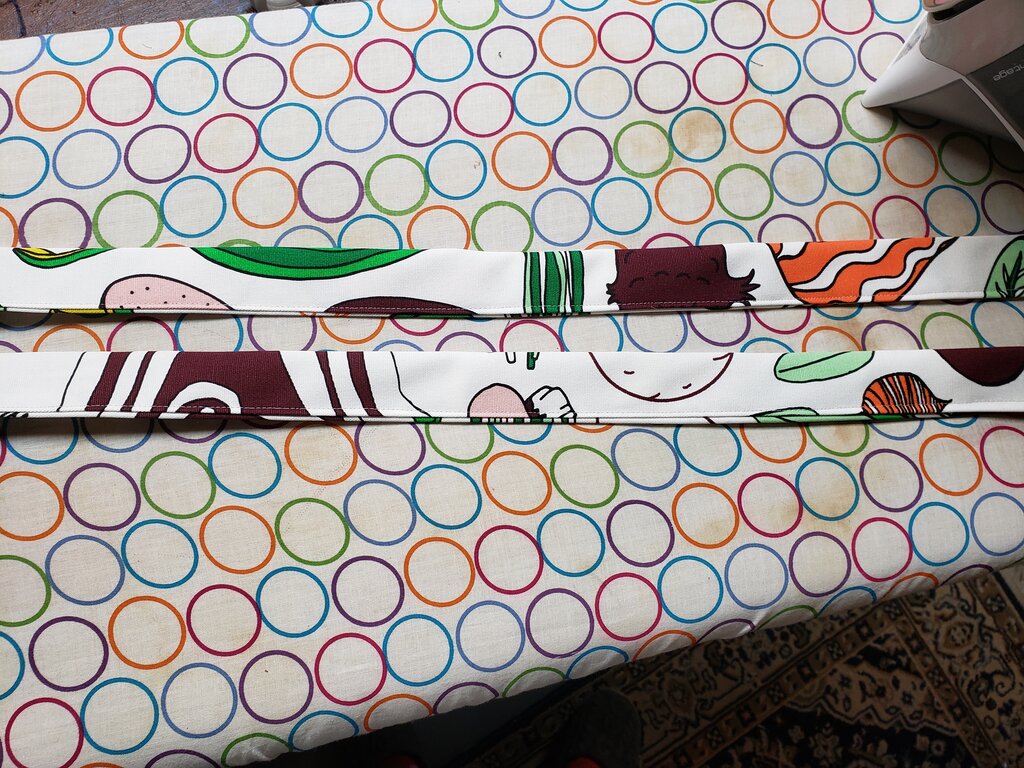
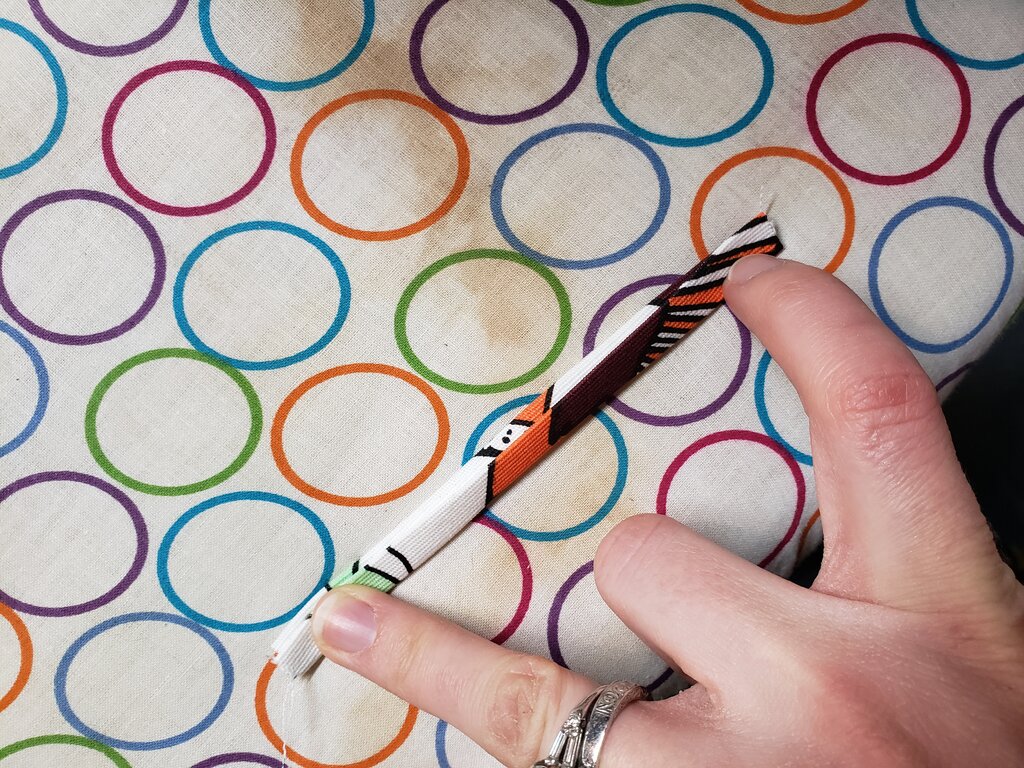
- Take 5″x1″ strip for bag hook and fold in half the long ways, wrong side in. Fold under 1/4″ on each lengthwise side. Press and stitch.
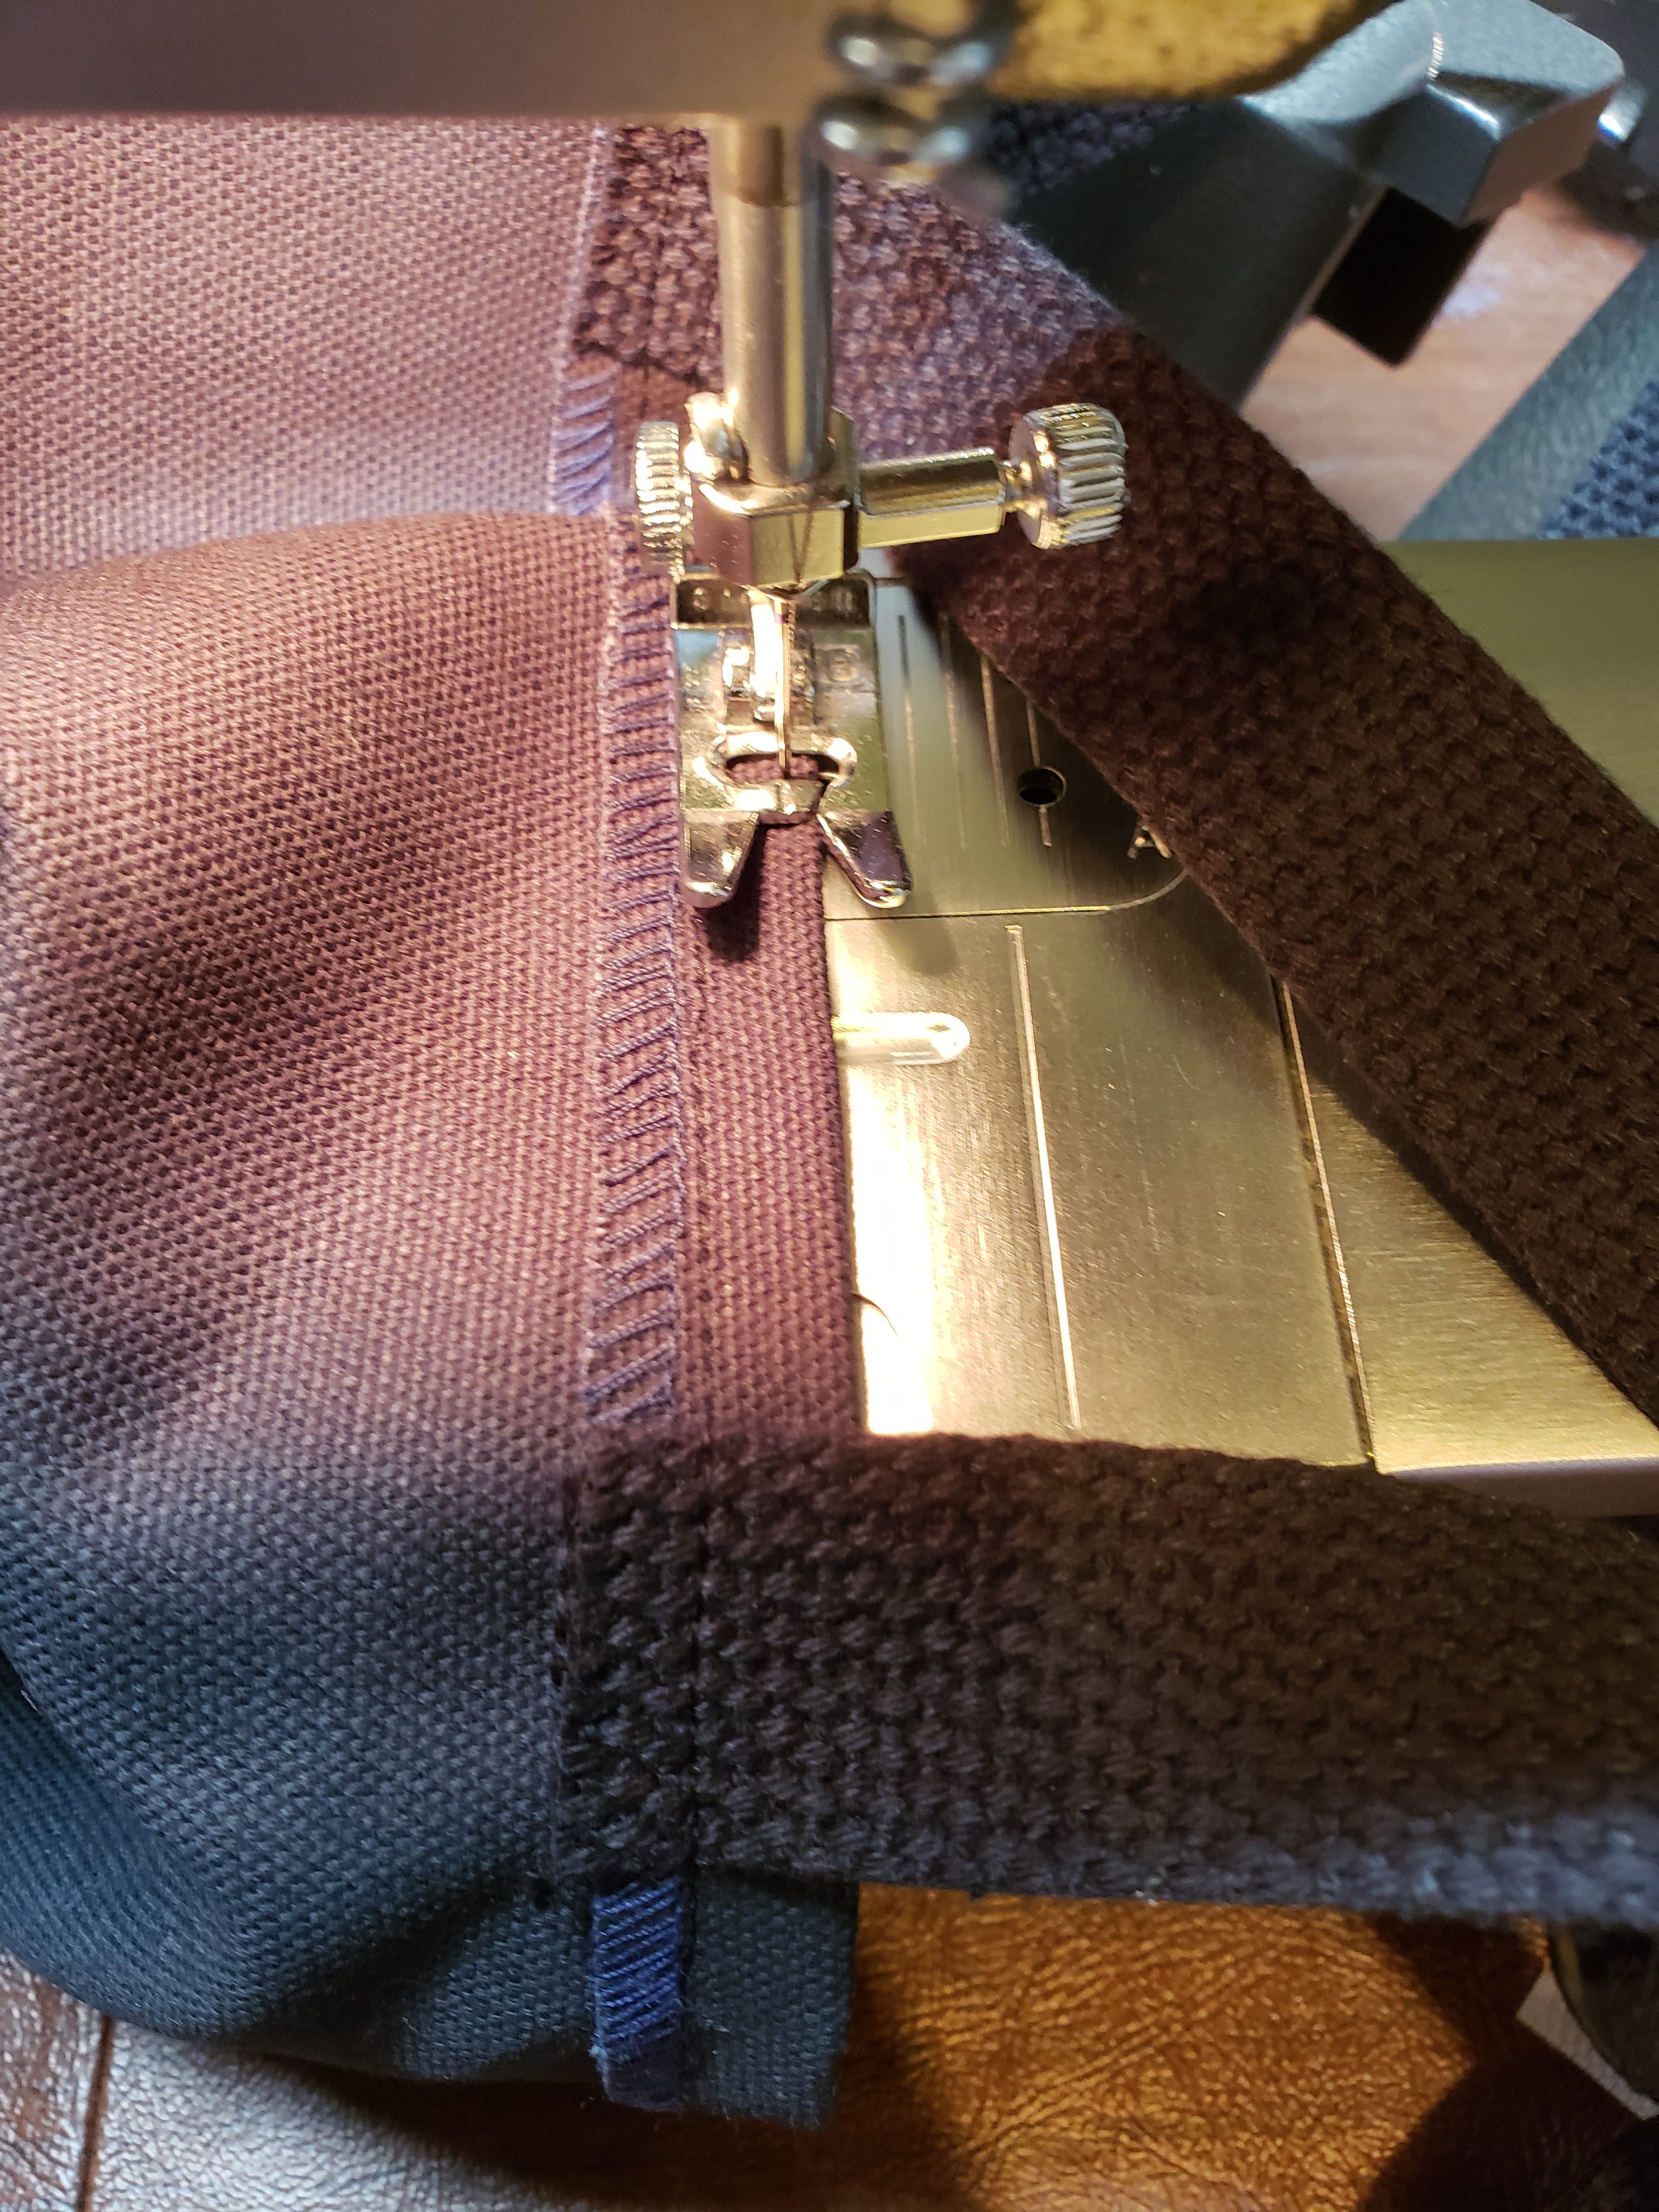
- At the opening of the bag, turn the fabric over 3/4″. Press
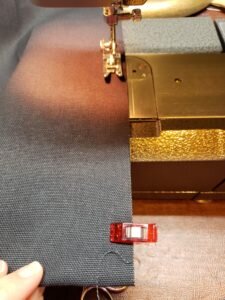
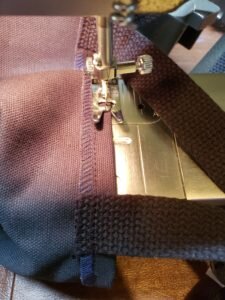
- Mark at the 5.5″ mark and 6.5″ mark and the 11.5″ and 12.5″ mark along the top edge of the bag. Place one edge of one handle inside the 5.5″ & 6.5″ marks, so the edge touches fold. Pin. Ensuring the strap is not twisted, place second edge of handle inside the 11.5″ and 12.5″ marks. Pin. Turn bag over and repeat. At the center of the bag, place hook into the bag as you did for the handles, as shown.

- Stitch 1/2″ from the top of the bag and again 5/8″ from the top of the bag, encompassing the handles and hook.
- Fold 12″x7″ length of fabric (right sides together) in half to form 7×6″ pouch. Stitch along one long edge and one short edge with 1/2″ seam allowance to form a pouch.
- Match pouch side seam up against side seam of the bag, near the bottom. Pin and stitch through seam allowance to secure.
- Turn bag right side out.
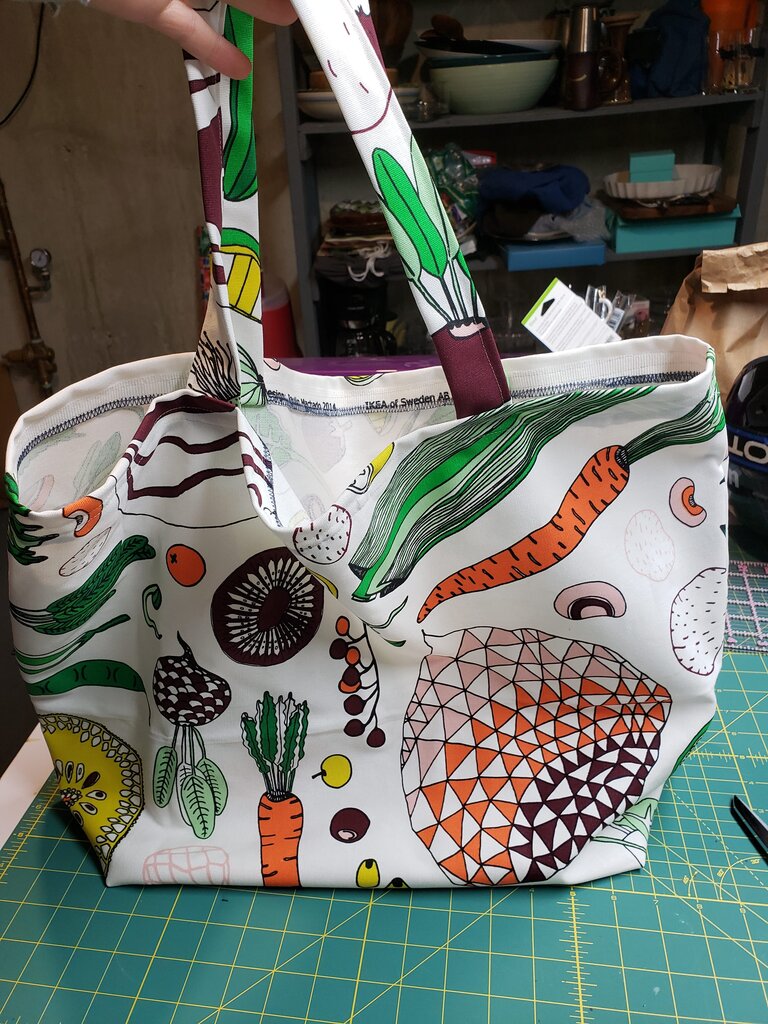
Finished bag.
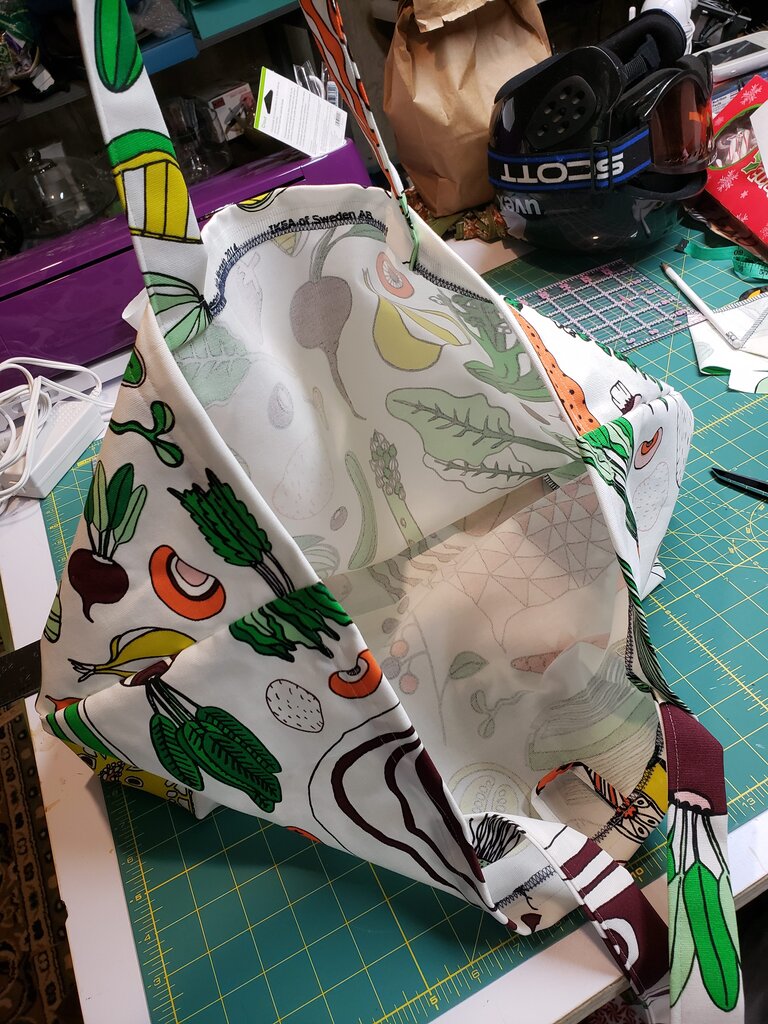
Finished bag interior
Bag all tucked away in it’s pouch.