
I have a rare treat for you today. Come venture down to my basement and check out my craft lair room. It is not everyday that I invite people into my secret sewing haven. I have been promising for a bit to post an update on my basement sewing area reorganization. Now that I have finally cleaned up and put away all the hat making supplies I can finally oblige. I was inspired to organize and improve my basement area after reading a bunch of blog posts on people’s craft rooms. I loved looking at those beautiful, cheery photos. Unfortunately I am not a great photographer and my craft room is literally in the basement so you’ll have to deal with my amateur photo skills.

The first thing I did was move my fabric and craft supplies from brown cardboard boxes into clear bins so I could actually see what was inside. I then labeled all the boxes by affixing card sleeves to the bins with double sided tape. I added hand labeled pieces of card stock inside the card sleeves with the contents that lay inside. This allows me to switch out the contents of the boxes and swap labels easily. I went as far as to label all the drawers of my desk (which had been included with the underlying rug when we purchased the house. This level of re-organization alone required me to reorganize my entire basement which includes my workbench and tools and a laundry area – not an easy feat.
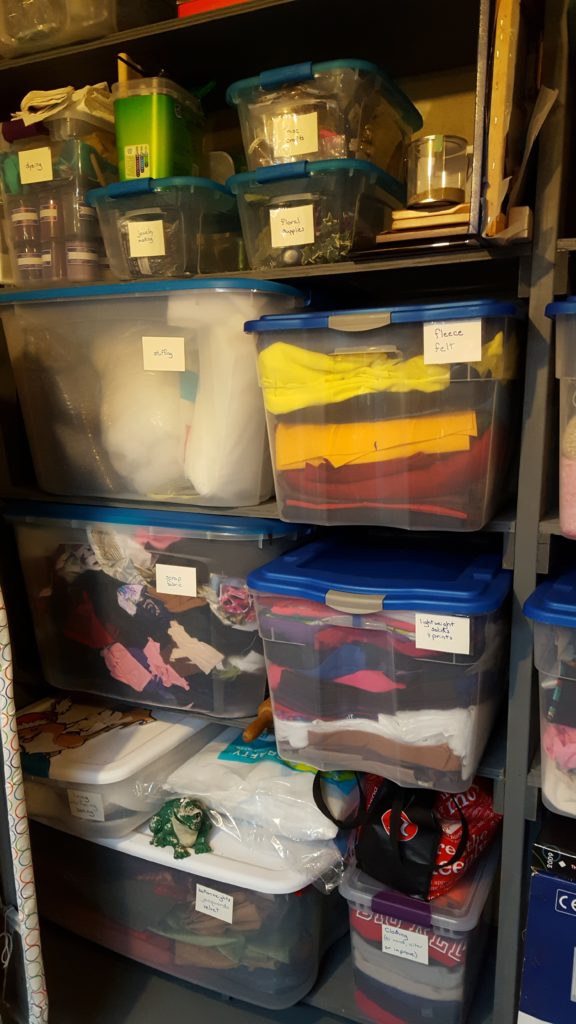
Reorganized shelves with see through plastic boxes.
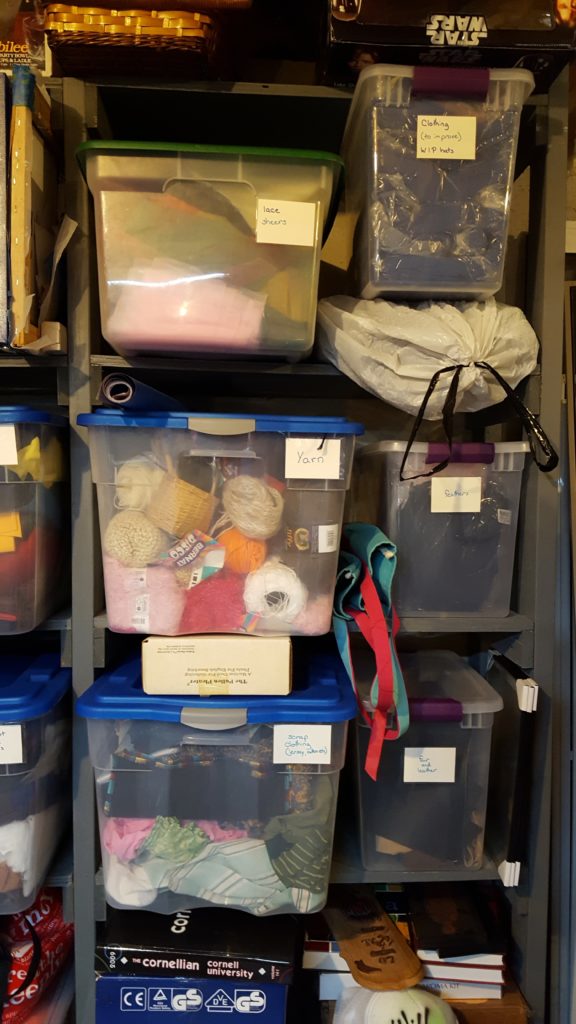
Boxes labeled with plastic card sleeves and card stock.
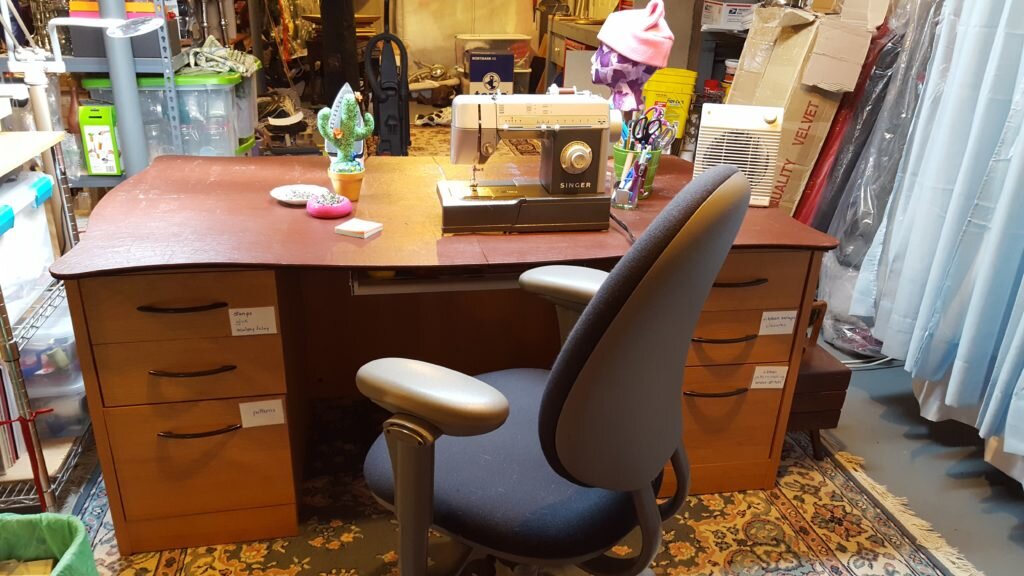
Desk drawers labeled with their contents.
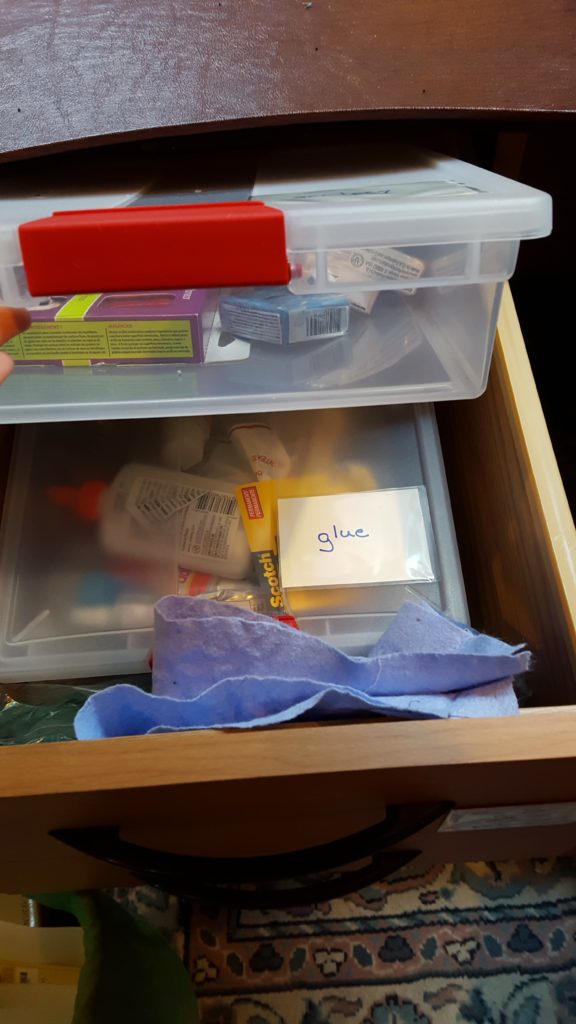
Inside the desk drawers, multiple labeled boxes hold craft supplies.
Because I now own a total of 3 sewing-type machines (sewing, embroidery, serger) I converted my old rolling kitchen cart from college into a stand for my embroidery machine. It works perfectly since I don’t need to sit at the machine while it is working, and while I’m standing loading it, the machine is at the perfect ergonomic height. Below the machine I keep additional craft supplies like embroidery thread, hoops and stabilizers plus numerous craft books and the overfilled bin I call “WIP” for work in progress.
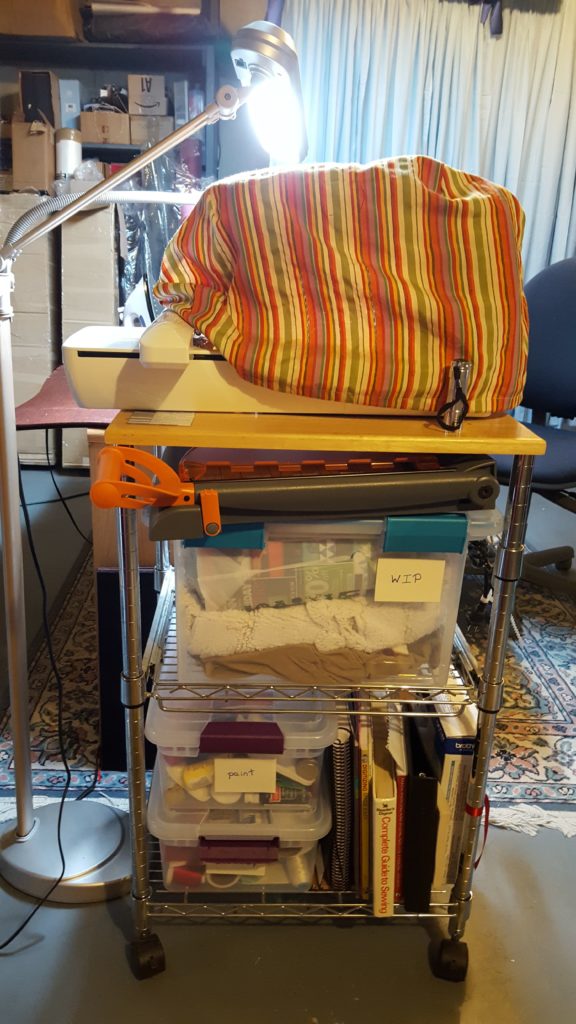
Aside from the need for a better embroidery machine cover (this one is actually my sewing machine cover) this former kitchen cart is a great perch for my embroidery machine.
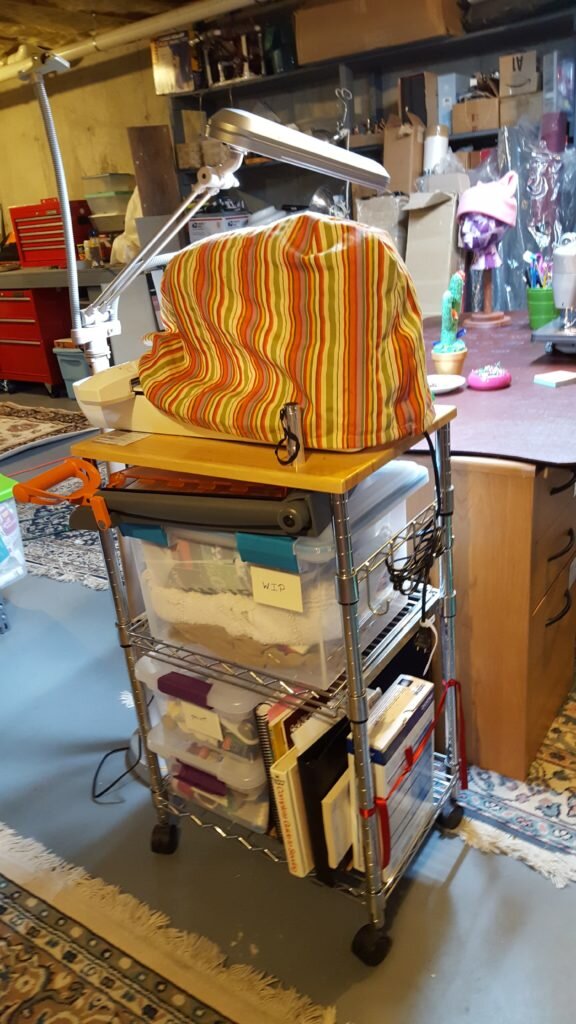
In addition to being mobile via its rolling wheels the cart also has a spot for me to wrap the embroidery machine cord when its not being used. The rest of the shelves house projects, supplies, and sewing books.
Next to my embroidery machine I took over an area for my cutting table. I’d like to add another overhead light above the cutting table in due time. The table was an old gate leg table my parents used as a kitchen table when they were first married. First I re-glued the peeling formica top with gorilla glue and clamps. Next I needed to adjust the height (bending over while cutting really does a number on your back). I used home depot finials – they have the advantage of including a screw post, come in packs of 6 and the whole pack is only $10.50! To install the finials I just had to drill a starter hole in the legs and then attach the finials. Eventually I’ll repaint the table, but its functional right now. Oh and the rug underneath was acquired for next to nothing for my hat booth! I rented a rug cleaner to get out all the dirt! Looks like new!
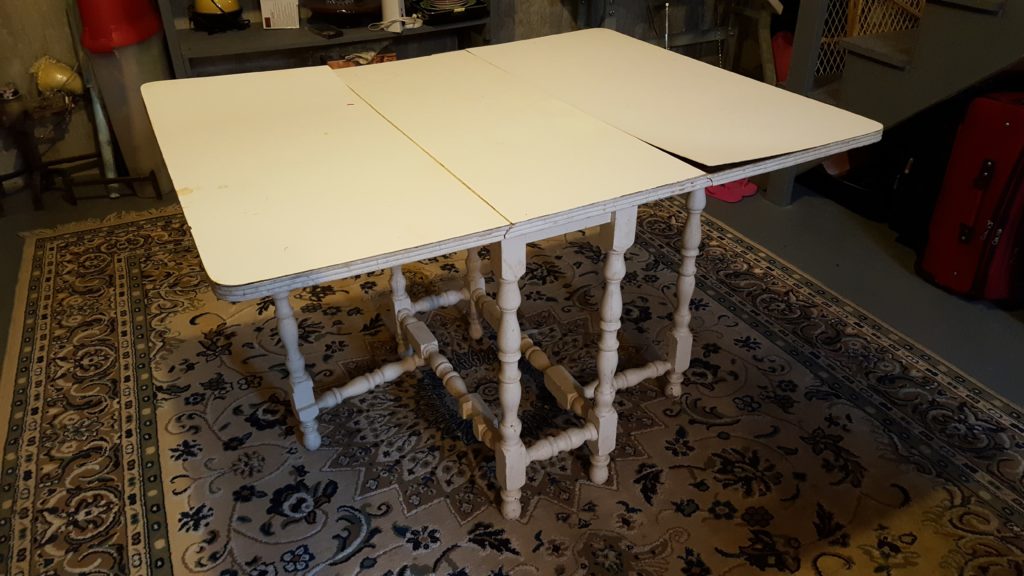
Before: the gate leg table needed some gorilla glue to repair the formica top.
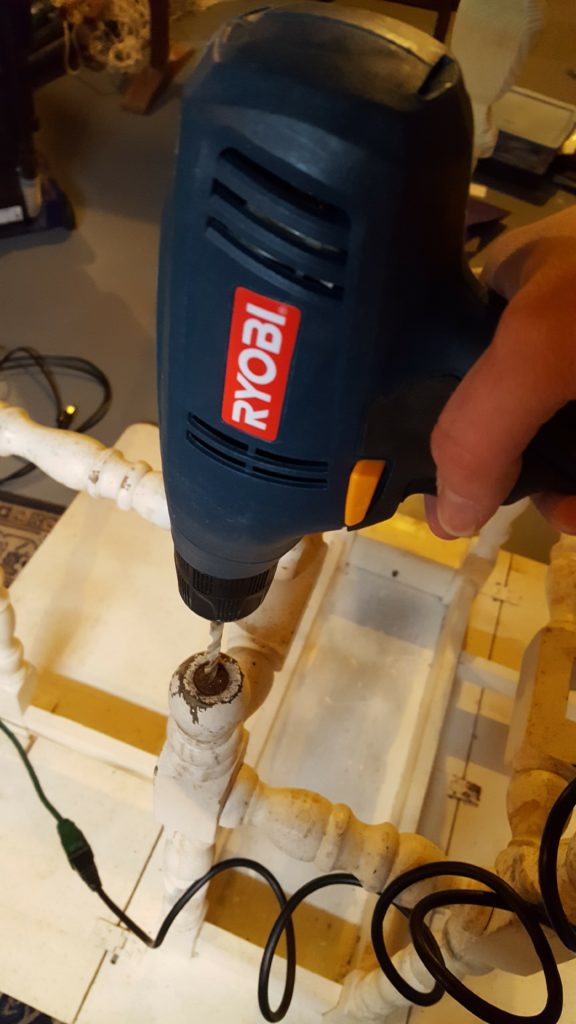
Drilling holes for the finials to raise the height of the table to elbow height. This was the only “complicated” part of this project.
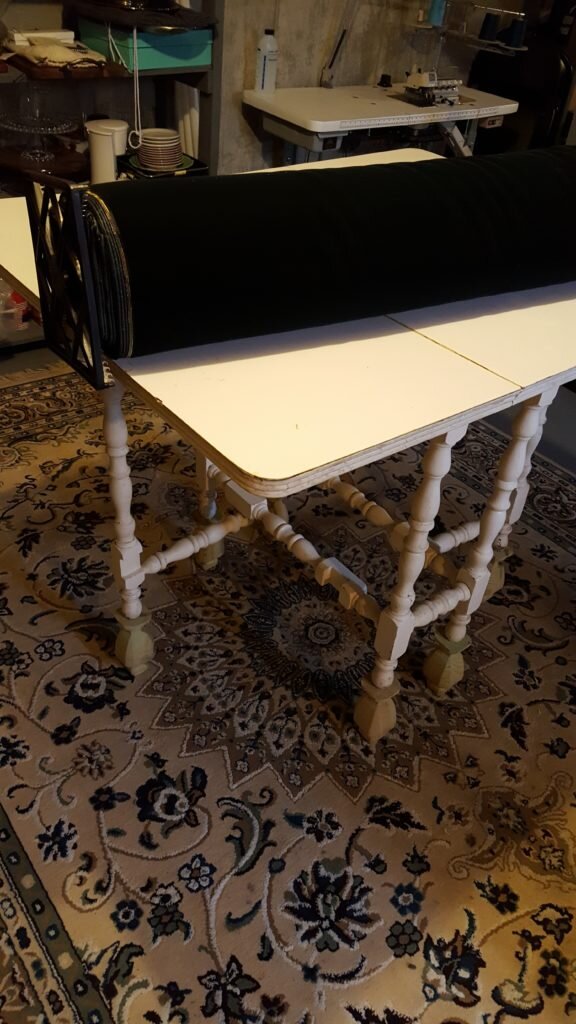
After: My new cutting table! The formica top is back to business, and the table is now at my elbow height with the use of some finials. (It could use a paint job, but it is fully functional!)
That desk in the corner houses all my paper crafts. Amy and I picked up on the corner of a cross street during our run. We noticed the free sign and took them up on it. It is actually solid wood throughout but the sides are still covered by veneers that were badly damaged. It was also completely covered in ugly brown paint. I removed the ugly brown paint, repaired the veneers and re-stained the entire piece. It doesn’t look half bad for a free desk and it is very sturdy. I intend to use it to house a coverstitch machine if I ever decide to invest in one. Oh and of course that desk was used at the faire too – more recycling.
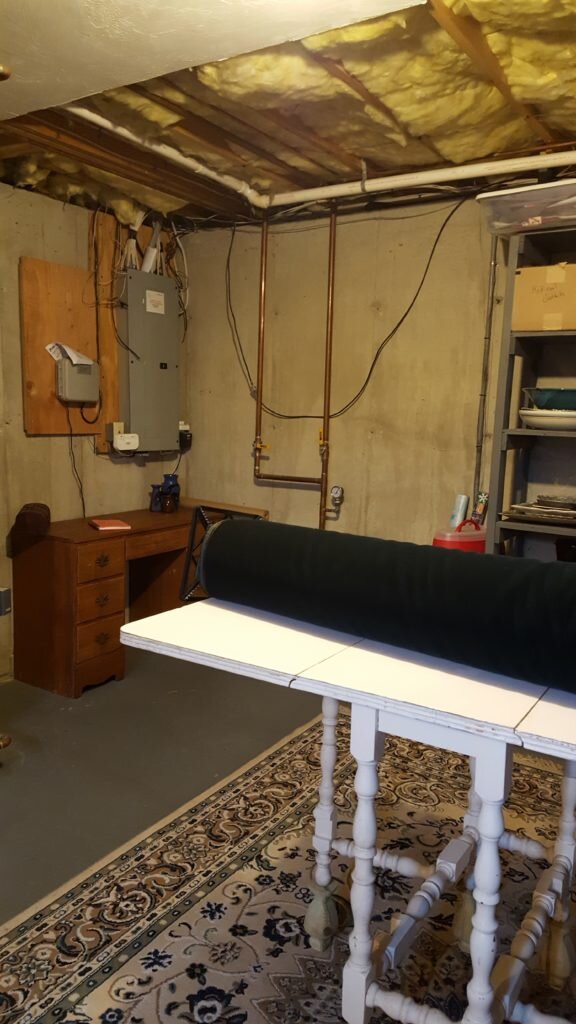
Another view of my cutting table and rug. The desk in the background is my paper craft center.

Oh and check out my industrial serger! I need to outfit this space to make it a bit less dreary, but what a beautiful piece of machinery!
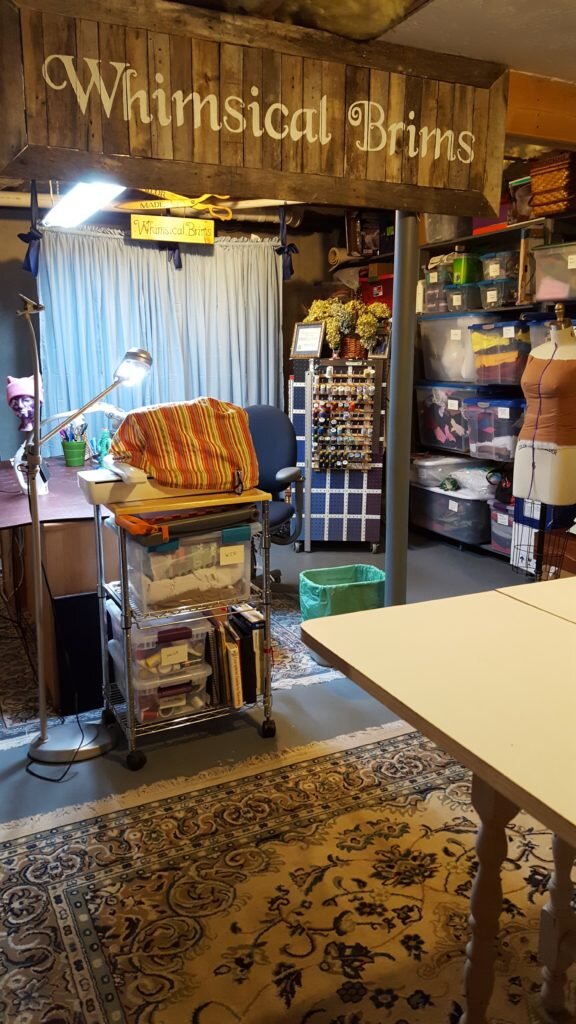
You’ll notice I’ve also hung the wonderful “Whimsical Brims” sign that my best pal Amy made for me. I had been deliberating where to put it, but think it is just perfect in my workshop. Beyond that I’ve hung several curtains. In the background, in front of the oil tank I used 3/4″ PVC pipe to hang a backdrop of cheap bed sheets turned curtains. In the foreground I used the same procedure to hang thrift store blue curtains and wide satin ribbon. It is much better to look at that while I sew rather than the oil tank.
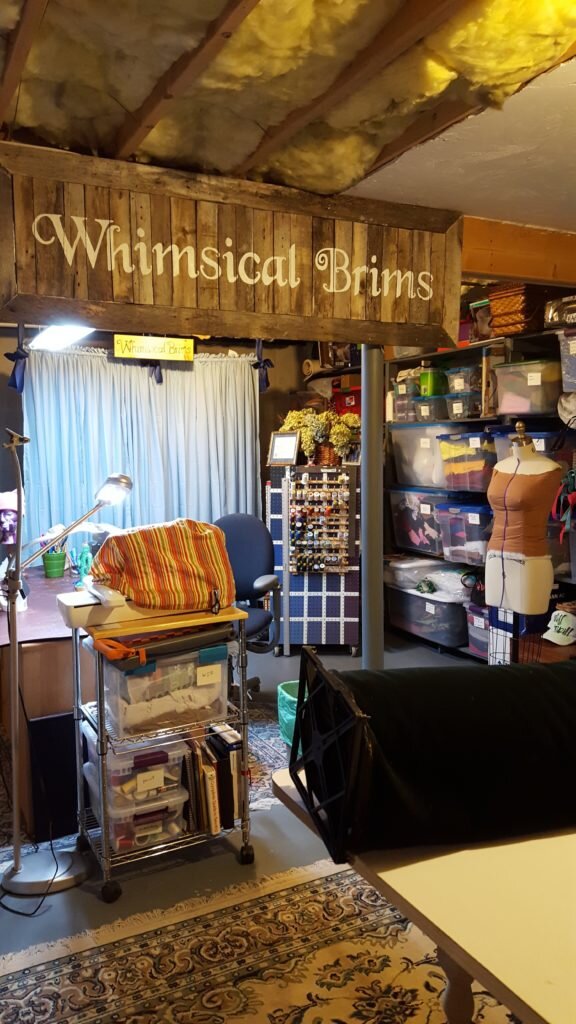
Note the absence of the oil burner from this photo! Exactly what I wanted to accomplish with my faux curtain wall. The Whimsical Brim sign front and center was created by my friend Amy. You may recognize it from the roof of my shop at King Richard’s Faire.
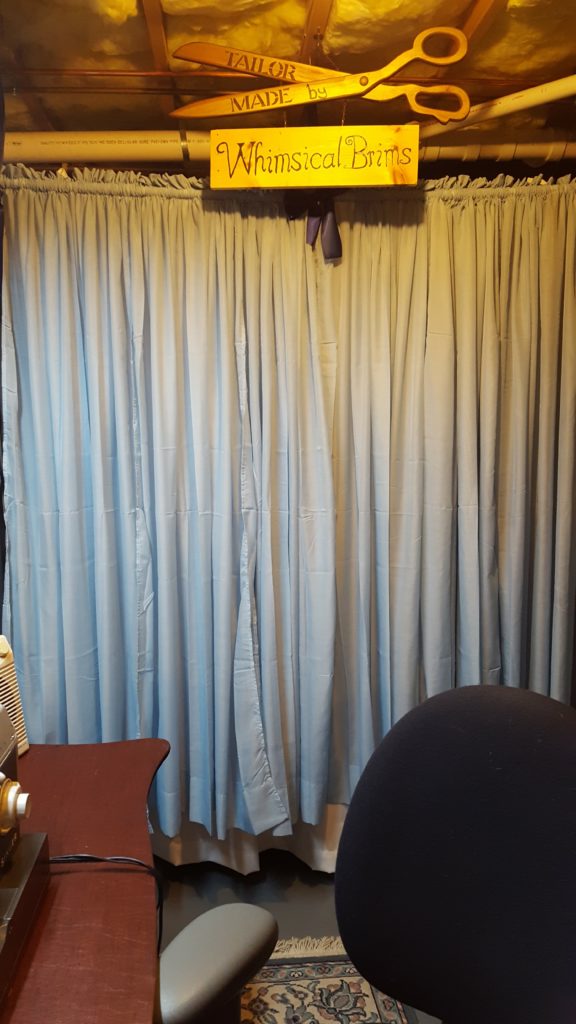
This set of curtains hung from the ceiling conceals a hidden secret: the dirty oil tank. My mom found these giant sewing scissors in the thrift shop and I added the sign and hooks to hang hats. Will carried it around the faire during the parade as our advertisement.

The oil tank is now hidden from view!
Finally you may have also noticed that I’ve outfitted my pegboard sewing cart. The pegboard is full of rulers, squares and thread while the shelves house buttons, ribbon and other sewing supplies. I’m even able to keep my ironing board on the side! I’m quite happy with it, and it maneuvers smoothly around the workshop wherever I need it!
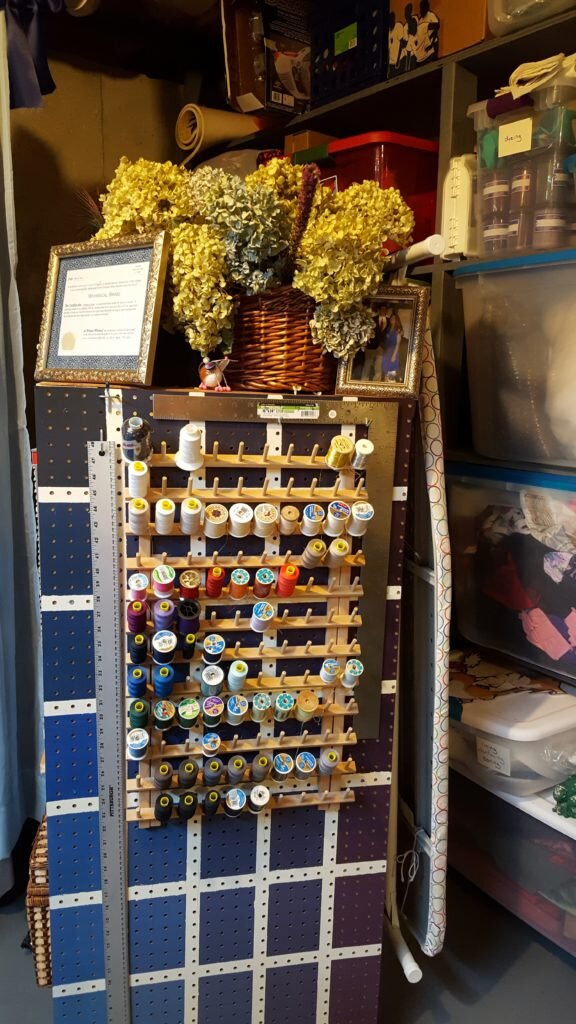
My fully outfitted pegboard sewing cart!
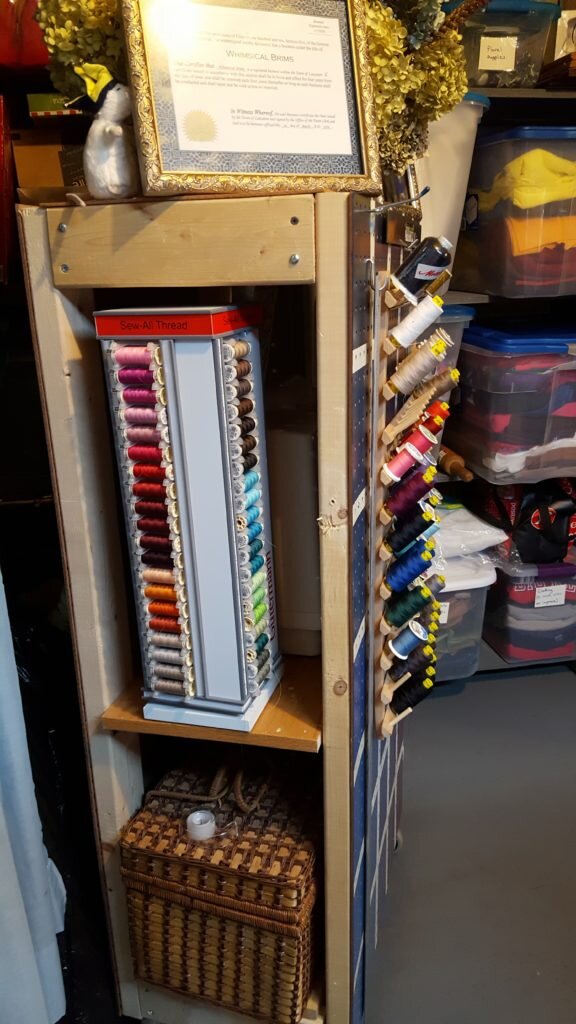
The shelves hide even more storage for thread, ribbon and sewing notions!

The side comfortably holds my ironing board when its not in use (rarely).
I hope you enjoyed my craft room tour and will be inspired to fix up your own space little by little. Even if its not perfect the first time around, you can just call it a work in progress.

Lady Beekeeper! Organized space is so uplifting and fulfilling, isn’t it?
So, do you have a spectator’s viewing stand? Where might an audience sit to admire and applaud as you spin and whirl on all your projects? Food for thought…
I do not! But I will have to add that to my too-long list of things to do! I could combine it with refinishing the 2 chairs I used at the renaissance faire. Those chairs would surely make great spectator viewing stands! Or I suppose you could pull a Dany – she perches on the stairs and watches me while I work.