Well this was a stressful weekend! Will and I went back to Cornell for our 10 year reunion and spent 5 days in upstate New York with Mister Julius. The poor guy didn’t get a proper nap for 5 days (it was too hot in the dorm room) and he was getting a bit crazy by the end. Poor little man. It was a good lesson that naps make everything better! He is 9000x easier when we keep him on a regular sleeping/napping schedule! (Something to consider working on if your child is a terror and doesn’t nap? Maybe! I really don’t know!) I just hope he sleeps properly tonight.
Even before the nap weekend incident Julius has been doing some frustrating things. Instead of shaking his head vigorously ‘no’ when we ask him to do something he doesn’t want to do, he now shrieks. It is an ear piecing scream (like a velociraptor) that is enough to make anyone deaf. We are doing our best to ignore it and show him no reaction, but it is difficult…
Something we aren’t ignoring is his vocabulary! He’s starting to learn more words! On top of mama, dada, all done, more, duck, cat, dog plus every animal sound you’ve ever heard (and some others) he’s added car and tree to the list this past weekend. He no longer says “sit sit bye bye” but now “sit” and “car”.
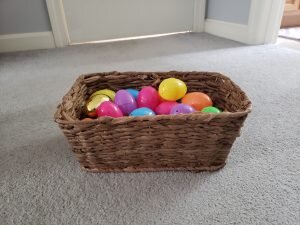
The project I’m going to show you today is how I revamped an old basket that we use outdoors to hold Dany’s squeaky tennis balls. The basket has a metal frame and some type of woven material that seemed fairly waterproof. After a dozen seasons of sun, rain and snow it finally kicked the bucket and the material started disintegrating off the metal frame. In the interest of saving something from the landfill, I kept the metal frame. After getting up the motivation I finally finished the project on Easter (it took me several hours to complete) just in time for the Easter bunny! (The Easter bunny filled Julius’ Easter eggs with stickers and Yogis – the yogurt snacks, not the people!)

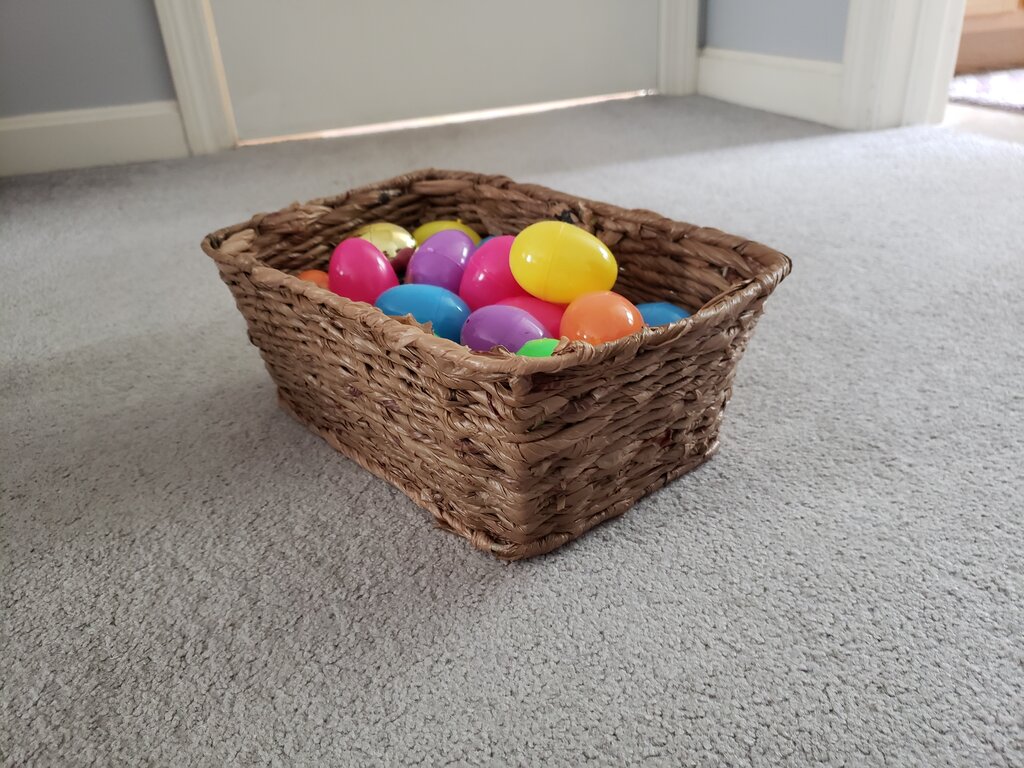
The basket on the right is woven from Hannaford’s grocery bags!
Revamped Wire Basket
What you’ll need:
- A wire basket frame, you could make one yourself out of coat hangers, or get one from the dollar store.
- plastic bags (mine were brown hannaford bags, and I needed 20 for my 6x10x5 basket)
- Lay a bag out flat on a table then cut bag in half down the middle from top to bottom so you have two symmetrical halves.
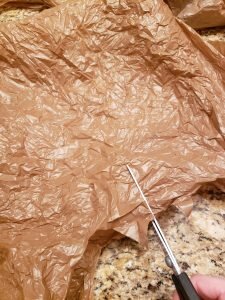
- Slit down the side seams of each half of the bag to form two loops.
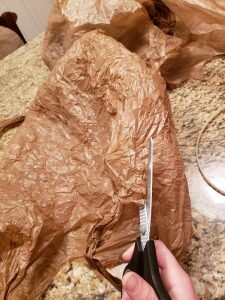
- Cut the top along each loop to form two long strips.
- Tie strips together at one end.
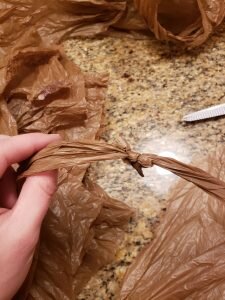
- Just tie more strips on when you are running low; I found it was unmanageable to work with more than a couple strips tied together at a time.
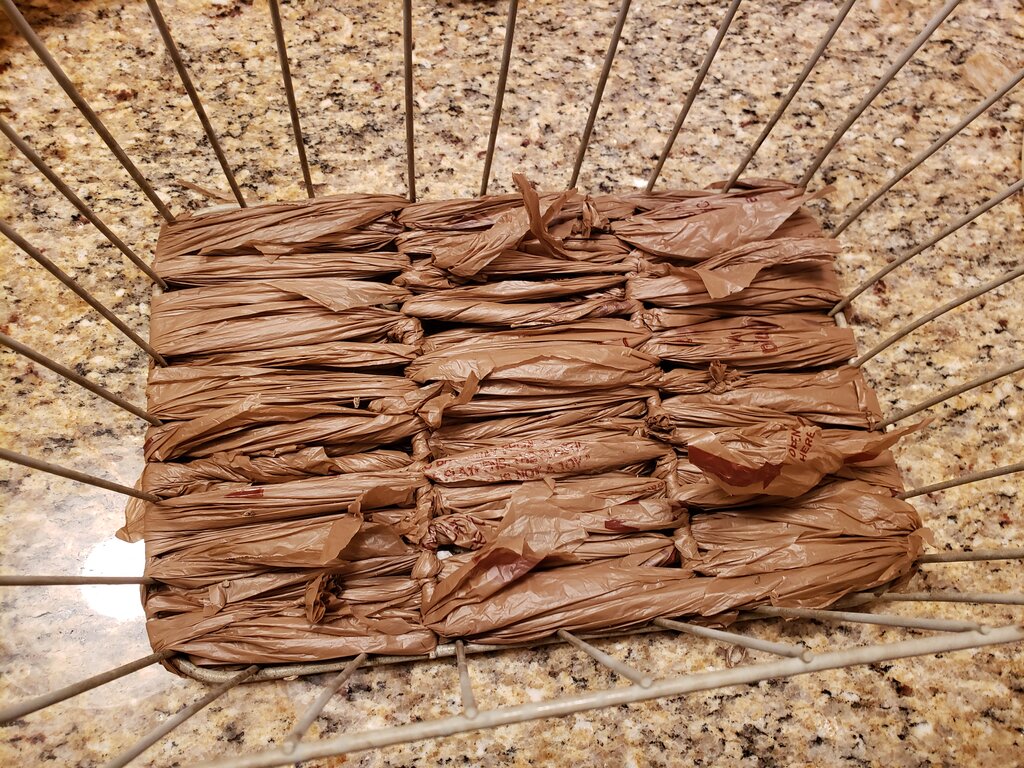
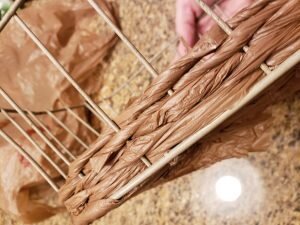
- Starting at the base, weave in and out of the basket bottom, twisting the plastic bag strip slightly as you go. When you reach an end of the basket, loop over and return the other way.

- When the base is complete, bring your plastic bag strip up the side of the basket slightly and start weaving the walls of the basket. Push down each full row so plastic bag rows fit tightly together. They will compress quite a bit.
- When you reach the top of the basket, start loops along the top rail to cover it, do NOT twist the plastic bag strip so that the plastic bag overlaps on itself and covers any gaps.
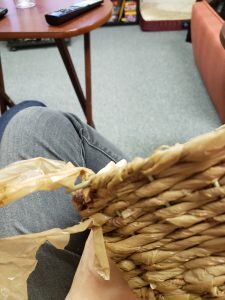
- When you reach the end, tie off and trim the excess plastic bag.