
Julius is getting a lot better at verbal communication. I can understand several words he says like “Shhhh” for “sheepy”, “pls” and “help” (used interchangeably) for “please help” and “yas” for “yes”. This is probably too much information, but I taught him the baby sign language word for poop the other day, thinking if he doesn’t start talking, he’ll never be able to be potty trained, and he wildly made the poop gesture today. Thinking maybe he needed to poop (and maybe was learning from the kids at daycare) I put him on the toilet where he did genuinely look like he was attempting to poop for several minutes. Eventually though he got bored and wanted to go back to playing, so all bets are off on what really happened there.
On the list of things Julius is good at right now we can add eating. (Like his parents I guess.) He will eat 2/3 of an adult sized meal for every meal (and more than we usually eat for breakfast). I just love his chubby little belly and I can’t get enough of tickling it and poking it. I was a single parent for 5 days last week while Will was out of town and I guess I poked his belly button so often that he decided to start poking mine. If I ever say the word belly (for instance “do you want to pet Dany’s belly” or “wash your belly” Julius will try to poke my belly button.
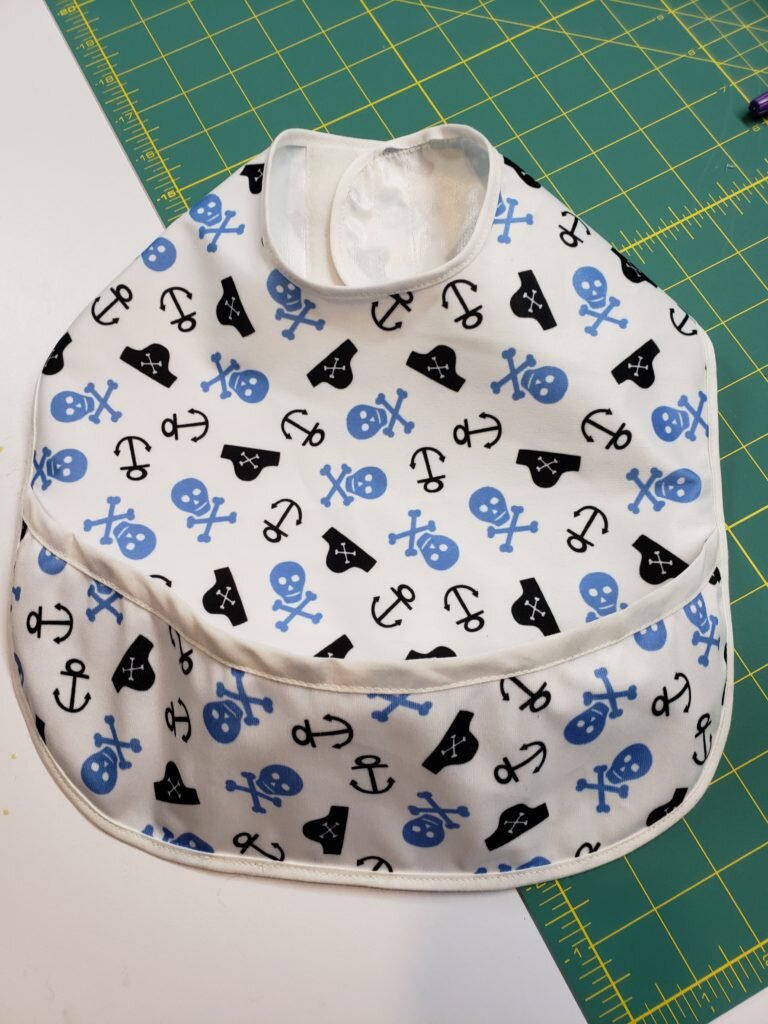
One bad thing about that boy’s belly (honestly there are no bad things about the belly) is that it does seem to collect debris. While in the past my favorite bibs were slightly absorbent because purees and liquids were his main diet, his solid foods bounce right off those bib styles. My favorite style now is one that is waterproof with a pocket! My own version is below and really easy to make!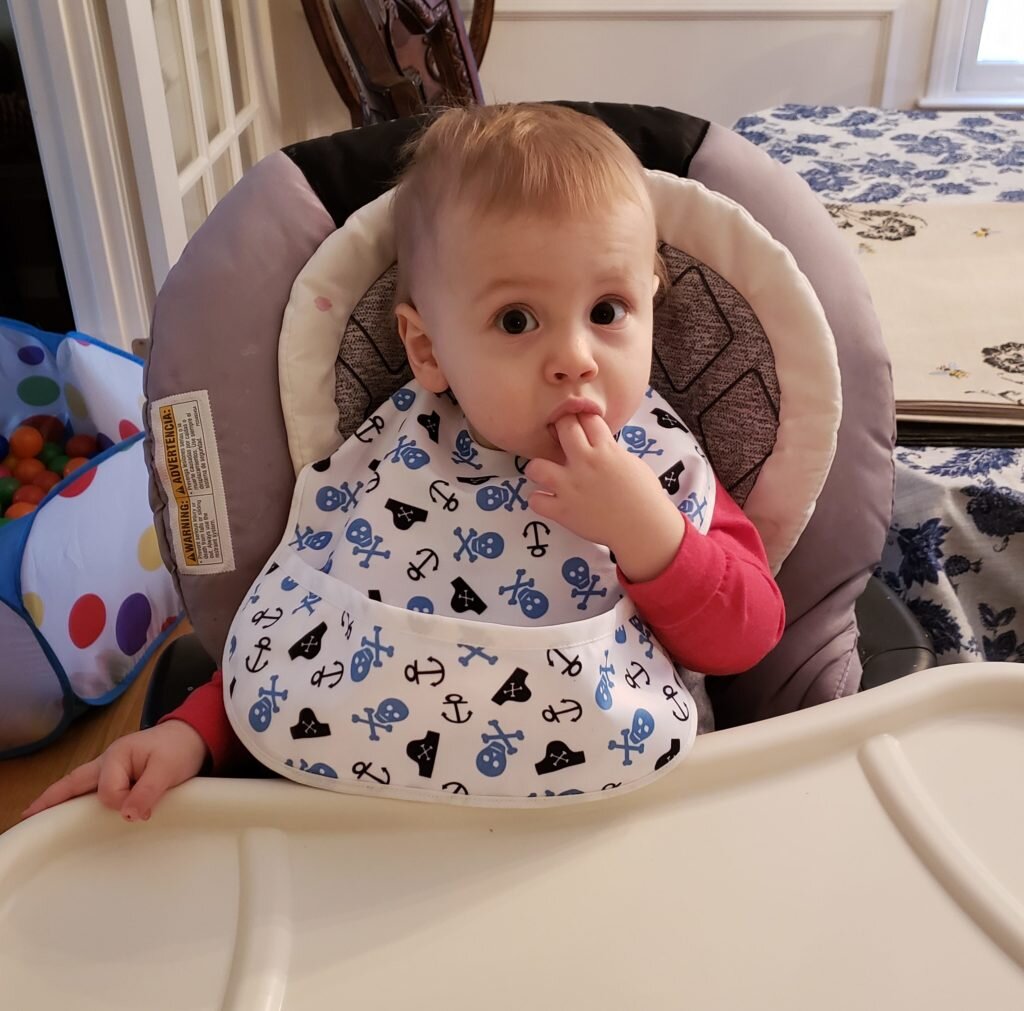
Waterproof Bib with Pocket
- 1/2 yard of PUL fabric
- 1.5 yards of 1/2″ single fold bias tape
- 1/3 yard of 1/4″ double fold bias tape
- 3″ of 3/4″ velcro (hook side)*
- 3″ of 2″ velcro (loop side)
- Pattern here
* instead you can just use the hook side of the 2″ velcro.
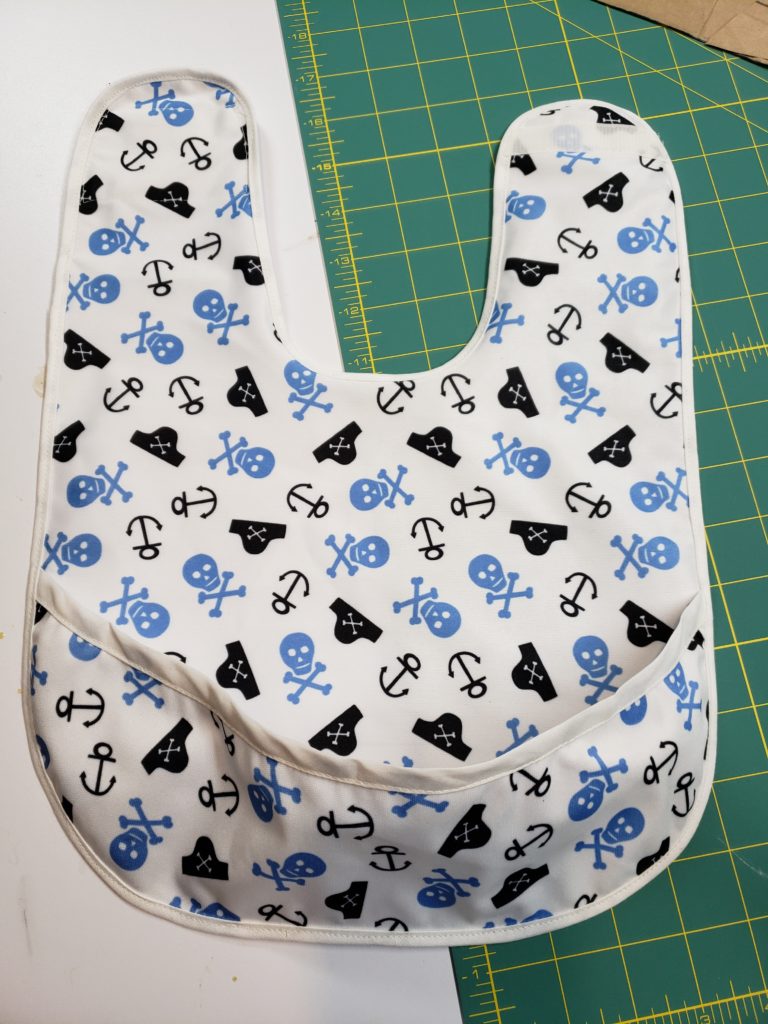
- Cut out bib and pocket from PUL fabric.
- Unfold the double fold bias tape and pin one unfinished edge to top of pocket’s unfinished edge. Stitch along the first fold.
- Fold the bias tape over and around the unfinished edges and make sure third fold secures the unfinished edge of the bias tape inside. Pin and stitch close to the first set of stitching on the right side of the bib.
- Trim the ends of the bias tape to match the shape of the pocket.
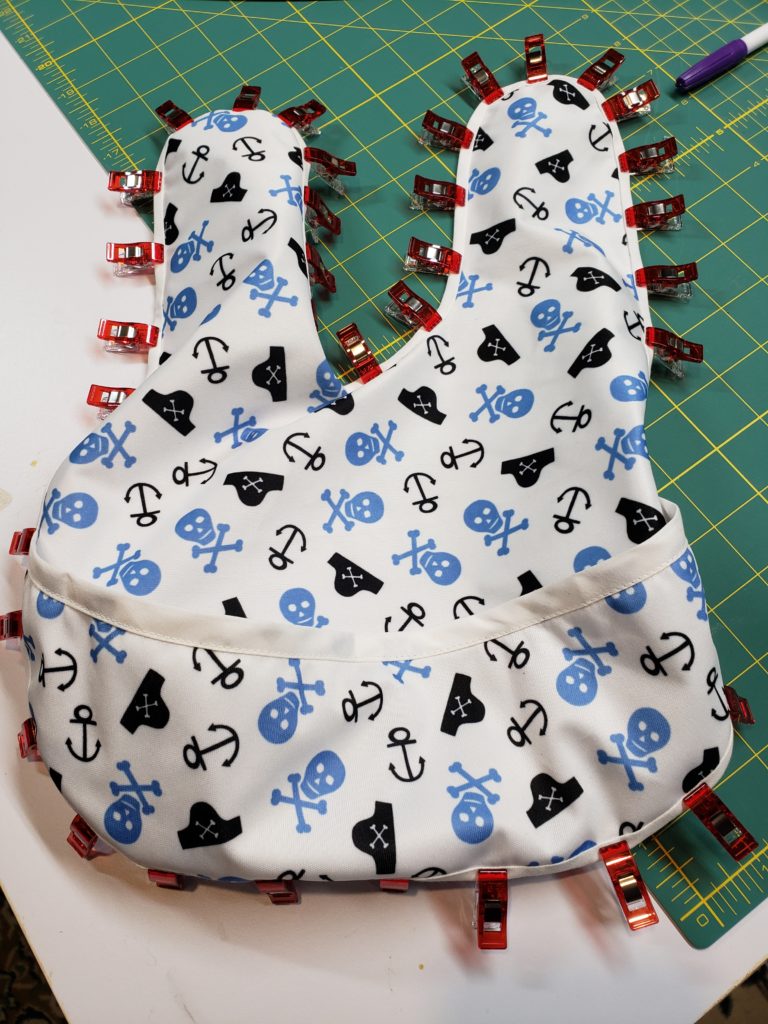
- Pin the wrong size of the pocket on top of the right side of the bib, lining up the points of the pocket with the marks on the pattern. The pocket should bow out slightly.
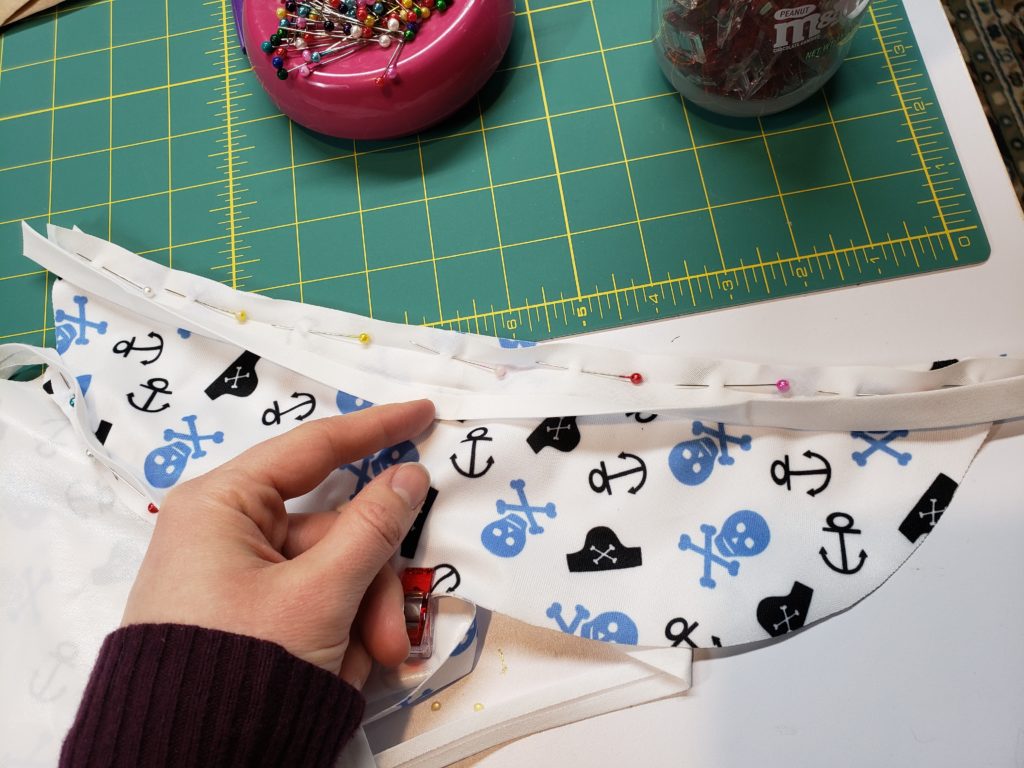
- Unfold the single fold bias tape and pin one unfinished edge to bib’s unfinished edge, all the way along the bib.
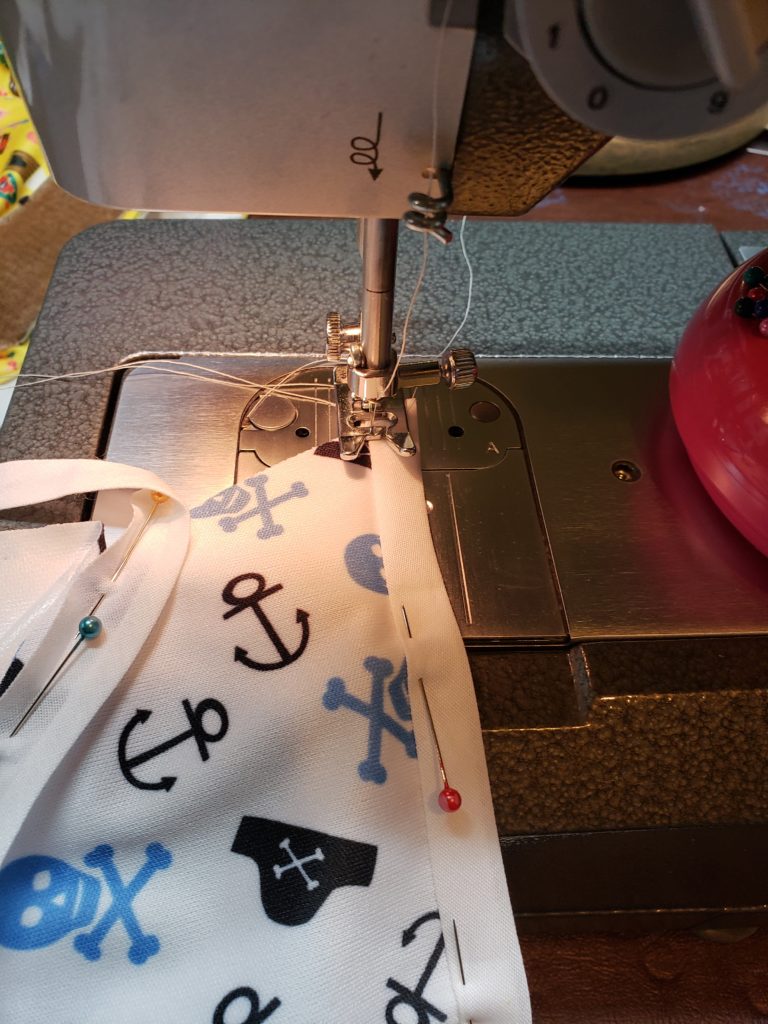
- When you get back to where you started, fold the end and place it under the first unfinished edge. Stitch along the first fold.
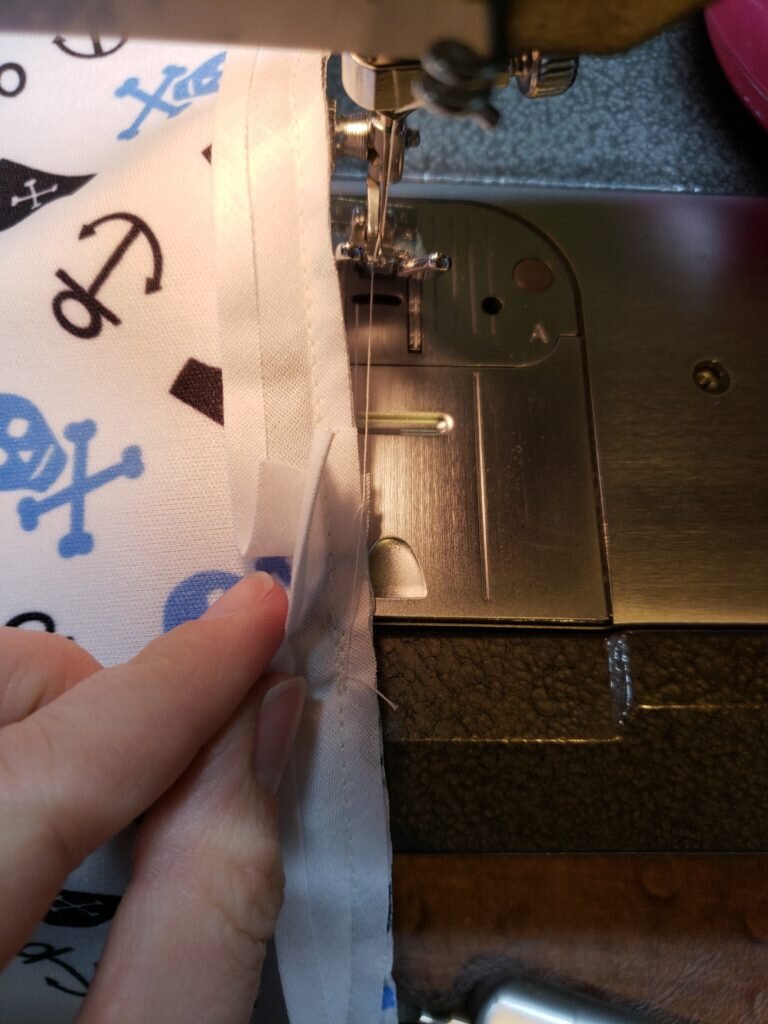
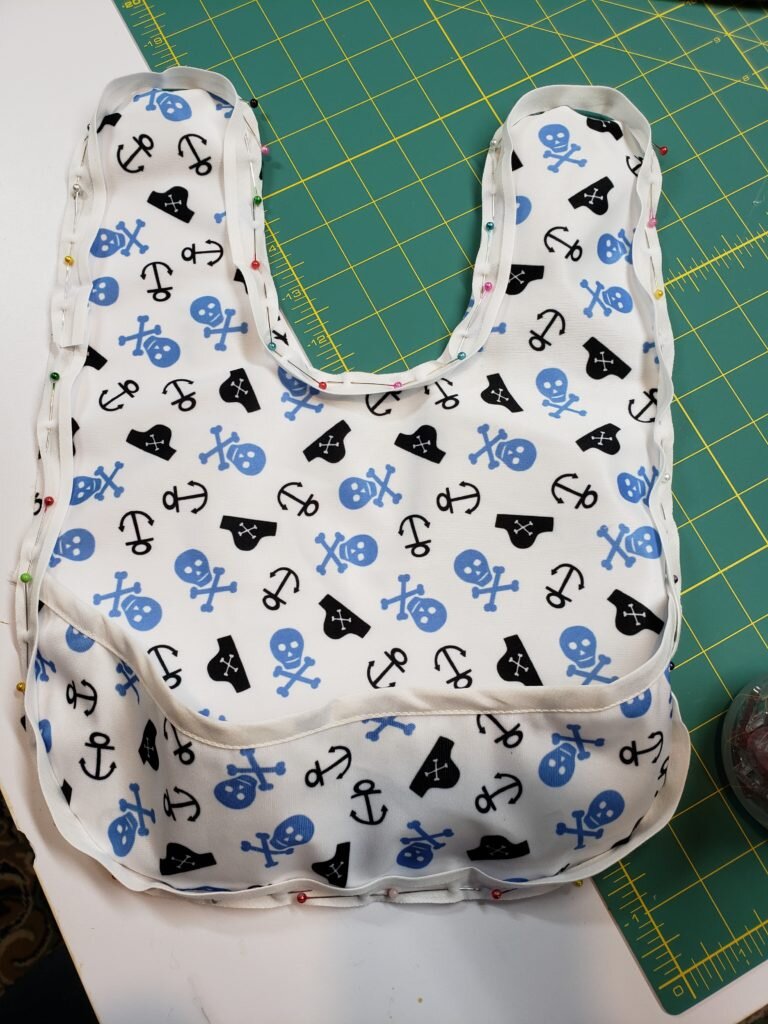
- Fold the bias tape over and around the unfinished edges and make sure it secures the unfinished edge of the bias tape inside. Pin and stitch close to the first set of stitching on the right side of the bib.
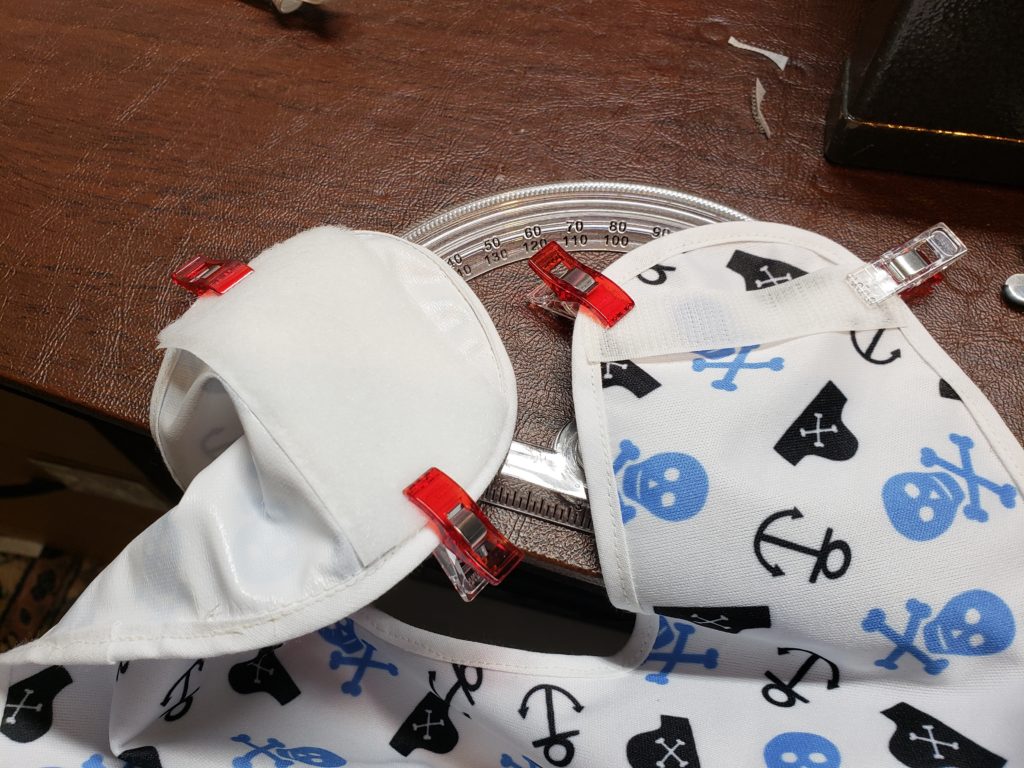
- Pin the 3/4″ hook velcro tape on the outside of one side of the bib as shown. Stitch along the outside of the tape.
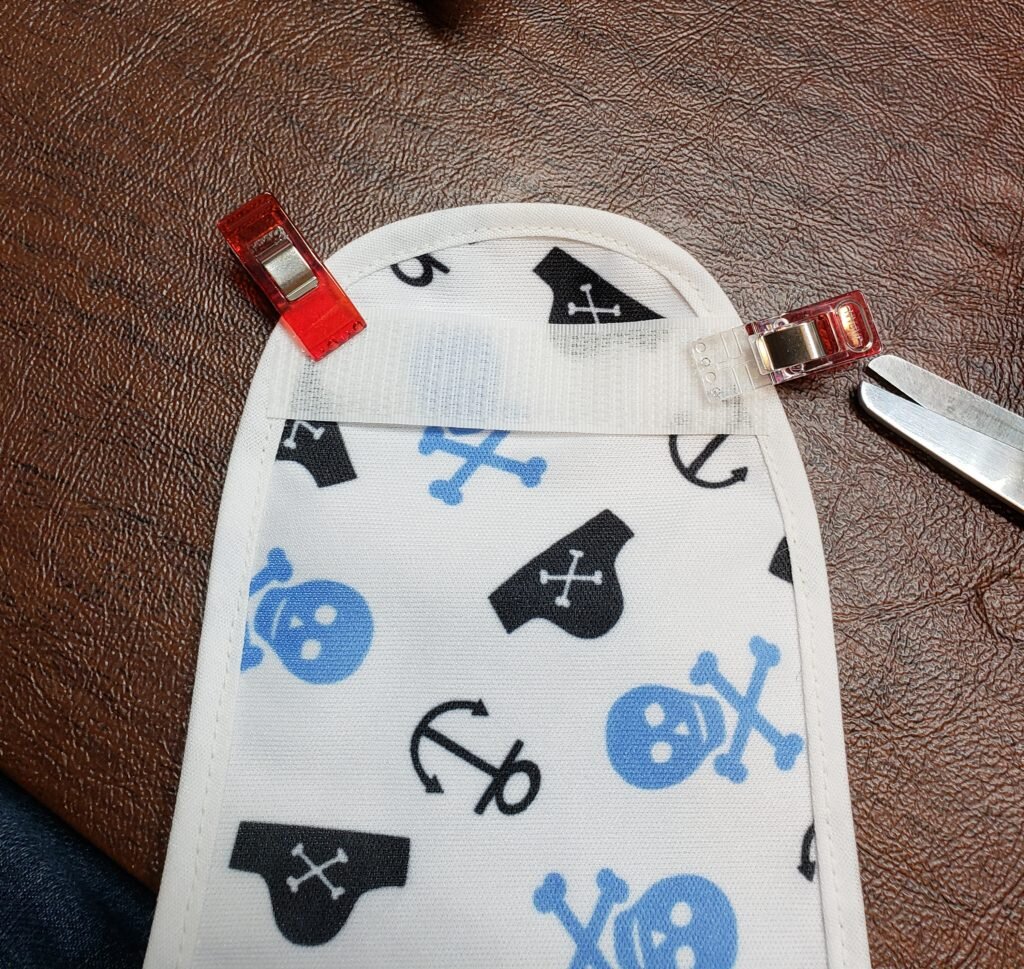
- Pin the 2″ loop velcro tape on the outside of one side of the bib as shown. Stitch along the outside of the tape.

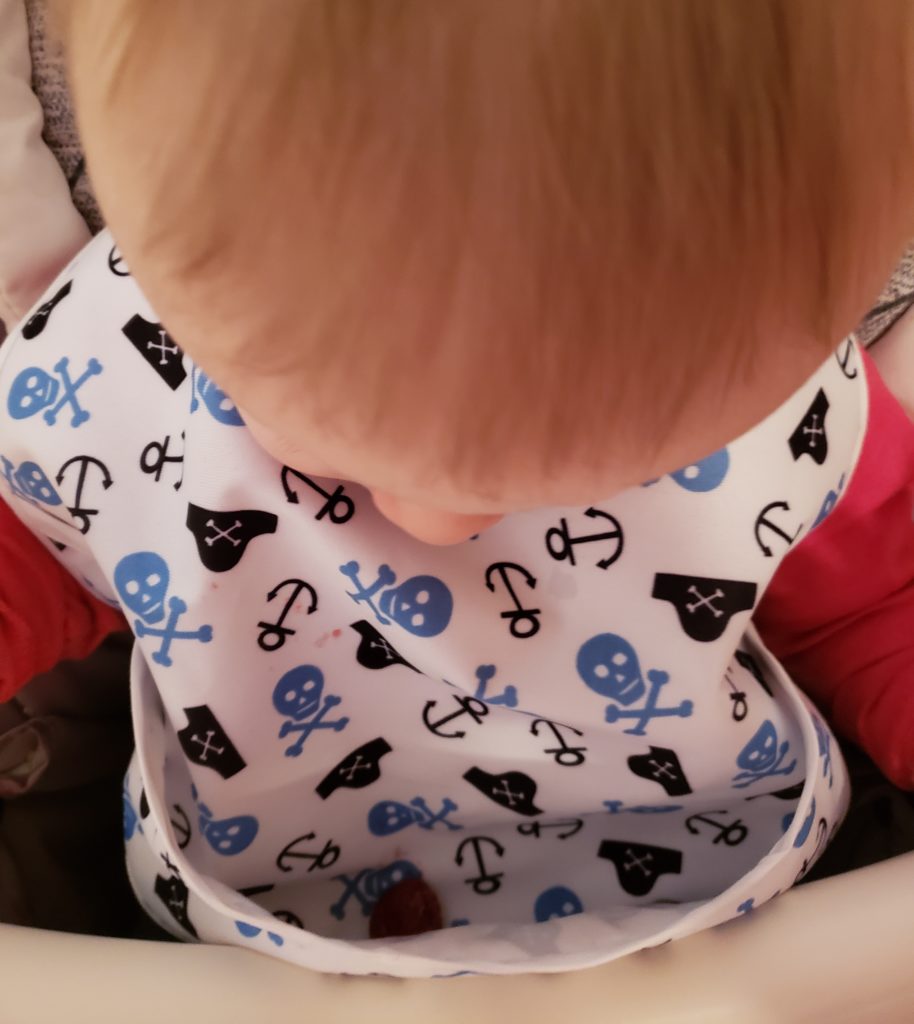
Maiden voyage was a success! Raspberries:0, Bib:1
