
Well this is my second to last week of maternity leave. It’s been nice spending time with Julius and Patricia, and I am sad to “go back” to work and “leave” these munchkins. I just have to keep reminding myself that it will be nice to communicate with adults other than Will on a daily basis again. That and not having to be a preschool teacher anymore (another job I’m really not qualified for) make the future bearable. But boy did time really fly. I’m sure I’ve said it before but a co-worker once told me that the first year of a child’s life is “a short year with long days”. Once again he couldn’t have been more right!
Julius’ first year flew by and there are huge chunks that were straight up missing from my memory. That lack of sleep really takes a toll on you, as I’m sure all you new and seasoned parents are finding out/already know. Well I am here to tell you not to worry! Those chunks of time are not lost from your memory; they are in there somewhere! I had made peace with the likelihood that Julius would be an only child and found some solace in the knowledge that at least I wouldn’t have to go through the sleep deprivation and baby blues/ppd again. But when our little Patricia beat the odds to make us a family of four, I found that this time around I wasn’t in a complete fog the entire time. On top of that, while experiencing Patricia’s newness I have been able to recall similar happenings and evaporate some of the fog from Julius’ first year. Just another reason to love Patricia!
One of the things I recalled recently from out of the fog, is that I made a playmat for Julius… but he never used it. We have this adorable little playmat with a piano attached (an older version of this one). It’s great because the babies can lie on their backs and bat the toys without the toys escaping. Unfortunately it doesn’t work as well when the babies start to sit up because they can’t get close enough to the toys while propped. My friends Maren and Matt made a super cute version for their daughter out of PVC pipe and fittings which got me thinking. I had some leftover PVC from a hoop greenhouse I made long before Julius was born. I think by the time I finished my playmat proof of concept Julius was already crawling! So I left it in a corner somewhere.
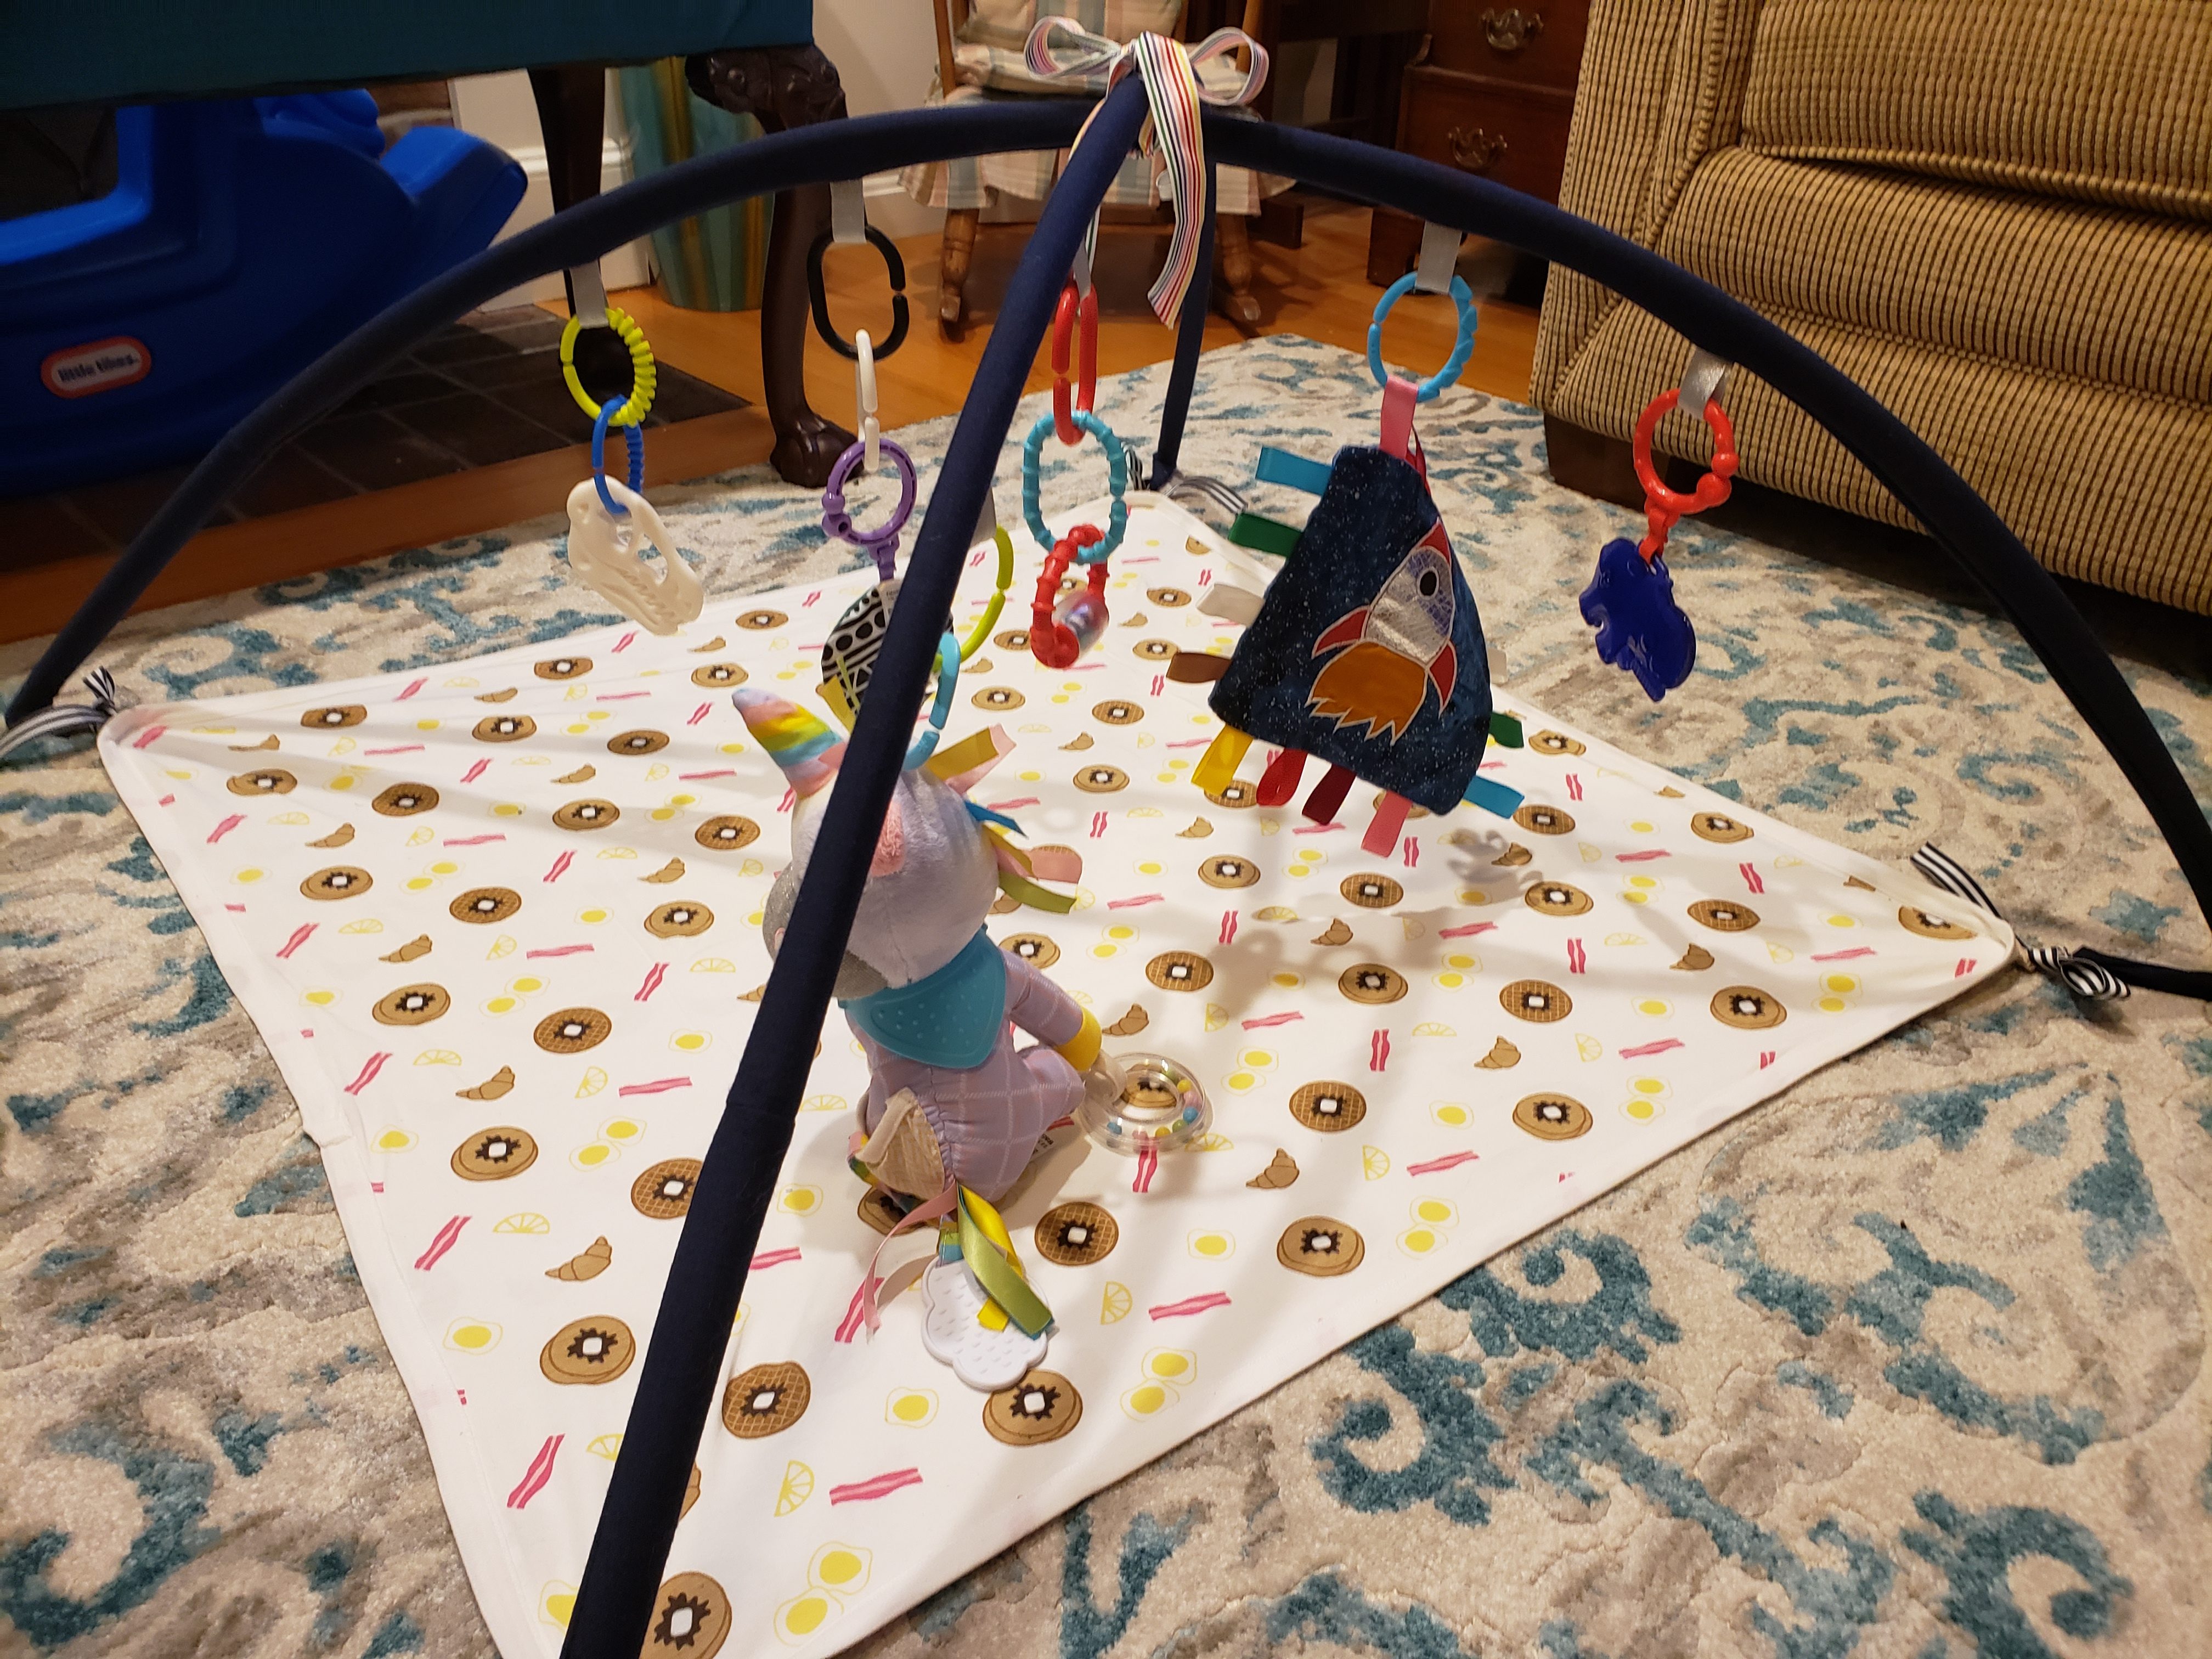
Enter Patricia! The same things happened to Patricia that happened to Julius – she couldn’t get close enough to the toys while sitting up AND it seemed like the little hoop was inhibiting her roll over skills. That’s when I recalled my half finished project! Originally I made the playmat proof of concept to be attached to any blanket you had on hand for portability. I used clip on curtain rings to attach the blanket to the hoops. I don’t think that’s terribly safe (but you can use your own judgement) so I scrapped that this time around and added some loops to an adorable Monica and Andy receiving blanket** Patricia got from my friend Ka and has already outgrown. It works great, looks adorable and means she can use the little blanket for longer! Since I used scrap pvc and recycled ribbon and fabric for this project, it didn’t cost me a thing. If you have to purchase everything new it would still cost less than $15, a fraction of the cost of buying a play gym.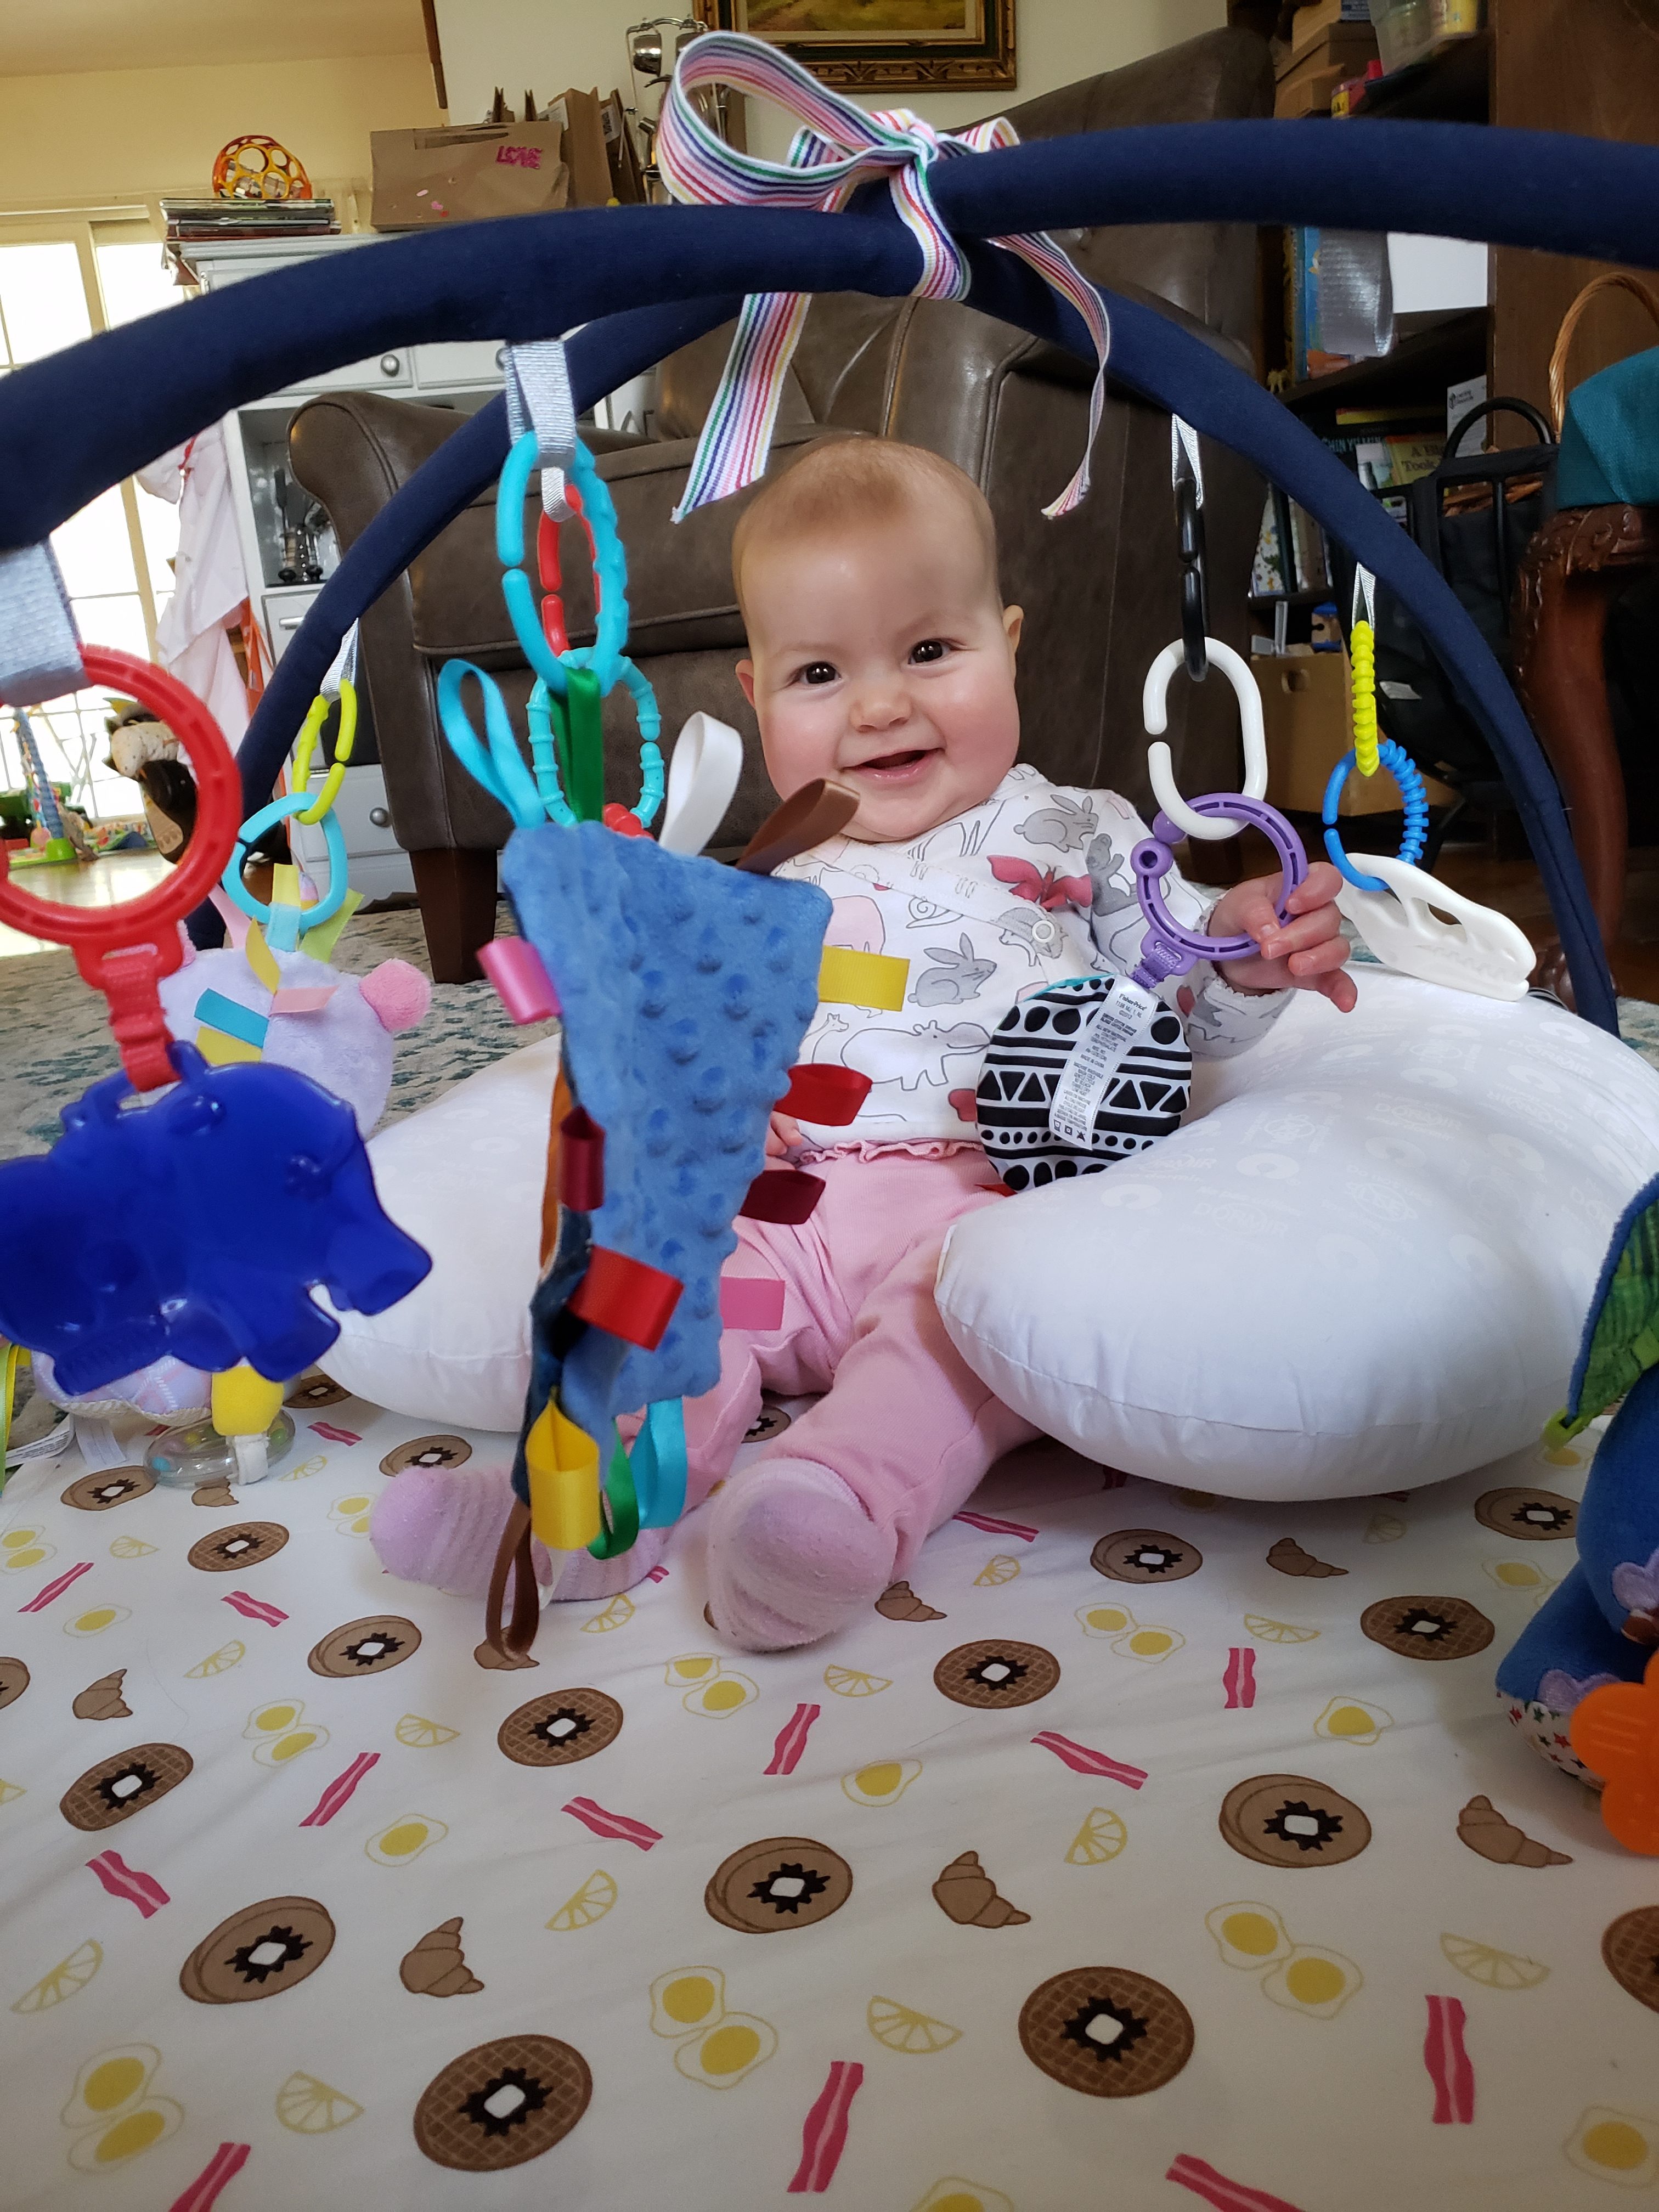
DIY Play Gym
What you’ll need:
- 2 – 66″ lengths of 3/4″ pvc pipe
- 2 – 3.5″ x 74″ strip of cotton fabric (I had to stitch two pieces together to form a long enough piece)
- scrap 5/8″ grosgrain ribbon
- scrap 1″ grosgrain ribbon
- upcycled receiving blanket or 32″x32″ piece of fabric that doesn’t have much stretch
- Cut 4 15″ lengths of 5/8″ grosgrain ribbon for ties.
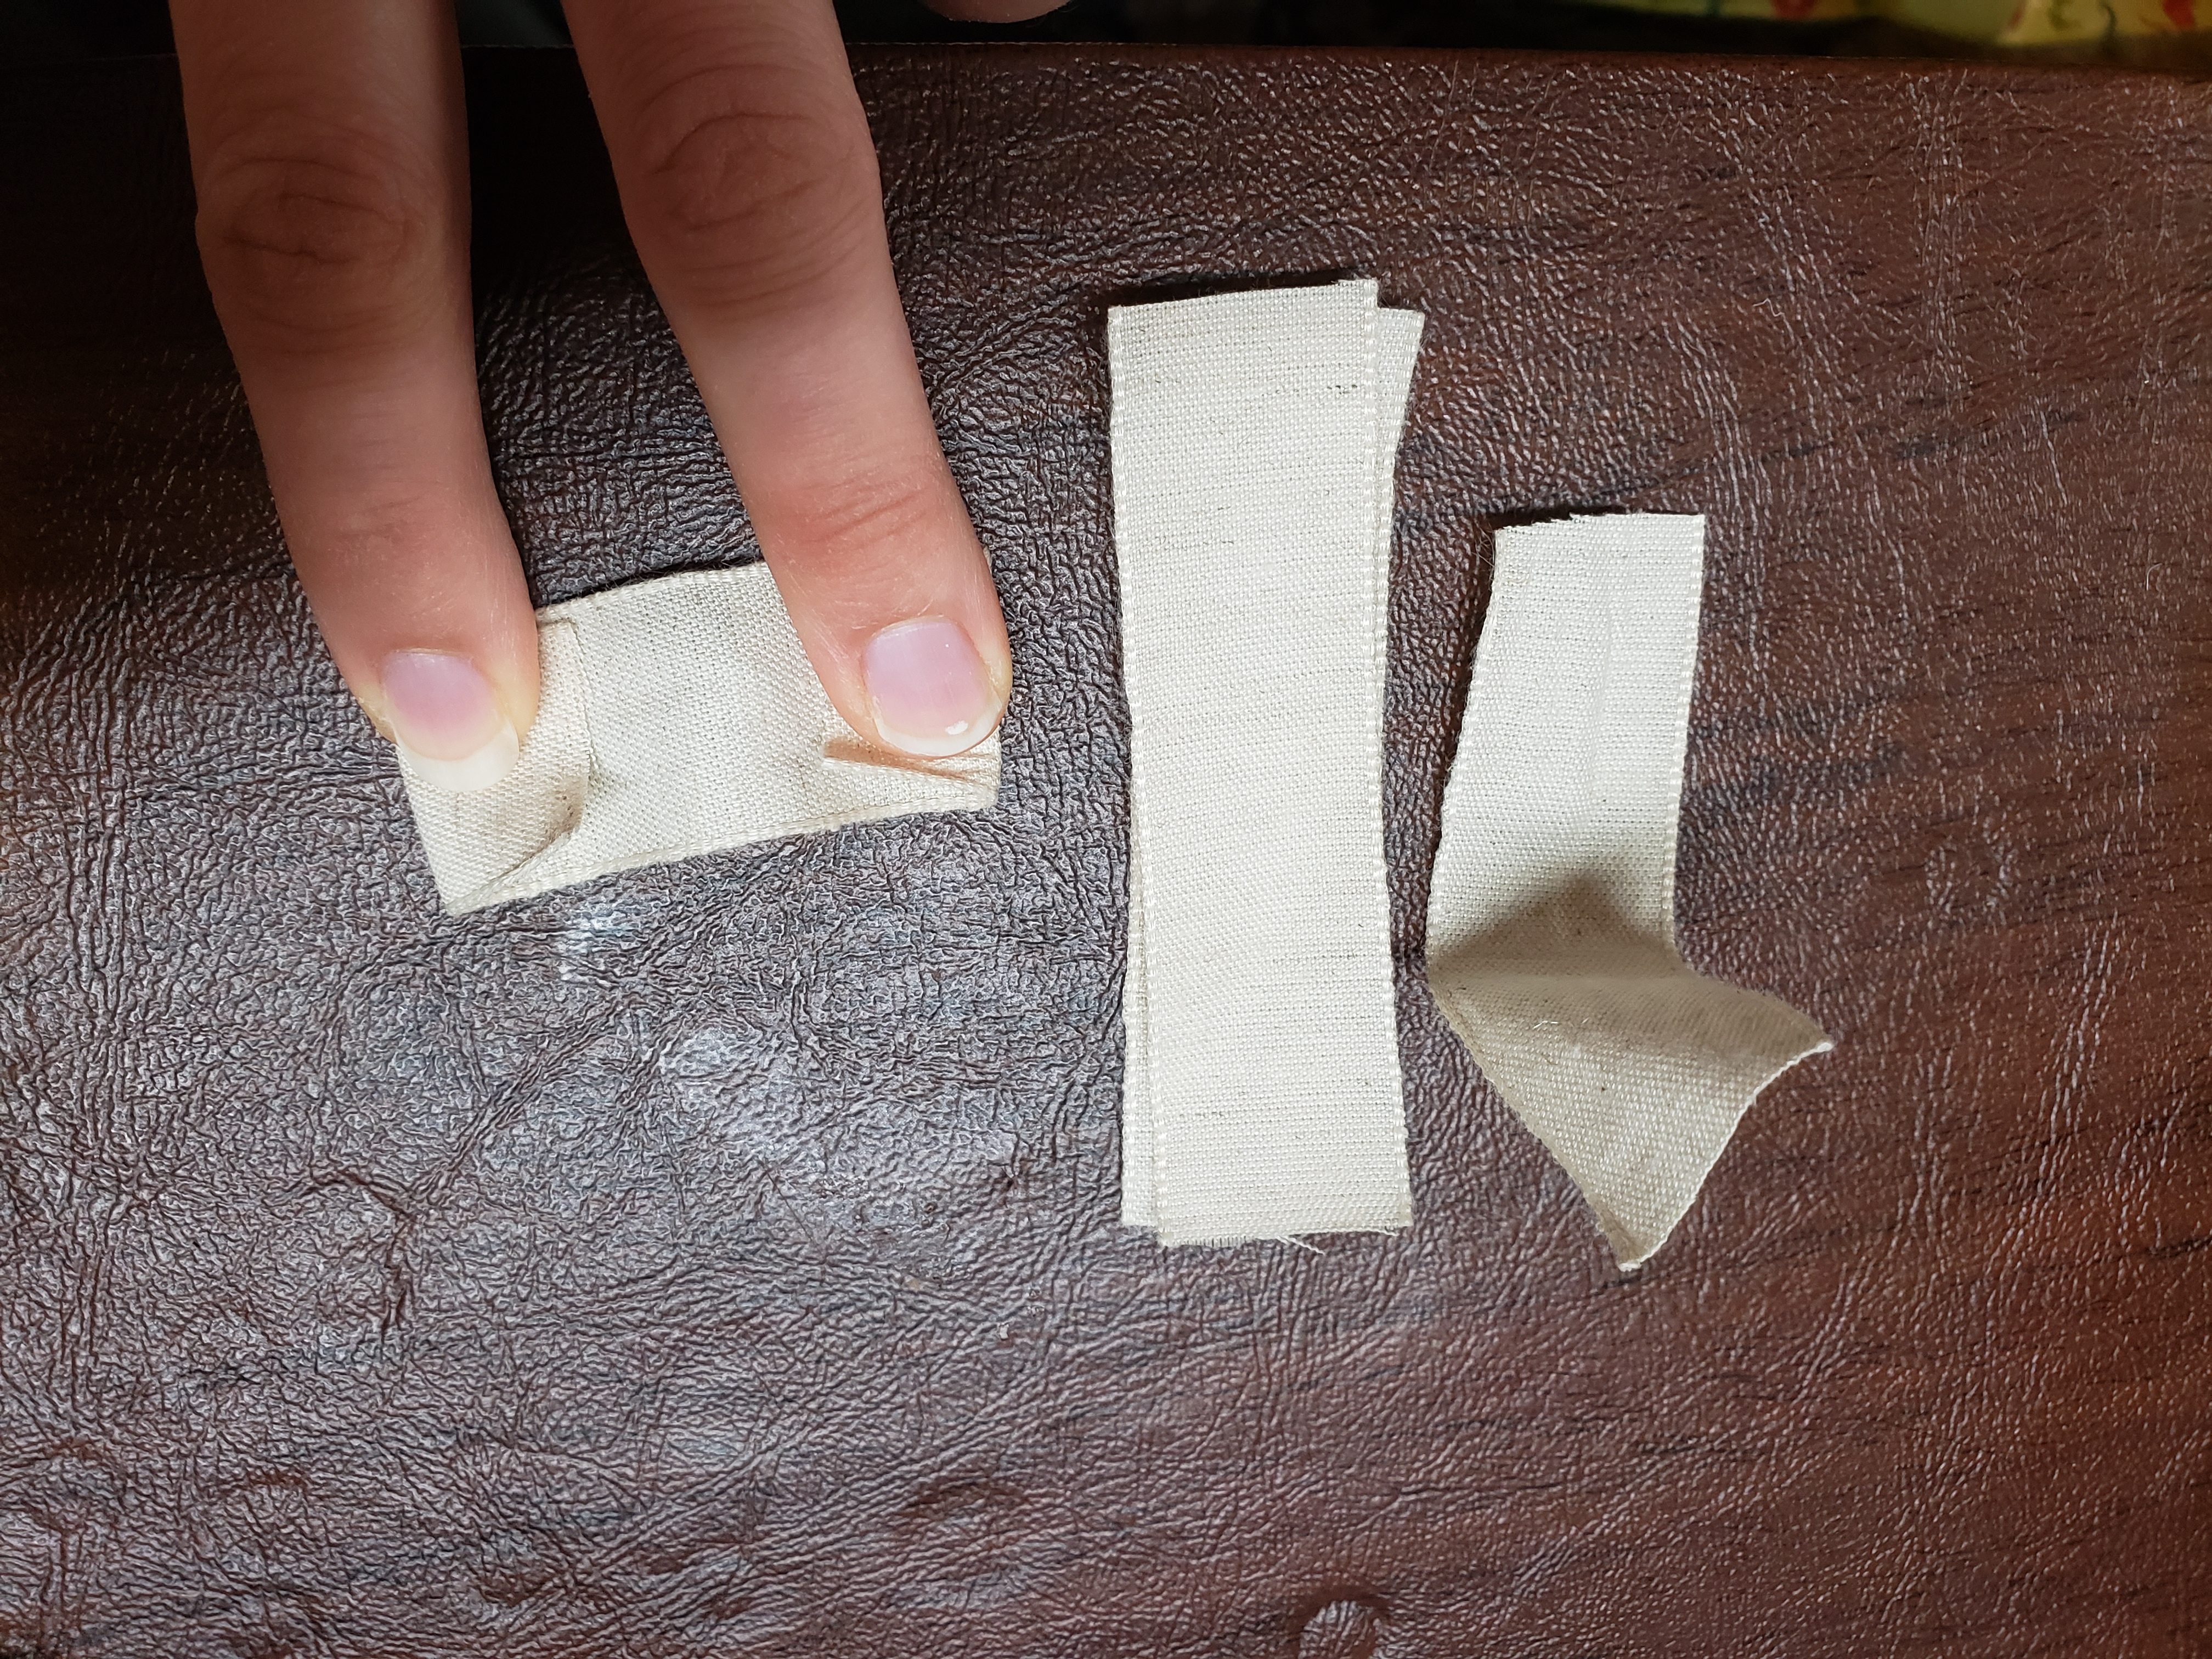
- Cut 8 3.5″ lengths of 5/8″ grosgrain ribbon for the playmat loops.
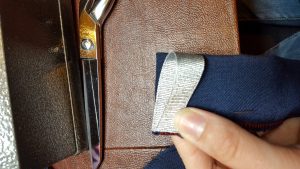
- Fold the short end of a 74″ strip of fabric under 1/2″ and 1/2″ again. Stitch to form a finished edge. Repeat for other edge.
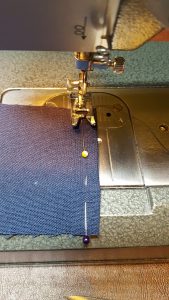
- Place a tie (15″ length of grosgrain ribbon) at one end of the 74″ strip. Overlap the tie over the finished edge of the strip, so the tie extends 14″ out from the fabric strip. Stitch.
- Repeat step 4 for other end.
- Fold a 74″ strip of fabric the long ways, right side in, and pin.
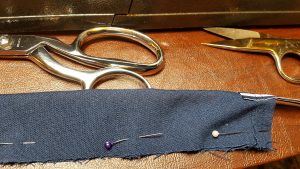
- Fold it in half and mark 6″ from the center on either side, and 12″ from the center on either side.
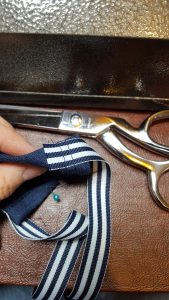
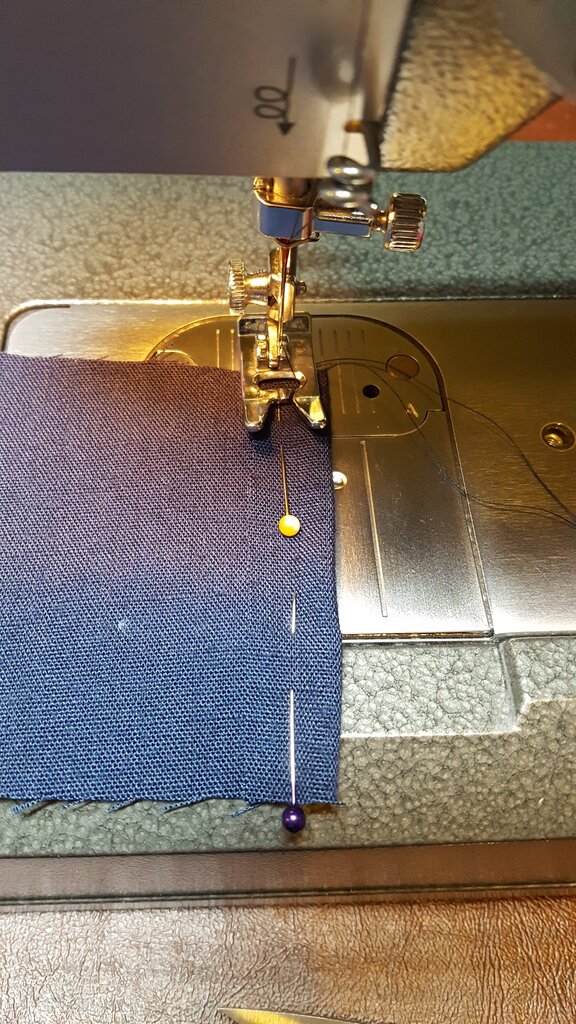
- Fold one of the 3.5″ lengths of ribbon in half, and insert inside the strip of fabric you pinned in step 3. Pin the ribbon in place at one of the marks you made in step 4. Repeat for other 3 lengths of ribbon.
Make sure to line the unfinished edges up when you place the loop inside for stitching.
- Stitch entire length of 74″ strip, leaving 1/2″ seam allowance and backstitching at each loop for reinforcement.
- Turn the tube right side out. Insert a PVC pipe into the fabric tube.
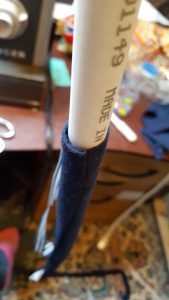
- Repeat steps 3-10 for the other ribbons, fabric strip and PVC pipe.
- Finish the edges of your 32″x32″ piece of fabric (if not using receiving blanket)
- Cut 4 3.5″ lengths of ribbon for loops on the blanket. (I used 3/4″, but 5/8″ or whatever you have on hand will work just as well.)
- Fold under 3/8″ of the end of each loop, then fold in half.

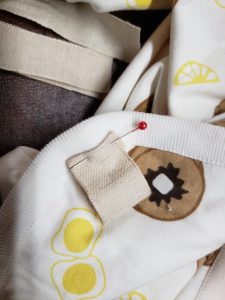
- Pin loop to the wrong side of the blanket in a corner along the seamline. Turn to the front side and stitch along the seam line. Repeat for other corners and loops.
- Cut a length of ribbon 34″ long to secure the play gym. I used 1″ ribbon, but you could use 5/8″ if that is all you have.


To assemble:
- Make sure the PVC piping is centered in its casing.
- Thread the tie ribbon on one end of a PVC pipe casing through a loop on one corner of the blanket. The blanket should have the loop facing the ground. Fasten with an overhand knot or slip knot (or both like I did).
- Repeat step 1 for the opposite corner of the pipe and blanket. The PVC should gently bow to form the hoop.
- Repeat steps 1&2 for the other pipes and corners of the blanket.
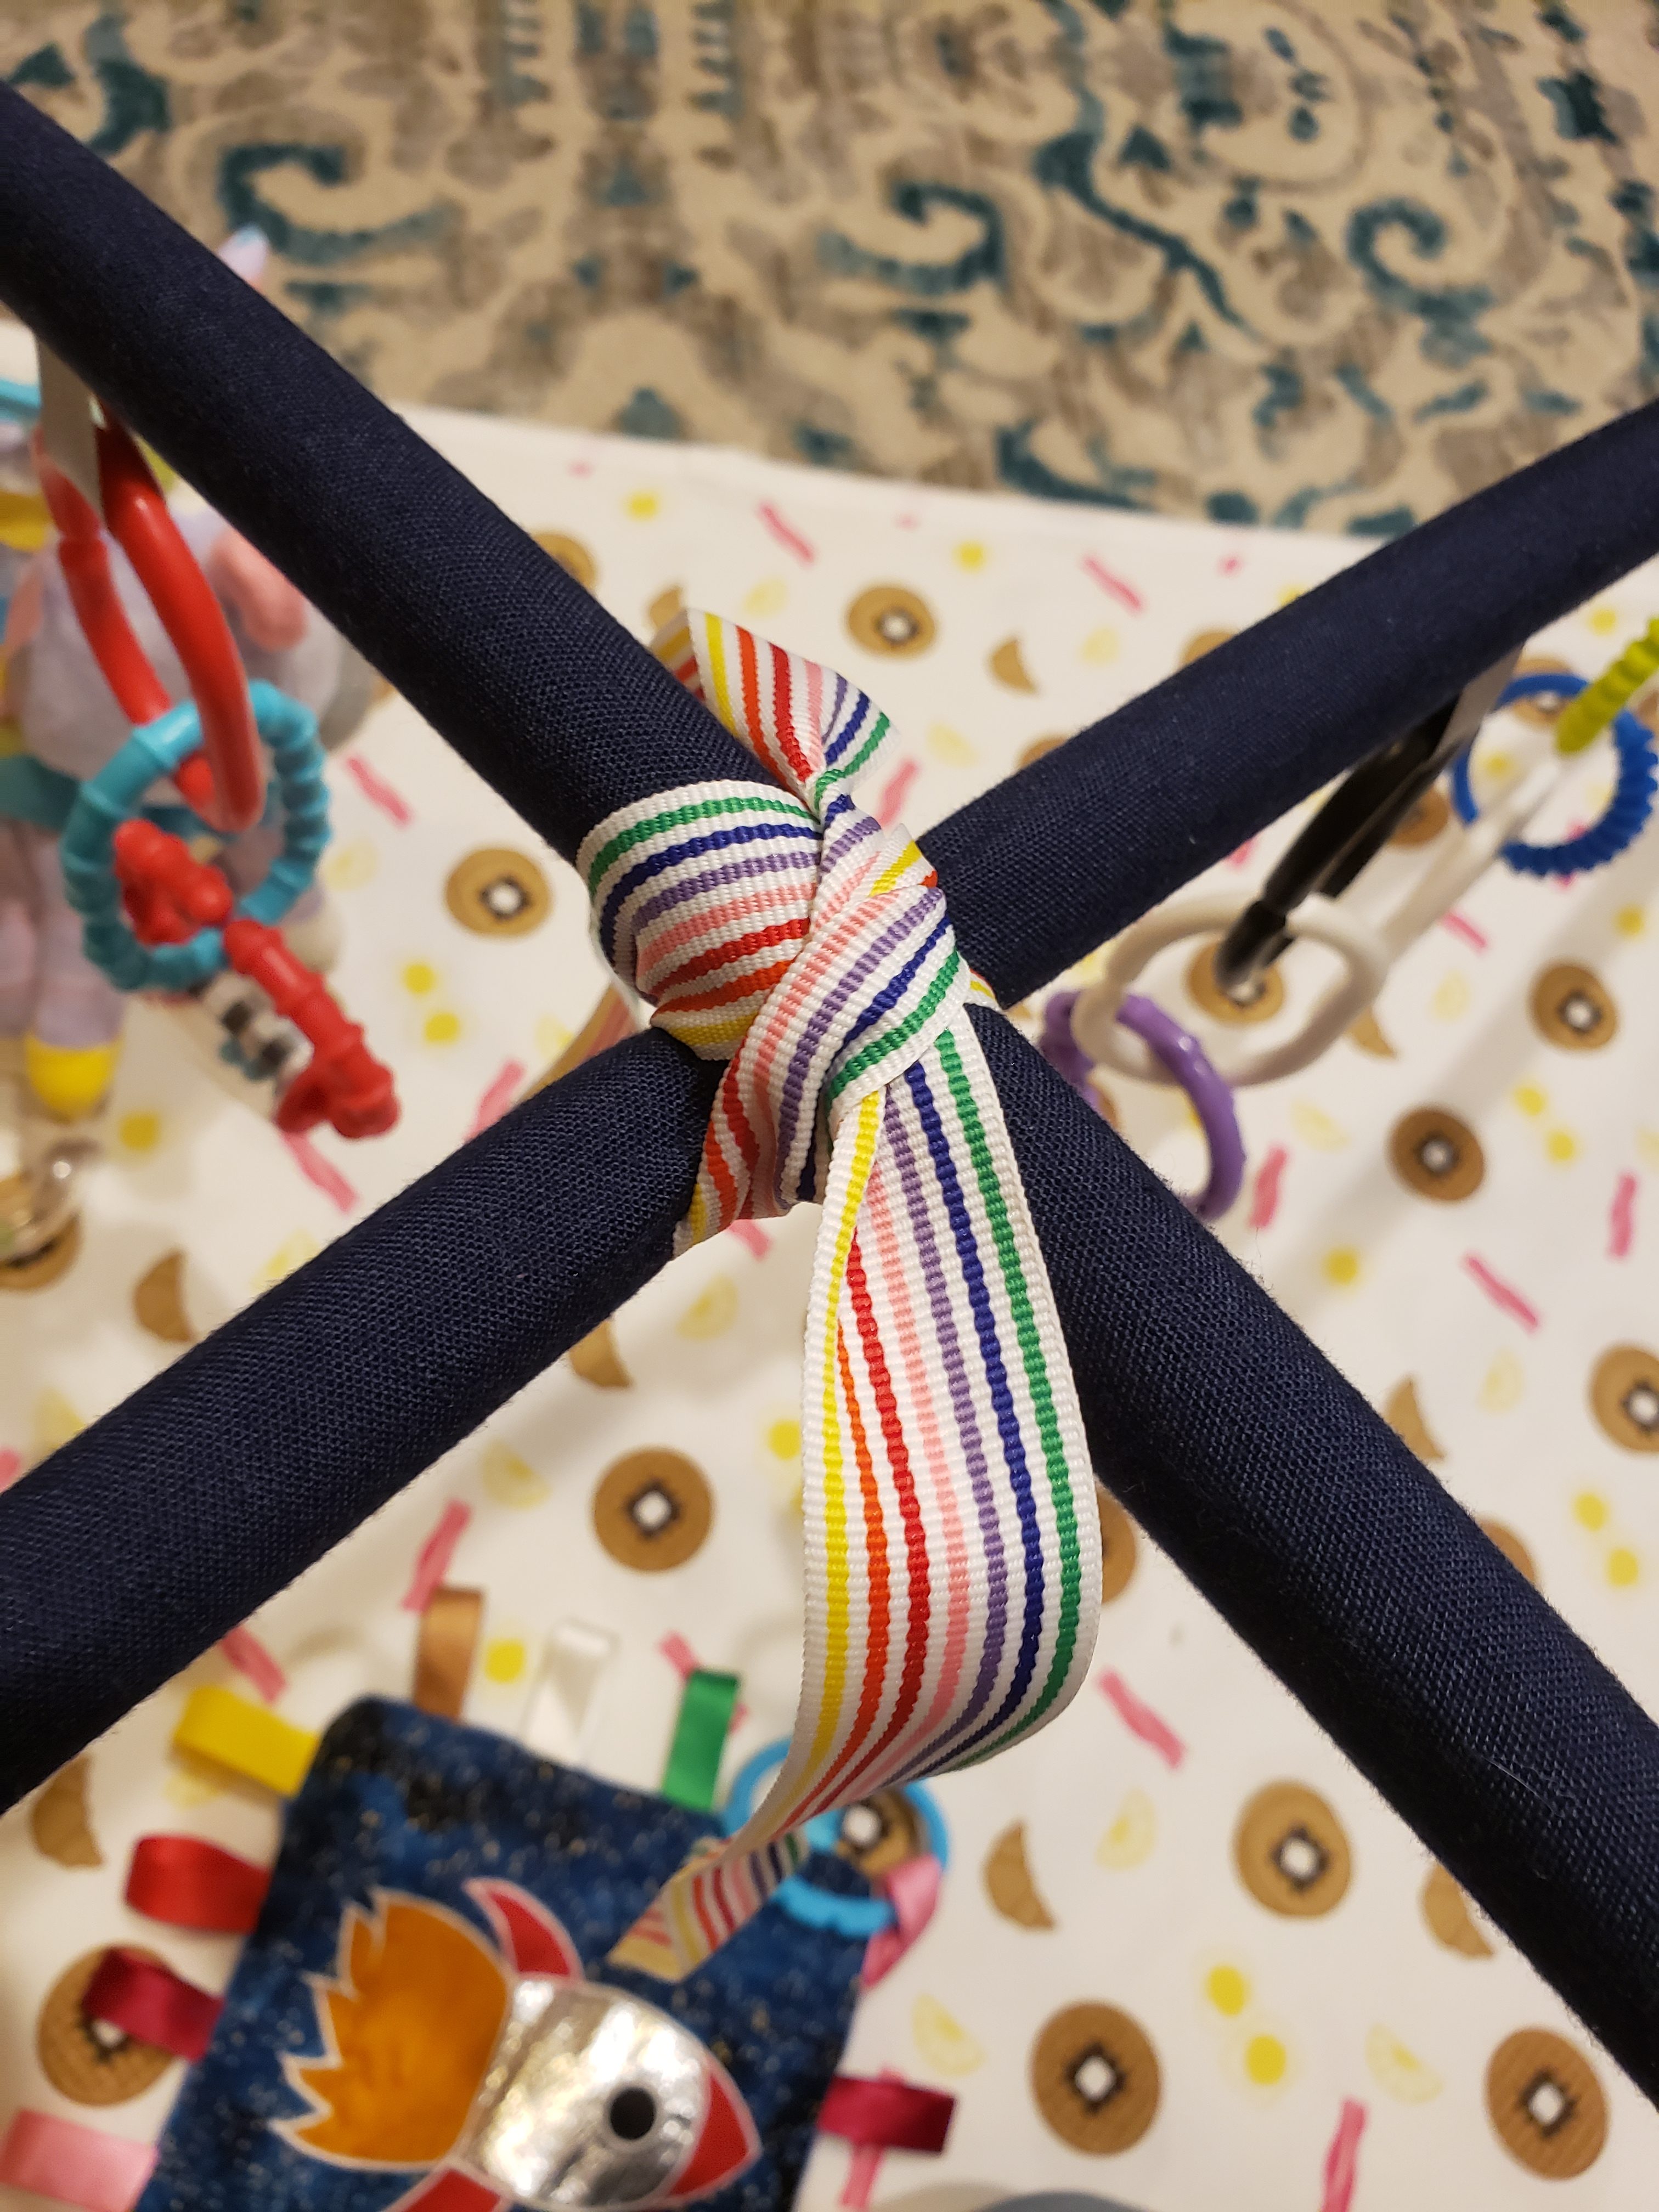
- To secure the two hoops, stand them upright so they are centered.
- Drape the 34″ long ribbon on top of the play gym where the two hoops meet. Center.
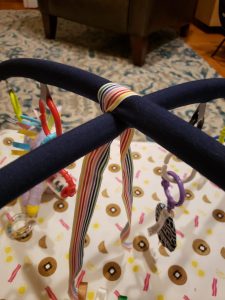
- Tie an overhand knot on the underside of the hoops.
- Loop the ribbons up above where the two hoops meet, through the two sides of the hoop that haven’t been secured with ribbon. Tie an overhand knot above the hoops, then finish with a bow.

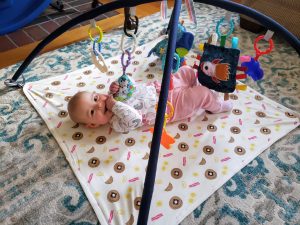
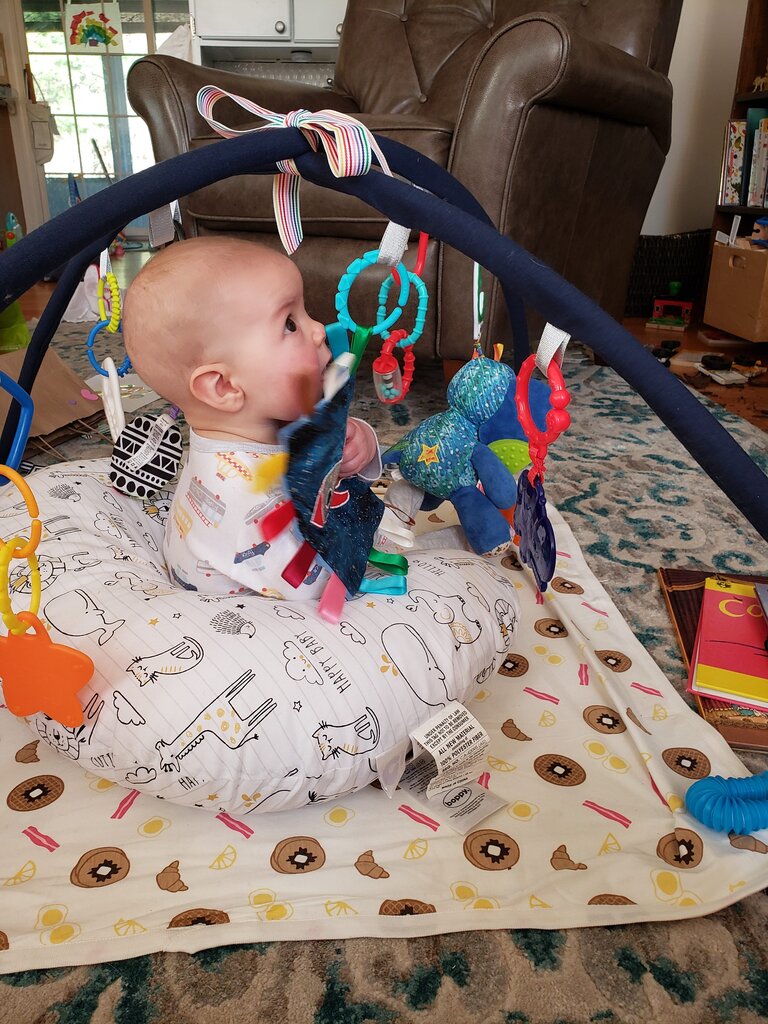
Happy Baby!
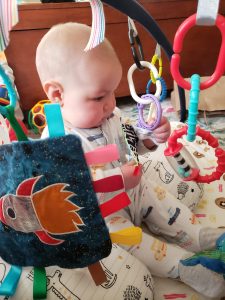
Look at that concentration

Why yes she is chewing on the rocket ship I made!


**Monica and Andy makes some really adorable stuff. My mother in law bought us a bunch of cute outfits for Patricia from there with several matching little hats. The hats looked like really strange shaped gnome hats. My mother in law usually has really good taste, but I thought these were kind of a miss. They were really weird and ugly, so I didn’t put them on Patricia for more than a couple minutes. Later, (read: today when I was writing this blog post) I realized that the Monica and Andy hats are supposed to be knotted at the top and not gnome hats at all. Totally adorable, and not weird and ugly. I think I have to write them a letter to tell them to pre-knot them or include instructions for idiots like me.
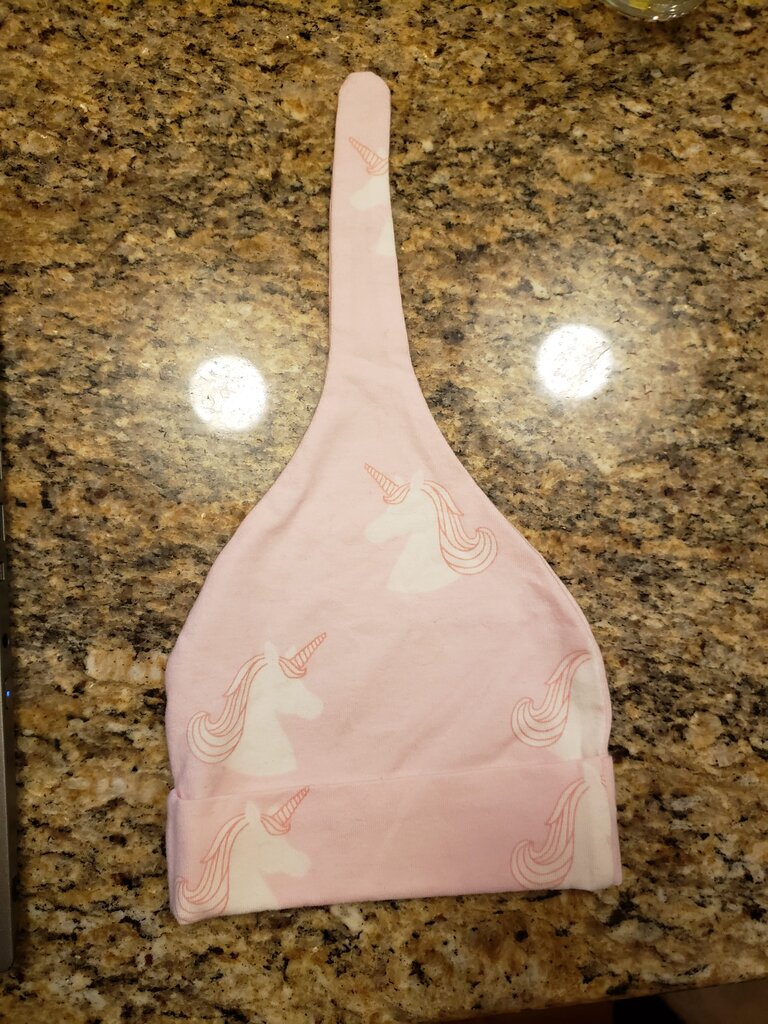
Weird gnome hat
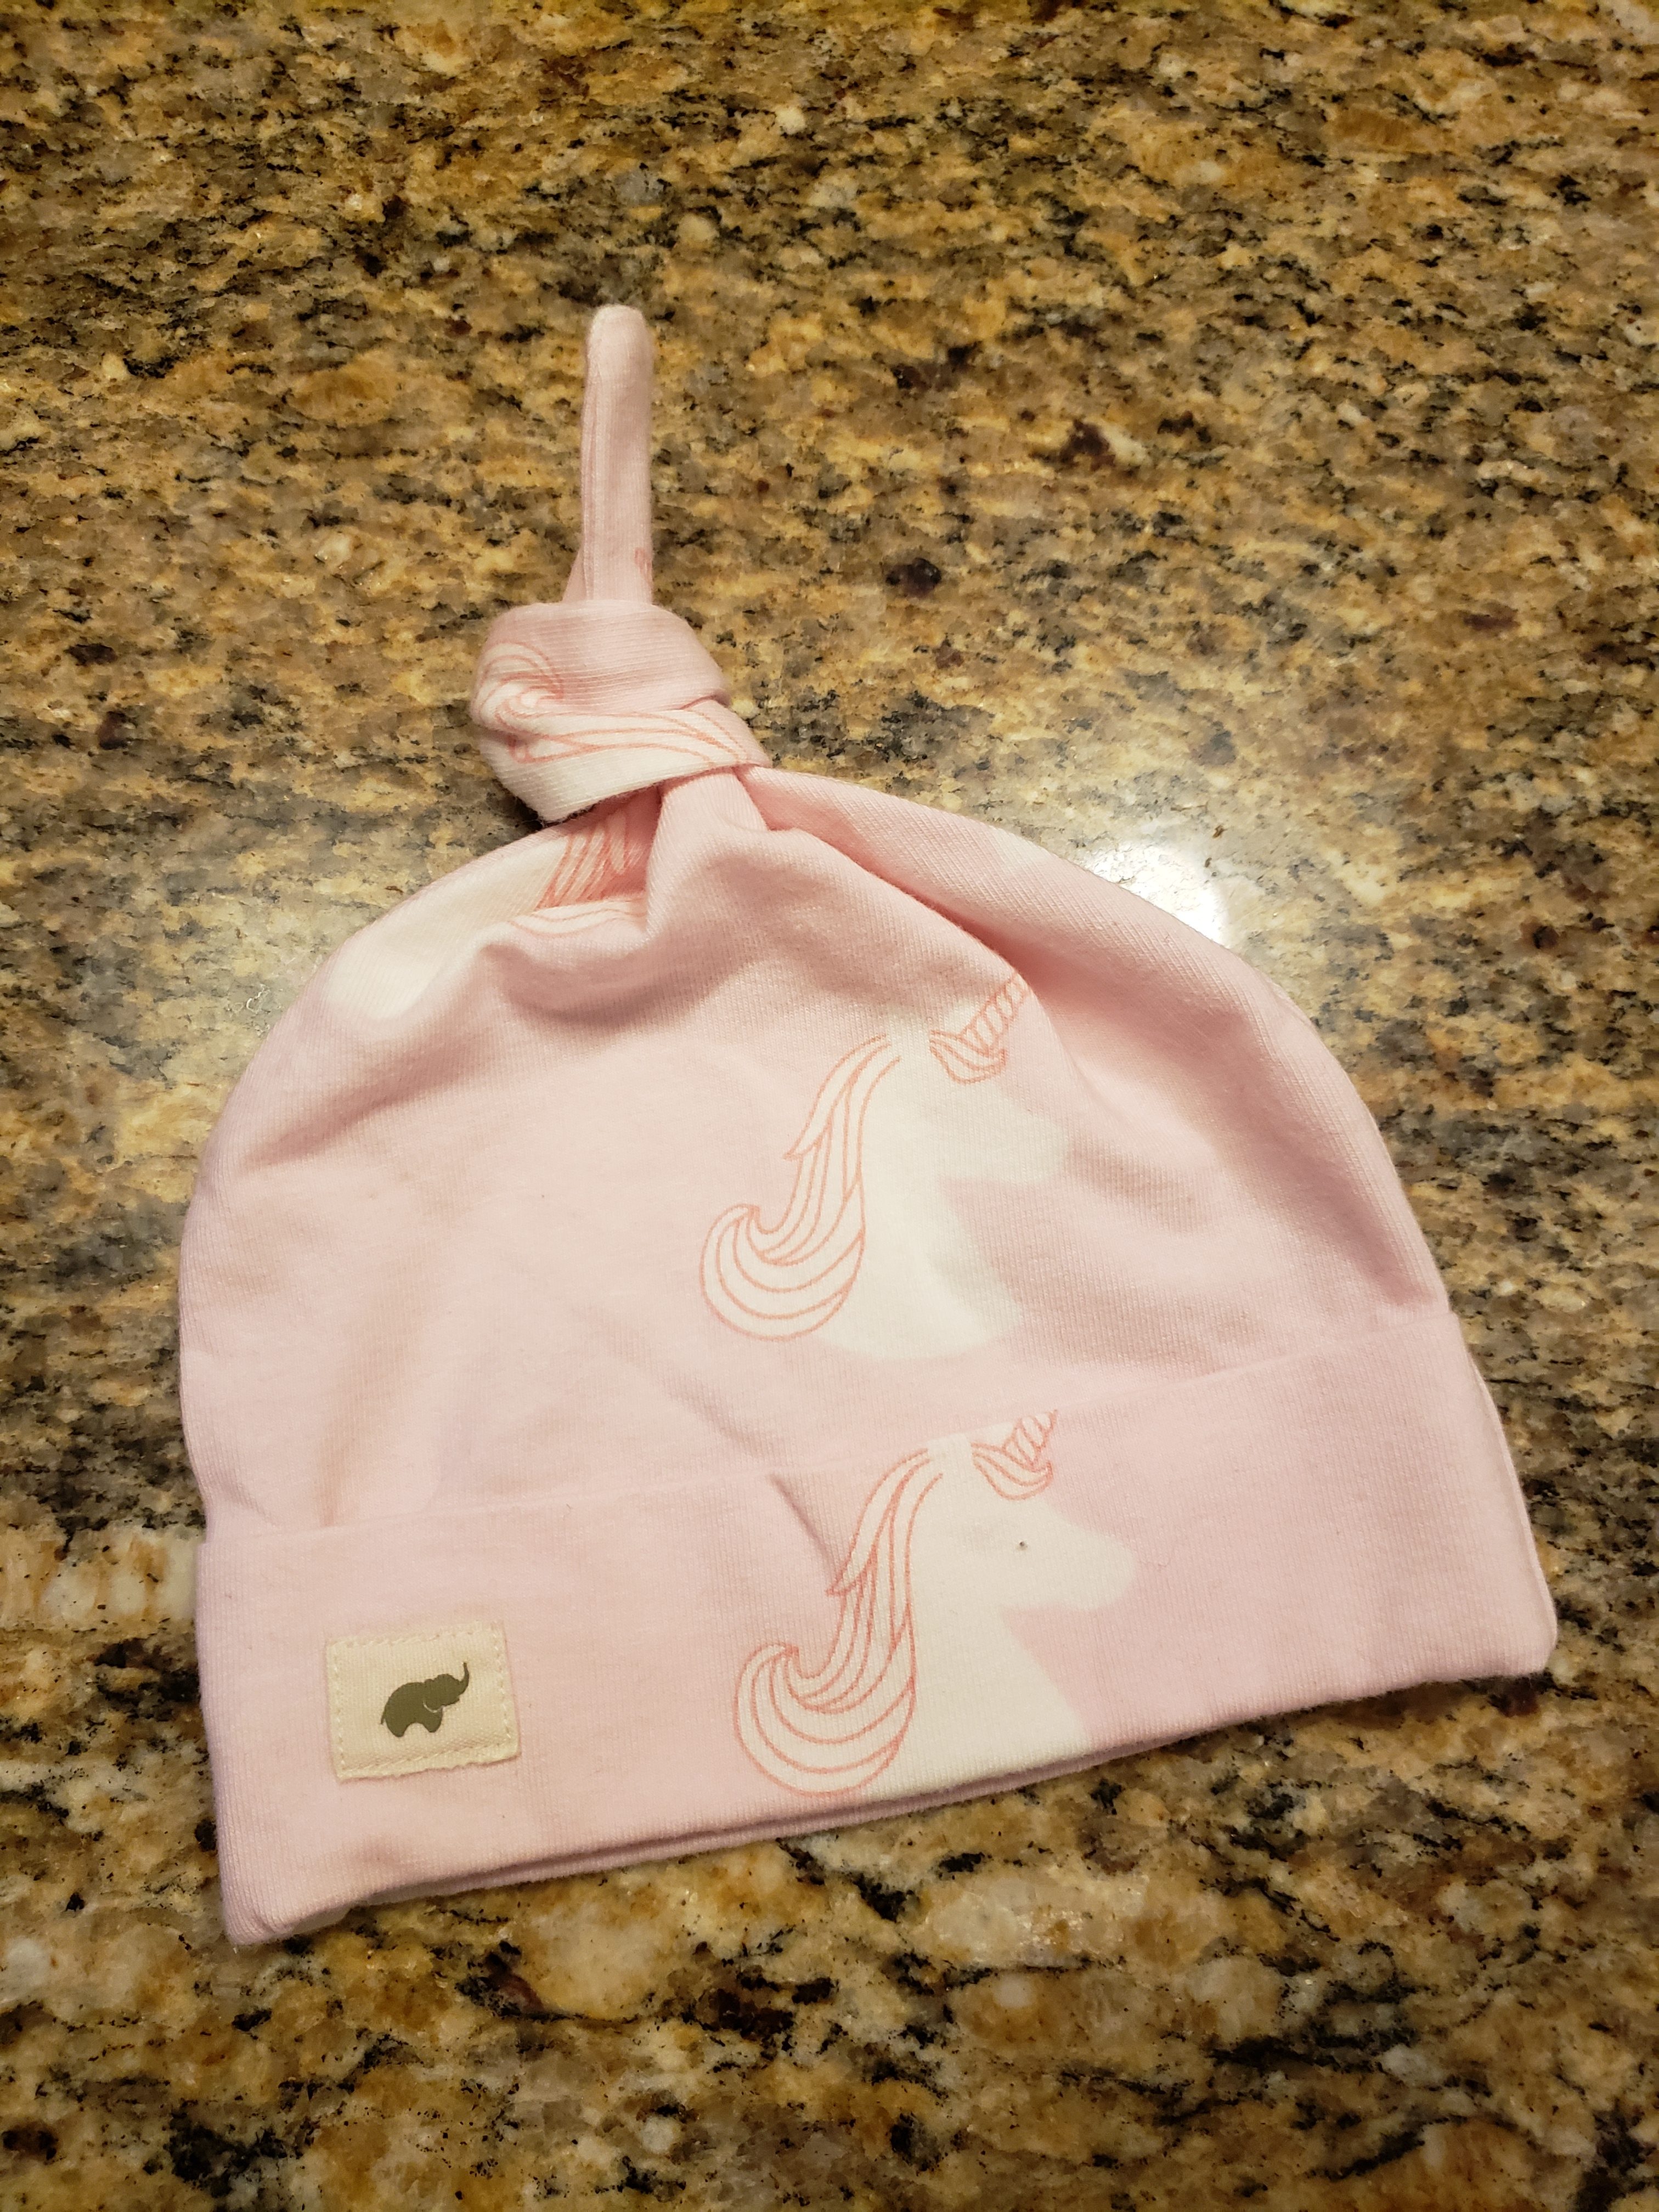
Adorable hat…

+1 for this style of play mat. It was a big deal for us and helped with learning to roll over since the dangling toys provide incentive to roll from tummy to back.
Also, I totally see a funny ghostly face in the first picture of the gnome hat, and I needed to share that with someone.
Hahahaha you mean with those burning glowing eyes??