
Well, no baby yet. They actually asked me if I wanted to be induced at my last visit, but I felt that I could let him stay in there a little longer. If he doesn’t want to come out and he’s still doing okay, I won’t evict him yet. They won’t let him stay in there much longer anyway. But last time I promised you an entry about something non-baby related! So here is something I made this week that has nothing to do with babies!
Several years ago I bought this awesome giant old desk off Craigslist. I stripped it and refinished it in a chestnut color and put it in the office. I really am happy with how it came out. Its super neat too because we can fit a printer inside it hidden in its side cabinet with a super study pull out shelf. I’m not exactly sure what the side cabinet was for – I’m guessing it was for a typewriter, but we are unable to get the shelf to lift up to desk height anymore, even though I’m positive the massive mechanical contraption holding it up should be capable of that. But it still makes a great printer drawer!
Anyway, while cleaning out the closet in the baby’s room to make room for baby stuff, one of the closets I had to clean out was the closet in the study. This lead me to move around a bunch of reams of paper that we kept in the closet. Unfortunately I moved some of the reams under the printer in the cabinet I described above, which caused the very thin shelf underneath the printer (clearly not meant to be a shelf) to collapse. We added a new shelf earlier this week that is much sturdier but probably still cannot hold 8 reams of paper. So instead I decided to find one of those paper organizers to fit under the printer. I plan to store a few types of paper in the cabinet, and return the majority of the paper to the closet again.
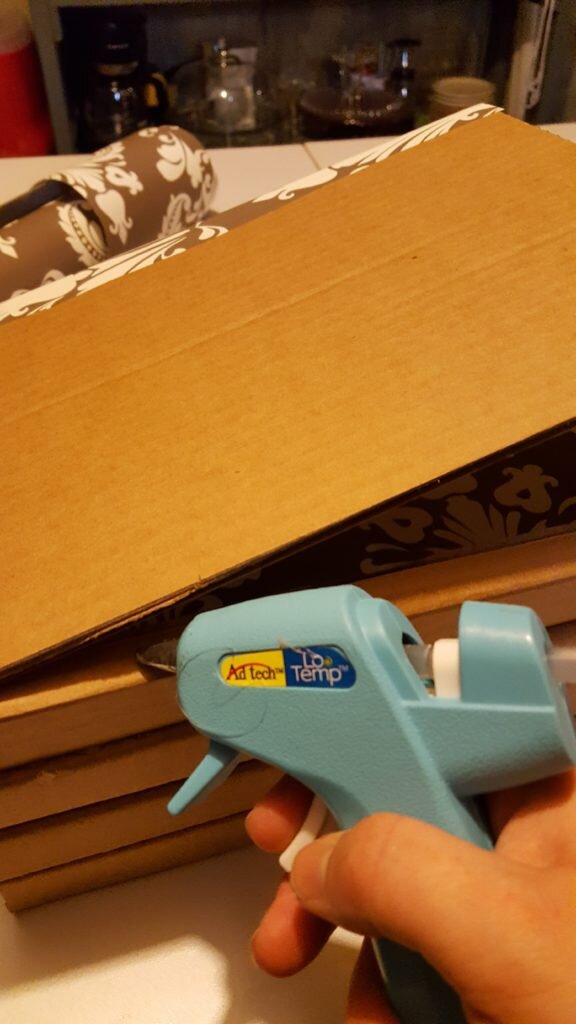
Well of course, none of the paper organizers I could find would fit in the space under the printer. So I was “forced” to make my own. On the bright side it cost me practically nothing because I used cardboard boxes I had lying around, hot glue, and some stick on wallpaper I had bought for another project. I made the entire organizer 4 shelves, but in the end there was a metal structure way in the back under the printer shelf that I didn’t account for when measuring, so I had to rip the fourth shelf off. Now it fits perfectly and still allows the printer to slide out.
DIY Paper Organizer
- 2 yards of sturdy scrap corrugated cardboard
- ~ 2 yards of peel and stick wallpaper (optional for aesthetic purposes only)
- hot glue
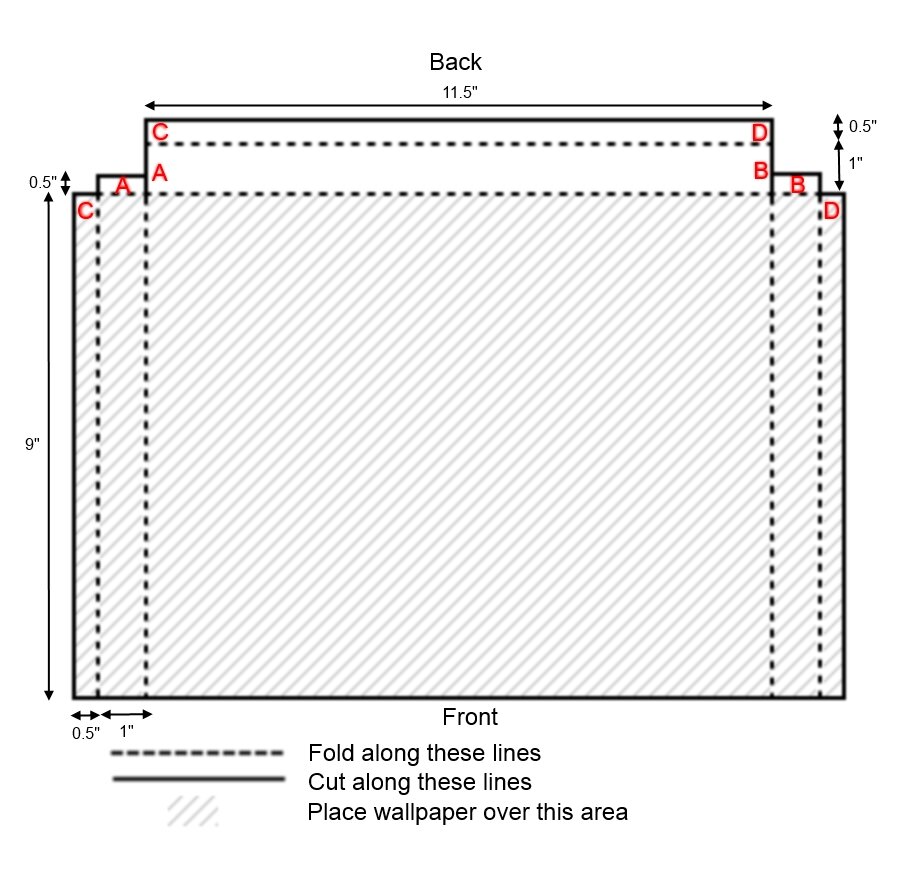
- Using a right angle and the diagram above as a guide, draw 4 copies on your cardboard.
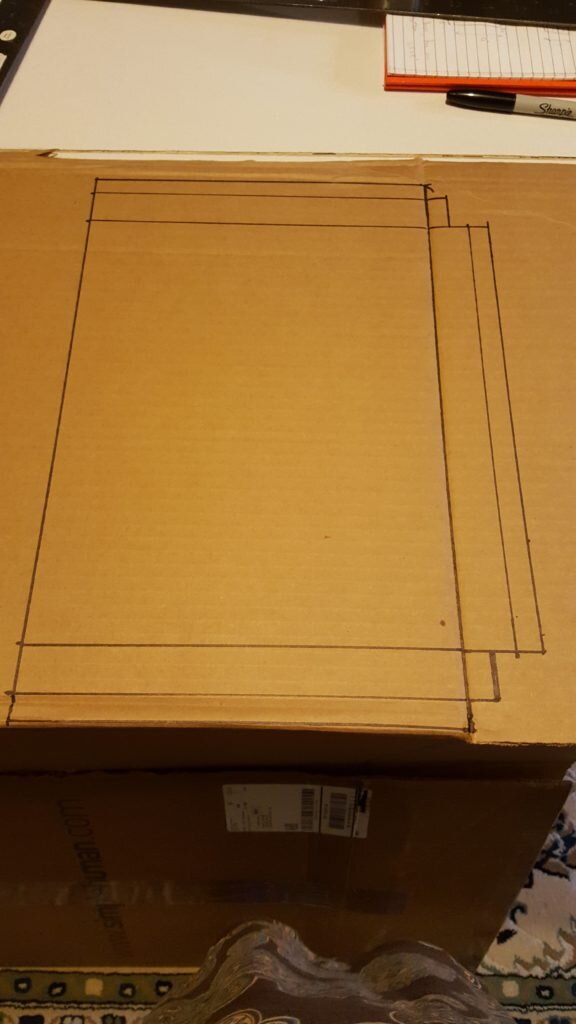
Draw four copies of diagram using a right angle ruler. Note the diagram is not to scale.
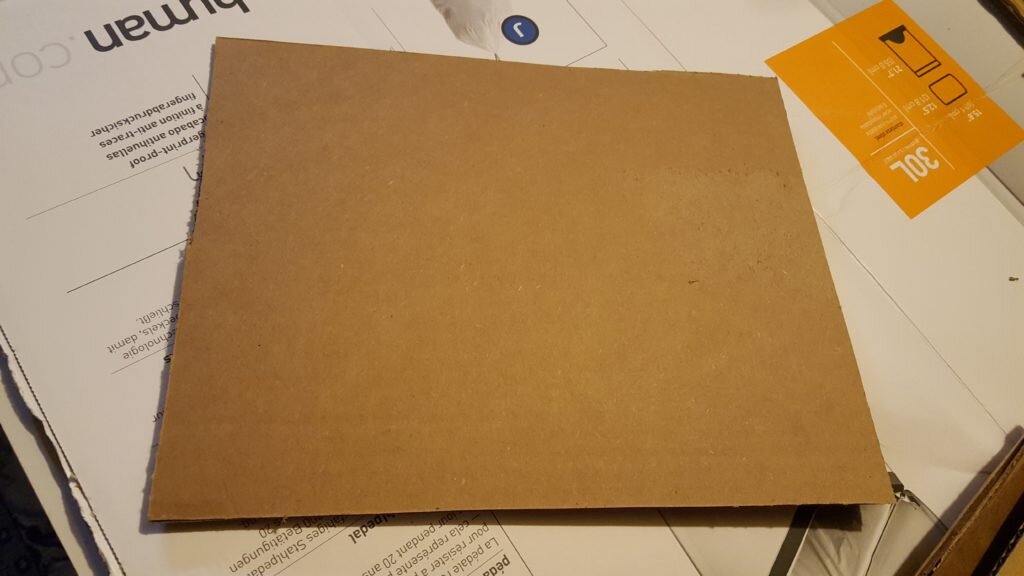
- Cut out 4 copies using an X-acto knife.
- Cut out a 11.5″x9″ rectangle of cardboard for the top of the assembly.
Cut out an 11.5″x9″ cardboard rectangle for top.
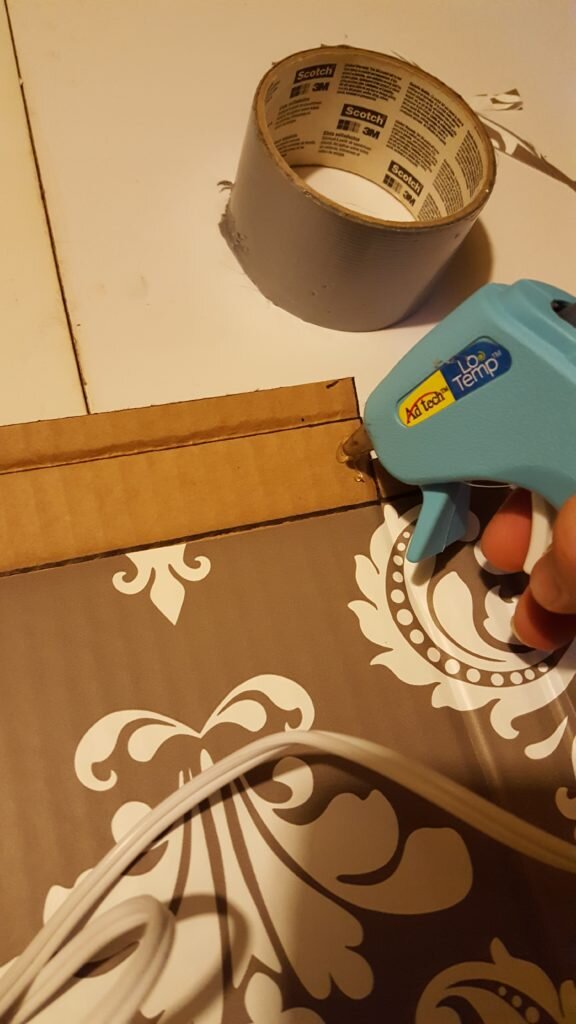
- Score the cardboard with a blunt object at the dotted fold lines in the diagram. Fold up cardboard along those lines.
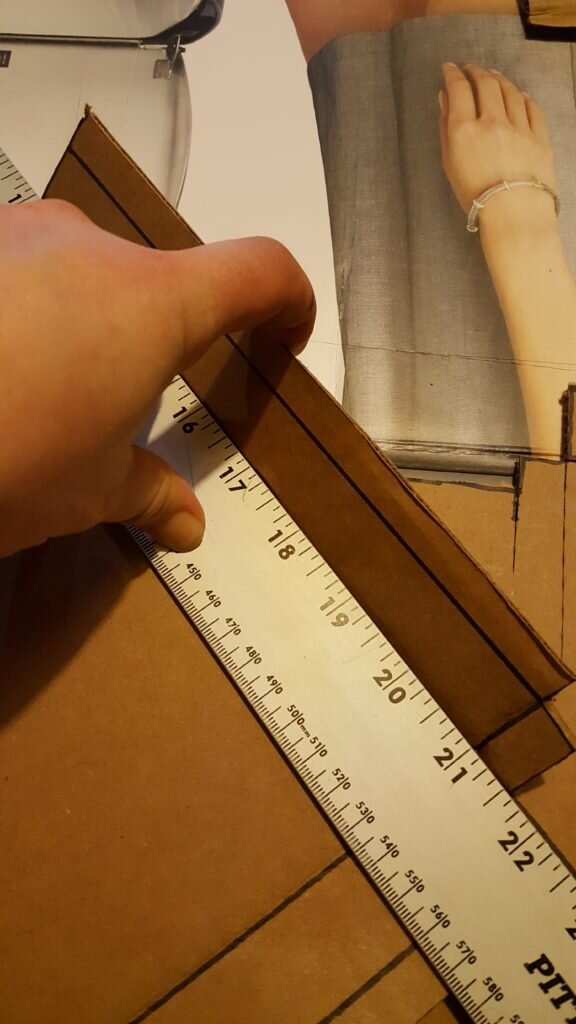
Fold the cardboard up at dotted lines in picture.
- Cut a 14.5″x10″ piece of wallpaper and stick it to the top of the cardboard in the spaces marked on the diagram. 1″ should overhang the front edge of the cardboard lip – fold this under to hide the unfinished cardboard edge.
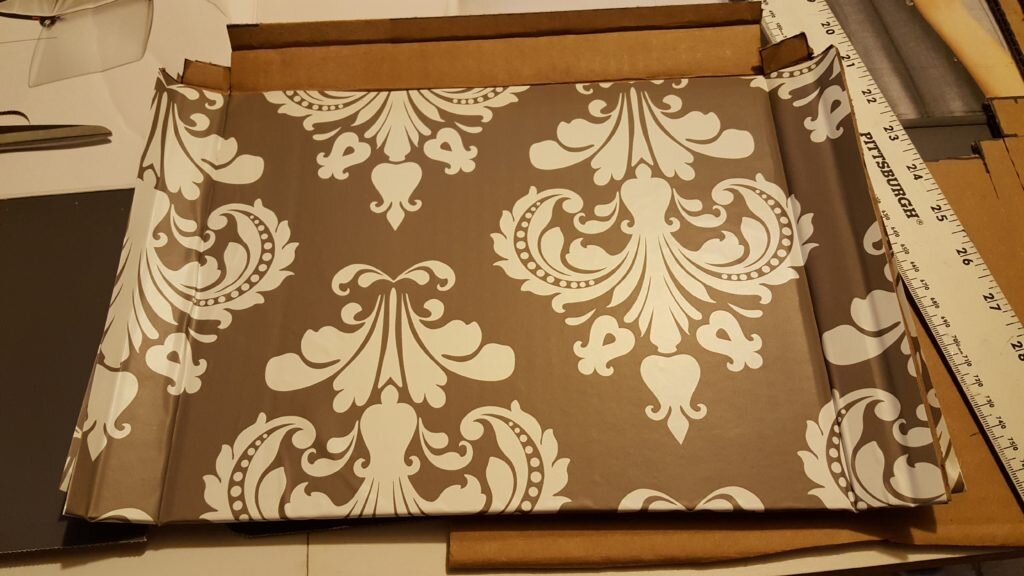
Place wallpaper over designated area in picture and fold excess under front lip.
- Fold the left tab marked A under the flap marked A on the right. Apply glue and press together.
- Repeat for tabs marked B.
Glue flap marked B under tab marked B.
- Fold the side tab marked C over the back tab marked C and glue in place.
- Repeat for tabs marked D. At this point you should have one level of the box completed.
Fold back flap marked D over side flap marked D. Glue in place.
- Repeat construction for other 3 levels (steps 4-10).
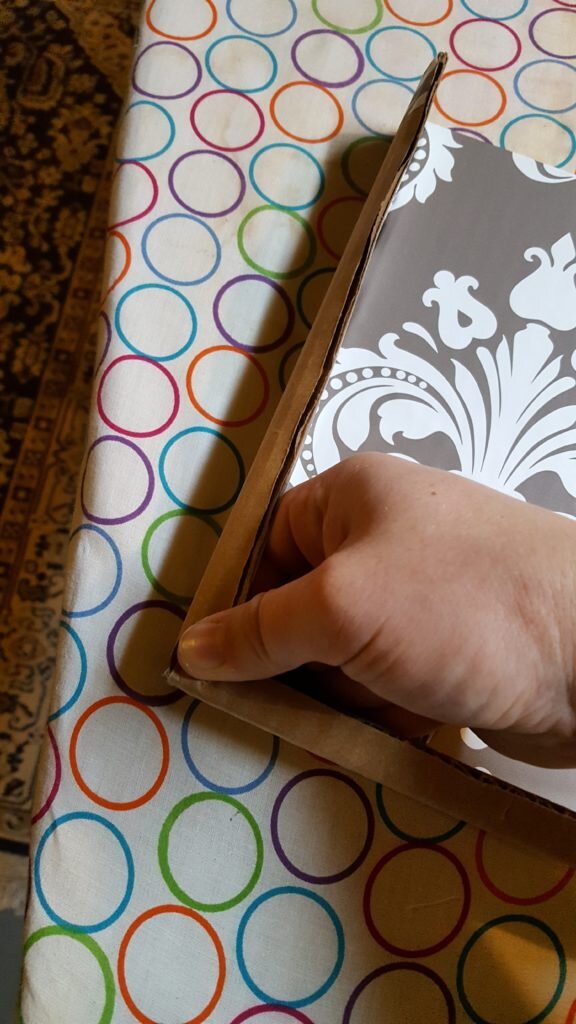
- When all 4 boxes have been built, glue them together by placing glue along the top lip of the box and placing another box on top.
Glue boxes together by placing glue along the upper lip and stacking. I found it easier to line them up by lining up their side edges.
- Cut an 11.5″x2″ piece of wallpaper and stick it over the front of the top cardboard assembly.
- When you reach the top level, place glue along the top lip and glue the top cardboard assembly (wallpaper side out) to the top.
Glue the top cardboard flap to the last layer.
- Cut a rectangle of wallpaper large enough to cover the back of the box. Affix to back of box.
- Cut a rectangle of wallpaper large enough to cover the top and sides of the box, that will slightly overhang the depth of the back of the box. Wrap around the box and fold the excess wallpaper over the back edge of the box.
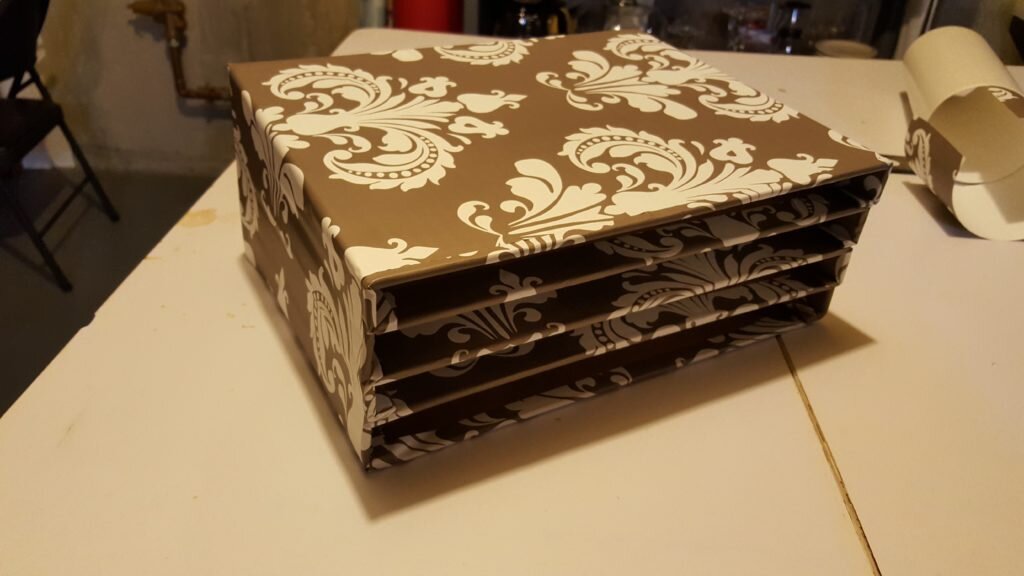
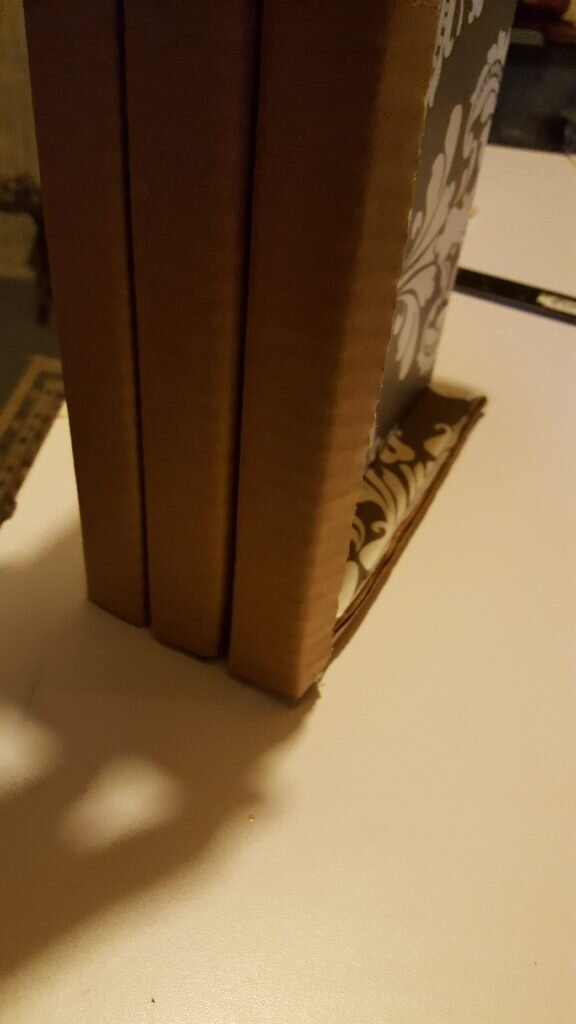
Finished paper holder!
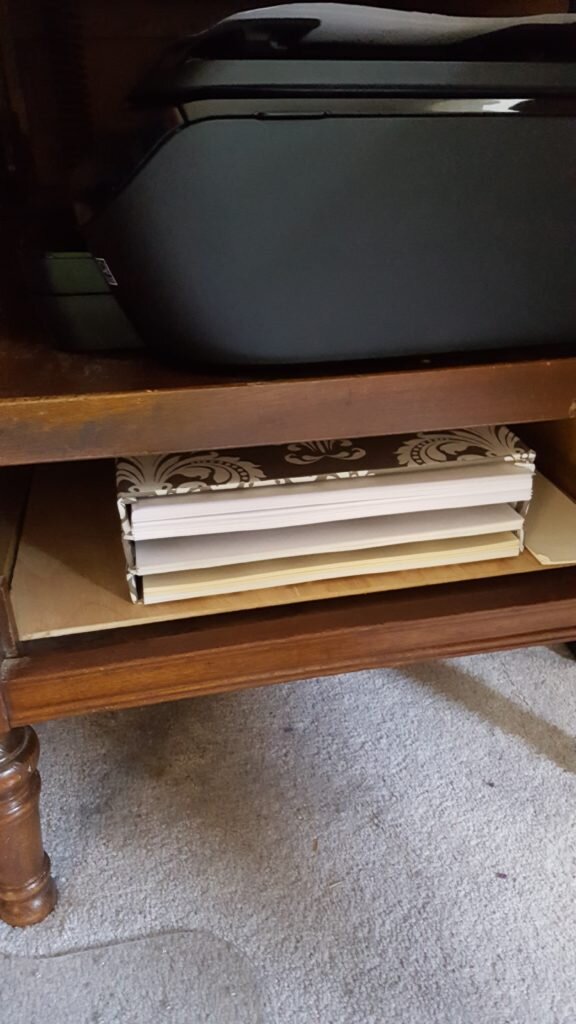
Paper holder under my printer – note it is down to only 3 levels now!
