
Well, the baby’s due date was Saturday and that day came and went. Will and I went for long hikes in the woods with Dany all weekend, but to no avail so far! Dany seemed to enjoy them at least. I’ve been on leave for two weeks now (and good thing too, because I’m getting those more obscure end of pregnancy symptoms now such as carpal tunnel). I was very productive the first week and I think everything I can do pre-baby to set up the baby’s room (ie. no painting) has officially been done. What I’m trying to say is, we’re ready for you baby, let’s go!
My co-workers have started texting me regularly to ask if I’ve had the baby yet. So I guess its not just Will & I who are getting anxious to meet this baby. I know our family is also anxious because we’ve been getting periodic texts and calls from them as well. Today I got a call from a number I didn’t recognize (which I usually don’t pick up) and it was my mom calling from the hospital. For perspective, I don’t think my mom has EVER called anyone from the hospital. She was calling to jokingly let me know that it was a good day to have a baby since there were a lot of beds available. Hopefully the little guy heard that and gets a move on!
Since I’ve found myself with some free time on my hands I’ve started tackling some non-baby related projects around the house. You’ll be able to read about those in future posts. But for now, here’s another baby related project I completed! The baby’s crib skirt now matches his curtains (but I’m sure if he’s anything like his father he will not even notice).
DIY Crib Skirt
What you’ll need:
- 2 yards of 44″ fabric for the ruffle
- 2 yards of fabric for under crib mattress
- Cut your under crib fabric to a width of XxY. Cut out 4 right triangles that are 4″ long on the legs from the same material.
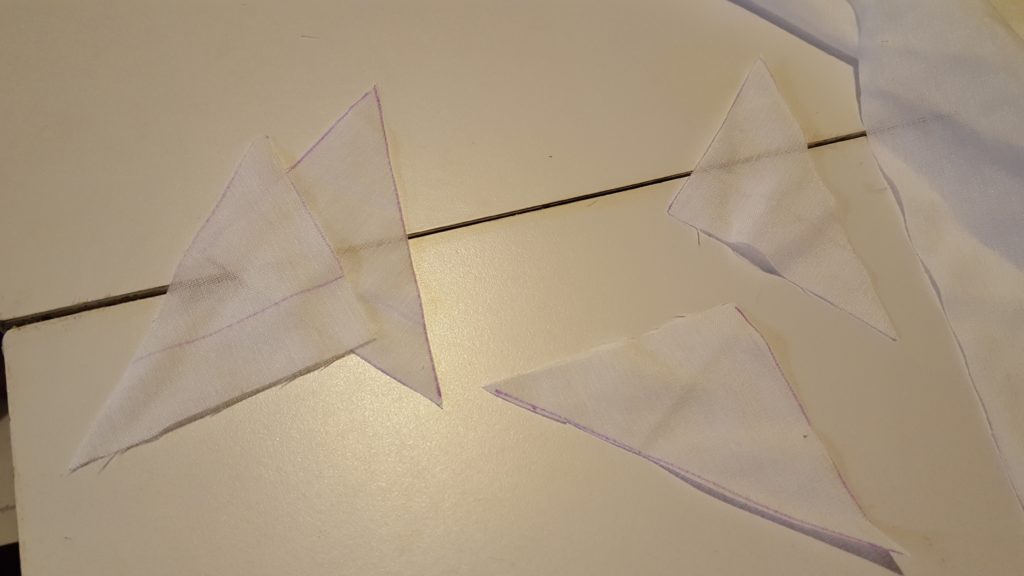
Cut out right triangles for crib skirt reinforcement.
- Fold under the hypotenuse of each triangle by 1/2″ and stitch. These triangles will reinforce the crib corners.
- Cut out 2 44″x12″ strips of fabric, 2 34″x12″ strips of fabric and 2 40″x12″ strips of fabric for the ruffle.
- Take one 44″ and one 34″ strips and stitch together with 1/2″ seam allowance to form one 77″x12″ piece. Repeat for other two strips.
Stitch 44″ piece and 34″ piece together.
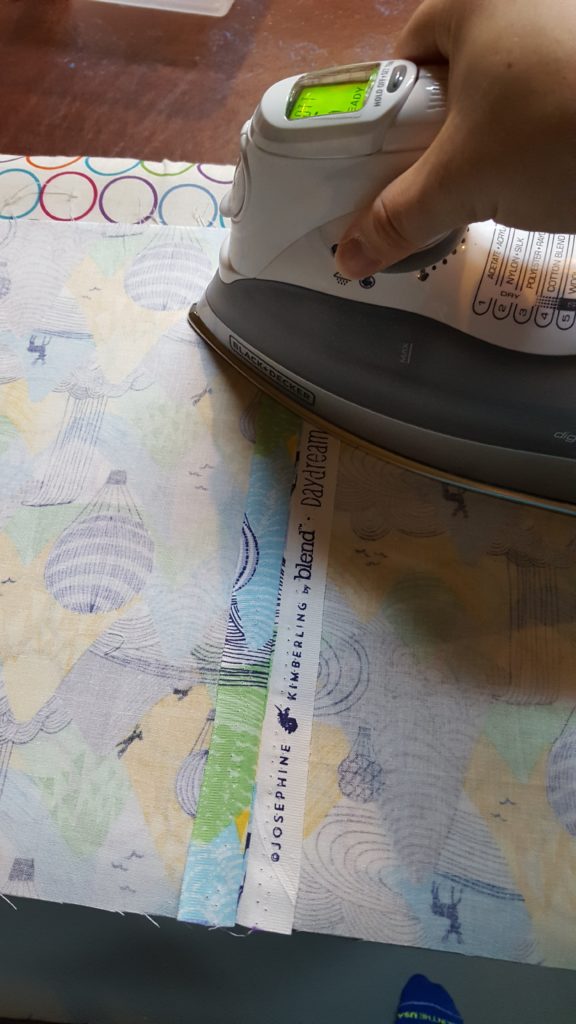
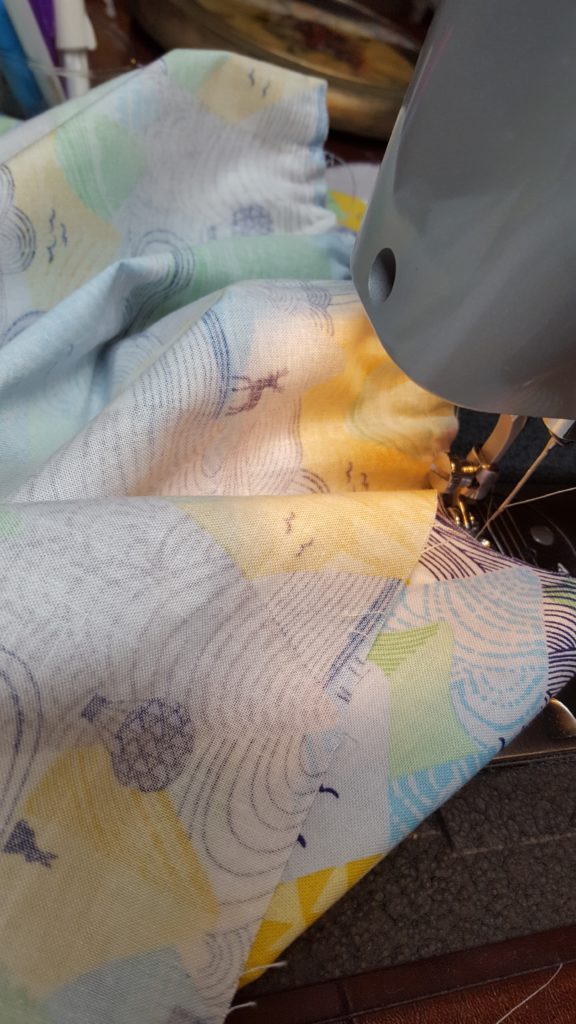
- Press each rectangle along the sides and bottom to form a 1/4″ rolled hem. Pin. At the corners, form a mitered corner (this post describes how to do that).
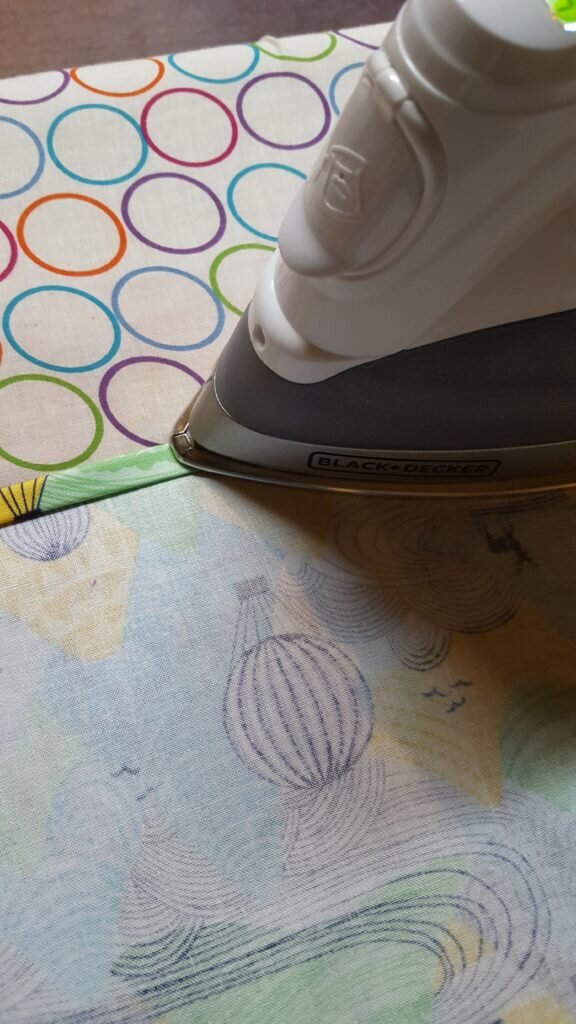
Press 1/4″ rolled seam around sides and bottom of each panel.
- Stitch.
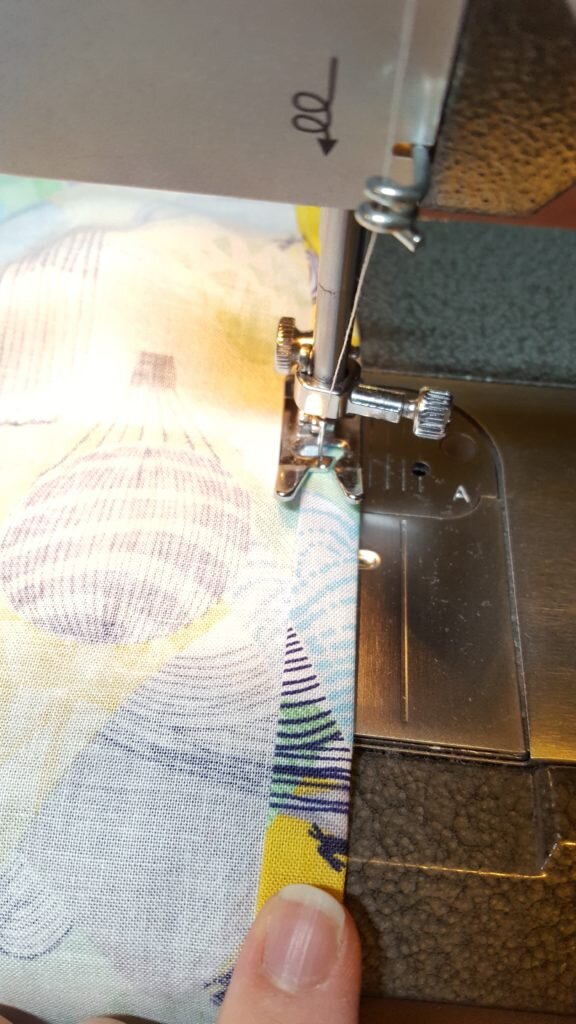
Stitch 1/4″ seam
- Stitch a long basting stitch 1/2″ from the unfinished top of each rectangle to use for gathering the skirt.
Stitch long basting stitch for gathering skirt in top of each panel.
- At each corner of your crib fabric rectangle place a triangle from step 2 right side up.
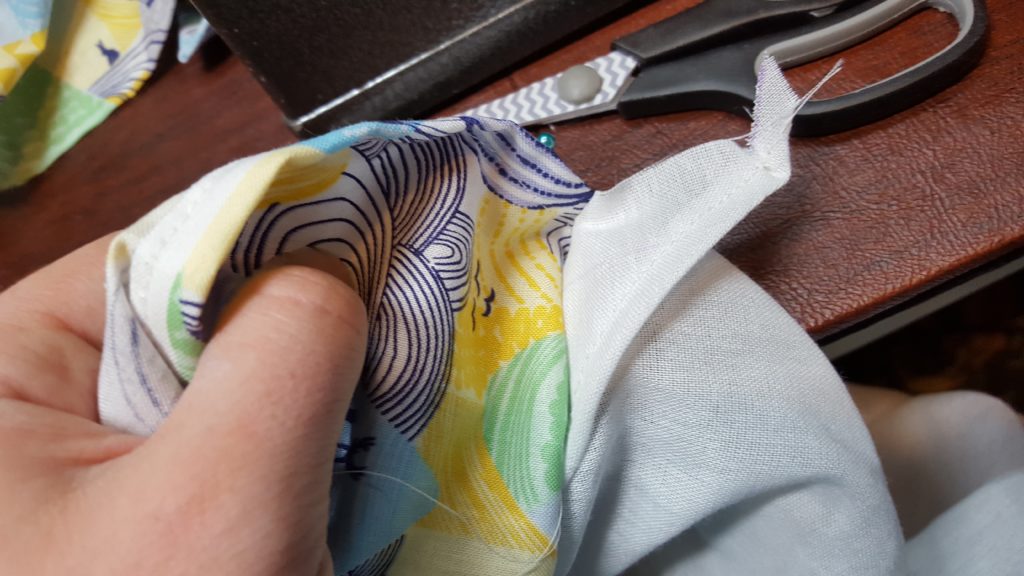
Pin triangle right side up to crib lining. Note I am showing one of the panels pinned here as well.
- Pin a 77″ rectangle along one of the long ends of the crib fabric, by matching up side seams with the sides of the crib rectangle. Make sure they are right sides together.
- Pull up the gathers to fit. Pin and stitch.

Pin long side of crib cover to 77″ swag on each end. Pull up basting to fit. Pin & stitch.
- Pin a 44″ rectangle along the short end of the crib fabric, overlapping the 77″ rectangle.
- Pull up the gathers to fit. Pin and stitch. Repeat for other two sides.

Final crib skirt after hanging up to dry.
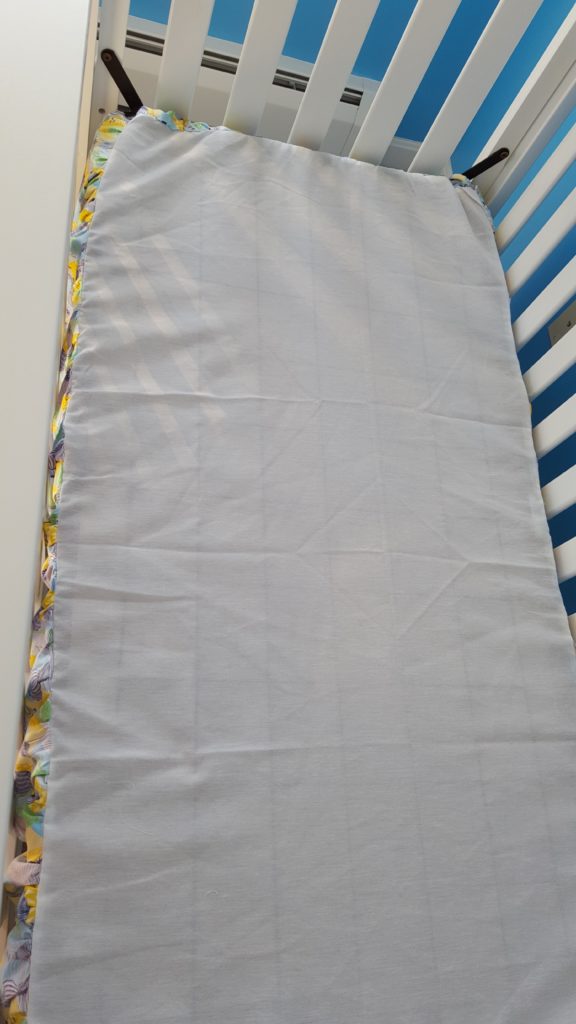
Place crib skirt below mattress.
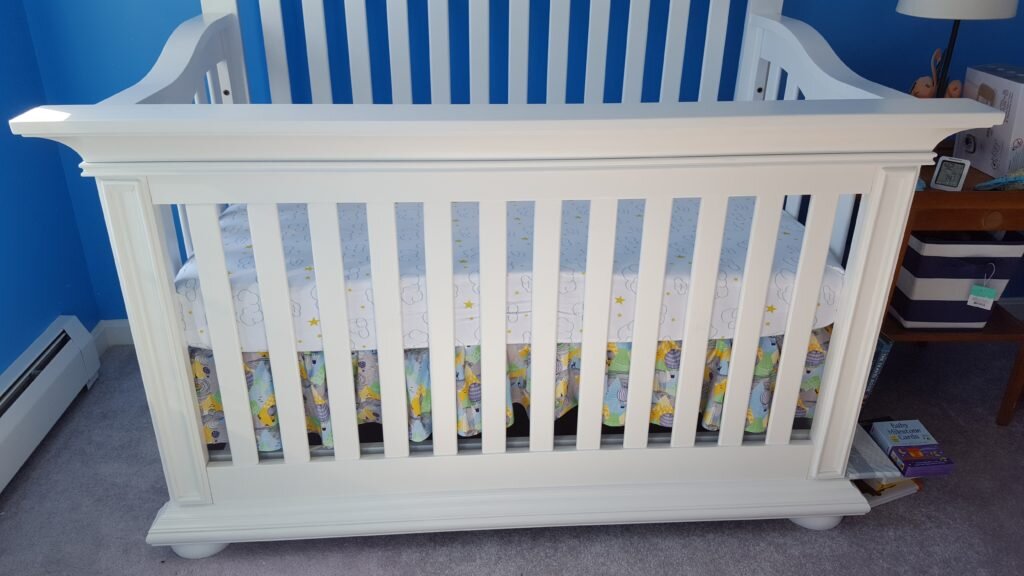
Final crib skirt shown with our new crib!
