
Happy Earth day (one day late) everyone! I hope you spent the day doing something green! Or at least made an extra effort to recycle! Will and I were less Earth friendly than usual yesterday and spent the entire day driving back home from North Carolina burning fossil fuels and wasting to-go containers. I’ll have to atone for that later.
Why were we driving Sunday, you ask? We spent the weekend in North Carolina for Erin’s baby shower! I’ll have a post about that soon, but in the meantime I can tell you that it was lots of fun, and the party went more smooth than ever thanks to Erin’s wonderful mom and sister in law and my wonderful mom and sister! I’m excited to show you some photos from the party in a few weeks. I also made Erin a couple blog worthy items. The first were cloth wipes – they are going to try cloth diapering! Yay for going green! And the second was a crinkle toy that I up cycled from smartfood popcorn bags (yay recycling!)
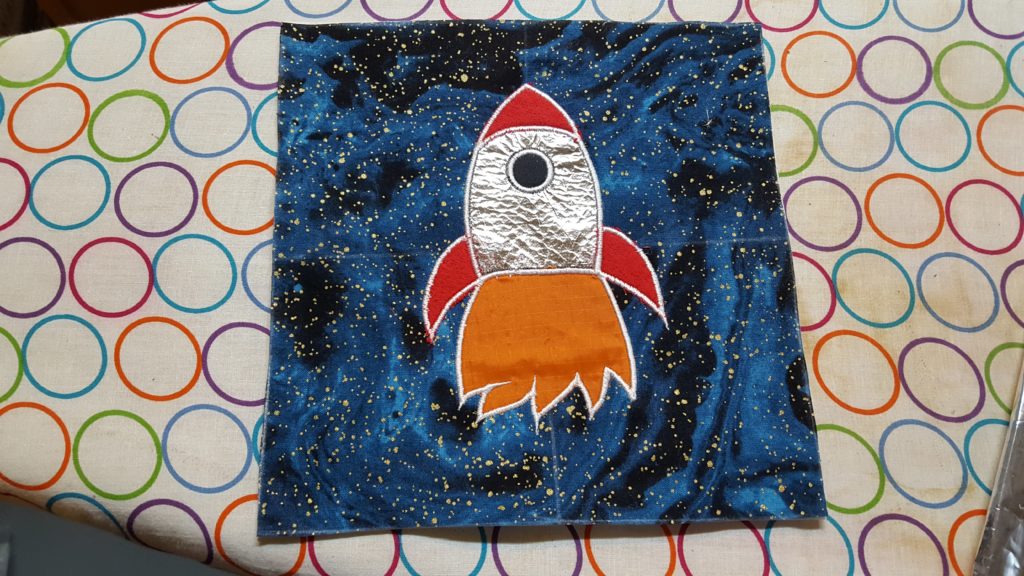
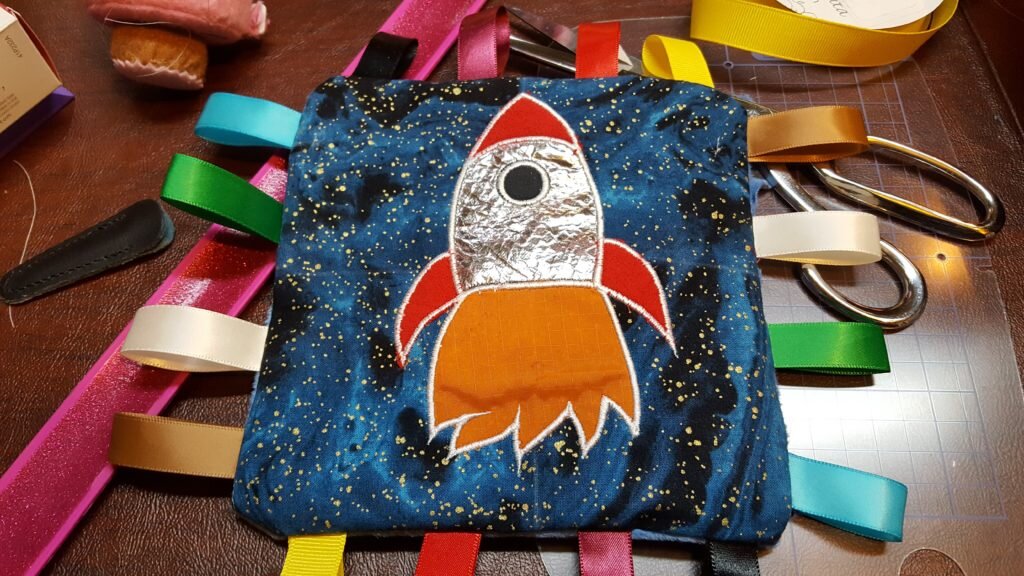
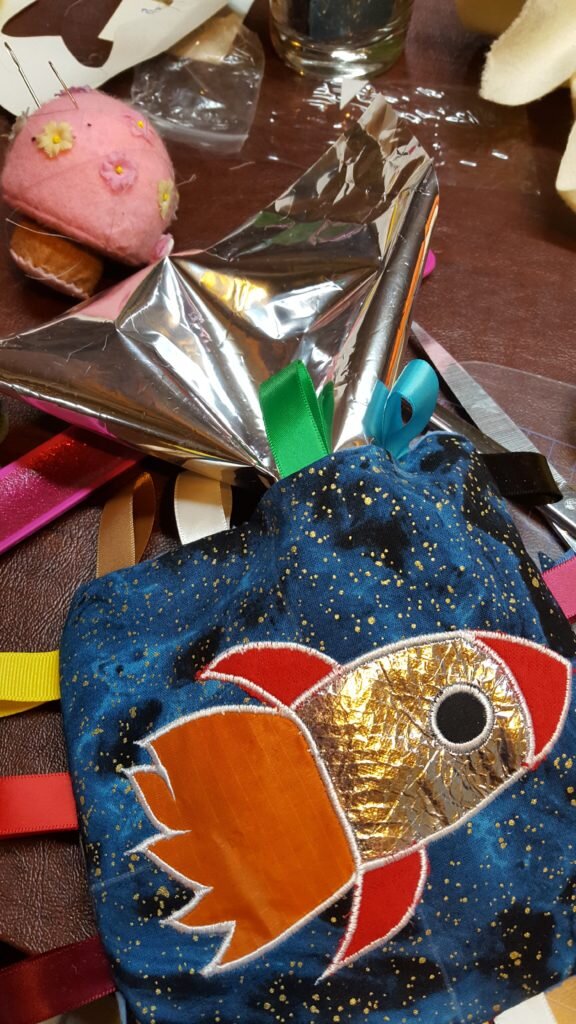
As I mentioned in an earlier post I’ve been experimenting with embroidery again. Specifically I discovered the joys of applique. My mother in law gave me some applique supplies for Christmas and some applique patterns. After she explained the process and I tried it myself a few times I started moving up to applique design and creation. It is so much easier to create applique patterns than embroidery patterns. I’ve created a couple cute patterns that I’ll be sharing in the coming weeks. This is actually the second applique pattern I created. Since Erin and Mark’s baby room (plus two of my other friend’s baby rooms) was going to be space themed I decided to create a rocket ship. I thought I could use some materials with different textures and colors to make the rocket eye-catching for a baby crinkle toy. I’m happy to report that this toy is Julius approved! He really likes his rocket ship. Make your baby their very own a rocket ship crinkle toy and let them reach for the stars while saving planet Earth!
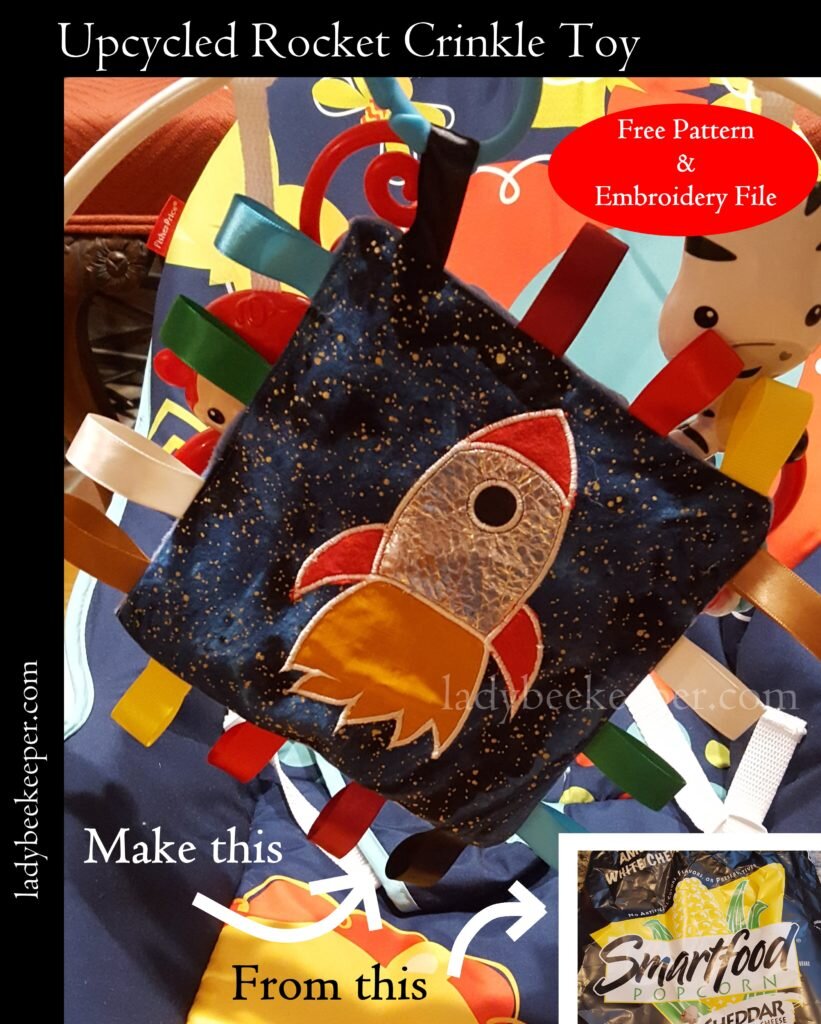 Rocket Ship Crinkle Toy
What You’ll Need:
- PES embroidery file here
- 12″x8.5″ cotton fabric with stars
- cut away embroidery stabilizer
- 5″x7″ embroidery hoop
- scrap fabric for rocket ship
- spray fabric adhesive
- 2 yards of 5/8″ ribbon
- minky fabric
- smartfood popcorn bag or other very crinkly potato chip bag
- Prewash all fabric. Wash smartfood popcorn bag.
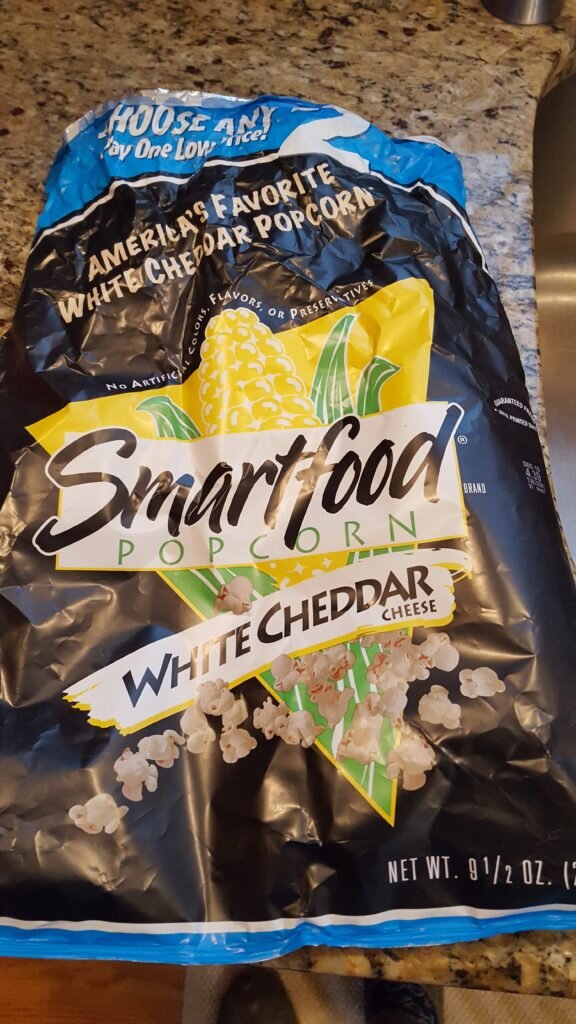
Thoroughly wash popcorn bag
- Hoop star fabric in 5″x7″ hoop with medium weight cut away stabilizer.
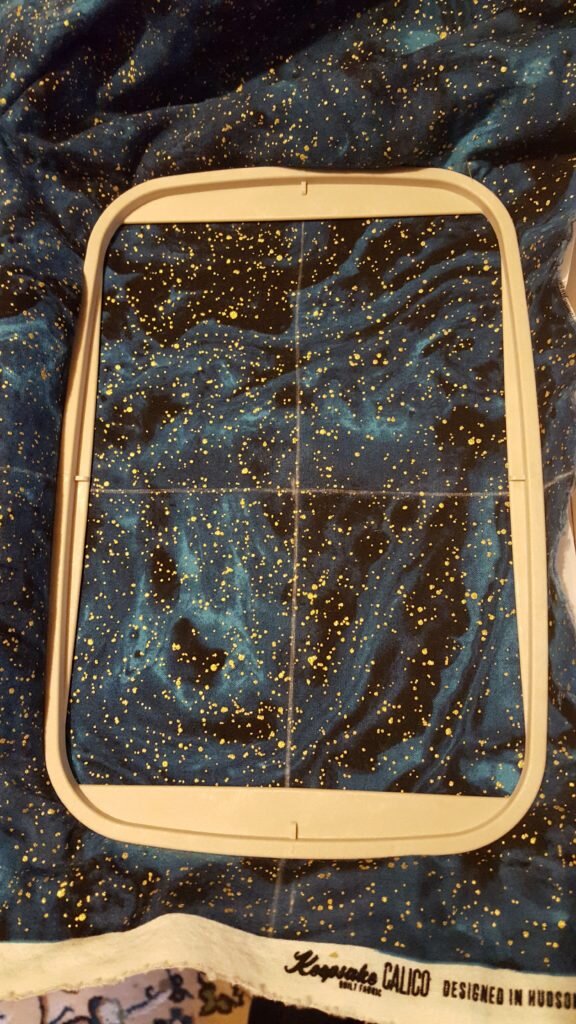
Hoop star fabric in 5″x7″ frame with medium weight cut away stabilizer
- Unzip the embroidery file and load the embroidery pattern onto your machine.
- Stitch the first guideline stitch for spacecraft body.
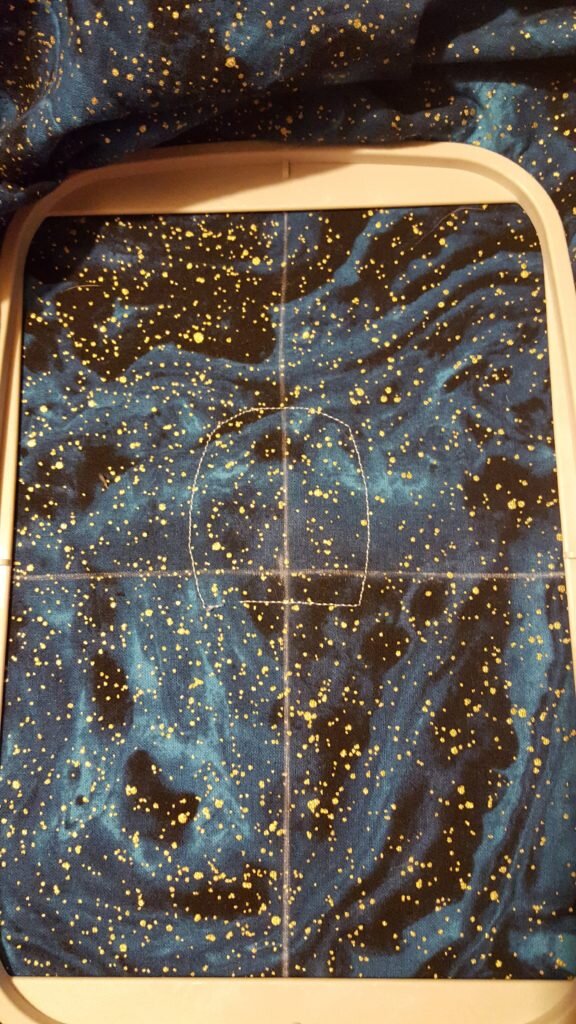
Stitch guideline stitch.
- Cut a piece of scrap fabric larger than this guideline, lightly spray with adhesive and secure to hooped fabric
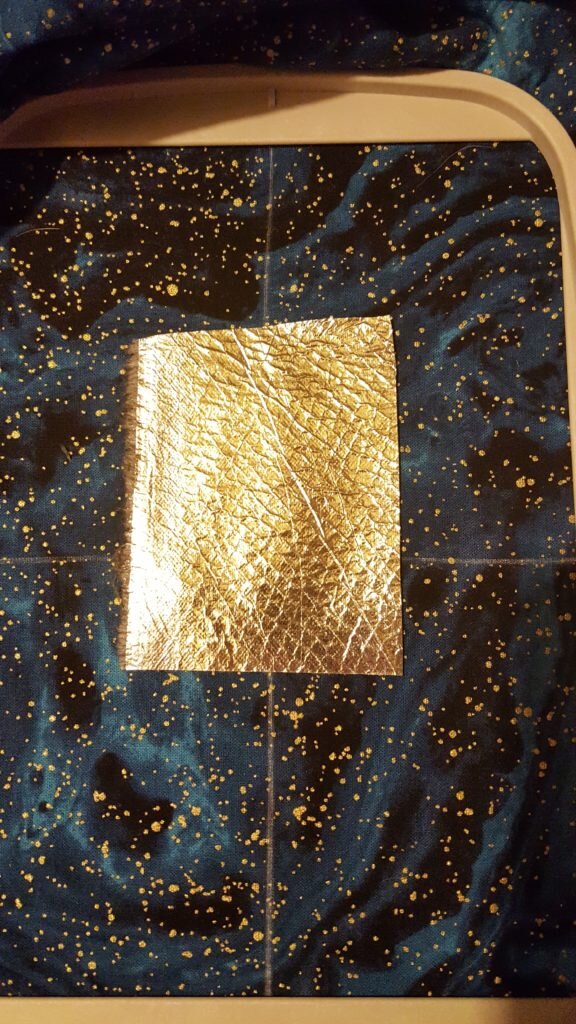
Spray scrap material larger than guideline with spray adhesive and adhere.
- Tack down stitch scrap fabric.
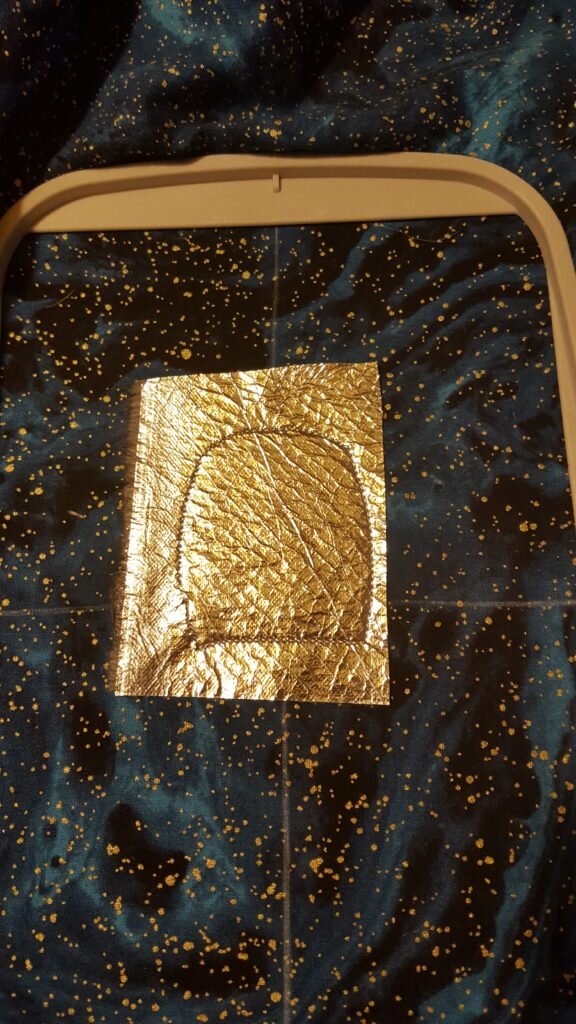
Tack down stitch the rocket body.
- Using duck bill scissors, cut very close to the stitching. Take care not to cut any stitching.

I don’t have a picture of cutting carefully around the body of the rocket, but here is how you use the duckbill scissors.
- Return to the machine and sew the final stitches to hold it in place.
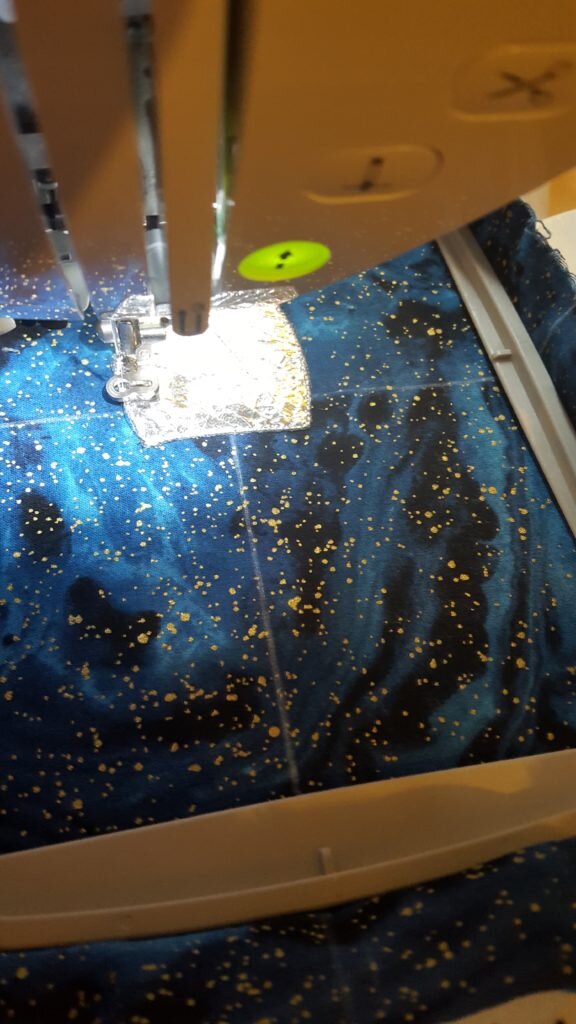
Stitch down final stitches to hold body in place.
- Repeat steps 2 thru 5 for fins, flames, nose cone and porthole.
- Stitch final embroidery stitches outlining whole project.
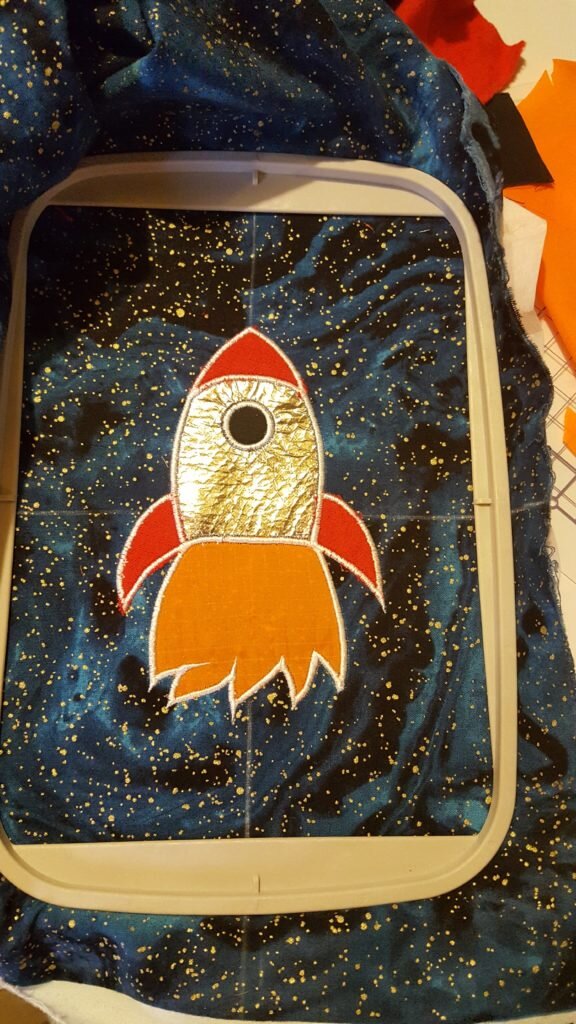
Finished rocket ship in hoop.
- Draw an 8″x8″ square around rocket ship and interfacing. Cut.
Cut 8″x8″ square around rocket ship.
- Cut 8″x8″ square of minky fabric
- Cut ribbon into 16 4″ segments. Fold segments in half, and pin around perimeter of rocket square’s face with fold facing towards the center.
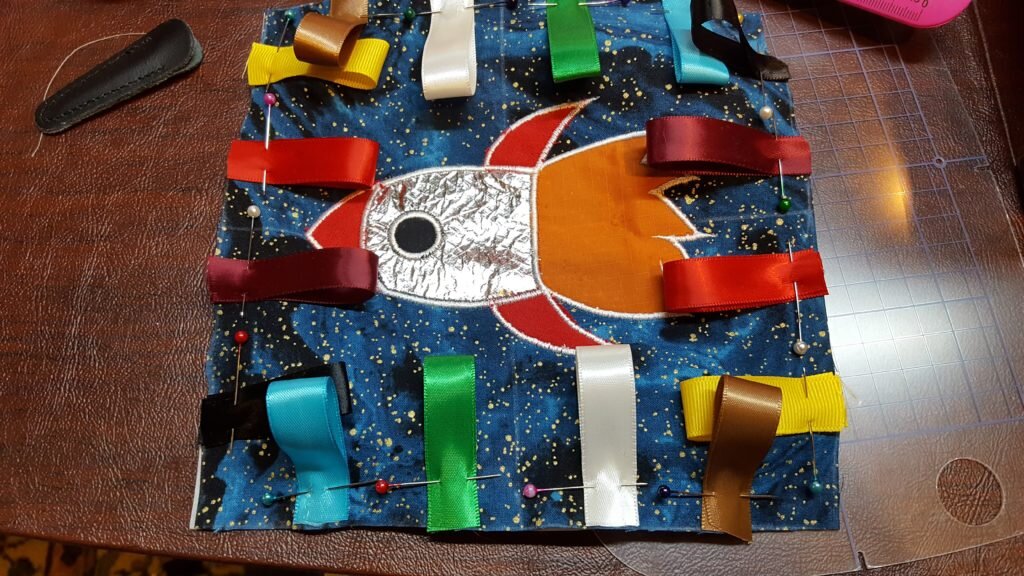
Fold ribbon segments in half and pin to outside of square.
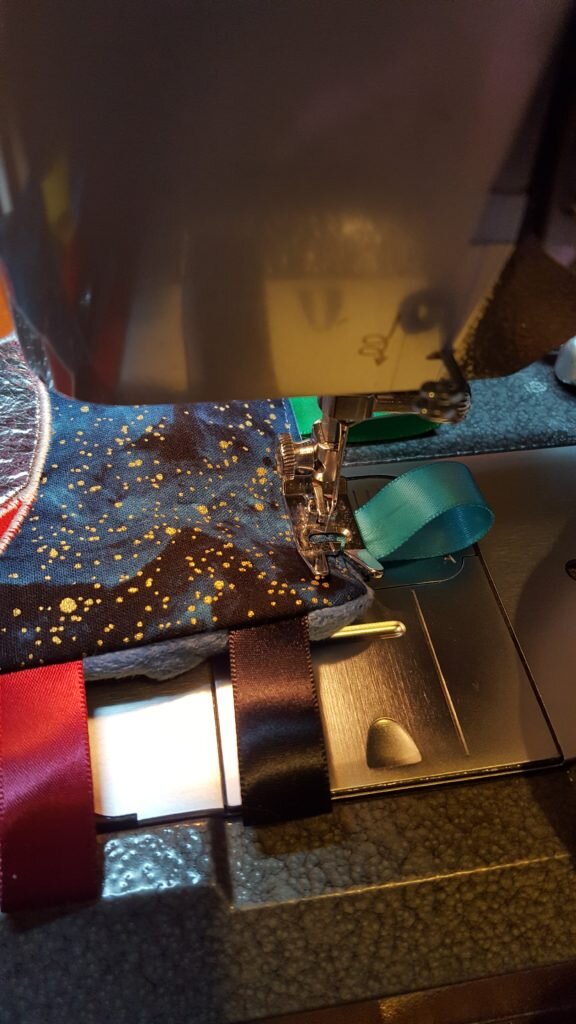
- Stitch around edge of the square along the 1/4″ and 3/8″ marks to secure ribbon.
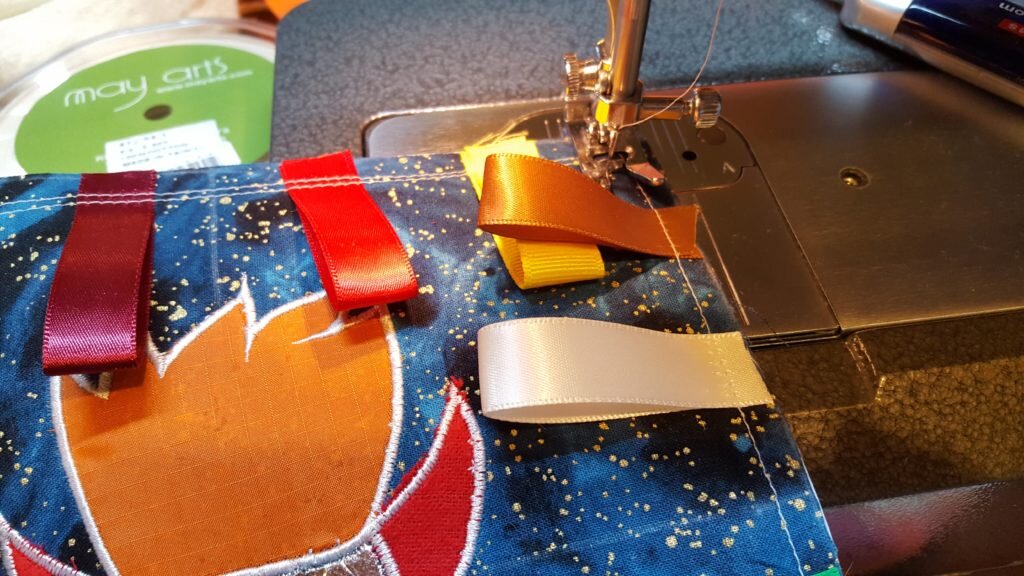
Stitch along 3/8″ and 1/4″ marks to secure rirbbon.
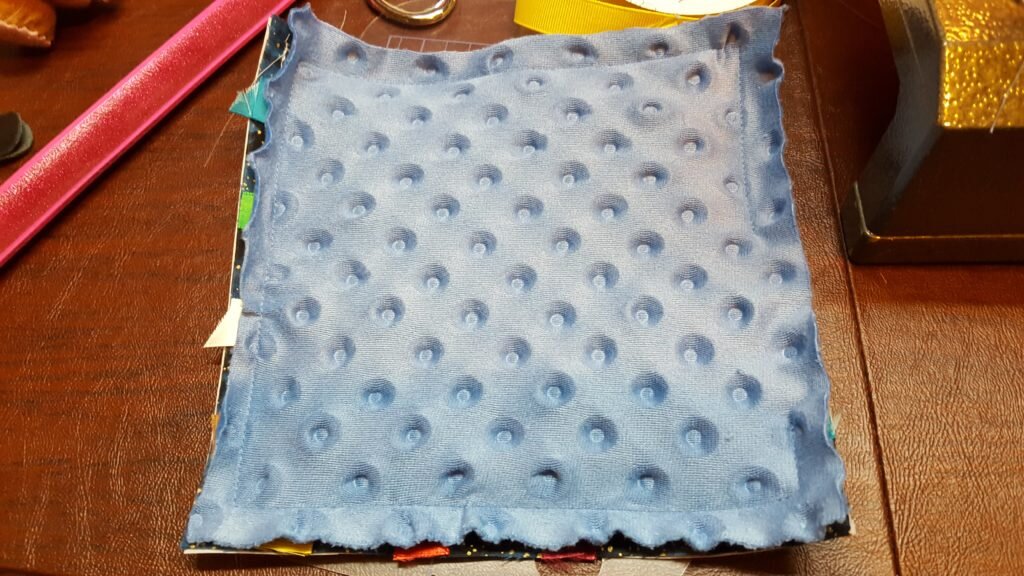
- Pin minky fabric square to rocket square, right sides facing in.
- Stitch around the perimeter at the 1/2″ line, leaving a 3″ gap on one side.
Stitch minky fabric to rocket ship – right sides together. Leave gap in fabric.
- Clip corners and turn right side out.
Clip corners and turn inside out.
- Wash smartfood popcorn bag then cut an 8″x8″ square from a corner of the bag (leaving 2 layers of plastic).
- Insert plastic through gap in step 12, pushing the corners of the plastic squares into the corners of the rocket ship square. Plastic will not quite fit and will warp slightly while you are inserting it. This is expected and will make the toy crinkle easily when moved.
Insert popcorn bag into rocket body.
- After inserting plastic, fold the seam allowance of the gap fabric inwards. Pin the open edges together and machine stitch closed.
Fold seam allowance in gap for stuffing under. Stitch closed on the outside of the toy.

Finished rocket ship!
Textured minky back of rocket ship.

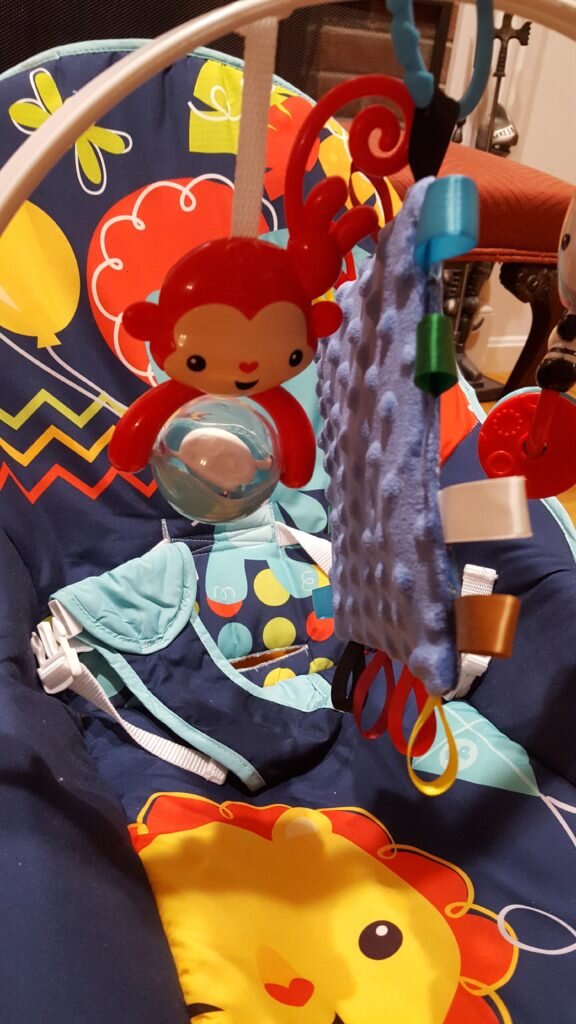
Crinkle toy action shot.
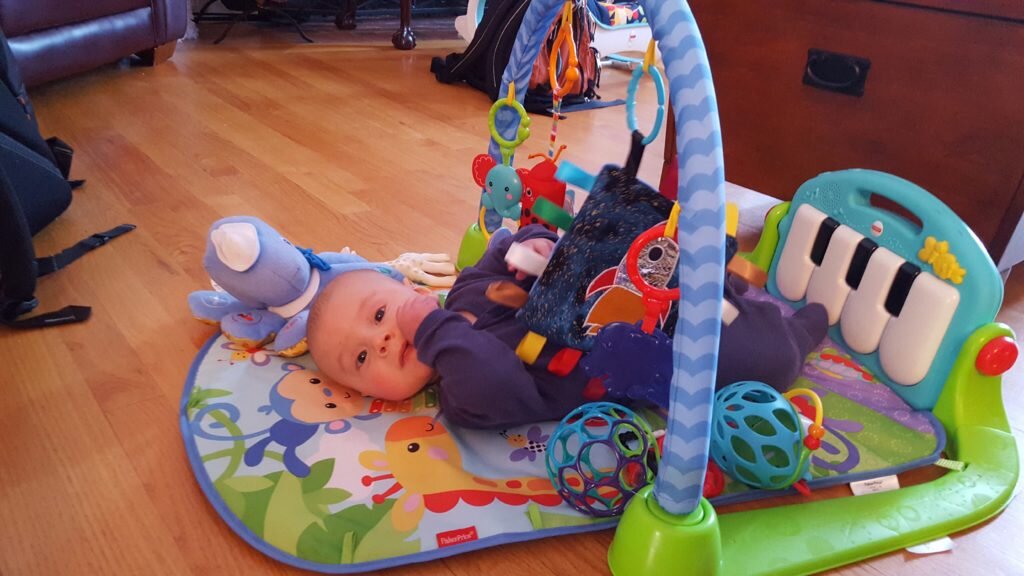
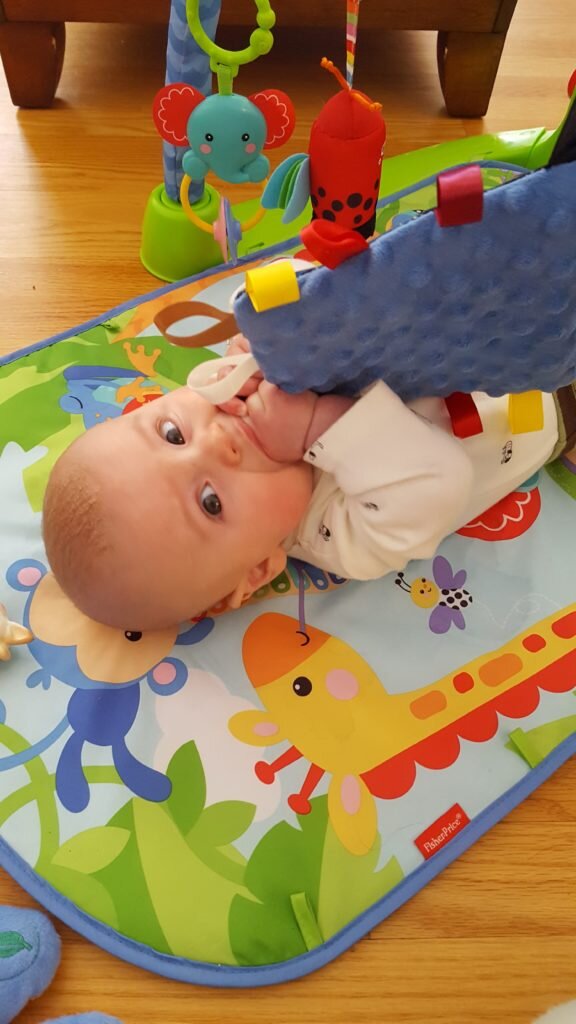
Julius trying to shove the whole toy in his mouth

I still can’t believe that you made that!! Such skillz! I’m sure that Finn will love it!
I hope so! You’ll have to let me know!