
reusable_bag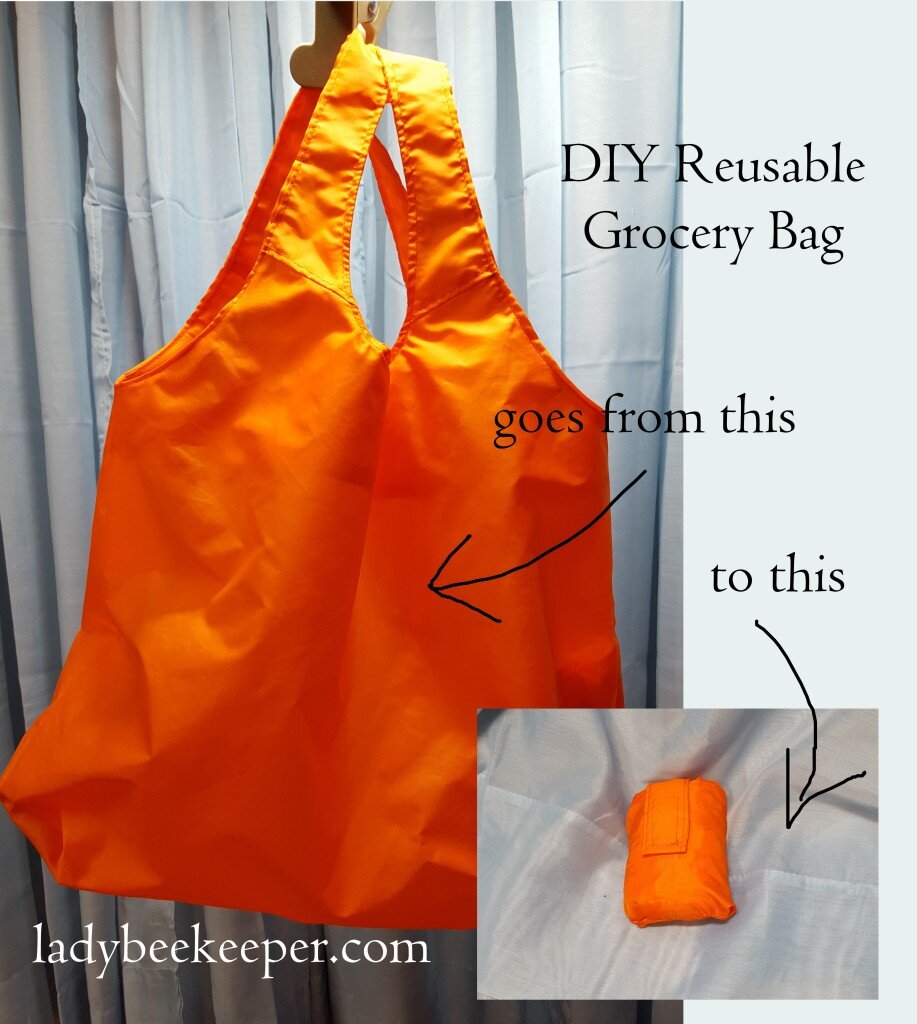
Thank you for everyone who entered the give away last week! We had so many wonderful suggestions for ways to save the planet – I’ll give a shout out to my favorites in a later post (perhaps around Earth day…). By random drawing out of a hat (since we had so many great entries) our two winners are:
Amy & Erin!
Congratulations! I’ll ship your grocery bag holder and reusable bag off in the mail! That’s right… your mystery prize is an actual reusable grocery bag so you can cut down on all the plastic grocery bags when you can’t fit anymore into your bag holder! Here’s a video proclaiming my love of reusable bags (and testing my camera for future uses):
For those who didn’t win this time, don’t be discouraged! There will be 11 more give aways this year and I’ll announce the February give away soon! Now – on to instructions to make your own reusable bag….
Reusable Grocery Bag
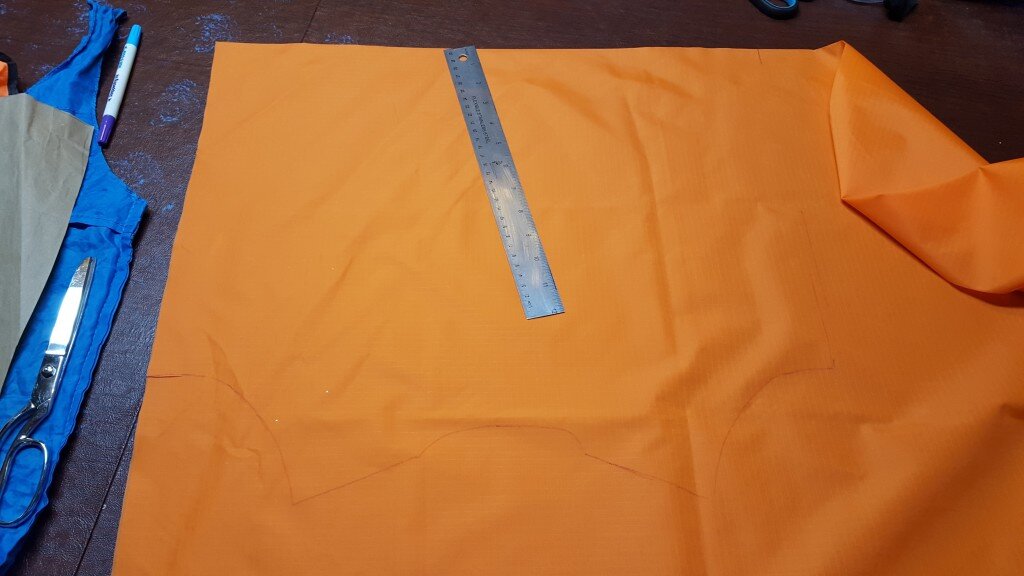
- 3/4 yard of rip stop nylon
- Polyester thread
- 2 inch piece of velcro
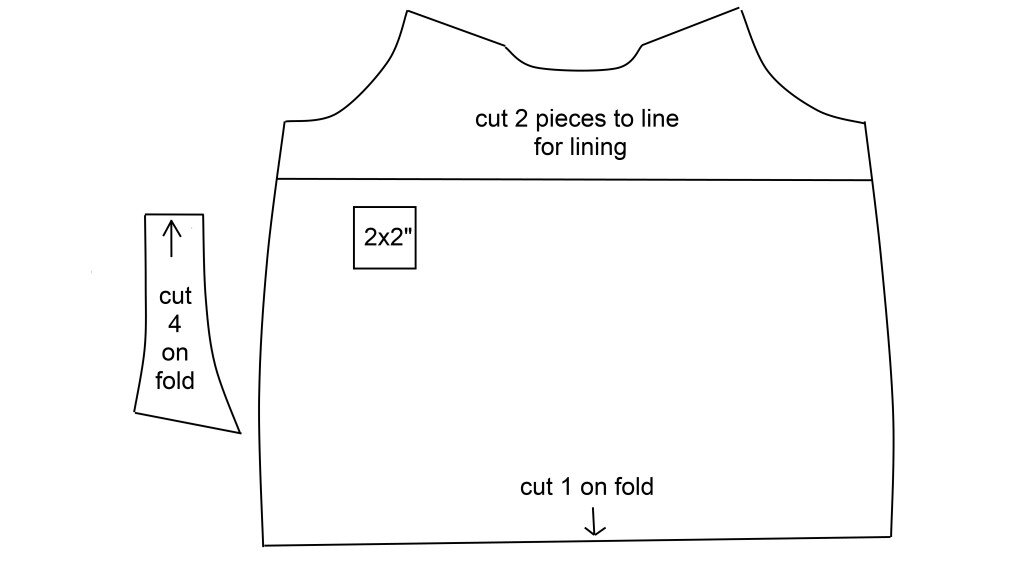
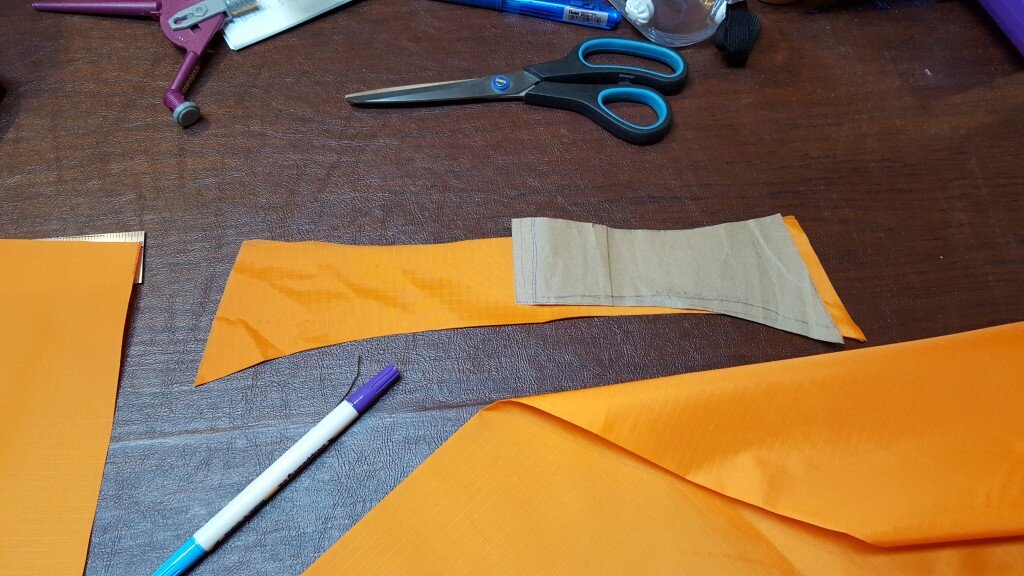
- Pattern here (Its a bit of a puzzle. Print out all 6, and match up the arrows and tape it together. (The arrows are labeled with the two papers that they connect.) I have also included a picture of the final result.)
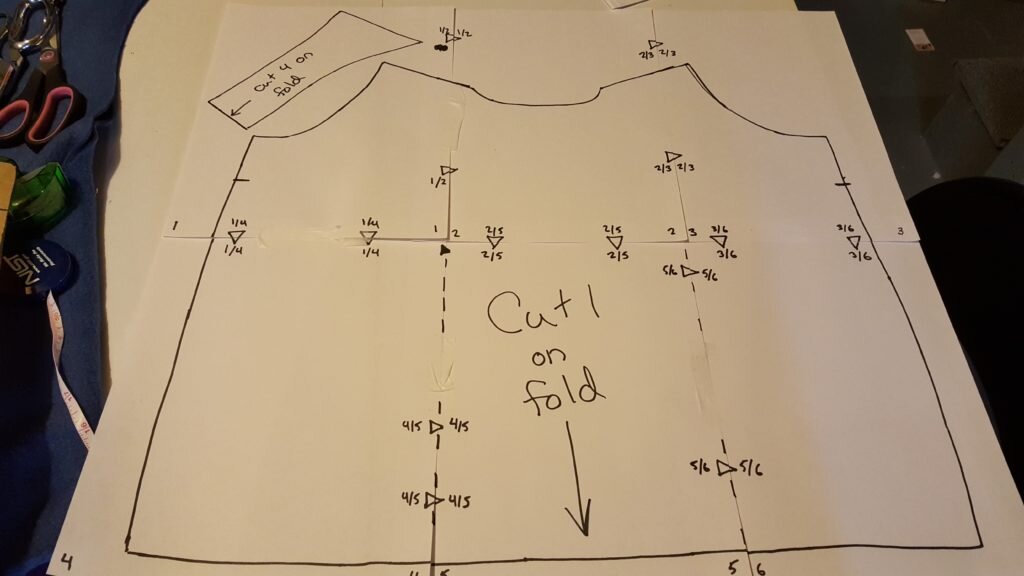
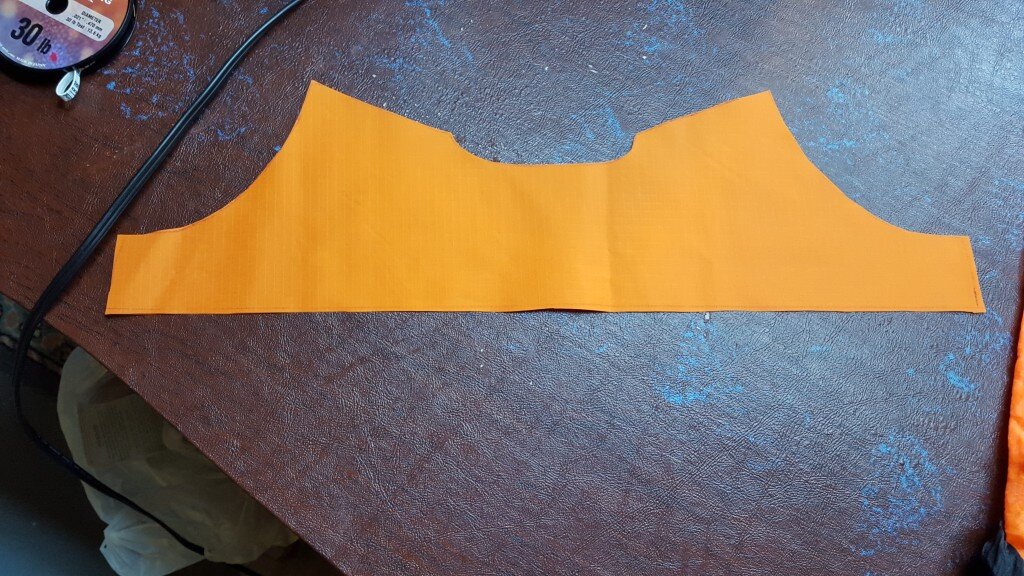
- Cut out your pattern pieces below (be sure to size to the 2″x2″ square when printing. Make sure to cut the bag itself on the fold and the handles on the fold. You’ll also need to cut out a 5.5 x 8 inch rectangle and 2″x6″ rectangle for the velcro strap.
2. Attach the handles to the bag lining/reinforcement with right sides together.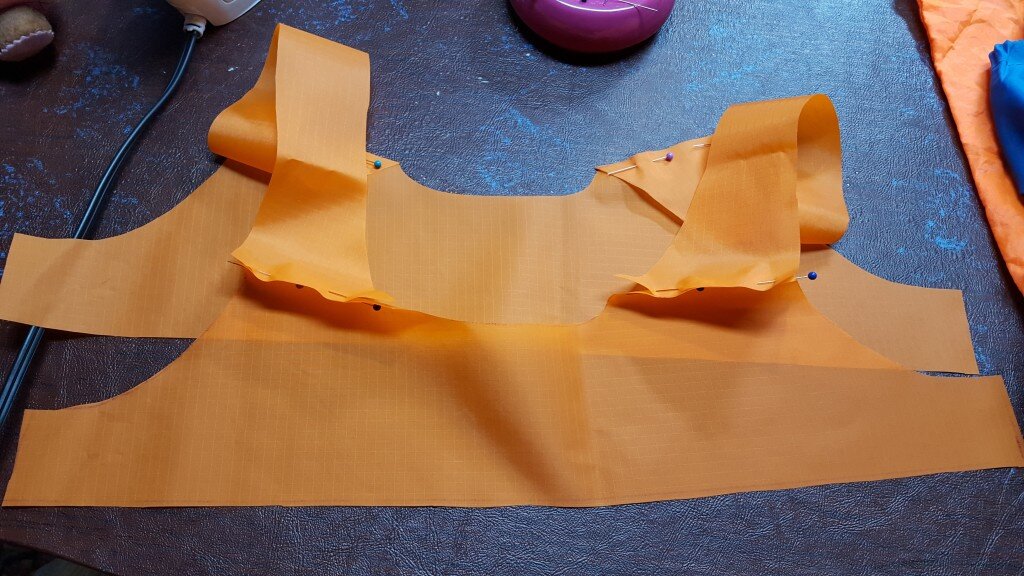
3. Reinforce the connection by folding the excess back onto itself and stitching again 1/8″ from the other stitching.
4. Repeat steps 2 and 3 for the bag handles onto the body of the bag.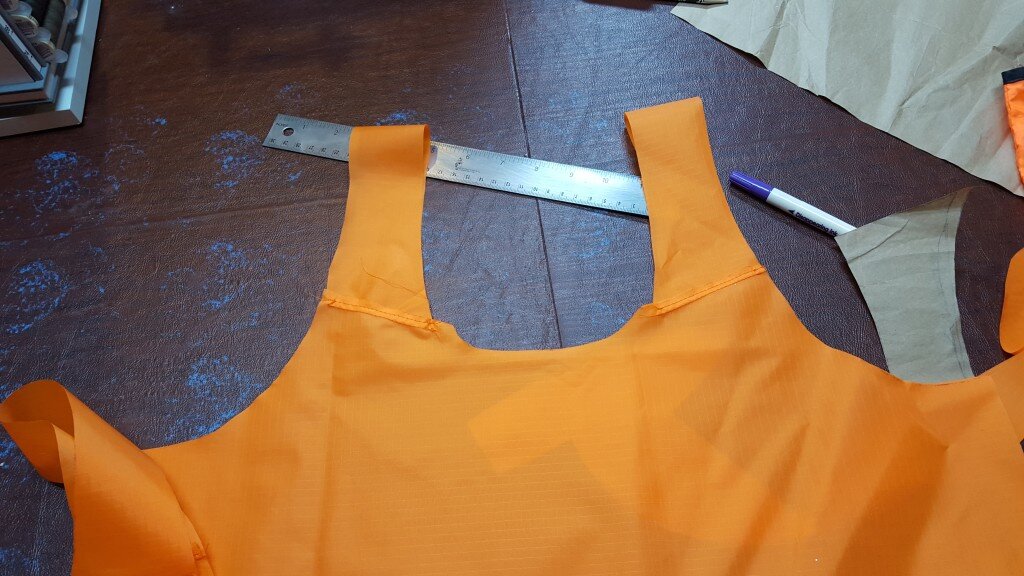
5. Fold under 3/8″ fabric on the bottom of the lining to form a finished seam. Stitch. At this point the right side of your lining should look like so:
6. With right sides of the bag and lining together pin the bag opening and handles together forming a large “o”. Stitch.
7. Open out the fabric and finger press and pin the opening and handles that you just stitched.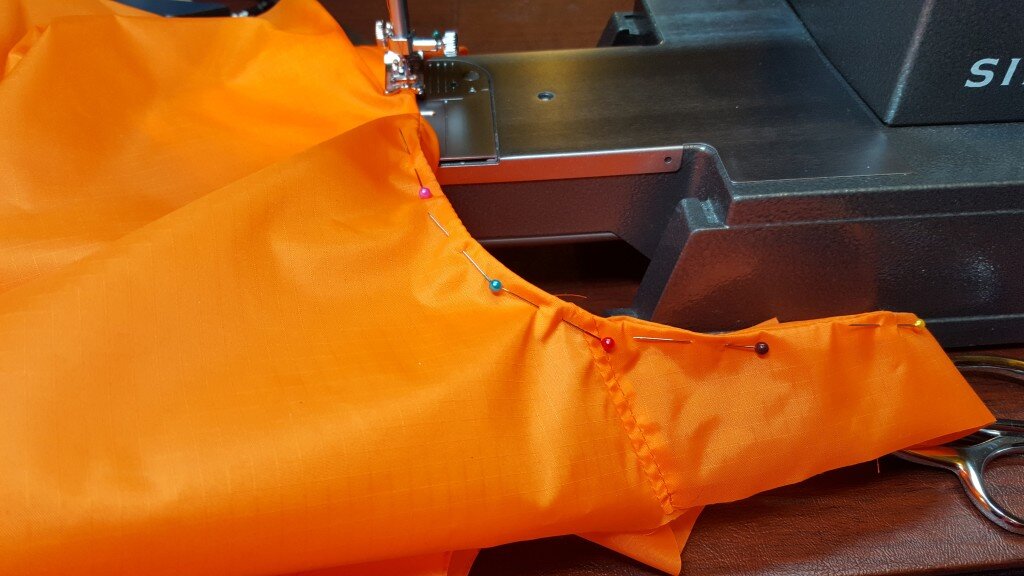
8. Stitch once more around this opening on the right side. to reinforce the seam.
9. On the strap side seams press inward and pin to form a finished seam. Stitch. Repeat with second side strap seam.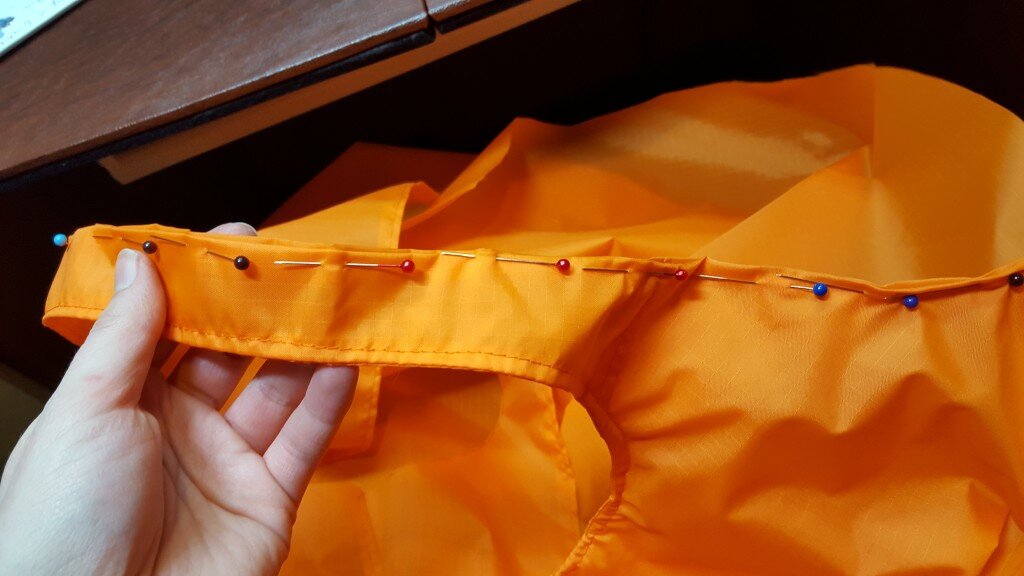
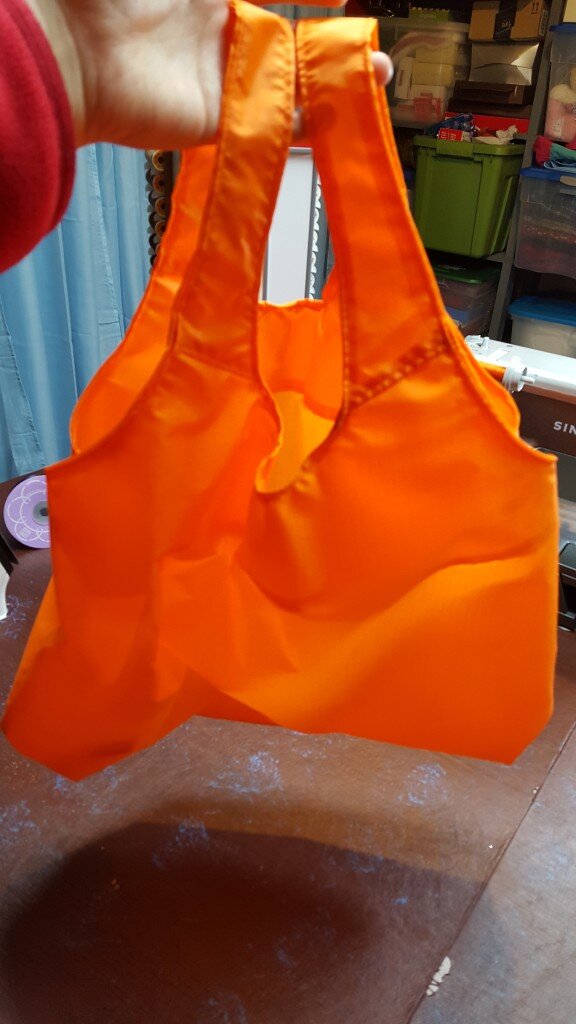
10. With bag right side out stitch the sideseams of the bag 1/4 inch from the edge.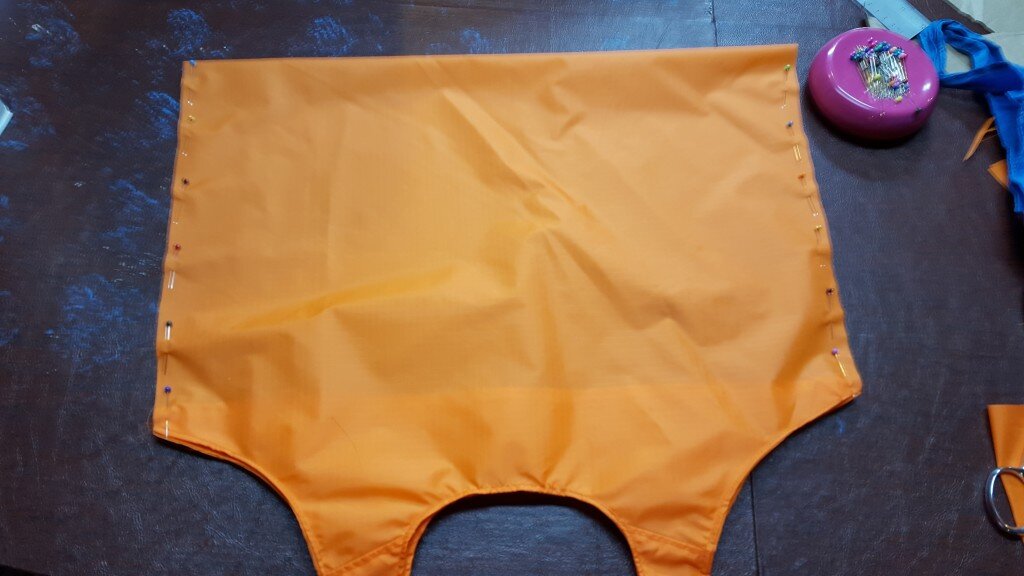
11. Flip the bag inside out and stitch the sideseams of the bag again 3/8 inch from the edge to reinforce.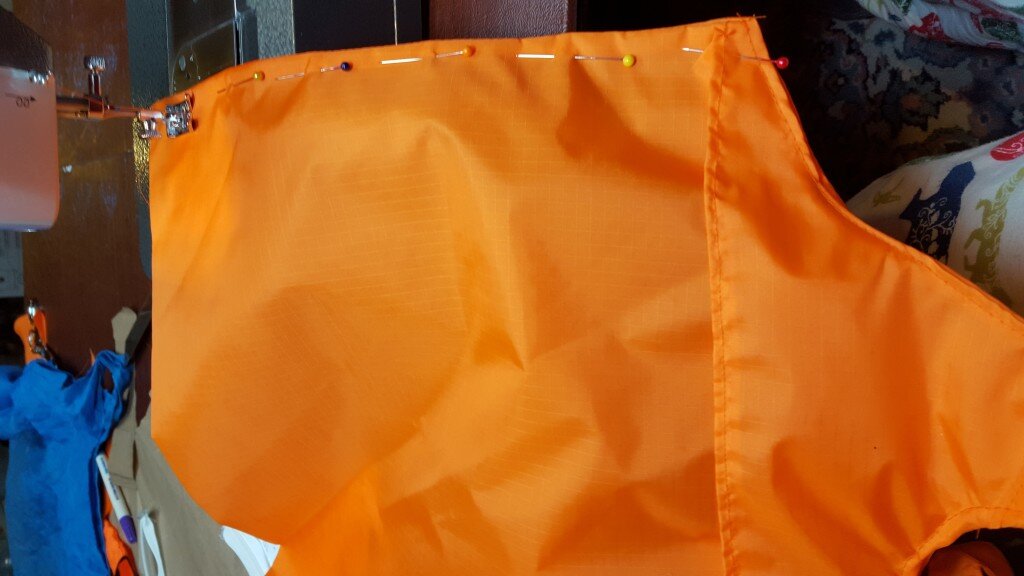
12. Take your rectangle of fabric and roll 1/4 fabric of one of the long ends under and then under again to form a rolled hem. Stitch.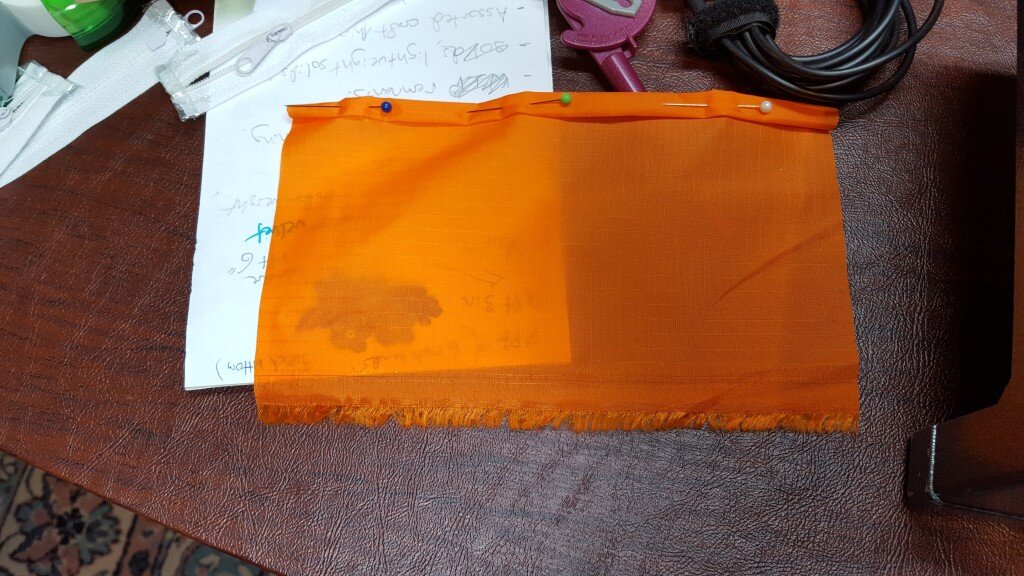
13. Fold your rectangle in half to form a pocket and stitch the two unfinished sides together. (I don’t have a picture of this step but it will look like this minus the strap.)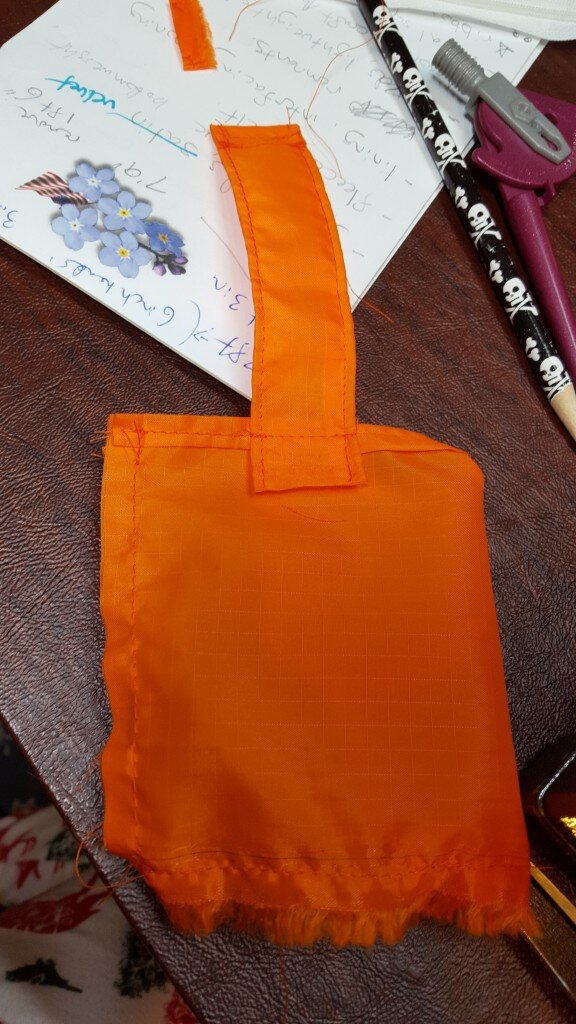
14. Fold the thin rectangle of fabric in half the long ways to form a tube and stitch down the unfinished edge.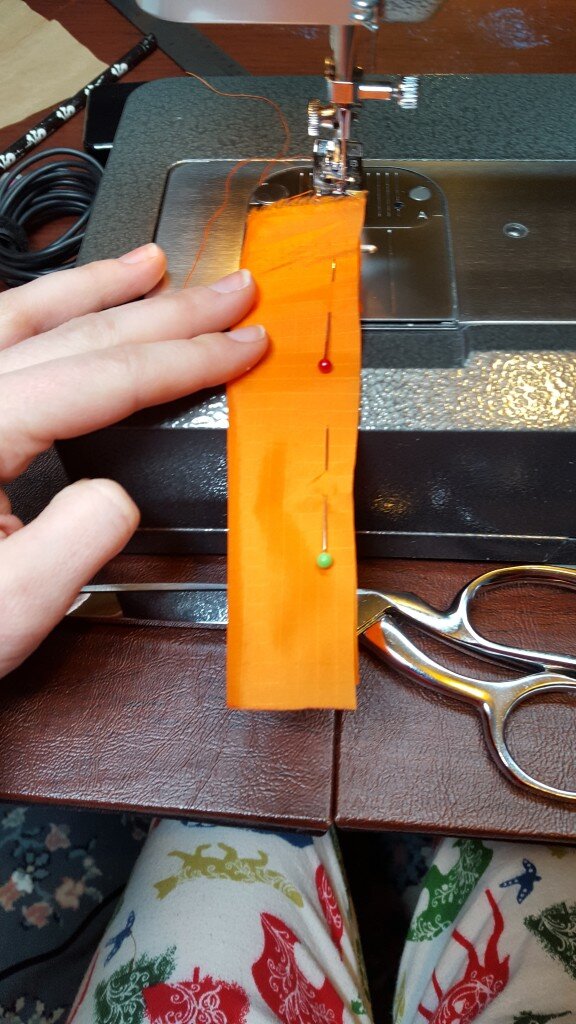
15. Open out the tube, flatten and stitch 1/8″ from each side to flatten.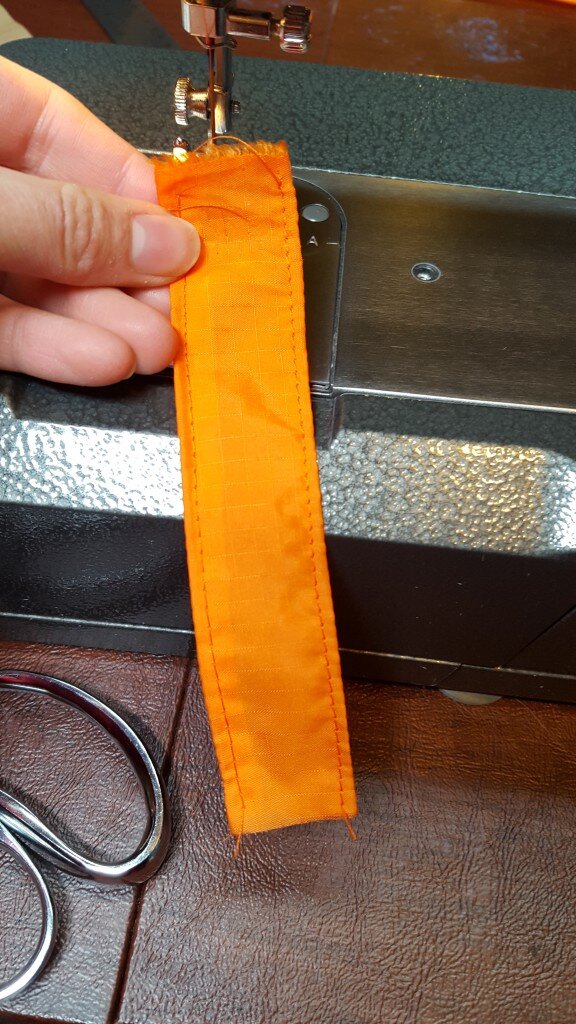
16. Fold under 1/4 inch of each end. Stitch.
17. Attach one side of velcro to strap.
18. Stitch strap to inside top of bag.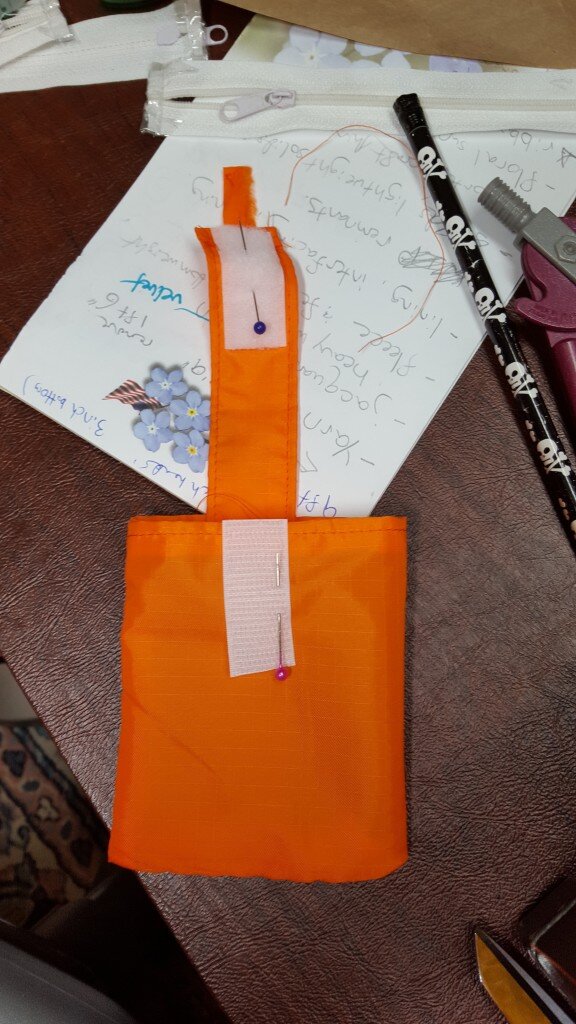
19. Open the carrying case right side out. Attach the other side of velcro to the outside of the tiny bag, taking care to match where the strap will land when closed.
20. Turn the carrying case inside out and stitch the unfinished side edge to the side seam of the bag about halfway up.
21. Go shopping!

One advantage of using rip stop nylon is in a pinch you can pull this out of your pocket and use it as a parachute if you’re falling out of a building! (Please don’t do this. Ever. This is a joke.) Next week I’ll show you some of the projects I’ve been working on to make my sewing corner feel more like a sewing room and less like a basement!

I want to make this but can’t create a PDF. Can you provide the actual dimensions please?
Hi Lucy! I added a pdf link above in the “What you need” section! Happy Sewing!!
This link does not work. Cannot get to the print option.
I am sorry you are having trouble. I just confirmed that the link is still working so here is some general advice. If you click the link it will bring up the pattern in your default pdf viewer. Generally in Adobe (the most common pdf viewer I know of) the shortcut to print will be ctrl+p on a PC. If you are not using Adobe or you are not using a PC the shortcut will be different. I can try and help you with your computer issue if you email me directly at: admin@ladybeekeeper.com
Pingback: Reusable DIY grocery bag that fits in your purse! Pattern included! www.ladybee ... - Jewelry Bag Hair
Hallo, where did you get the rip stop nylon from?
I bought it from Joann fabrics!