
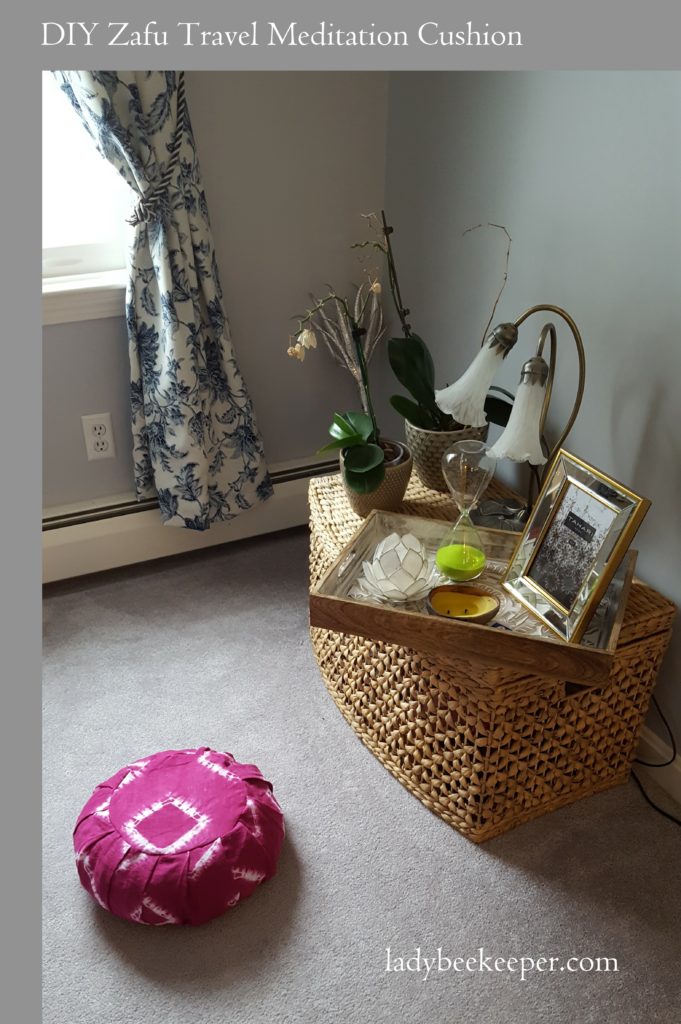
A couple years ago I made 2 zafus for Will and I when I was outfitting my “meditation corner“. I mentioned last time that I’ve been lugging one to work to use in my meditation group. Unfortunately I really mean lugging. They weight about 6 pounds each and are very unwieldy. The first time I made the zafus I used this pattern. This time I made my own variant which includes several improvements like an inner cover, a zipper, a handle and a smaller form factor. The smaller pillow is perfect for me to carry around and only weighs a bit over 3 pounds. If you want a wider cushion, widen the cushion and the inner cover. If you want a taller cushion, widen the inner cover and add more buckwheat.
 DIY Zafu with inner cover
What you need:
- 1/2 yard of 57″ fabric for the cover
- 1/2 yard of any width fabric for the lining.
- 24″ zipper matching the fabric for the cover
- 6″ zipper for the lining
- ~3 lbs of buckwheat hulls
Unless otherwise noted, seam allowance is 1/2″.
Zafu Cover
- Cut your cover fabric into an 8″x57″ strip, a 10″ diameter circle and a 11″ diameter circle.
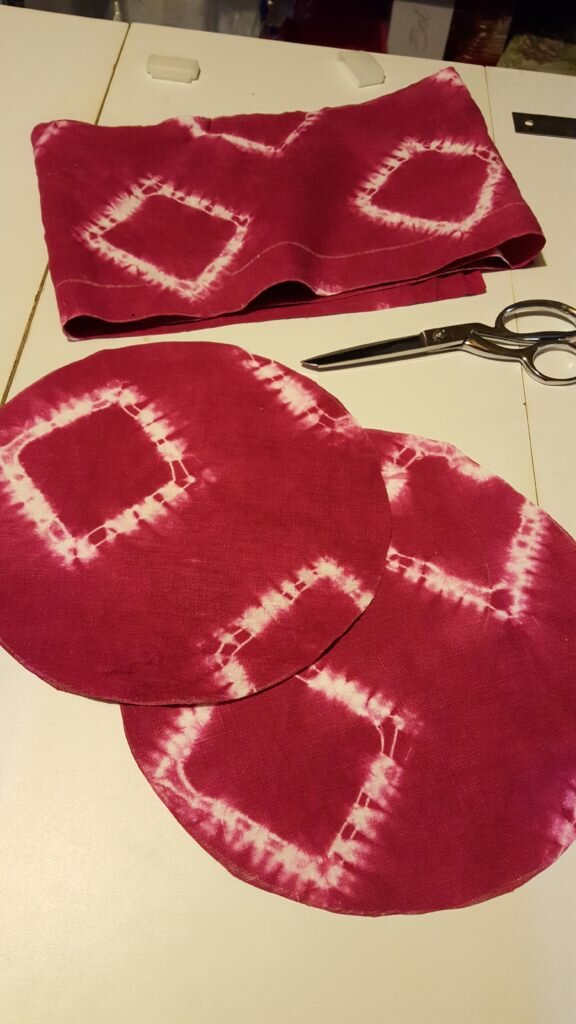
Cut cover fabric.
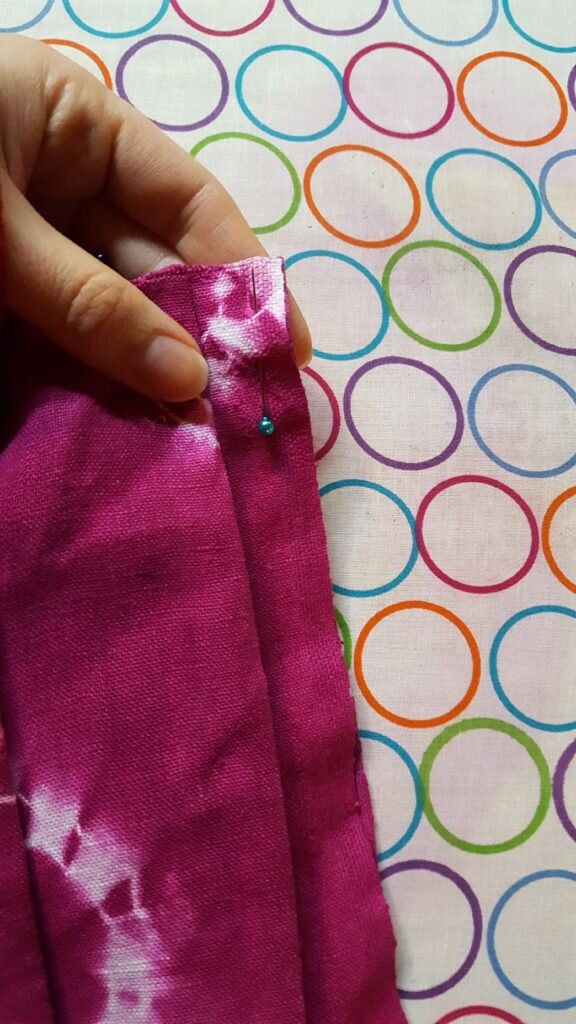
- Iron 14 1″ pleats into the strip of fabric, leaving 2″ between each pleat. The easiest way to do this is to pin at the 2″ mark, fold fabric under and press along the 2″ mark.
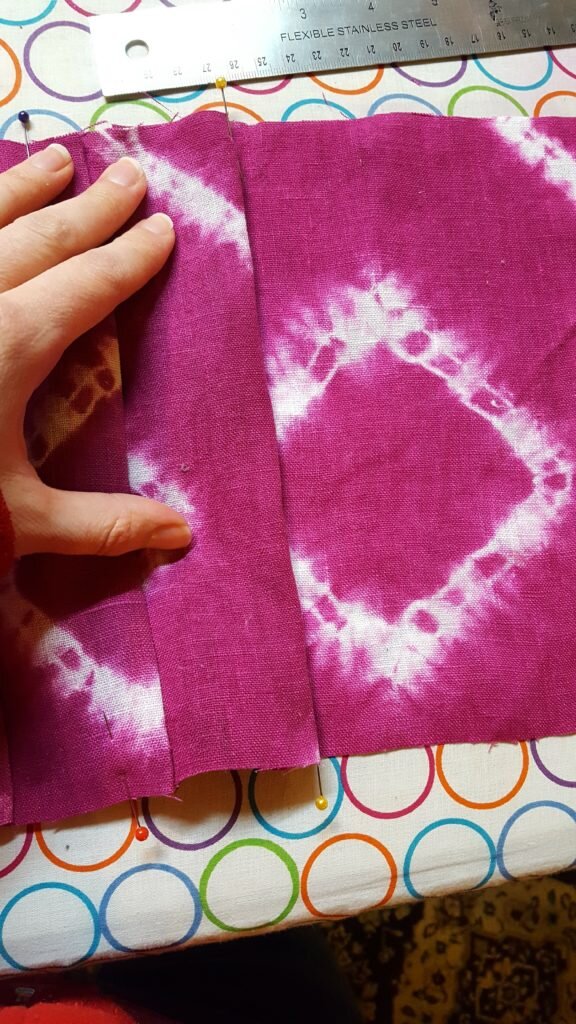
Fold under fabric at the 2″ mark.
- Next take a ruler and move pleat depth out until it reaches 1″. Press again and pin.
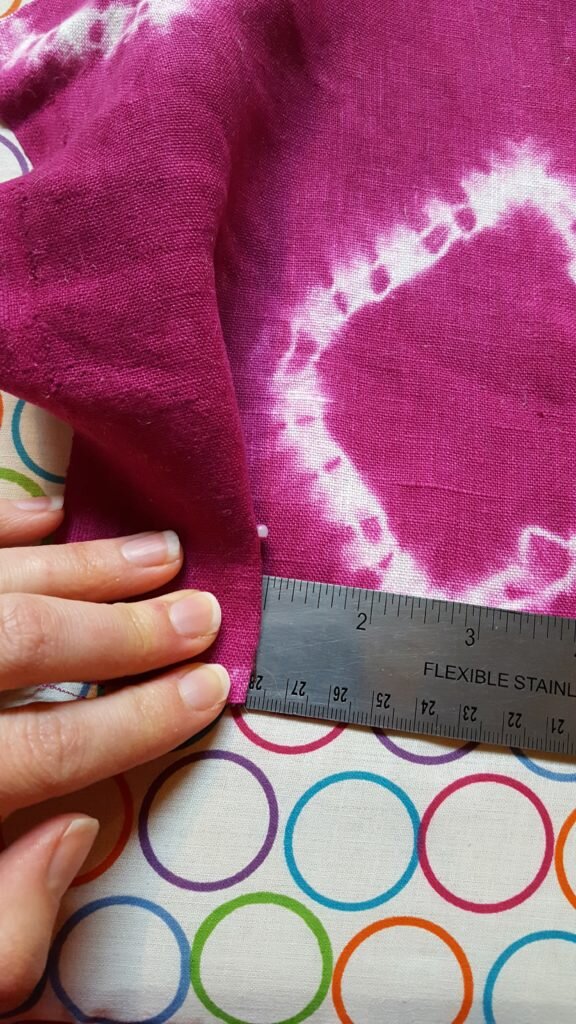
Pull fabric out under the pleat until it reaches a 1″ depth. Press.
- Repeat for other 13 pleats. You should have a 1″ tail remaining if you have done things correctly.
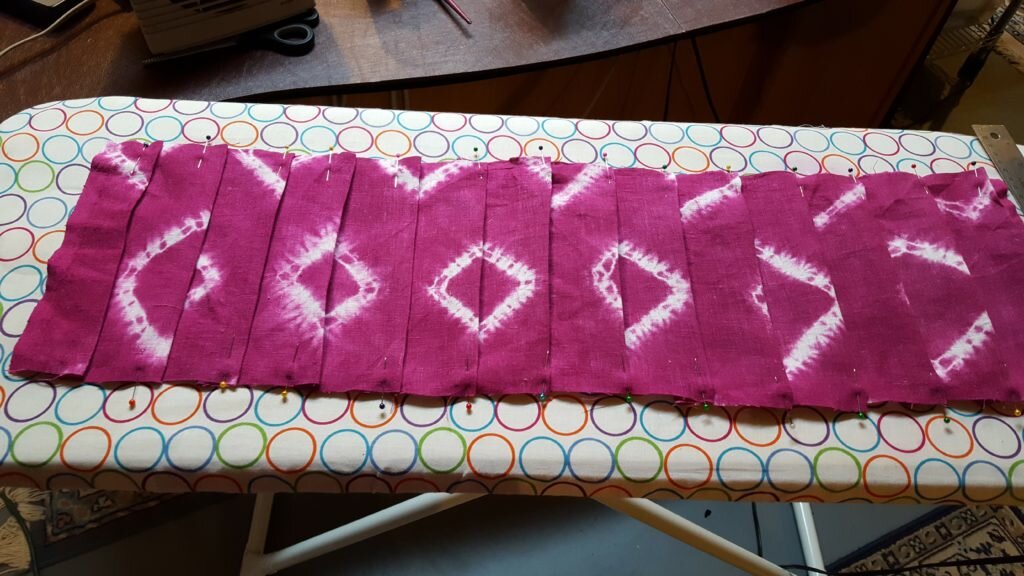
Finished pleats. 14 in total.
- Pin the two ends of the pleated strip together, right sides together. Stitch 1/2″ from the edge.
Pin ends of pleated strip together.
- Baste along all the pleats, 1/2″ from the edge of the fabric. Repeat for other side of pleats. Remove pins.
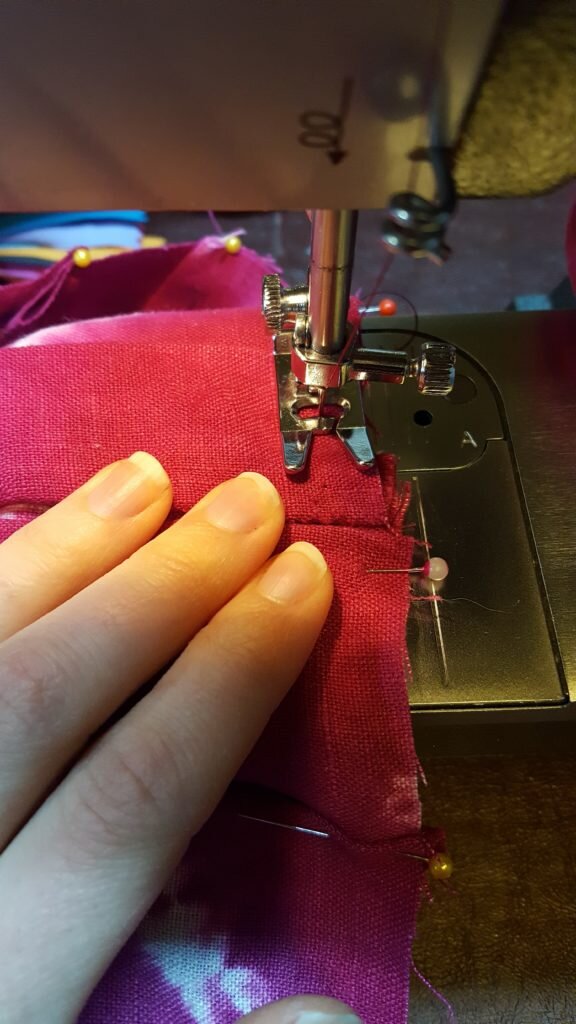
Baste along pleats.
- Take the 11″ diameter circle and fold up 1″ along the edge and pin.
Fold up edges of circle and pin.
- Pin the pleated strip to the circle, right sides together, along the fold in your circle. Stitch. Only do this for 6″ of the strip.

Stitch folded over edge of circle to edge of pleated strip, right sides together.
- Take your 24″ zipper and pin it to the inside of the circle, overlapping the first and last 1/2″ of the zipper under the finished seam in 8. Keep the fold along the middle of the teeth.
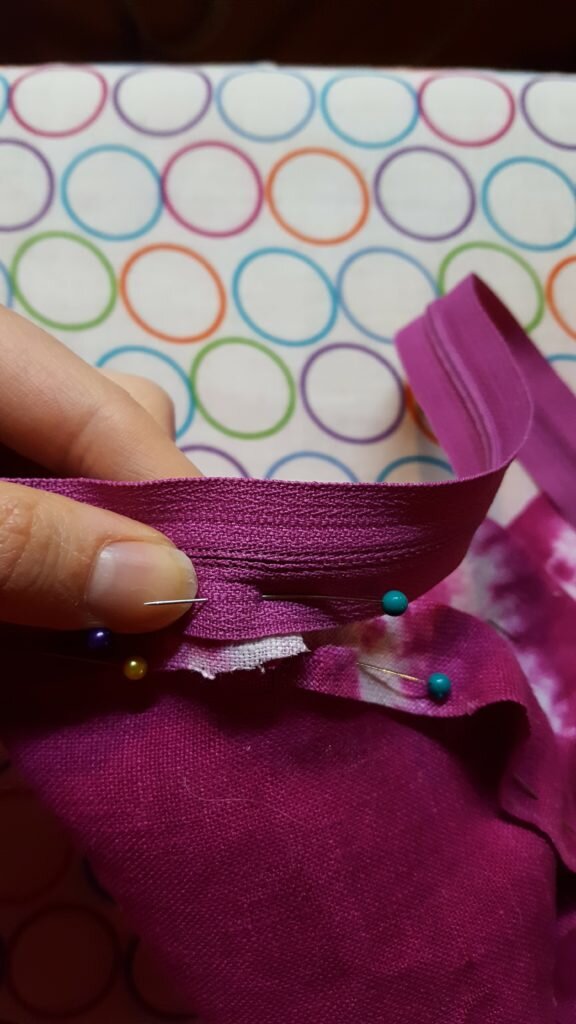
Pin zipper to edge of folded over circle, keeping the zipper teeth centered on the fold.
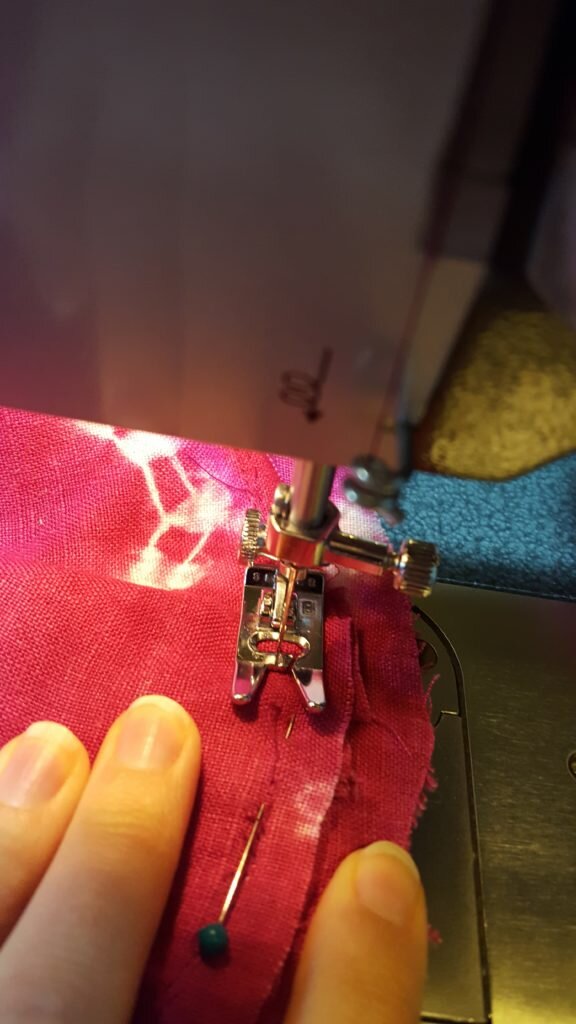
- Using a zipper foot, stitch very close to the zipper teeth without hitting them. You may need to move the zipper down, stitch a few inches, then zip the zipper back up and continue stitching to stitch around the zipper pull.
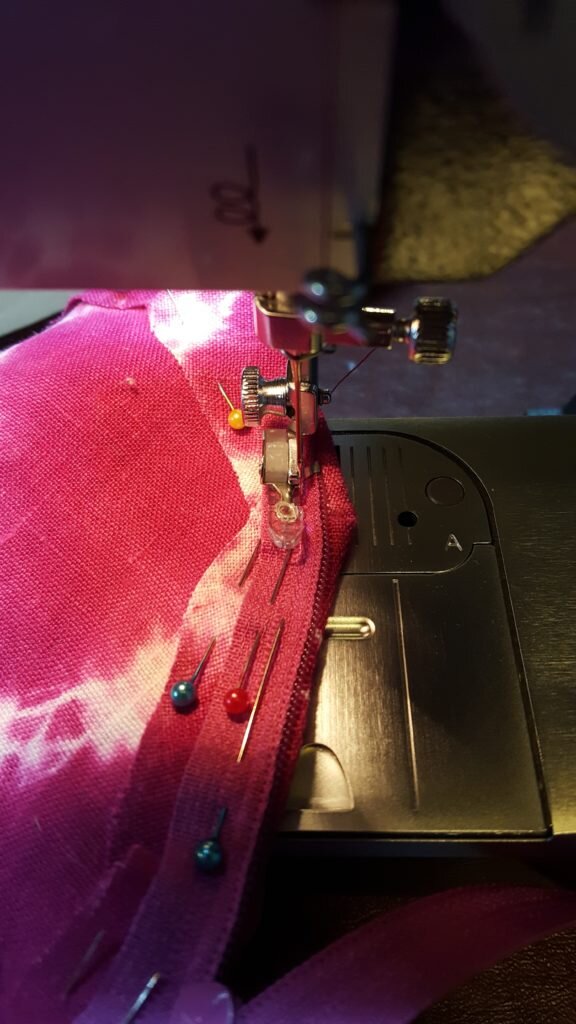
Stitch with a zipper foot close to the zipper teeth.
- Zip the zipper and pin the other edge of the zipper to the right edge of the pleated strip.
Pin other side of zipper to pleated strip. Stitch.
- Repeat step 10 to stitch the other half of the zipper.
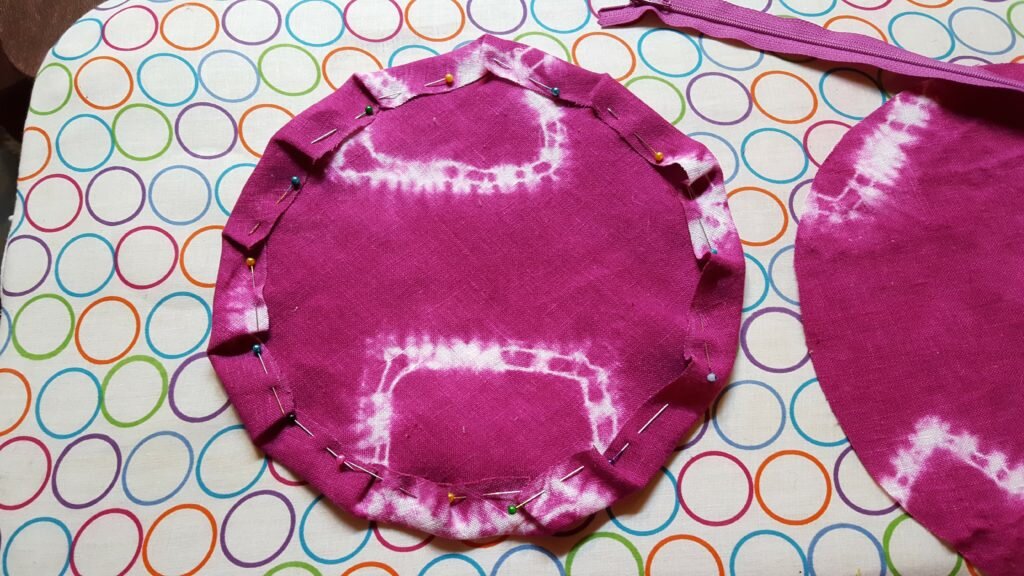
- Unzip the zipper you just added, and pin the smaller 10″ circle to the other edge of the pleated strip, right sides together.
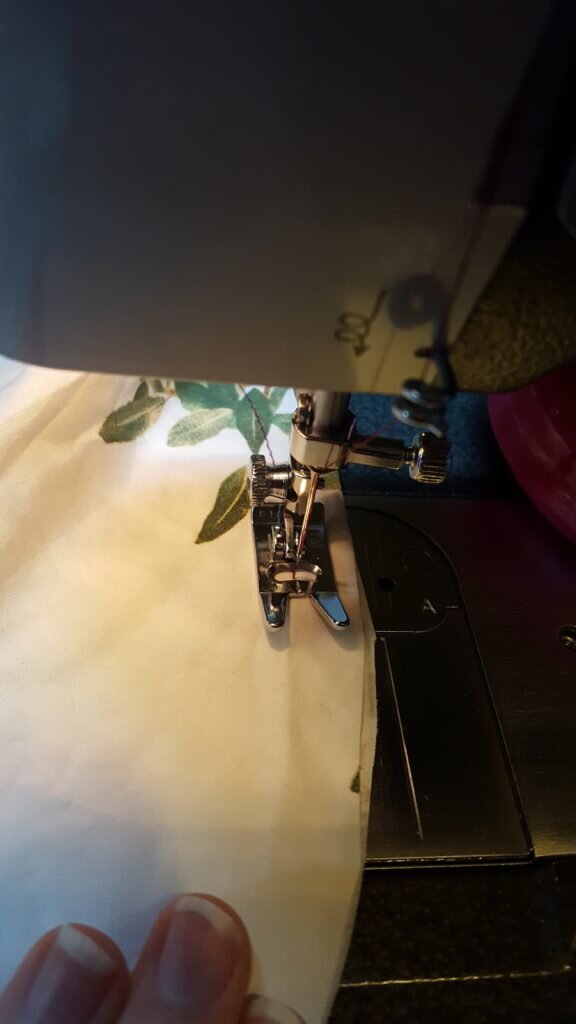
Pin pleated strip to smaller circle and stitch around the whole thing.
- Stitch.
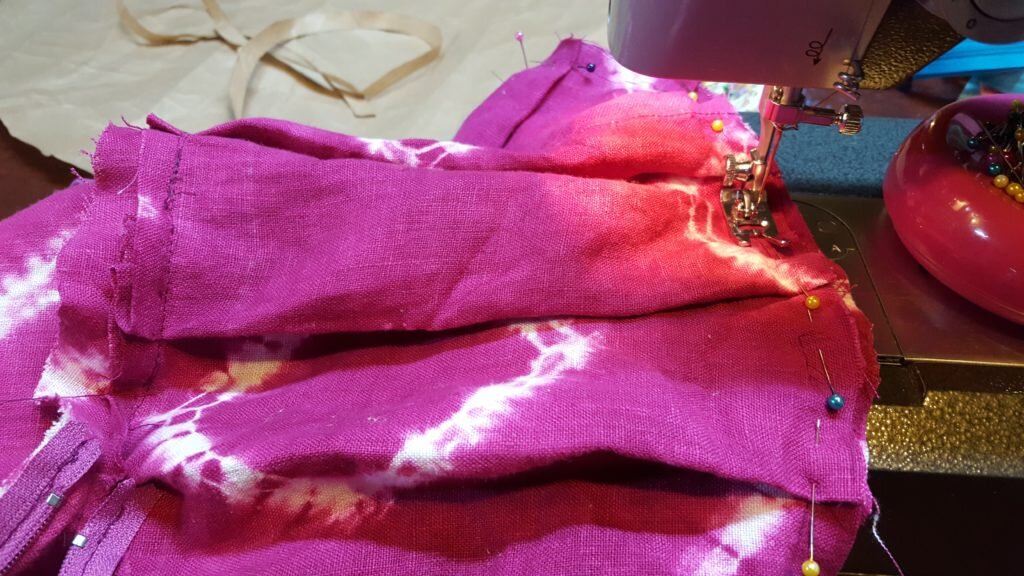
- Take a 4″x9″ strip of fabric and press in half the long ways. Stitch 1/2″ from the edge.
Stitch folded strip.
- Turn right side out and press flat.
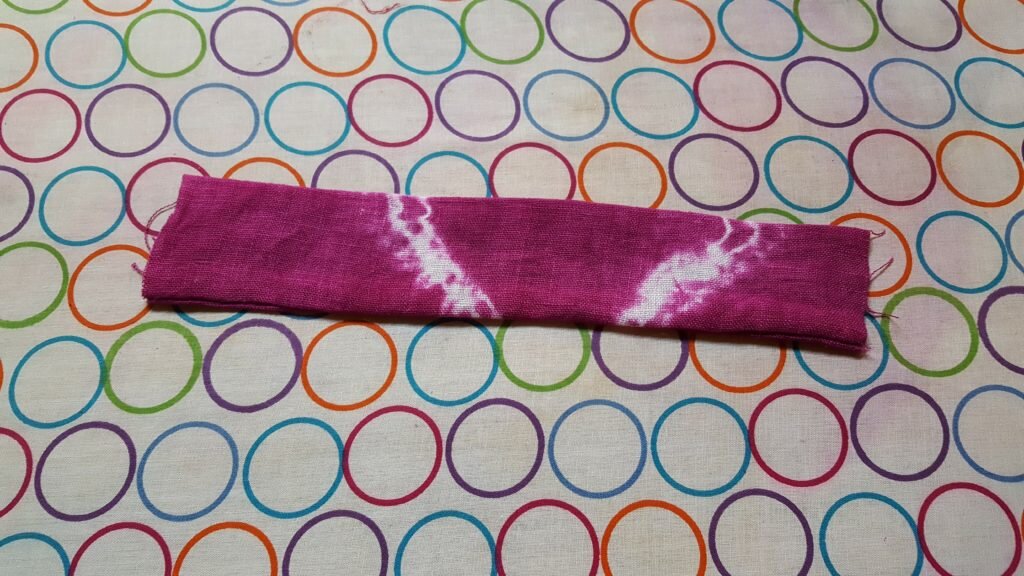
Turn inside out and press flat.
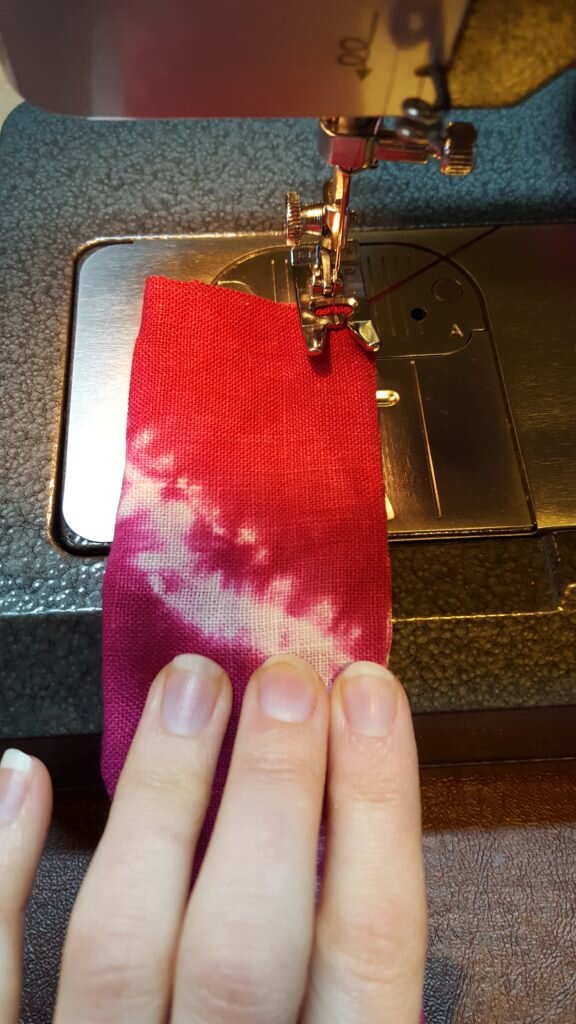
- Stitch 1/2″ from each edge of the tube.
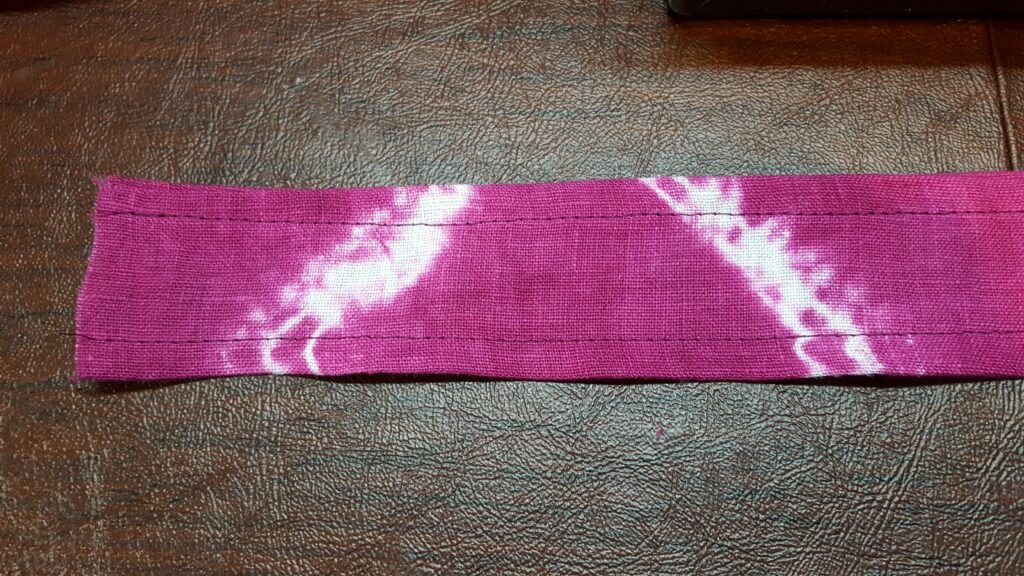
Stitch along both edges of strip.
- Seam rip a 1.5″ gap in the seam of the zippered side, in the portion where there is no zipper. Insert end of handle in this gap and stitch closed.
Stitch handle into side seams.
- Repeat for the non-zippered side, attempting to line the handle up with the pleats so it is even.
Lining
- Next create the lining. Cut 2 18″ circles of scrap material, and pin them together.
- Mark a 5″ gap for your zipper and stitch around the entire perimeter, leaving the 5″ gap opened.

Mark 1/2″ within each end of your zipper.
- Stitch.
Stitch from one mark to another.
- Pin zipper to material, overlapping each end of the zipper with the seam by .5″ on each end.
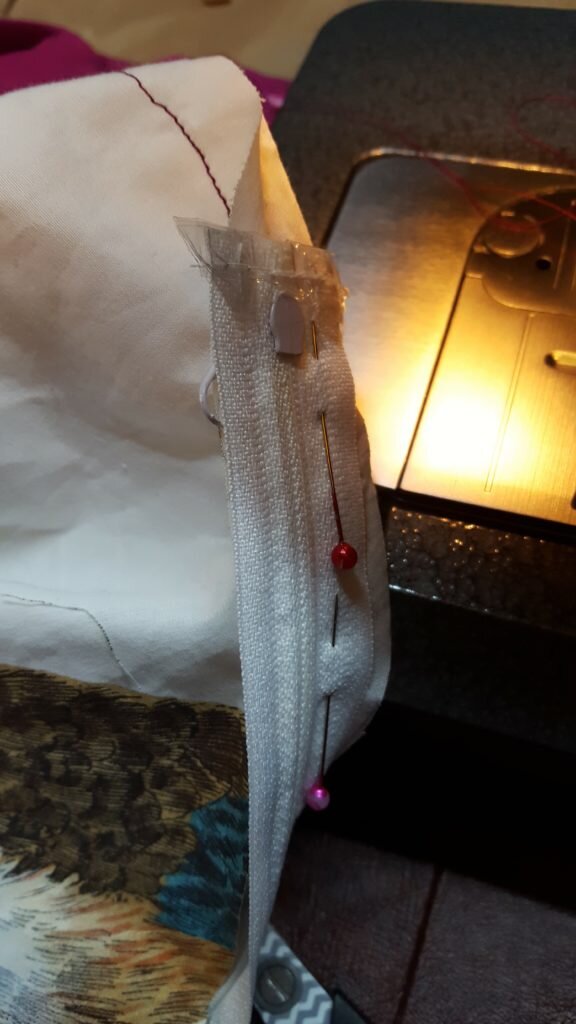
Pin on side of zipper to one side of material (right sides together). Overlap the zipper 1/2″ into the stitched material (past the mark you made in step 2 above).
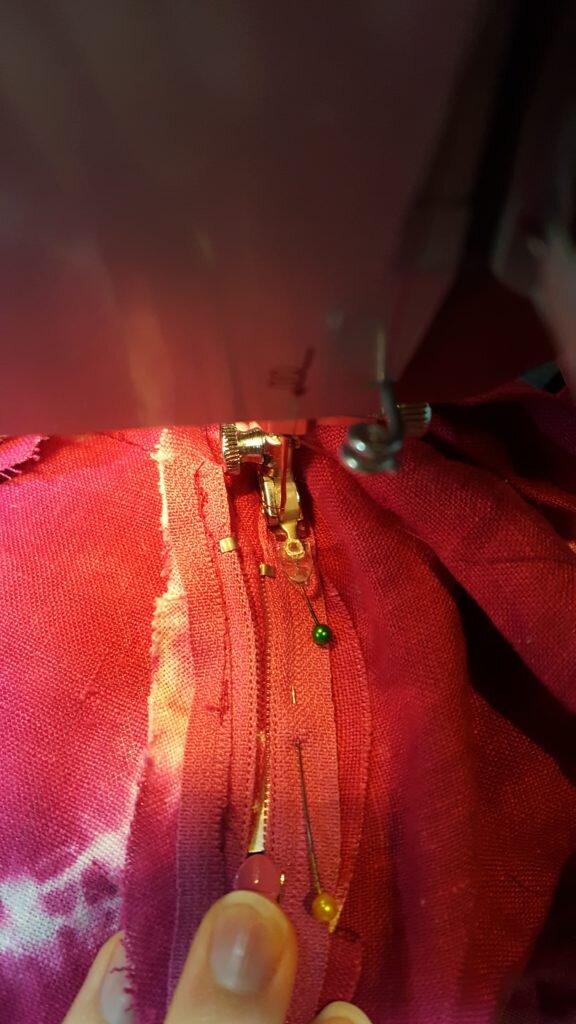
- Repeat step 10 and 11 above to attach the zipper. Make sure the zipper is right side facing in while you do this.
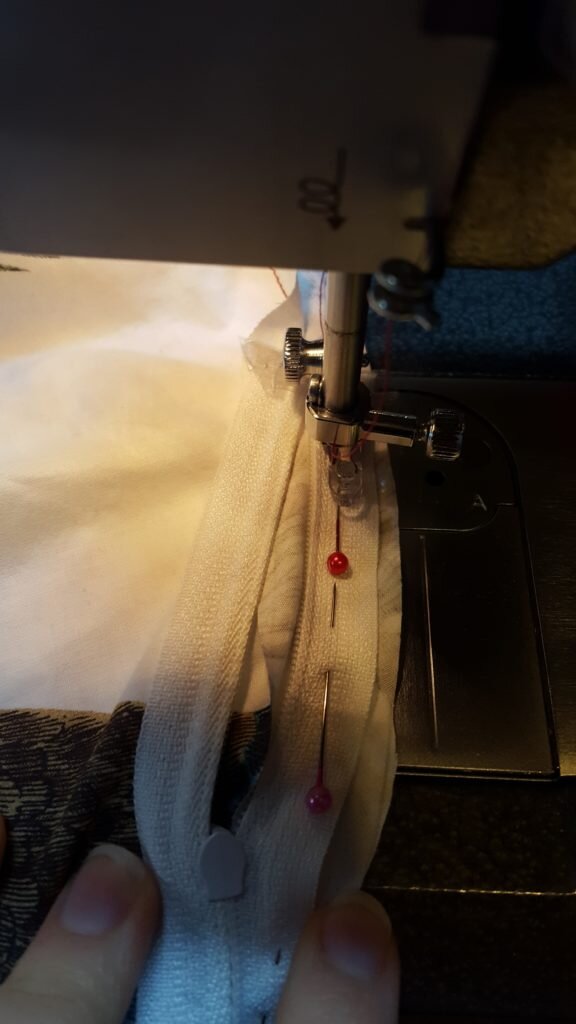
Stitch other half of zipper.
- Open out lining and stuff with buckwheat hulls. Zip closed.
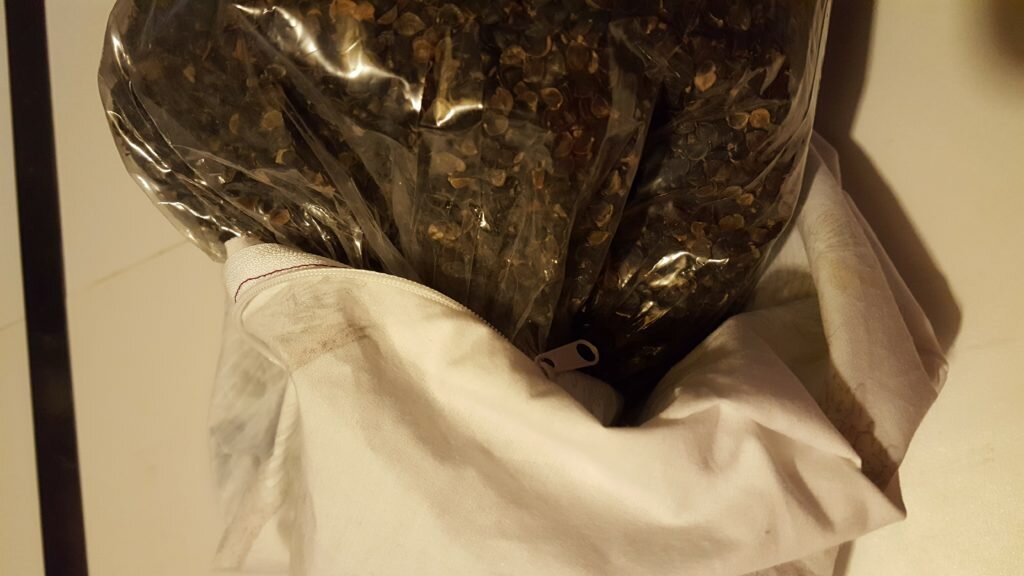
Insert buckwheat hulls into lining.
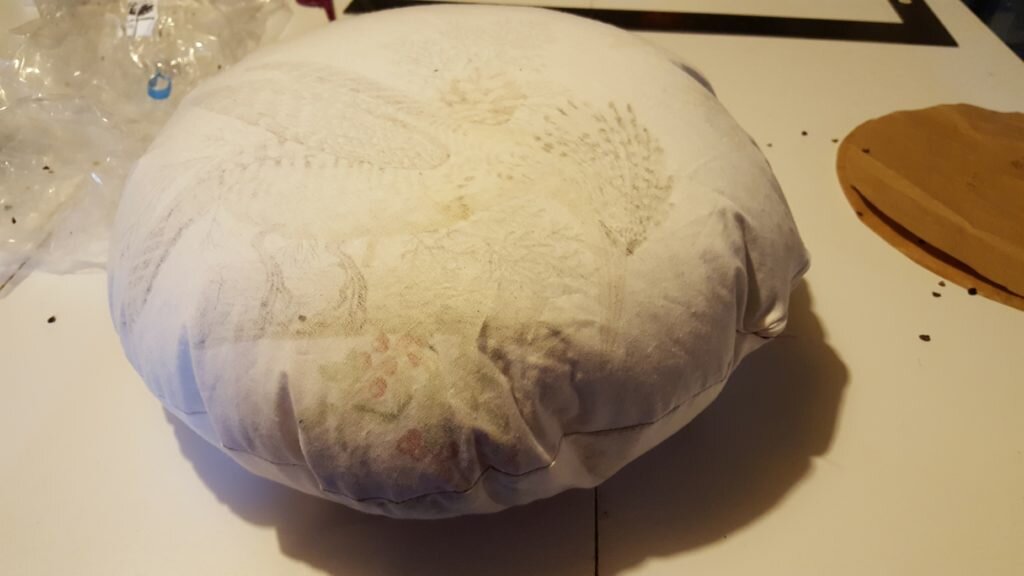
Finished stuffed lining.
- Insert lining into cover and zip cover closed. Mush around the pillow until it sits right.
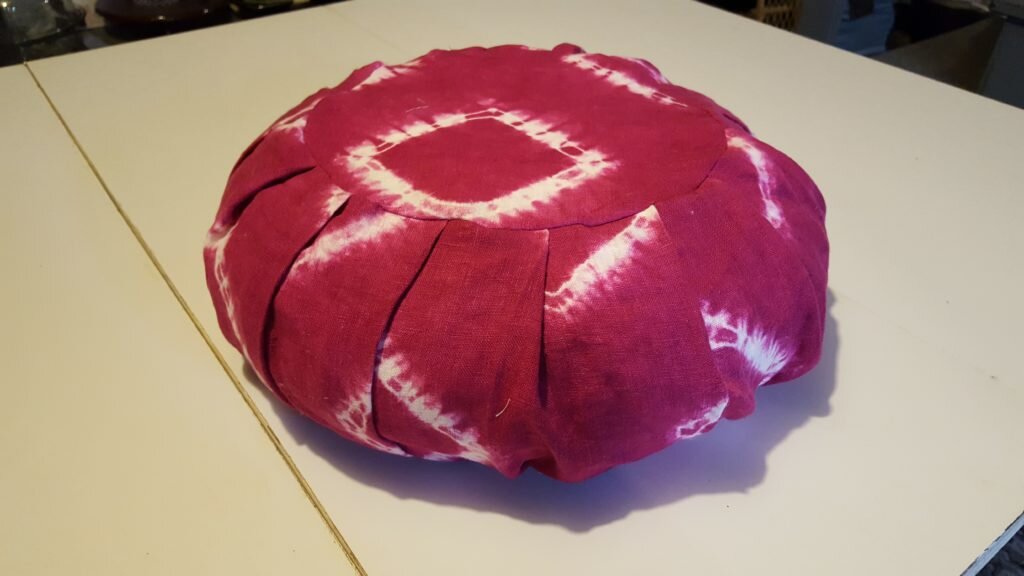
Finished zafu.
Sit!

Sit mindfully.
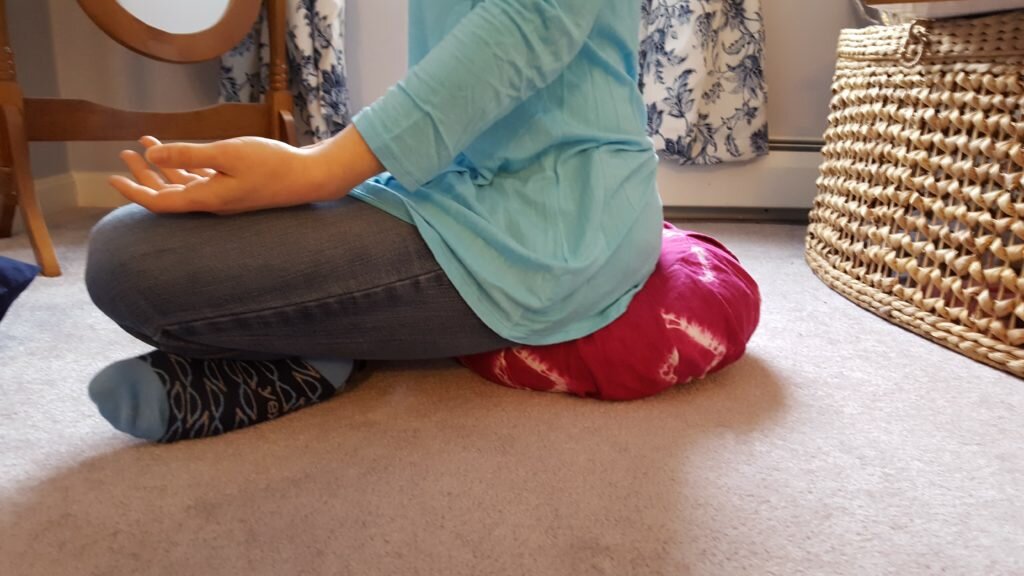
Close up of the pillow while sitting.
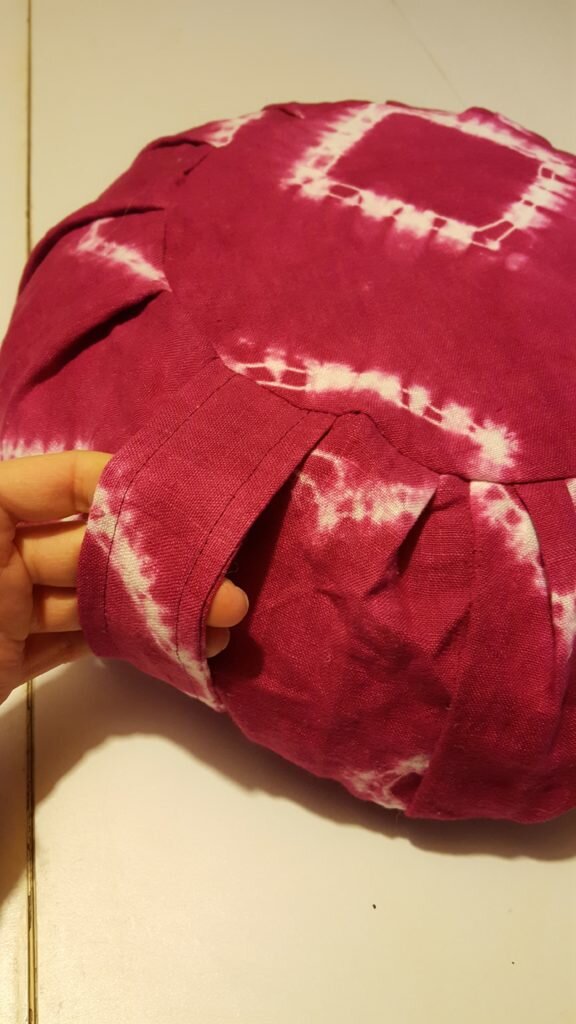
Close up of the zafu handle.

I keep getting 13, 2″pleats with 2″ tails on both sides. Can’t figure out what I’m doing wrong. :(
Thank you Debby
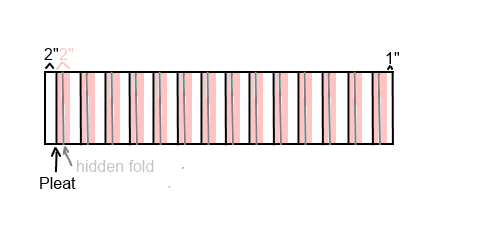
Pleats are super frustrating! To help – I’ve drawn a diagram (after step 4 above). The pink part is what is hiding under/inside the pleat and won’t show on the outside of your fabric. The white part is what you’ll see on the outside of your fabric when you’re done. Note at the side you start with you have 2″ and at the side you end with you’ll have 1″ showing.