
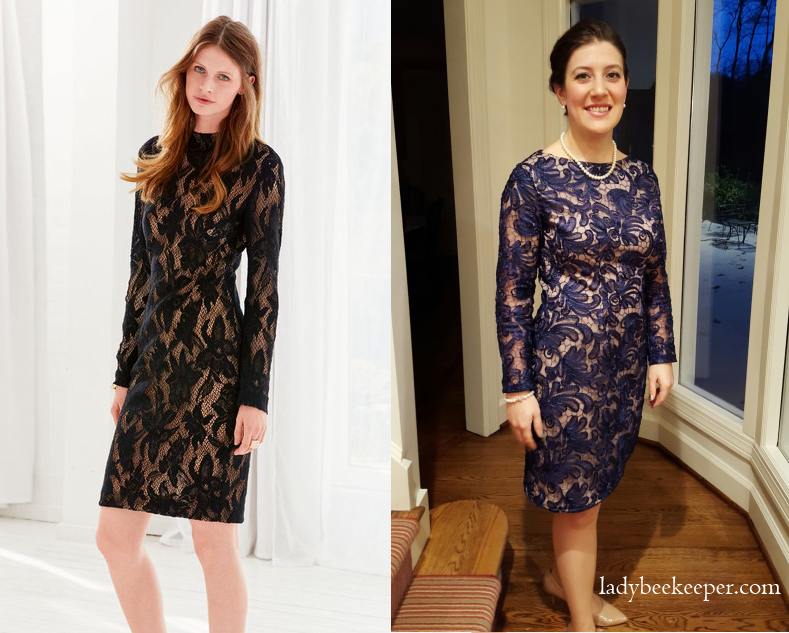
Burdastyle version vs. Mine (obviously I can’t compete in legs or shape with the model…)
My husband’s family is from Nashville and my mother in law ends up planning all sorts of fabulous social events for local charities. This means my husband and I get to attend all sorts of fabulous events. For instance we went to a real live white tie ball (which for those unfamiliar means my husband wore tails and I wore a ball gown)! Well this year my sister in law was presented at a debutante ball after Thanksgiving. When my mother in law explained the proper dress for me was cocktail attire, I decided I would try my hand at sewing a dress for the ball.
I have been interested in trying the print-at-home Burda Style patterns for a while now and I thought this dress would fit the bill. So I downloaded the pattern and headed to JoAnn Fabrics for fabric. They recommended stretch fabrics so I purchased nude polyester fabric and navy polyester lace. I had several coupons so the total cost for materials (zippers and all) was only $39!
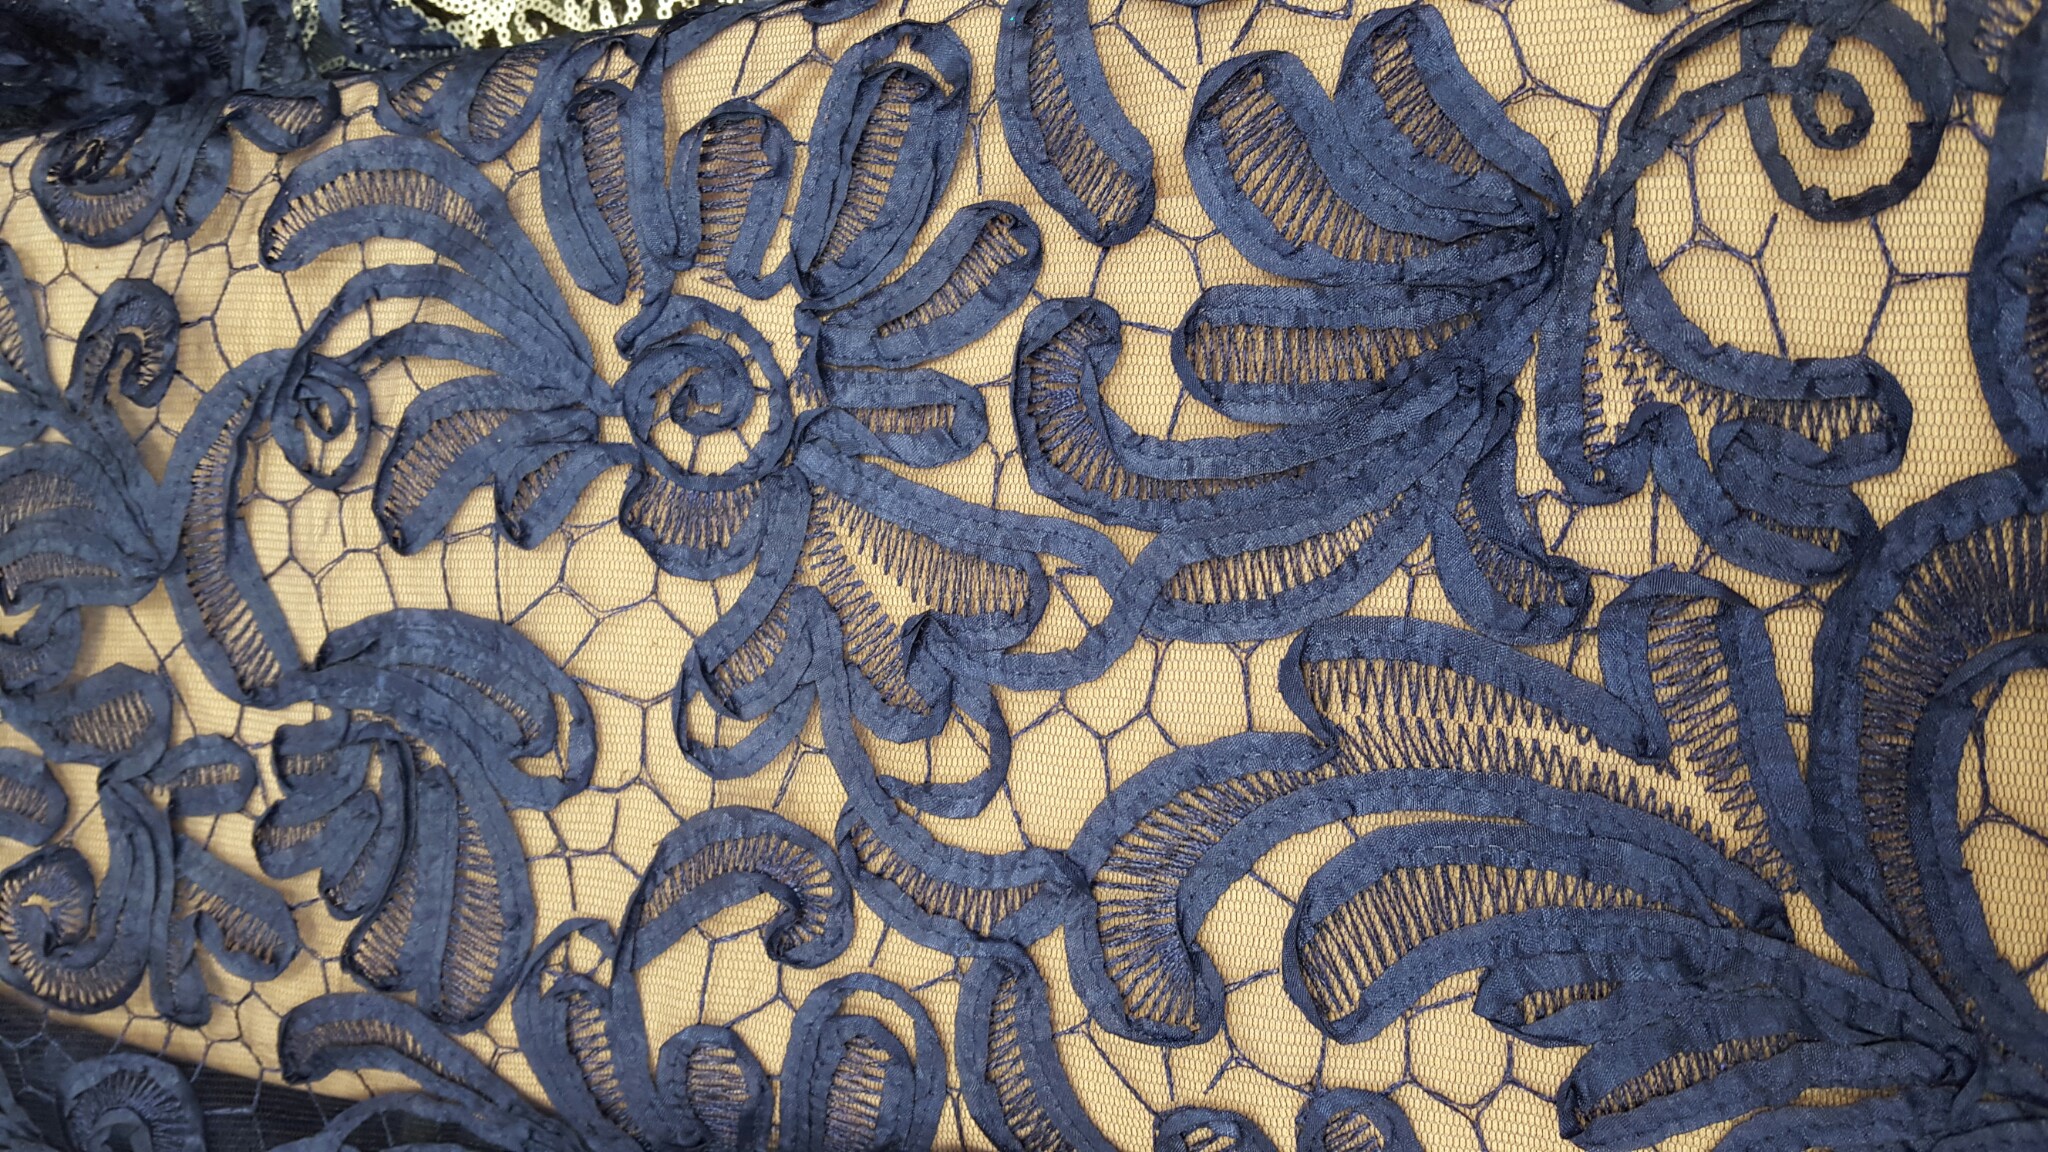
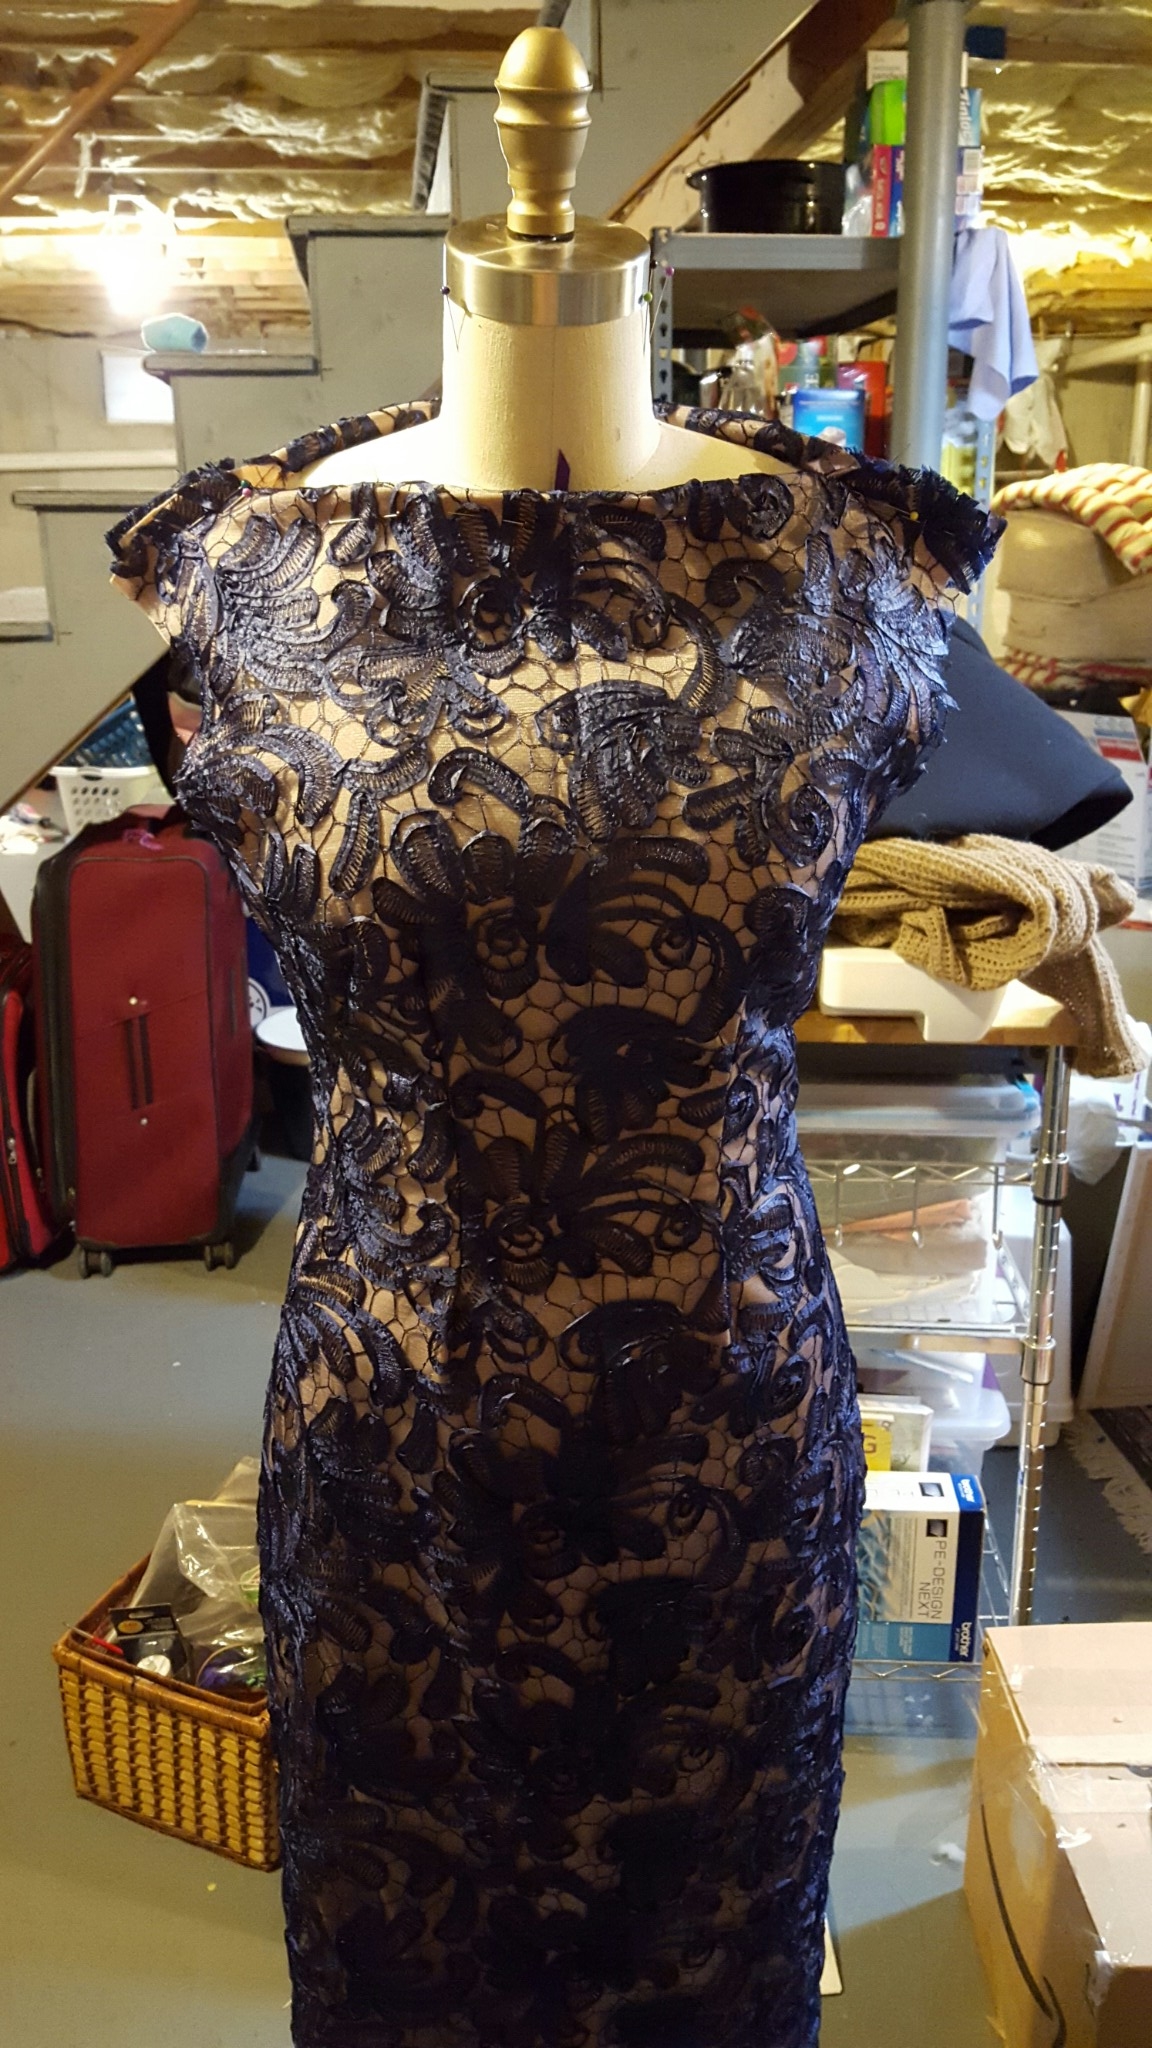
Close up of blue lace over nude fabric
When I got home I started tackling the print-at-home pattern. I love sewing, but my least favorite part of the whole process is laying out and cutting my fabric and patterns. Well given this, the whole print-at-home process adds another layer of boredom to my sewing excitement. The first problem with the whole process is that you must print out the pattern true to size on your printer. Following the steps to measure out a test square to make sure you don’t shrink the pattern are easy, but what they failed to realize is that you can’t print to the edge of the paper. Every home printer in existence has a non-zero minimum border of white space to which it cannot print. This means that the clever little triangles that you are supposed to match up on each paper are cut off on one side. You can mostly estimate where they are supposed to go, but if you are a bit OCD like I am this will be incredibly annoying to you. After printing you have to line up and tape together all the sheets of the pattern which is similar to doing a really boring puzzle. My pattern was 40 pages long so this took an incredibly long time. And about halfway through I realized I really didn’t have to tape the entire thing together because some of the pieces didn’t even get used for my pattern. This just made me feel as if I had just needlessly killed a forest. Since the patterns didn’t have seam allowance built in I transferred the exact pattern to my fabric and then had to measure and add all the additional allowances. Overall this print-at-home process increased the time to sew this dress by around 2 hours. I’ll have to remember to account for this next time I try another print-at-home pattern.
The rest of the process proceeded smoothly and the directions were fairly easy to followm until I got to the neckline. As I was lining up the shoulders and high neckline I realized that the neckline was way too small. My neck supposedly fit the exact dimensions of the size in the pattern, but it was like they did not account for the fact that everyone has a round rather than flat neck. Even on my mannequin (who has an incredibly petite neck) the fabric in the chest became contorted and bulged from the fabric around the neck. So I completely reworked the neckline. As I was fixing the neckline I also noticed that the front darts did not produce anything near as form fitting as the picture. So I added an additional set of darts, along where I would have added a princess seam. Here’s how I did both:
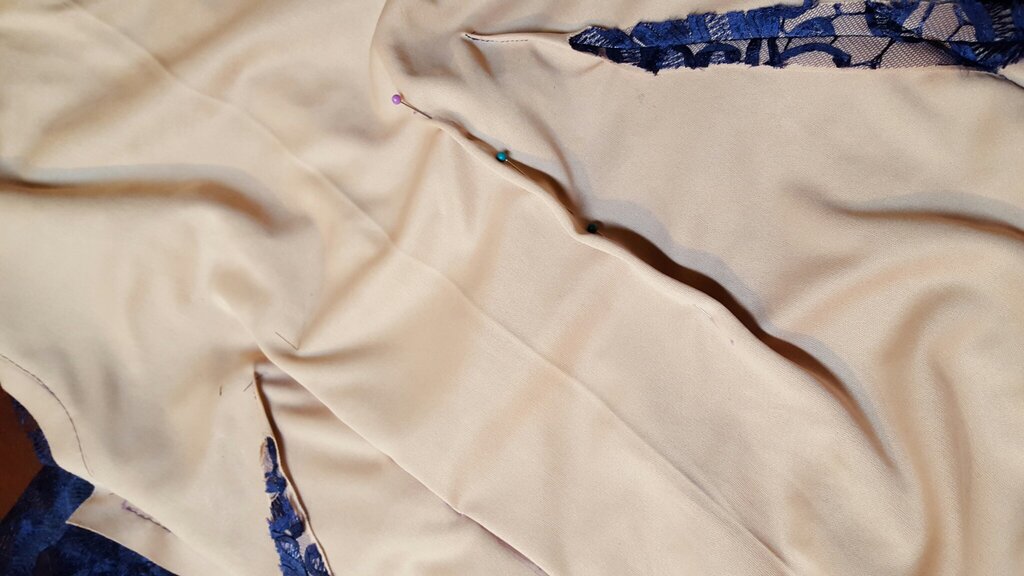
For the darts, I dressed my mannequin (whose name, if you are wondering, is “old girl” as in “you are looking pretty good old girl”) and pinched and pinned fabric from the tip of both busts down to the waist along the princess seam line. I don’t have a picture of this part but here’s a diagram of where I pinned (modified from this website).
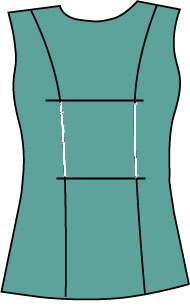
White portion is where I pinned new darts on the mannequin along the black princess seamline
I then removed the dress from the mannequin, turned it inside out and drew on the fabric in marker where the pins formed the darts.
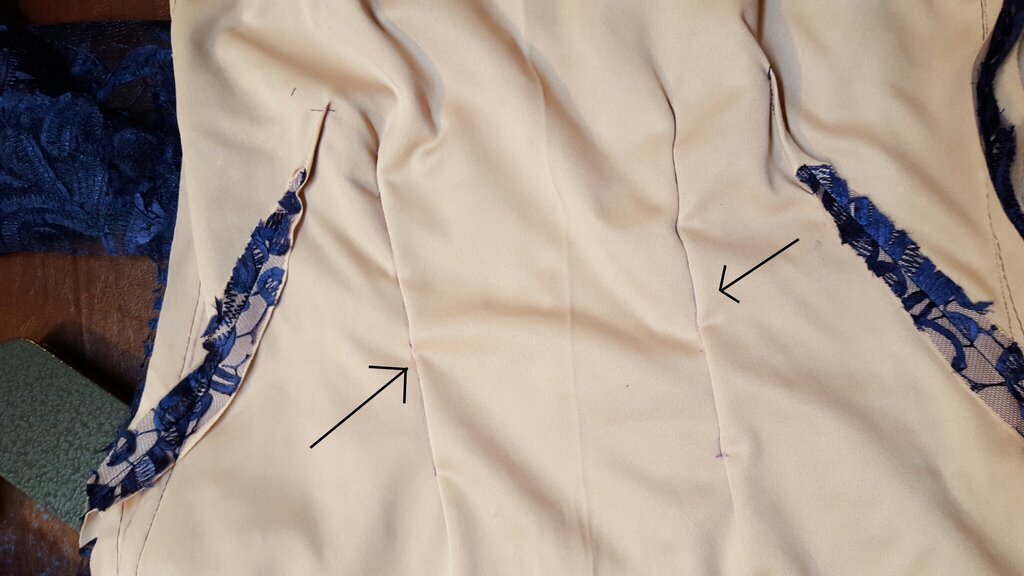
Next I removed the pins and inverted the darts to the insides of the fabric (right sides together) matching the lines I had just drawn. I then sewed along my markings to form the additional darts.
For the neckline I dressed old girl in the dress again and marked on both shoulder seams where the tension was beginning to cause the weird bulging. Then I removed the seams I had made on both shoulders (including the invisible zipper) and again dressed up old girl in the dress. I repinned the shoulder seams. Then I pinned along an approximate neckline in front and back and removed the dress again.
Repinning the shoulders and pinning a new neckline.
Here I went back to my pattern and took the measurements from my neckline and shoulder pins to approximate the new neckline to make sure I didn’t make anything uneven. I used my drafting curves to choose an appropriate neckline for the front and the back.
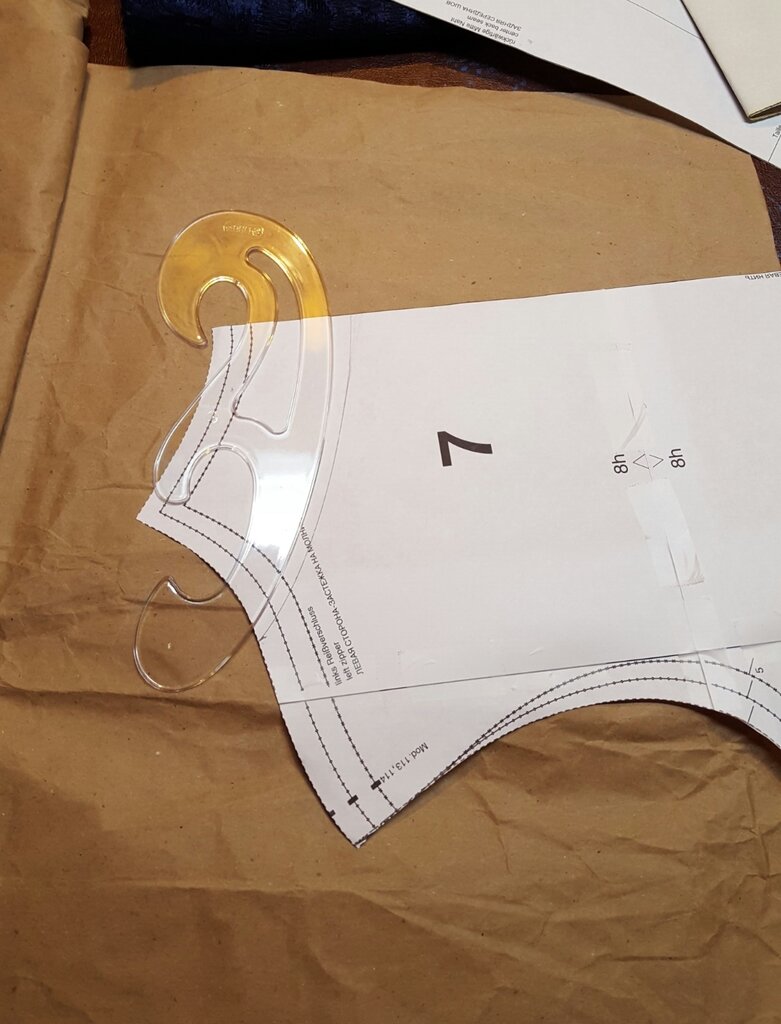
Using drafting curve to revamp the neckline on the pattern
Then I transferred the whole thing over to a new neckline pattern (because I didn’t want to destroy the original pattern). To my pattern I also added seam allowance. Since I am all about saving paper I always use the brown paper that comes in amazon packaging for my personal patterns. It is wide and long and irons out pretty well.
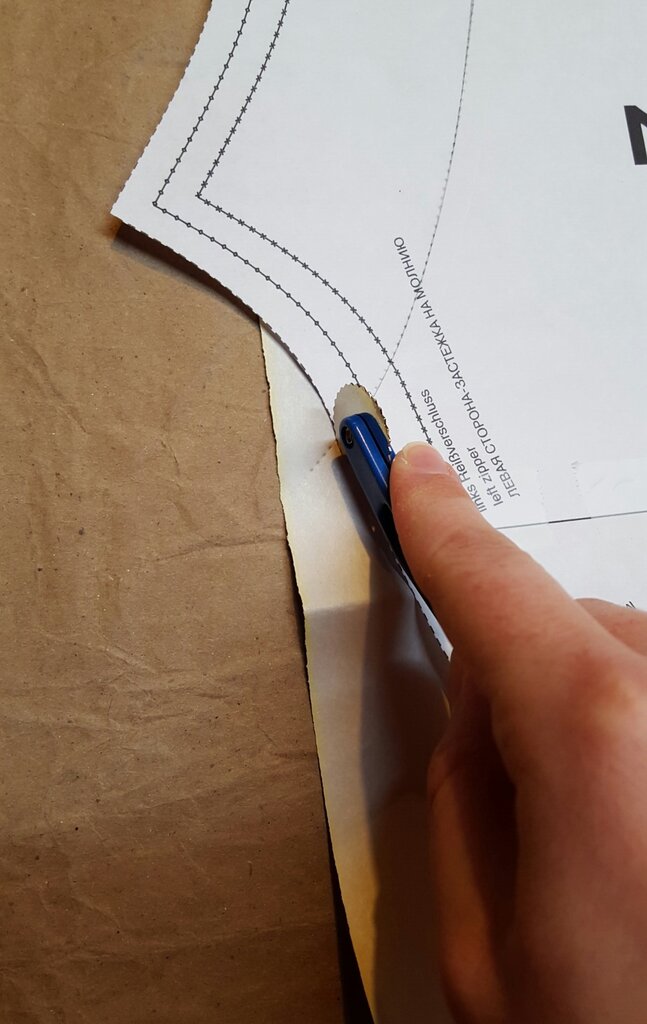
Transferring neckline pattern
I also had to make a pattern for the front and back neck facing since my neckline had changed so dramatically. I simply traced the new neckline of the dress onto another sheet of brown paper and made a 2 inch semi-circular pattern strip. I used this pattern to cut some lace for the neck facing. Since I didn’t think it made sense to make the facing only lace, I also cut out some lightweight sew in interfacing to back the lace facing.
I then proceeded to sew the shoulder seams and neckline as recommended in the instructions, but omitting the invisible shoulder zipper since the neckline was now big enough to fit my head through. For my new neckline I really had to clip my curves but then everything sat beautifully flat.
The one additional thing I did differently from the included instructions was to understitch the neckline. I wish someone had taught me this technique earlier because it really makes your neckline sit flat and look like a normal neckline rather than something homemade and wobbly. Here is a great tutorial. Oh and I realized my needles were doing strange bad things to the super stretchy fabric so a few stitches in I switched to a ball tip needle which pokes between the knit fibers rather than piercing them.
Here’s some pictures of me modeling the finished product:
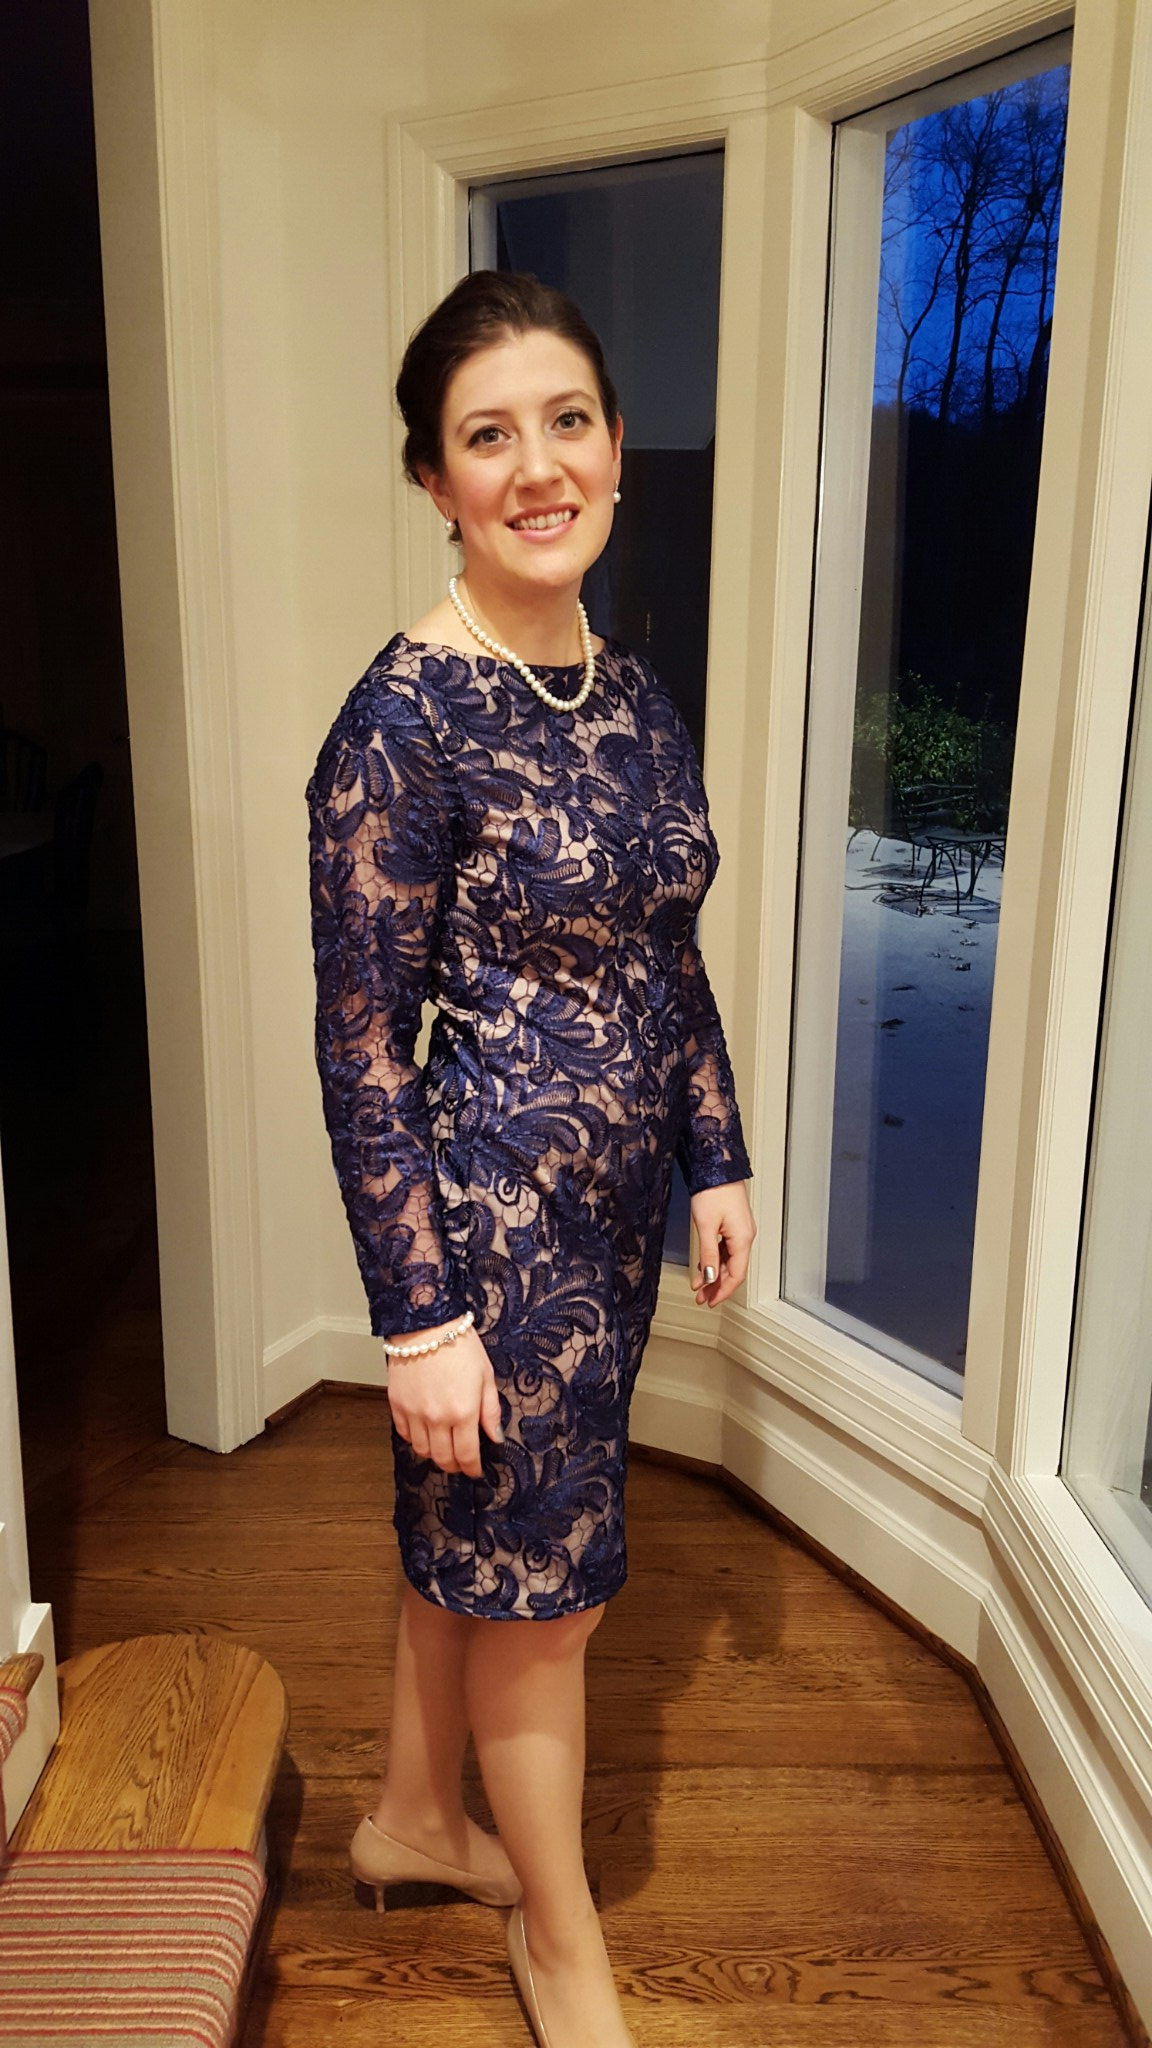
Front View
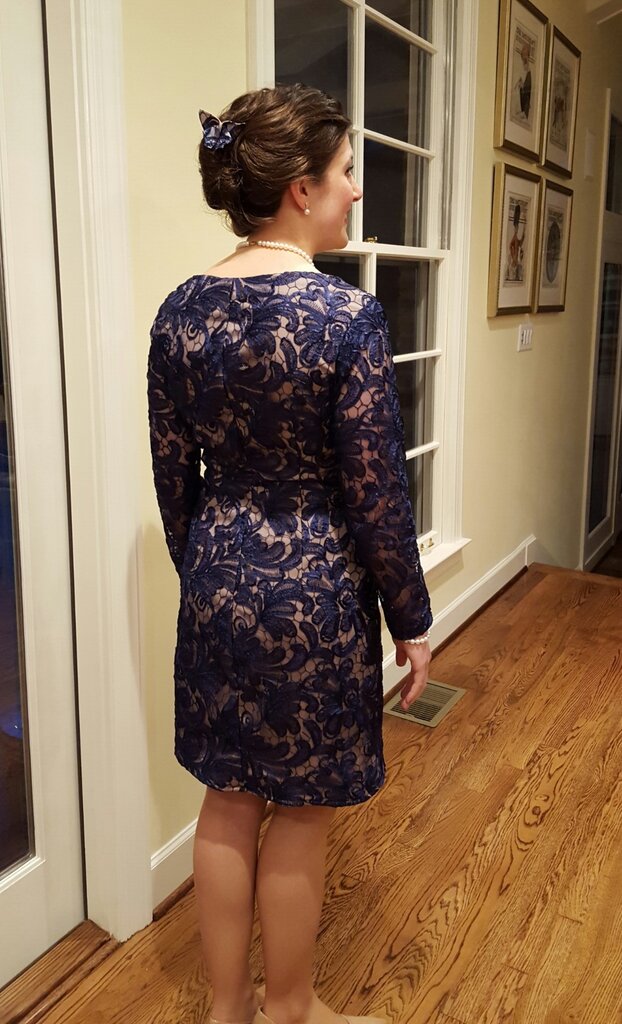
Back View
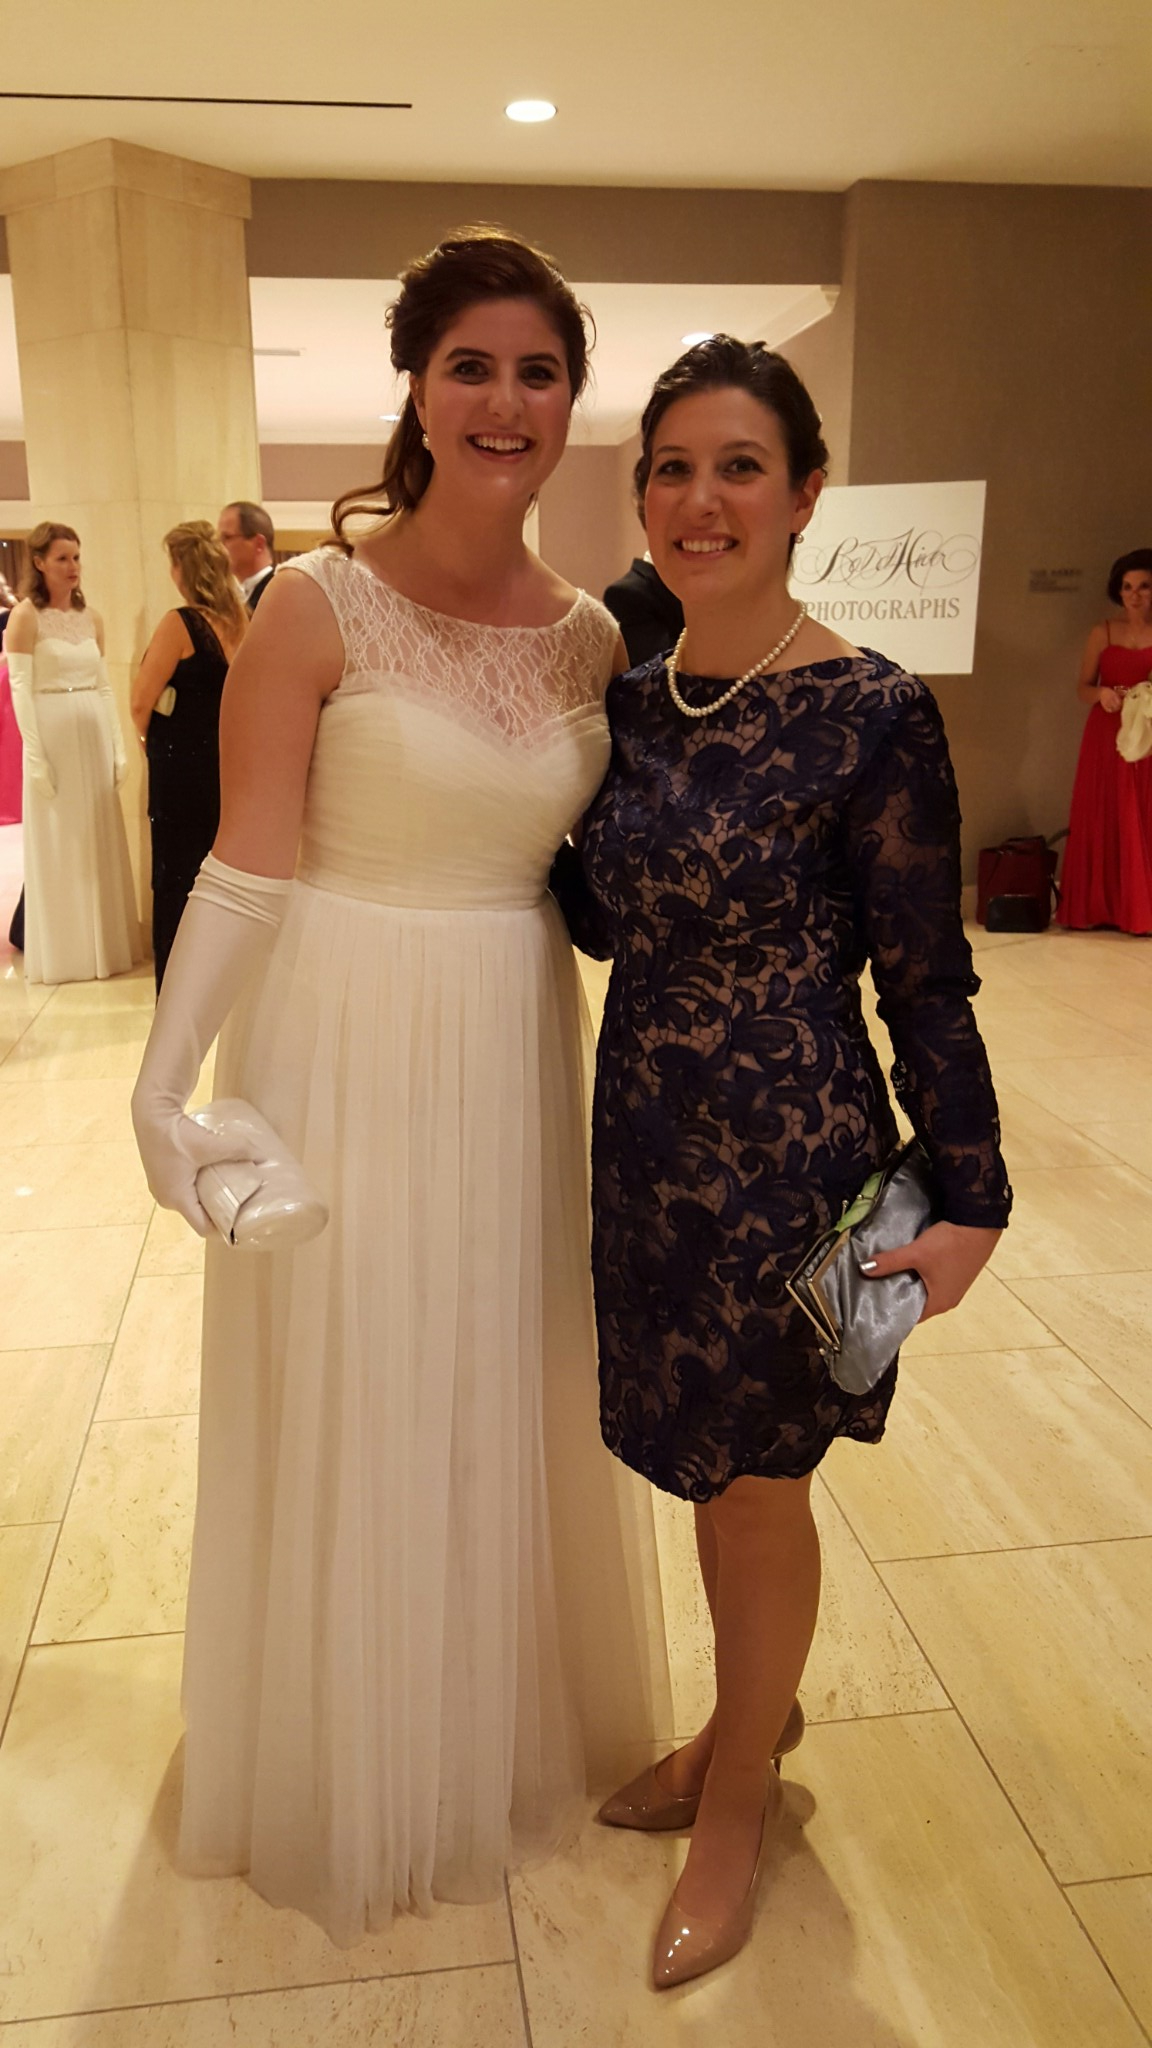
My beautiful sister in law in her ball gown.
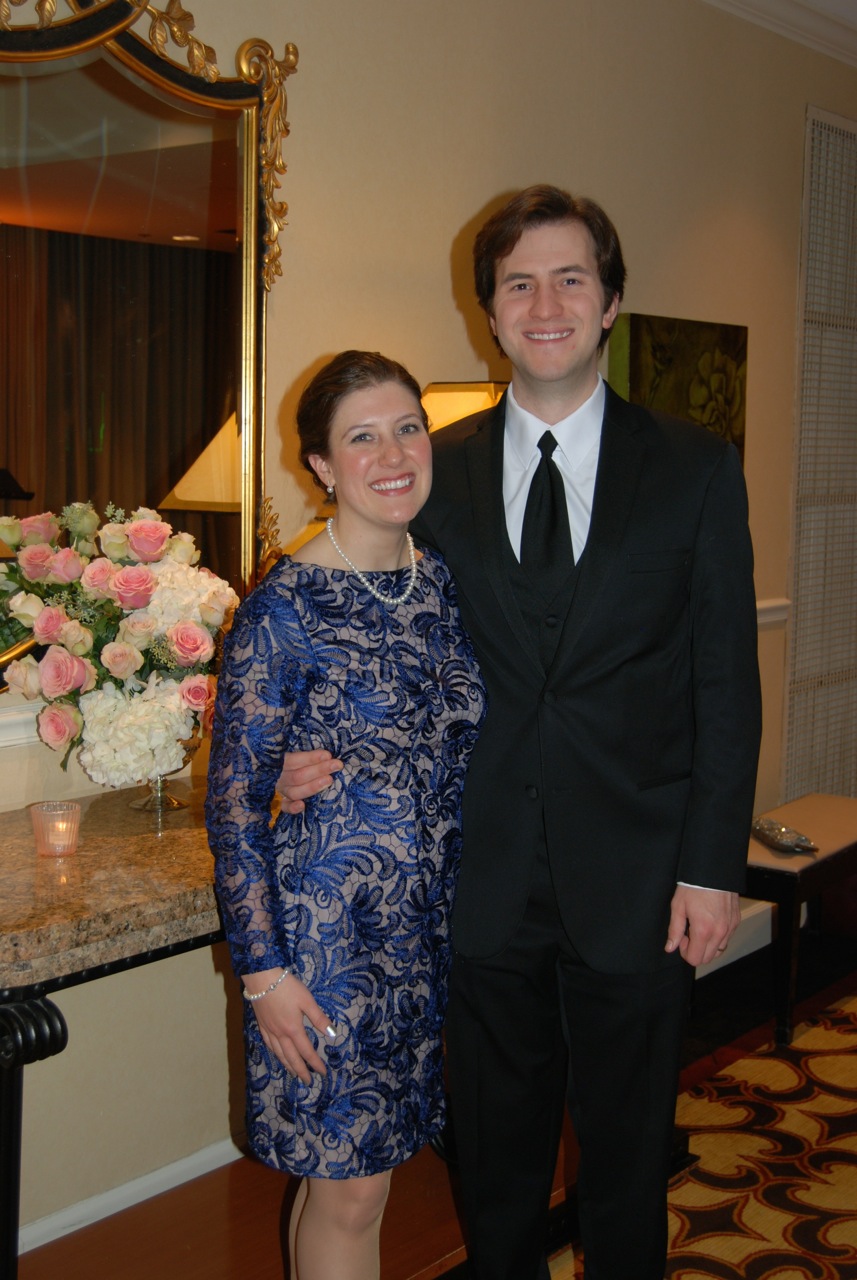
Finished product at the Bal d’Hiver with my handsome date.
Next week I’ll show you how I made my cute butterfly hair accessory using scrap fabric!
