
I have some great friends… A few weeks ago some of my friends’ found out that there is a “speakeasy” themed bar in town that serves prohibition era cocktails. It claims to be a cobbler shop and its entrance is hidden in the back of a working creamery. The suggestion was that we get a few people together, dress up in 1920’s garb and head to the speakeasy for some cocktails. AWESOME. How fun. I’ve been wanting to create a flapper dress for a while and have a bunch of pins on my pinterest sewing board of authentic 1920’s dresses.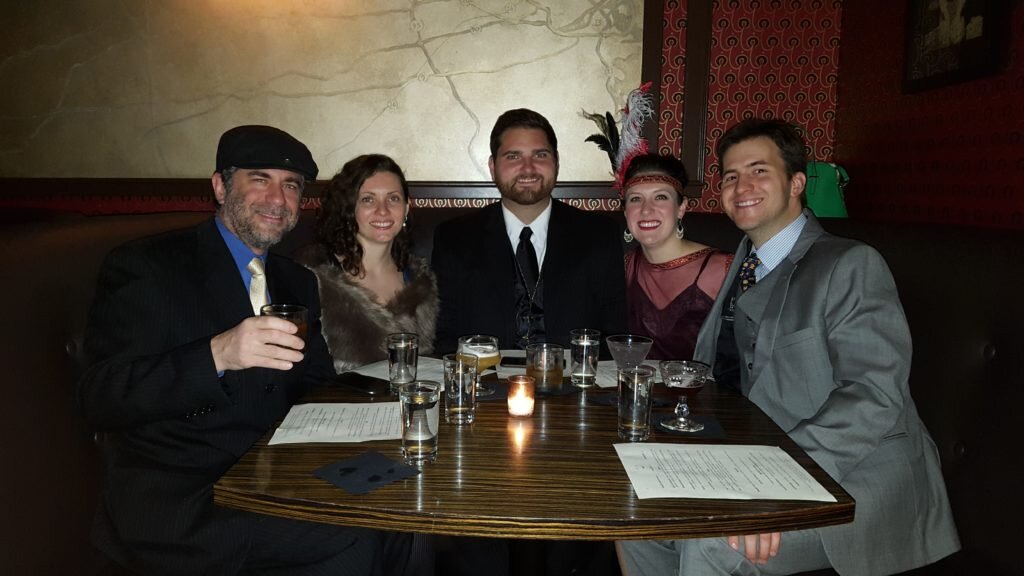
If you’ve never seen a quintessential flapper dress I can tell you they are not particularly flattering. I used to say I hated 1920’s style for this reason, but with my love of costumes I’ve grown to love this time period too. And looking more into authentic dresses they aren’t as hideous as I once thought. The commonality seems to be a top portion that is square to the hips (which does not flatter the breasts in any way). At the hips the skirt generally became either fuller or tight fitting. From the models I observed, many dresses had skirts that were cut on the bias so it would stretch to your curves. For a time, the skirt was shorter than average for the time period, but not well above the knee as modern interpretations and Halloween costumes would have us believe.
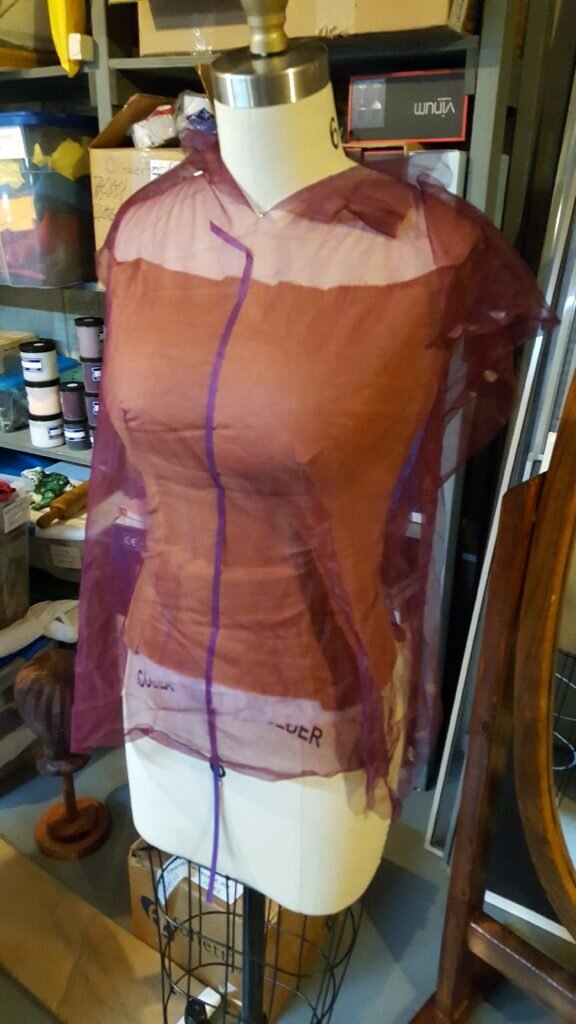
Many of the examples I looked at had a chiffon overlay with a silk lining underneath. The lining was form fitting in the few examples I saw. I decided to go with this, and use a vintage silk slip I had sitting in my closet as the under dress. To make the overdress I drafted the entire thing on my mannequin, and didn’t even try it on until it was time to leave. I figured since the style was masculine and ill fitting this shouldn’t be a problem. I had many yards of nylon chiffon left over from my hatmaking, and since nylon chiffon has the advantage that it doesn’t fray I thought this would make things ever easier! Overall the dress was fairly simple to make, and when I mentioned this to my husband he said “I’m not surprised, you could have taken a potato sack, cut arm and neck holes and called it done”. Thanks babe.
Anyway here’s how I did it if you want to try your hand at it yourself. And take a look at my next post for how to make the flapper headpiece!
Flapper Dress
What you’ll need:
- About 2 yards of nylon chiffon (the beauty of this chiffon is that it does not fray so there is no need to hem!)
- About 5 yards of trim
- mannequin
- Start by measuring from your waistline to the top of your shoulder in both the front and back. Then measure from inseam to inseam around your waist at the largest part of your hips in the back and from inseam to inseam at the largest part of your bust in front.
- Cut two rectangles of fabric bust width x front height and hip width x back height.
- In the front piece, cut a 2 inch notch in the center where the neck will go.
Cut notch in neck seam.
- Using your mannequin pin shoulder seams. Serge shoulder seams.
Pin the shoulder seams
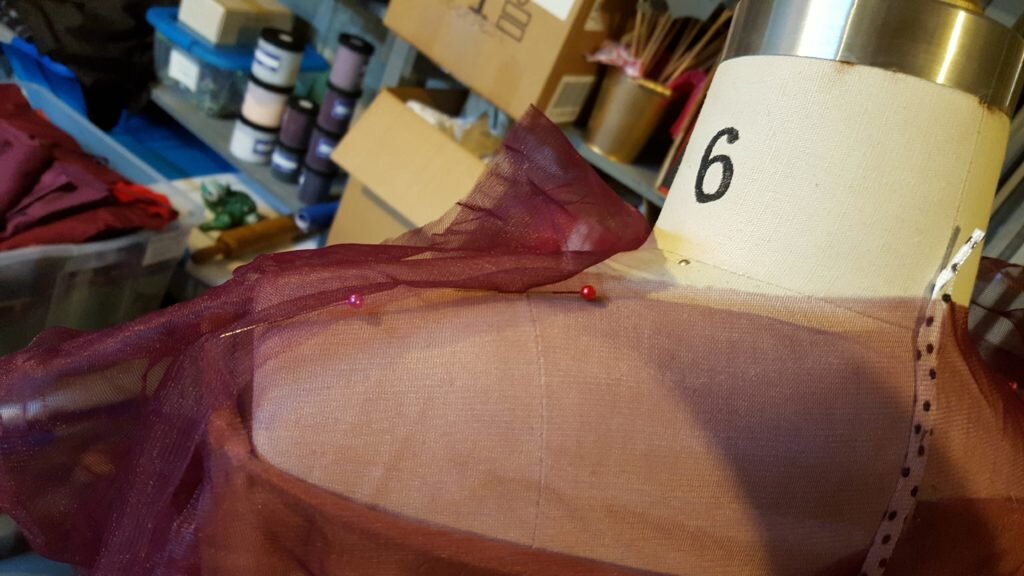
- Return to the mannequin wrong side out and pin side seams, leaving a gap from the shoulder to the armpit (this line should be on your mannequin or is approximately 5 inches from the shoulder). Serge side seams leaving gap for arms.
Pin side seams
- Turn dress right side out and return to mannequin. Take scissors and even out the bottom so it is even with the largest portion of the hips.
- Cut two 21″x 27″ rectangles of chiffon for the skirt.
- Sew both ends of the chiffon together to make a wide tube 21″ long for the skirt.
- Pin the seams of the skirt to the seams of the bodice, right sides together. Pleat the rest of the skirt evenly between the seams. Remove from mannequin and stitch.

Pleat and pin skirt to bodice.
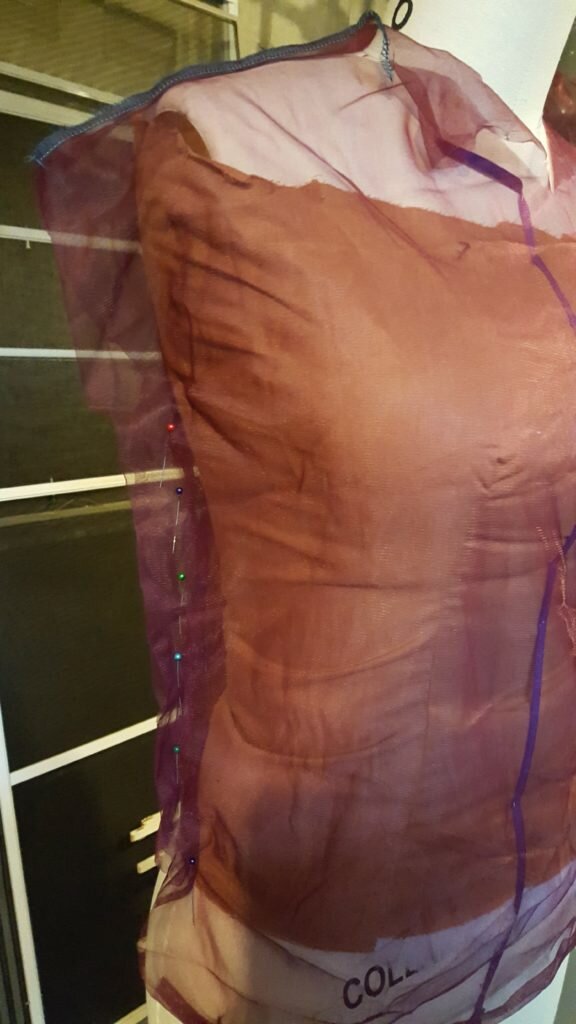
- Return dress to mannequin. Pin trim on one side of the side seam starting just below the skirt seam.
Pin trim along side seam.
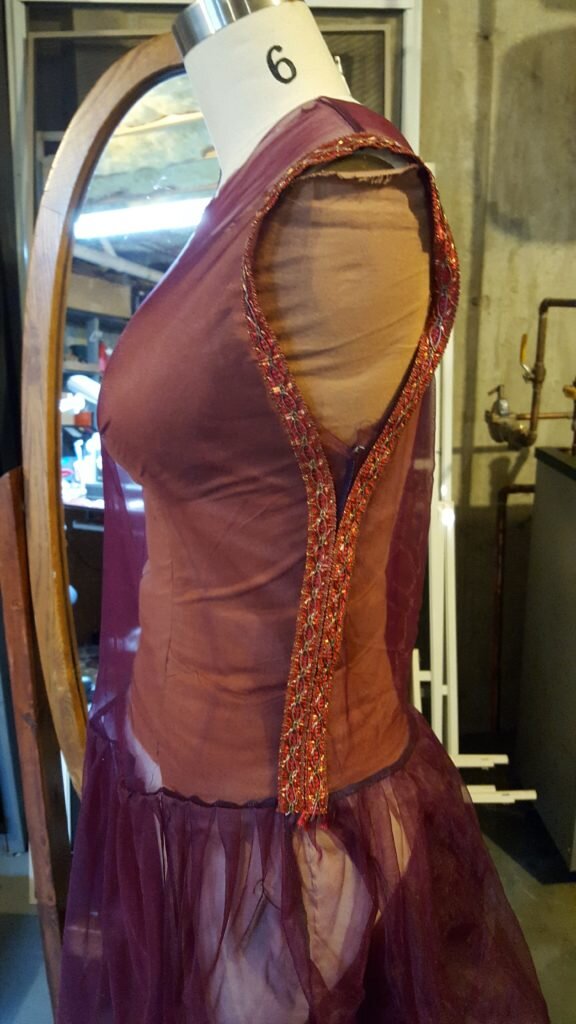
- Continue pinning up the dress, making sure the edge of the trim is right at the side seam. When you get to the armscye, curve around the entire armscye with trim slightly inside the shoulder line.
- Continue down the other side of the side seam, pinning right against the other trim.
- Repeat with the second side, making sure to match where the trim falls on the other side of the mannequin.
- Stitch along both edges of trim.
- Starting in the center back, pin trim where the skirt attaches to the bodice, covering the edges of the trim on the side seams. Be sure to fold over the trim and overlap the start of the trim in the center back.
- Pin trim starting at the center back, a few inches below the shoulders.
Start pinning at center back.
- Continue pinning up to the shoulder, leaving an inch gap between neck trim and arm trim.
- Pin down along the front up to the other shoulder, with a gentle slope that matches the turning ability of the trim. Don’t force it or your neckline will look lumpy.
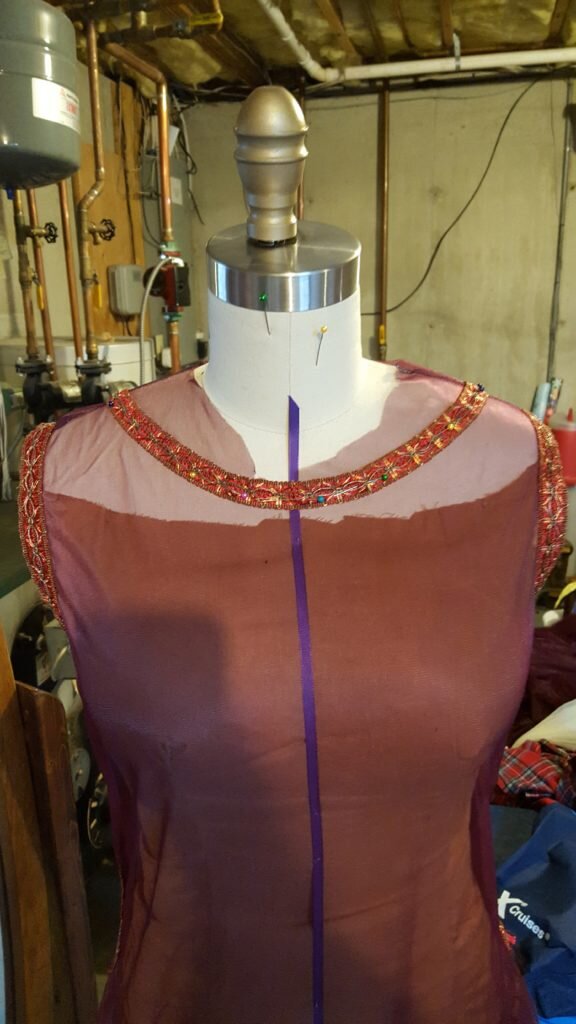
Pin gentle curving neckline matching the play of the trim.
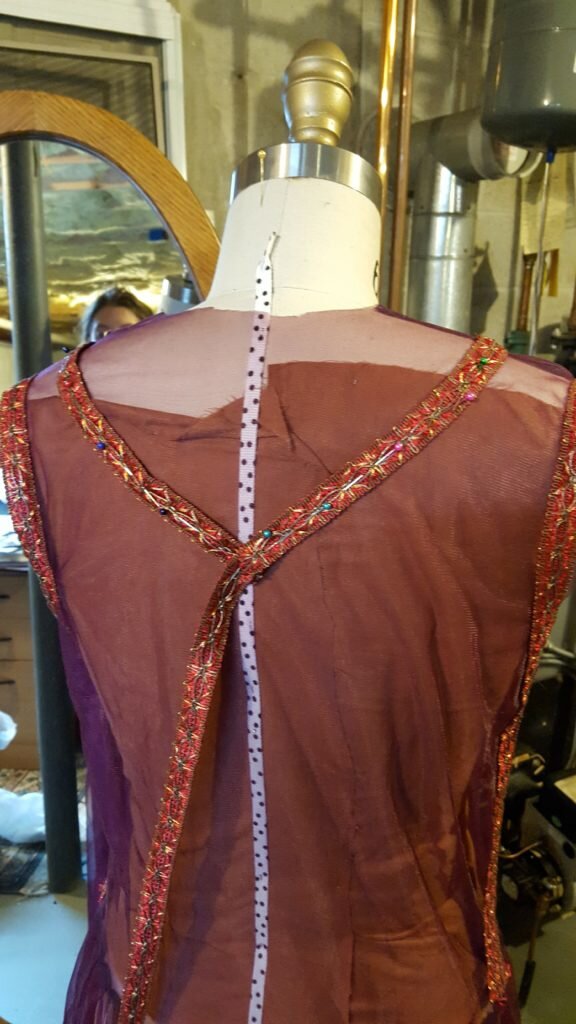
- Continue down the back to the first point forming a v-neck in the back, being sure to fold over and overlap at the center back.
- Remove dress from mannequin and sew all trim down the left side and then back up the right side.
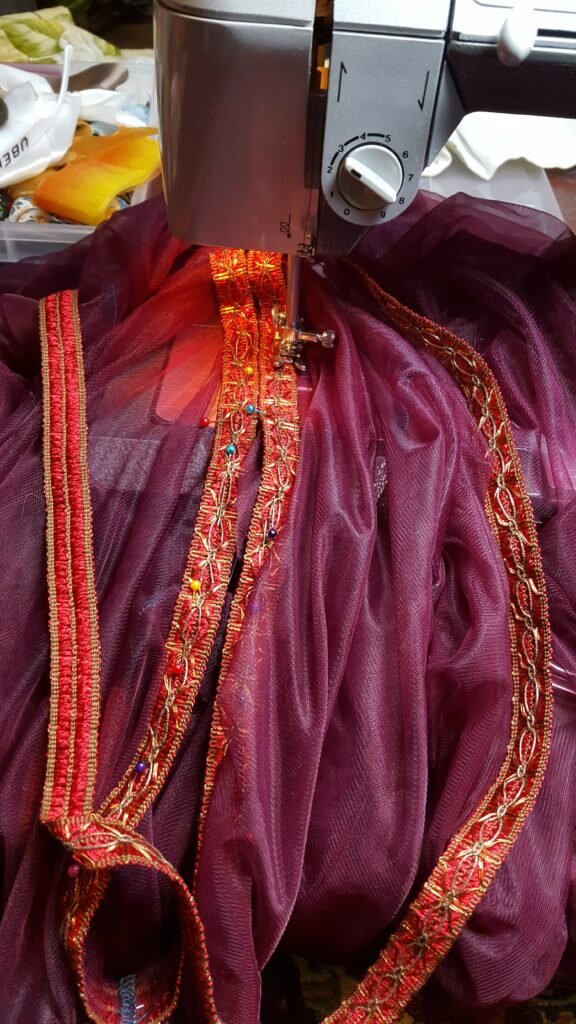
Stitch up both sides of the trim to hold it in place.
- Trim excess fabric that shows under your trim at armscye and neck.
Trim armscye and neckline.
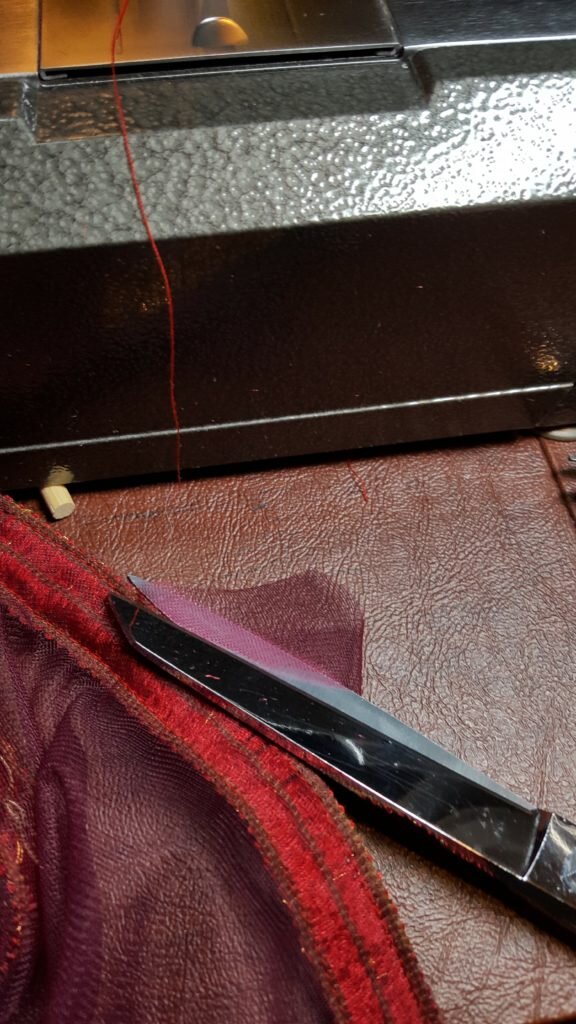
- Return dress to mannequin and trim the nylon chiffon skirt evenly to where you want the dress to fall. As I’ve mentioned I made the dress sit right at my knees.
Trim hemline to where you want dress to fall.
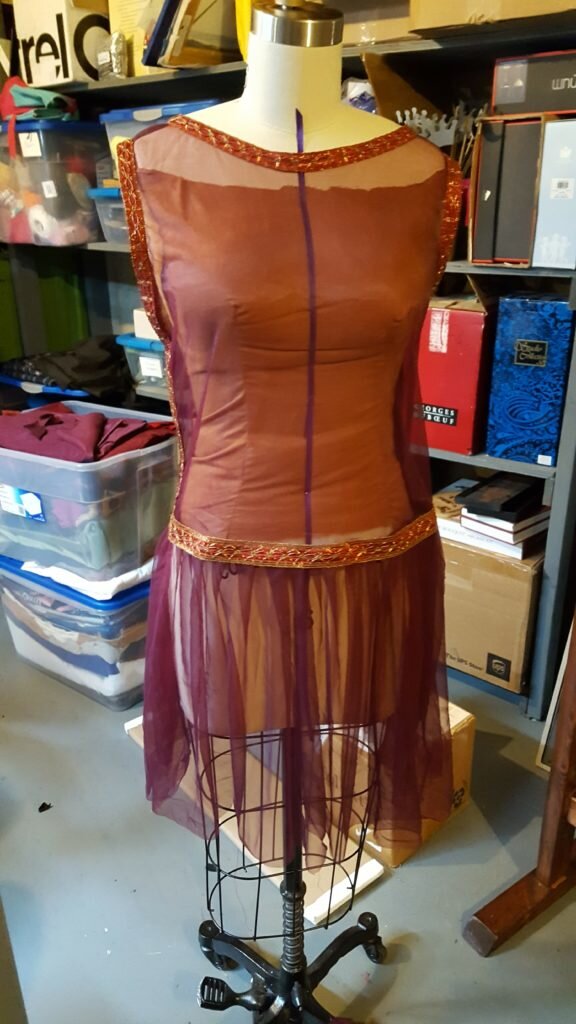
Voila! Make sure you wear a dark slip or underdress as the chiffon makes the dress 100% see through.
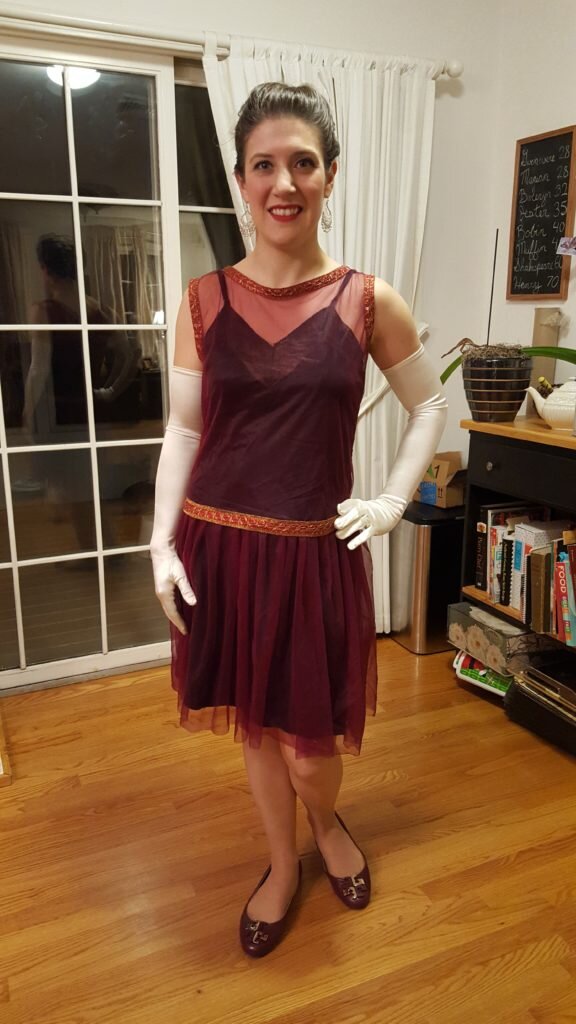
Front view of flapper dress.
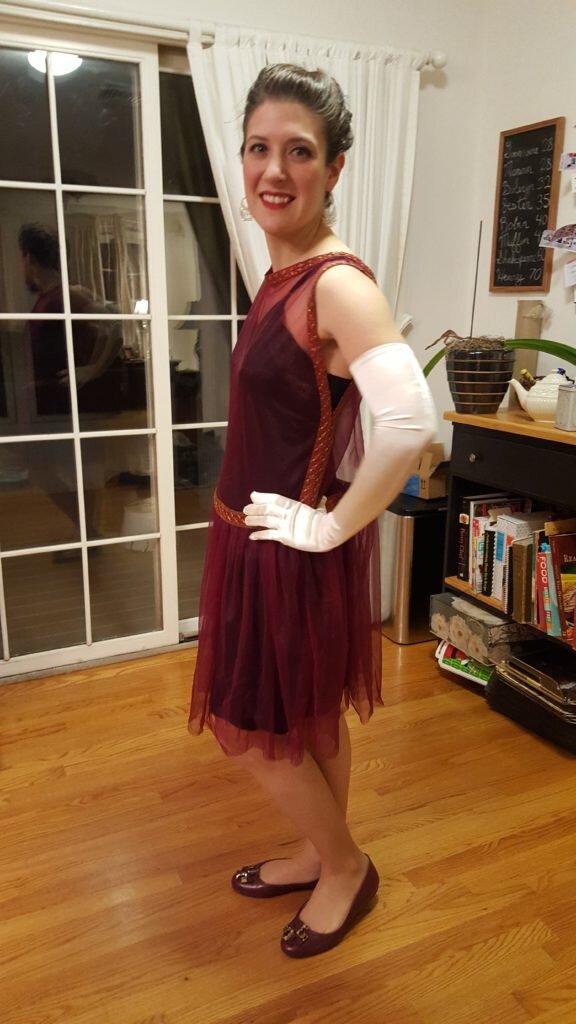
Side view of flapper dress.
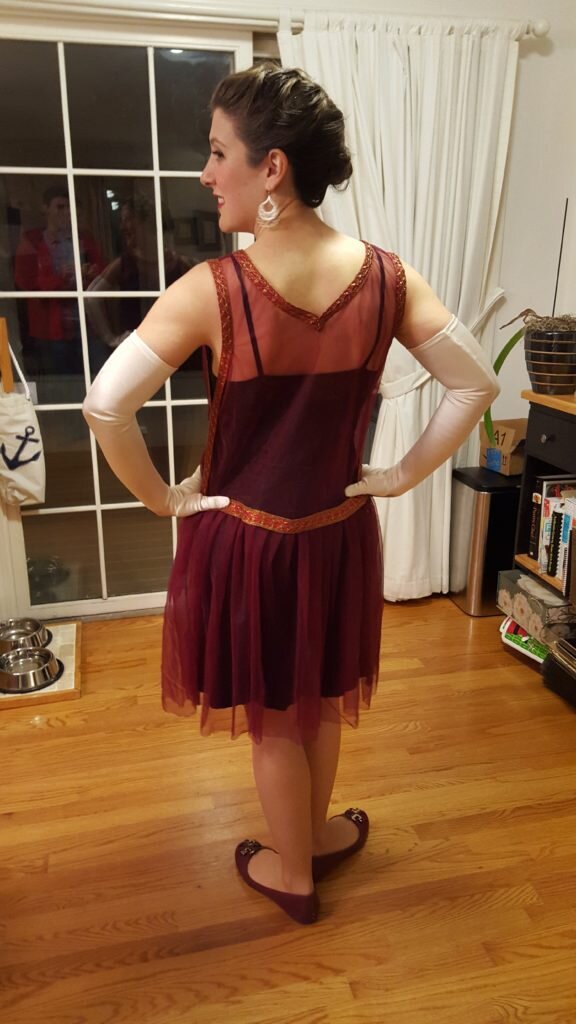
Back view of flapper dress.

The speakeasy liked our outfits so much, they gave us free shots at the end of the night! Lexi’s outfit was the highlight of course.
Oh yeah! I forgot about that! I wonder why they gave us those??