It probably won’t surprise you that we are the type of parents that don’t use cutesy names for sex organs. When Julius first noticed his penis and testicles he asked what they were called, and we told him. That seems like ages ago. Now the little guy even pees standing up. (Literally my worst nightmare about being a boy mom.) One day I just walked in to the bathroom to check on him and he was peeing standing up. His aim isn’t as horrible as I had imagined, but my imagination is pretty wild. Basically don’t judge me too hard when you’re finally able to come visit us and all the bathrooms in our house smell like urine and Clorox.
Anyway, I digress. Using the anatomical name for sex organs, plus Julius’ recent obsession with his, means I have been getting lots of questions like, “where is your penis, Mama?” “Is your penis hiding?” “Do you have a really tiny penis?” Or most recently “if you don’t have a penis do you pee out your bum bum?” (That one sent Will off into a fit of hysterical laughter.) Despite what I’ve told him over and over again, it is obvious from his questions that he believes I have a penis somewhere, but that I’m hiding it from him. That’s silly though. As we all know from, well, being a human in the world, if I had a penis I’d be obligated to loudly proclaim so or at least erect some phallic monuments.
On the opposite note, I’ve been putting together the next ladies’ night activity. I made a lot of the stuff for it so I’ll be sharing some of those projects over the next couple weeks. First up is a quick headband I made because I loved the one my mother in law gave me for Christmas. Hair accessories have become a necessity to prevent Patricia from ripping my hair out, or my hair getting in my way. I haven’t cut my hair since February of 2020. Ironically I told my hairdresser right before the pandemic that “I wanted to grow my hair out” and not to cut it too short. I guess I got my wish. This headband is super simple, and the original company claims you can use it for anything from a headband to a bandeau top… I wouldn’t go that far, but I like the fact that you can decide how wide to make the headband. You can scrunch it fairly thin, fold it or wear it wide and stretched out. And you can wear it parallel to the ground, “hippie style” or like a regular headband.
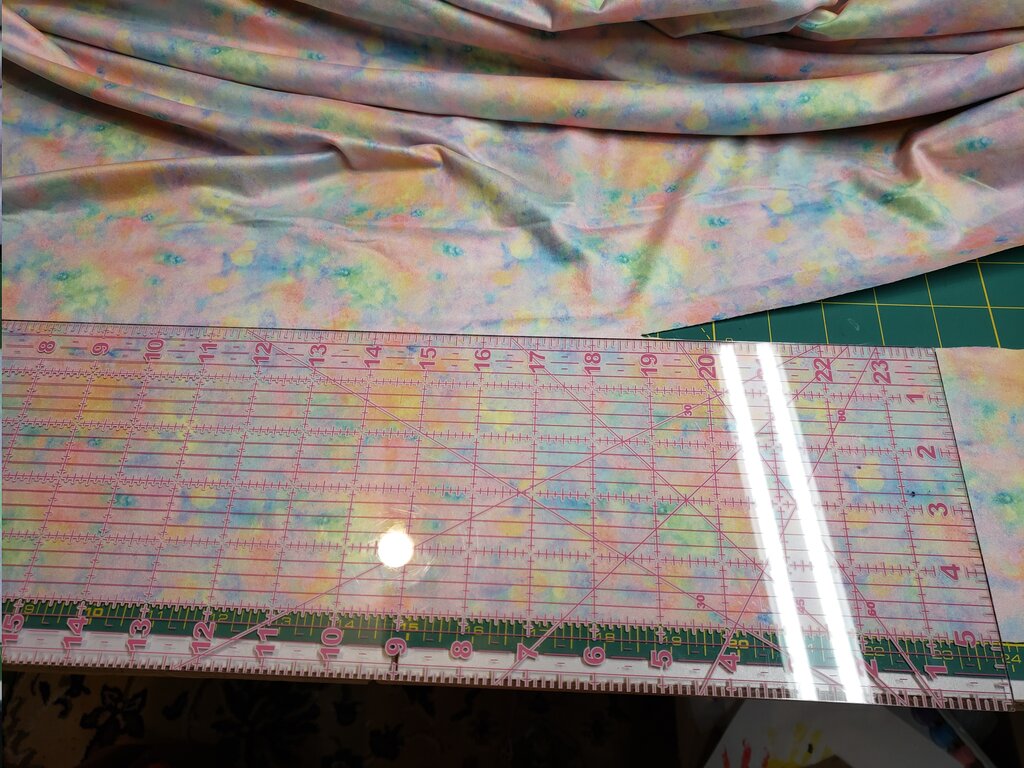
This is the easiest tutorial I may have ever posted. The key to making this headband is finding the right fabric. The ideal fabric I found so far is a 4-way stretch jersey knit, with some spandex. Knit fabrics, because of the way they are created (exactly like someone knitting with needles), have some horizontal and vertical stretch built in compared to woven fabrics, which just have stretch on the bias. If you add spandex into the materials it is like adding elastic in, so your fabric will bounce back or recover to the original shape. From what I can tell the 4 way stretch just means it is really darn stretchy for a knit. For the headbands I made, they have 70% stretch. Which means that if I take a 10″ piece of fabric it will stretch to 17 inches.
Versatile Headband
What you’ll need:
- 20″x10″ piece of 4-way stretch jersey knit **see step 1
- stretch needle (ballpoint needle)
- Make sure to cut your fabric so the stretchiest part is the 20″ portion. This usually means the 20″ is perpendicular to the selvedge along the “grain”.
For the Ladies’ night version I only made them 5″x20″ because I ran out of fabric. You can change the size to make them narrower to your liking.
- Fold the fabric to form a 10×10 rectangle with the right side in.

- Stitch along the edge with 2 open 10″ sides, with .5″ seam allowance. I used a regular old straight stitch here, even though almost everyone will tell you to never ever do this. In this case you are almost never going to stretch perpendicular to the grain so it won’t matter. If it makes you feel better, sew a wide zig zag or straight stretch stitch.
- I also didn’t bother to do anything about the unfinished edges. Technically it is possible that they will unravel. Since we’re going to be tucking the fabric under at the edges I don’t think this matters. And the headbands are so darn quick to make that hemming the edges would triple the labor involved. Again, feel free to serge the edges if you are so inclined, but in this case definitely DO NOT use a straight stitch. You’ll need something that encompasses the huge amount of stretch.
- Tuck under the edges and wear.

I’ve made dozens of these now. This one is from when Patricia was 2.5 months old…