Its November and the leaves have changed from their showy early autumn display of glorious vibrant flame to more subdued golds and browns. It is almost as if the initial fire has turned into smoldering embers; beautiful but different than the October trees I love fall and have been lucky enough to enjoy every day of it while on my sabbatical. But my love of fall doesn’t stop me from clinging to the last ounce of summer! This week we’re soaking up the sun in Orlando for a quick vacation at Disney and Universal Studios!
And what better excuse to use up some fancy stretch lace I purchased months ago than to create a beach cover up for the trip? I couldn’t resist purchasing this fabric while I was buying suede fabric for my Robinhood hats. The fabric is a black crocheted lace and was only $3 a yard! It is 60″ wide to boot! I have lots of other ideas for the rest of it, but for starters here’s some super quick instructions for an easy swimsuit cover up! And at such a low price it cost me less than $6 to make! You can’t beat that!!
Just in time for Fall Swimsuit Cover Up
You’ll need:
- 2 yards of crocheted (stretch) lace
- 1 yard bias tape in coordinating color
- thread in coordinating color
- Start by measuring from your shoulder to where you want the dress to hit. On me this was 36″. You’ll need to double this to find the length of your fabric.
- Cut a rectangle out of your fabric 40″ by 72″ (or the doubled length from #1).
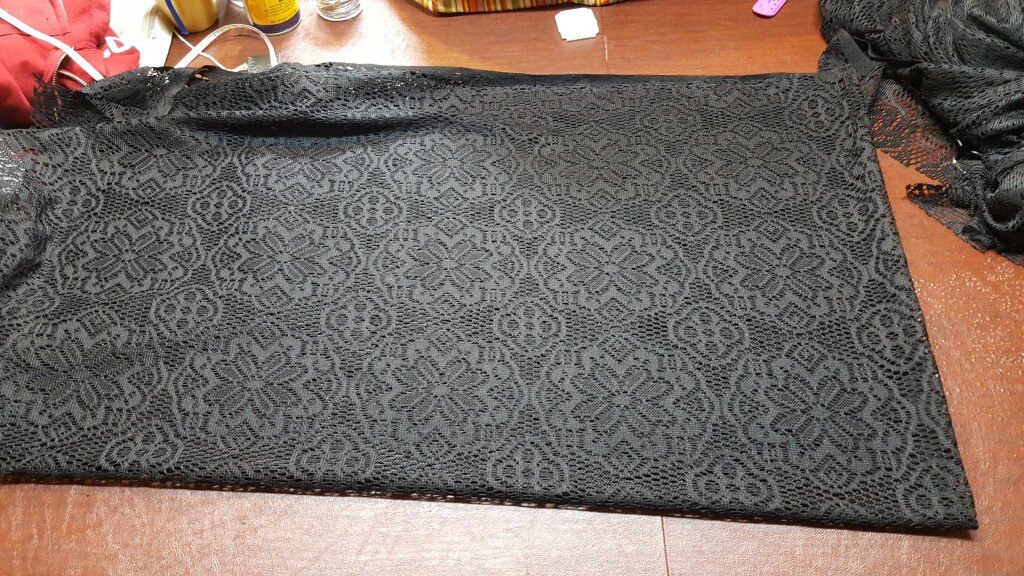
Cut rectangle of fabric
- Fold the rectangle in half. Mark the center of your fabric and cut a slit 4.5″ on each side of center (for your neck) along the fold.
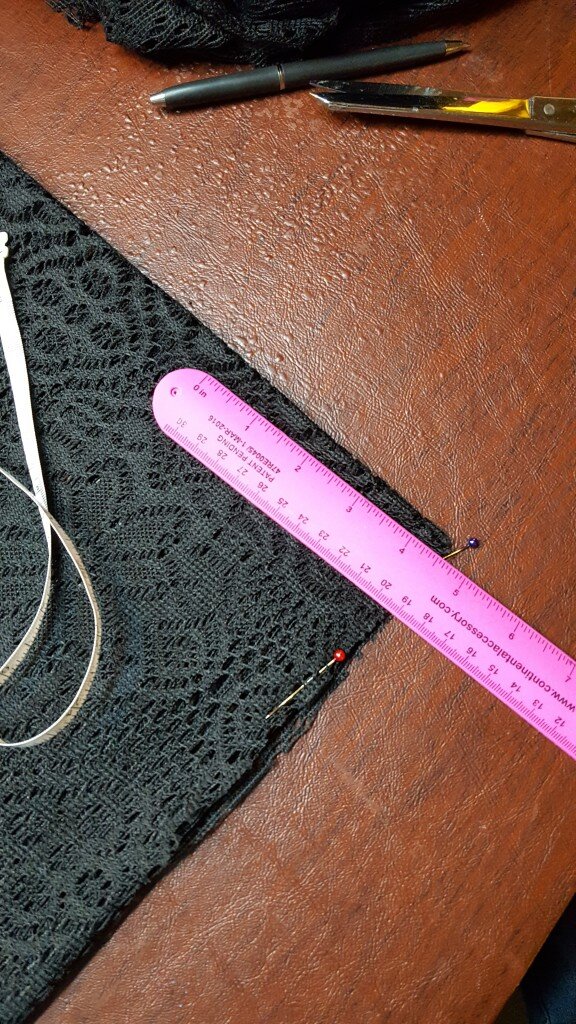
- Cut down from the fold 9″ at the center mark. Cut from neck to end of this line forming a “v”.
Cut 9 inch slit down the front of the dress to form a “v” neck
- Round the bottom corners slightly by trimming with scissors.
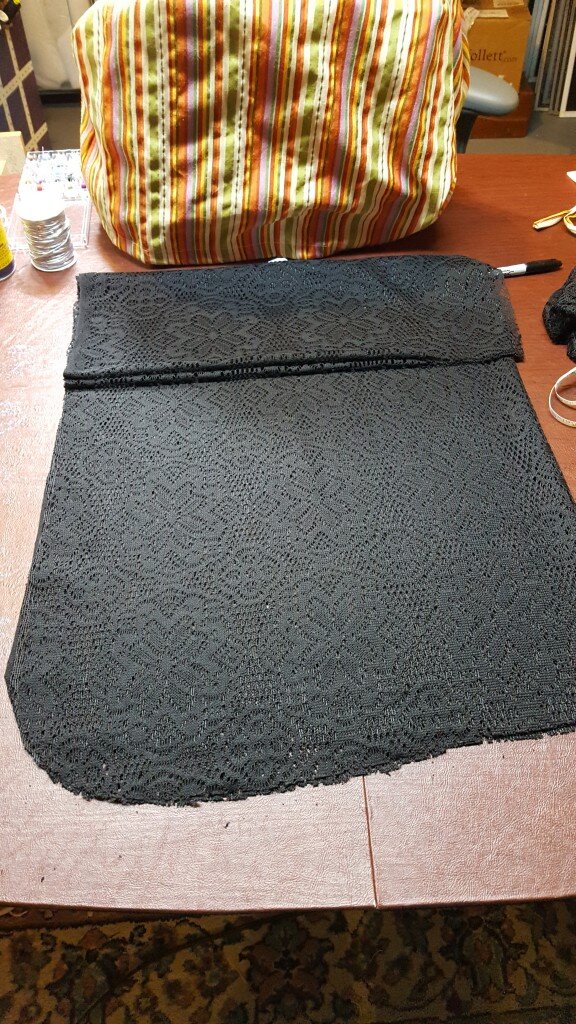
Round bottom corners slightly
- Hem the edges of the rectangle by creating a 1/8″ rolled hem.
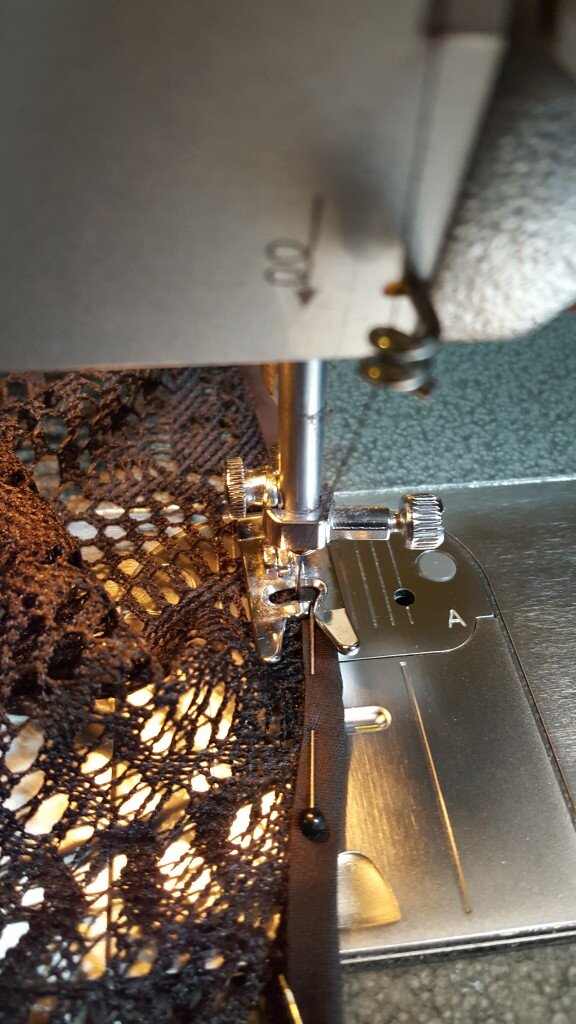
- Open out bias tape. With right sides together, line up edges of neckline and pin along first fold line of bias tape. Stitch along this line.
Attach bias tape to neckline
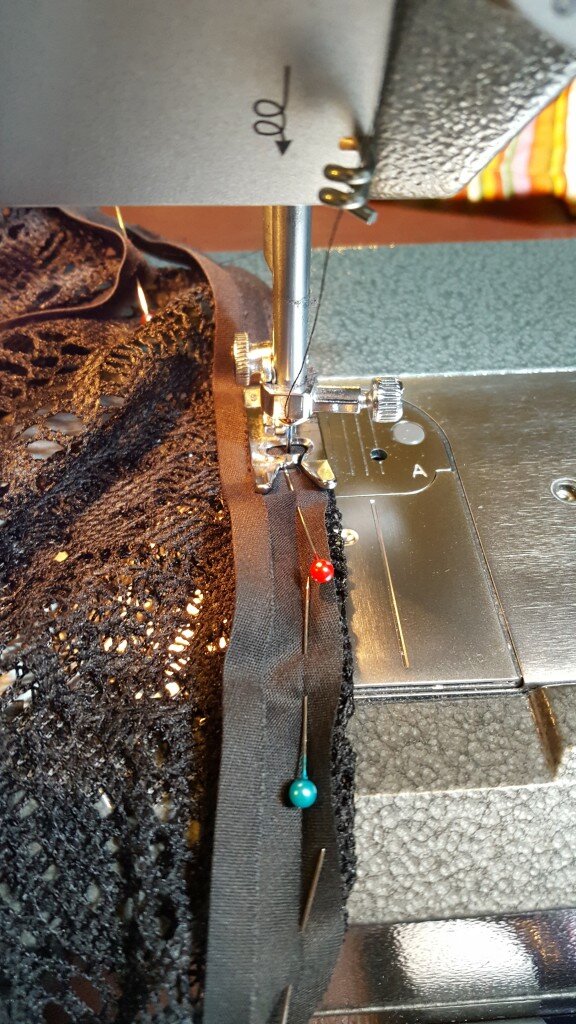
- Fold bias tape in half back on itself onto the inside of the neckline. Stitch in the ditch on the front of the neckline to secure the bias tape on the inside.
Stitch in the ditch
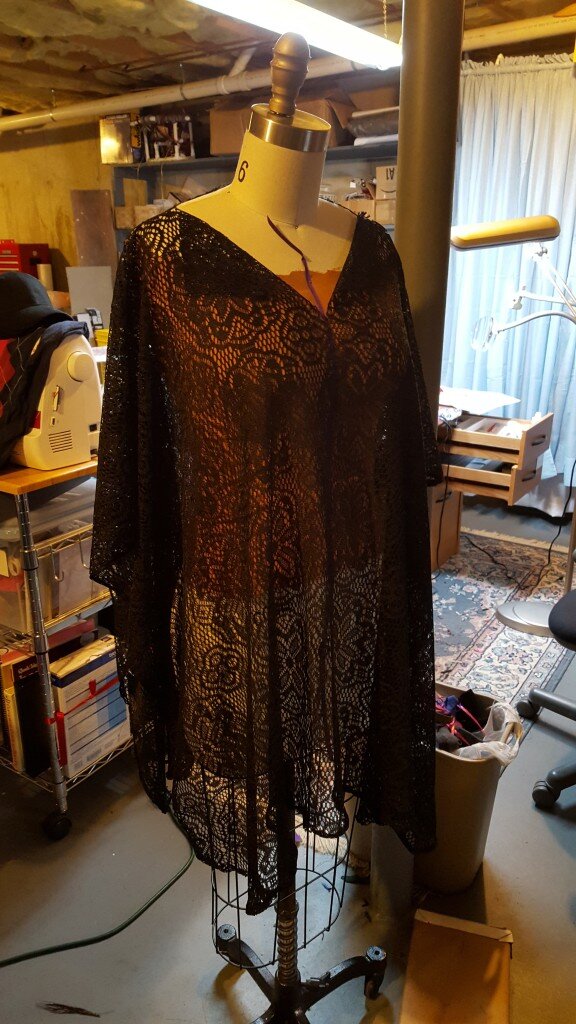
- At this point you’ll want to try the cover up on or put it on a mannequin. Pin at the waistline where you want the body of the cover up to end. Mirror and pin on the opposite side.
Pin at waistline
- Stitch a 4″ vertical line at the point you pinned on both sides. Voila!!
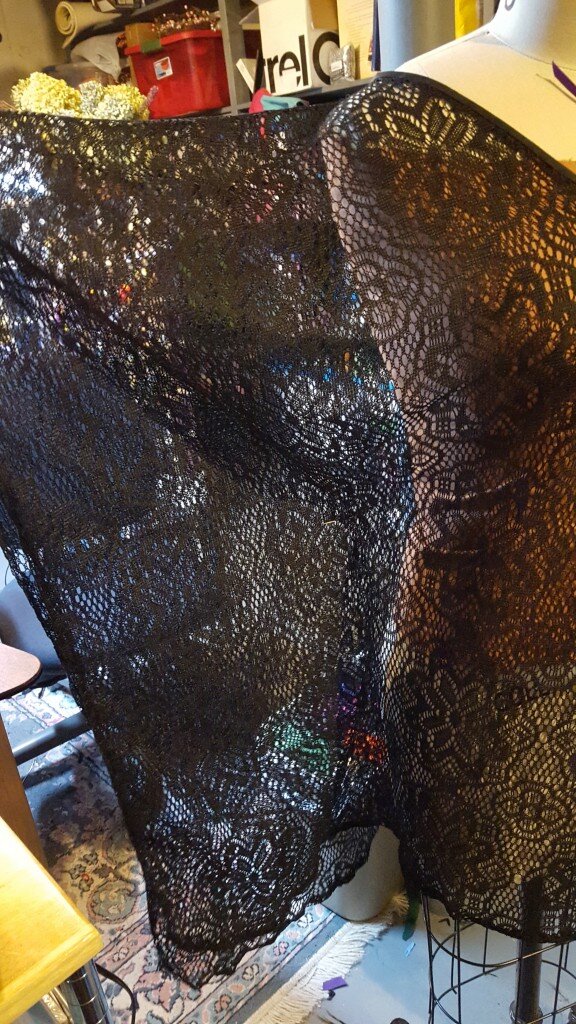
I just love how the sleeves drape!