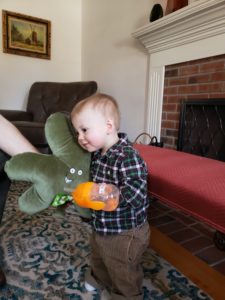
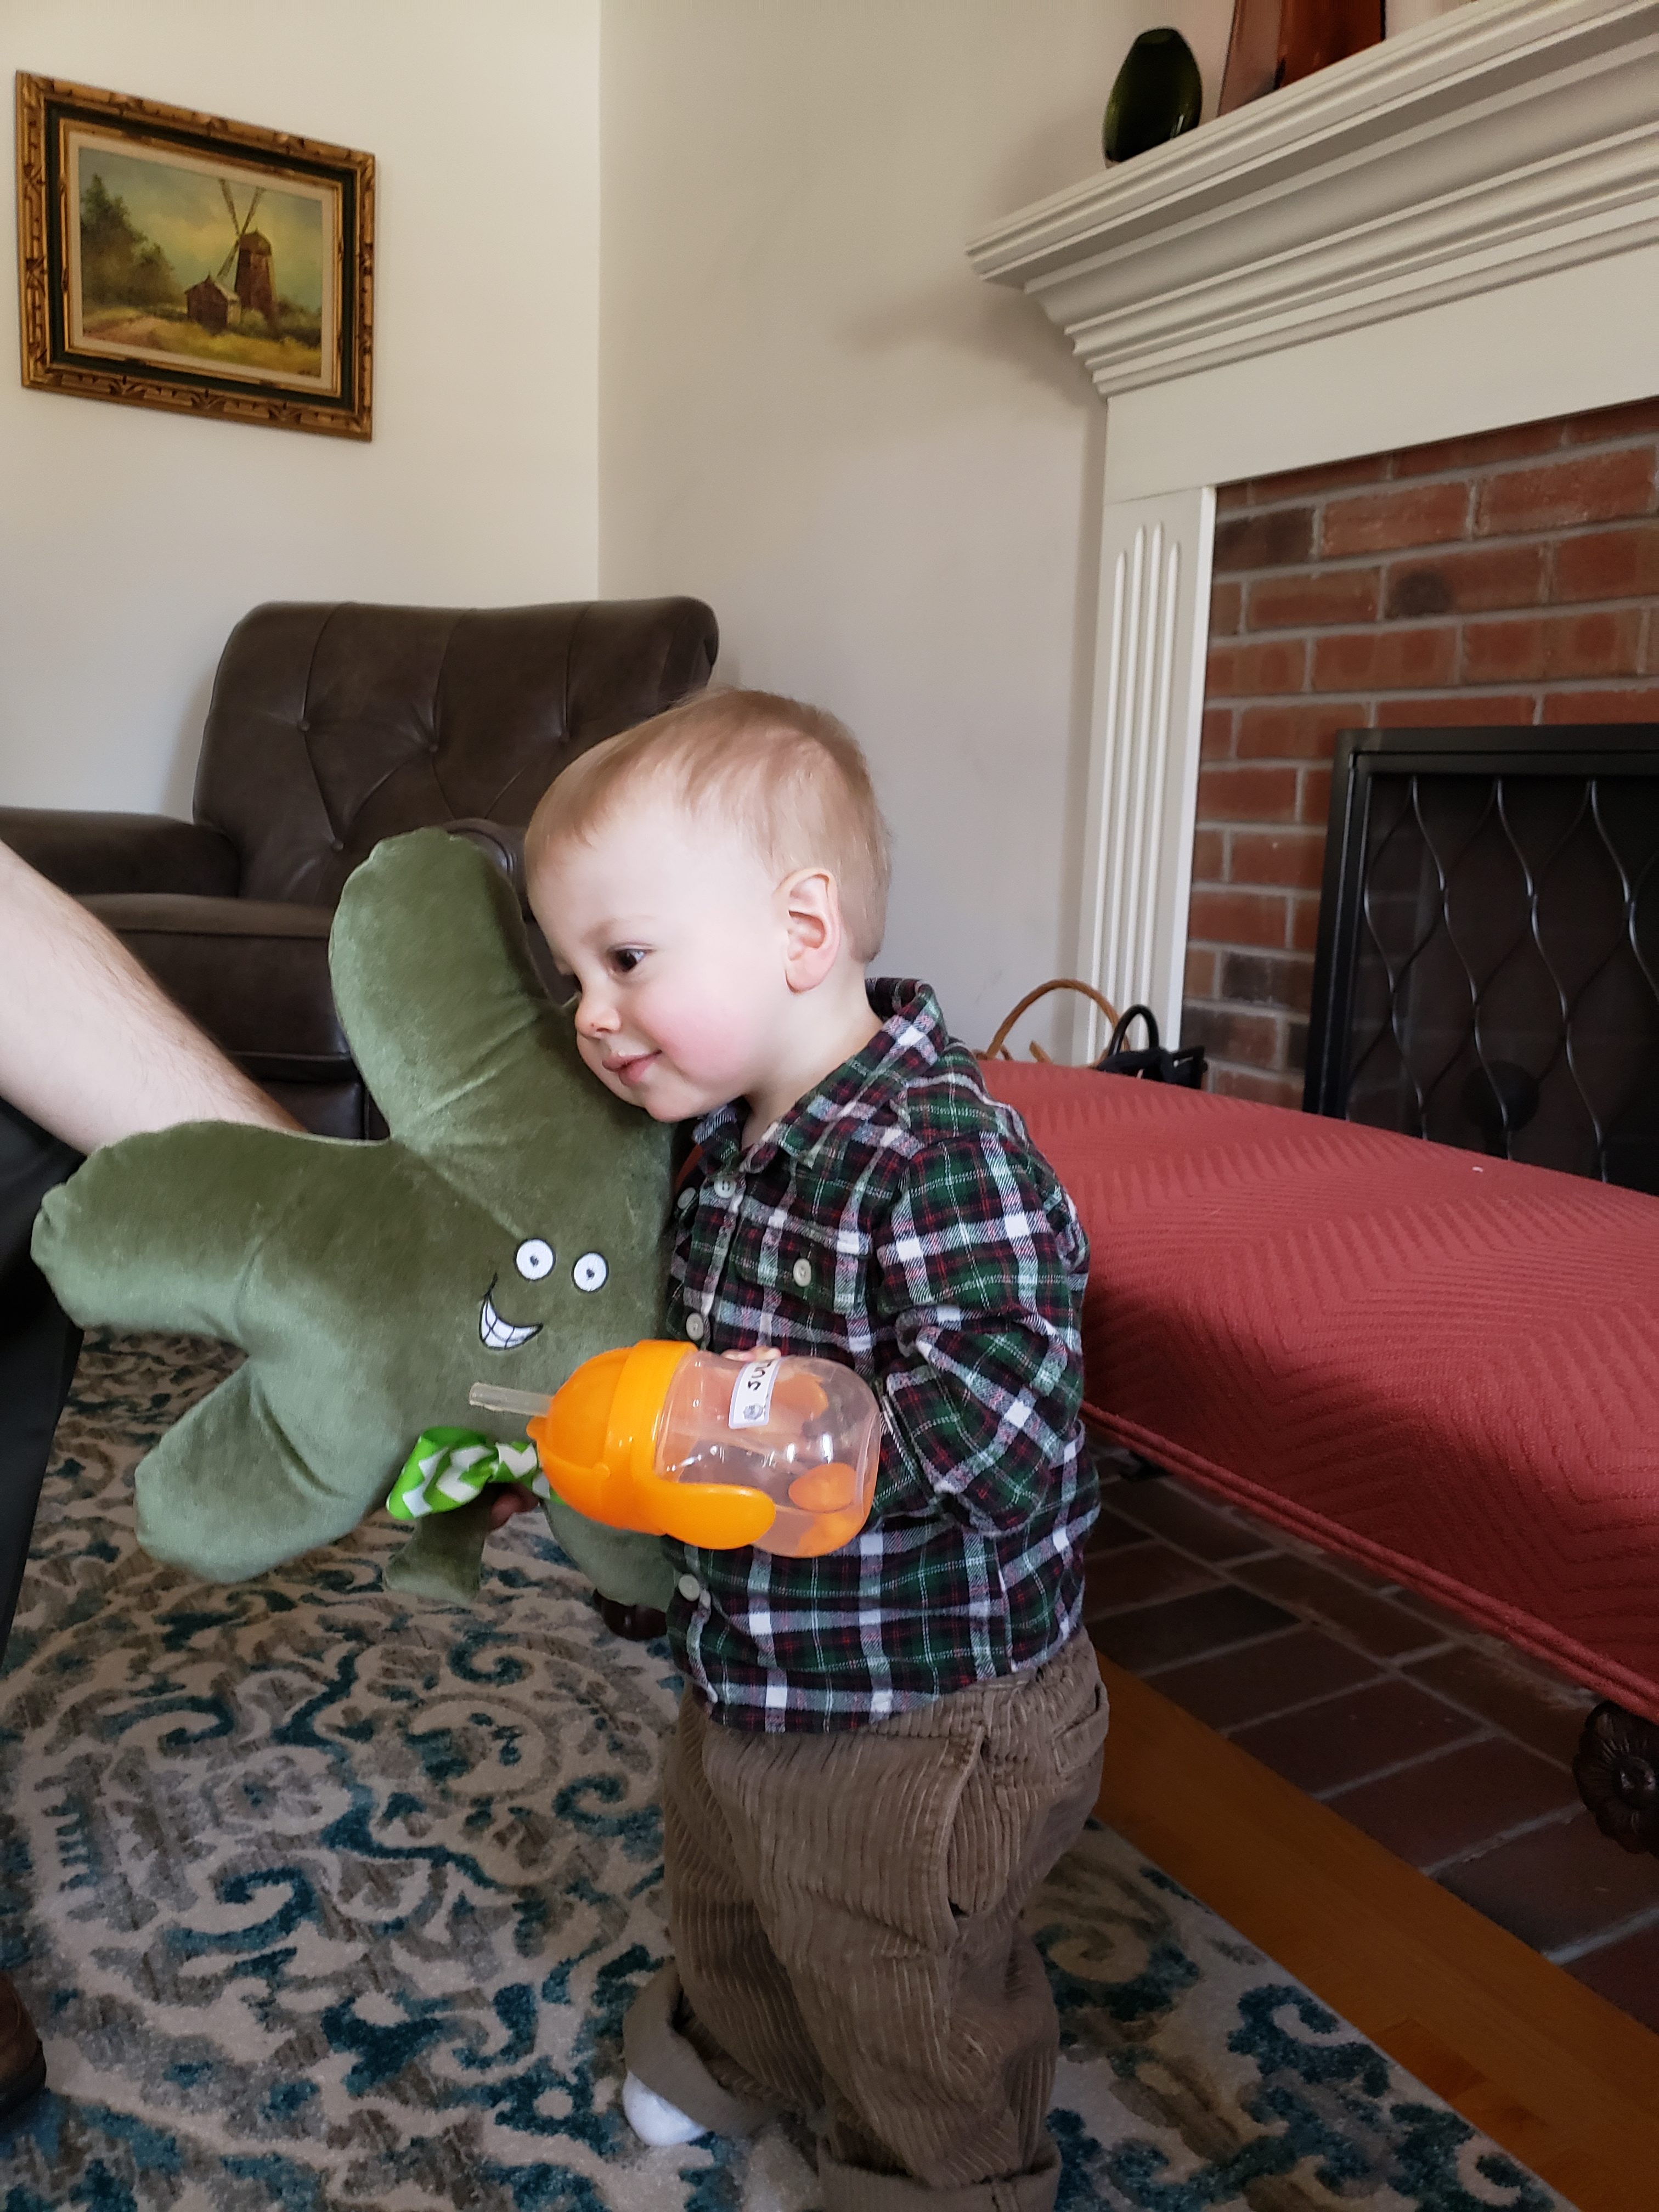
Happy (belated) Saint Patrick’s Day! As you know, everyone’s Irish on St. Patty’s Day, but being legitimately Irish my family feels inclined to celebrate with corned beef and cabbage. When I was a kid I remember leprechauns wrecking havoc in the classrooms by turning chairs topsy turvy and hiding gold coins or a pot of candy in the classroom. Maybe they smelled my Irish blood. This year the leprechauns must have sensed that Julius is 1/32 Irish so they decided to pay him a visit.
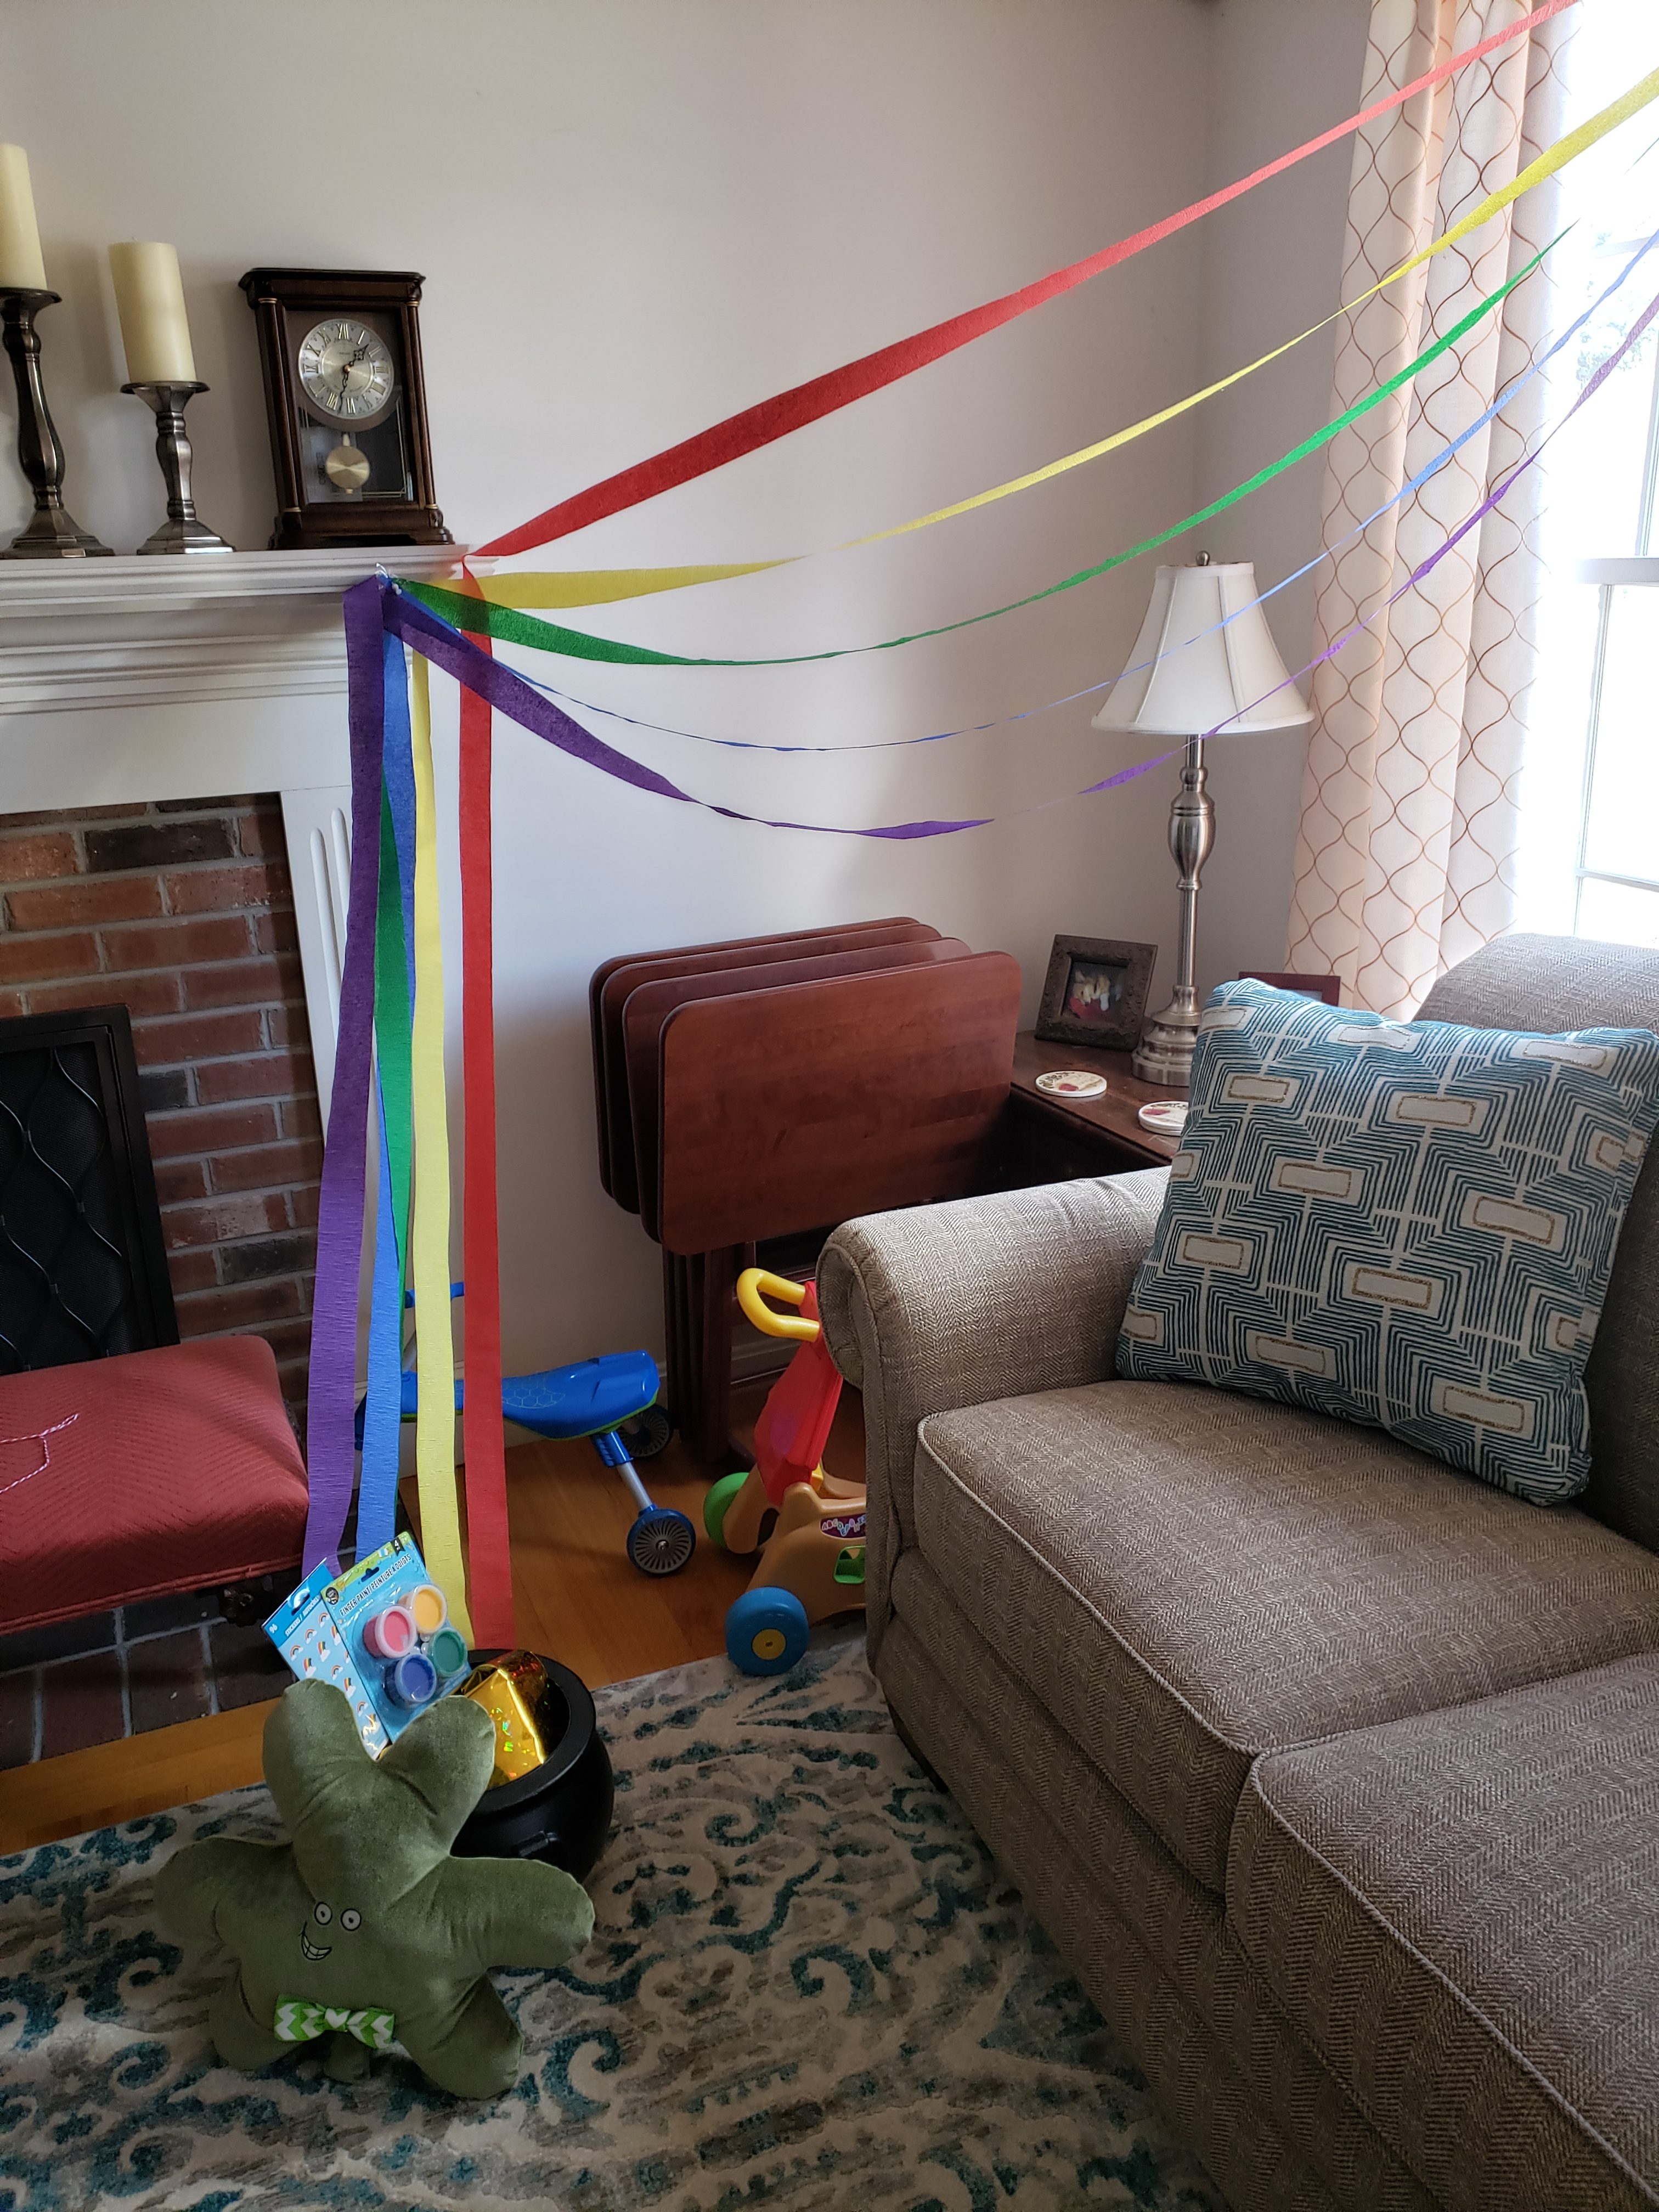
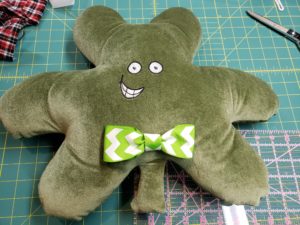
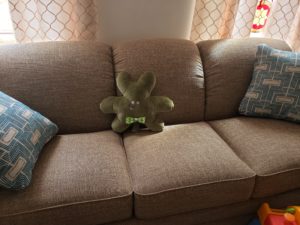
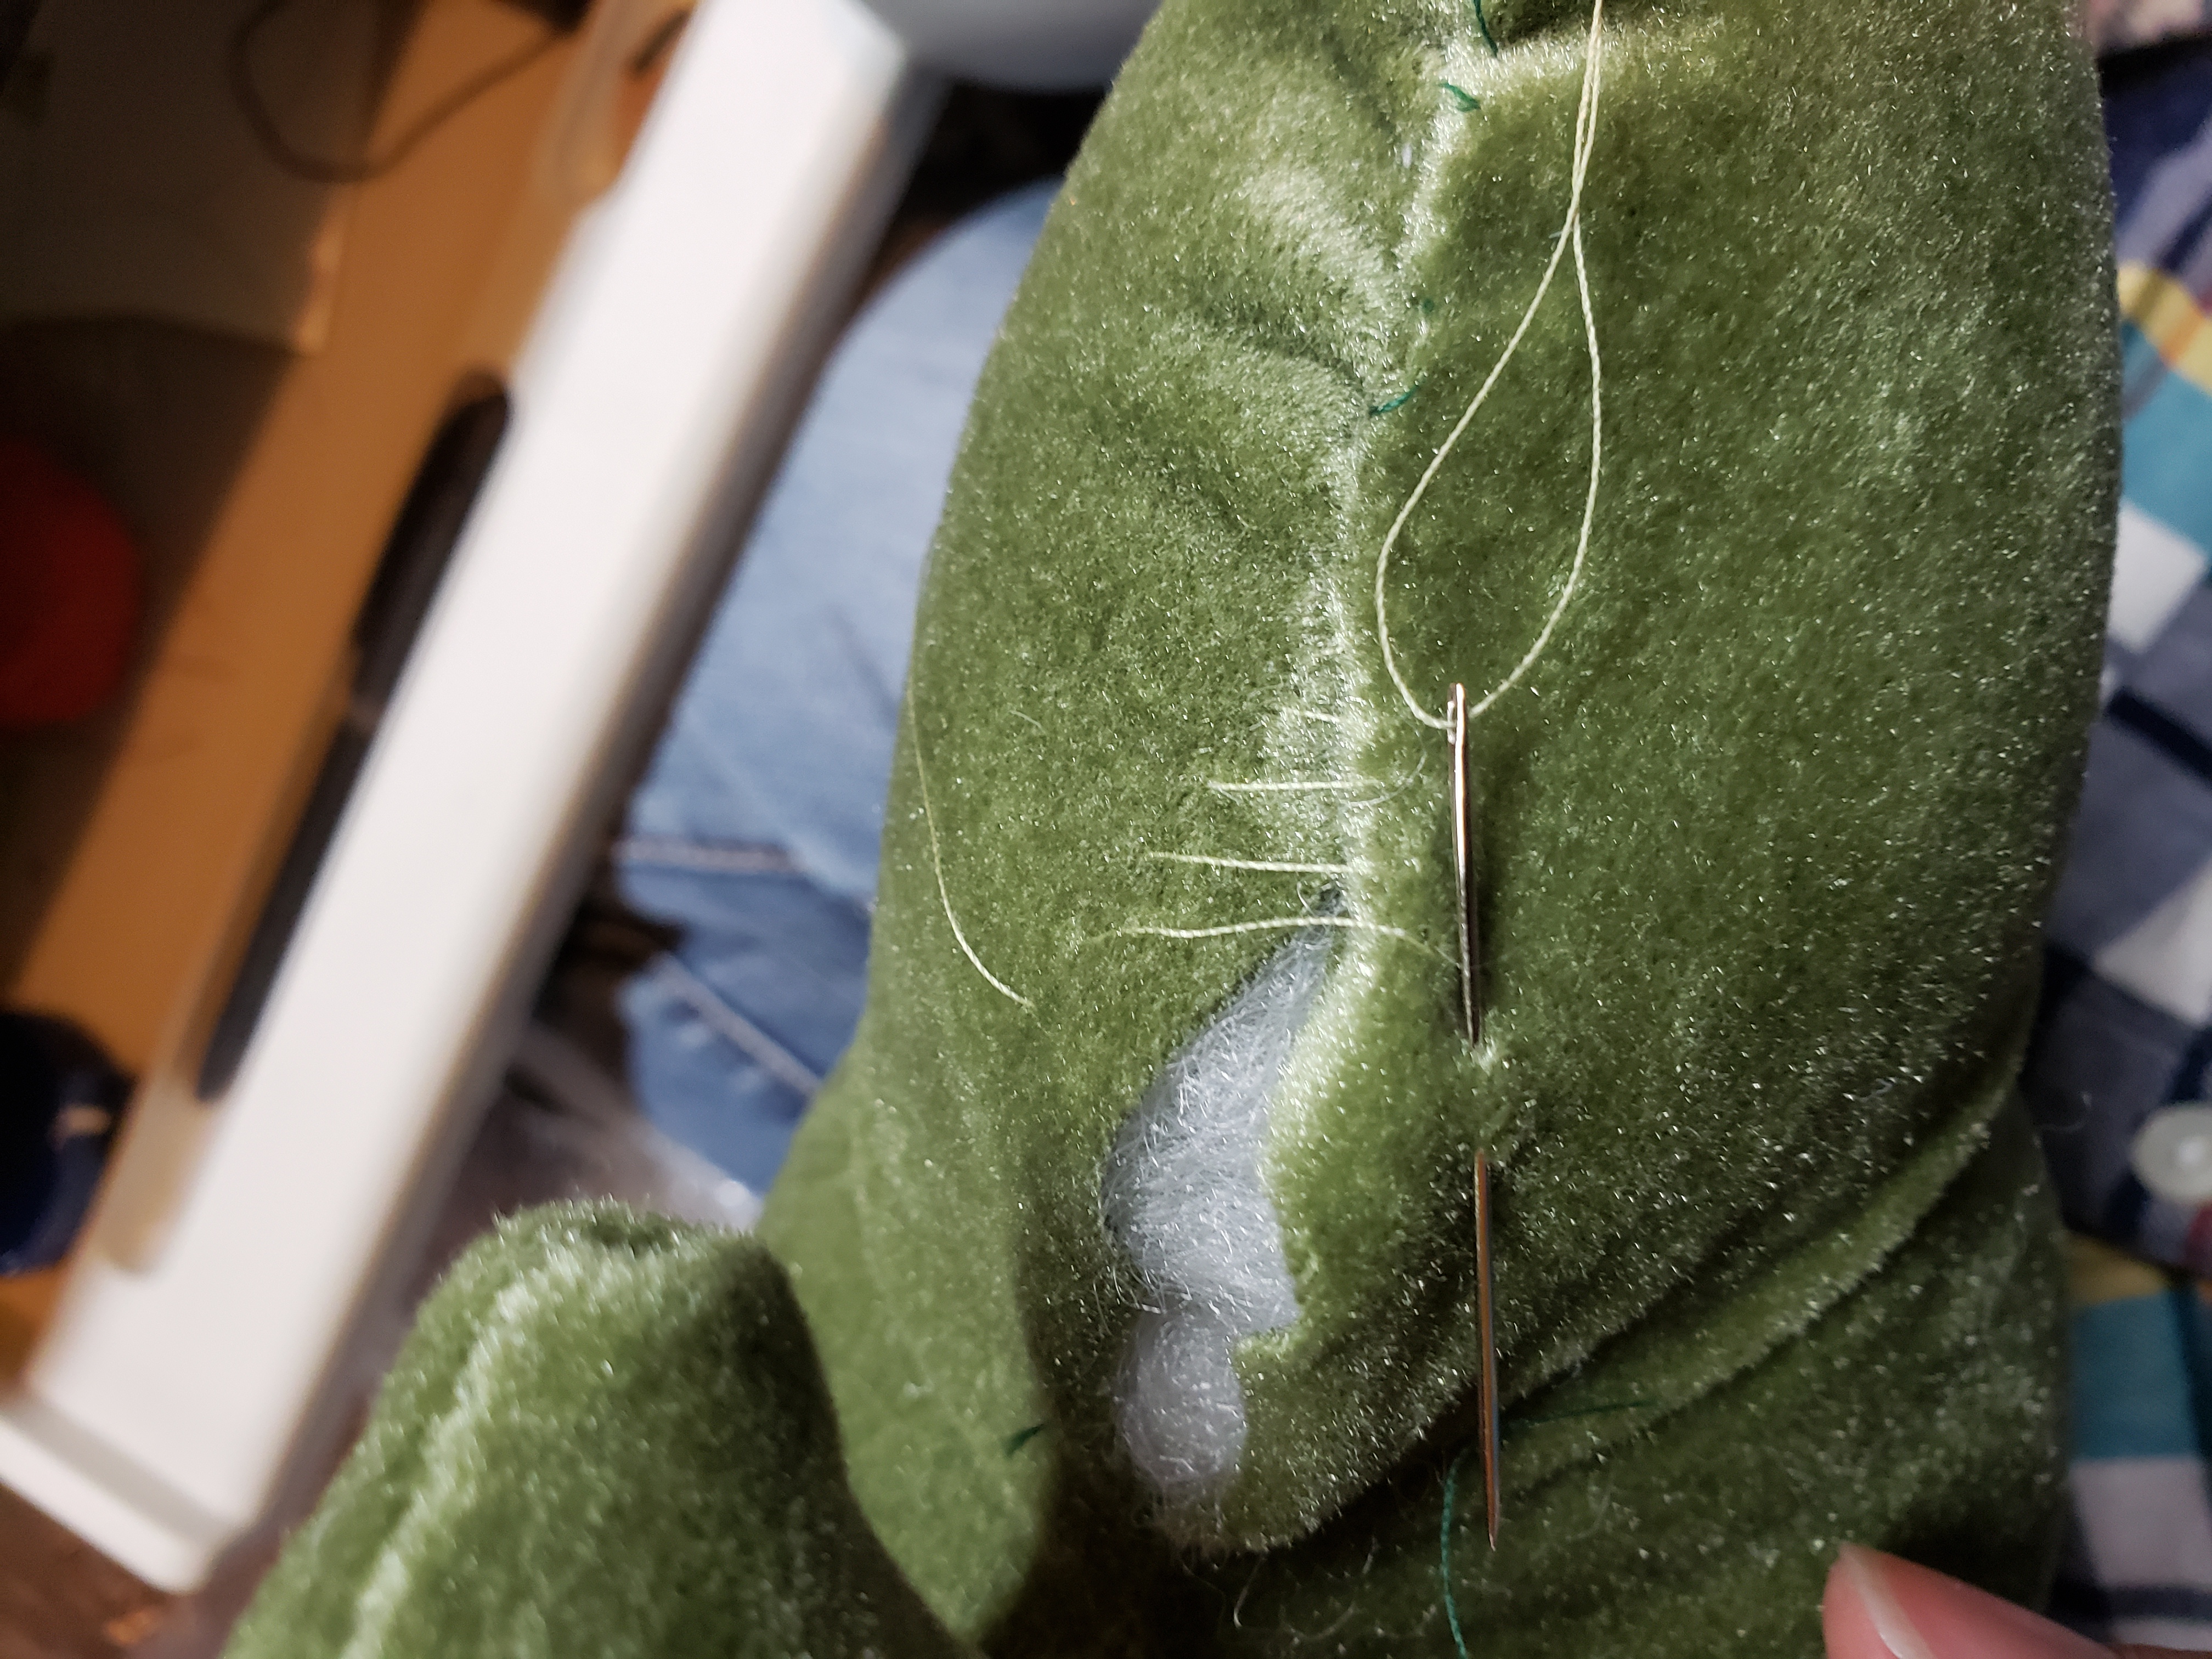
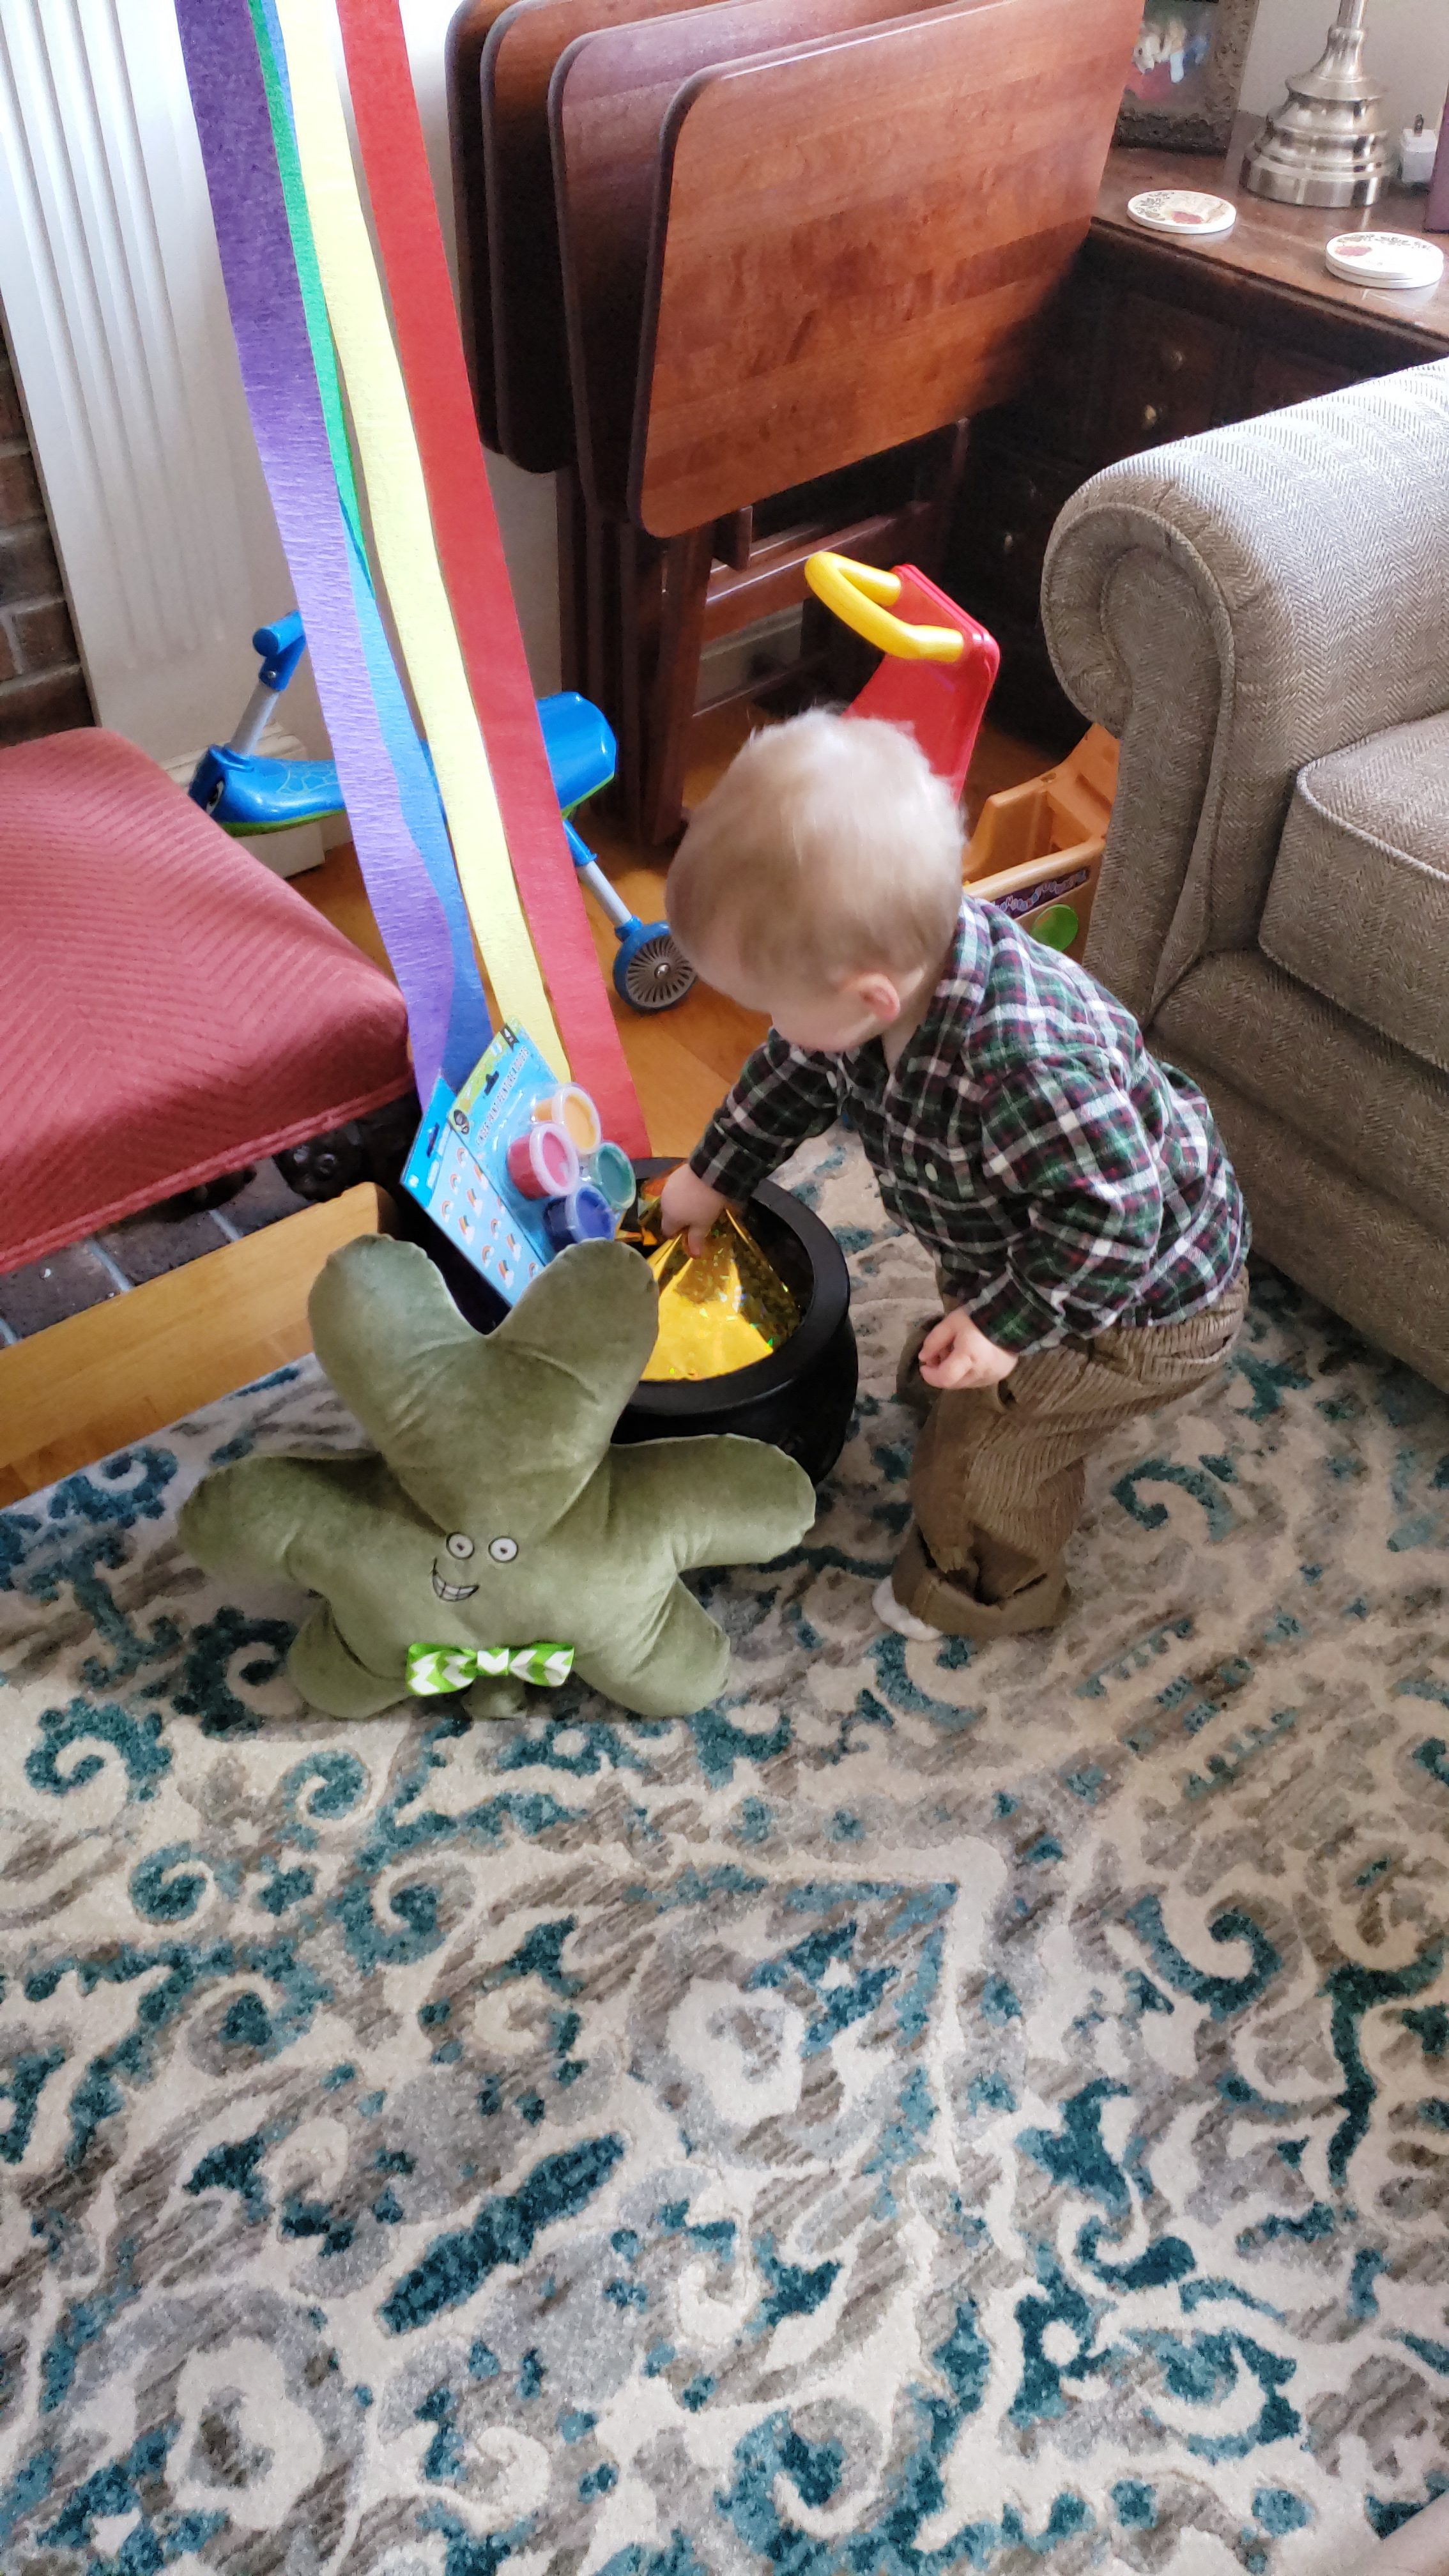
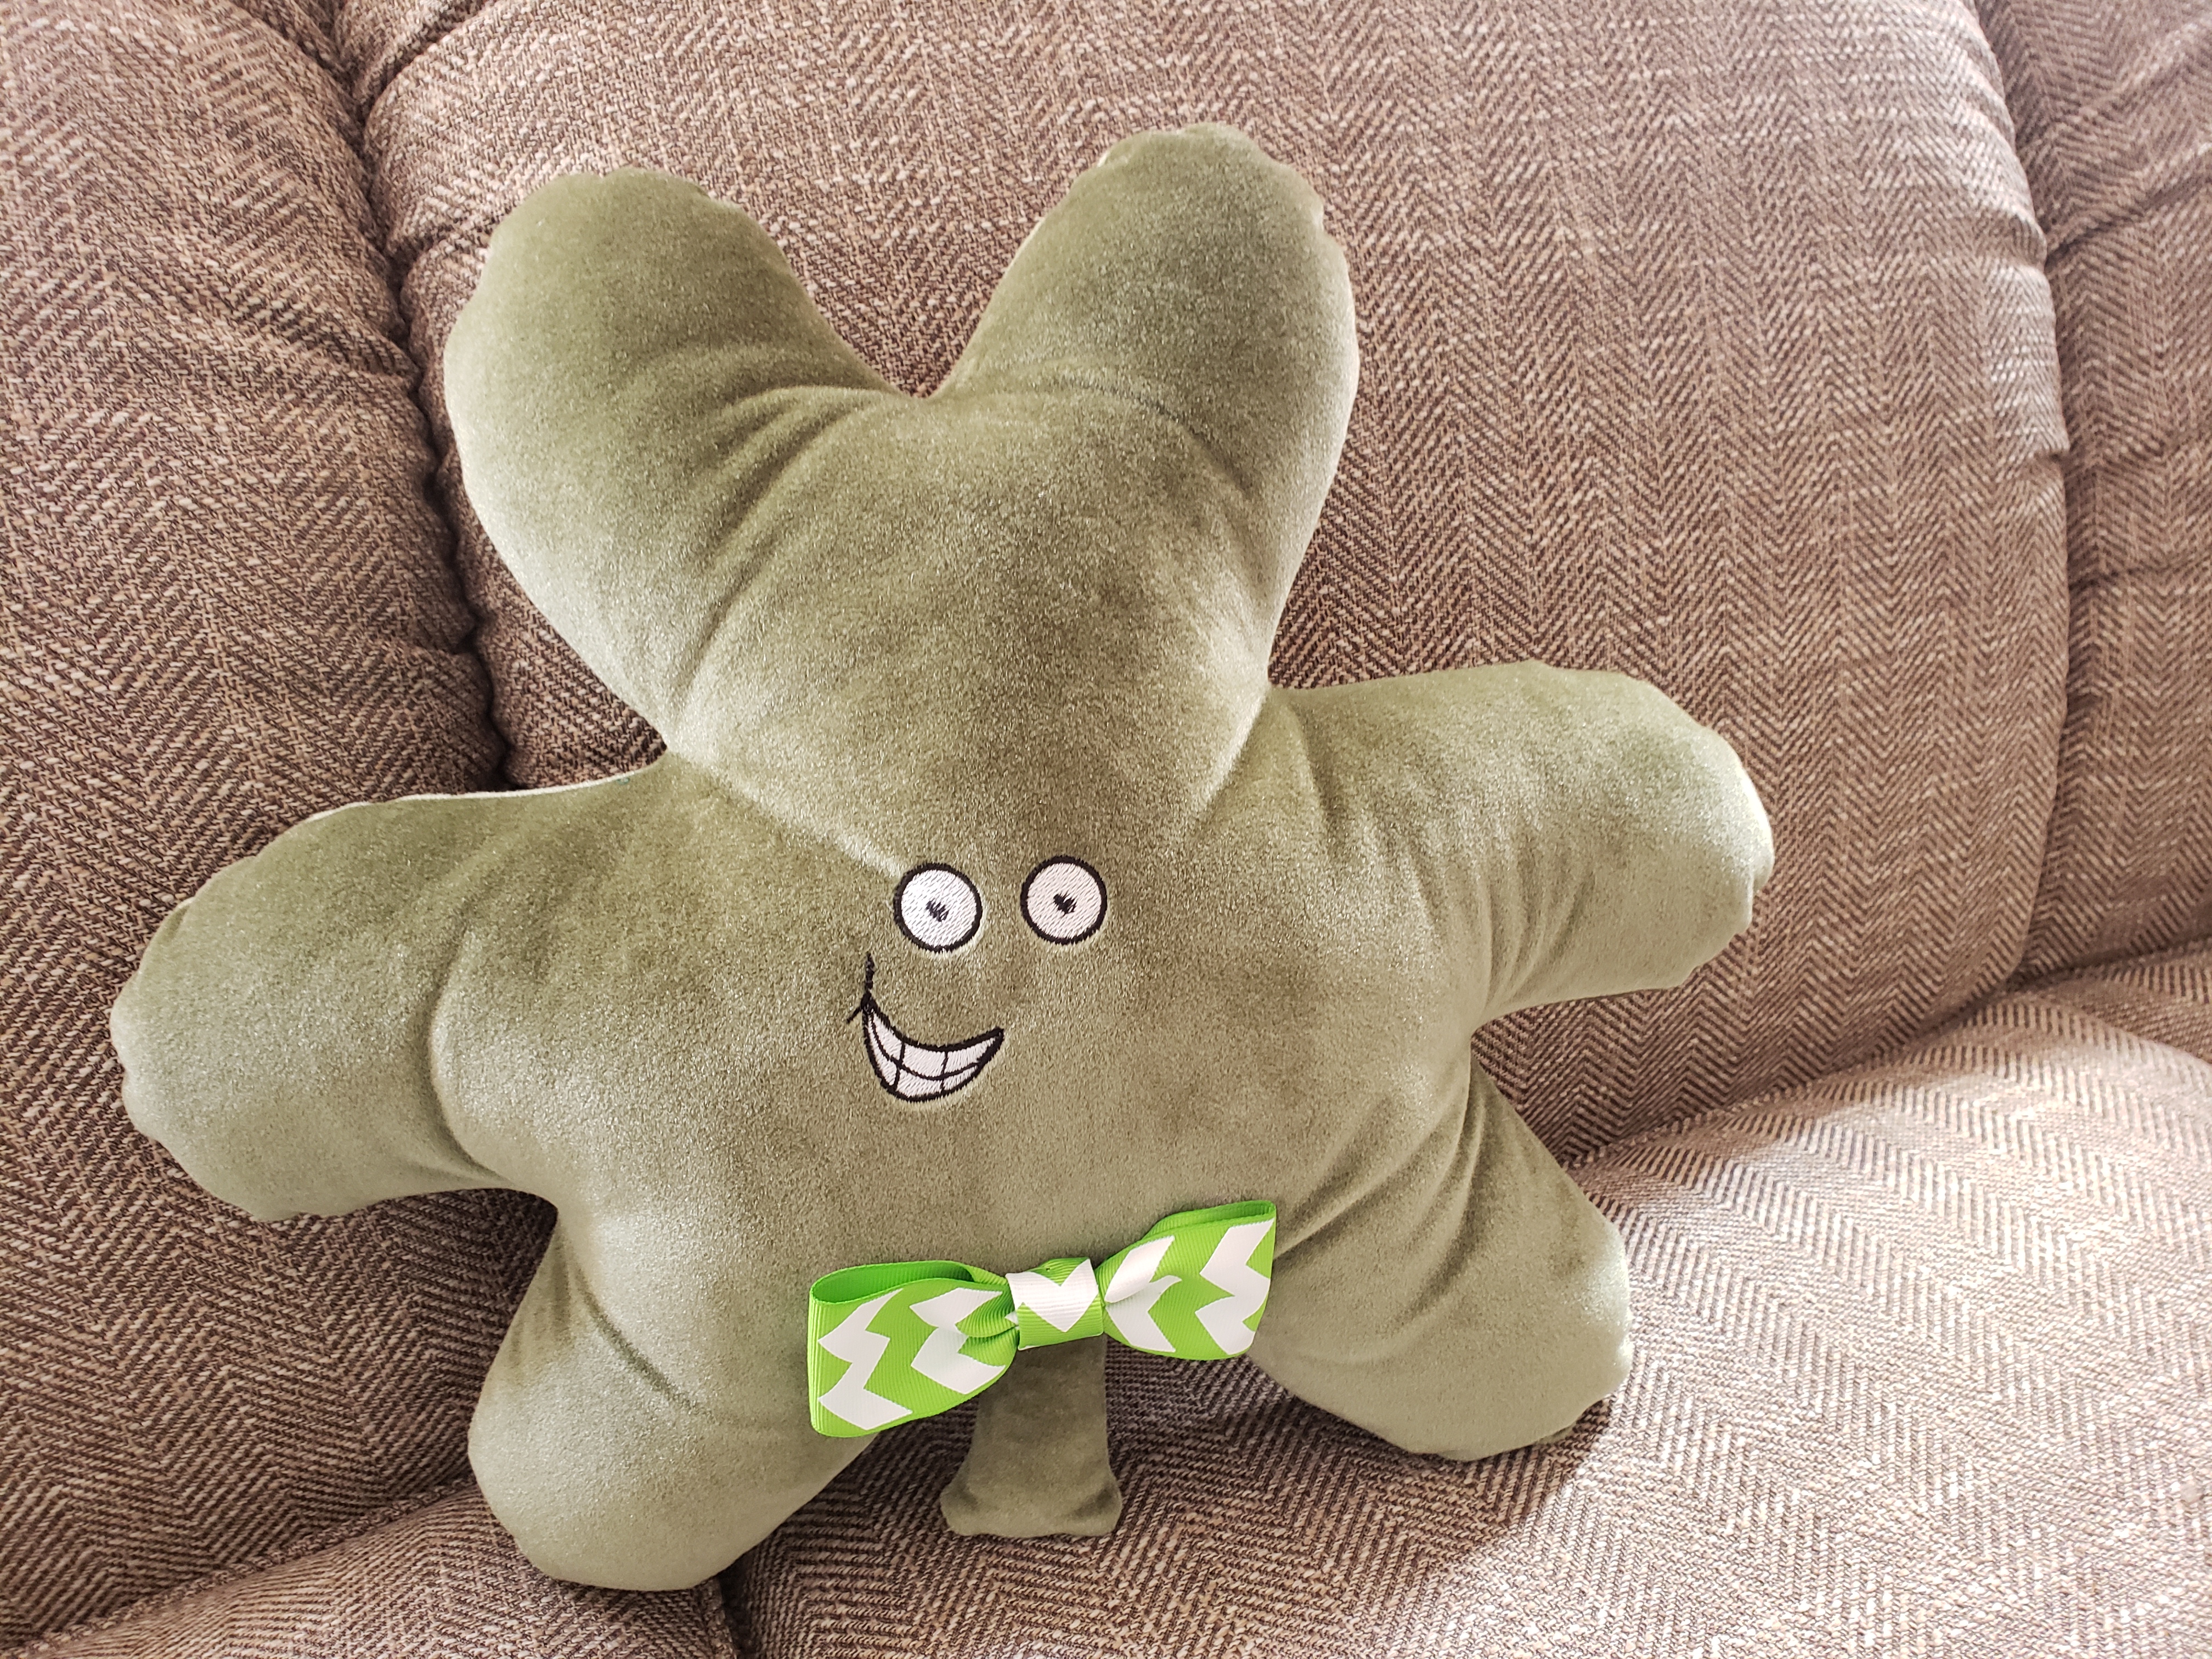
I decided to make Julius a silly shamrock stuffed toy, which Will dubbed “Lucky”, from some green velvet I had leftover from the hat shop. It was fun making the pattern for the embroidered face. If you’d like to make yourself a shamrock (with or without a face) make sure you do a good job clipping around all the curves. For Julius’ pot o’ gold at the end of the rainbow I used a plastic cauldron I have from halloween, stuffed with gold paper. Because we don’t give Julius (much) chocolate yet the pot of gold had some rainbow stickers and finger paints from the Dollar Tree. The rainbow was made from streamers also found at the dollar store.
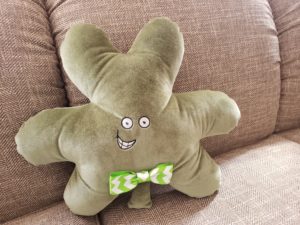 Lucky Stuffed Shamrock
What you’ll need:
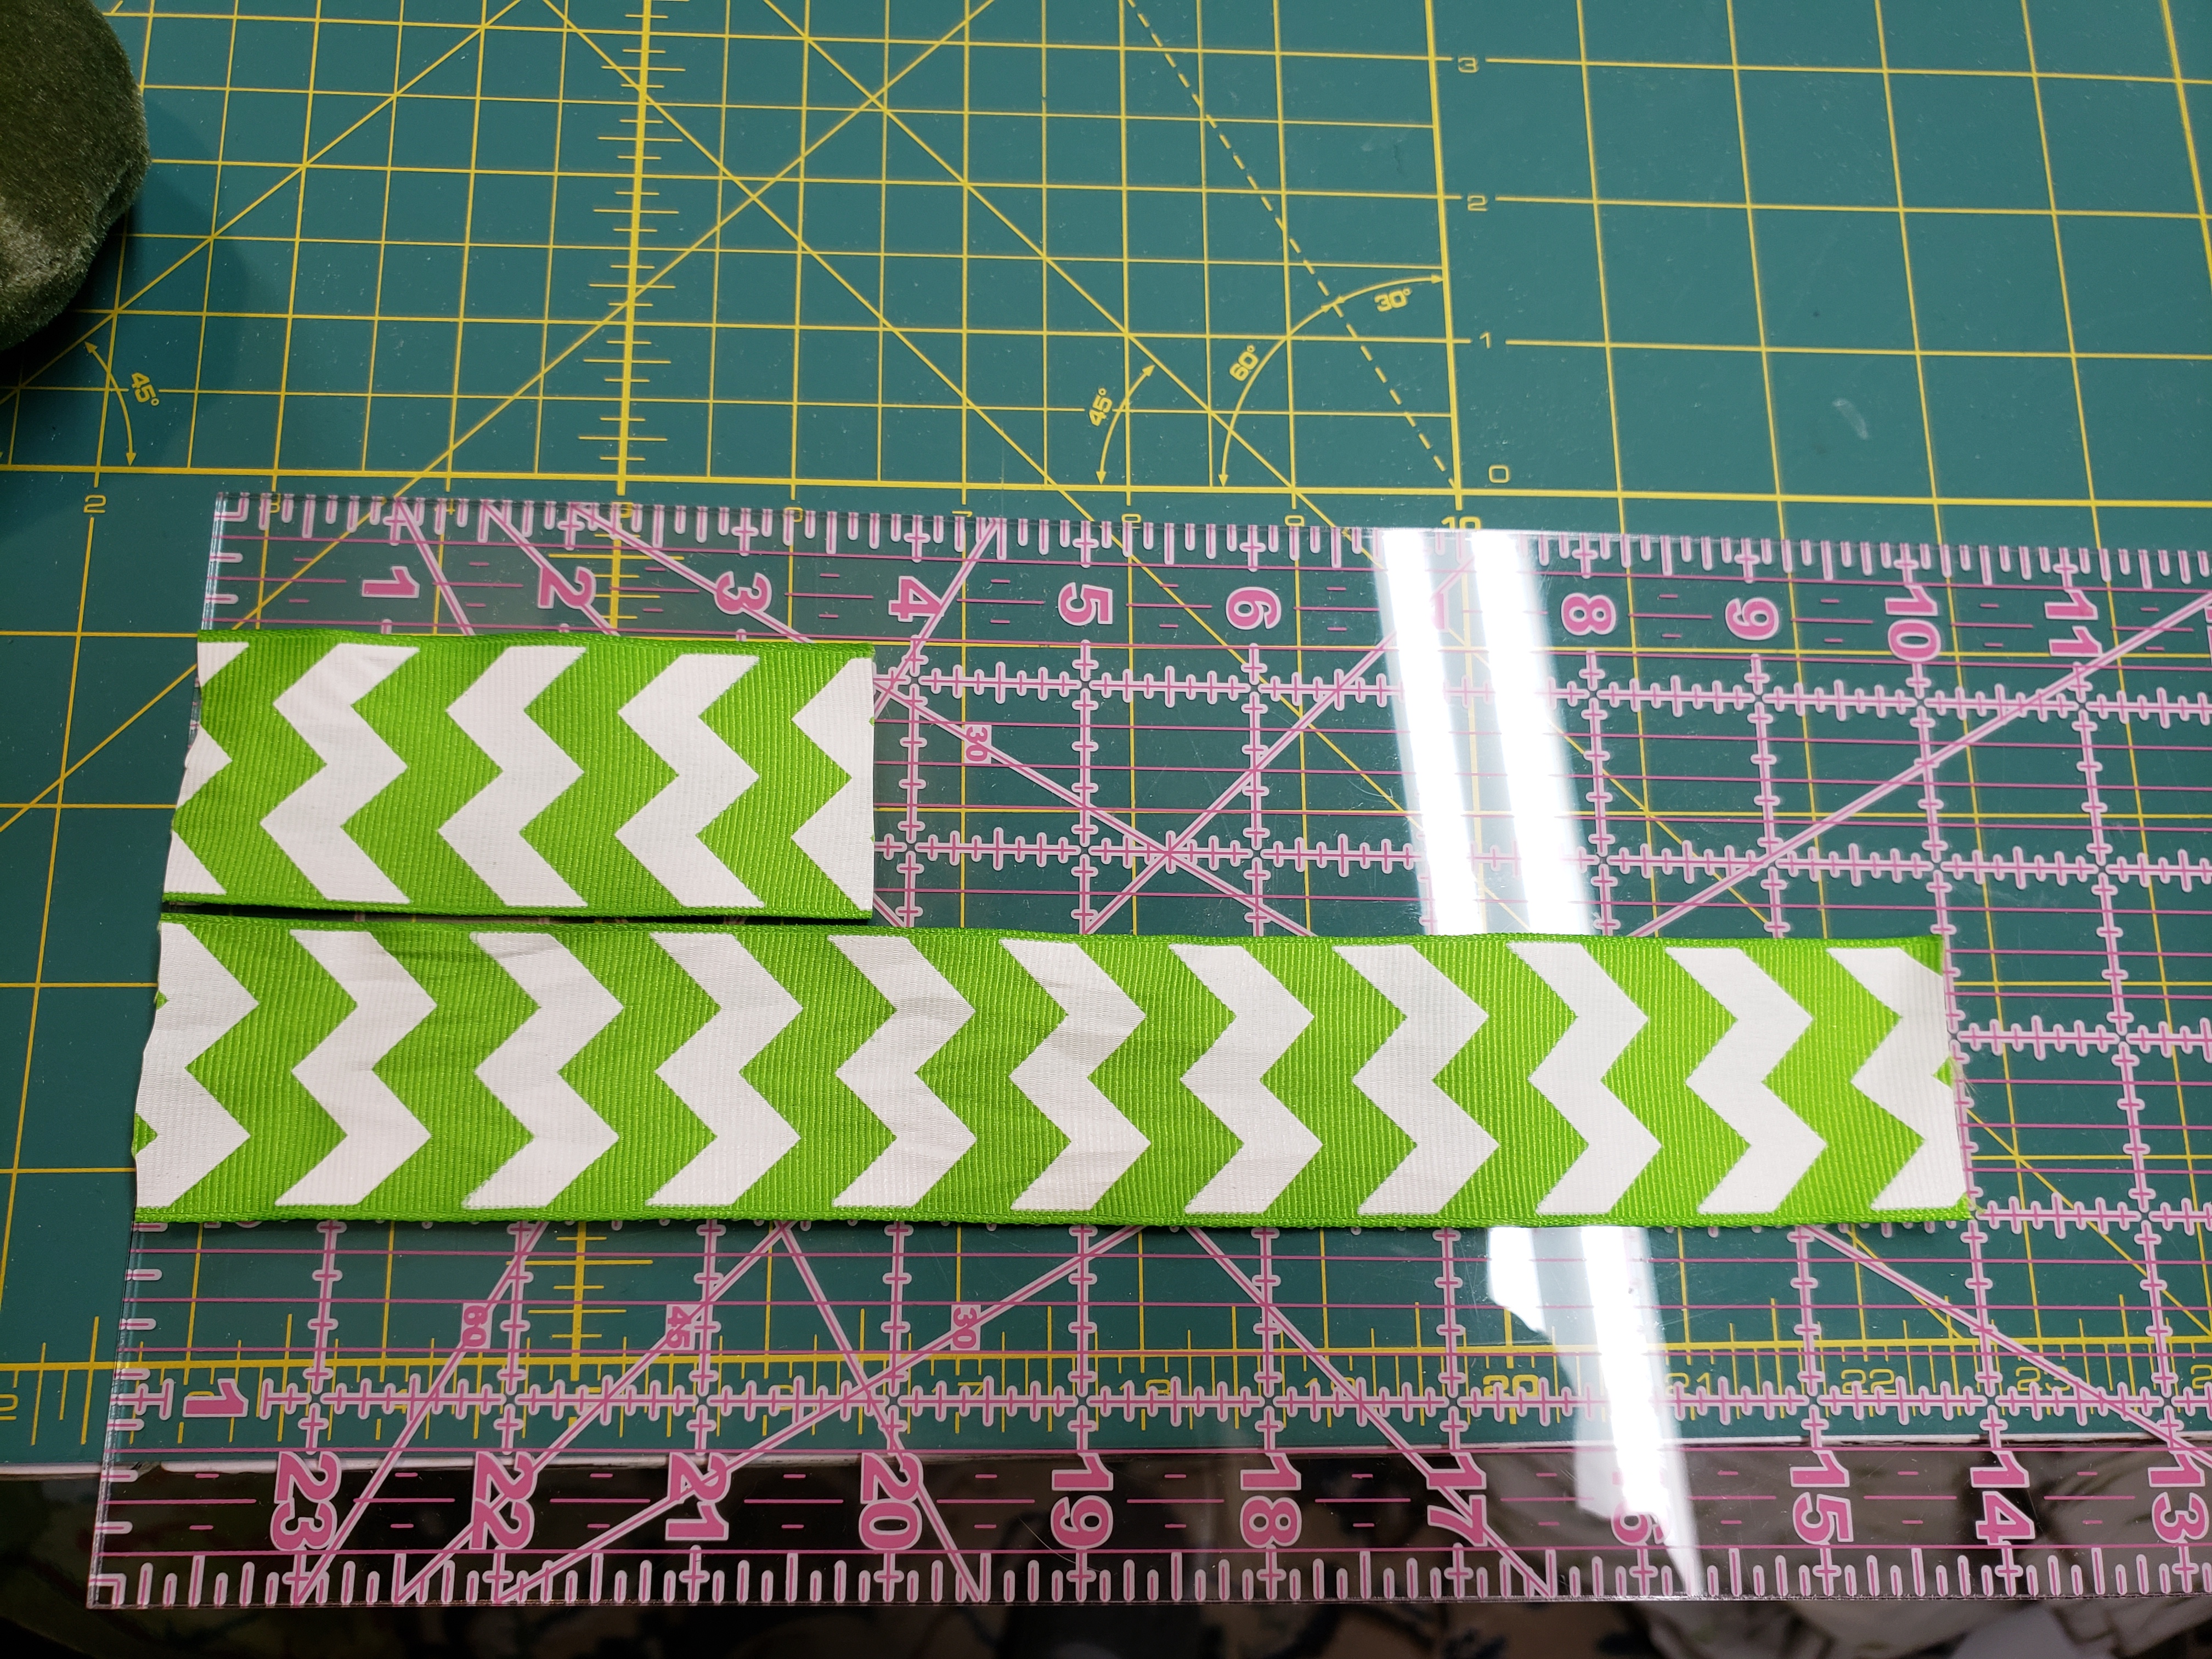
- 14″ of 1.5″ wide ribbon (for bow tie)
- black and white embroidery thread (optional)
- 1/2 yard of green velvet
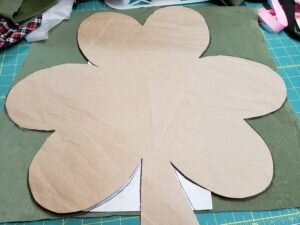
- Pattern
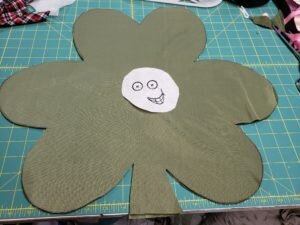
- Cut out pattern (make sure you flip the pattern so you get a front and back piece, or the shamrock stem will not line up).
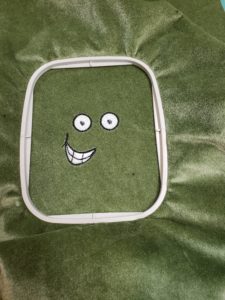
- Embroider eyes and smile using pattern here and a 4″x4″ embroidery hoop if desired.
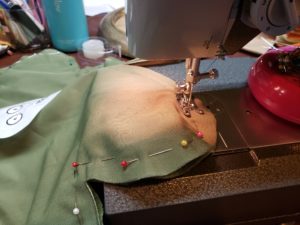
- Pin shamrock right sides together.
- Stitch around edge of shamrock, leaving a 3″ gap on the flat part of the bottom-most leaf on one side.
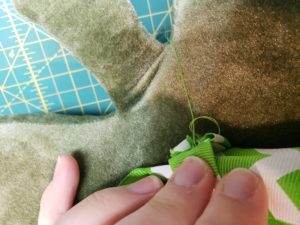
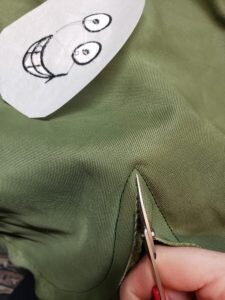
- Clip curves and indents, nearly to the stitching.
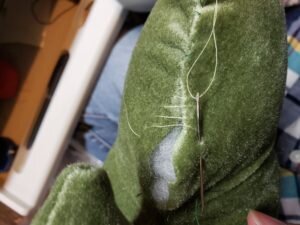
- Turn right side out. Stuff. When satisfied with stuffing, close with an invisible stitch.
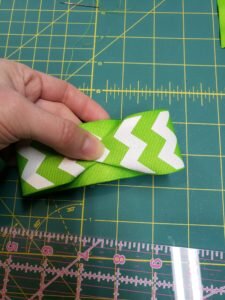
- Cut ribbon into 10″ and 3.5″ segments.

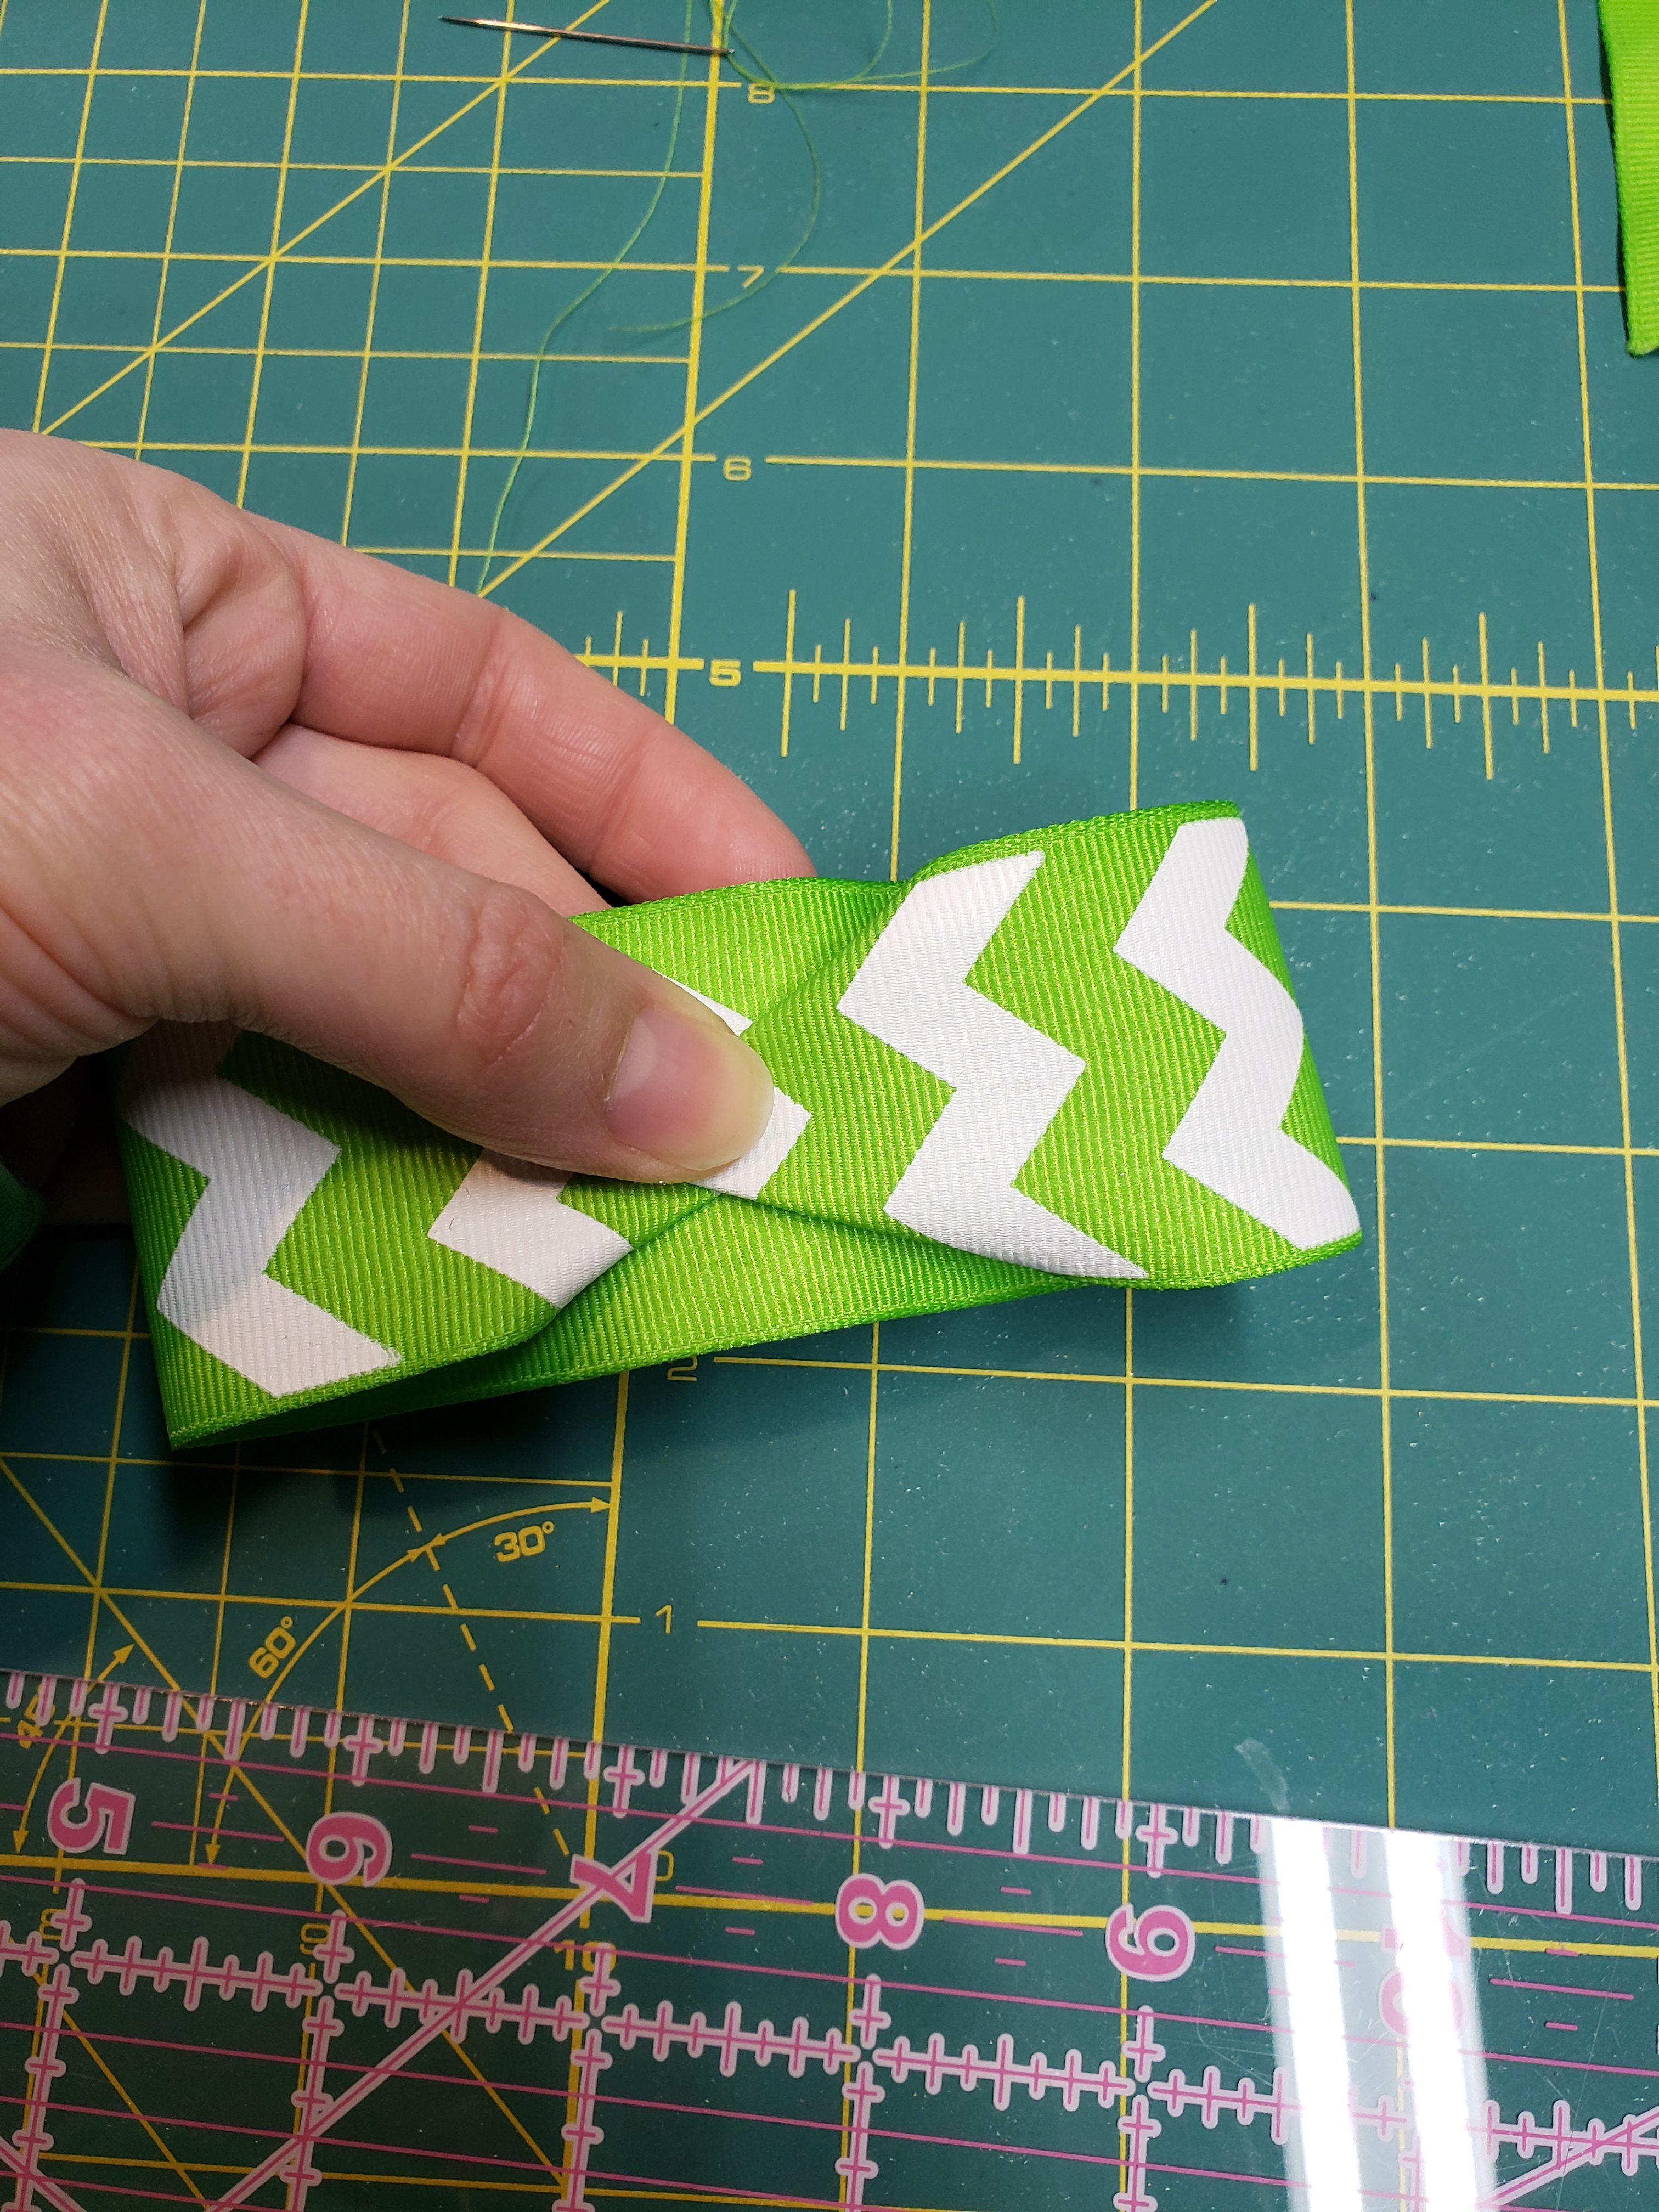
- Fold the 10″ ribbon so the two unfinished ends overlap in the center. Fold under the ends of the ribbon so it forms a sort of triangular shape. (See picture.) Stitch through overlapping ends to hold together. This is the back of the bow tie.
- Pinch the middle of the ribbon to form a bow tie shape. Stitch from one of the pinch to the other to secure. This is the front of the bow tie.
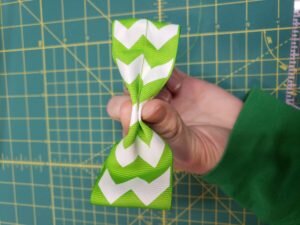
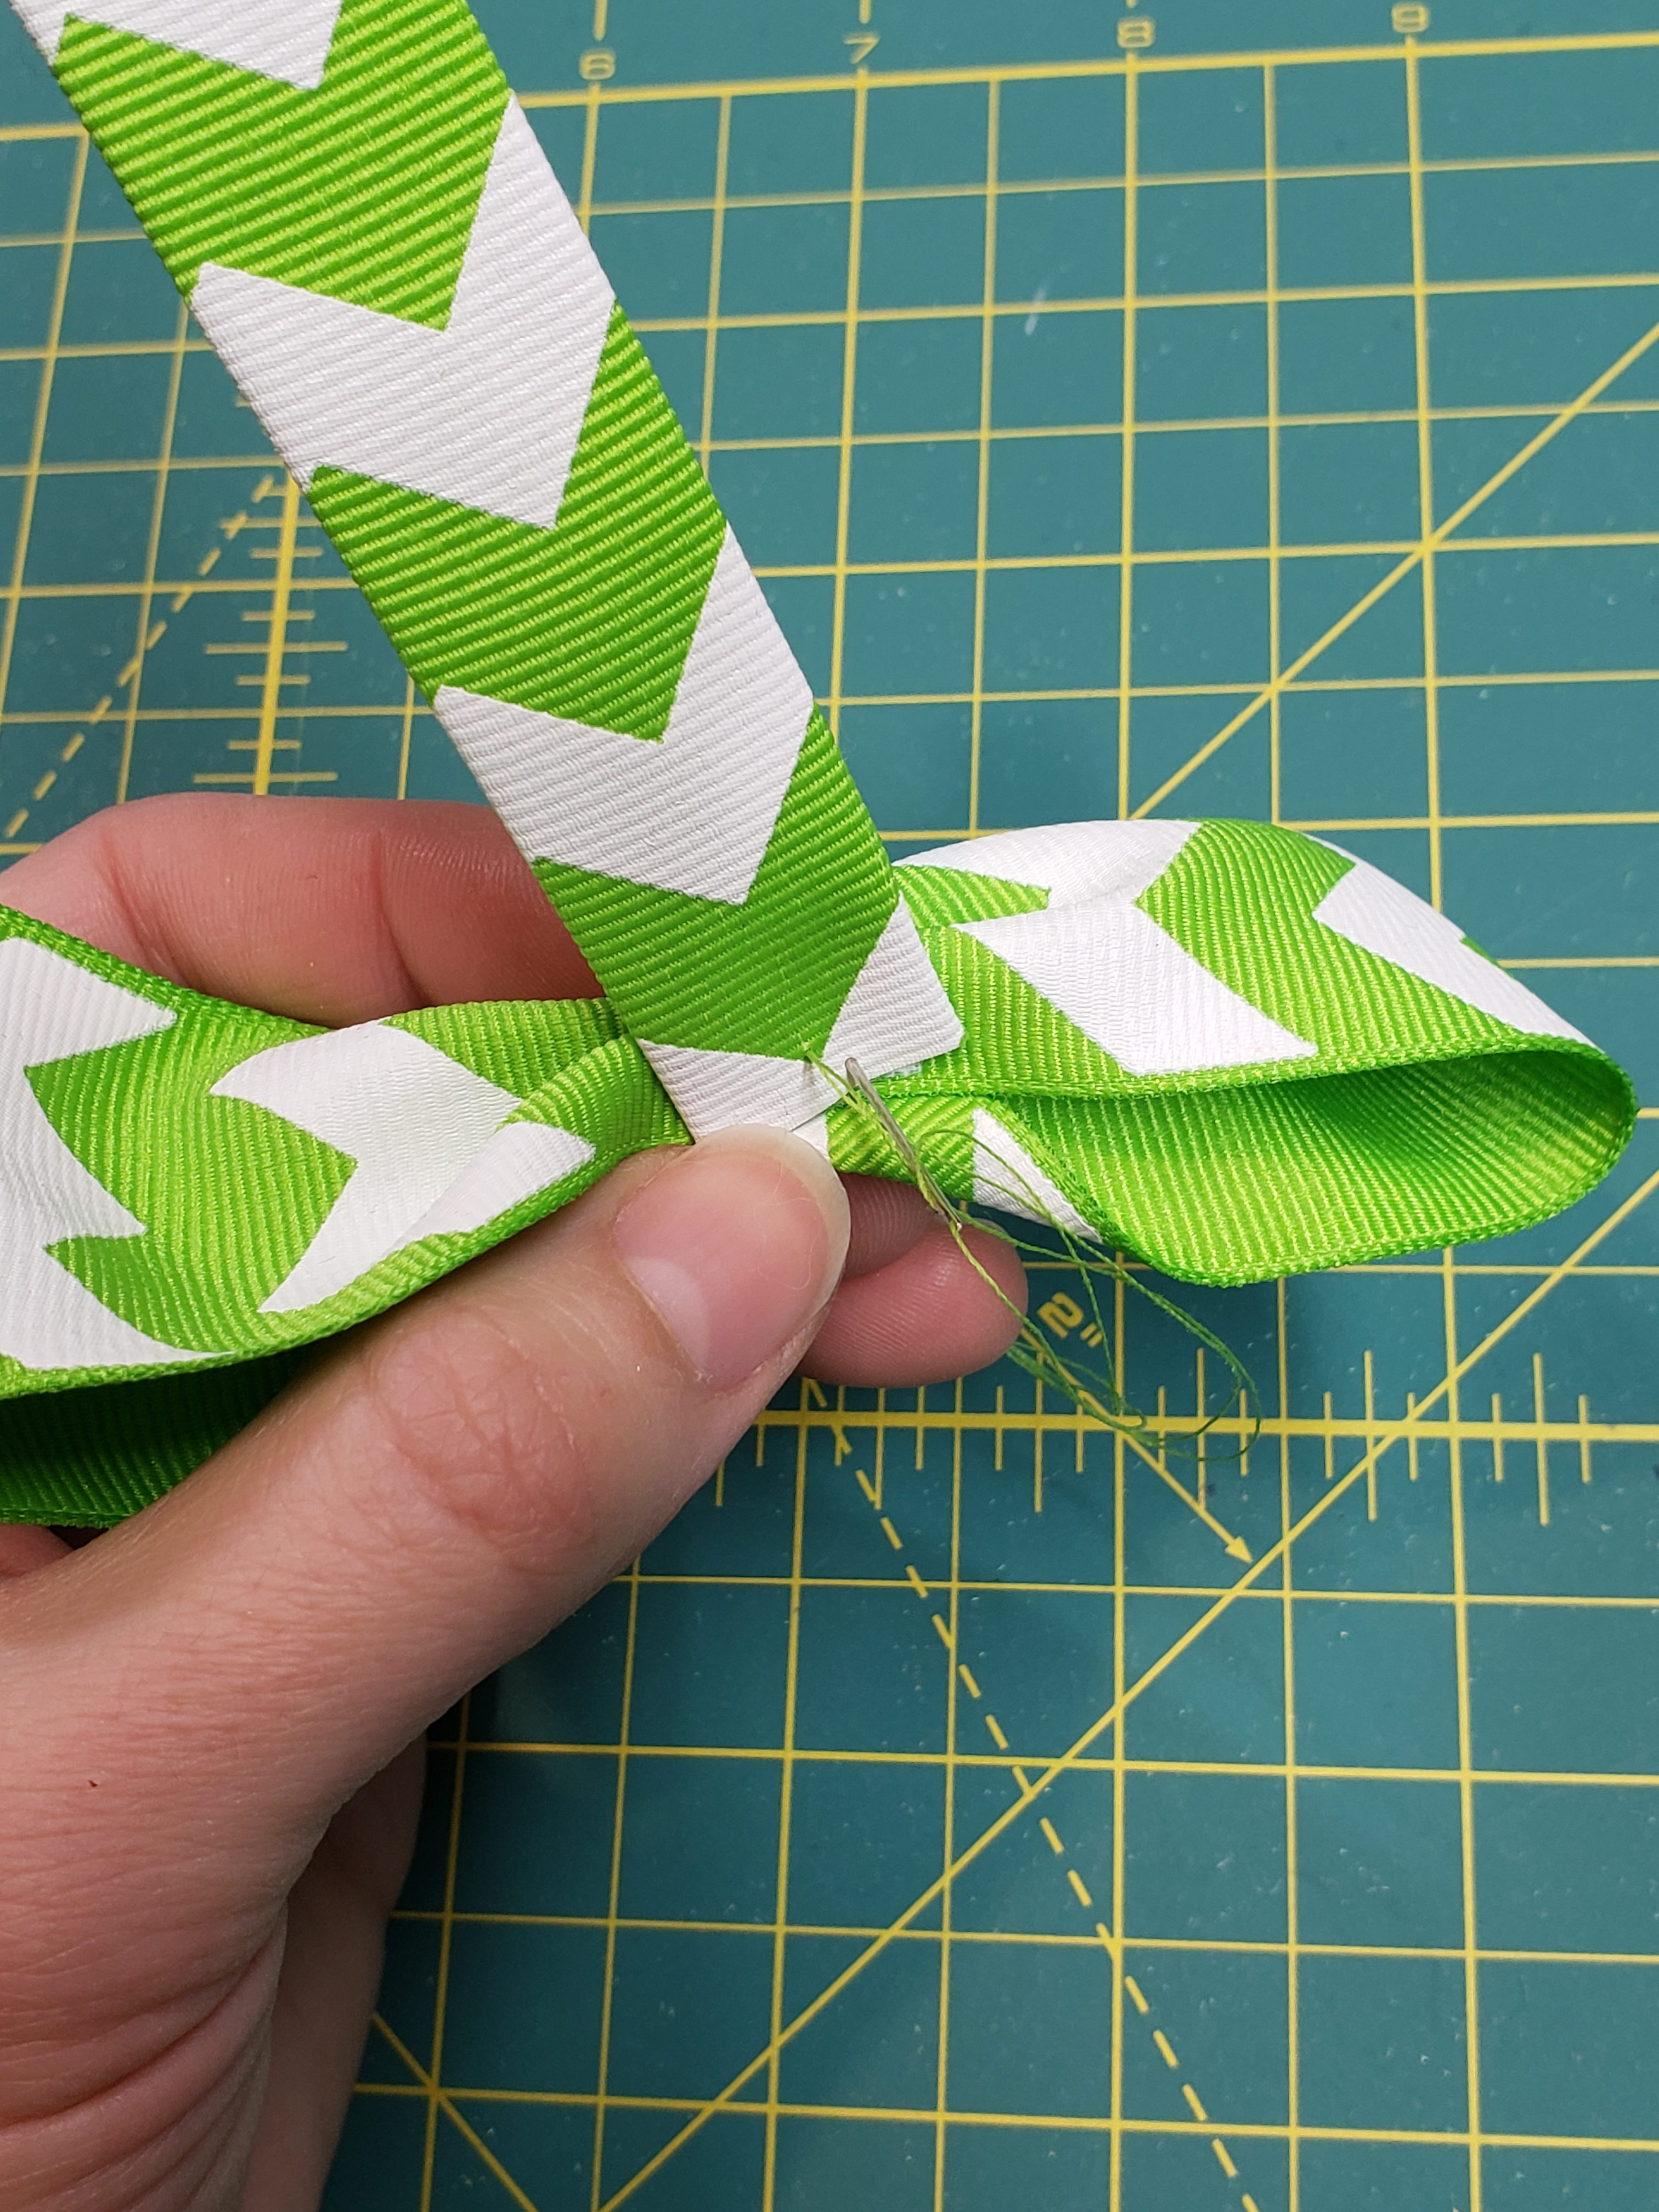
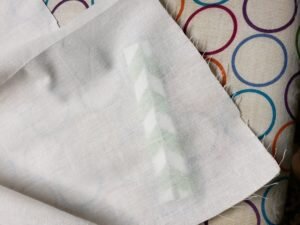
- Fold the 3.5″ segment of ribbon so it is 3/4″ wide and ends of ribbon are in the middle. Press (under scrap fabric). This will form the bow tie “knot”.
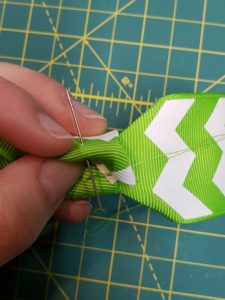
- Fasten unfinished edge of bow tie knot to the bow tie with a couple stitches.

- Wrap the segment of 3/4″ wide ribbon around the bow tie center, so the other unfinished edge ends at the back of the bow tie. Stitch to secure.
- Attach bow tie to shamrock above stem using needle and thread.