
I know you’ve been waiting all week just to learn how you too can make your own empire waisted medieval overdress. Well your wait has not been in vain – today I’ll show you how I made one! On the subject of waiting, can I admit something to you? I have been thinking about this overdress for a quite a while. I was hoping that someday I would have a big pregnant belly and I’d need to cover it with a renaissance costume. To be even more honest I was hoping that by the faire last year I’d need to have a pregnant costume to wear while selling hats. In retrospect that would have been horrible so I’m probably lucky it worked out this way.
This dress was made with two things in mind: an empire waist to encompass a growing belly of many sizes, and a laced bodice closure to encompass a growing bosom. As a side note, I got an email from King Richard’s Faire about the cleavage contest this year. Do you think pregnant women would be automatically disqualified? All that aside, it fit me a month ago, and it still fits me now, so the pattern seems to be working!
I drafted the pattern for the bodice myself based on my current size (34DD). For the skirt pattern I got lazy and used the skirt from view A of Simplicity 8735. If you want to make the dress yourself let me know and I can whip up a quick skirt variant for you to use. For material I used a green heavyweight cotton material that I got at Saver’s. It was $3.99 for 4 yards of 60″ material. What a bargain! For trim I used a 1.5″ wide gold jacquard ribbon which was much more expensive than the fabric. Even so, the total cost of the overdress was $17.
Maternity Medieval Overdress
- 4 yards of 60″ heavyweight material
- 4 yards of 1.5″ jacquard ribbon trim
- 1 yard of lightweight fusible interfacing
- 1 yard of lining material
- 2 yards of 1/4″ double fold bias tape (I usually make mine so it will match)
- 3 yards of ribbon or cord
- 8 3/8″ grommets
- Pattern for bodice
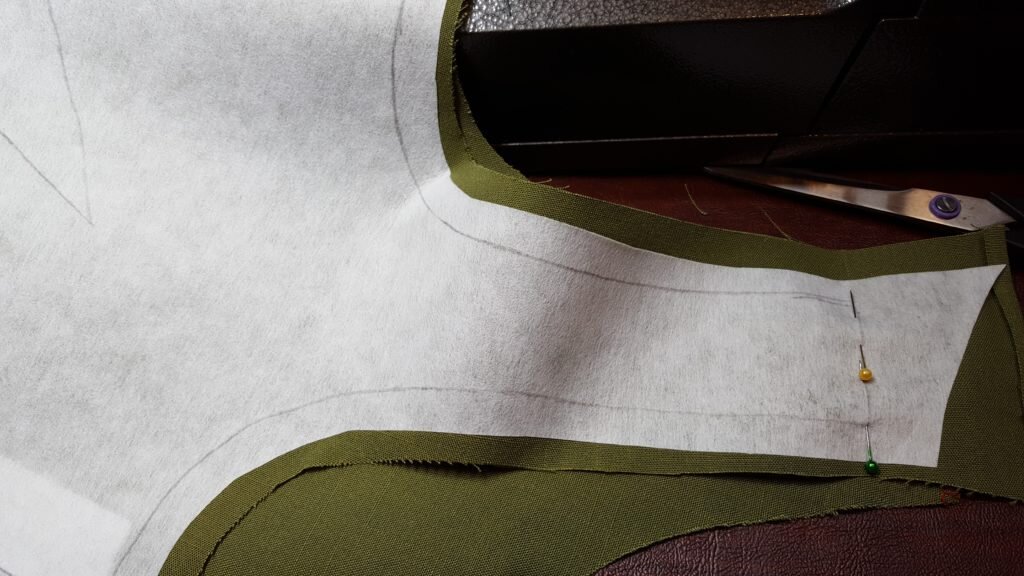
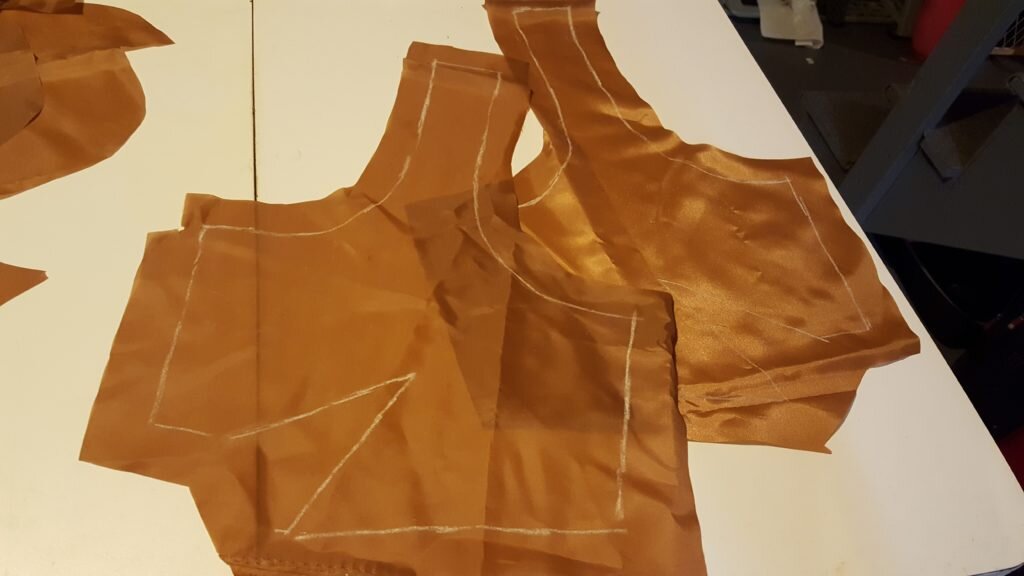
- Cut out pattern pieces for the bodice from lining material, interfacing and outer material. Also cut out an additional rectangle of interfacing as marked on pattern.
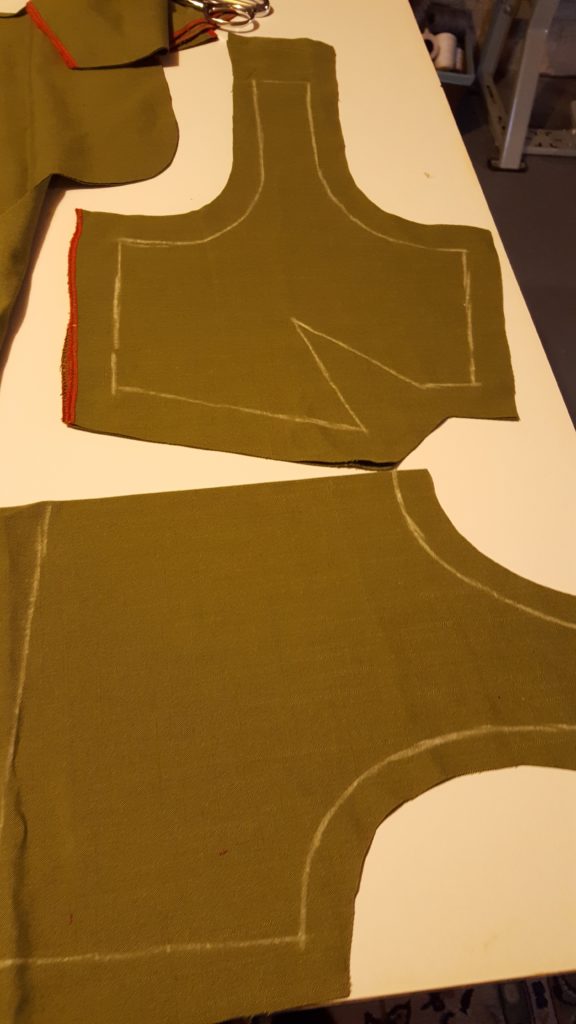
Cut out pattern pieces
- Apply rectangle of interfacing following manufacturer’s instructions to outer material on bodice front where indicated on the pattern.
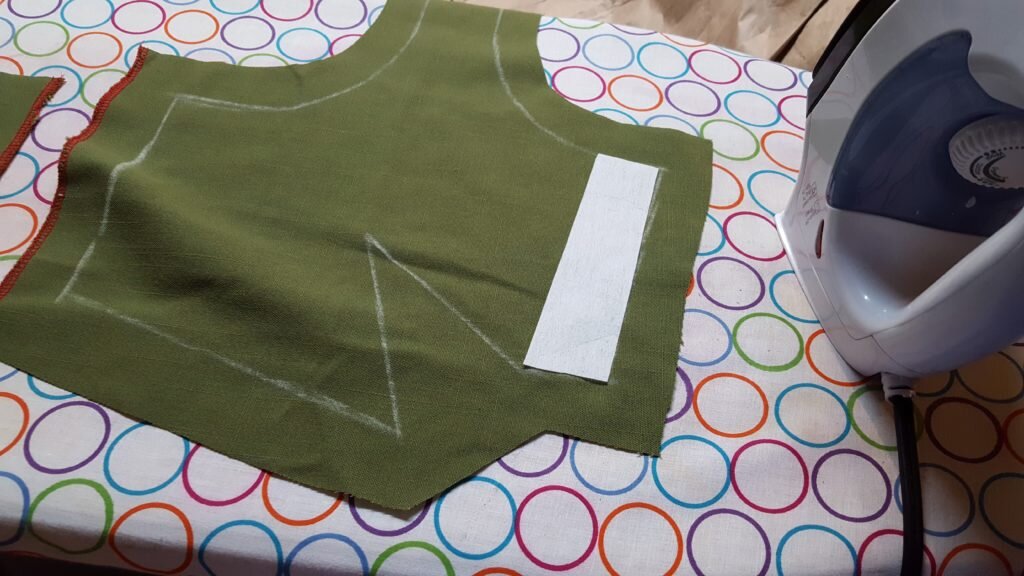
Apply interfacing strip to bodice front
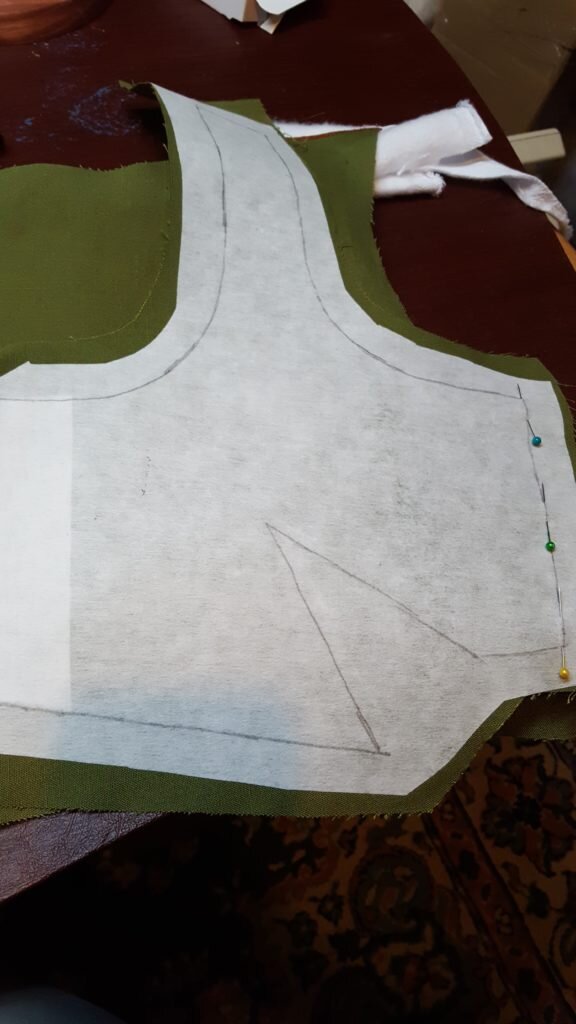
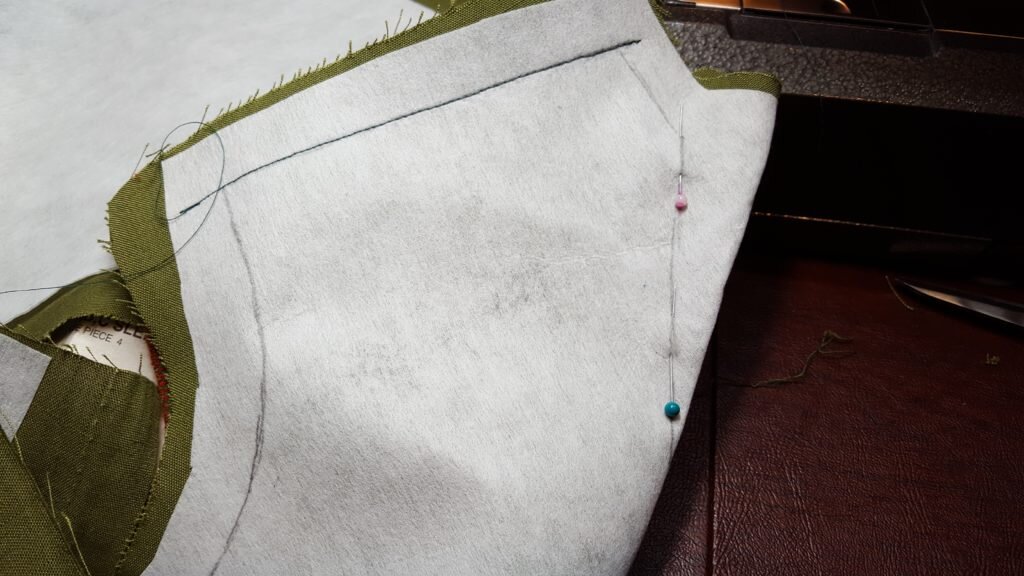
- Apply interfacing to bodice.
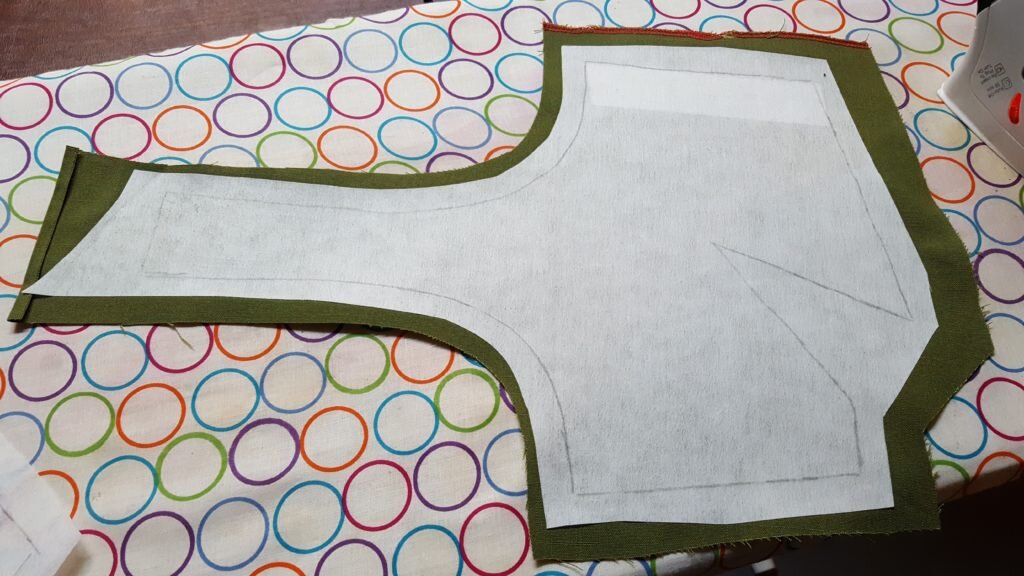
Apply interfacing to bodice.
- Pin side seams on bodice, right sides together. Stitch.
Pin and stitch side seams
- Pin shoulder seams on bodice, right sides together. Stitch.
Pin shoulder seams and stitch.
- Pin darts on bodice front, right sides together. Stitch.
Pin and stitch darts
- Repeat steps 4,5, and 6 for lining material.
Repeat above steps for lining.
- Pin lining to outer material all along neckline and bodice front, right sides together. Stitch.
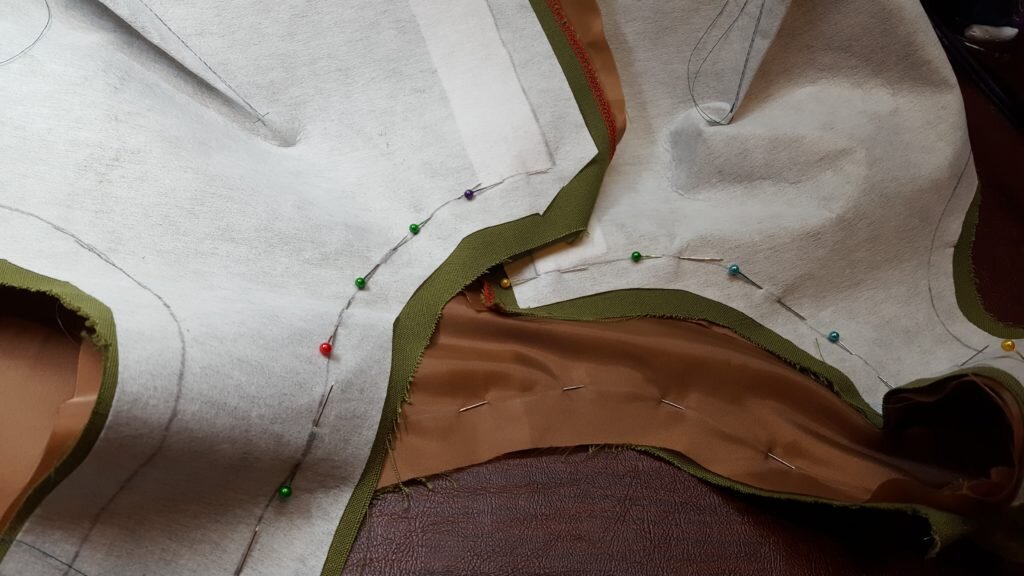
Attach lining to bodice along neckline.
- Clip curves and trim seams to 1/4″
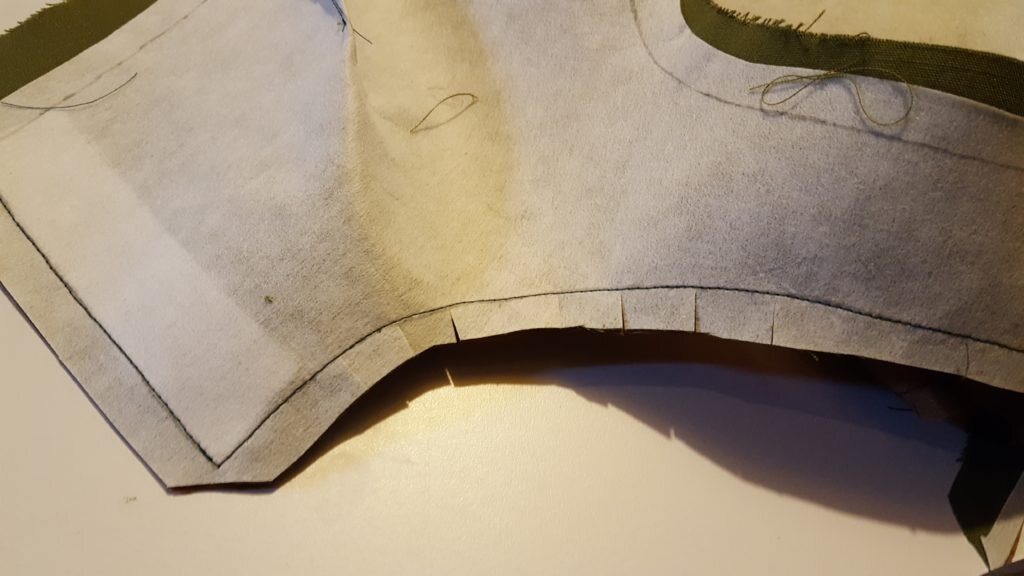
Clip curves.
- Turn right side out and press.
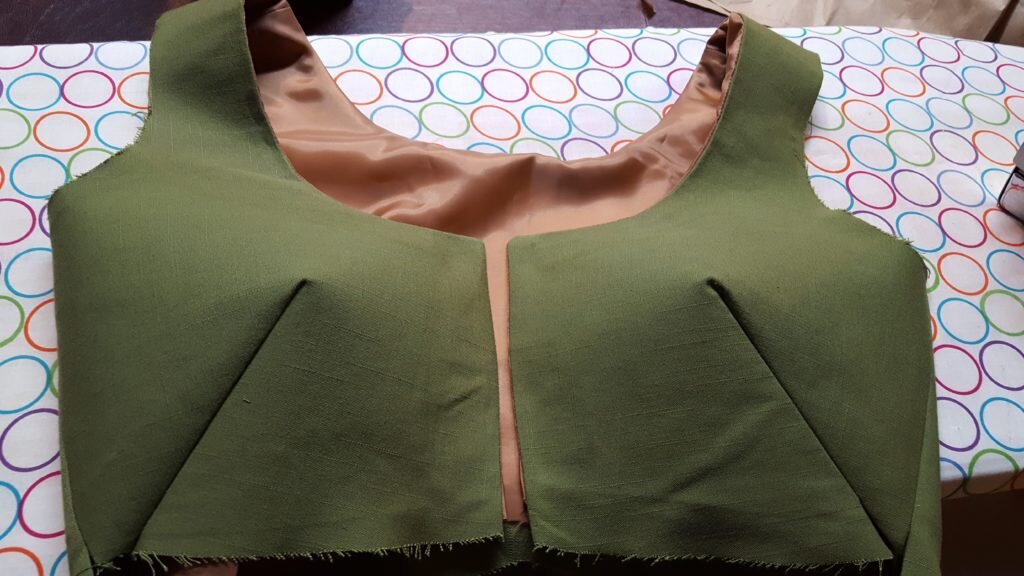
Turn right side out and press.
- Pin and baste armscyes.
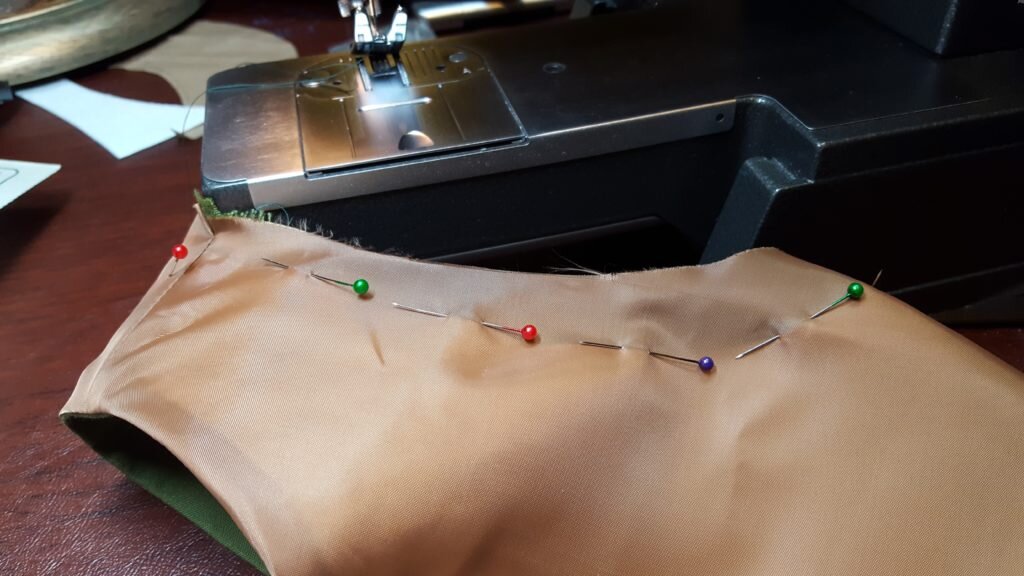
Baste armscyes
- Make the skirt following the instructions for the pattern, stitching center back, and side seams together.
- With wrong sides together, pin the ribbon trim to the edge of each front section.
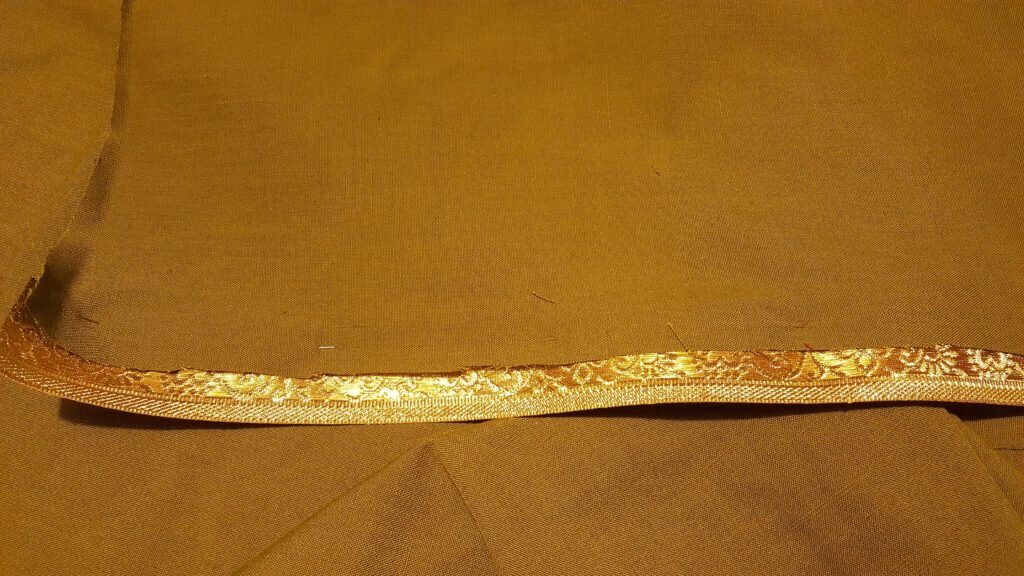
Pin wrong side of ribbon to wrong side of fabric edge.
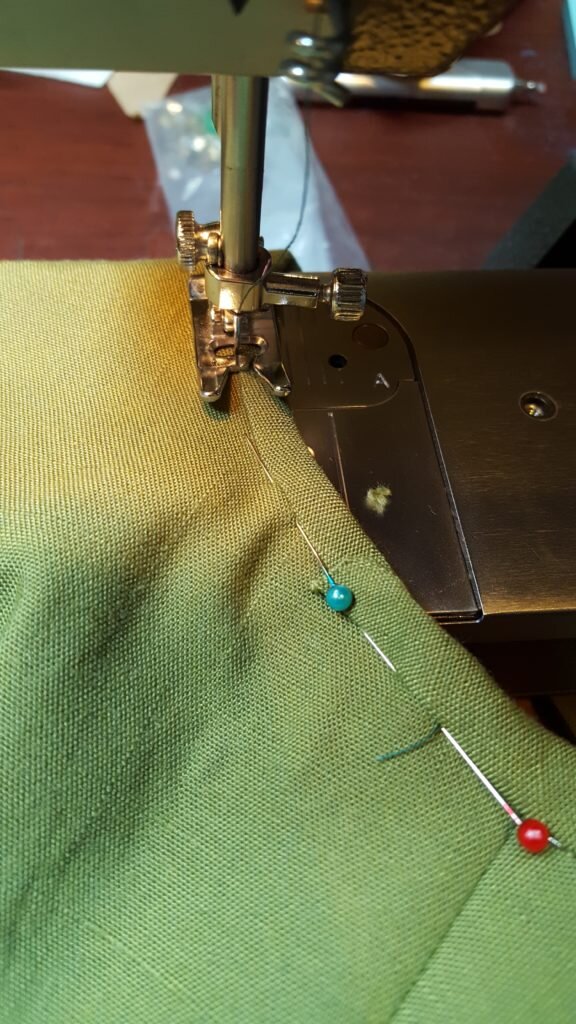
- Baste along the front of the ribbon trim, 1/4″ from the edge.
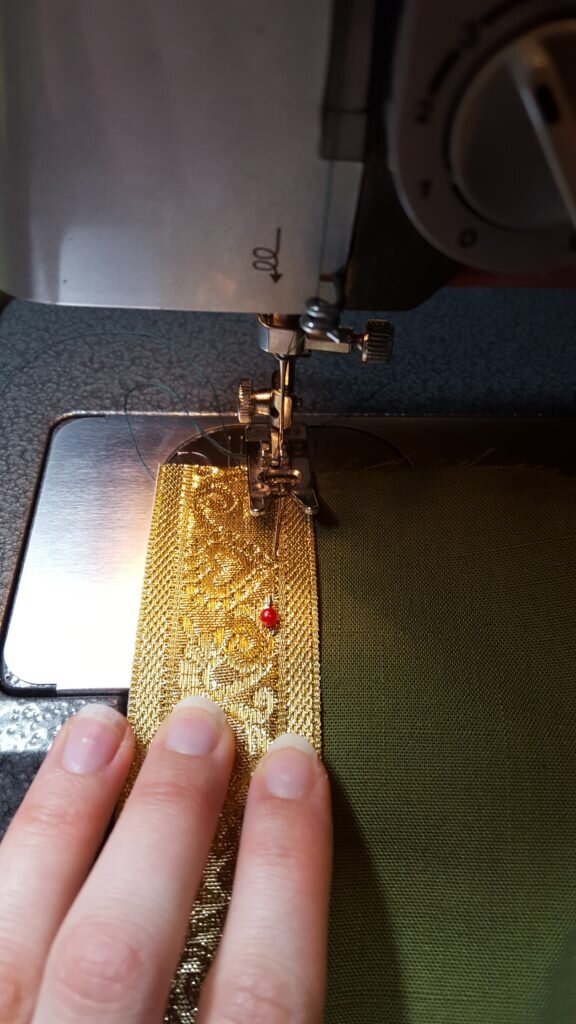
Baste.
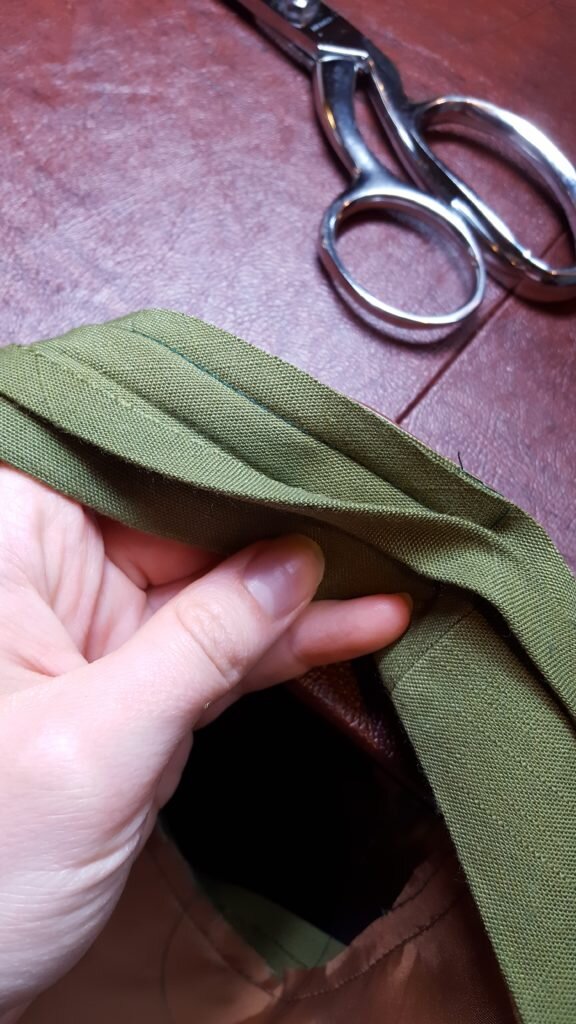
- Flip the ribbon to the right side of the dress and match the fold with the edge of the ribbon. Stitch along your basting line in 14.
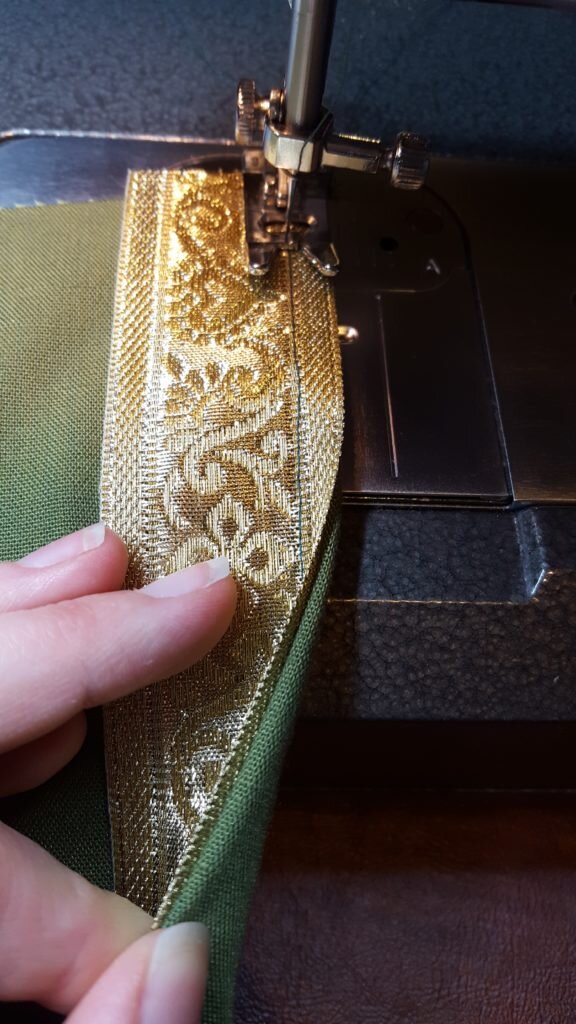
Flip ribbon to right side and stitch.
- Stitch 1/4″ from the other edge of the ribbon to secure.
Stitch other end of ribbon to secure.
- Trim armscye seams to 1/4″ if you haven’t already.
- Open out one side of your double fold bias tape and pin the fold on your 1/4″ seam.
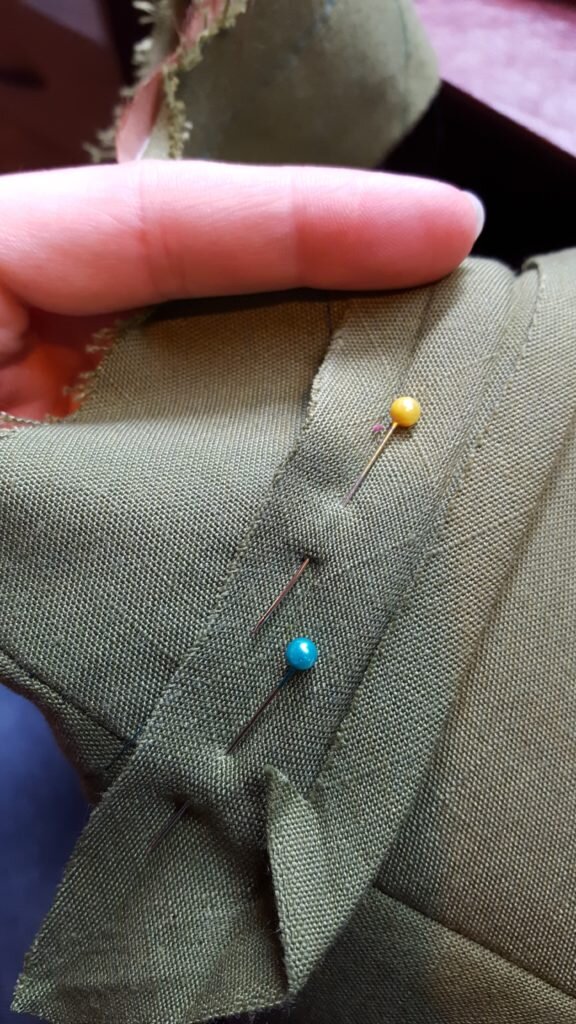
Pin bias tape along armscye pattern line.
- Stitch along this line.
Stitch then fold bias tape over unfinished edge.
- Fold bias tape around the unfinished edge and pin on the front side of the fabric. Stitch in the ditch to attach the bias tape.
Stitch in the ditch.
- Repeat for second armscye.
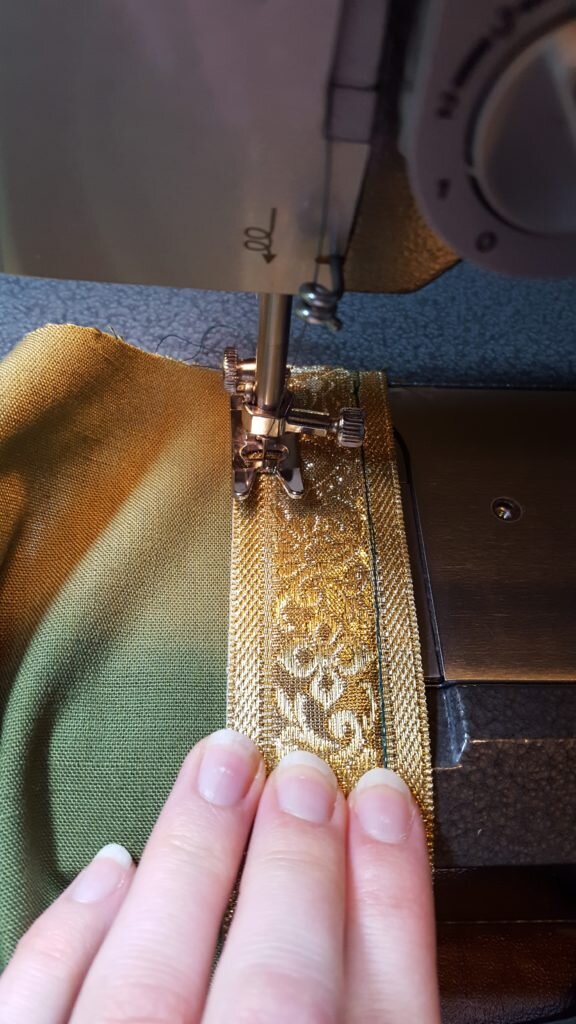
- Take the ribbon trim and pin it to the outside of your bodice front, folding over at the top.
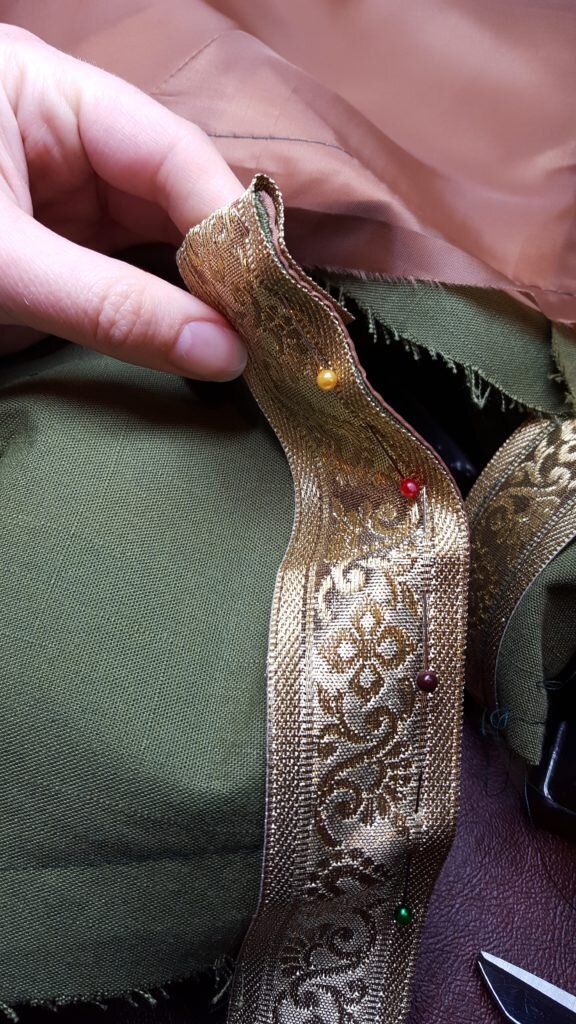
Pin trim to bodice front.
- Stitch 1/4″ from each side of ribbon as in step 15 and 16.
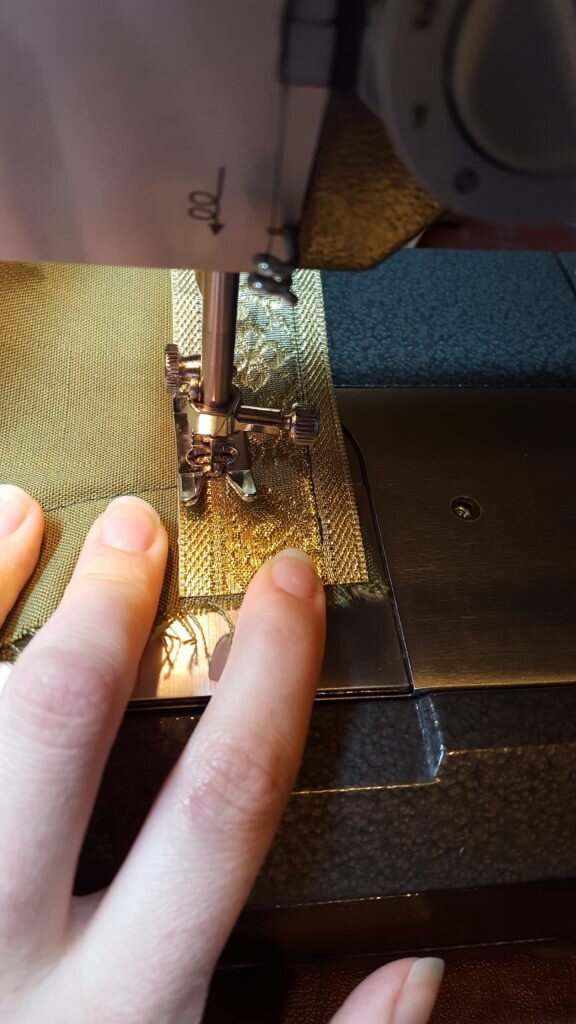
Stitch ribbon to bodice as above.
- Take your skirt and baste 1/4″ from the top of the skirt and 1/2″ from the top of the skirt. Gather.
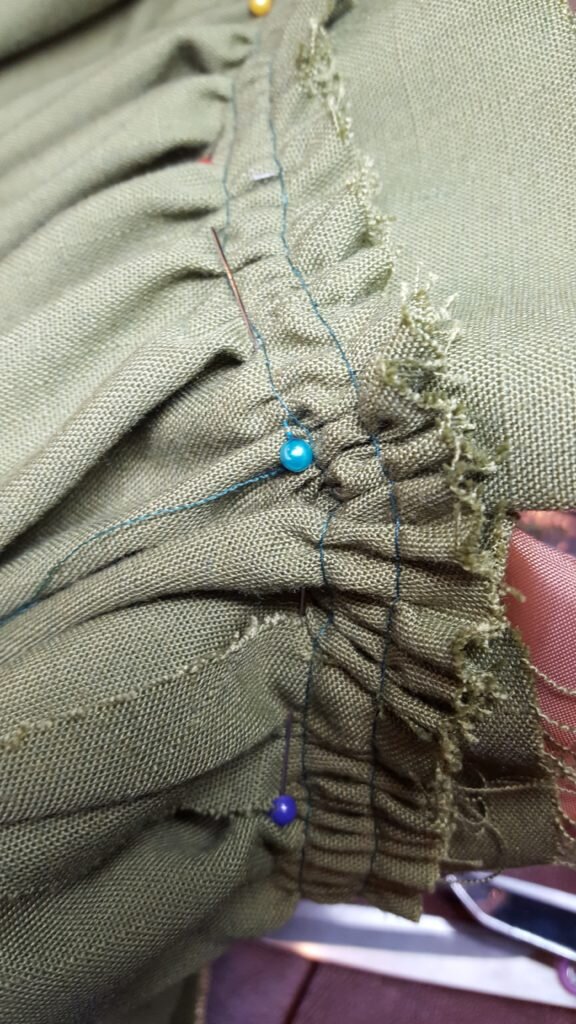
Baste and gather skirt
- Pin gathered skirt to bodice, right sides together. Matching up side seams and center back respectively.
- Stitch 1/4″ below your 1/2″ baste.

Attach skirt to bodice.
- Finish the bottom hem as desired.
- Mark out locations for 4 grommets on each side of the bodice front. Affix grommets as per manufacturer’s instructions.

Finished overdress with underdress and of course the “Boleyn” french hood.
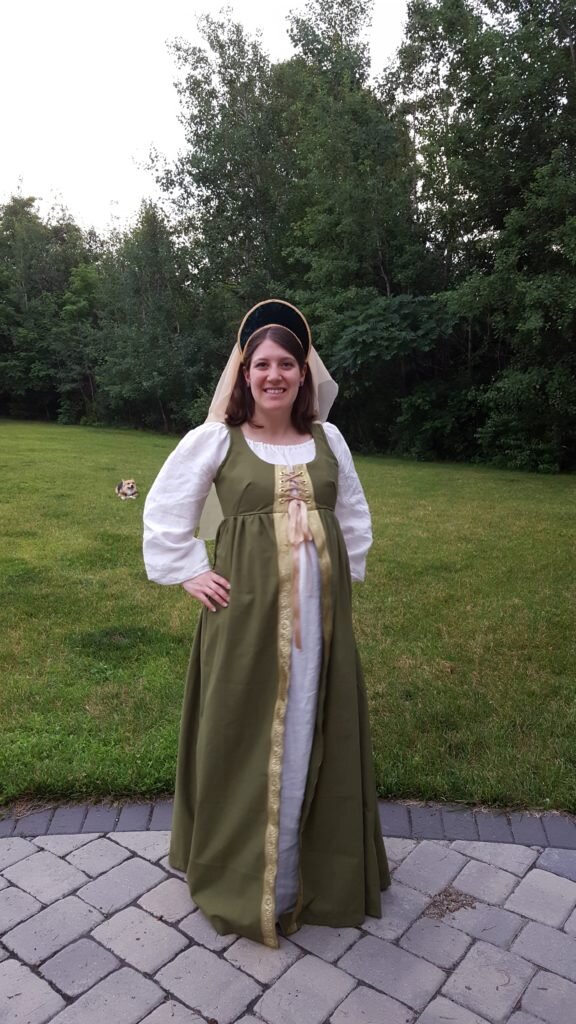
Finished dress. Note dany frolicking in the background/photobombing me.
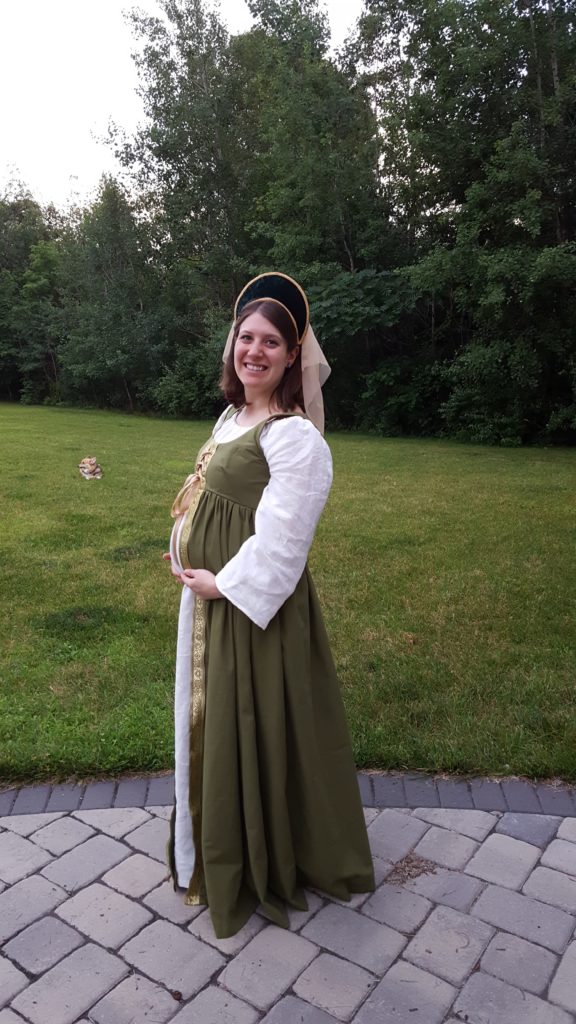
Side view of the maternity medieval outfit.

Wow! Your outfit is so well done! I love it!
Did you ever post the pattern pieces? I’m helping a young lady make an outfit for archery at Scarborough Faire near Dallas. Your overdress looks just about perfect for what she is looking for.
Thank you so much! And thanks for stopping by! I’m so embarrassed to say it looks like I didn’t!! I went into my archives though and just uploaded a copy! Thank you for the reminder!!! Tip: at this point in time my bust was a 34DD, but I have worn it back at my normal cup size and even up a size for my next pregnancy (hormones are weird). It is super forgiving! Happy Sewing!!
This was a huge help! I had a week before my dress needed to be made and this was the BEST dress ever. You saved the day. (I didn’t end up adding ribbon, I accidentally bought 2 different colors that in day light are VERY obviously not the same.)
Ebs thank you so much for commenting! You have made my month! I’m so happy the dress came out! I’d love to see a photo sometime if you have one you’re willing to share!
Lexi