
During the last couple of weeks, in addition to all my normal tasks, Will and I were preparing for my birthday party at home and I was preparing for the Maker Faire at work. For my birthday we’ve been getting the yard ready which includes pulling weeds and spreading 8 yards of mulch. Will didn’t let me do any mulching (thankfully) so the poor guy spread 7 yards of it himself. For the Maker Faire I shopped for supplies, prizes, and food and helped Amy with the logistics.
On top of all that I decided that it would be nice to wear a renaissance dress while displaying Whimsical Brims at the Maker Faire to give folks the full effect. Unfortunately none of my renaissance dresses currently fit. Since inevitably I’m going to go to KRF dressed in costume while 8 month pregnant, I’ll need a costume anyway. I didn’t find any pregnancy renaissance patterns, so I was forced to make my own pattern. The dress consists of an empire waist overdress with lace bodice on top of a long underdress. In this post I’ll show you how I made the underdress.
I started by measuring out bust and hip measurements as well as current “waist” measurements. I factored in a lot of extra fabric for the waist size to be on the safe side. The underdress is extremely blousey to accomodate lots of belly and a variable chest size. Then I measured around the neck where I wanted the “collar” to sit. The collar has elastic in it, so it will either sit around your collarbone comfortably or you can push it down off your shoulders. Finally I measured the length of my arms from collar to knuckle and the length of the dress from shoulder to floor. There’s a bit of fudge factor here, and bigger is better for this blousey underdress.

Modeling the blousey underdress while 6 months pregnant. (With help from Dany.)
Blousey Underdress
You’ll need:
- 3 yards of 57″ linen (I buy my linen from here)
- 1.5 yards of 1/4″ elastic
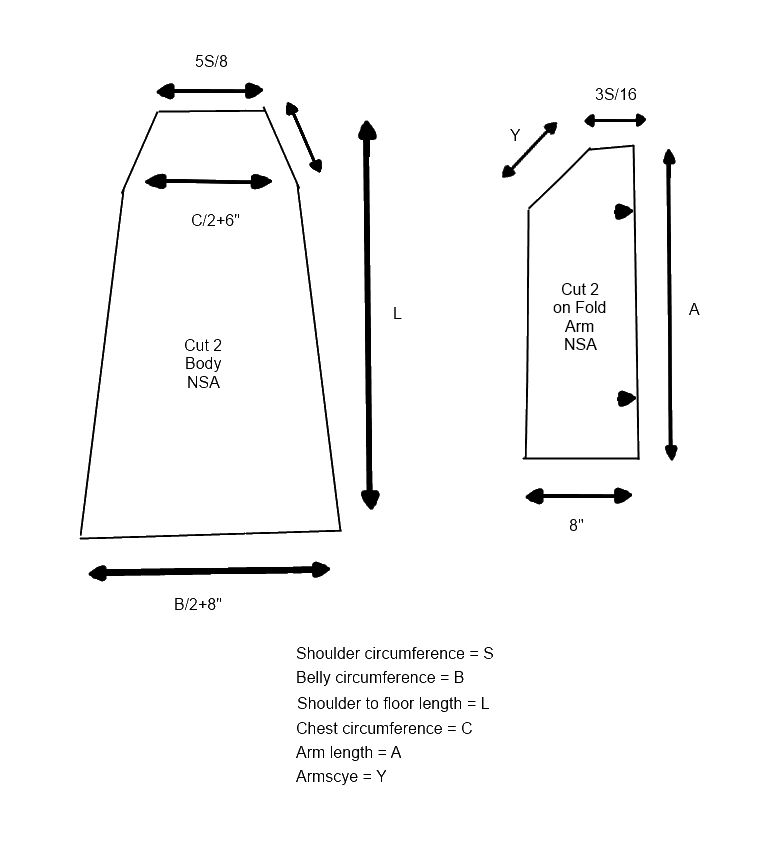
- Pattern template – Make sure to add 5/8″ seam allowance to pattern.
- Obtain measurements for waist (belly), bust, arm length, armscye, shoulder to floor length, circumference around shoulders and finally desired collar length as described above.
- Following the templates above, create patterns for body and arms, plugging in your own measurements.
- Cut out fabric as indicated by the patterns above.
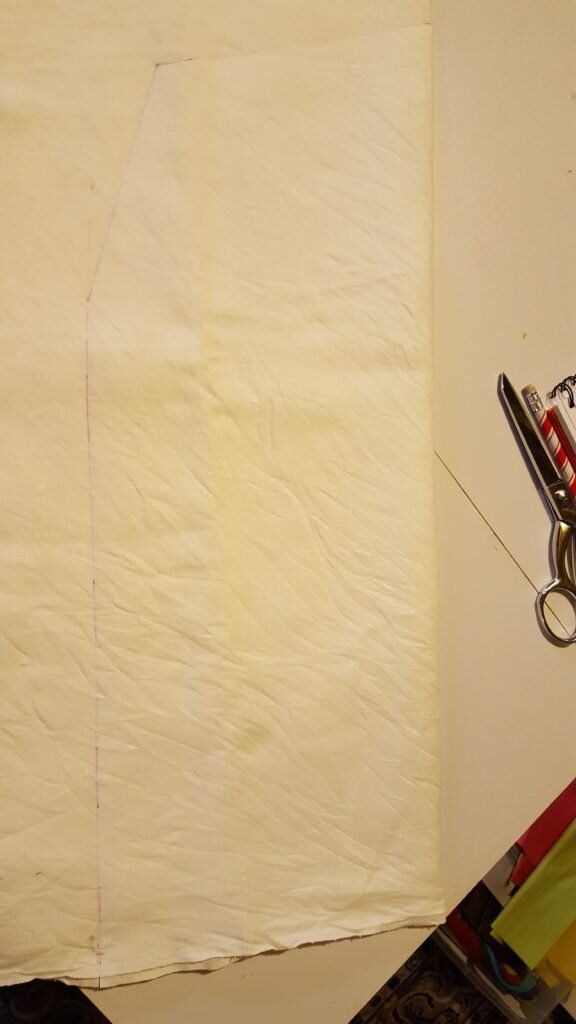
Cut out pattern pieces
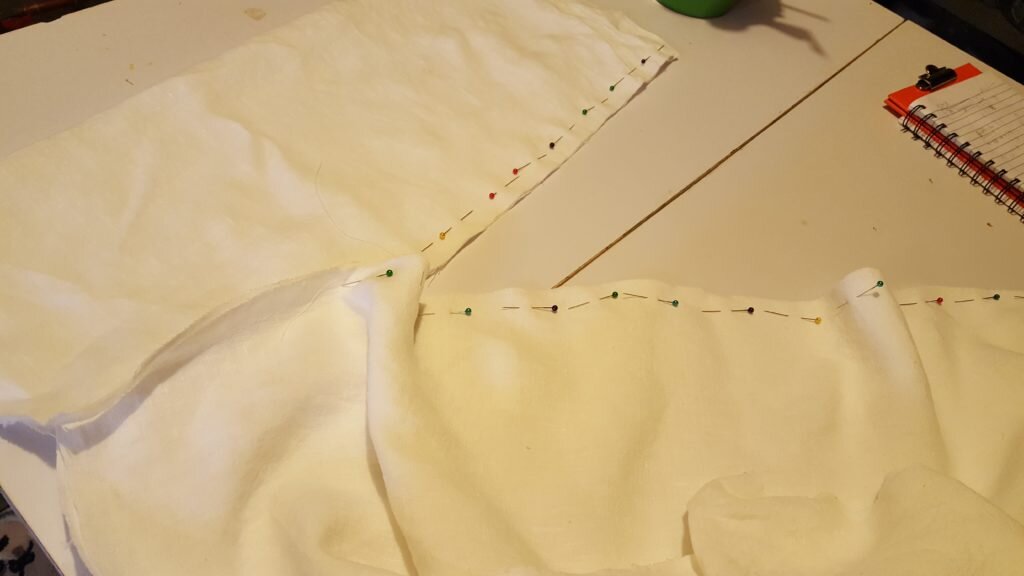
- Pin and stitch arms to body at back and front, matching the notches. Repeat for second side.
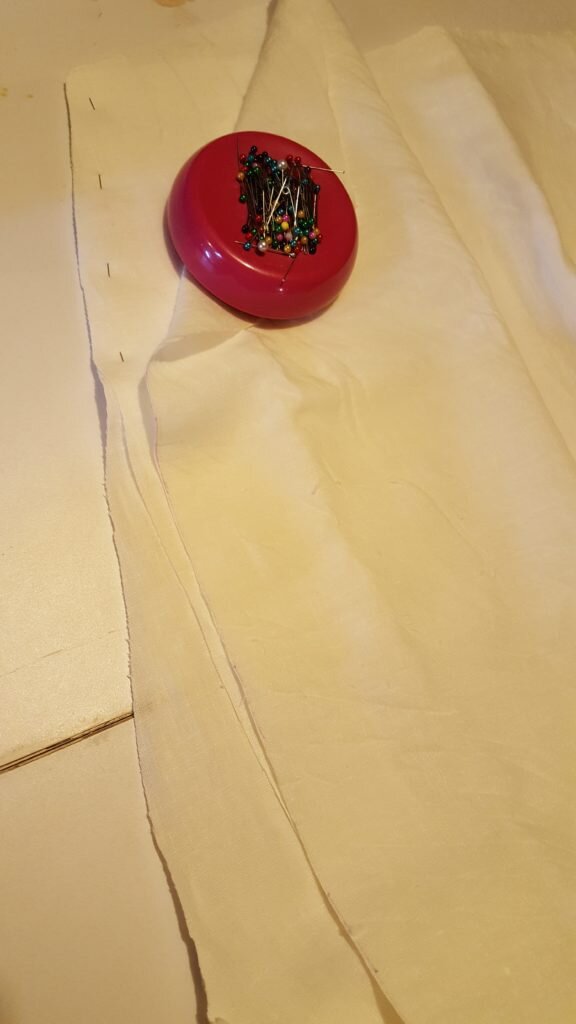
Pin arms to body along 6″ edges.
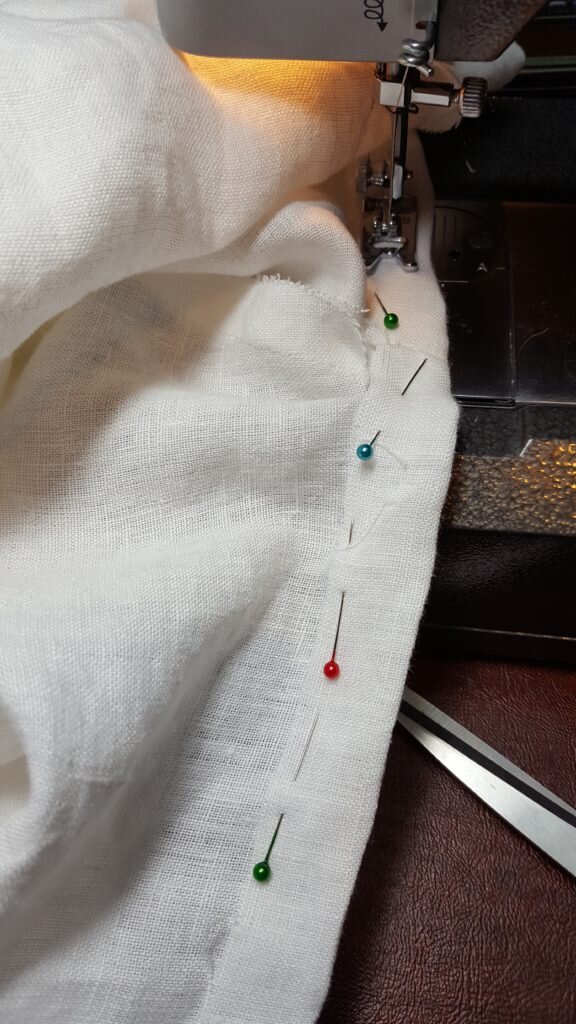
- Pin side seams of body from bottom of skirt to armpit. Pin arm seam from armpit to wrist. Stitch along this entire length. Repeat for second side.
Pin and stitch side body and arm seam.
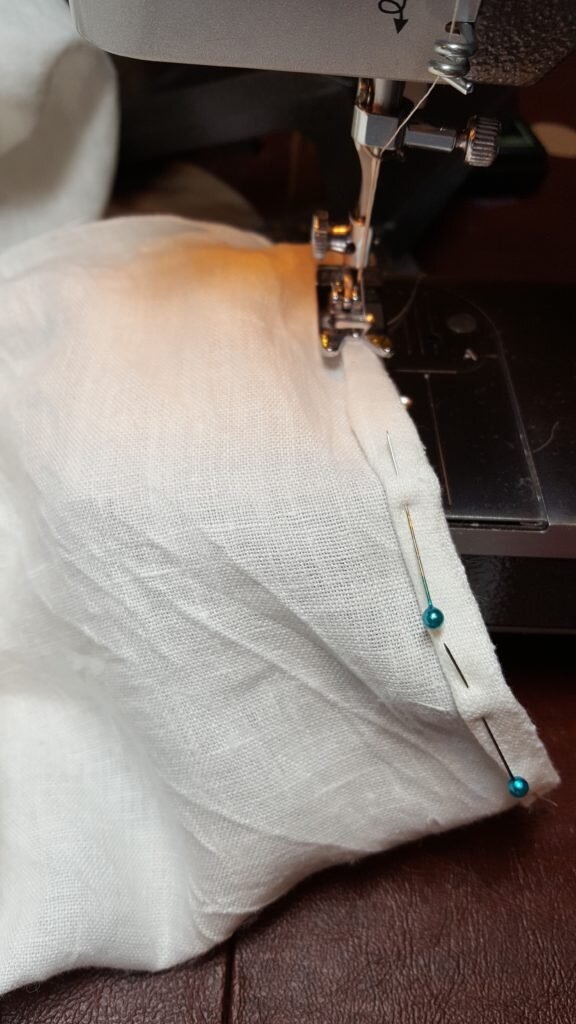
- Fold neckline under an inch, right side out. Pin and stitch, leaving 1/2″ seam allowance and a 1″ gap to insert the elastic.
Fold neckline under an inch. Stitch.
- Cut elastic down to circumference around shoulders + 2 inches.
- Using a tapestry needle, thread the elastic through the neckline casing. When it gets to the other end, tie off the elastic with the 2 inches of allowance and trim.
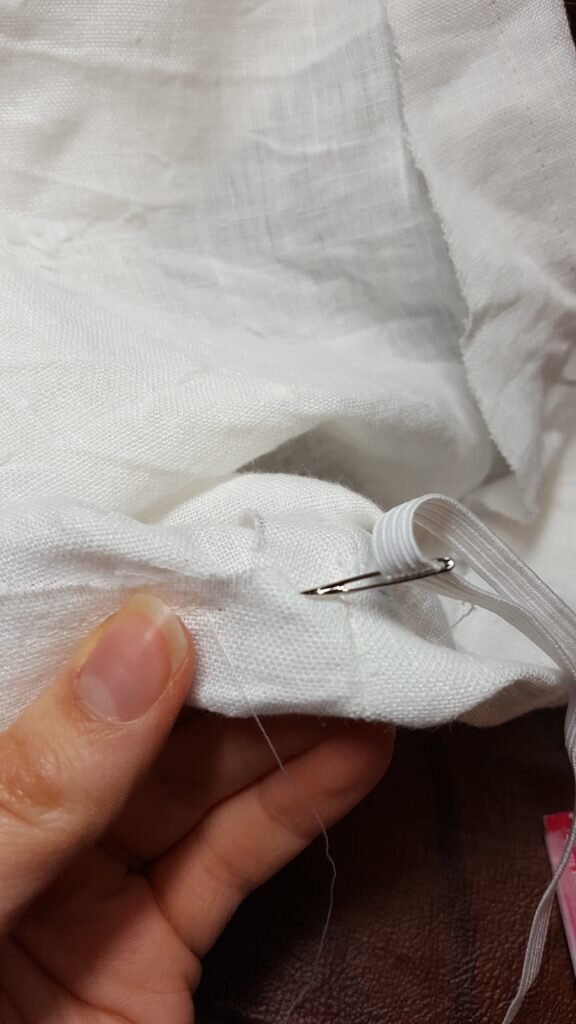
Thread elastic through casing.
- Stitch the 1″ gap used to insert the elastic closed.
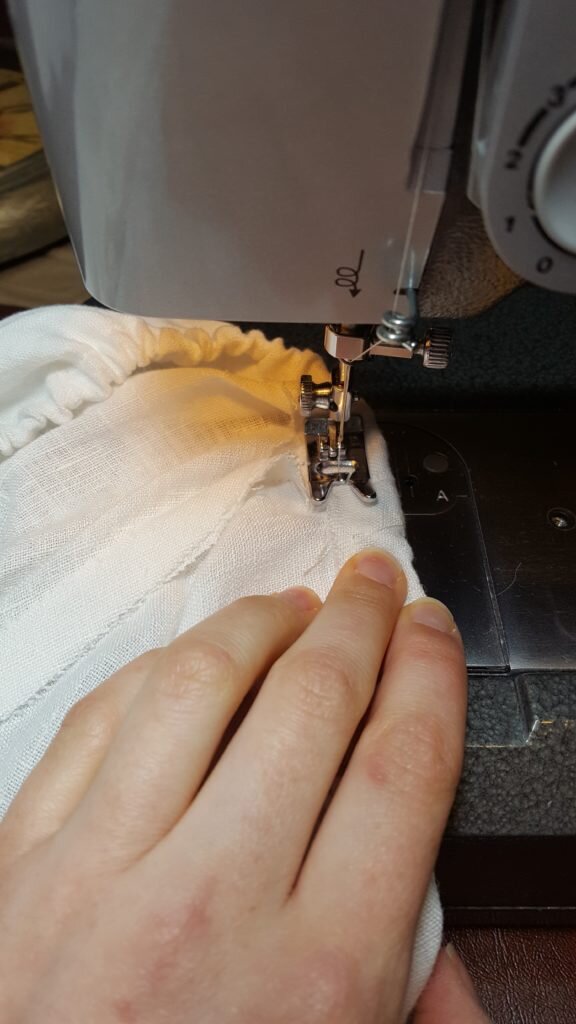
Stitch gap used to insert elastic in casing closed.
- Hem the sleeves.
Hem sleeves. (I used a rolled hem.)
- Hem the skirt.
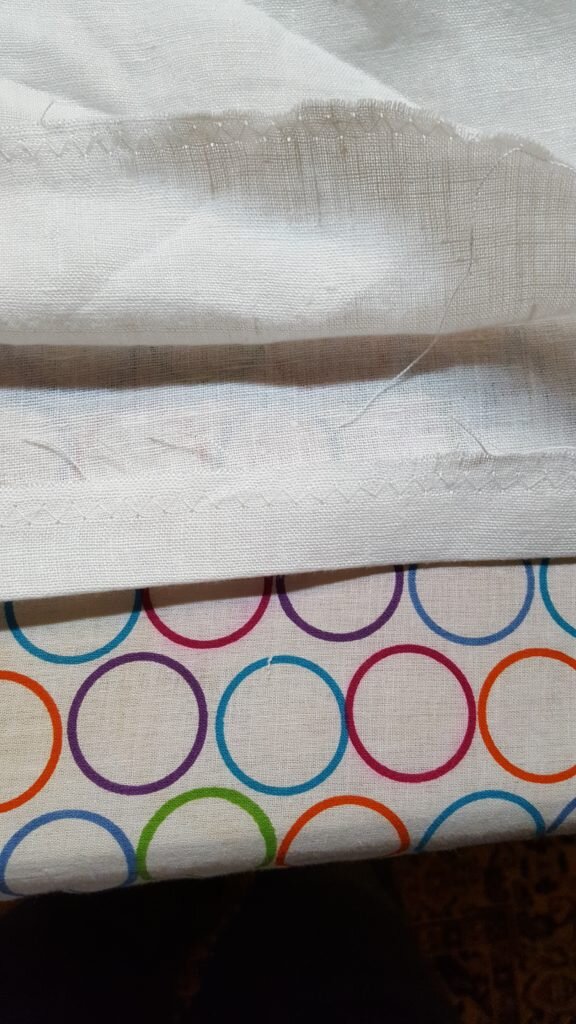
Hem skirt (I used a blind hem).
