
Will and I put an offer on a house last week. We didn’t get the house and the whole experience was very stressful as there were several offers and we were the runner-up to the winning offer. I’m not kidding when I tell you that I was a nervous wreck and didn’t eat for two days! It felt as if we were gambling away money we didn’t have. (I guess that is technically what we were doing.) The process brought us down to Earth and made us realize that we don’t need a new house any time soon. We love our house! We are lucky to have such a wonderful house! The flat, quiet yard, the nice dry basement with my work shop and our breezy screen porch all make me smile. Plus, it is close to our amazing daycare and only 4 minutes from the grocery store! Besides, I still haven’t finished all the curtains or renovations I’ve planned (we’ve only lived here 8 years, cut me some slack…) On top of all that we started realizing that in order to stage our house we’d have to move a lot of stuff into storage. Intimidating.
You know what isn’t intimidating? Setting up my new Cricut machine! I’d been putting it off for a while, but the advent of Danycon made me finally jump into action and get it working. If you don’t know what a Cricut is, it is a die cutting machine – it basically cuts/embosses/writes on a variety of mediums using a variety of tools. You adhere your medium to the mat (which has a sticky front), feed the whole mat into the machine, select a pattern and then send the pattern to the machine to be cut/embossed/written. The machine really is plug and play, and the software is extremely intuitive. I am floored at how easy it is to use. For its maiden voyage I decided to make a stencil for the coffee mugs below using the Cricut to cut out some letters from vinyl (this vinyl was just some leftover shelf paper I’ve used for both this project and this project). From start to finish the stencil cutting took me a total of 30 minutes from the setup of the machine and designing the pattern to finally cutting and weeding the stencil. You read the correctly – 30 minutes from unboxing to working stencil.
It is so easy to use that I bet it would deceive someone into thinking that the similar looking 3d printer or embroidery machine would be just as easy to use. I believe I understand now why my co-worker who owns a Cricut was flabbergasted when I explained how complicated it would be to design and embroider a pattern using my embroidery machine and embroidery software. I really hope he believed me and didn’t think I was just brushing him off! The Cricut though – anyone can do it! Can you operate a printer? Yes? Then you can operate the Cricut. I promise I’m not being paid or given anything to evangelize Cricut (though maybe I should be)! I just know a good user interface when I see it.
If you don’t have a Cricut you can cut out the lettering yourself using an X-acto knife as I did in this post. It will take you quite a bit more time.

I sure need some coffee…
Stenciled Mugs
What you’ll need:
- glass paints (I used folk art multisurface)
- spouncer or paint brush
- White coffee mug (I got mine from the Dollar Tree)
- contact paper
- Cricut die cutting machine or X-acto knife
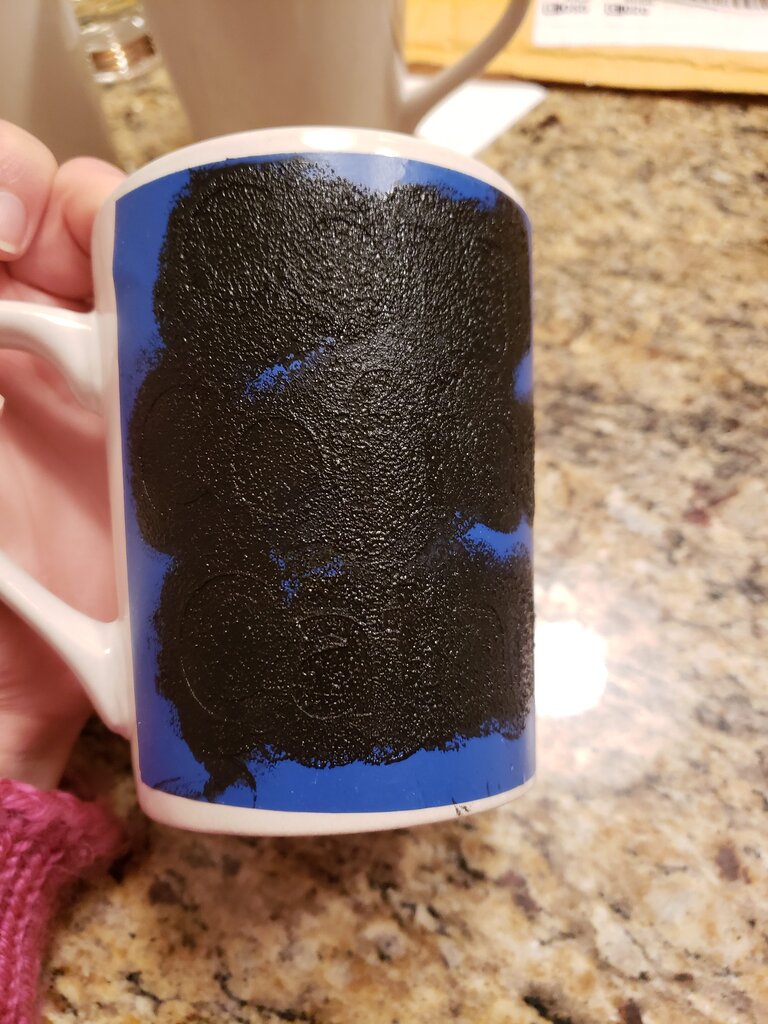
- Cut stencil out of vinyl using cricut or X-acto knife. The stencil should read right side up when viewing the non-sticky side of the stencil.
- Remove the area where you would like your stencil to show. For the ease of stencil removal and artistic liberty I completely removed the center of o’s, e’s, a’s and other closed letters.

- Stick the stencil to the coffee mug.

- Use the spouncer or a paint brush to completely fill in the negative space of the stencil.

- Remove the stencil gently.

- Let dry for 1 hour then place mug on a cookie sheet in a cold oven. Turn oven on to 350 degrees F. When the oven reaches temperature, bake for 30 minutes then turn oven off and let glasses cool down slowly as the oven cools down. When the oven is at room temperature it is safe to remove the mug. Mug should be top rack dishwasher safe for occasional use or hand washable.*


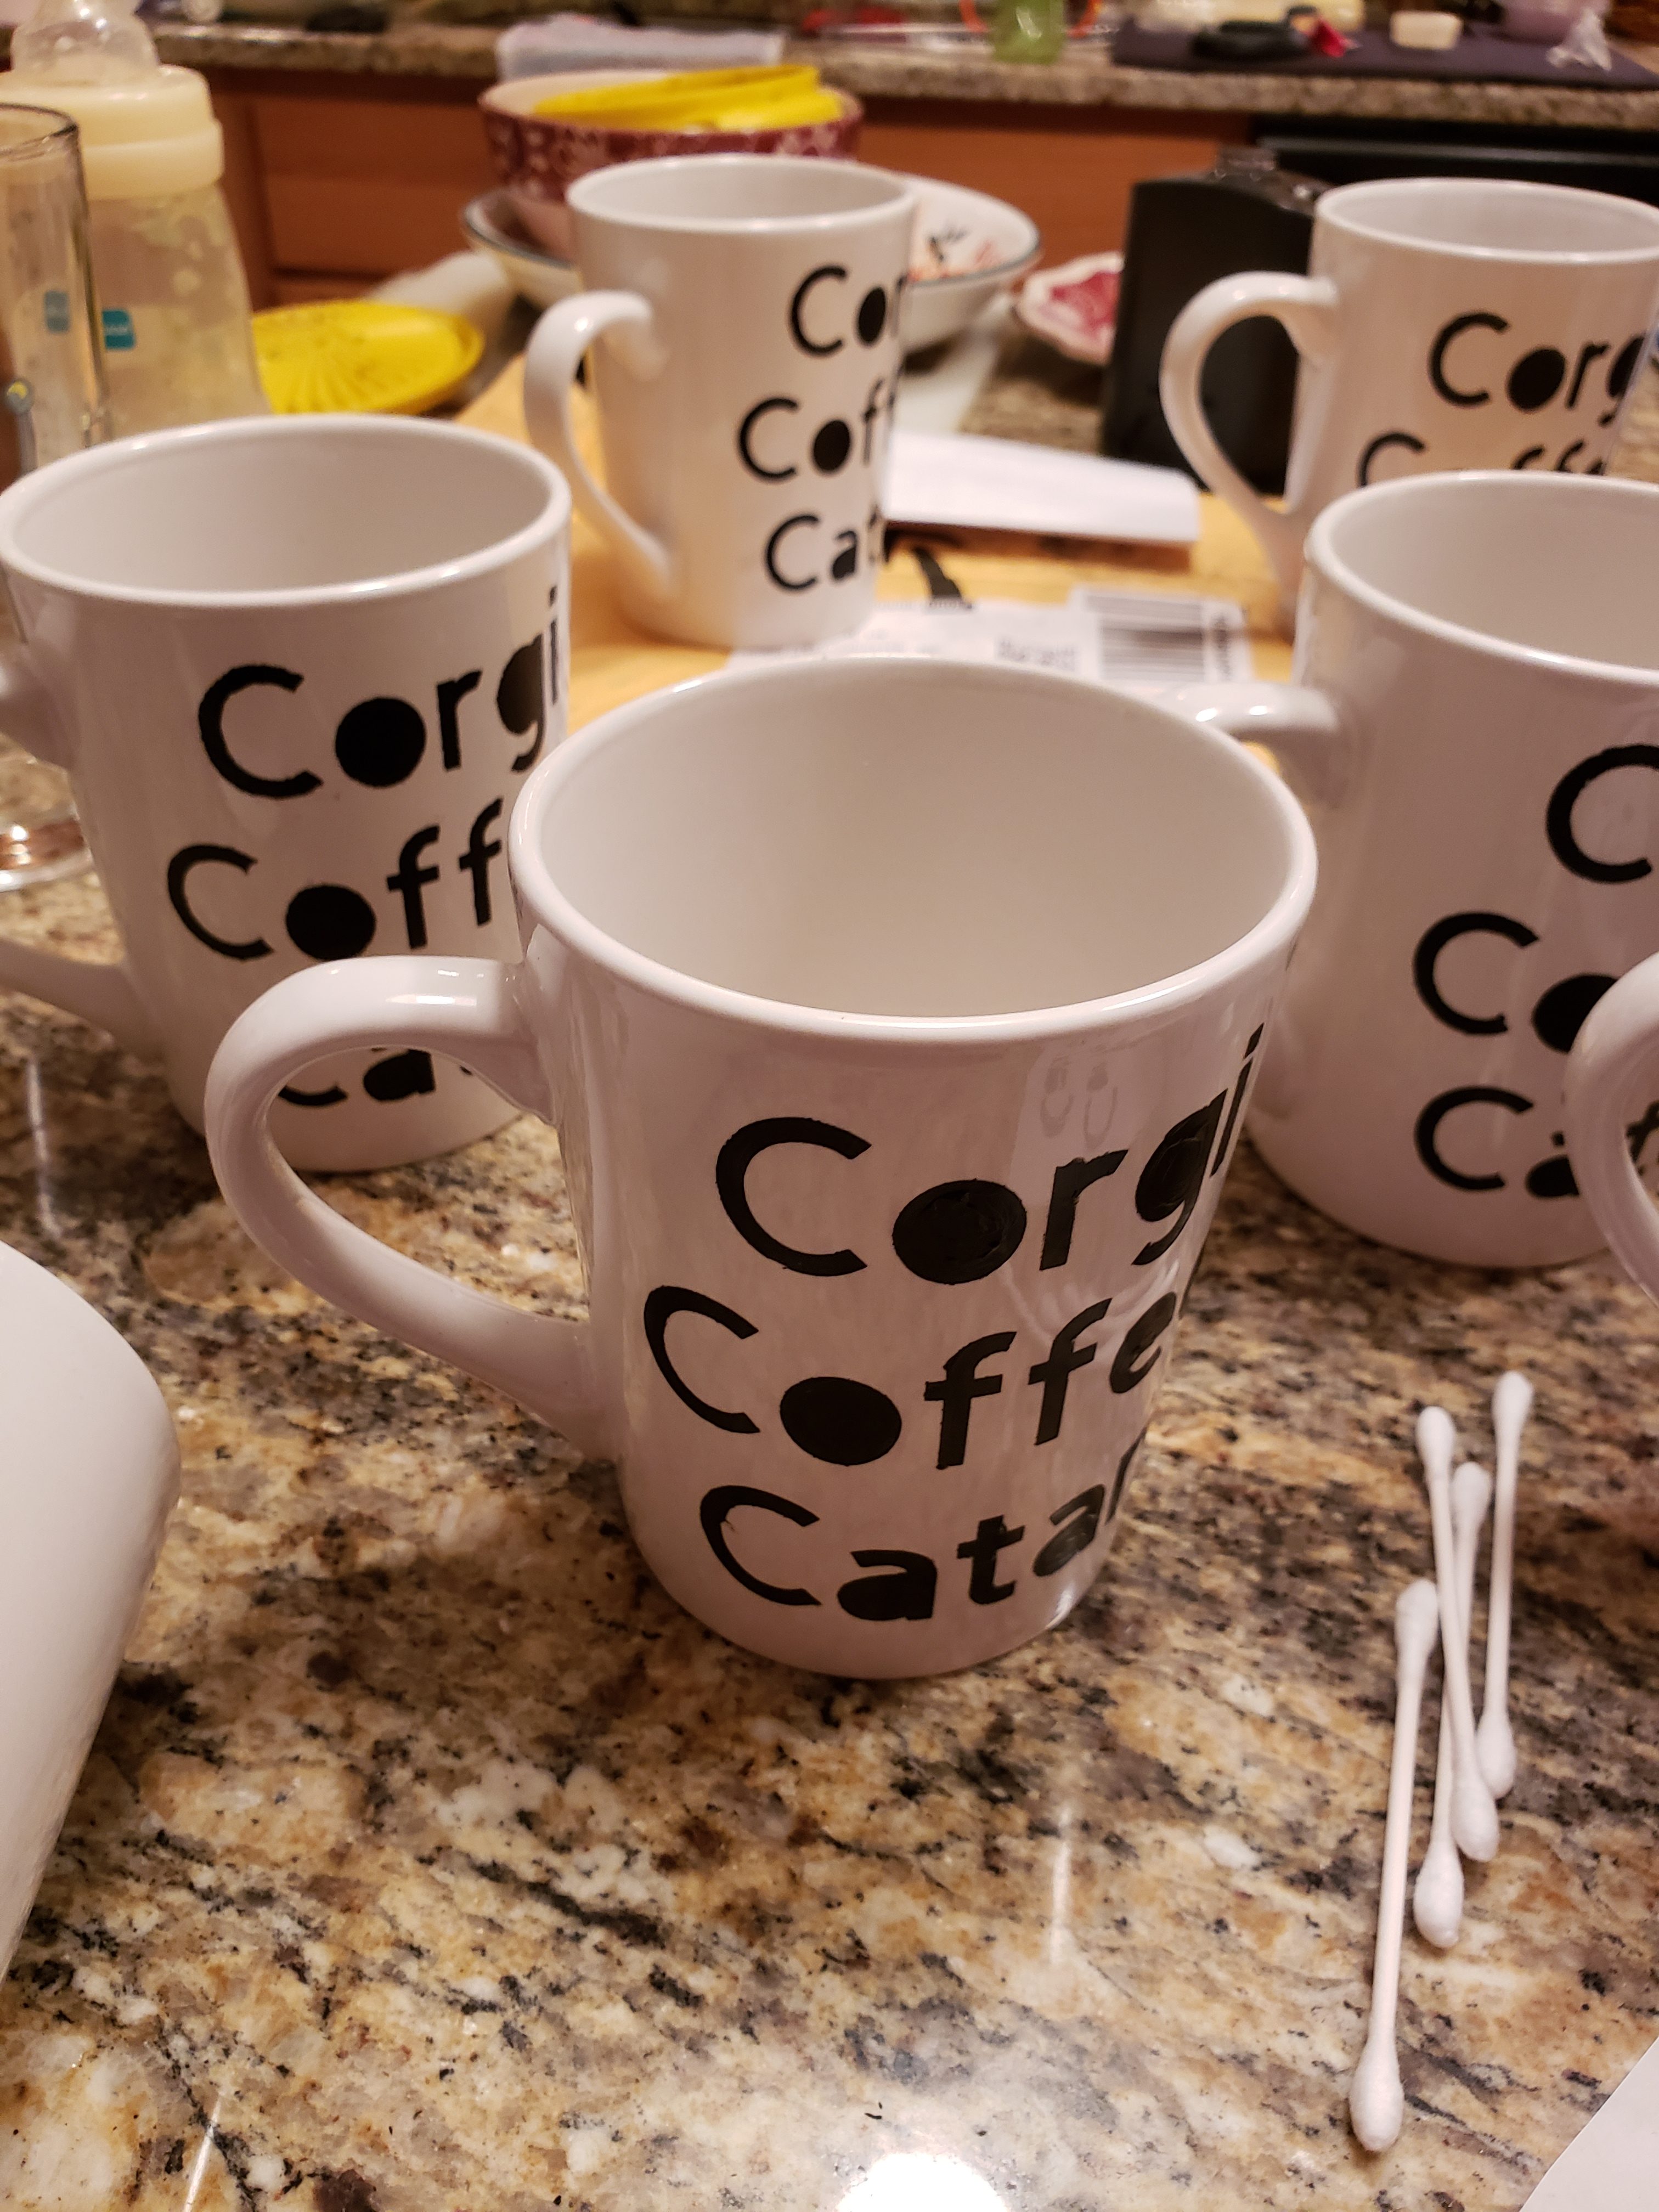
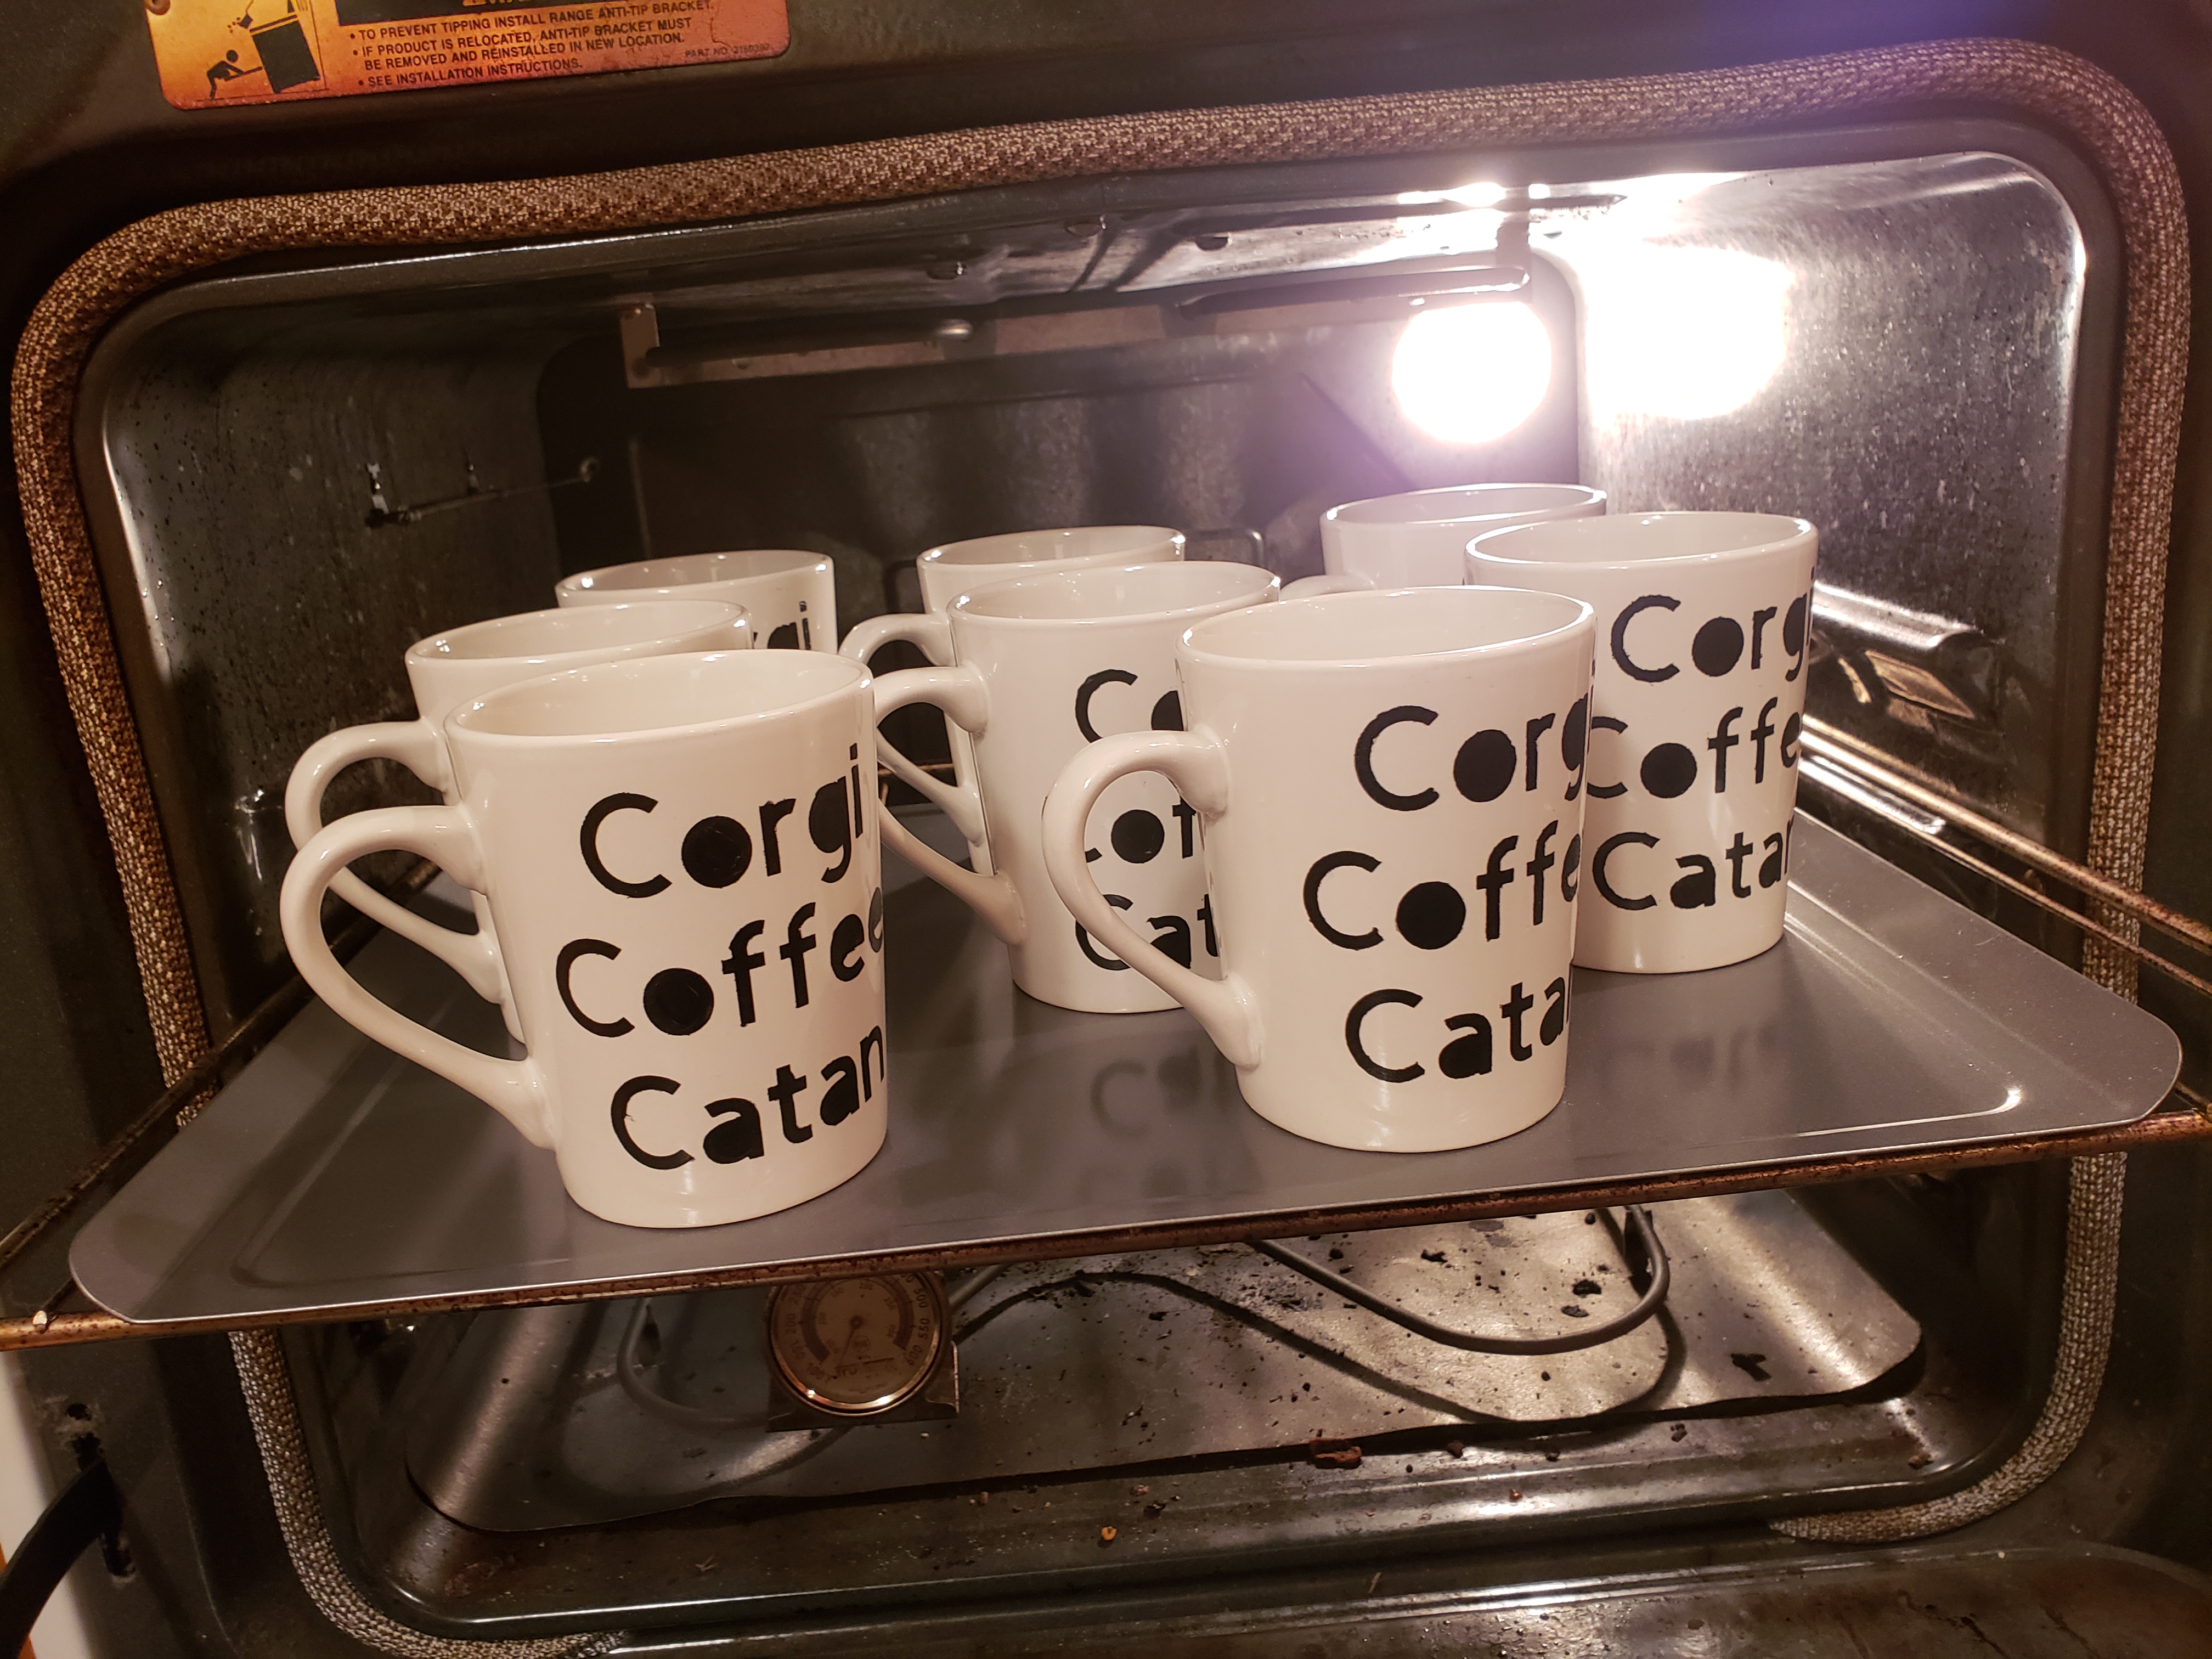
*Note: The first year I followed these instructions to cure the project and the corgi on the mugs wore off quickly in the dishwasher. This year I tried the above method from here. They seem to be fairing better in the dishwasher so far.
I’d like to give a shout out to the amazing support I received from a helpful gentleman at ASmallOrange, my hosting provider, while I was writing this blog post. You went above and beyond!
