
Well a couple weeks ago we finally held a baby party for Julius’ first birthday! Since my family was all in town and wanted to participate we held a little party after Thanksgiving in honor of his big day. Over the coming weeks I’m going to post how-to’s of some of the crafts I did to prepare for the party, so stay tuned.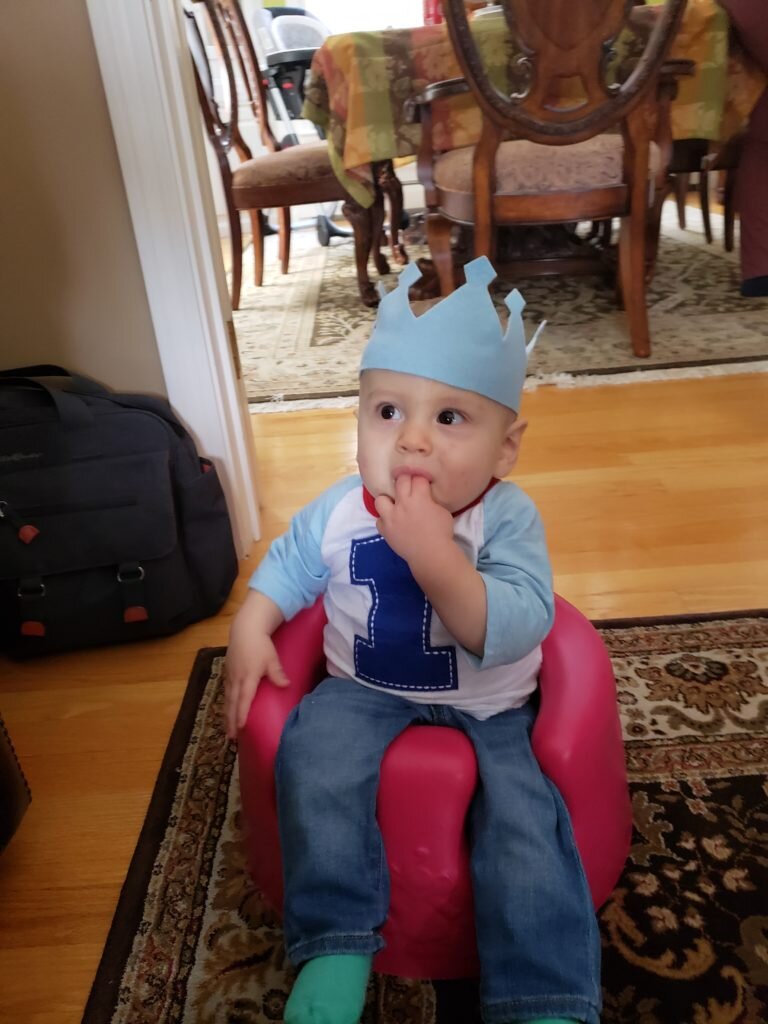
Invitations
As (almost) always I used evite. After some searching I found this adorable card:
This is what I wrote inside:
Little boy blue just turned one! Come celebrate in nursery rhyme land with pizza, calzones, cake and fun!
Setup
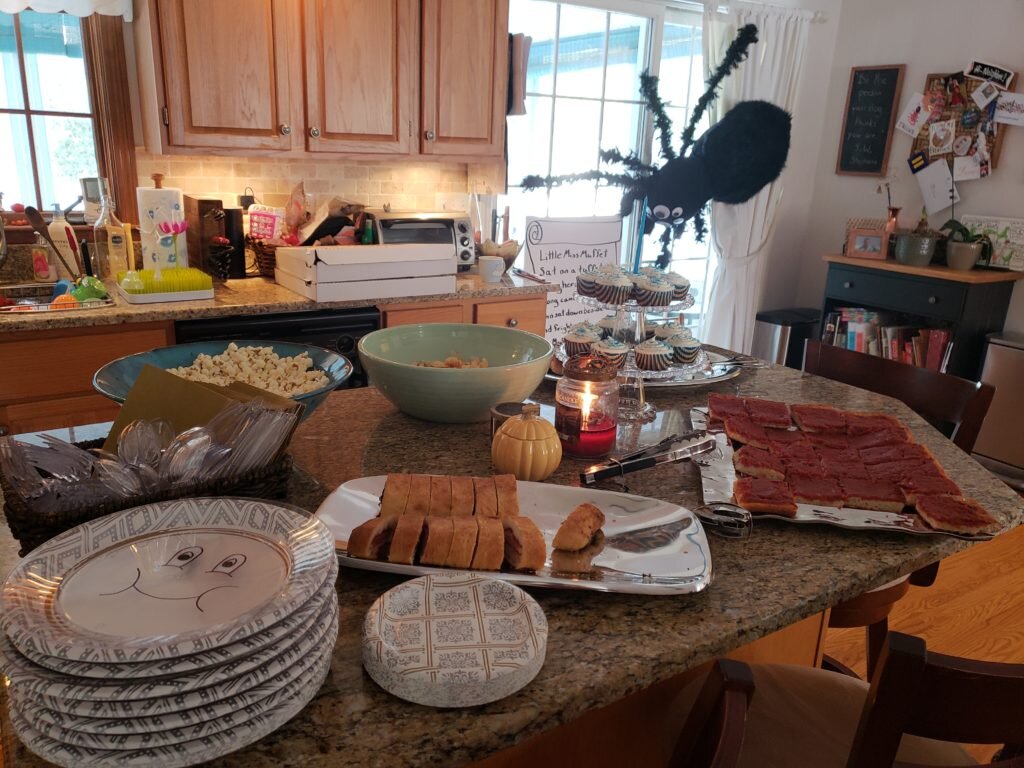
There were four babies in attendance (Julius included), ranging in age from 5.5 to 12 months. I decided to make the party Mother Goose nursery rhyme themed and set about making the house into a whimsical playland. (Or I should say my sister and her girlfriend set about making the house into a playland – thank goodness they came early to help me set up!) I got a new laptop with a cool active pen so I decided to draw up plans for the whole event setup. Here’s what the setup looked like – there was something in every room.
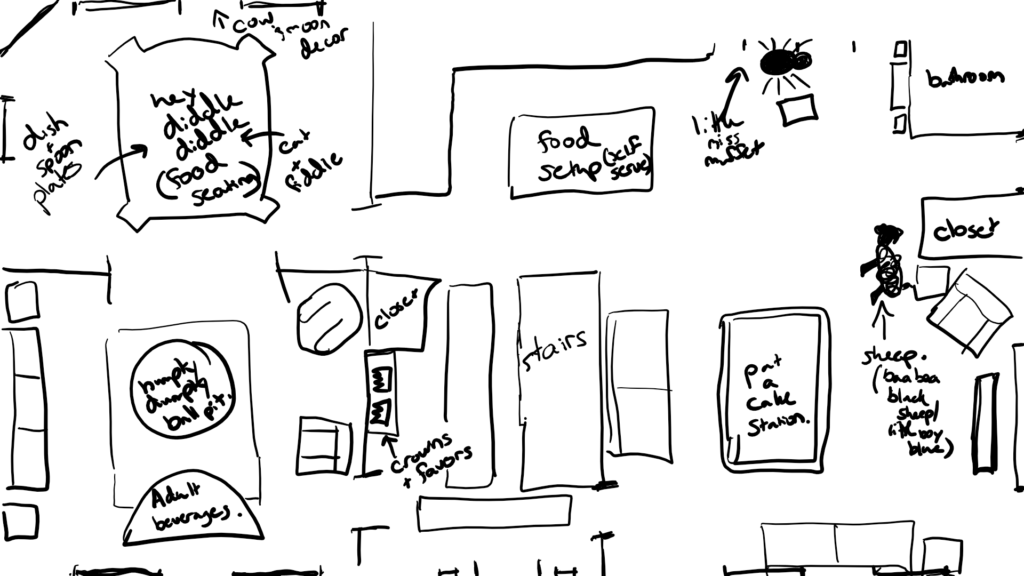
Julius’ 1st birthday setup
Activities
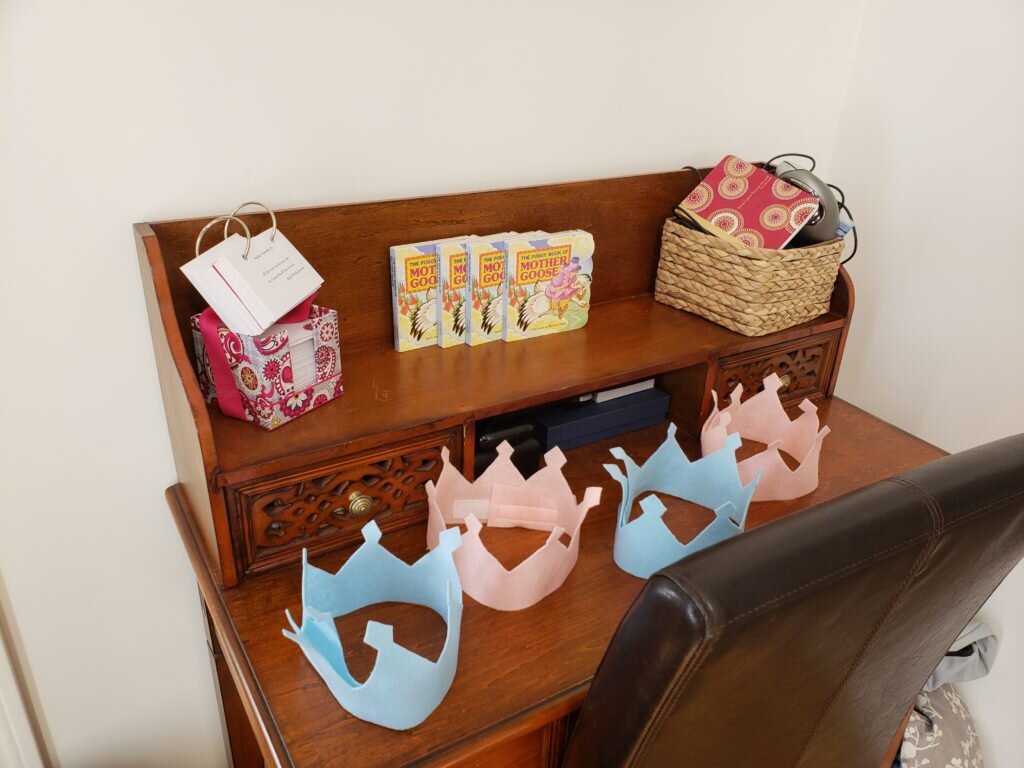
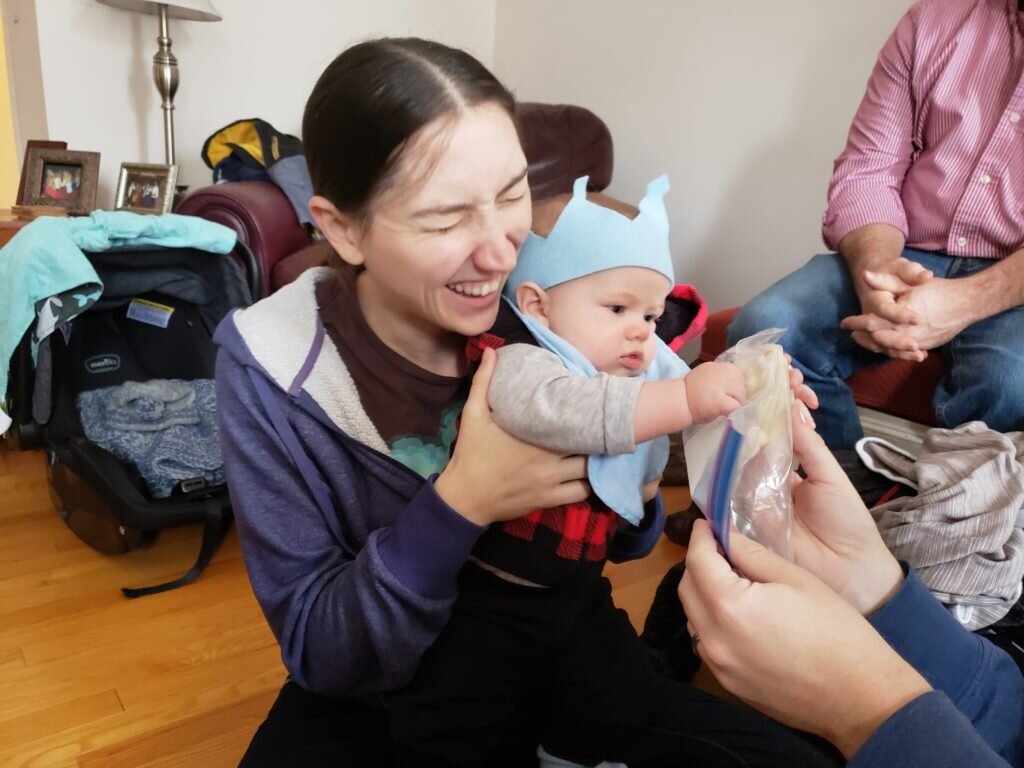
Crowns and nursery rhyme book favors
In the main entryway I had a little table setup with pink and blue felt crowns (instructions in another post) that matched the invitations and copies of The Pudgy Book of Mother Goose which were the favors for the kiddos. After searching around I decided board books were one thing that were age appropriate for the entire age range of babies attending. I tied the whole theme together with an inexpensive decoration – next to each activity I included a poster board “scroll” with a line of verse from one of the rhymes in the book.
Crowns and nursery rhyme book favors
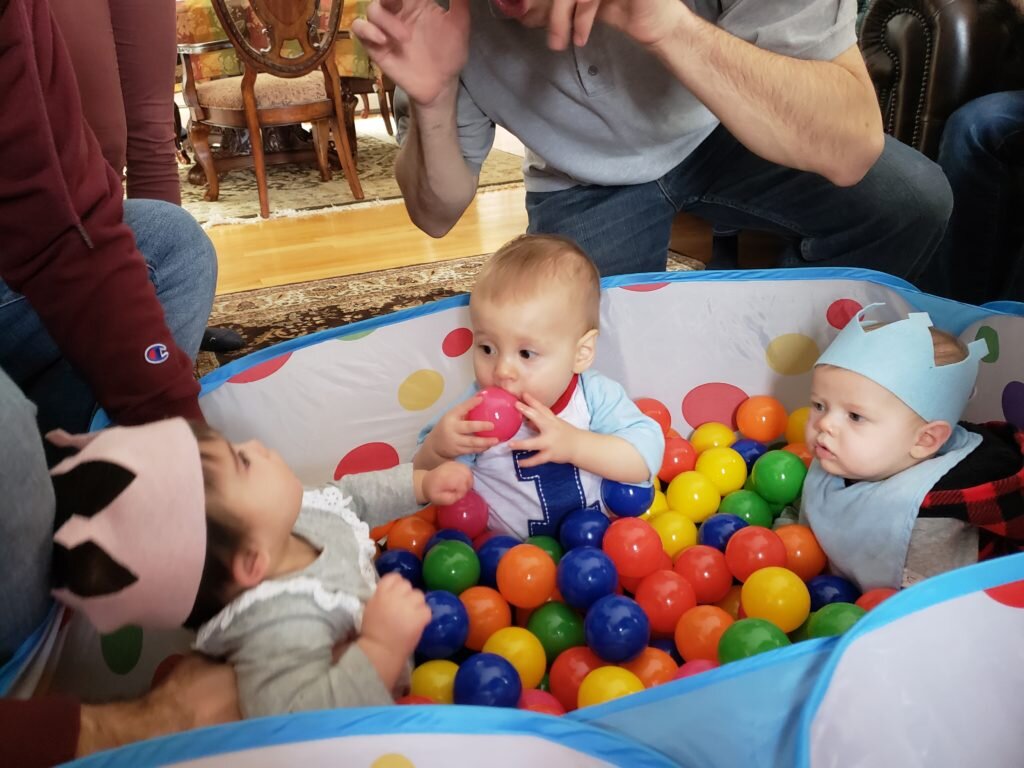
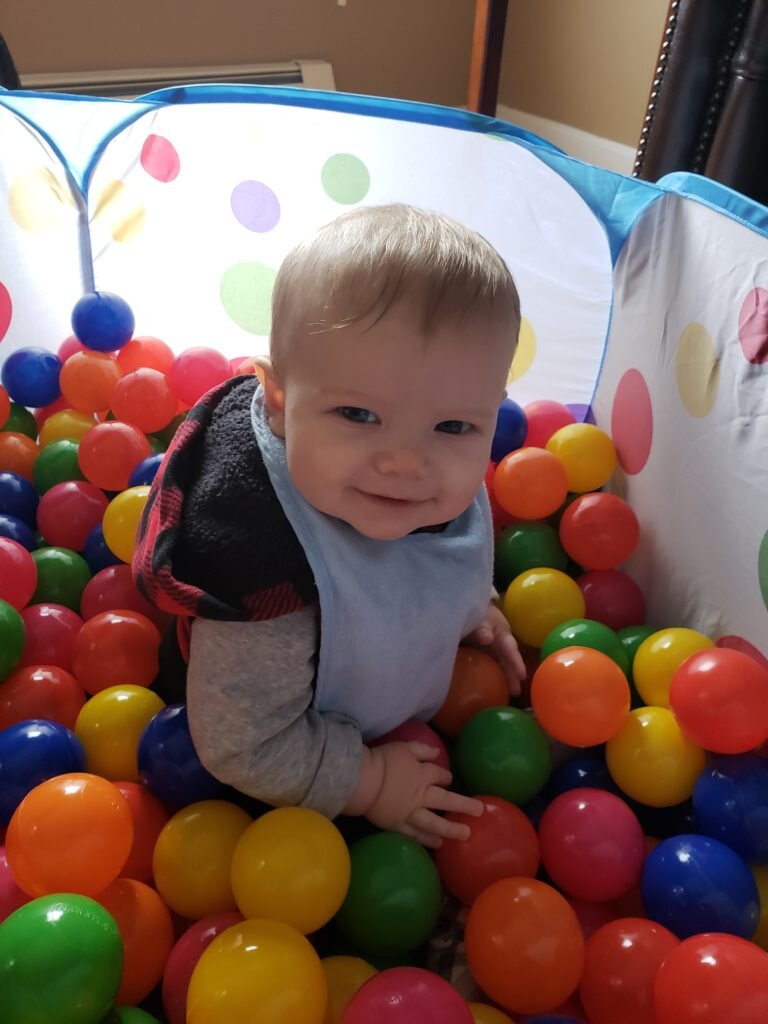
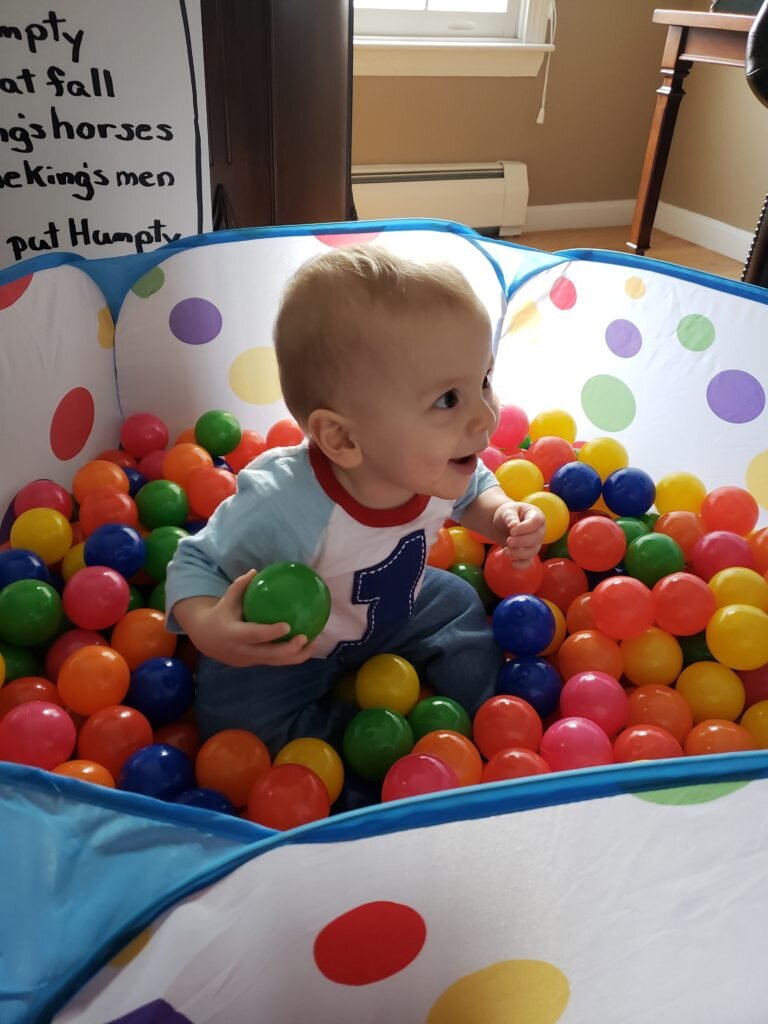
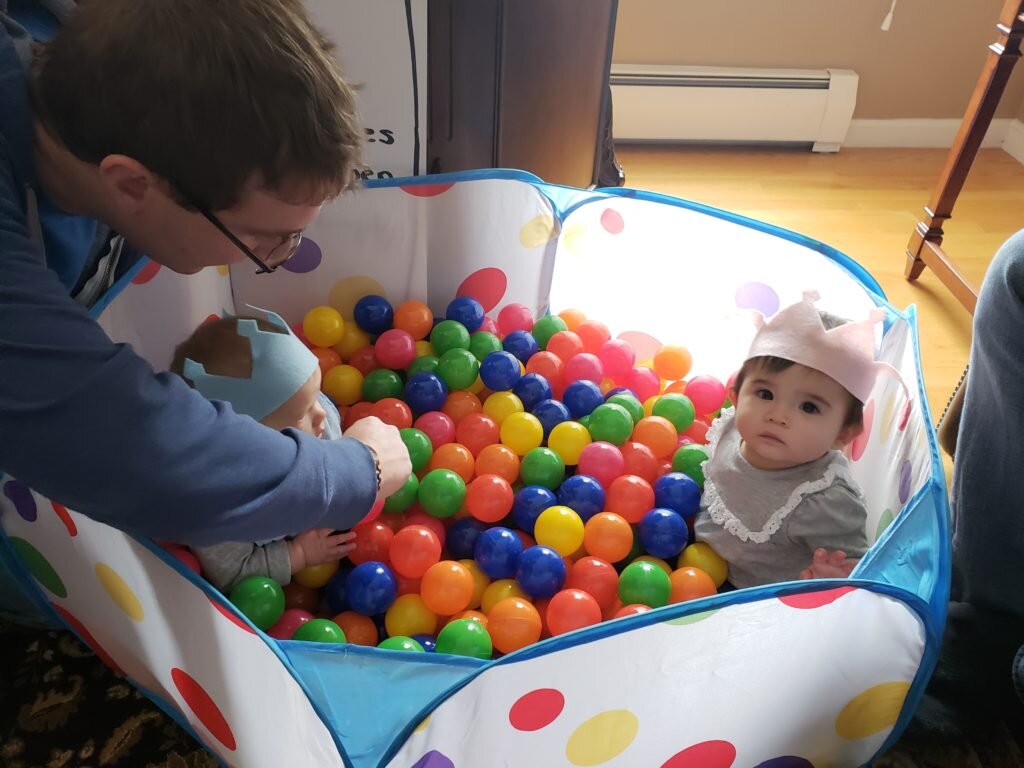
Humpty Dumpty Ball Pit
Through the door on the left (the lounge) I setup a tiny 5′ diameter ballpit with 400 balls. It was Will’s great idea to make this room “Humpty Dumpty” themed, so instead of falling off a wall, my brother drew an incredible freehand drawing of Humpty Dumpty diving into a ball pit! In my opinion, this was the hit of the party! Julius loved (and still loves) his ball pit and every baby there was able to play with it in some capacity. For the adults we had adult beverages and soda available on top of the bar.
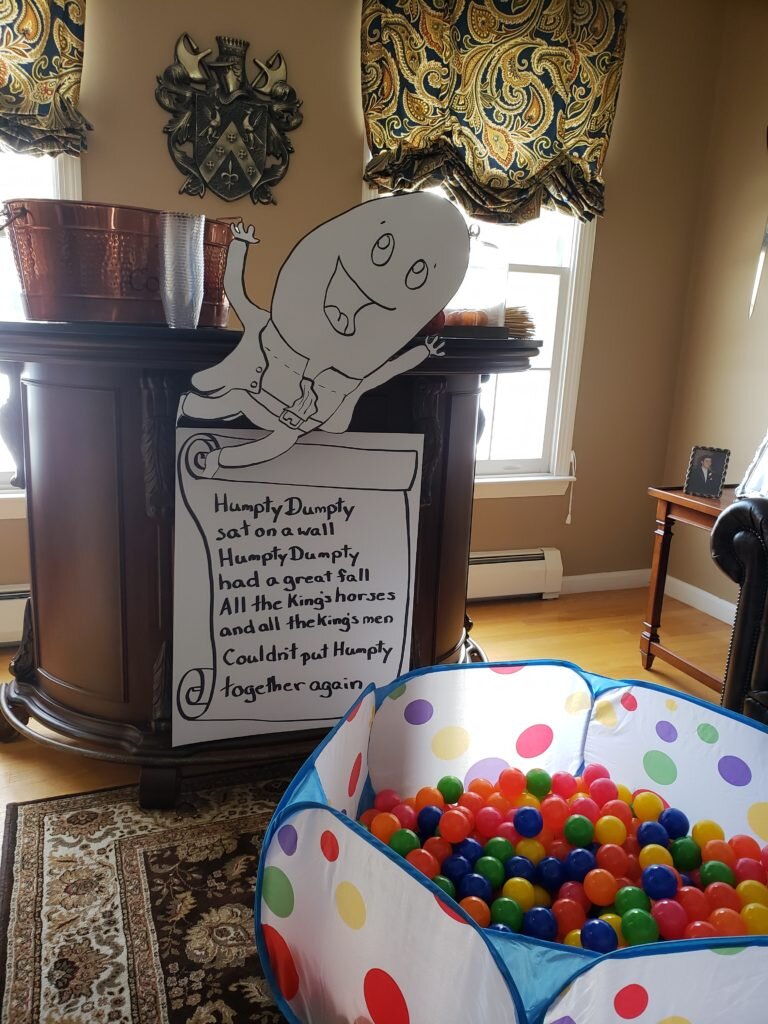
Humpty Dumpty Ball pit
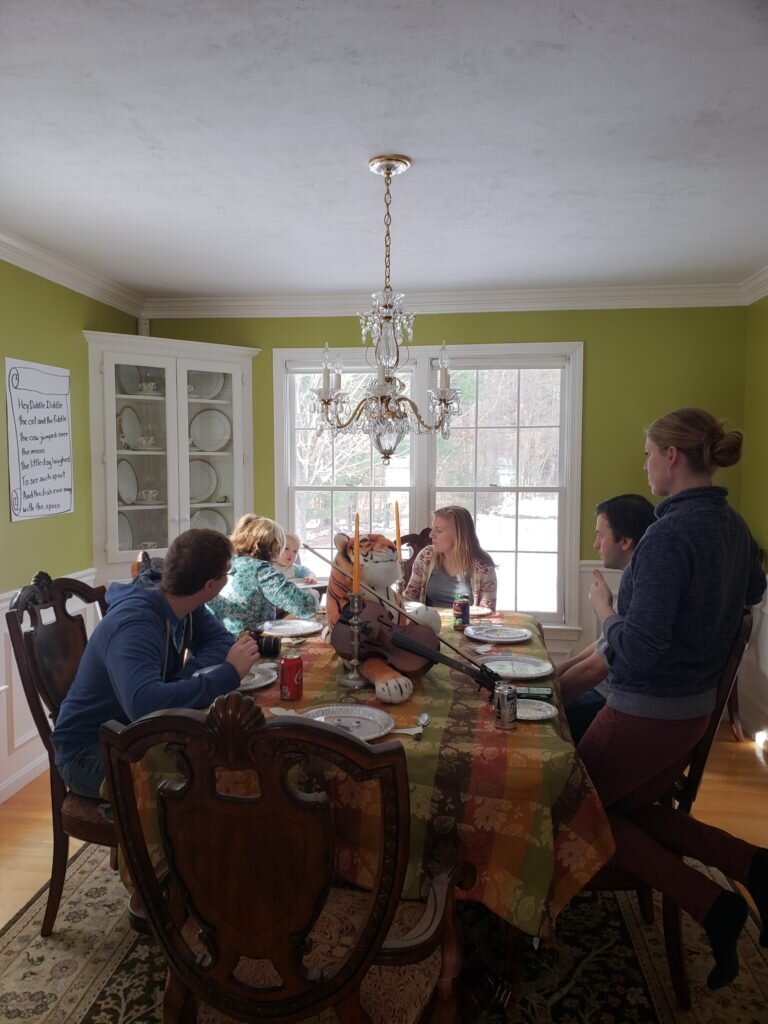
Hey Diddle Diddle Dining
In the adjoining room I had the dining room set up for seating for lunch with a “Hey Diddle, Diddle” theme. We didn’t have a house cat stuffed animal large enough, so we improvised with a tiger and a fiddle table decoration, and plates themed as the “dish ran away with the spoon” (instructions in a future post).
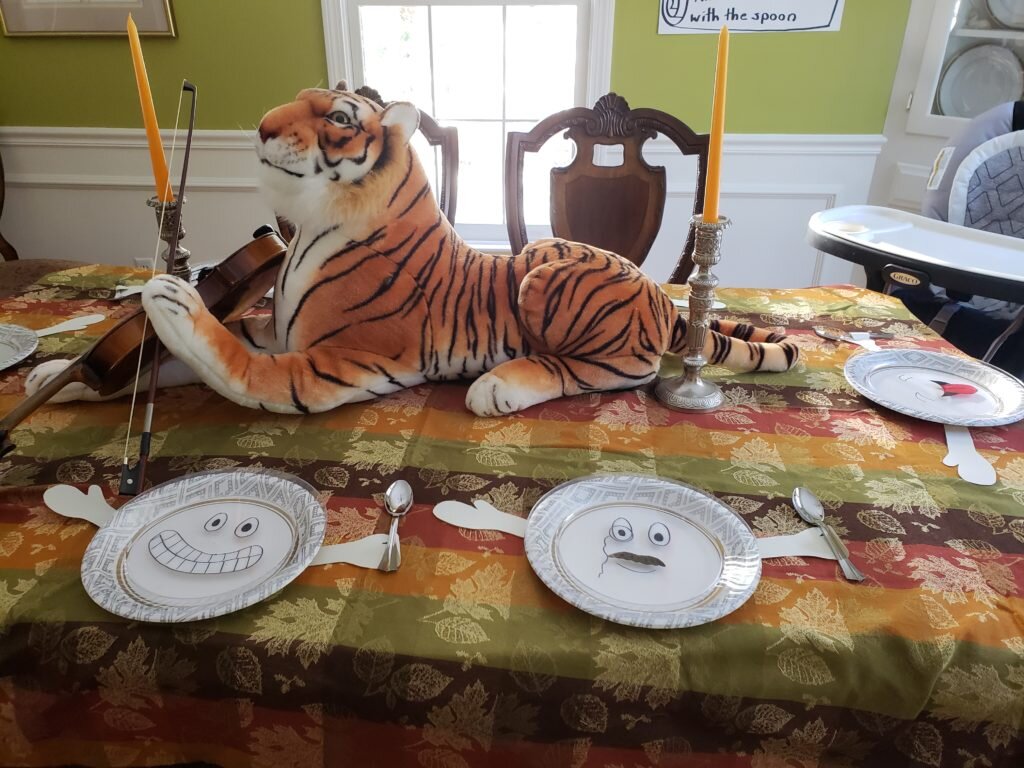
Cat and the fiddle and dishes running away with the spoons

Hey Diddle Diddle Dining room
Little Miss Muffet Photo Corner
In the kitchen we set up a buffet of kid friendly foods and cupcakes for folks to grab as they wanted. Right next to the food area, where someone might be seen eating curds and whey perhaps, we had a Little Miss Muffet scene set up for the parents to take pictures of their children. You may remember the spider from a Halloween post – apparently I’ve become quite attached to him.
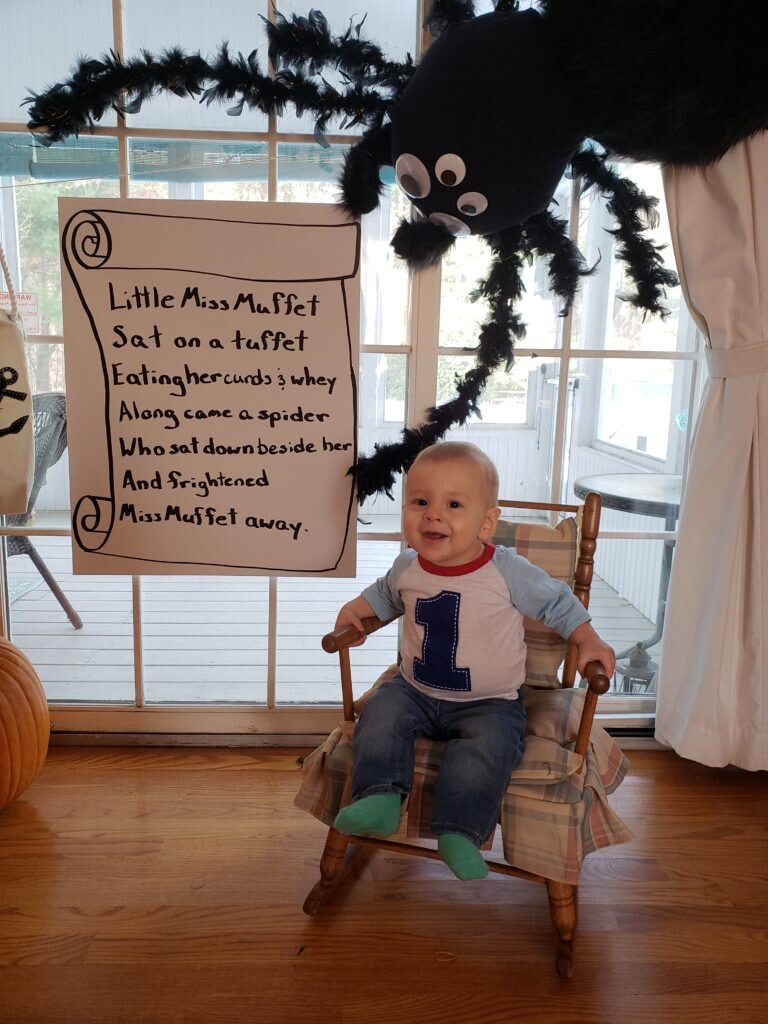
Little Master Muffet
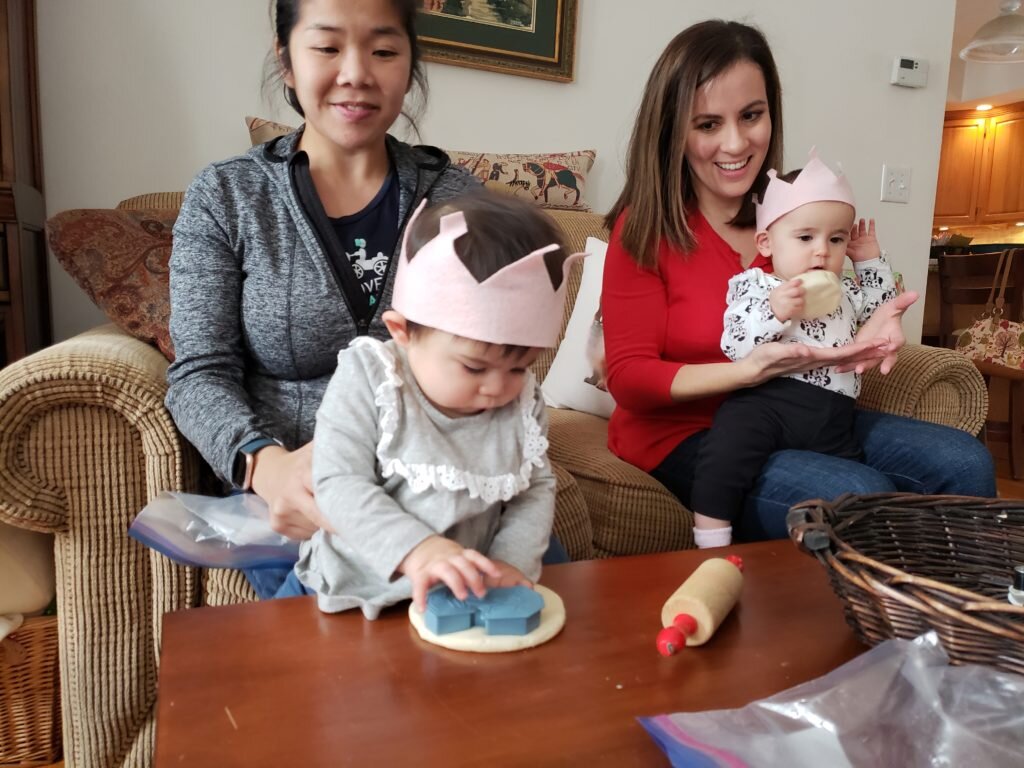
Pat-a-Cake Salt Dough
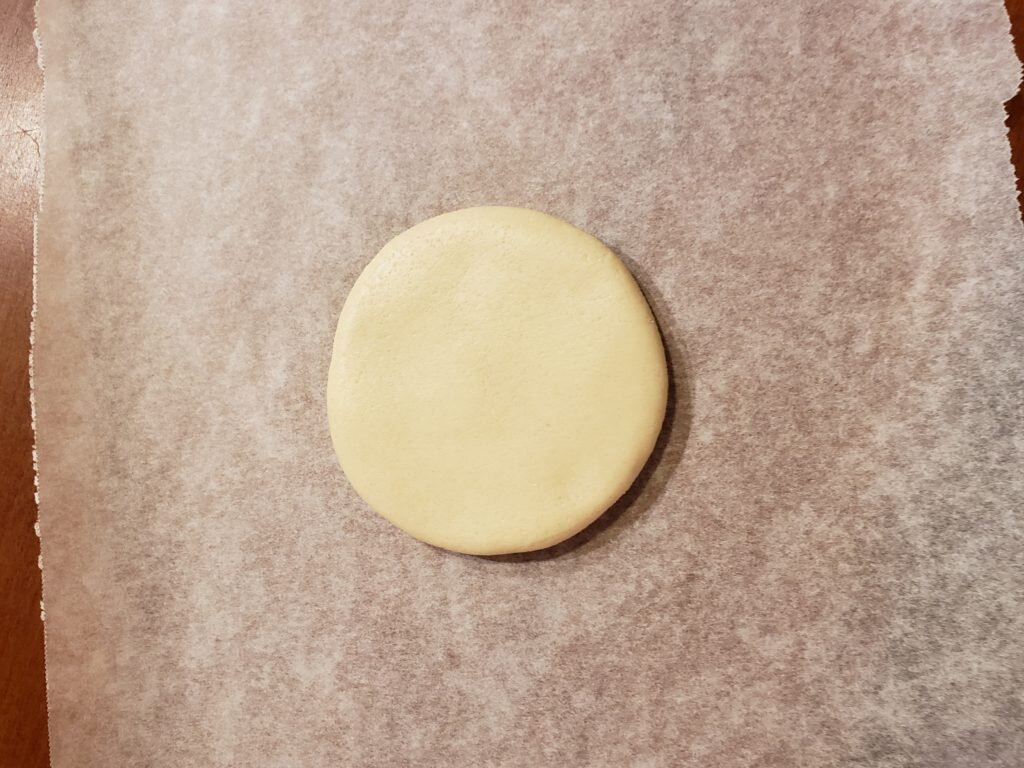
In the living room we had a pat-a-cake salt dough station setup around the coffee table with cookie, cutters, biscuit cutters, a tiny rolling pin and 4 zip lock bags of home made salt dough. Depending on the child’s age the parents let them play with the dough inside or outside of the bag. Then with adult help everyone made a handprint ornament by rolling a circle of dough to 3/8″ thick and gently pressing their child’s hand in the dough, starting the with heel of their hand and gently unrolling their child’s fingers. The good news is you can do this multiple times until it works! More detailed instructions are below.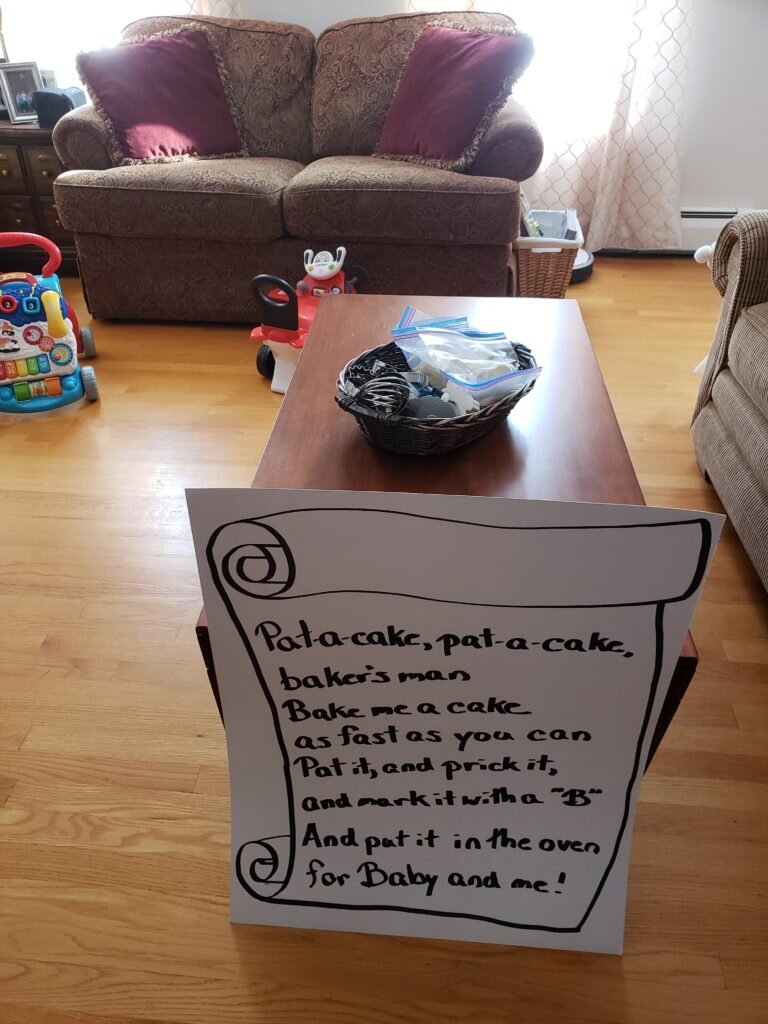
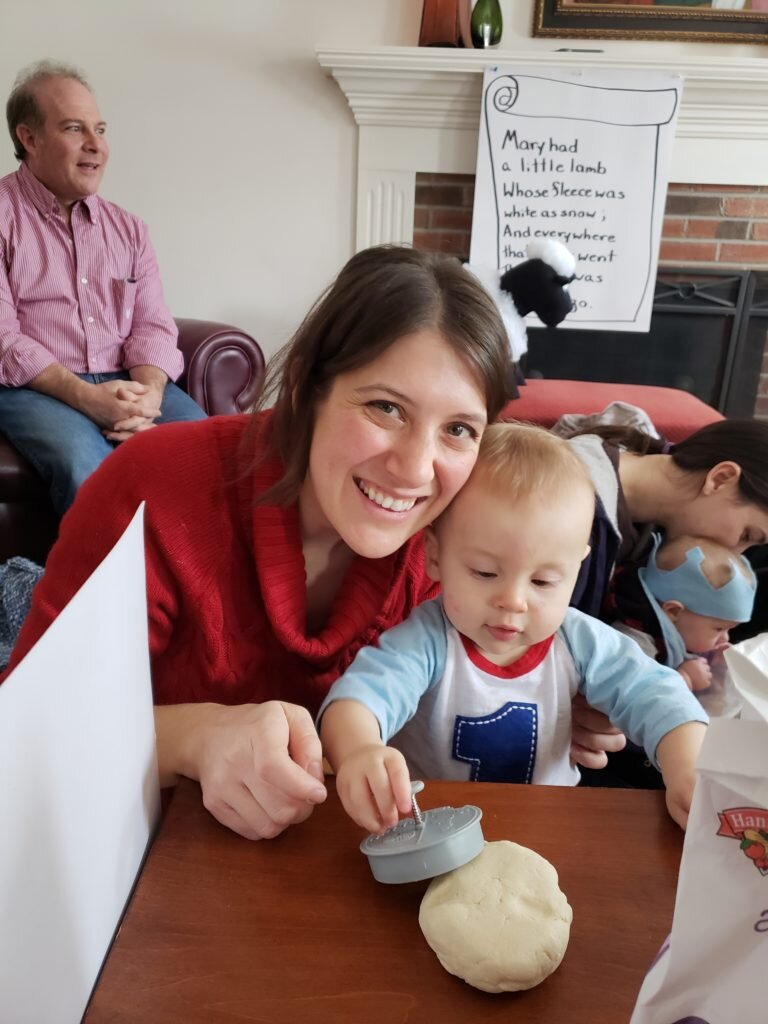
Mary Had a Little Lamb Photo Spot
In a stroke of insanity I decided to make a stuffed sheep for a Mary had a Little Lamb photo spot. I have instructions for this that I will post in the future, but honestly I think it is easier if you just buy a sheep. The only cool thing about my sheep is you can always add or remove fluff to/from this sheep easily. Unfortunately, this sheep is not a toy and should only be used with adult supervision. It does make for a cute photo though.
Food
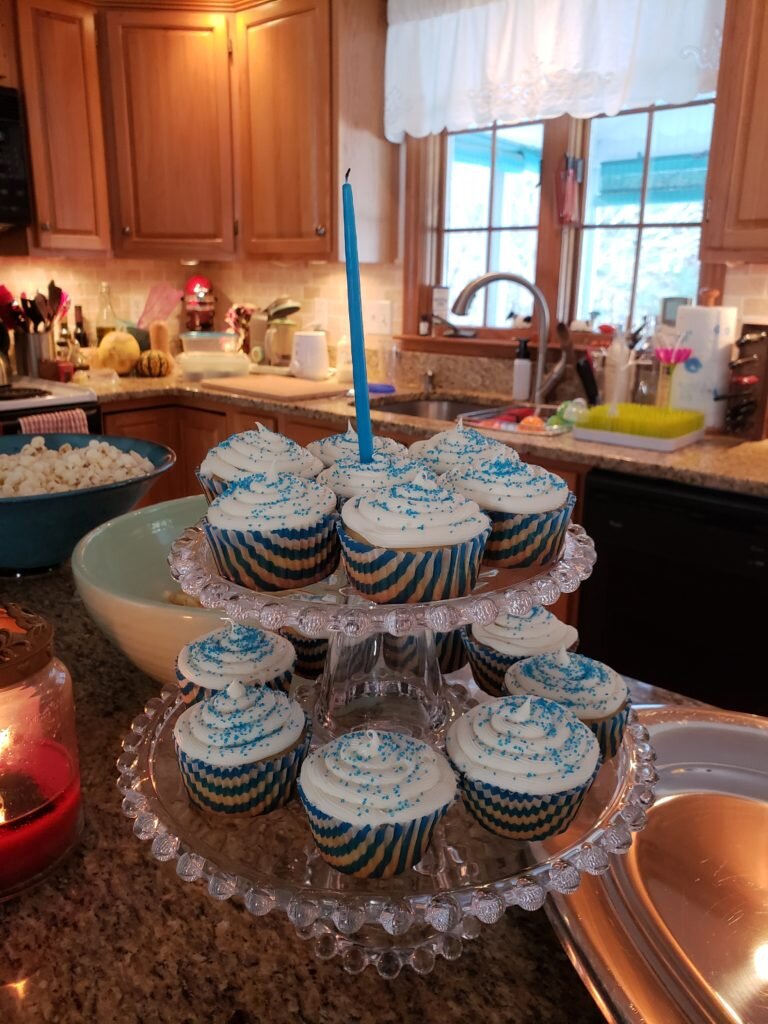
I kept the menu very simple and for once made almost nothing myself (with the exception of the cupcakes)
- Calzones – The place I ordered these from has Calzone rolls that can be cut into nice slices
- Party Pizza – This is a Rhode Island delicacy from my childhood – it is sometimes called red pizza or tomato pie it is essentially pizza with no cheese on top. It sounds disgusting but is actually really delicious.
- Chips and Popcorn
- Vanilla Cupcakes – I used this recipe which made a very dense, eggy cupcake, which actually got rave reviews. For icing I ended up using classic Pillsbury white frosting in the can (don’t tell Martha), which I quickly whipped and spooned into an icing bag before frosting.
Salt Dough Ornaments
What you’ll need:
- 1 cup salt
- 2 cups of flour
- ¾ cup of water
- 1 drinking straw
- 4 quart zip lock bags
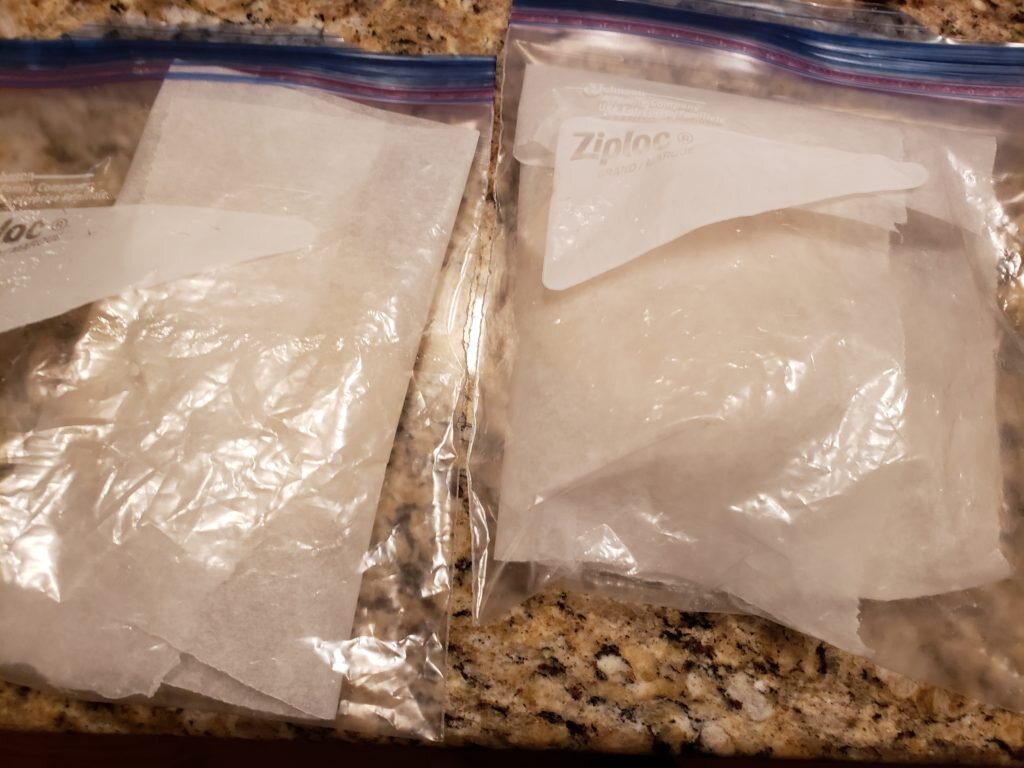
- 4 6″x6″squares parchment paper
- 4 6″x6″ pieces of cardboard
This recipe makes ornaments for 4 babies. We used the recipe here
- Mix salt and flour and slowly add water into you form a fairly dry dough. Work the dough with your hands incorporating all the flour. Place the dough in the fridge in a zip lock bag until ready to use.
- Take a 2″ diameter ball of dough and flatten until it is slightly wider than your baby’s hand span and about 3/8″ thick. (You may need slightly more or less dough depending on the child’s size.)
- Gently but firmly press your child’s hand into the dough, heel of the hand first, rolling the hand into the dough up to the fingertips.
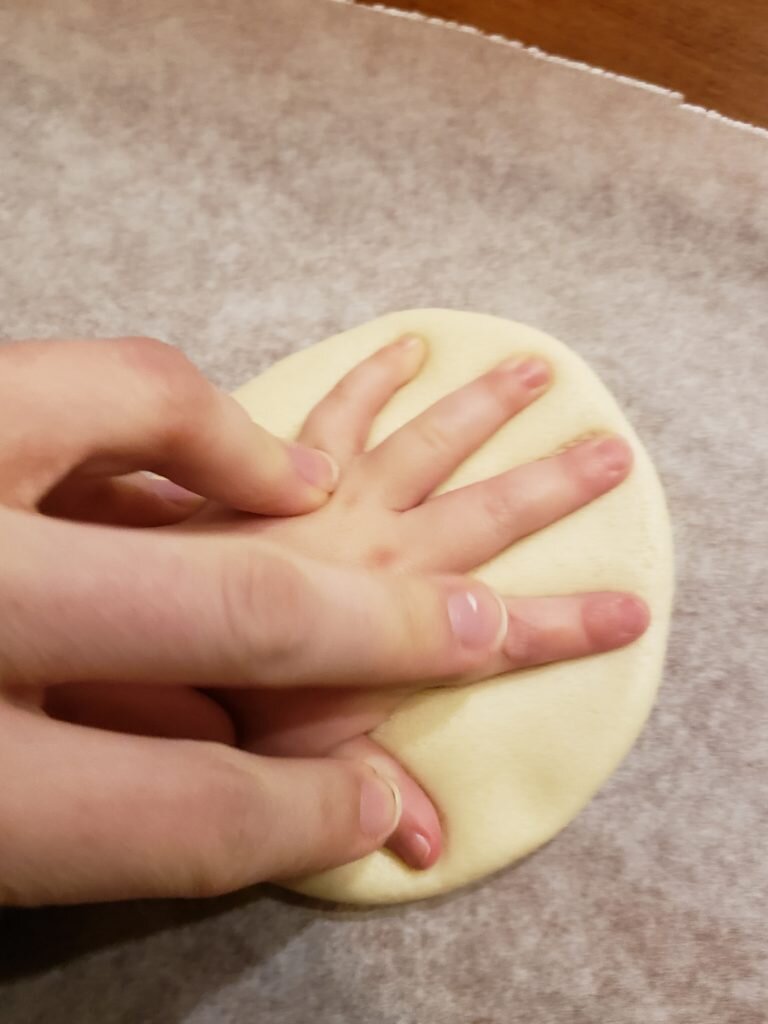
- Gently remove the child’s hand from the dough.
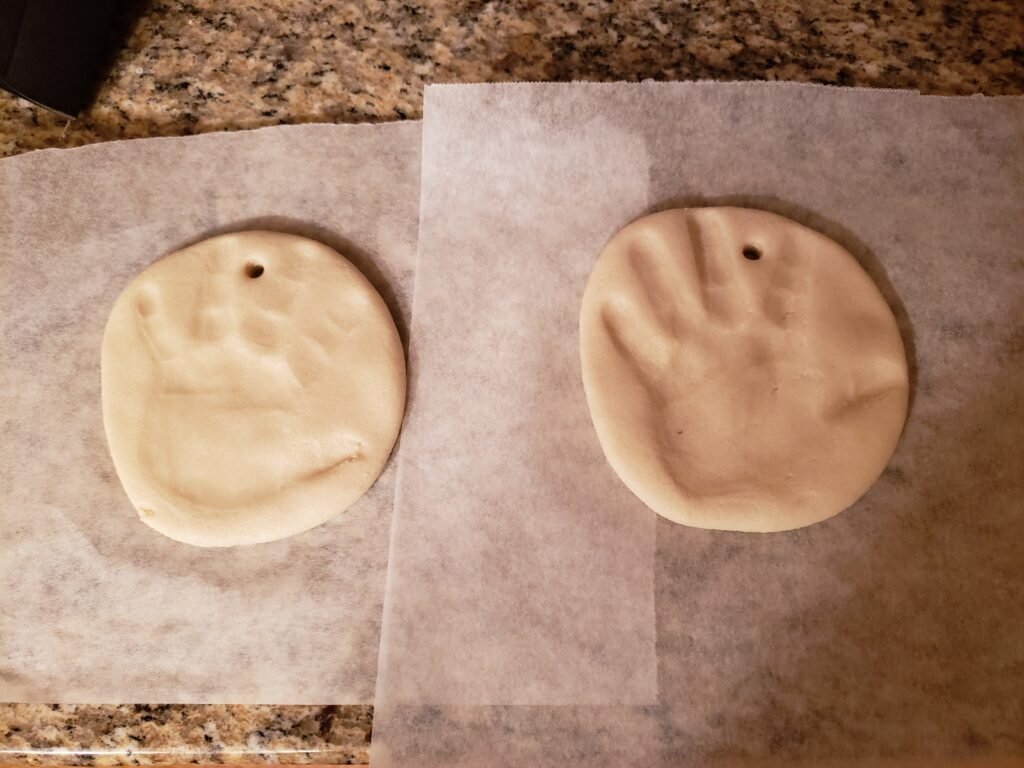
- Use the straw to poke a hole in the dough about 1/2″ from the edge of the ornament.
- For guests to transport their ornaments – place the ornament on parchment paper and place parchment paper on top of cardboard. Insert everything into the ziplock bag, remove air and seal. Leave the ornament in the bag until you will bake your dough, or alternatively leave the dough out to air dry.
- Bake dough at 325 degrees F until dry – about 20 minutes. Paint ornament if desired.
