
So tomorrow is Valentine’s Day. The strange amorous day that depending who you ask originally had nothing to do with romantic love or plenty to do with it. In honor of the holiday (that I maintain has nothing to do with love and everything to do with chocolate) I’m serving truffles to 700 people at work tomorrow. This means I currently have 90 pounds of chocolate in my car. I have never had to exercise so much restraint in my entire life. I desperately want to throw open the trunk of my car, rip open one of the boxes and gobble down fistfuls of truffles. (That sounds like the beginning of a romance novel…) This is the reason the chocolate is safely in the trunk of my car, where I can pretend I have forgotten about it.
I need something to distract myself with. Pillows. Pillows are nothing like chocolate. You never have a trunk full of pillows and yearn devour them. Frankly I’ve never had the opportunity to purchase an entire trunk full of chocolate so I honestly didn’t know it would be so hard to restrain myself. Anyway I digress. Back to pillows. So I had some material left from the curtains I made for my mom and decided to make a large matching pillow for my mom’s bed. I finished the pillow the night before her birthday. For this pillow I purchased cording to edge the pillow, but it is very simple to make trim yourself (and much more cost effective). I really liked the look of this cording though, so I splurged and bought it. Mom is worth it! Some day soon I will post another tutorial for a pillow with homemade trim.
The pillow should take 1-2 hours to make.

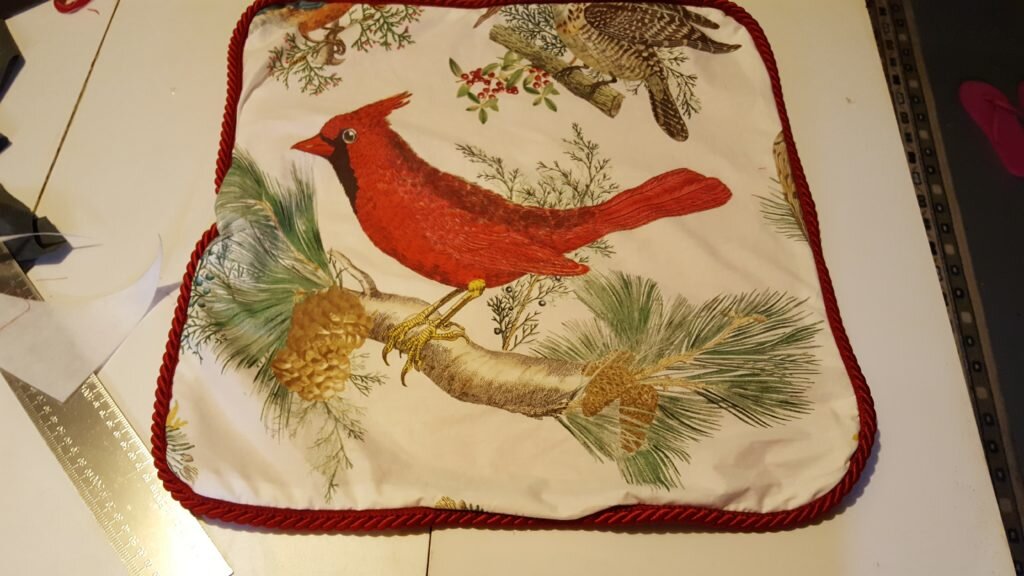
Finished pillow with trim!
Simple Pillow with Purchased Trim
What you’ll need:
- Pillow form (mine is 20″x20″)
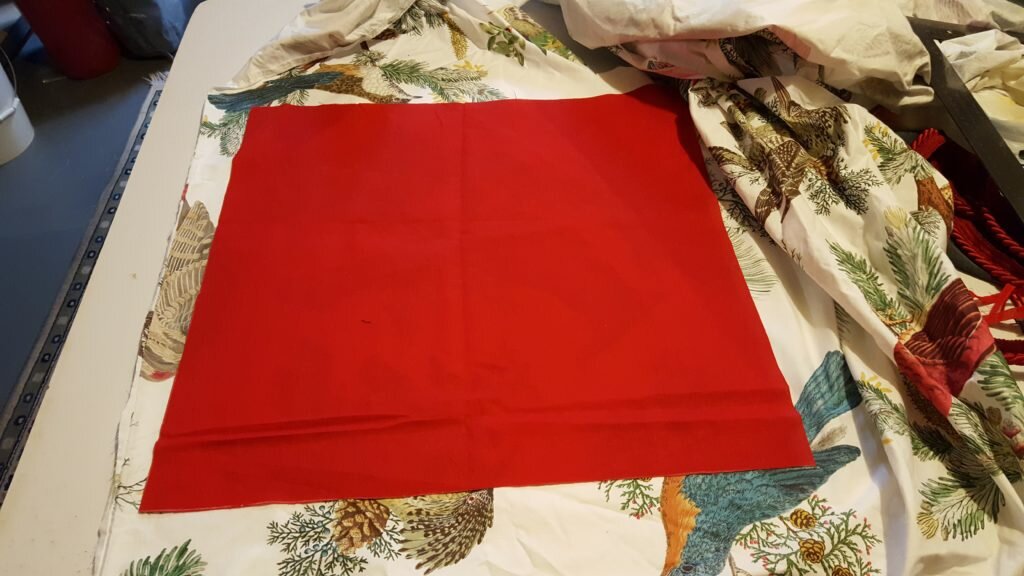
- Fabric 1″ wider than your pillow form (for mine it was 2 squares 21″x21″ each)
- Cording with lip* – 4″ longer than 2*(length + width) (Mine was 84″)
*If you have a bit more time you can create your own edging for the pillow using bias tape and cording, but to save time it is much easier to purchase cording.
- Take your two pieces of fabric wider than your pillow form and lay on top of each other, right sides together.
Lay back of pillow on to front of pillow, right sides together (note, both squares should be the same size, this picture does not show that).
- Starting at a corner, take your cording and sandwich your cording inside the two pieces of fabric, lip of the cording lining up with the edge of your fabric. Pin in place along the first side. You’ll want the end of the trim to start 2 inches beyond the corner of the pillow.
- When you come to the corner, curve your trim slightly. Pin in place.
- Continue pinning up the other edges and corners until you get back to the start.
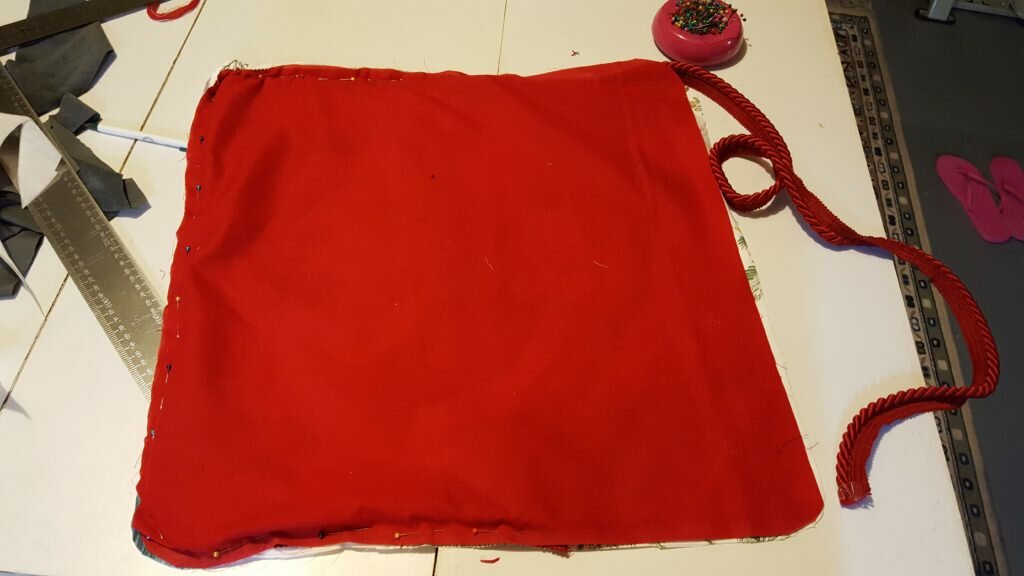
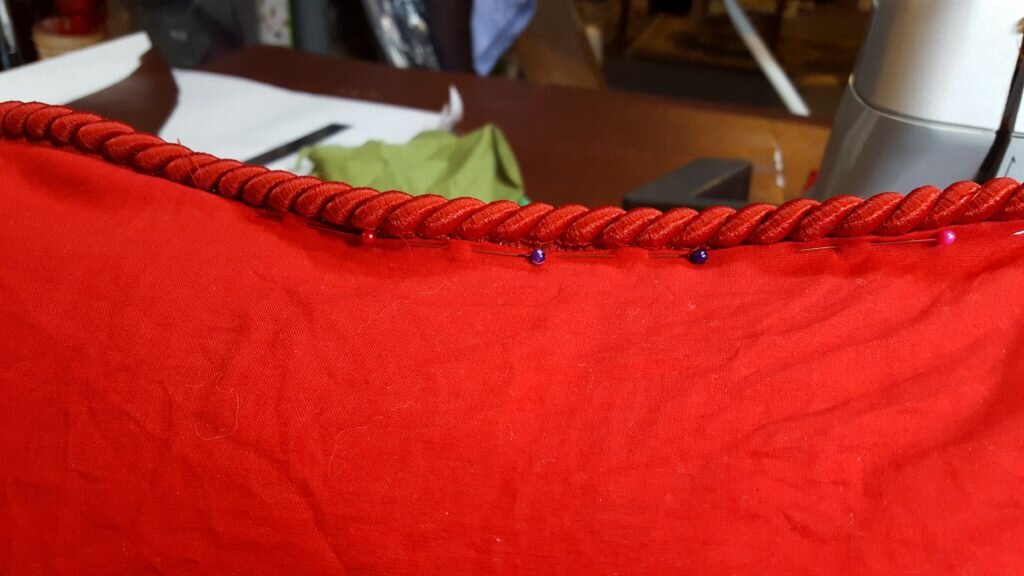
Pin trim inside the pillow, matching the edge up with the lip of the cording. Note the curve at the corners.
- At the corner, pin 2 edges of cording so the cording ends touch. Eventually the unfinished edge will be inside the pillow.
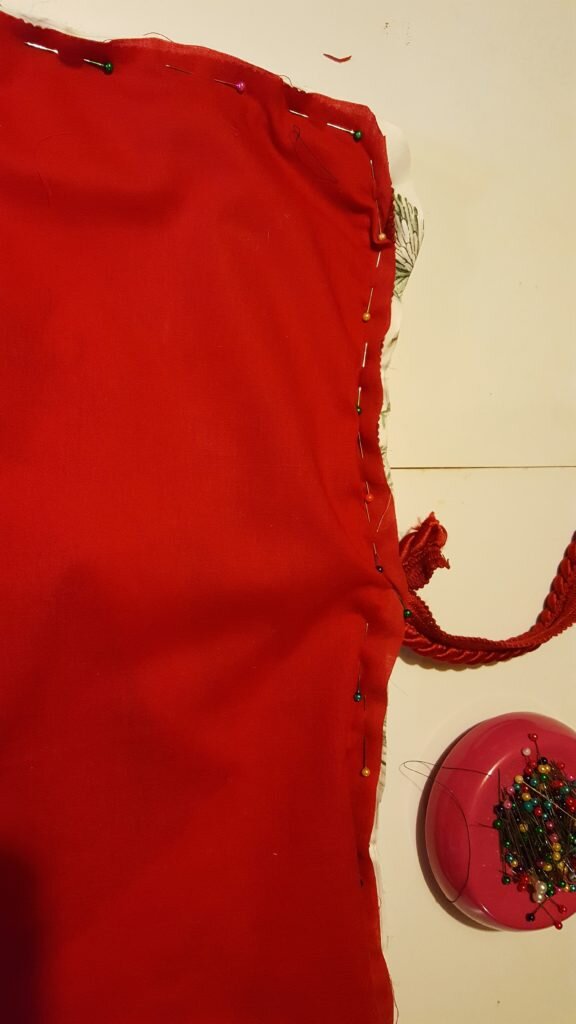
Where cording meets other end of cording, press cording against cording and pin, leaving the unfinished edge outside the pillow. You’ll notice I did this in the center of one side of the pillow – my trim was too thick to do this at the corner, though I wish I had tried, it is a bit less noticeable on the corner.
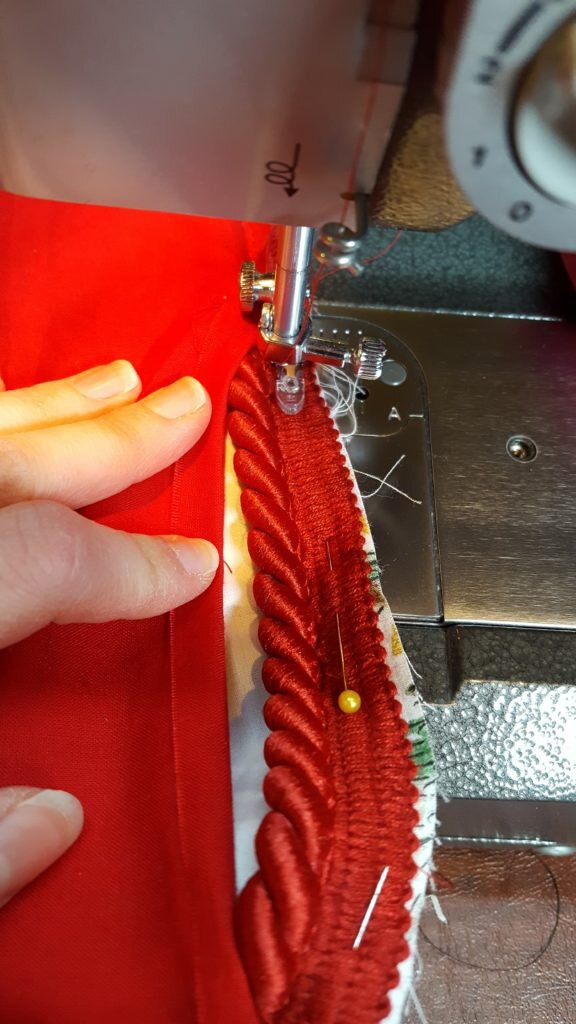
- Using a zipper foot adjust needle and foot so needle is closest to the cording.
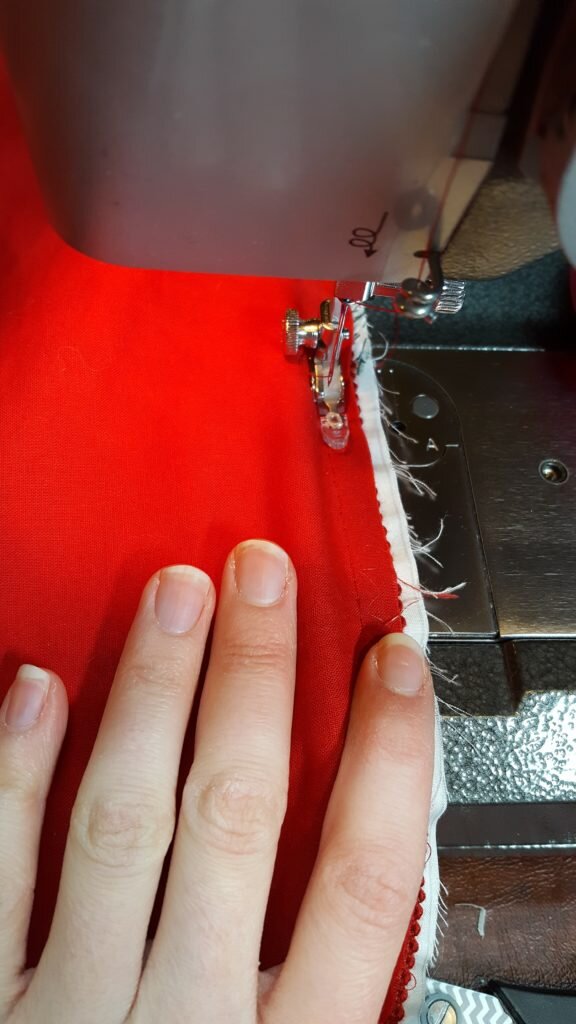
With a zipper foot, stitch as close as possible to the braid of the cording through all 3 layers.
- Machine baste around the edges of the pillow with the needle as close to the cording as you can get. When you get to the corner with the trim edges, back tack here to secure.
- Machine stitch around the edge of the pillow as close to the cording as you can get. Leave a large gap on one side of the pillow so you can easily insert the pillow form into this gap. Back tack at edges of the gap to secure.
- Seam rip the basting stitches on the gap.
- Open the gap and secure the cording to front side of the pillow along the gap as in 8, but be sure to leave the back side of the pillow unsecured.
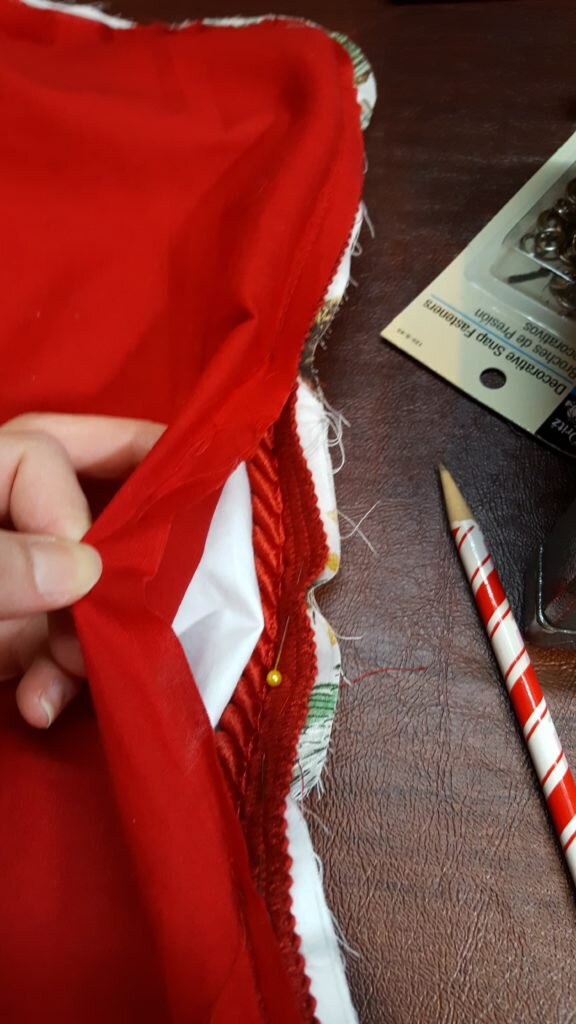
At gap that you left in pillow, pin trim to front of pillow.
Stitch trim to front of pillow in the gap you created. Be careful not to catch the back fabric.
- Turn pillow case right side out.
Open out your pillow.
- Insert pillow form into case.
- Fold under the back material along the gap, which was not sewn to the cording in step 10.
- At the gap, pin along the cording from the front of the pillow, catching the folded-under back material.
Fold back fabric under and pin to the trim, close the braid. Sew close to the braid, avoiding the front face of the pillow as best you can.
- Stitch close to the cording, catching the back material to close the gap. Avoid stitching the pillow front.
Enjoy your pillow!
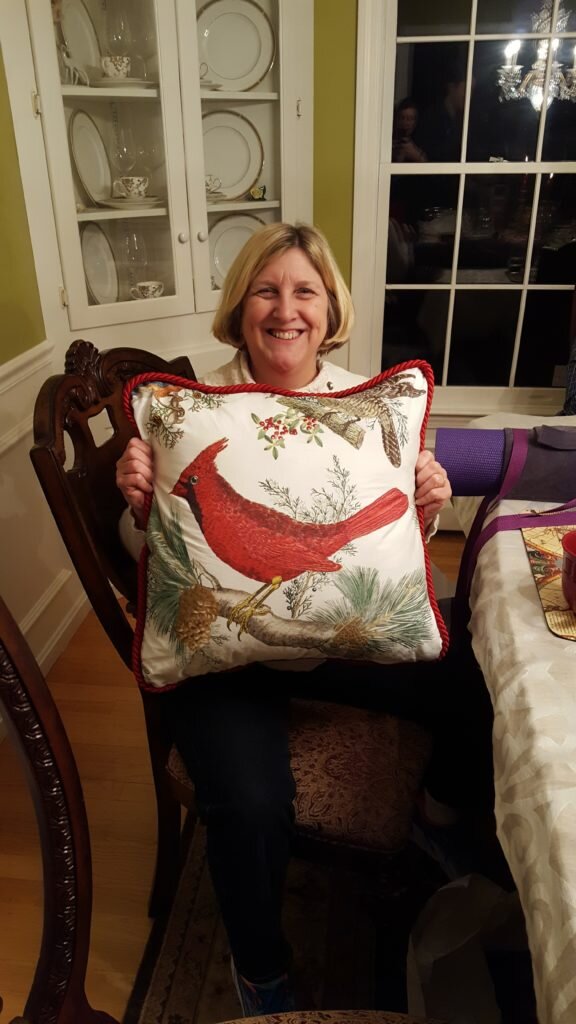
Mom with her birthday present! You can see her yoga mat carrier as well – this is version #3 – with a big pocket! Post soon to come.

Happy Valentine’s Day!
Good thing I am out of town or I almost certainly would have been the devil on your shoulder convincing you to get some chocolate out of the trunk.
Multiple people at work today were borderline horrified that I hadn’t snuck a few chocolates.