
I survived my first week back to work! It was about what you’d expect after being home for 6 months snuggling with a little cuddle bear. That is to say that on the one hand there was no screaming (at least not last week) but on the other hand you can’t nap at your desk. It’s funny, the first time I walked up the three flights of stairs to my office I was shocked that I wasn’t out of breath! Until now that I have my daily work routine back for comparison, I didn’t realize just how taxing carrying a baby was. How crazy.
While I was working, Julius went for his first “week” of daycare. Week is in big air quotes because Thursday he was picked up early because he’d contracted pink eye and Friday he stayed home and was diagnosed with croup. Two diseases in one week! Apparently this is not a record of any sort. Our pediatrician actually laughed out loud when Will told her that it was Julius’ first week of daycare. She said that he’d be back in her office every week for a year, then he’d have perfect attendance come kindergarten. Hopefully it’s not actually that bad!

Happy half-birthday baby boy!
Today is Julius’ half birthday! Let’s hope he gets the gift of a full night of restful slumber! He needs it after all that coughing… But don’t worry, even if your little snuggler is sleeping poorly, I’ve got a quick project that will take less than an hour for times when you’re dying to get those creative juices flowing. Make yourself a quick potholder! You can use it to retrieve freezer aisle delicacies right from the oven, or nuclear temperature meals hot from the microwave. (Or is that just us?!) You can even make one to match the oven mitt pattern I posted!
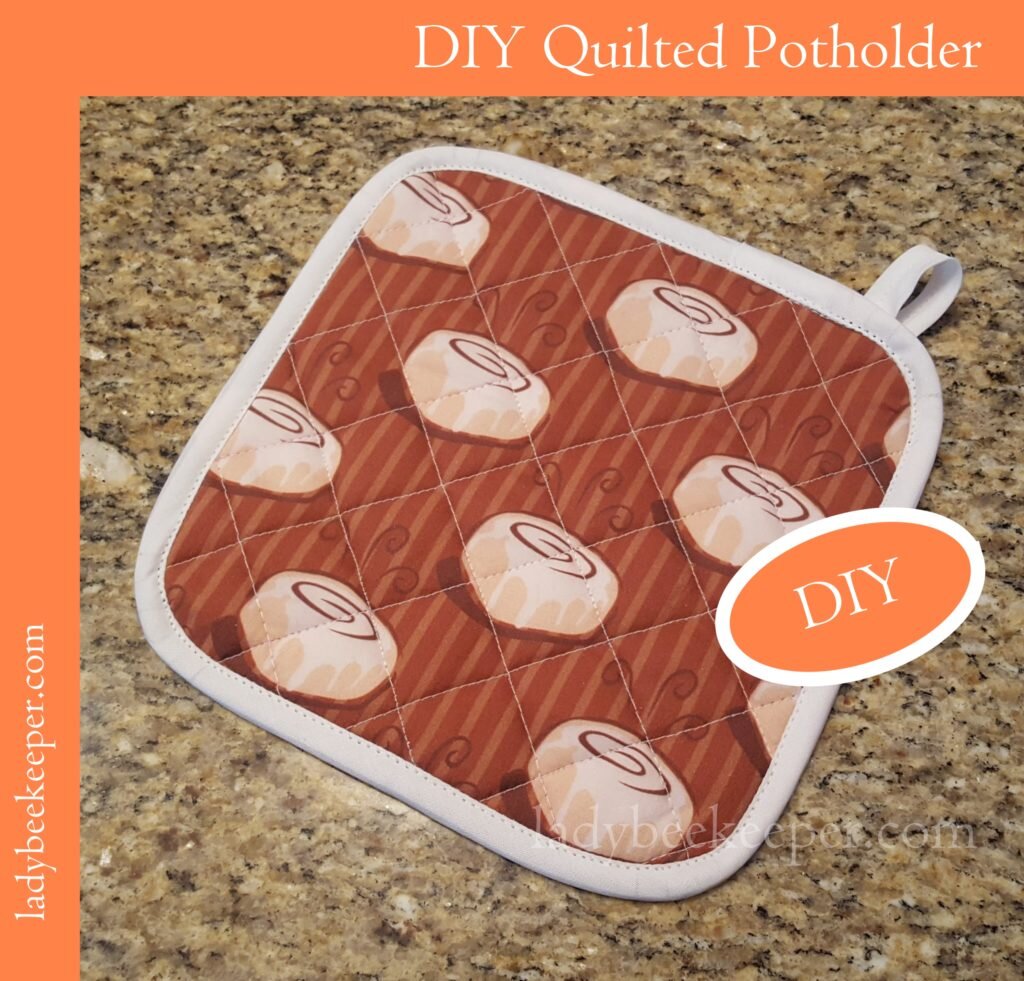 Quilted Potholder
What You’ll Need:
- 1 yard of wide bias tape (double fold bias tape)
- 1/4 yd cotton material for front
- 1/4 yd cotton material for back
- 1/4 yd insulbright thermal material
- 1/4 yd warm and natural cotton batting
- Cut an 8×8 square of each front material, back material, thermal material and batting.
- Stack squares together in this order: back material (right side down), thermal material, batting, front material (right side up). Pin.
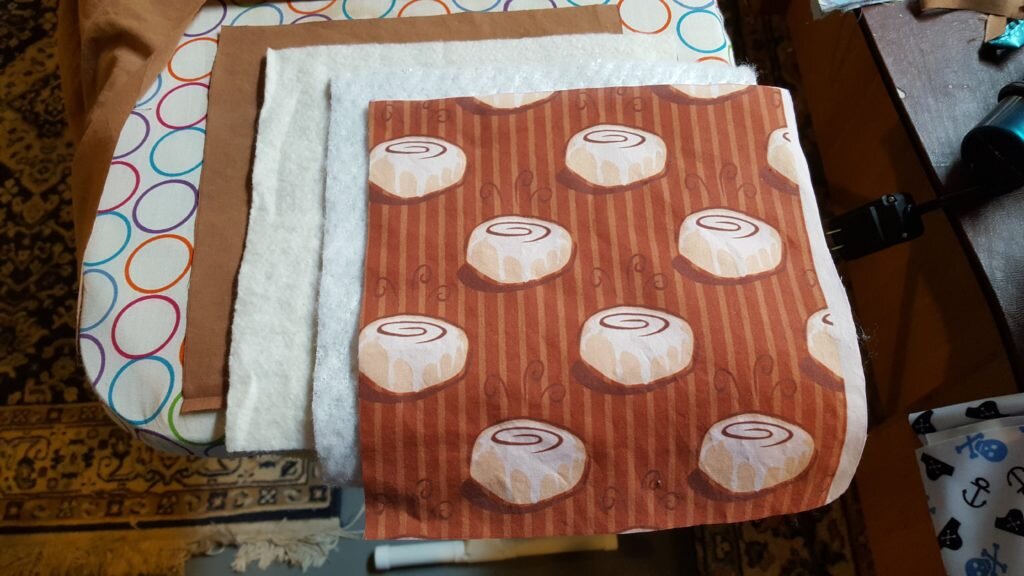
Cut 8″x8″ squares of fabric and batting. Stack back fabric (right side down), batting, thermal fabric and front fabric (right side up).
- Using a ruler, draw lines 1″ apart along the bias starting at the center.
- Draw more lines perpendicular to the first set of lines.
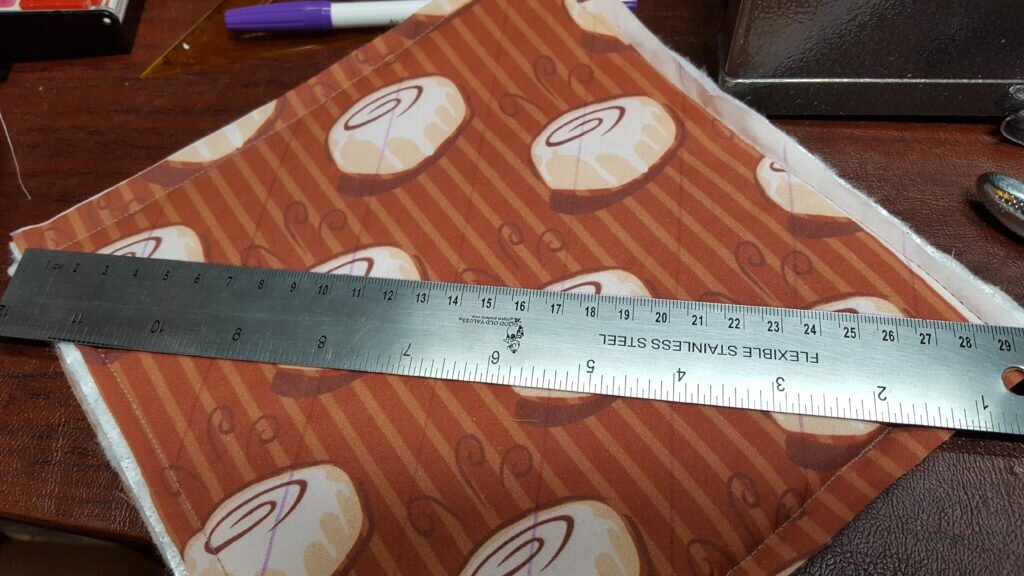
Draw lines 1″ apart along the bias
- Starting at the center line and using a long stitch, stitch along the bias lines you drew.
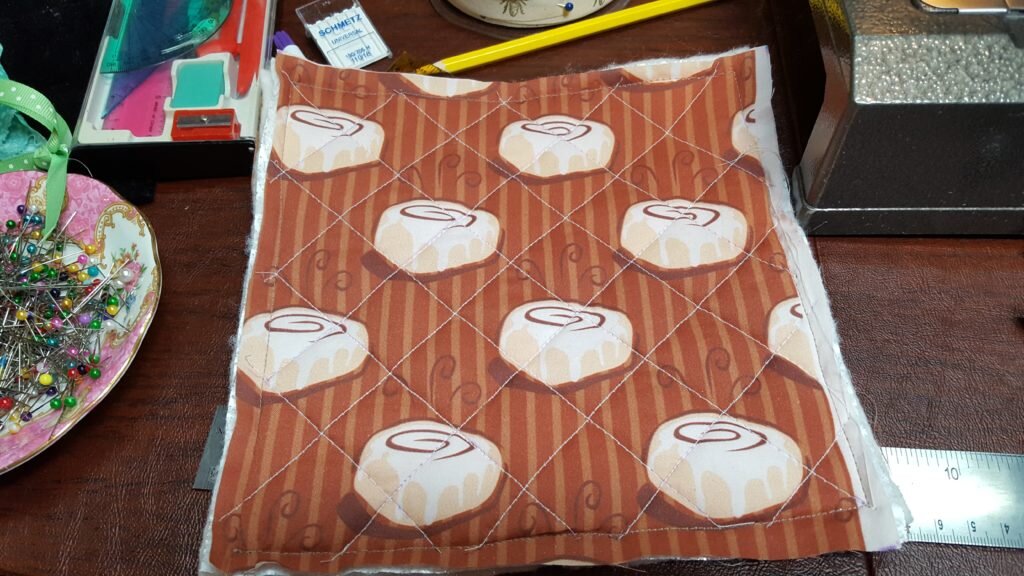
Stitch along the lines you drew.
- Open out bias tape. Pin fold of bias tape along the 1/2″ seam allowance mark of the potholder front, right sides together. At corners of the potholder, curve the bias tape. When you reach the end of the tape, turn under 1/4″ of an inch and overlap with the beginning of the tape. Stitch along fold line.
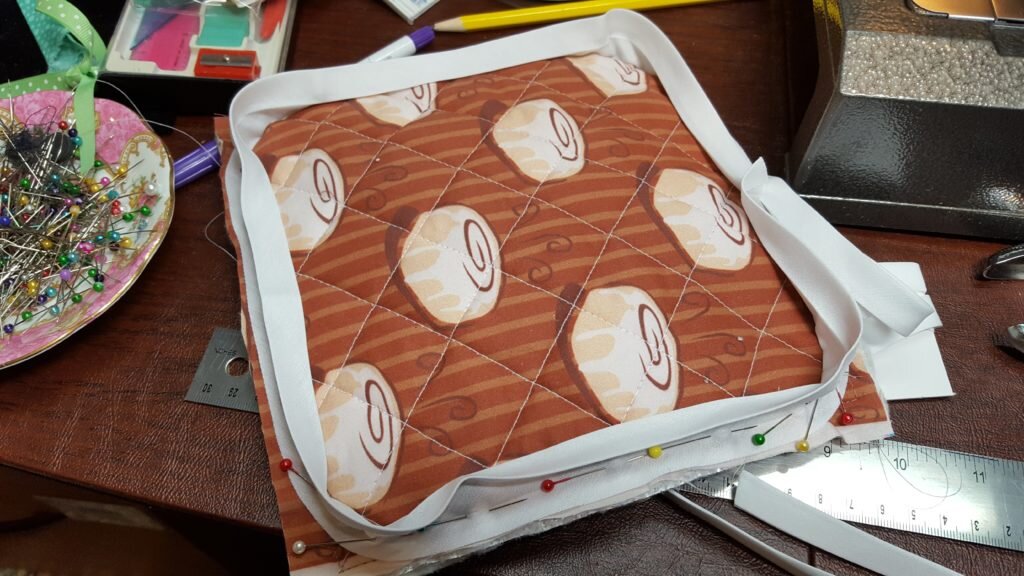
Pin bias tape around edge of potholder, curving at corners.
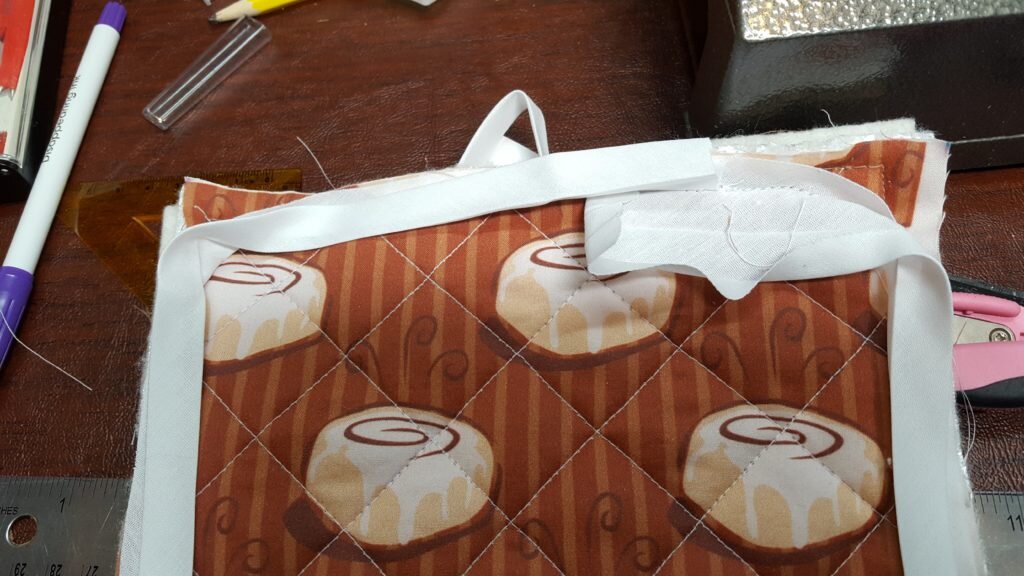
Close up of tape edges overlapping. Undermost edge is folded under.
- Trim the corners of the potholder to 1/2″ curves. Clip curves of bias tape.
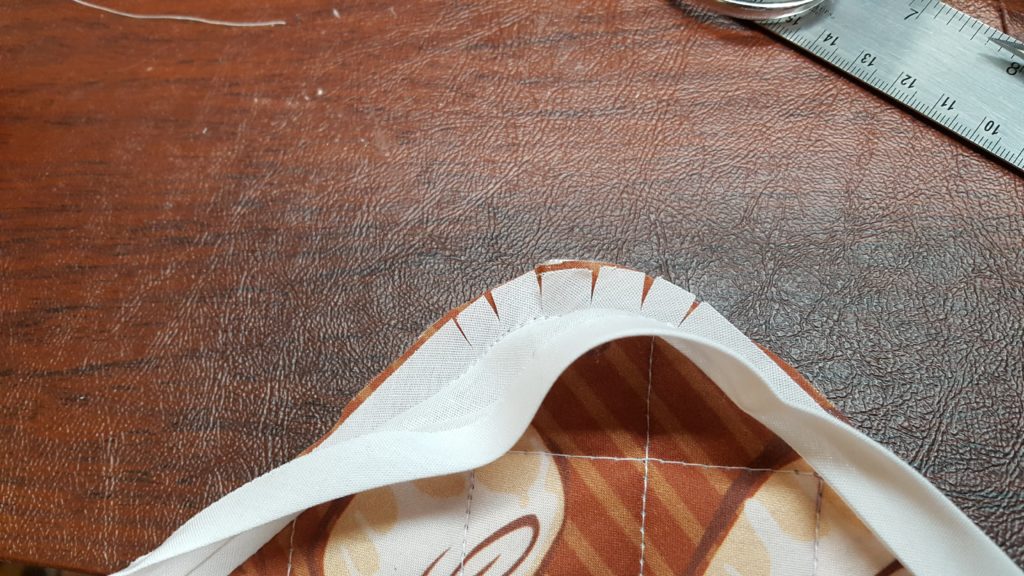
Trim the corners and clip curves of the bias tape.
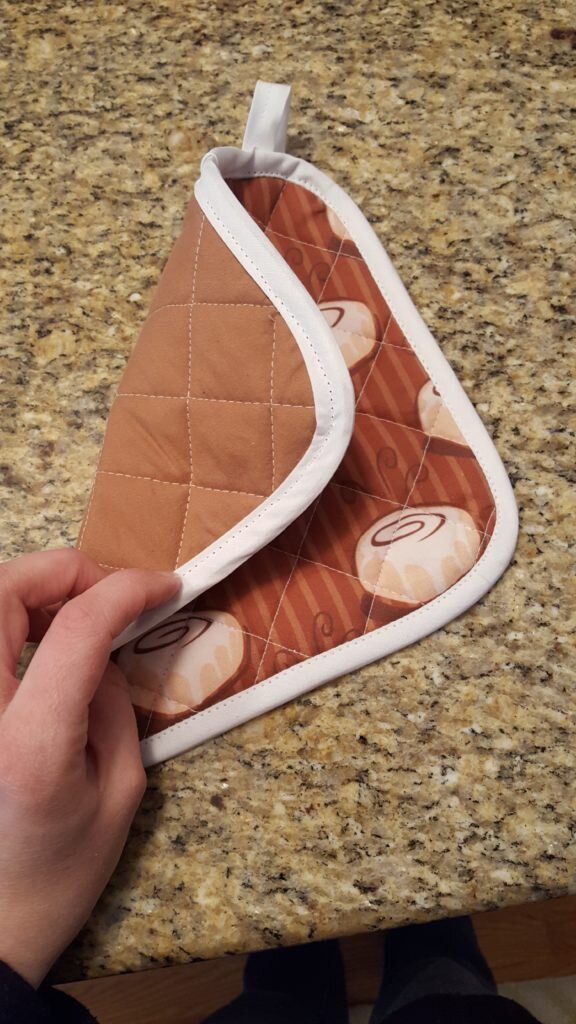
- Fold bias tape over the unfinished edge of the potholder.
- Tuck unfinished edge of bias tape back at fold. At the overlap of the tape, make sure to fold the unfinished edge of both pieces of tape. Pin bias tape through front side of potholder.
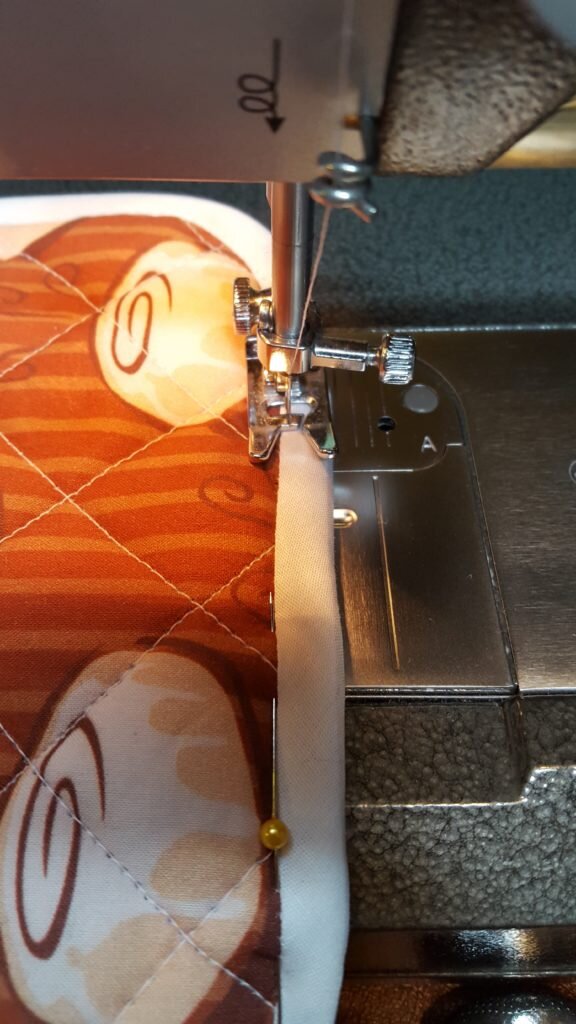
Fold bias tape over unfinished edge. Pin through the front side of fabric, making sure you’ll catch the bias tape on the reverse side. Stitch close to stitching on front.
- Cut a 4″ piece of bias tape. Leave folded and stitch 1mm from the unfinished edge to form a casing.
- Fold casing in half and insert unfinished edges under the unstitched edge of bias tape near one of the top corners of the potholder.
- Holding the unfinished edge securely under the bias tape, fold the casing up so the loop projects above the top of the potholder. Pin.
- On right side of potholder, stitch 1mm from the original stitching of the bias tape to secure the bias tape and loop on the back side of potholder.
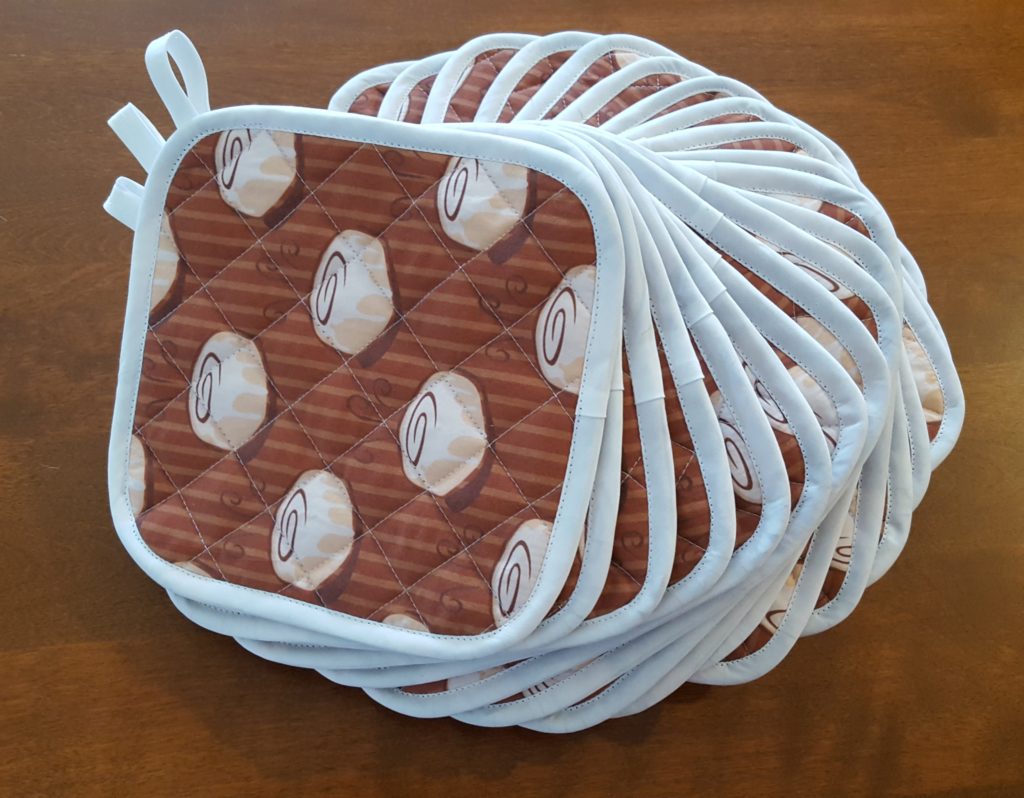
A stack of 21 potholders I made for Erin’s shower! (Post coming soon!)

I’ve seen these in quite a few kitchens over the past couple weeks!
OH GOOD!!! Glad to hear they are getting used!