
This weekend was beautiful, so we finally decided to take Julius to Davis Farmland. It was great! We actually enjoyed it so much we decided to buy a season pass and went both Saturday and Monday. It is ridiculously close to our house, so it is slightly embarrassing that we’ve never been before. Though I do think Julius is still a bit young for some of the things, he had lots of fun petting the animals, driving a tractor, playing in the water exploration area and sliding down the giant “cowabunga” slide. (Will and I both liked the last part too because we got to go down with him.) I wish we’d checked it out earlier!
Speaking of things I should have done earlier – a couple months ago I finally removed the center bar of the pots and pan cabinet. I’ve wanted to do this for years but was worried maybe it was structural. I finally got up the nerve to remove it and my counter hasn’t fallen down yet (great news). I feel like it’s probably a good excuse for me to redo the kitchen if the cabinets do collapse. The cabinet is so much more functional now! My original plan was to remove the center bar so I could put pull out drawers in the cabinet. After some deliberation I decided that wasn’t the optimal use of space so I left up my now fitting pot lid holder and added a stand for my saucepans! No more lifting out 3 pans to get to the one I want!
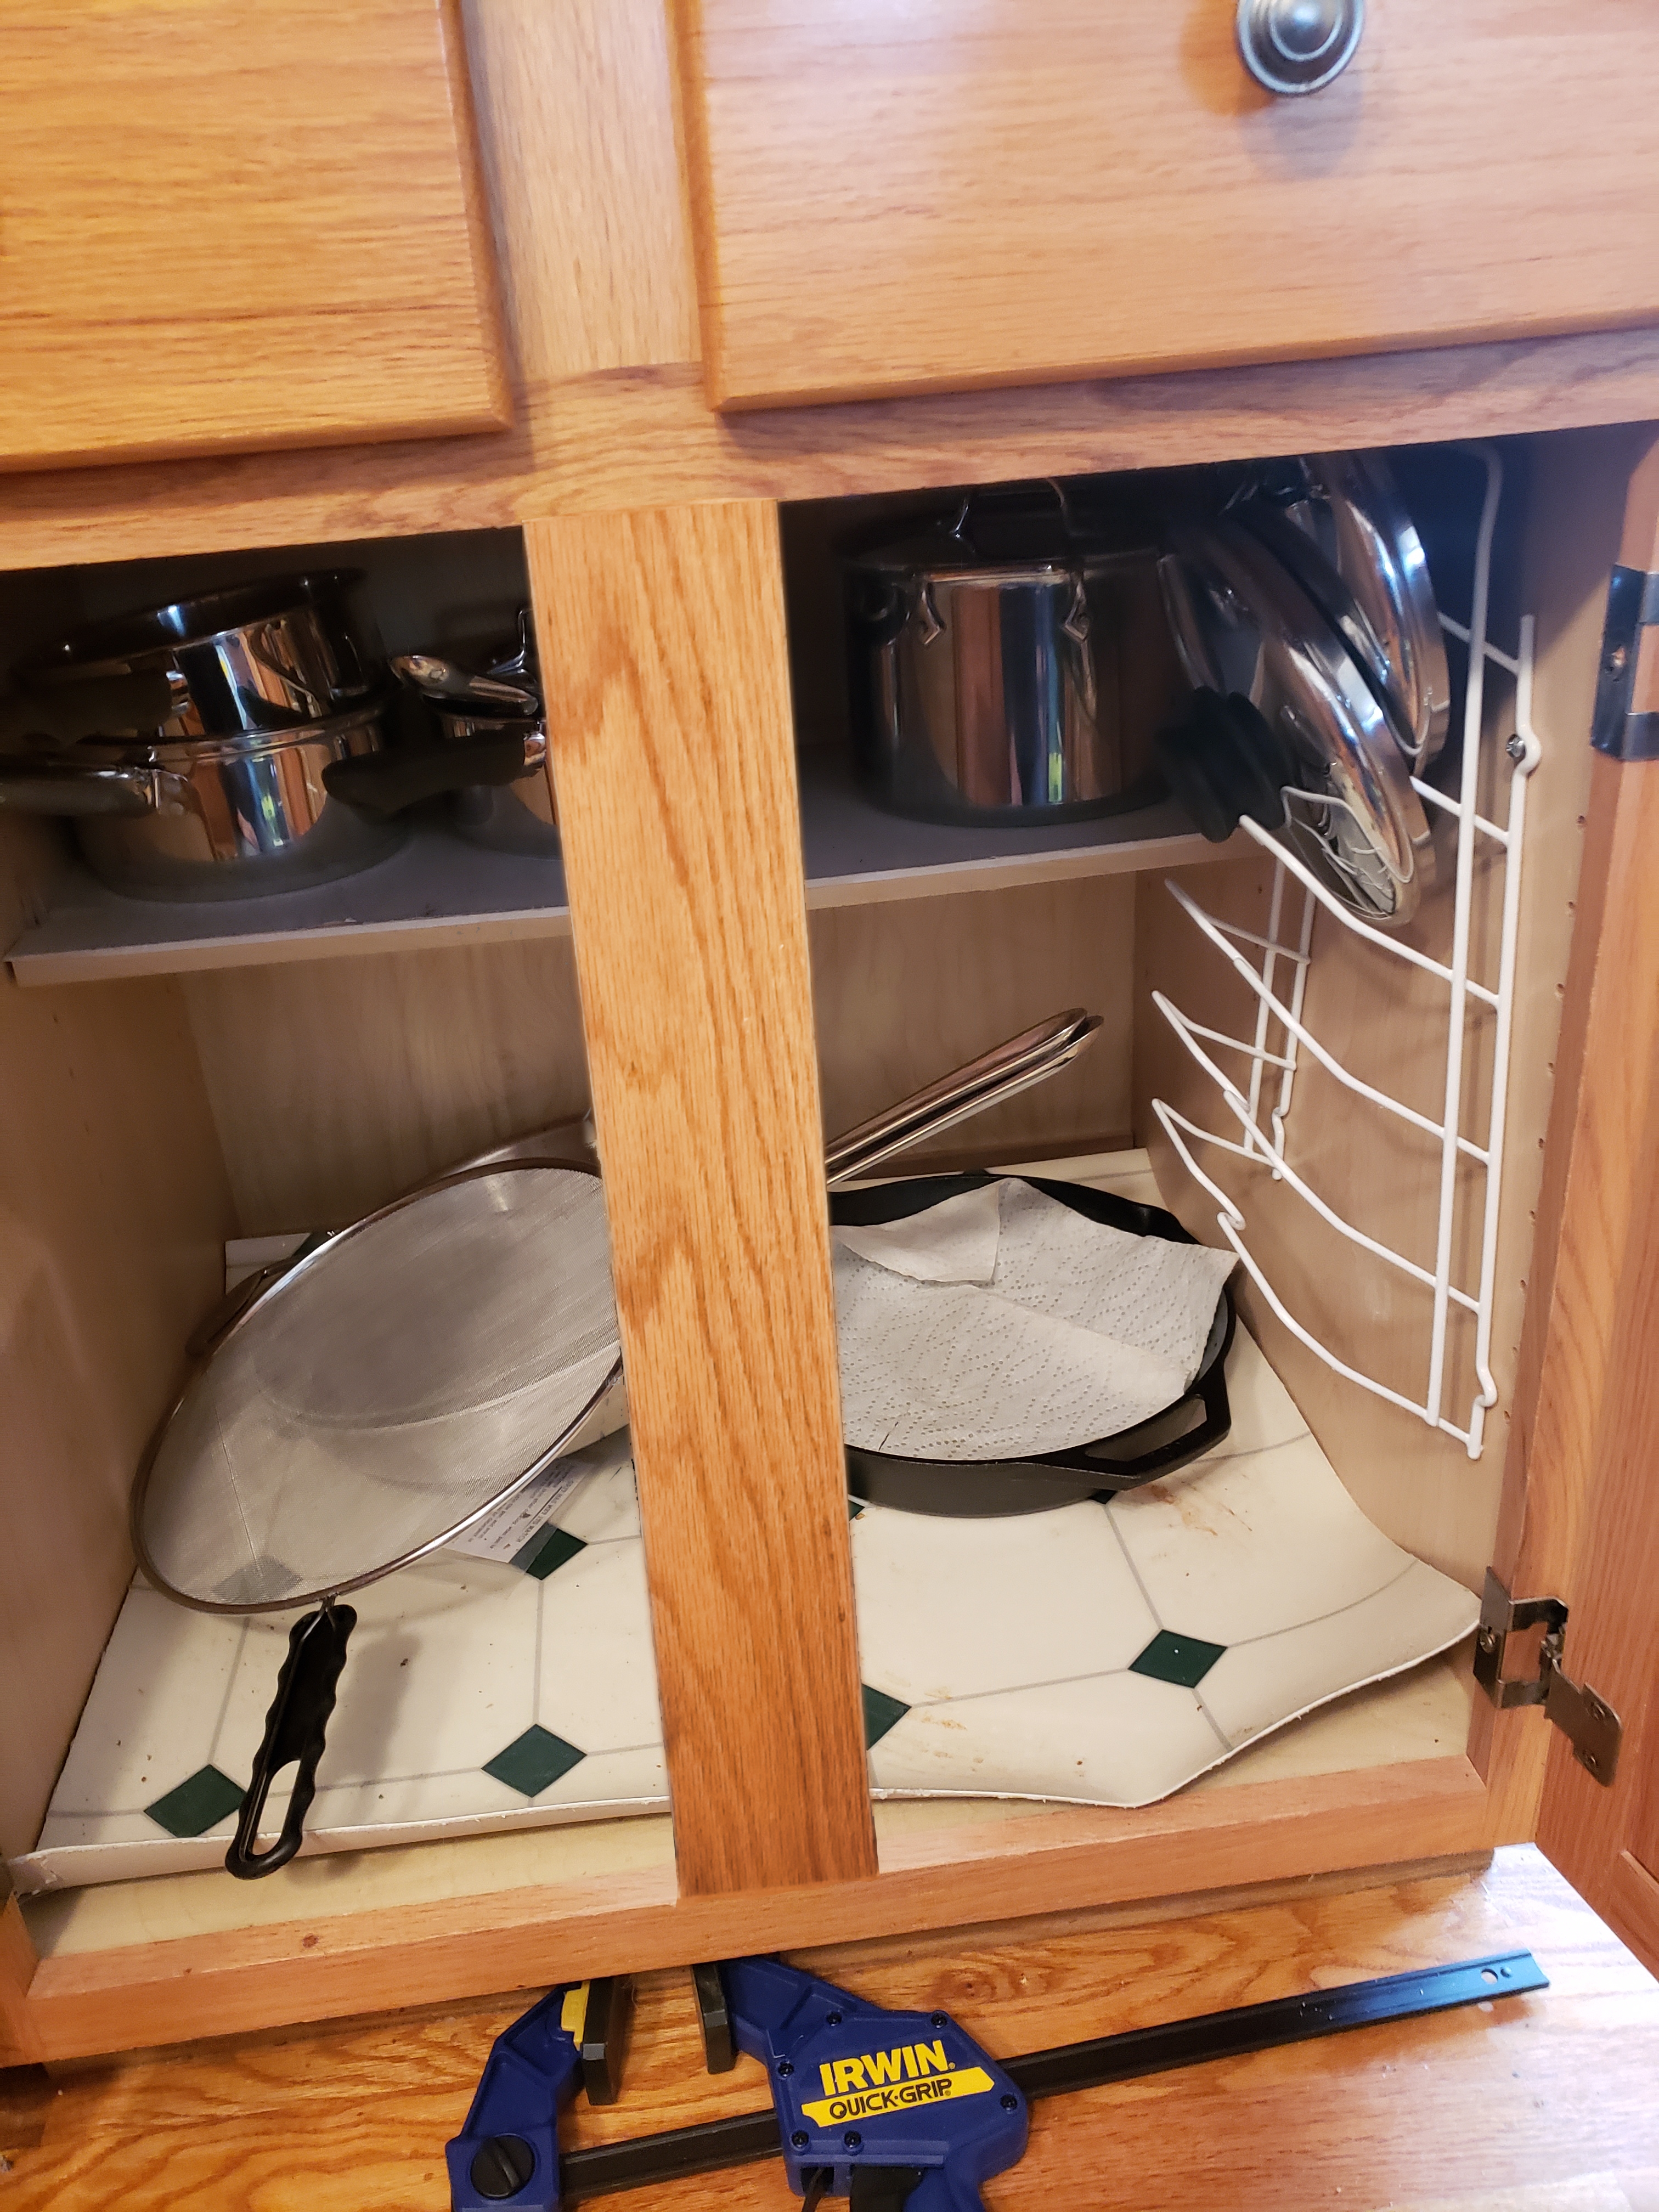
Before… slight disaster
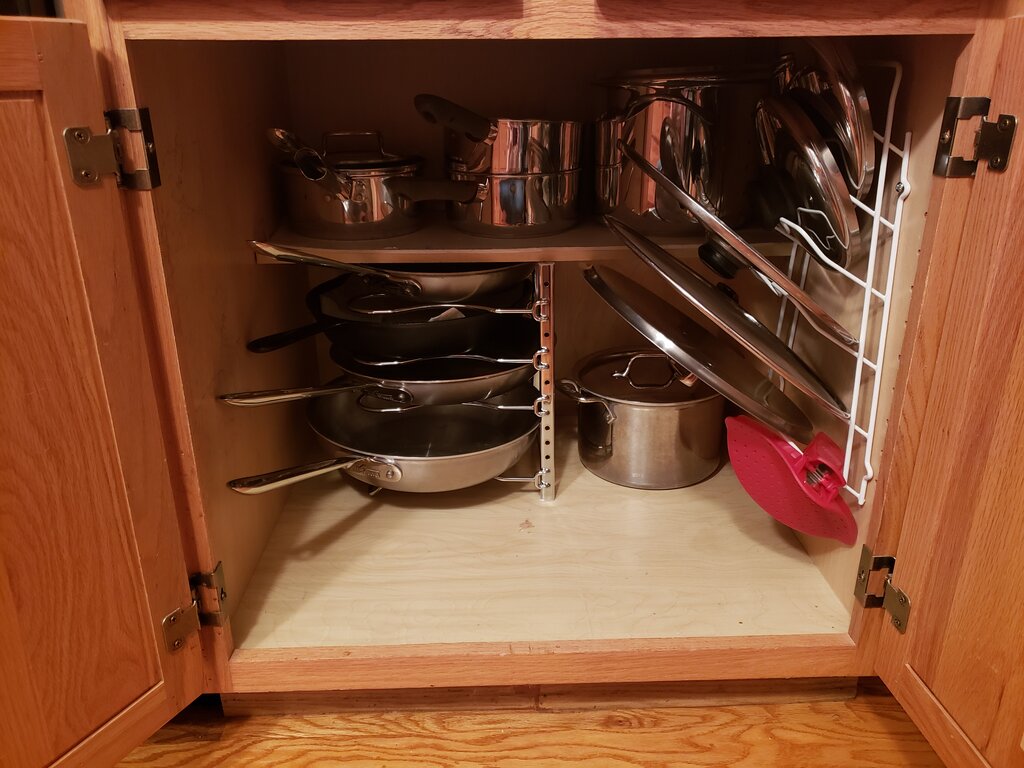
After – so much better!!
Remove the Center Bar on Your Cabinets
Note: I was concerned the beam was glued in place, but it was luckily just screwed in. This gives me further hope that it is decorative and not structural, but do this at your own risk.
Step 1: Remove the screws holding the center bar in place. Using a rubber mallet slowly tap the center bar until you can remove it.
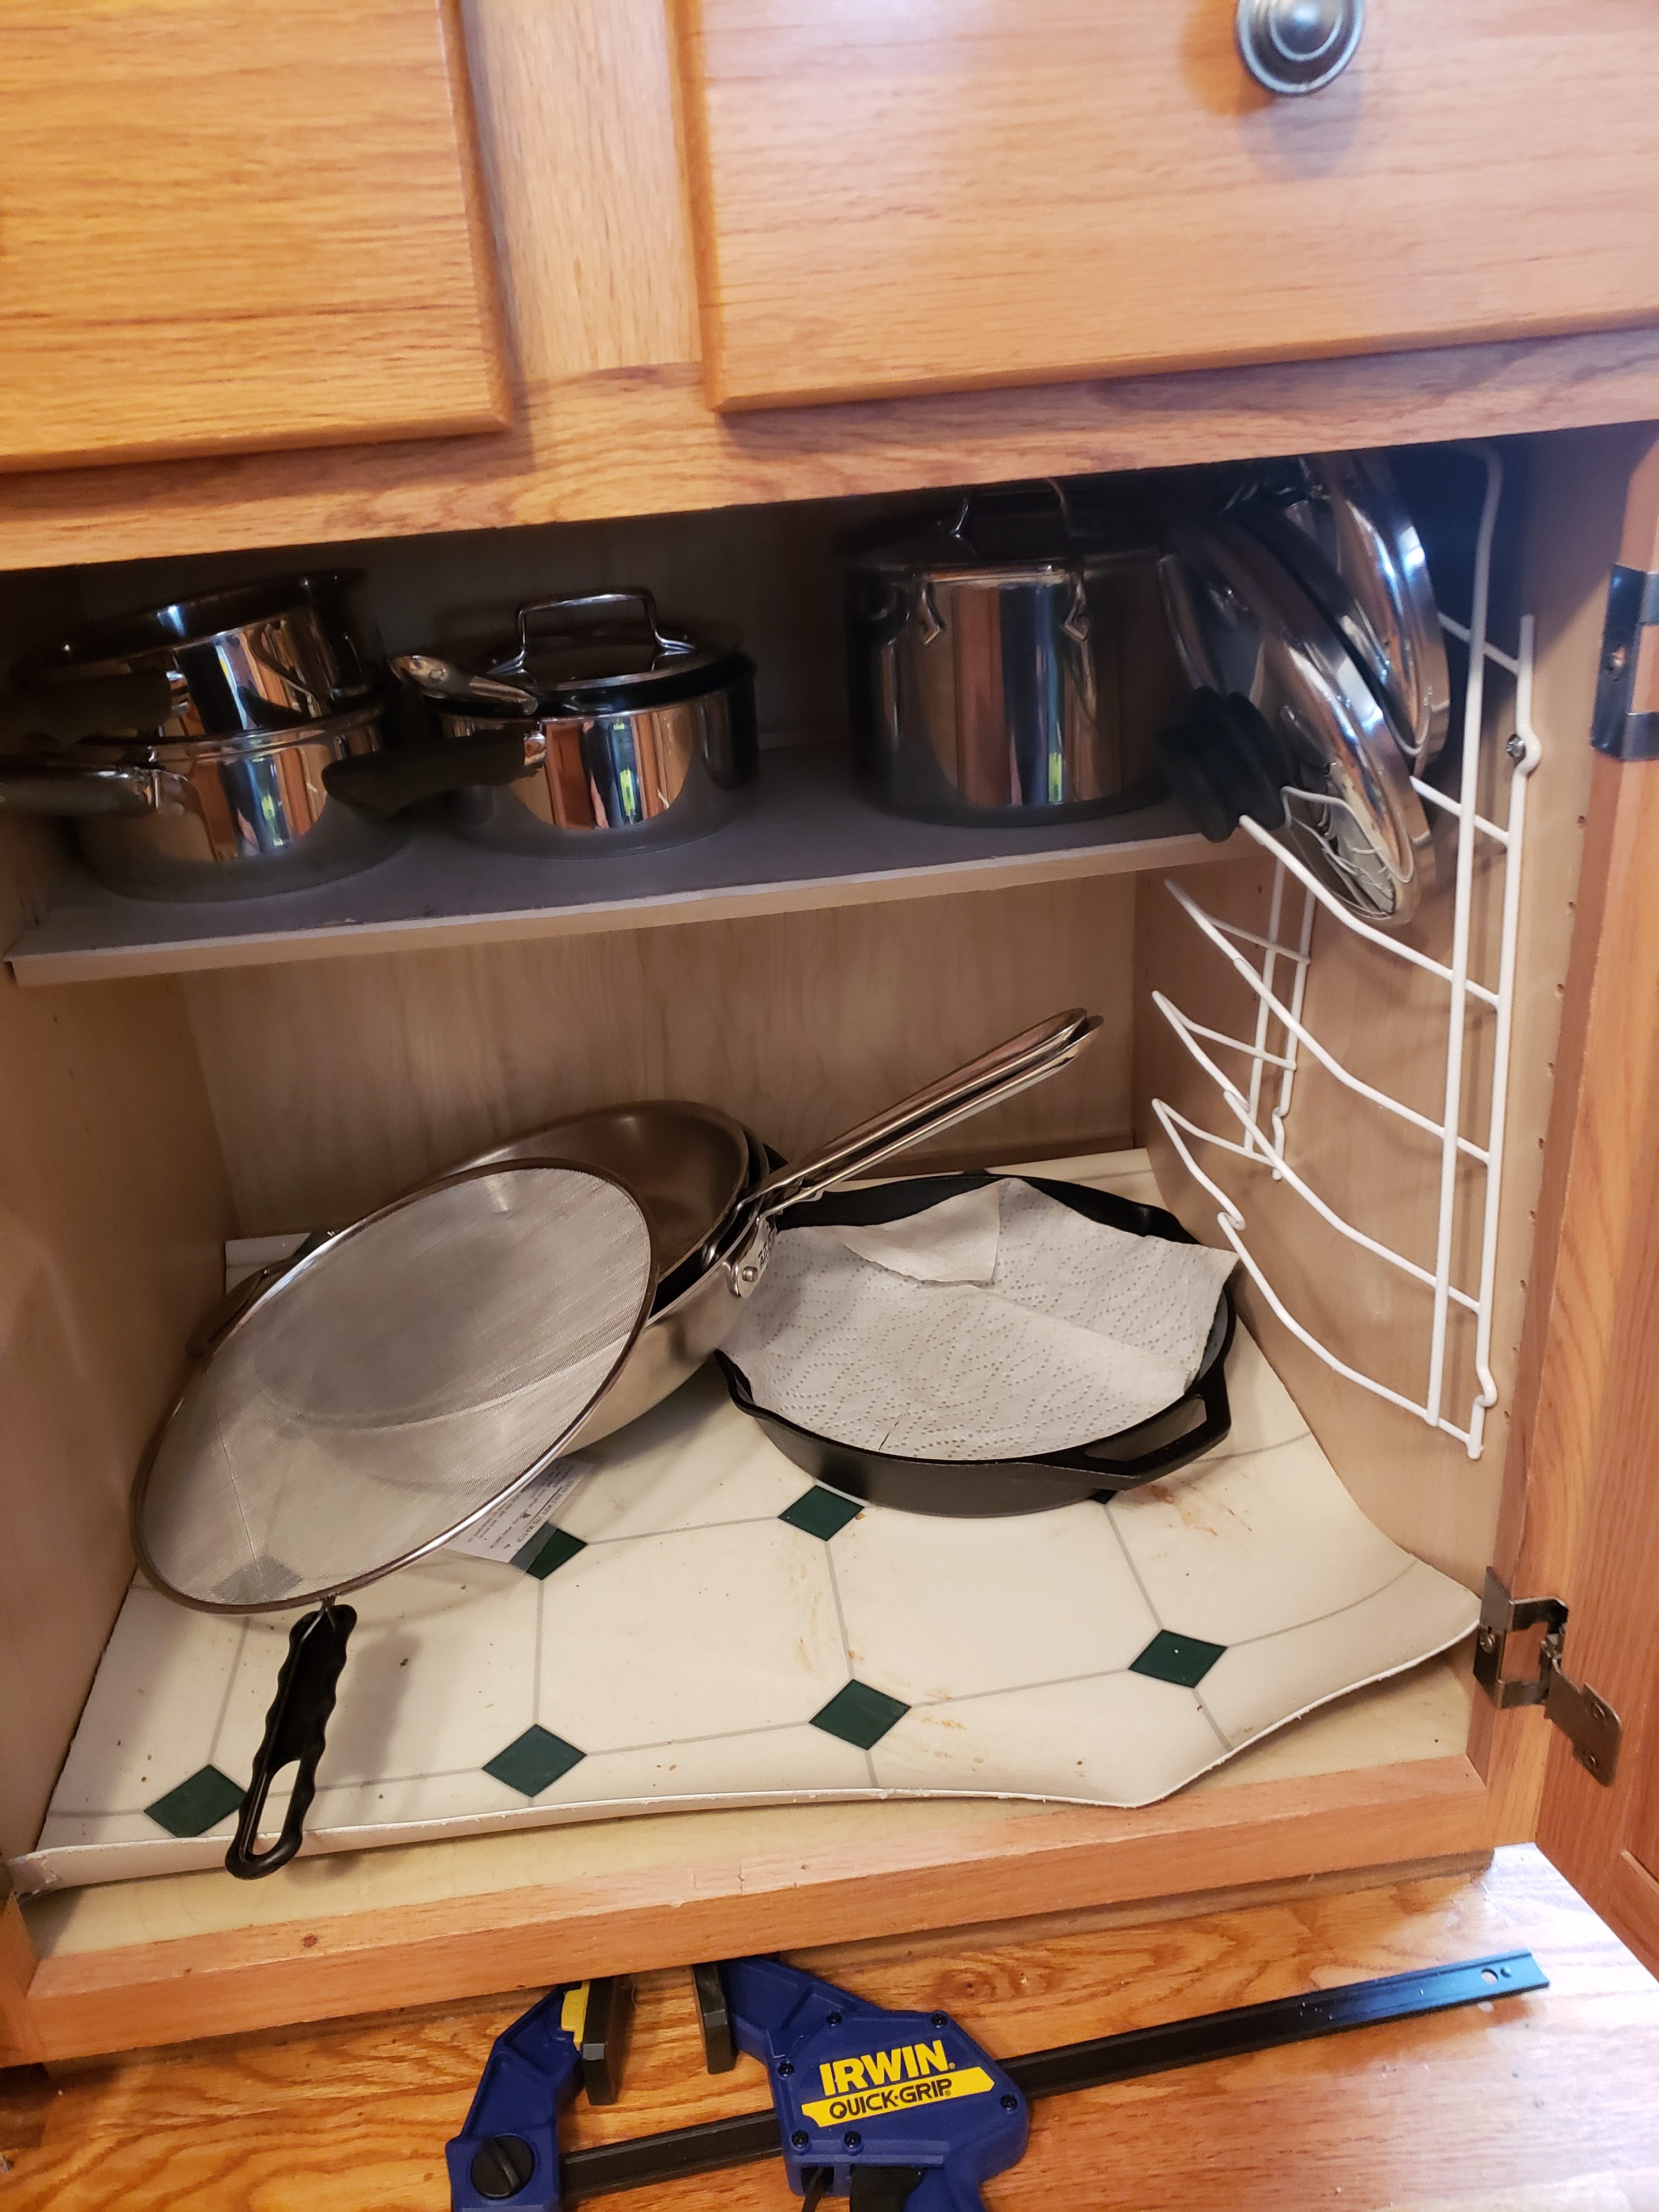
The bar removed! Now you can see the messiness of my cabinet in all it’s horror! The lids were constantly falling off the rack because I had to turn the pans to get them out of the cabinet and would knock the lids off in the process. .
Step 2: Cut the center bar down 1/8″ in length.
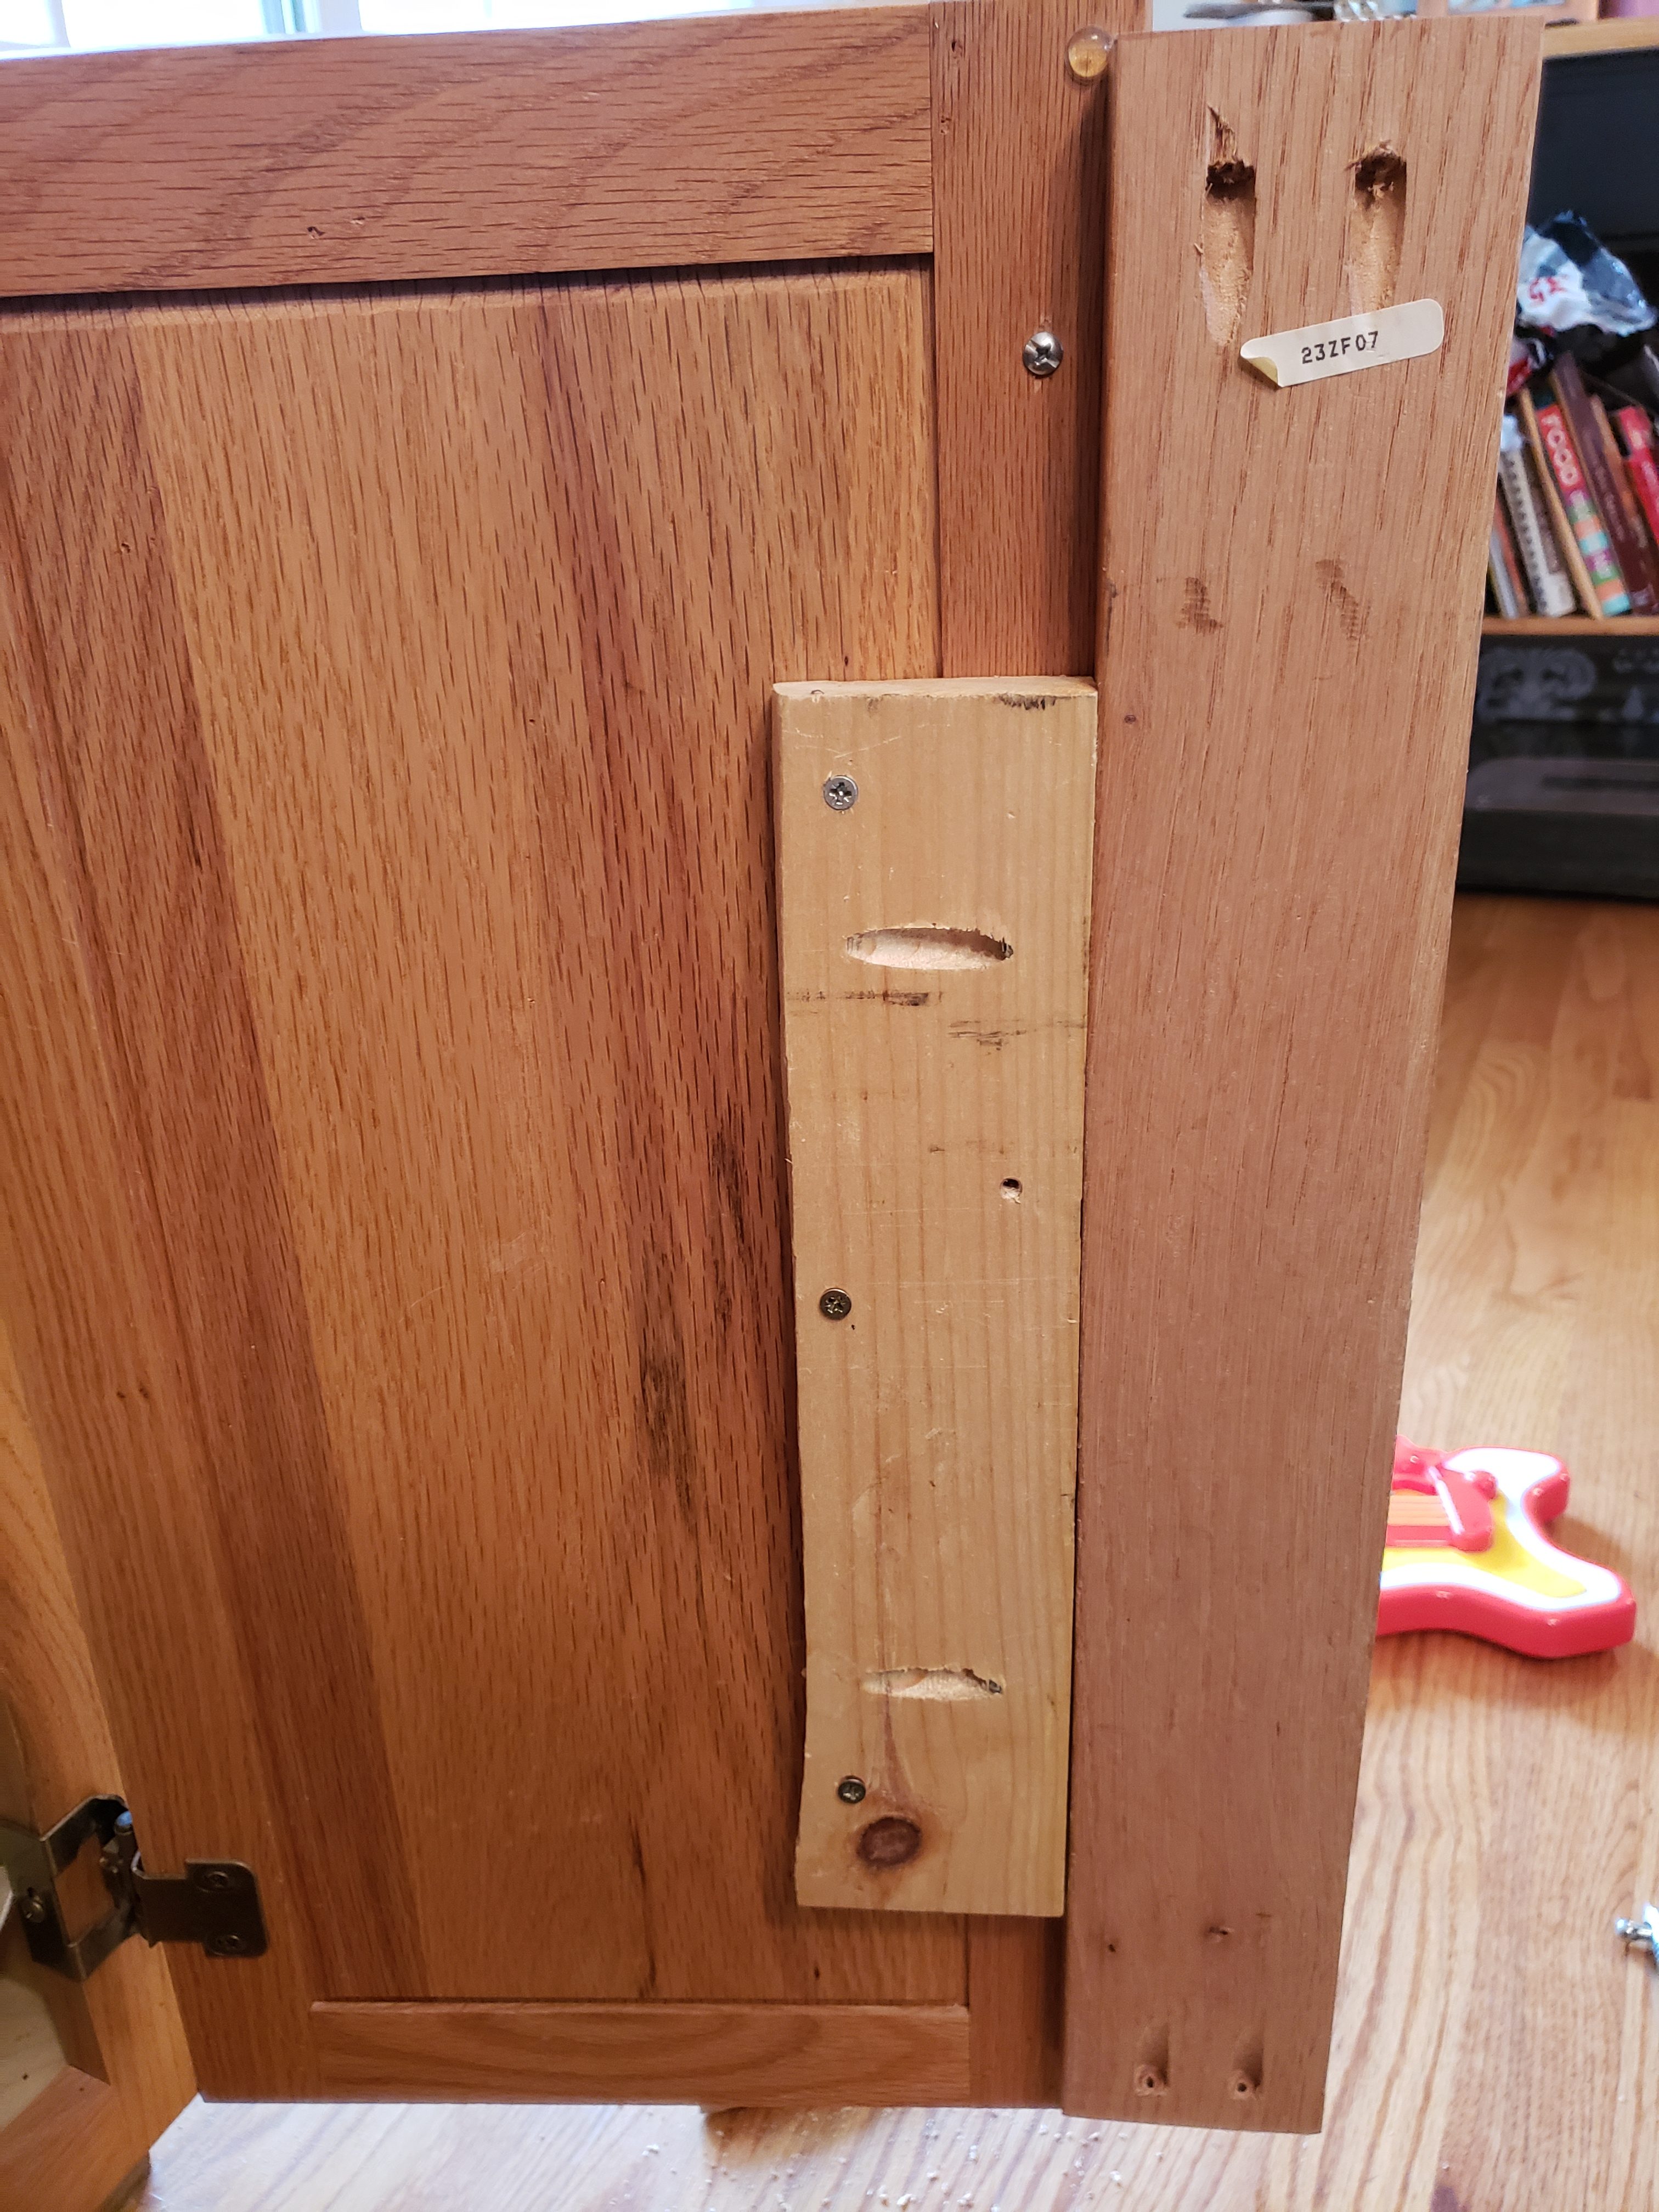
Step 3: Attach a piece of wood the same thickness as your center bar a couple inches shorter than the height of your cabinet doors to the side of the center bar. I used my pocket hole jig to do this!
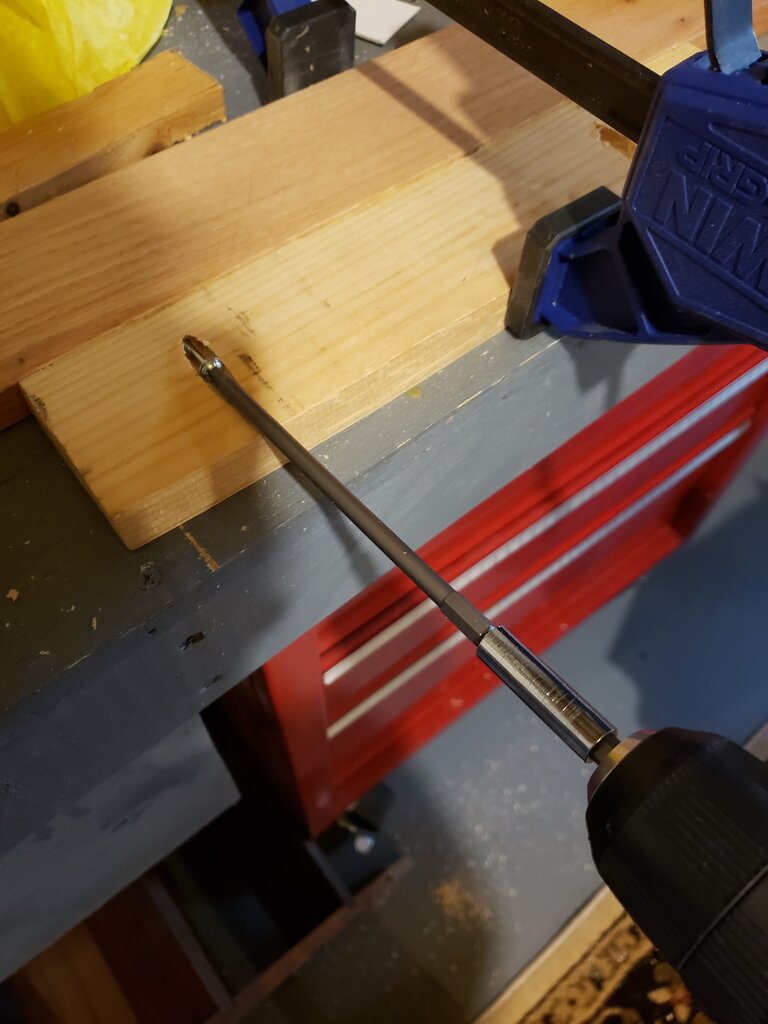
Using a pocket hole I drilled to attach a piece of wood to the center bar so it is wide enough to attach to the cabinet door.
Step 4: Use clamps to close one cabinet door and position newly widened center bar to the edge of the closed door. Close second door to make sure with the doors closed it still looks like the center bar is fastened to the cabinets.
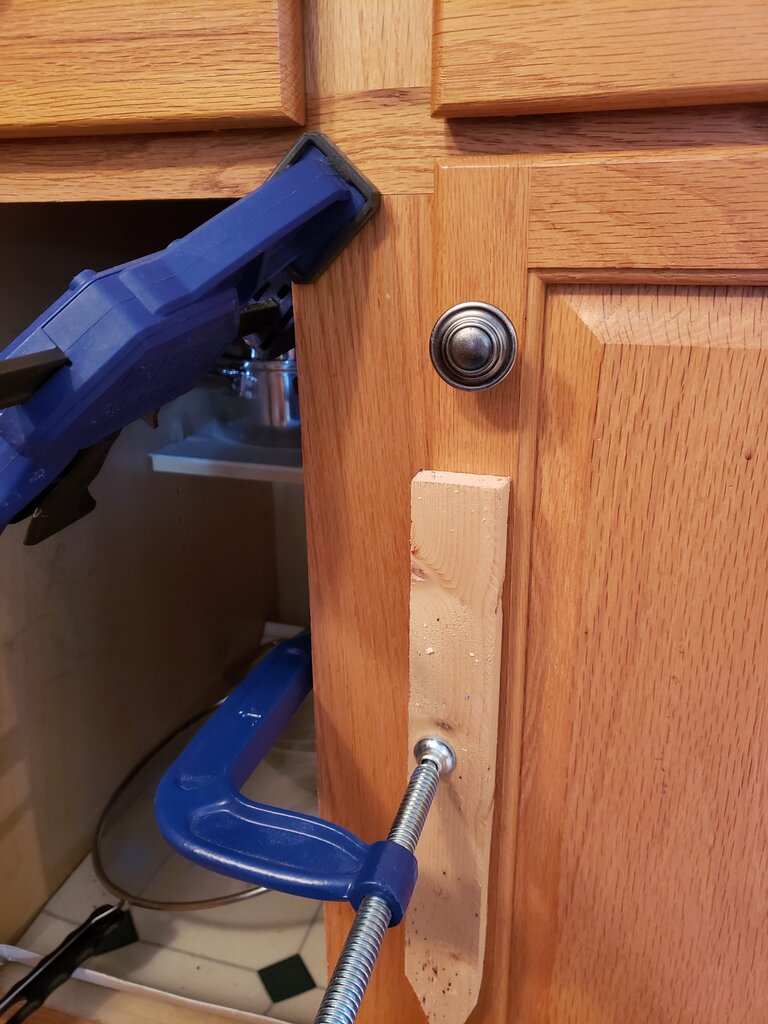
Use clamps to attach the center bar to the door while adjusting the center bar to make sure it is still centered.
Step 5: Drill pilot holes through the piece of side wood attached to the center bar and through the cabinet face. Make sure you don’t drill clean through to the other side of the cabinet face.
Step 6: Choose screws 1/8″ shorter than combined depth of the side wood and the cabinet face. Screw side wood to the cabinet face.
Screw through your side extension of wood into the cabinet door to affix the center bar to the cabinet door.
Step 7: Stain and apply wax/polyurethane to the unfinished edges of the center bar and the cabinet where the center bar was removed.

I wanna go to Davis Farmland! Did anyone I know have allergy issues?
I wanna go to Davis Farmland! Did any one of my friends have allergy issues??
It’s pretty great! We’ve been 4 days so far! Getting our season’s pass worth! Luckily no one has had allergy issues so far, but we haven’t tried the hay ride yet…