
Well sorry folks, I’m going to have to make this a quick one! I had to work late, and we have Danycon coming up in a couple weeks, so we’re finishing up some last minute preparations! (But get ready for all those great posts!)
Let me tell you quickly some adorable Julius anecdotes. A couple days ago Julius was laying on the floor of our screen porch underneath the pillow from one of the sofas. This was the conversation that ensued:
Me: Julius, you look kind of tired.

Julius: I look kind of tired, but I am going to teach you how to fly a helicopter.
I need to get him some caffeine if he’s going to start teaching helicopter lessons before nap time.
Will witnessed another hilarious conversation that Julius was having with himself. Julius was peering into the mirror while holding a measuring tape to “measure” himself. After he “measured” himself in the mirror he looked at the tape and exclaimed “sixty pounds?!” I have no idea where he got that from because I’m pretty sure I haven’t weighed myself in front of him. I do empathize on unit conversion though. I frequently get confused if oz are a weight or a volume, and really can’t tell from context clues.
I can tell you that my closet organization though is all about increasing volume without clutter. One of the last things I did for the closet was add a couple boxes for my swimsuits. I used a swimsuit and some pretty wrapping paper recycled from a gift from my mother in law. It was incredibly easy and took me maybe 10 minutes total. I was planning to do some decoupage, but this came out so great and took me far less time…
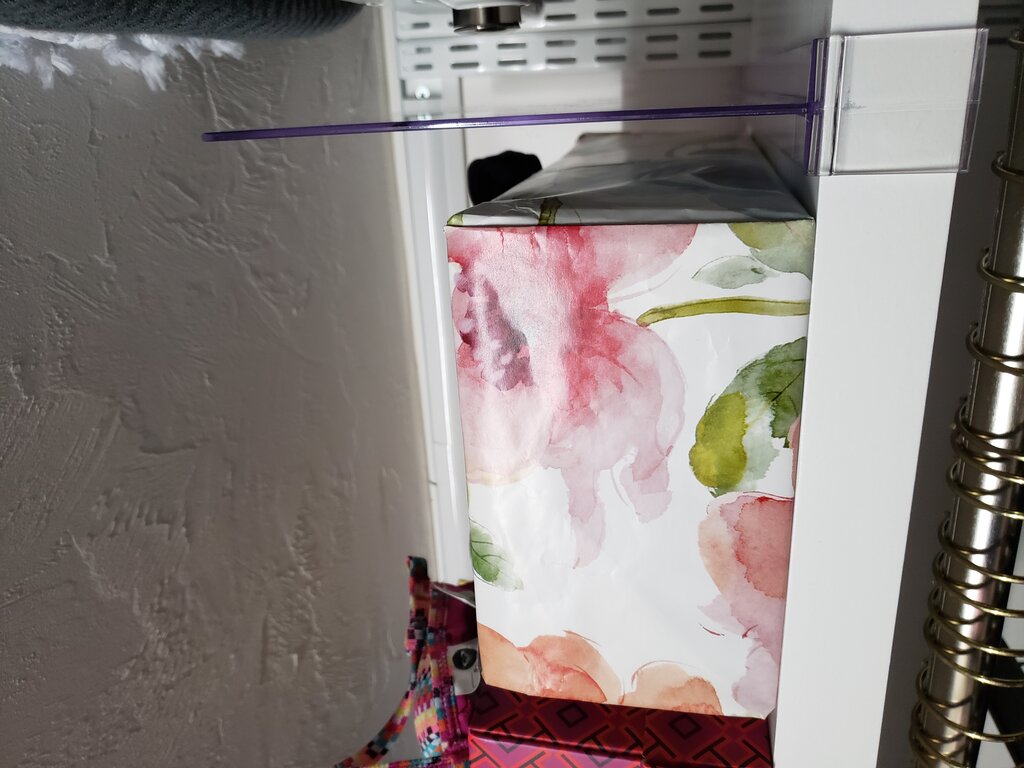
Close up of my stylish organizer…
Papered Trinket Box
What you’ll need:
- old shoe box
- recycled wrapping paper
- hot glue
- Take your shoe box and remove the lid. Mine had an attached lid, so I simply cut it off.
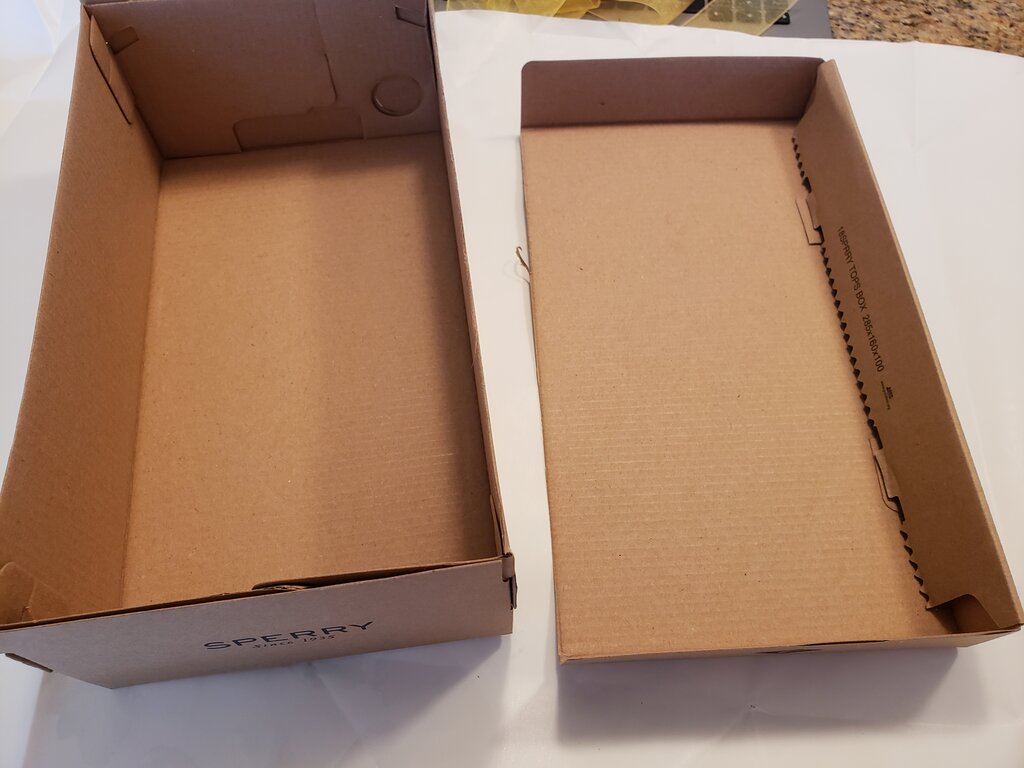
Remove cover from box – for me this meant cutting the cover off.
- Place the box centered on top of your recycled wrapping paper.
- Pipe a strip of glue the inside portion of one long side of the shoe box at the top. Gently press paper onto the glue. Let dry.
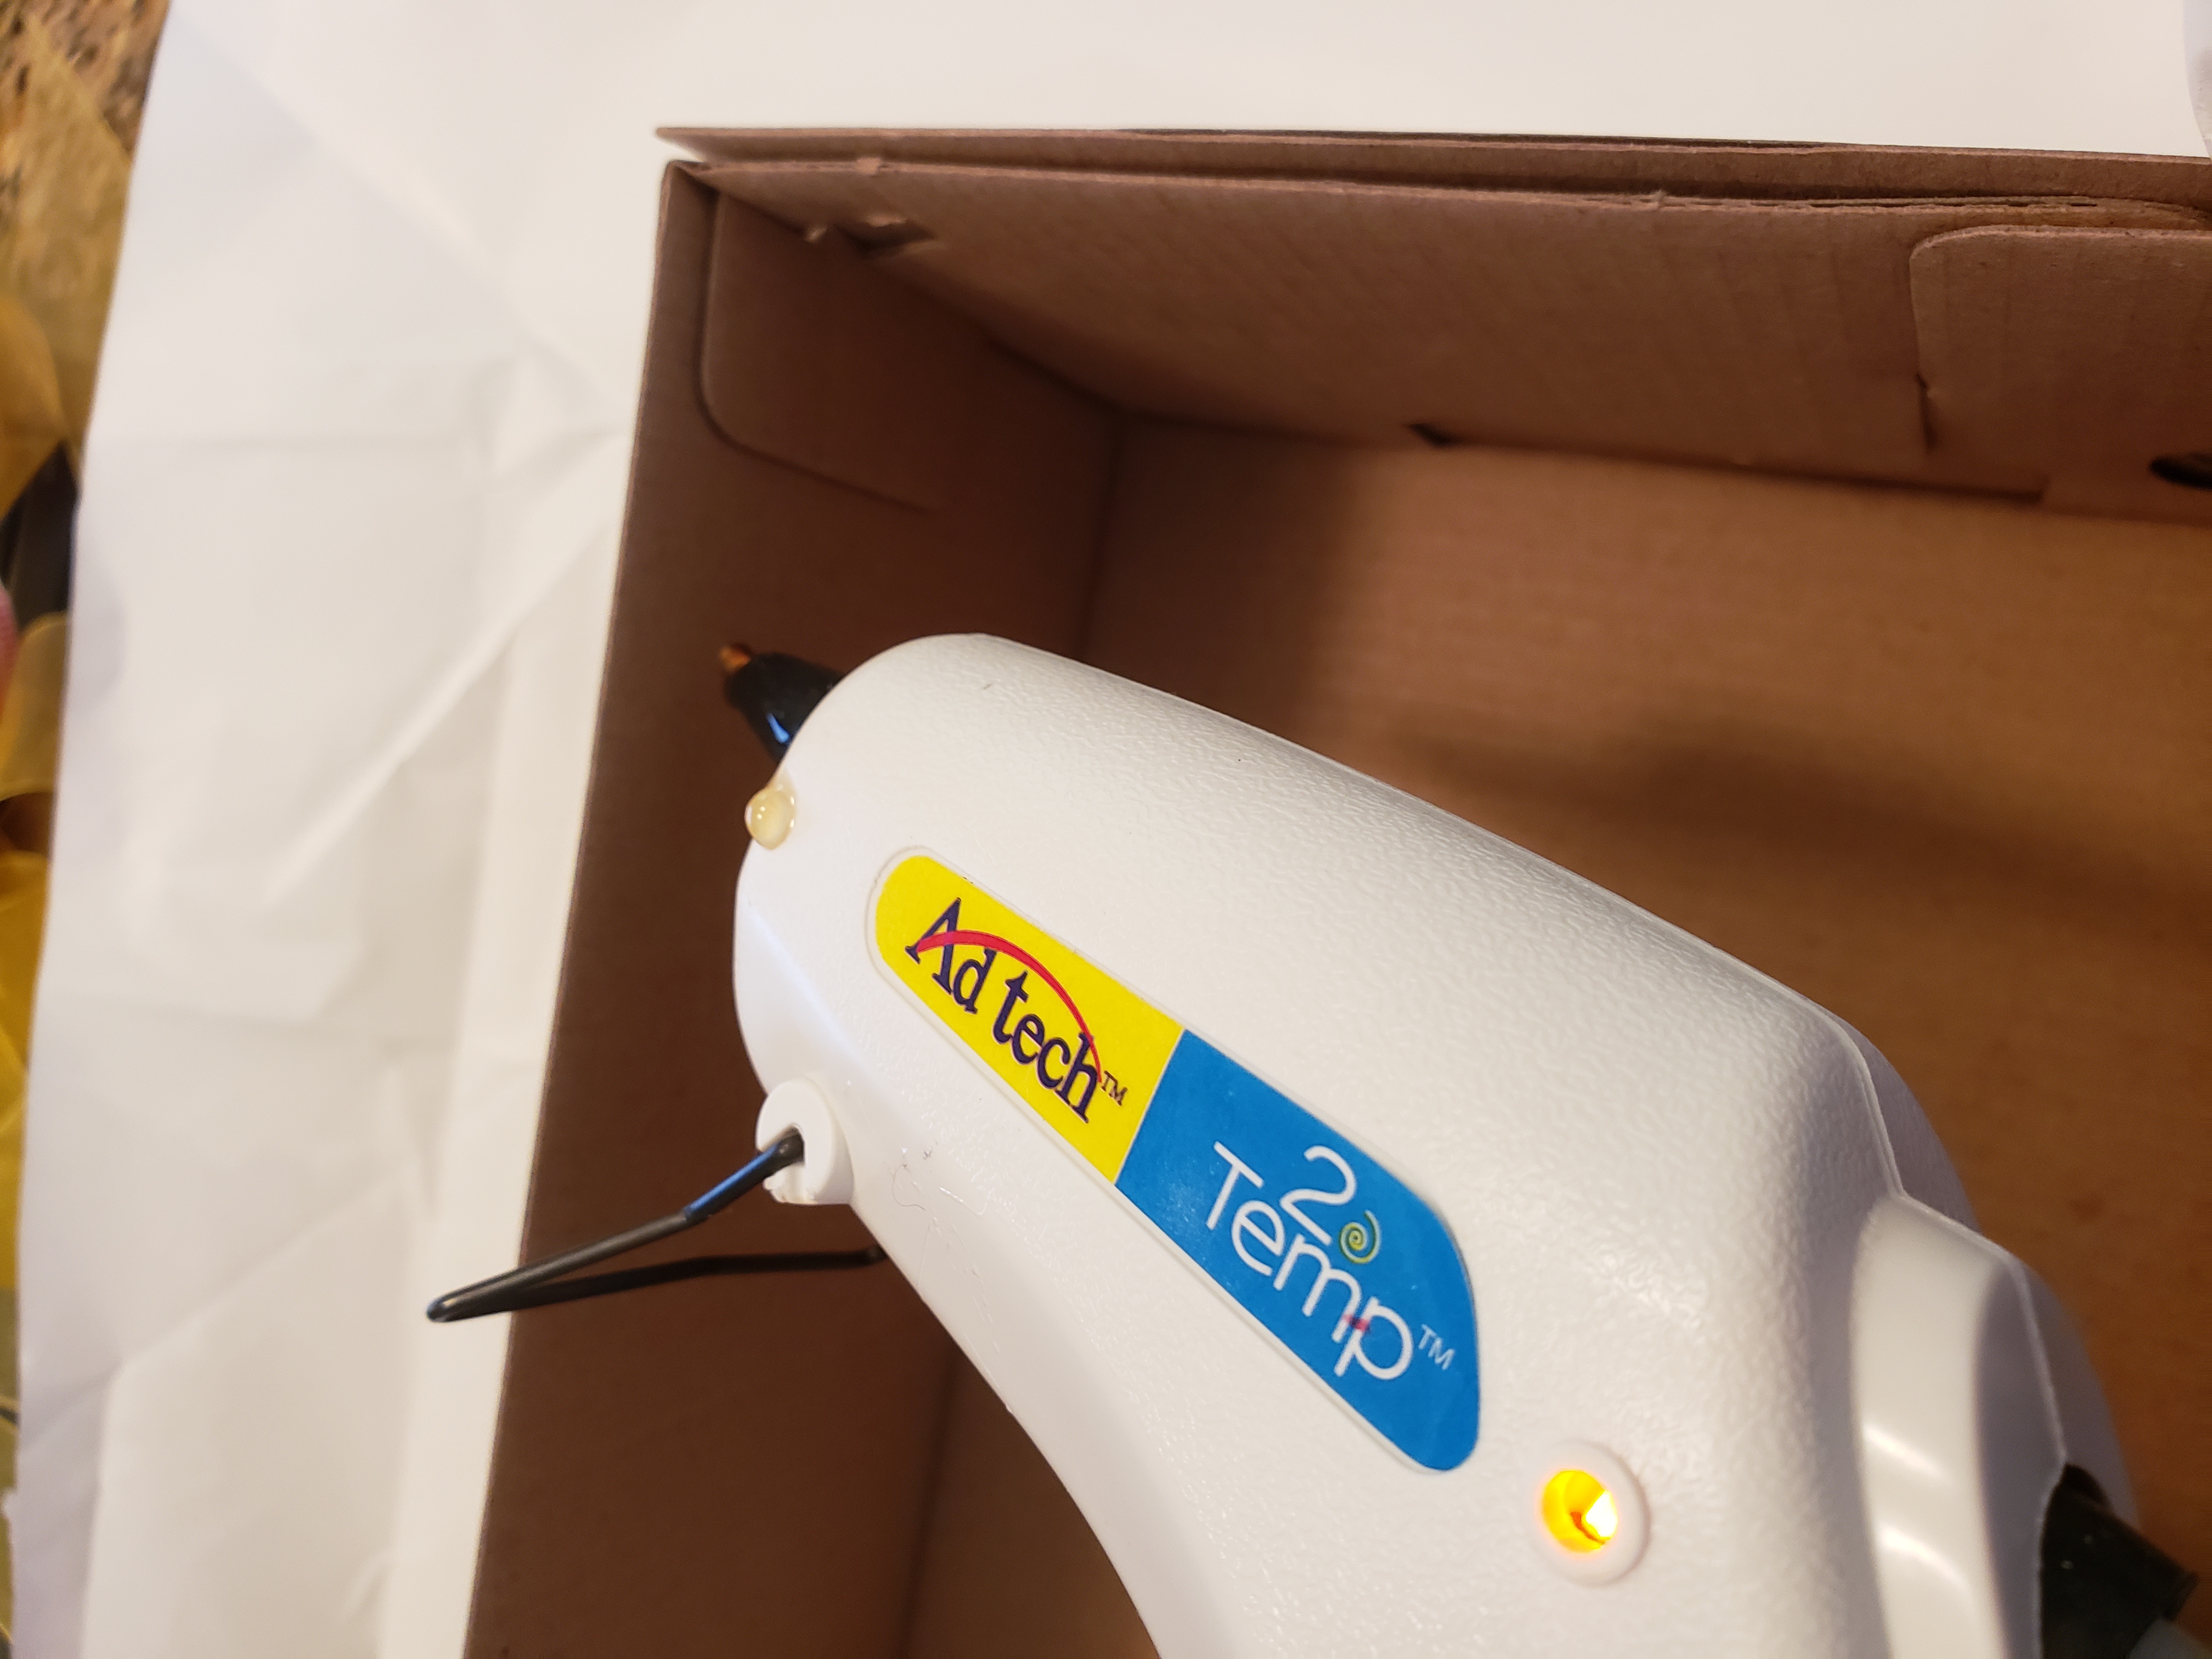
Hot glue the inside of the box.
- Make sure paper is pulled flush, then repeat for opposite side of shoe box.
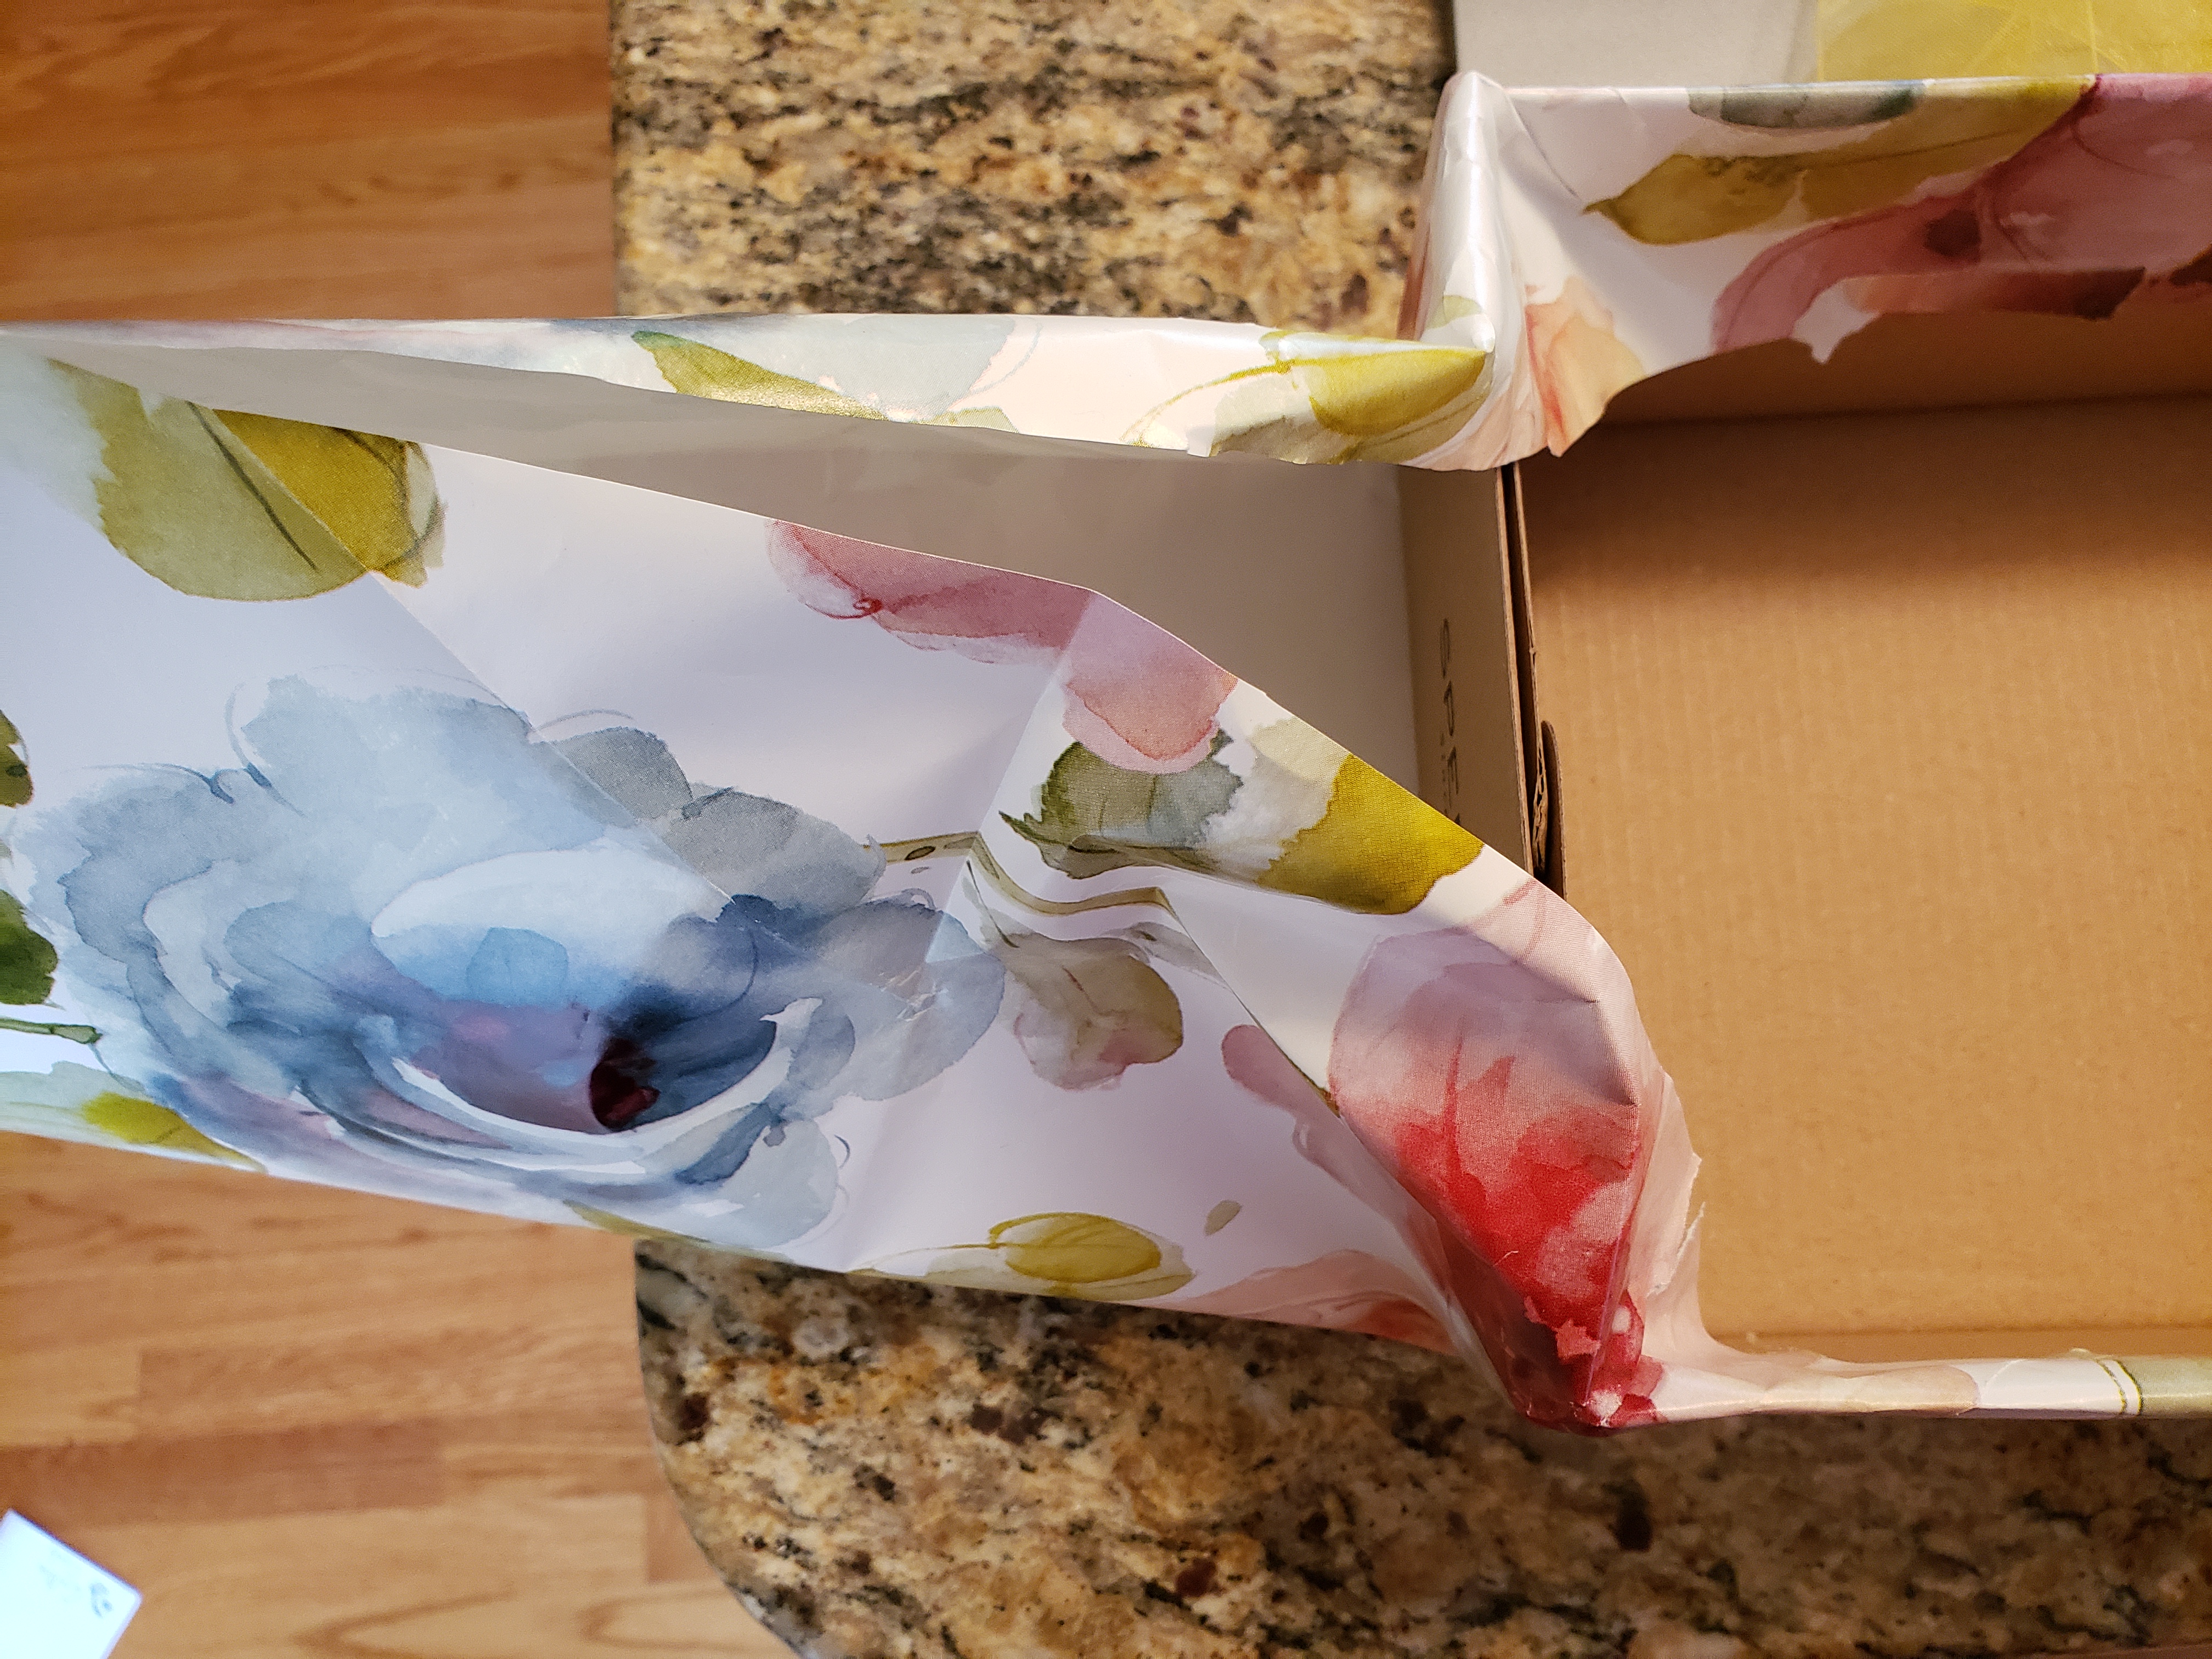
View of the small side of the box, with the long ends glued. You can see on the right that I have already started folding the excess material in.
- For the short ends of the shoe box, fold in excess paper on one side of one end so outer paper folds up flush to the end of the shoe box.
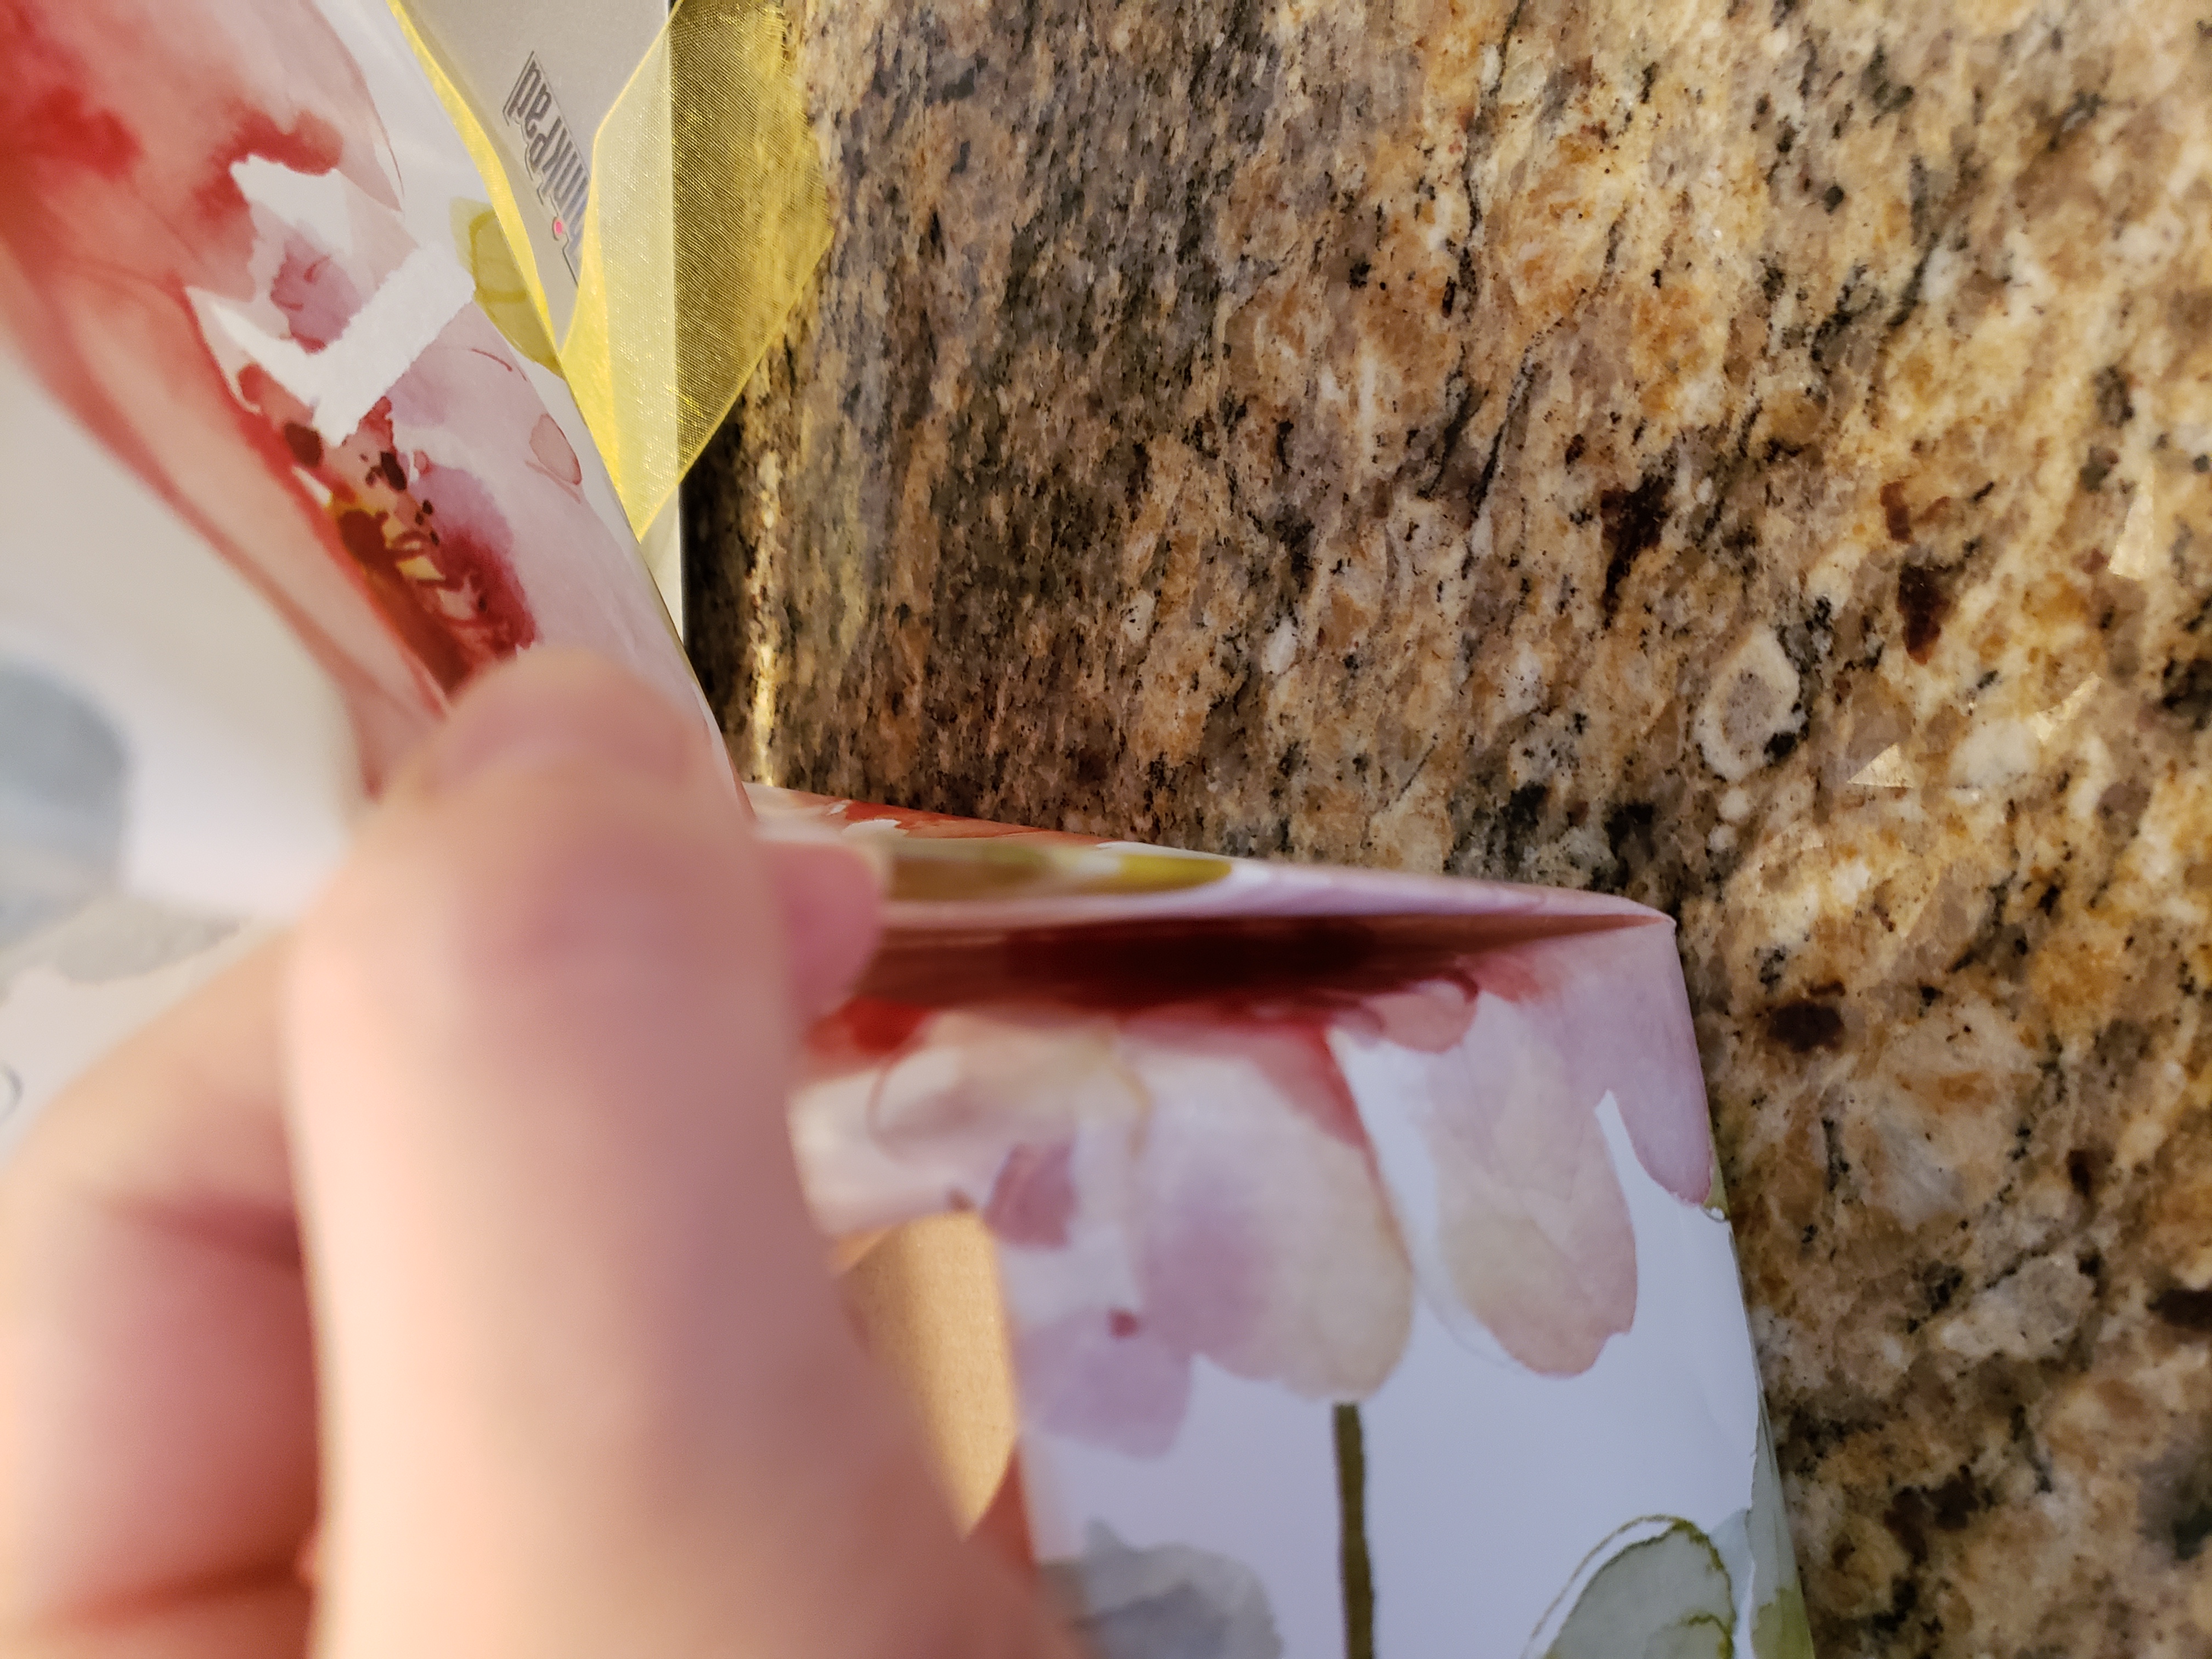
After tucking in the extra paper on the small side of the box, fold the outside material up to meet the corner.
- Repeat for other side.
- Trim the paper, leaving about 1″ of excess fold up and over the side of the box. Fold and glue.
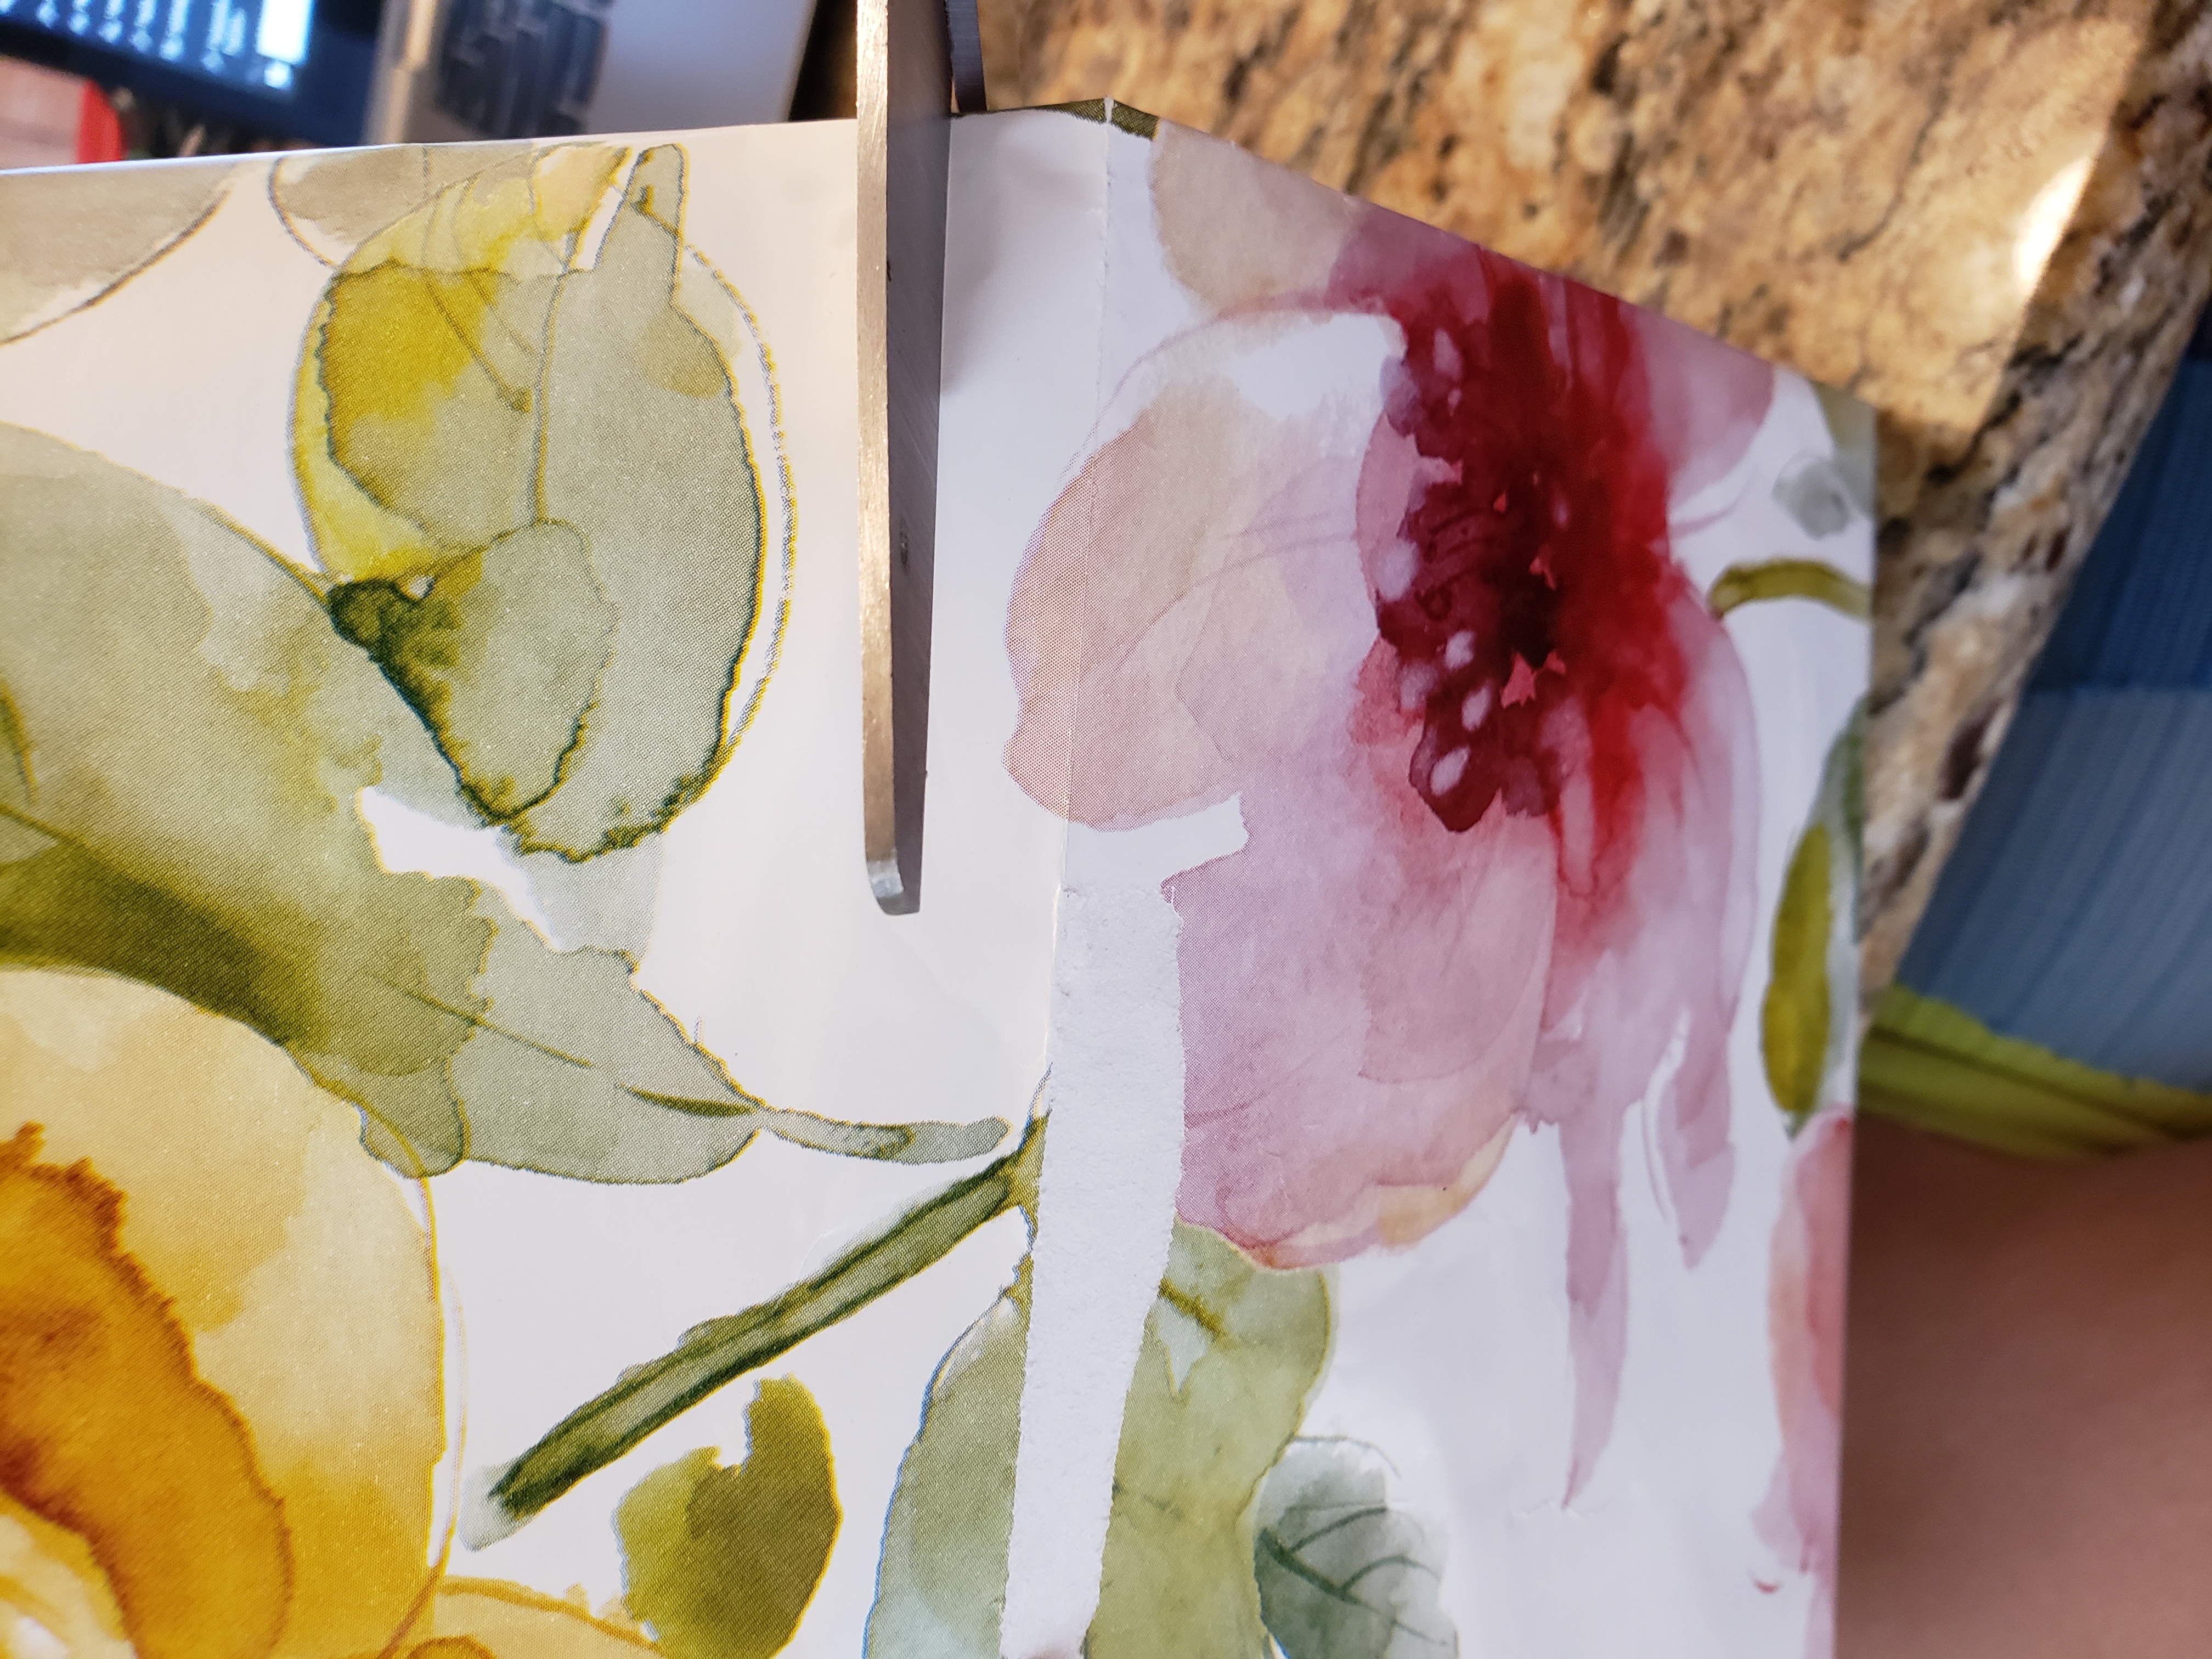
Cutting off the excess paper before folding.
- Repeat steps 5-7 for other short end.
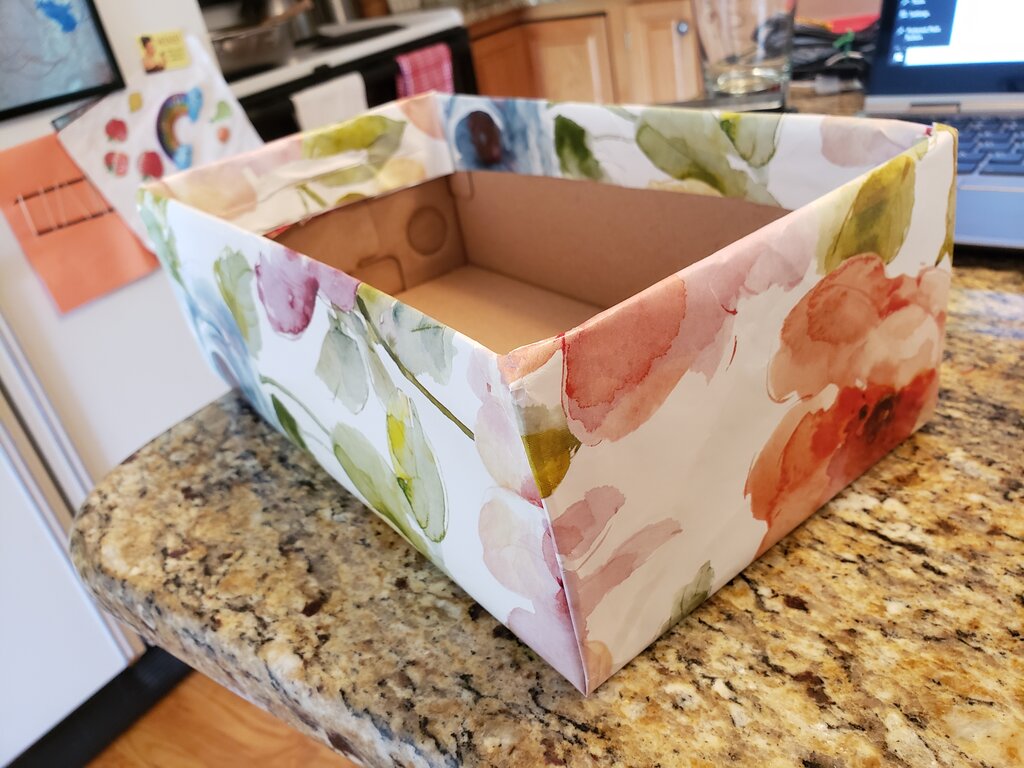
Finished organizer – note that it is unlined. If you will see the inside of the box, you may consider lining it.
- If I was feeling fancier I would have lined the inside of the box, but since I wasn’t going to see inside it anyway, I opted for the less paper method!
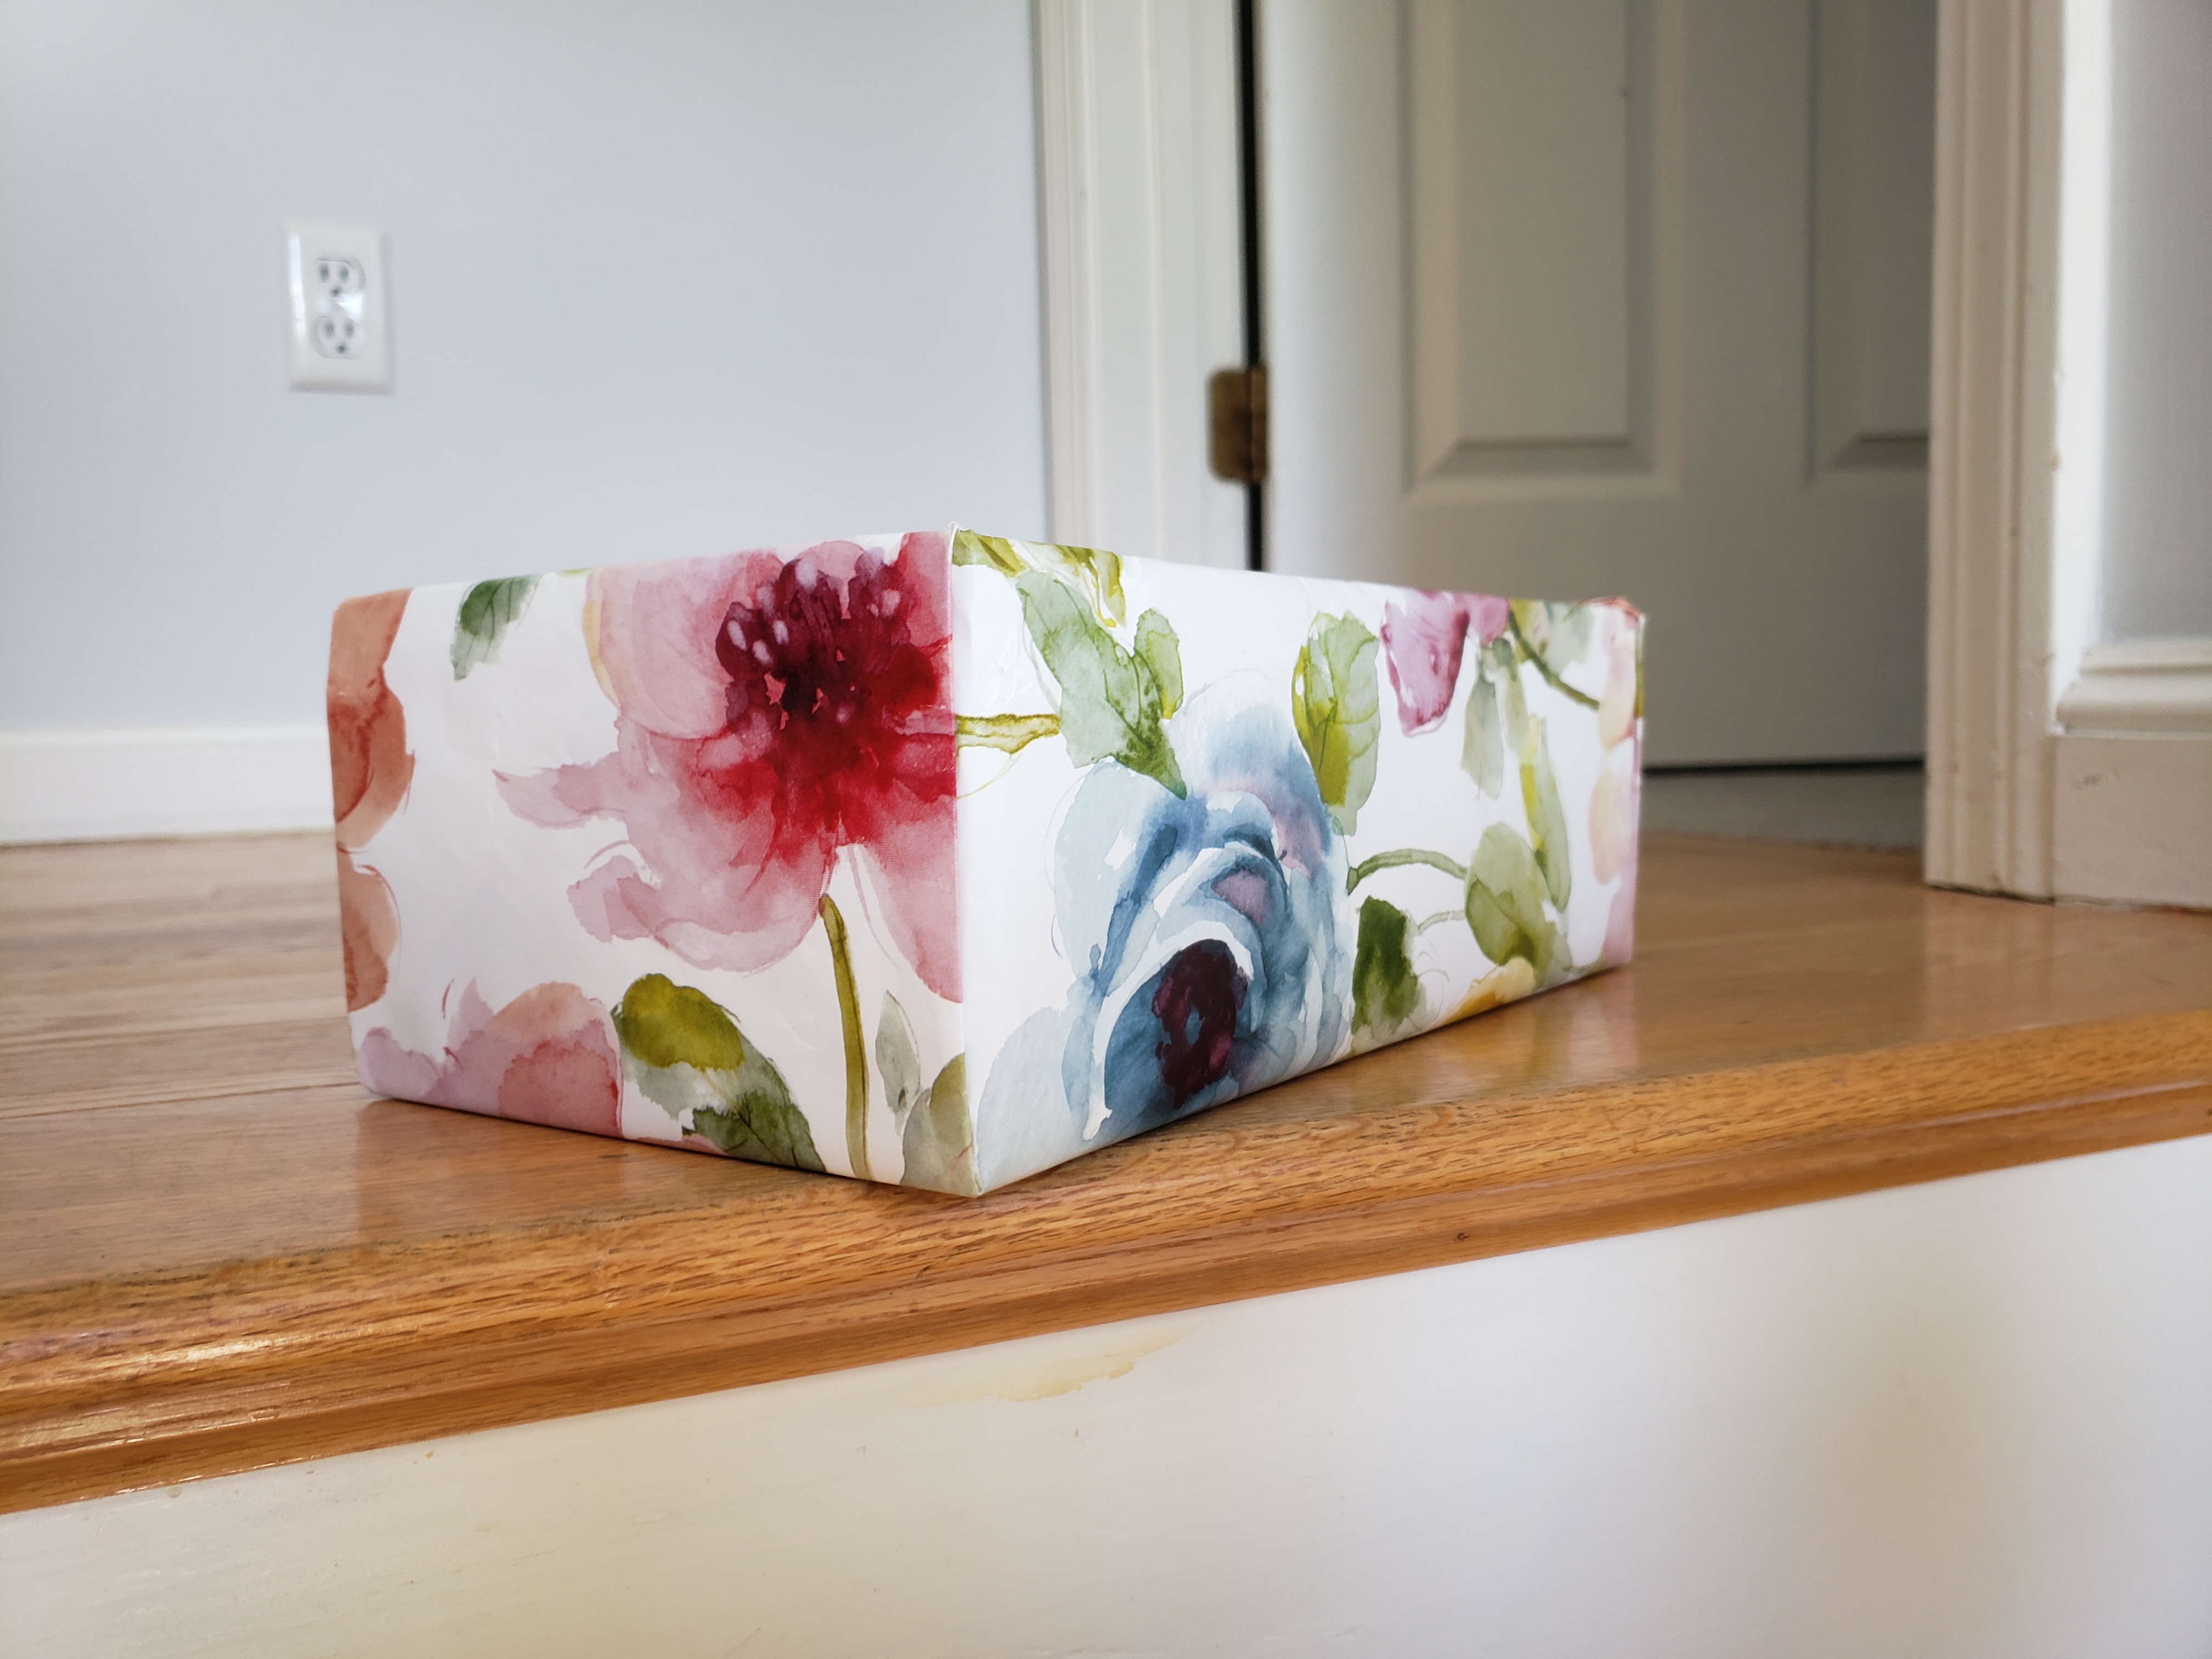
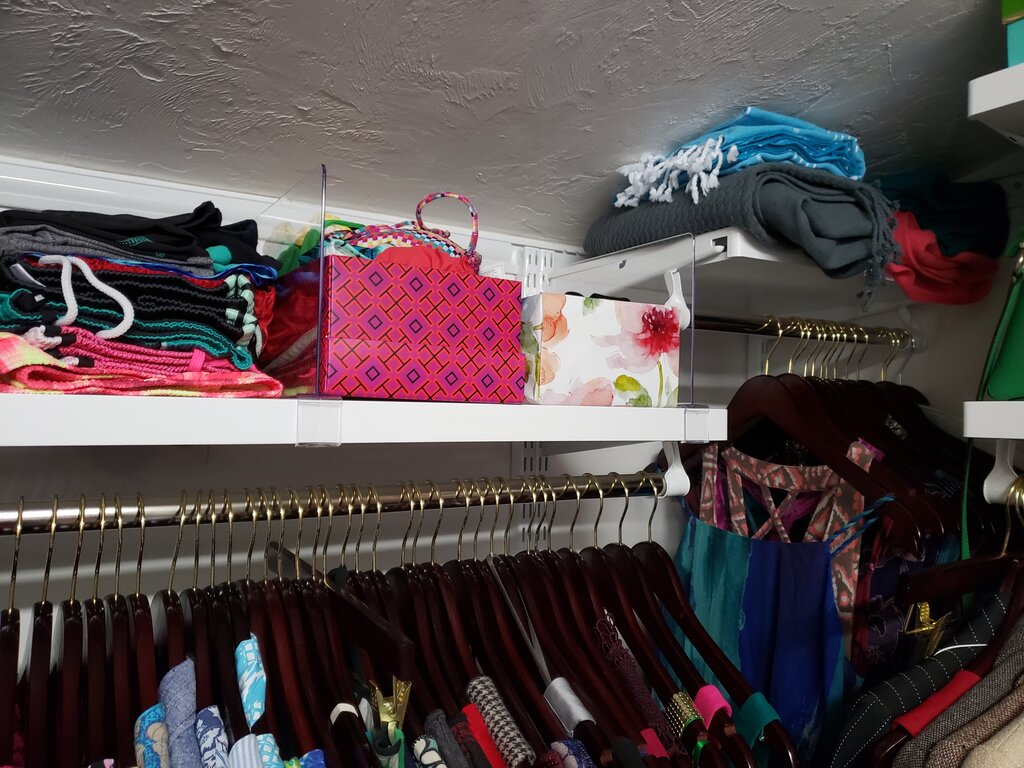
Recycled shoe boxes make stylish organizers!
