One week until our holiday break is over, family goes home and we’re going back to our normal quiet life by ourselves. It is also my last week of daycare help from Will, which is also slightly daunting. It was really nice to have him home to help with both kiddoes for so long. That being addressed, I’m trying not to count the days left. We’re just having fun playing board games and enjoying one another’s company.
On a lighter note I have a cute Julius anecdote that I want to remember forever. There is a lot of commotion in the house with 4 kids, 4 dogs, 2 cats and 8 adults. Over the last couple days during the rare times Julius and I have been alone together he has stated unprompted, “I love you Mama”. It is just about the sweetest thing ever.
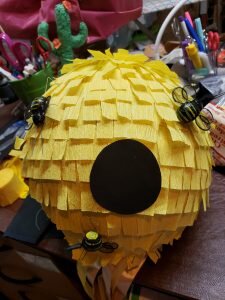
What goes along with a sweet toddler? A piñata filled with sweets and surprises! To go along with the Winnie the Pooh party, Julius’ piñata was shaped like a beehive (or at least what Winnie the Pooh movies envision a beehive to look like, which is actually a hornet’s nest – probably a mixed message but oh well). This is probably the accessory for Julius’ adventure birthday that took me the longest to complete. It also unfortunately was the shortest lived! I didn’t think a toddler brandishing a stick indoors and telling him to smash open a ball was a good precedent so I opted to make this one a pull-string piñata. You could make yours a traditional piñata by omitting steps 9-12 and in lieu of steps 13-18, just glue your fringe starting at the bottom of the piñata, overlapping the previous row as you go and ending at the top of the piñata.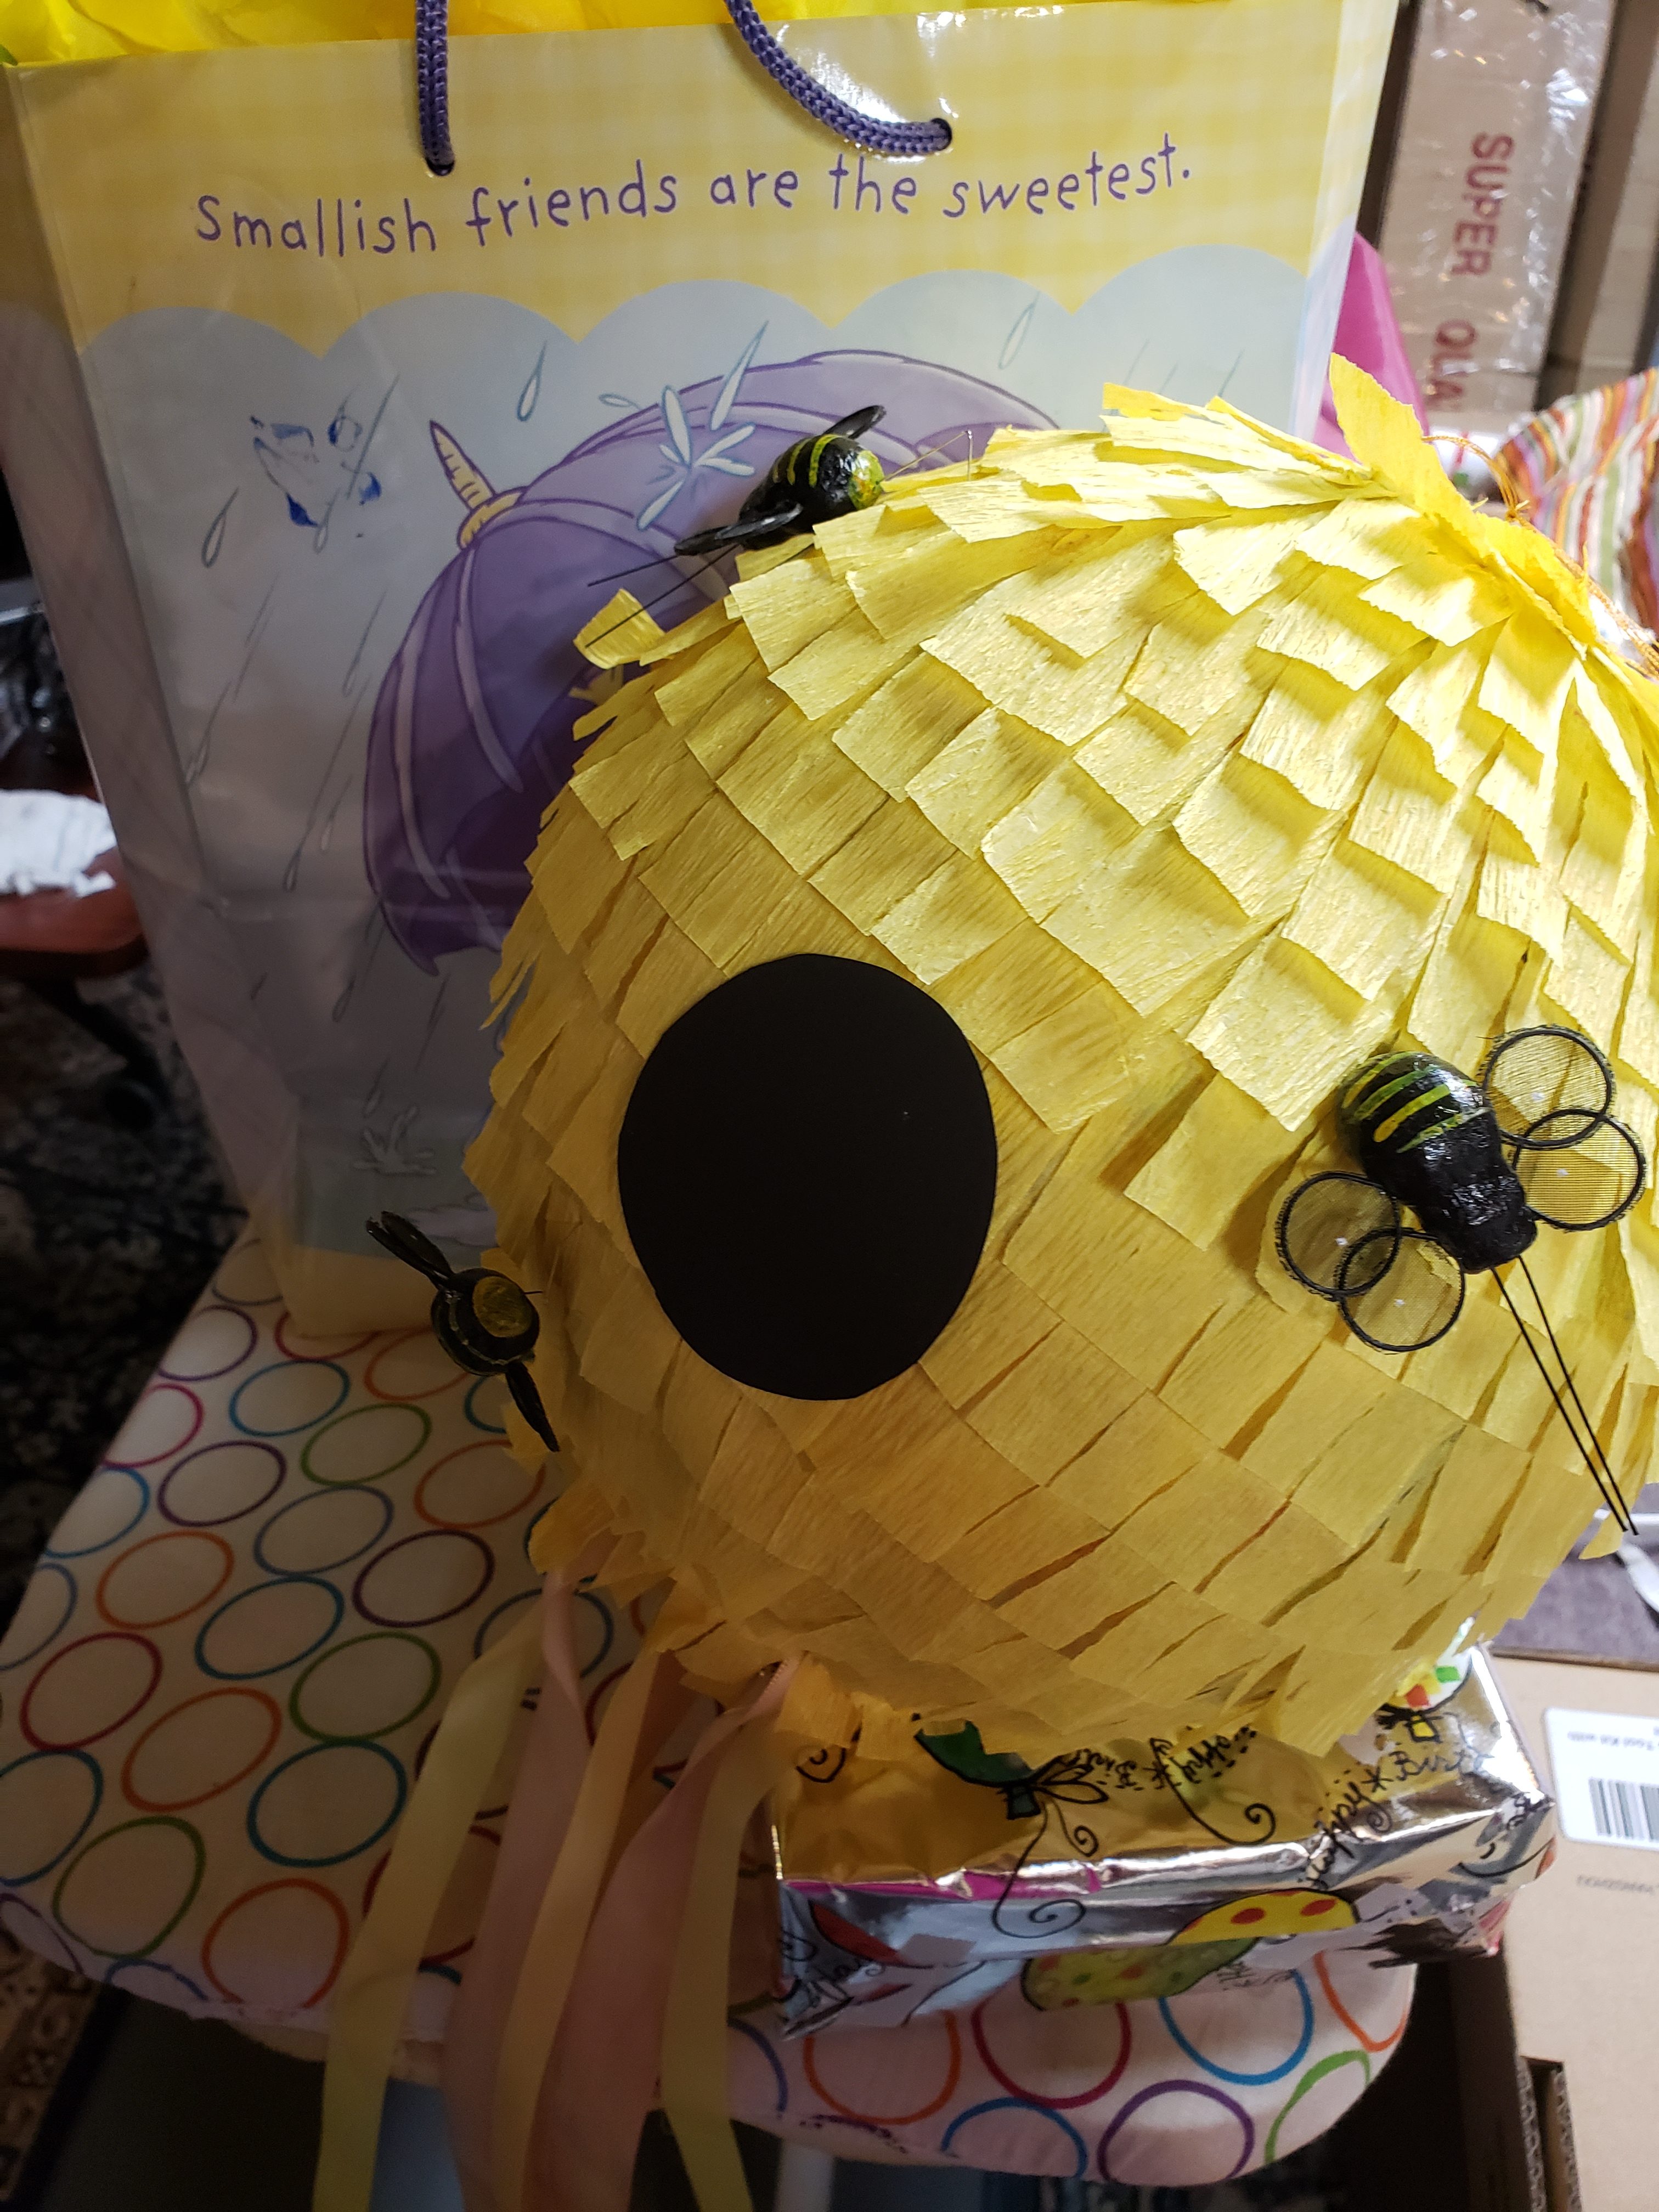
Toddler Pull-String Beehive Piñata
What you’ll need:
- flour
- water
- balloon
- newspaper ripped into long strips (around 1.5″ wide x 12″ long) – we probably used 4 grocery store fliers worth
- 1 roll of yellow crepe paper streamers
- packing tape
- scotch tape
- elmer’s glue
- 10 lengths of yellow ribbon – 2 feet long each.
- decorative bees from floral supply section
- black construction paper
- yarn needle and 10″ of string
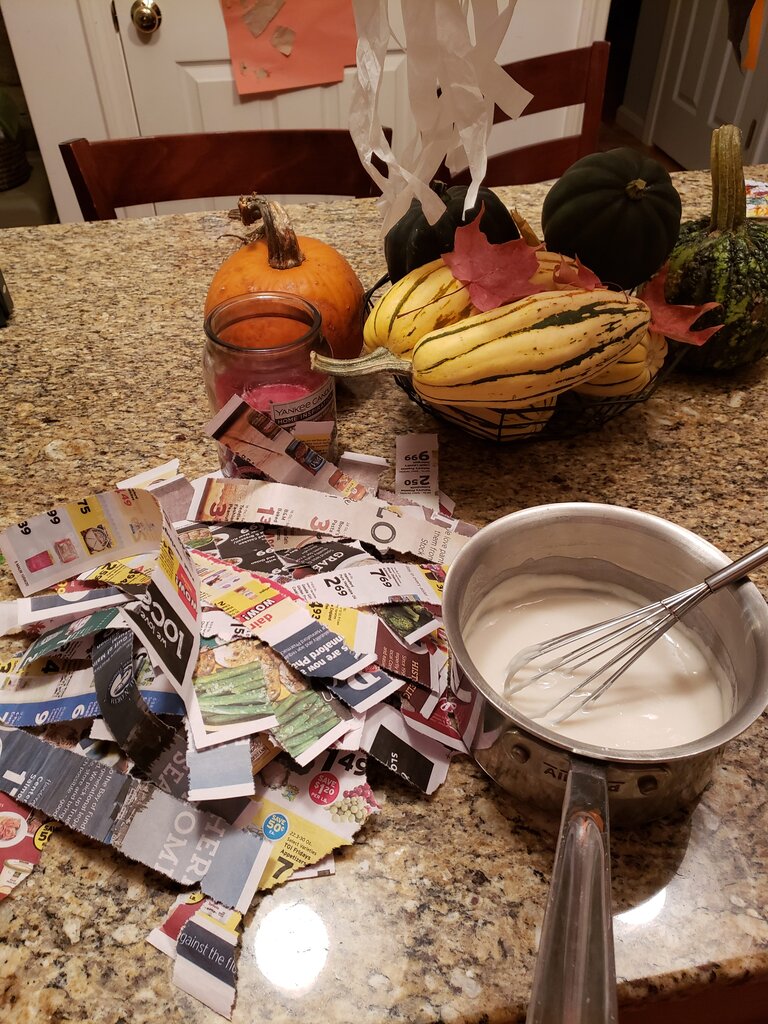
I used this recipe to make the papier mache paste and it worked really well.
- Mix 2 cups flour and 4 cups water in a medium pot. Heat over medium low heat, stirring constantly until the mixture thickens slightly. (I like it to be about the consistency of a thin pudding or a thick gravy.) Let cool.
- Blow up your balloon and tie it.
- Dip a piece of newspaper into papier mache mixture, and remove some of the excess paste by pulling between two fingers. Lay across the balloon and press with your hands.

Strips of newspaper and paper mache paste ready to go.
- Repeat step 3 with another piece of newspaper, laying perpendicular to the previous piece.
- Repeat step 4 until you have completely covered the balloon, except a patch 2×2 around the balloon tie.
- Let dry for a day. Refrigerate unused paper mache mix.
- After first layer of paper mache is dry repeat steps 3, 4 and 5 to form another layer of paper mache. Let dry again for 1-2 days.
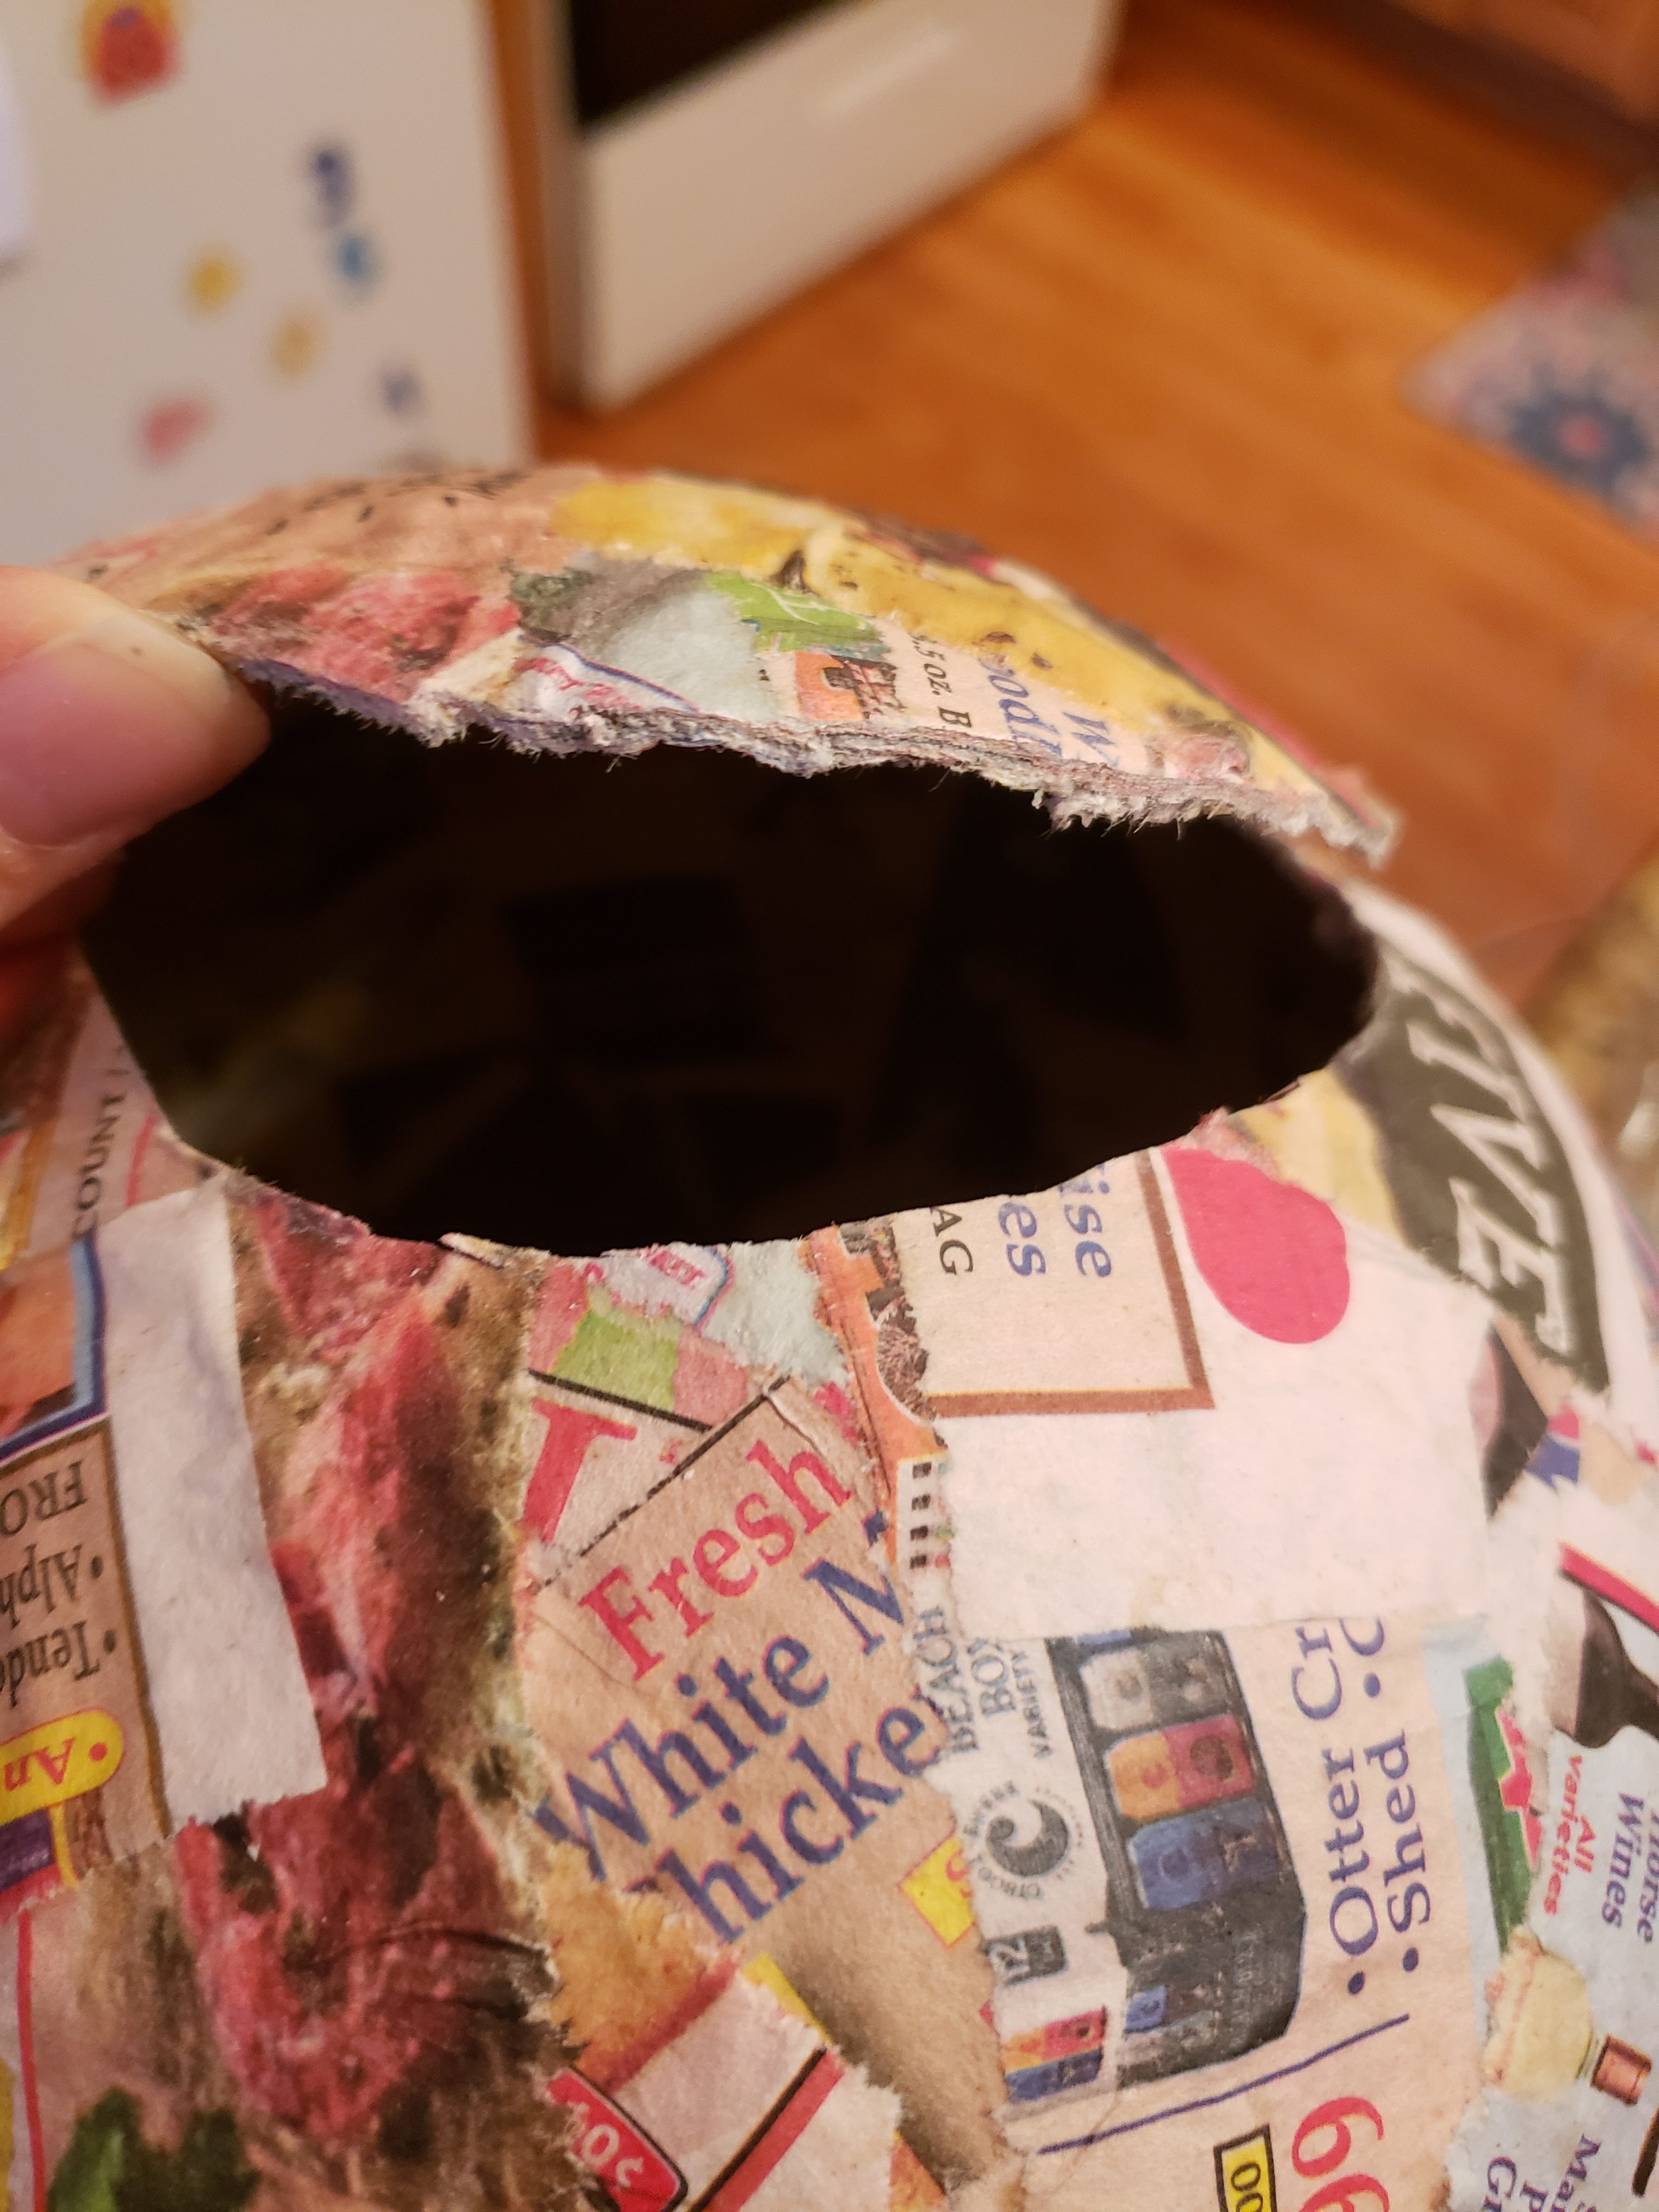
- When paper mache is completely dry, pop the balloon and remove.
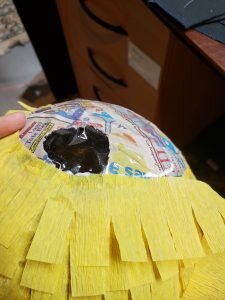
- Using a knife, cut a 4″x4″ semi circle in the bottom of the piñata, leaving 2″ attached on one side. This is the door of the piñata.
Cut a trap door into bottom of pinata.

Leave 2″ on back of the trap door to hold it onto the pinata.
- Tape 9 of your ribbons onto the inside of the piñata, on the wall of the piñata (NOT the door). Use scotch tape. These will be the decoy strings and should rip off without opening the piñata.
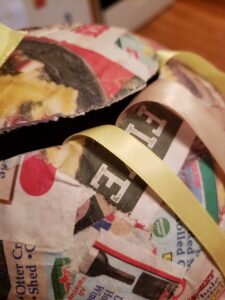
Tape ribbons onto the inside wall of the pinata as decoys.
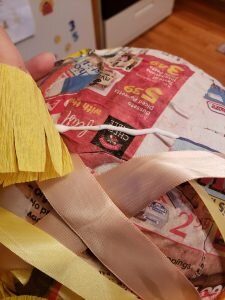
- Cut a small slit in the edge of door of the piñata and feed the last ribbon through and tie it. This string will open the door of the piñata.
Poke hole in pinata door opposite the 2″ strip holding it on. Feed ribbon through the hole and tie.
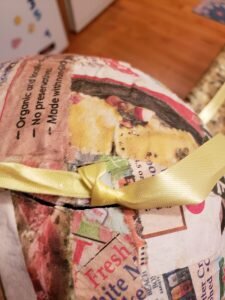
- Finally place a piece of scotch tape connecting the piñata wall and door next to the string to open the piñata. This should hold the piñata door in place while we fill and decorate, but should rip right off when the door is opened.
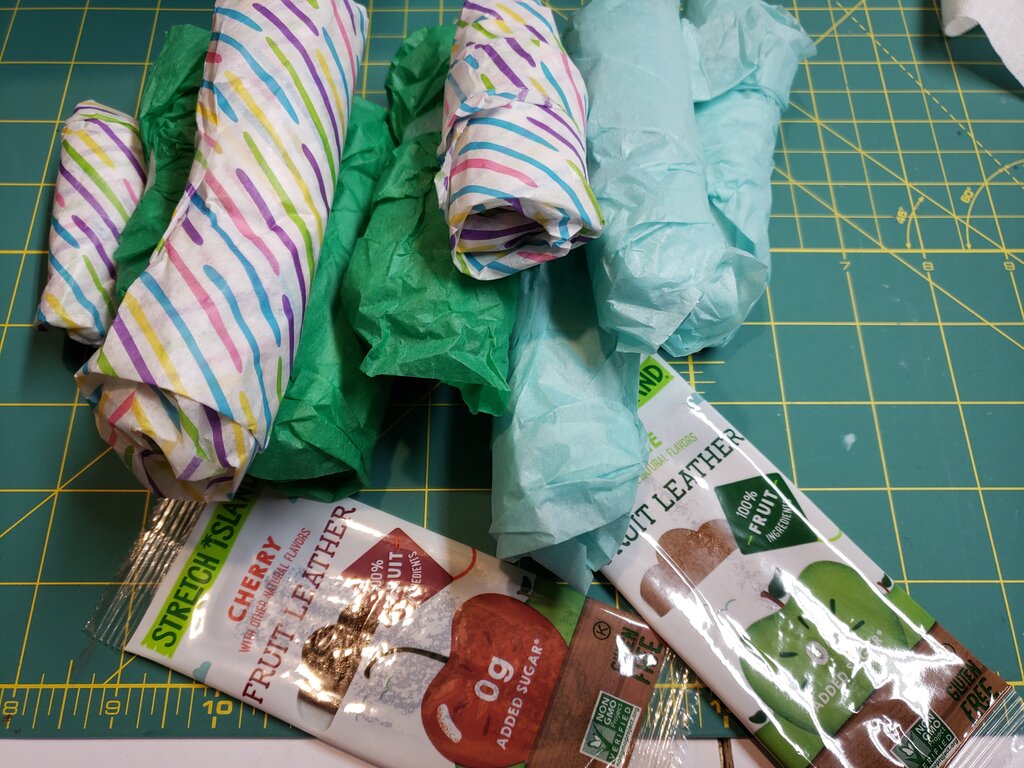
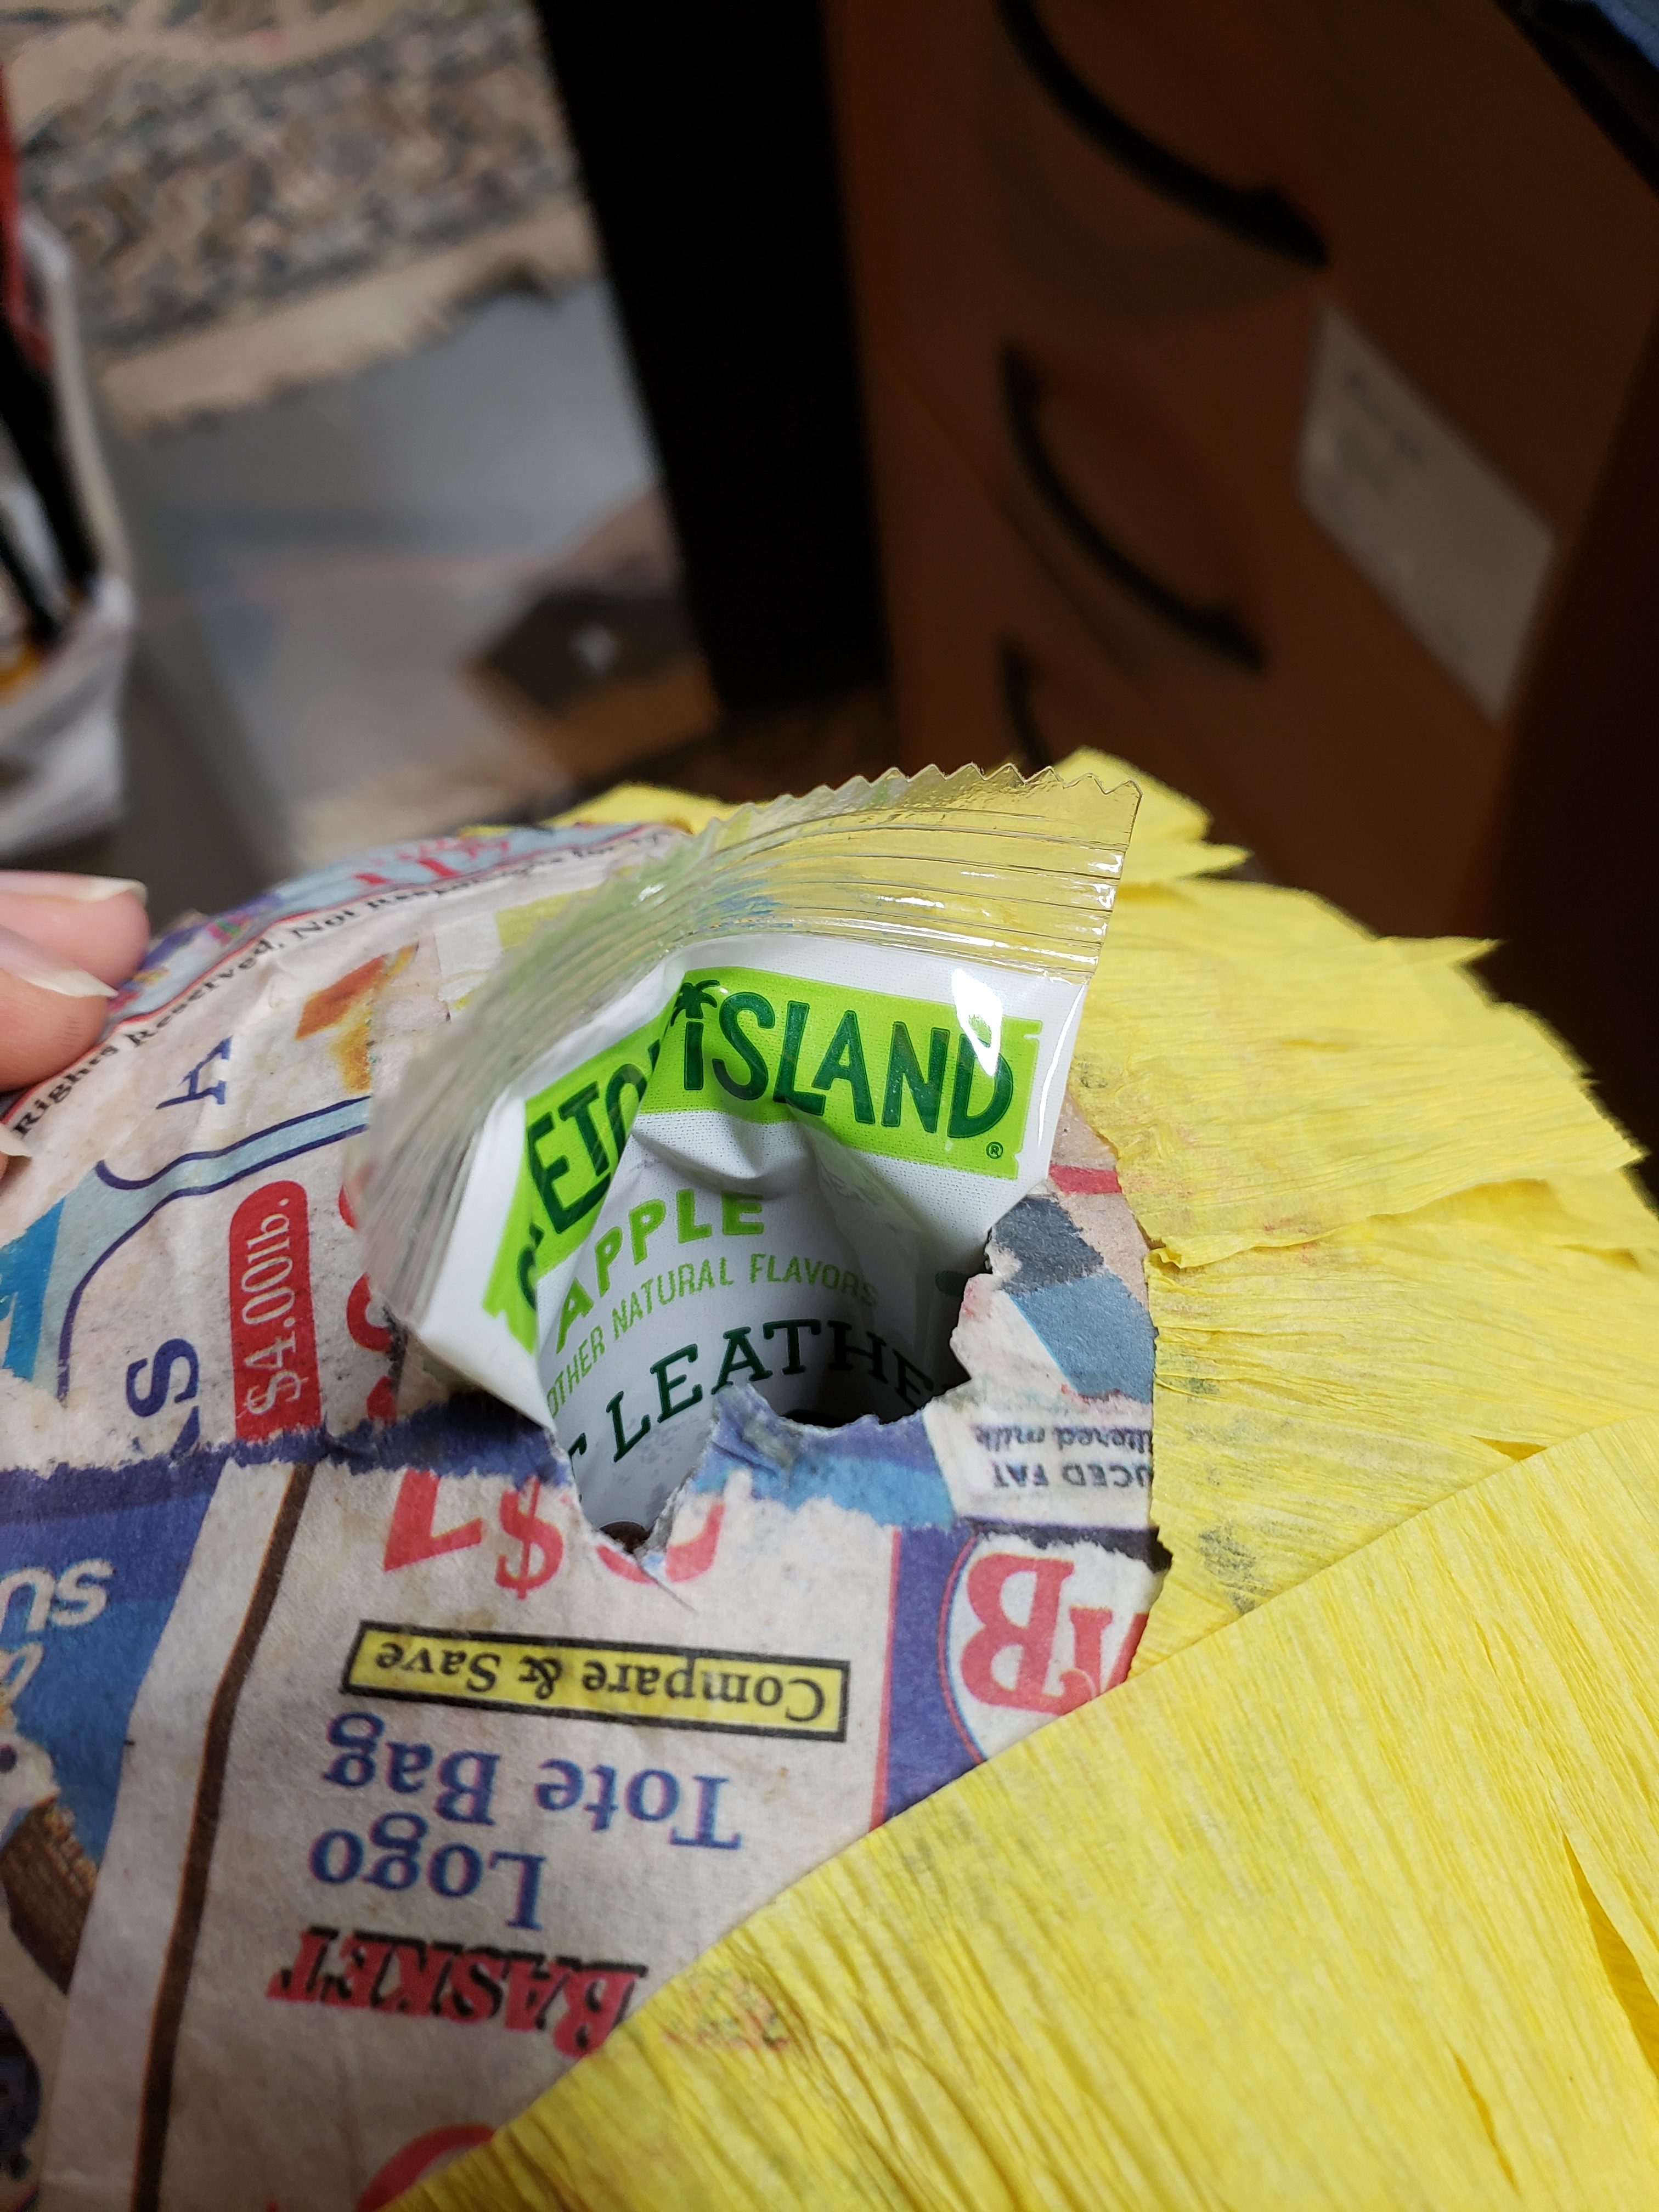
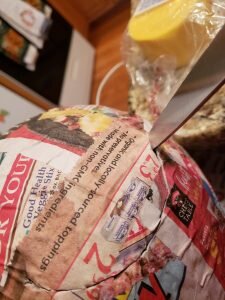
- Fill piñata through the hole in top and then cover the hole with a piece of packing tape.

Treats waiting to go into the pinata
Fill pinata with treats.
Use packing tape to cover the hole on the top of the pinata.
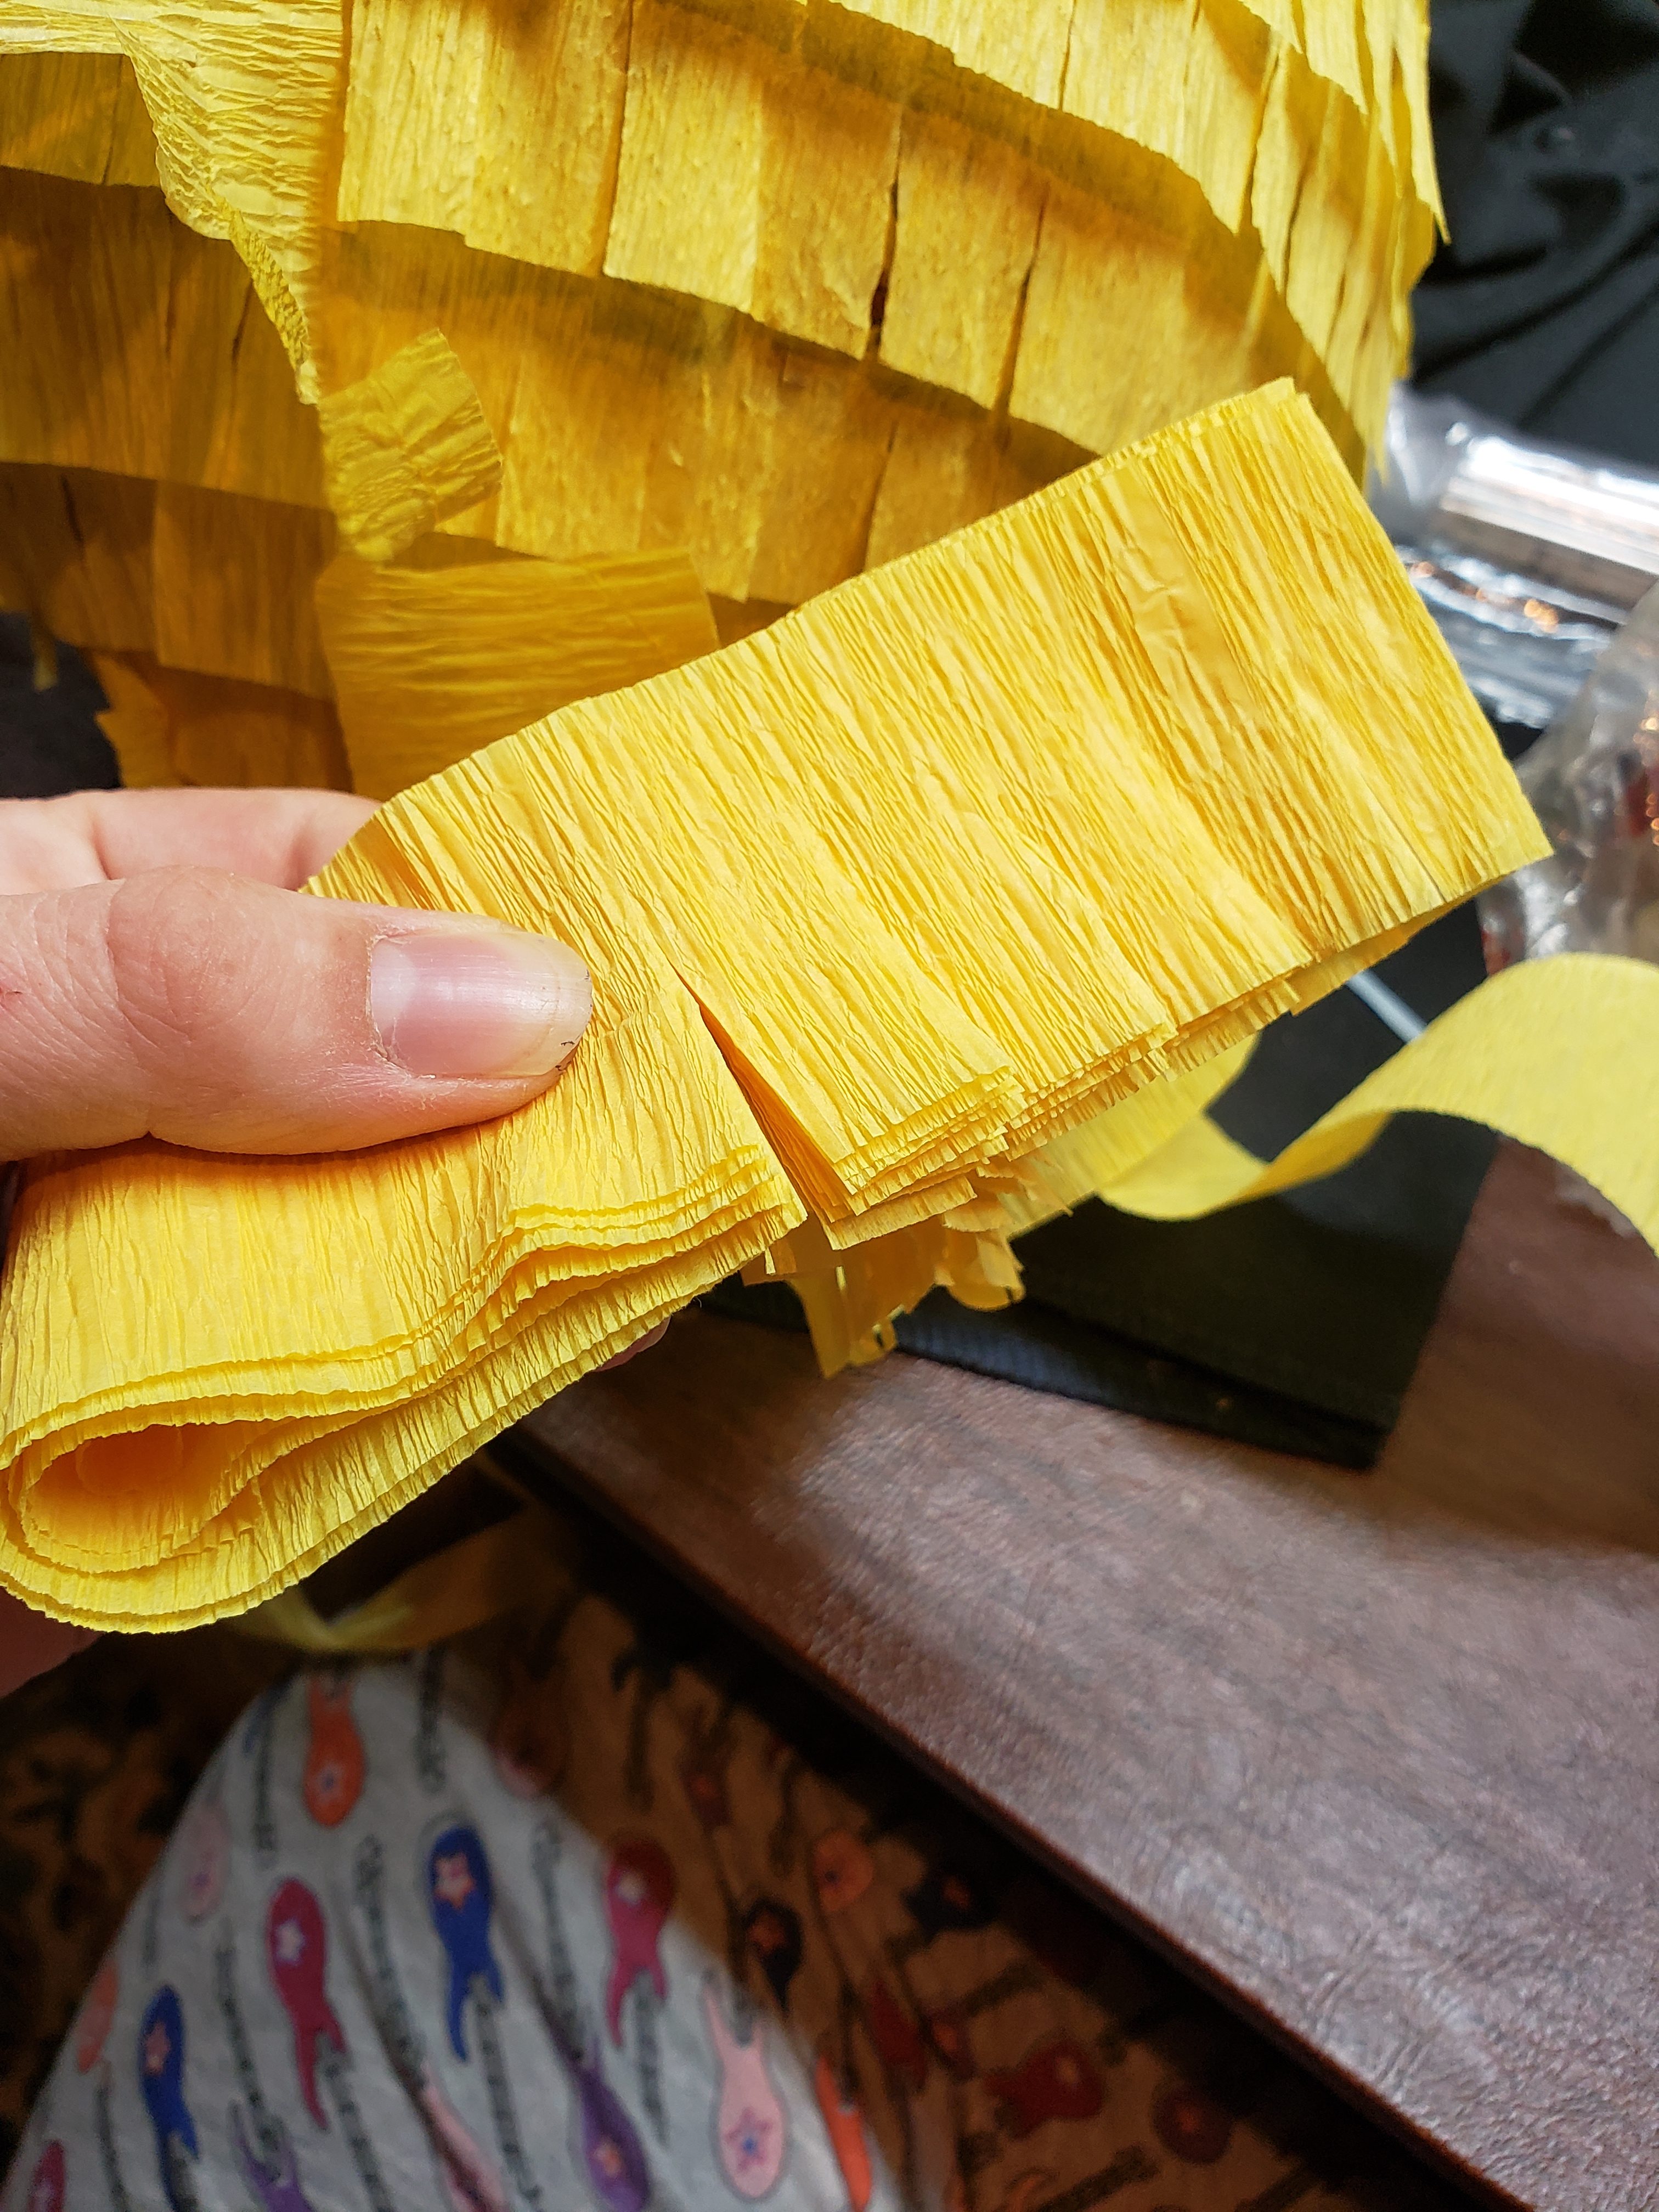
- Fold the crepe paper into a 5″ strip of about 10 layers. Cut into this strip to form a fringe with strips 1″ deep and 3/4″ apart. Do not detach from the rest of the roll. Unfold.

Cut fringe by wrapping crepe paper in large loop and cutting.
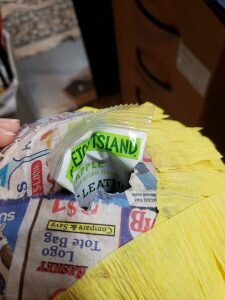
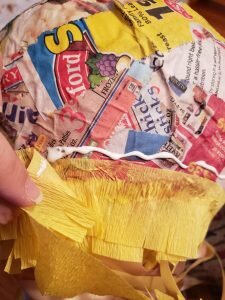
- Take the end of your strip and use the Elmer’s glue to adhere the non-fringed end to the bottom of the piñata along the edge of the piñata door.
Glue fringe along the outside of the piñata door.

First round of fringe on outside of the pinata door. Note the piece of tape holding the door in place.
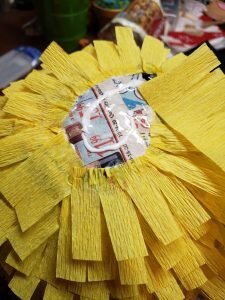
- Continue gluing the fringe around the piñata in circles overlapping the fringe from the previous row. When you run out of fringe simply repeat step 14 to make more.
Continue gluing fringe in overlapping layers.
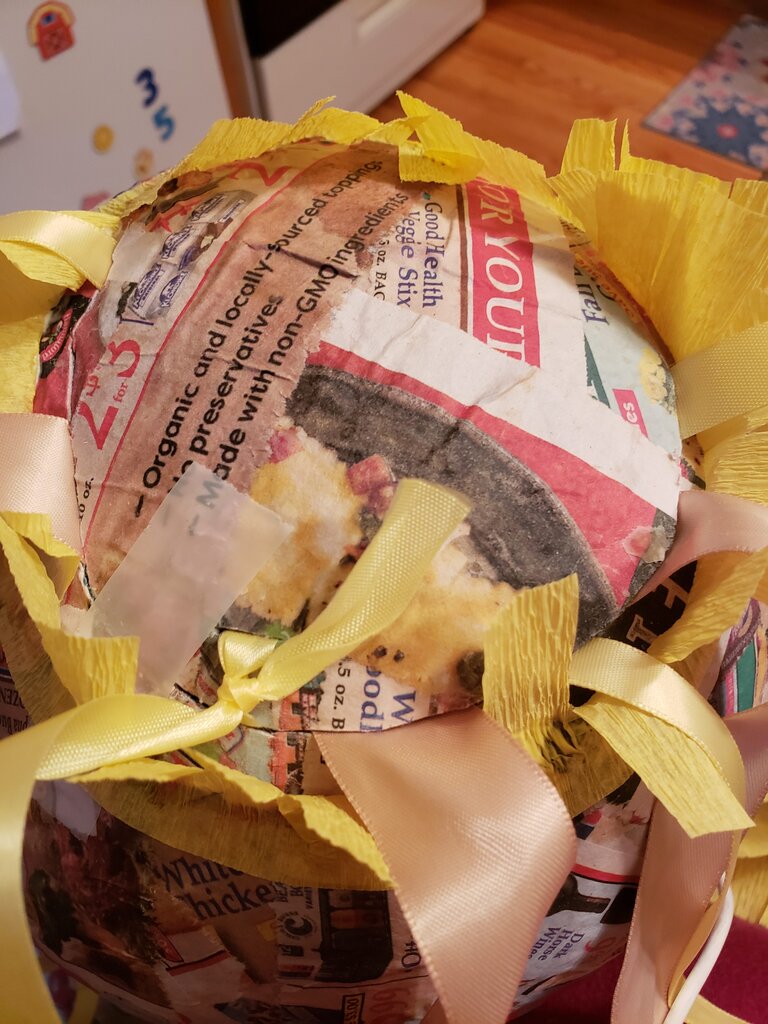
- When the top of the piñata is reached, rip off the fringe and secure to the top. Using a yarn needle thread a piece of string through the top of the piñata. Tie of the string to form a loop.
- At the bottom center of the piñata, glue non fringed end of crepe paper. Continue gluing crepe paper fringe on top of previous fringe in concentric circles overlapping slightly. When you reach the door, rip off the fringe from the crepe paper roll and glue.
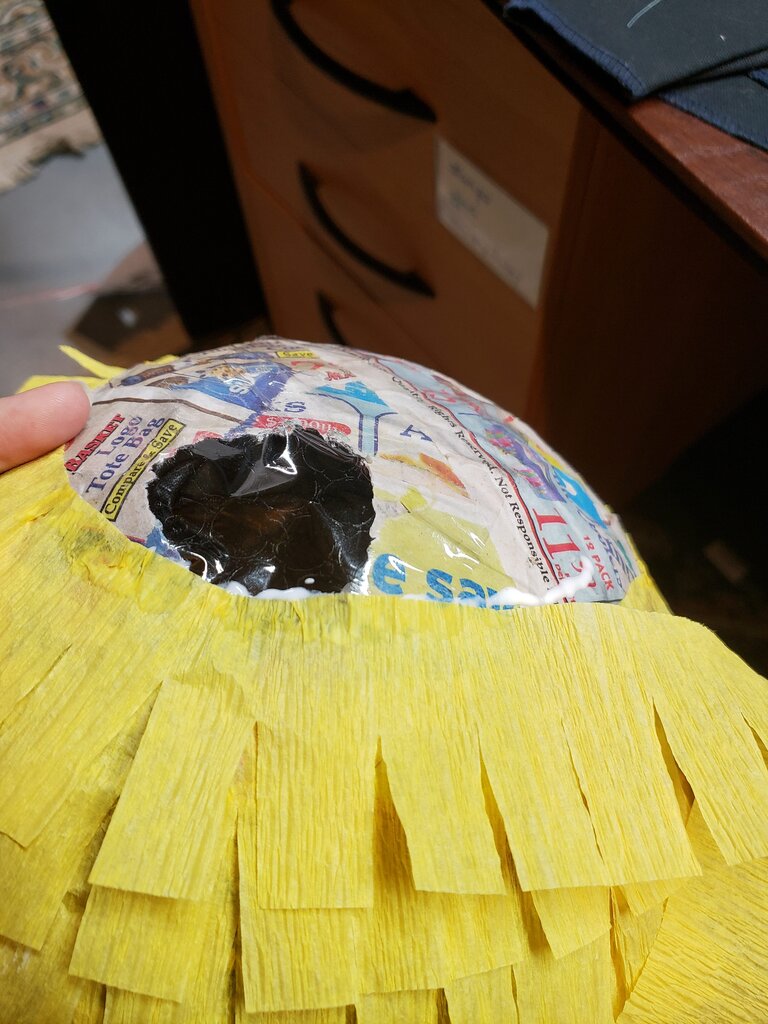
- Glue a 3″ circle of black paper in the center of the piñata to look like an entrance, and glue bees around the piñata as desired.
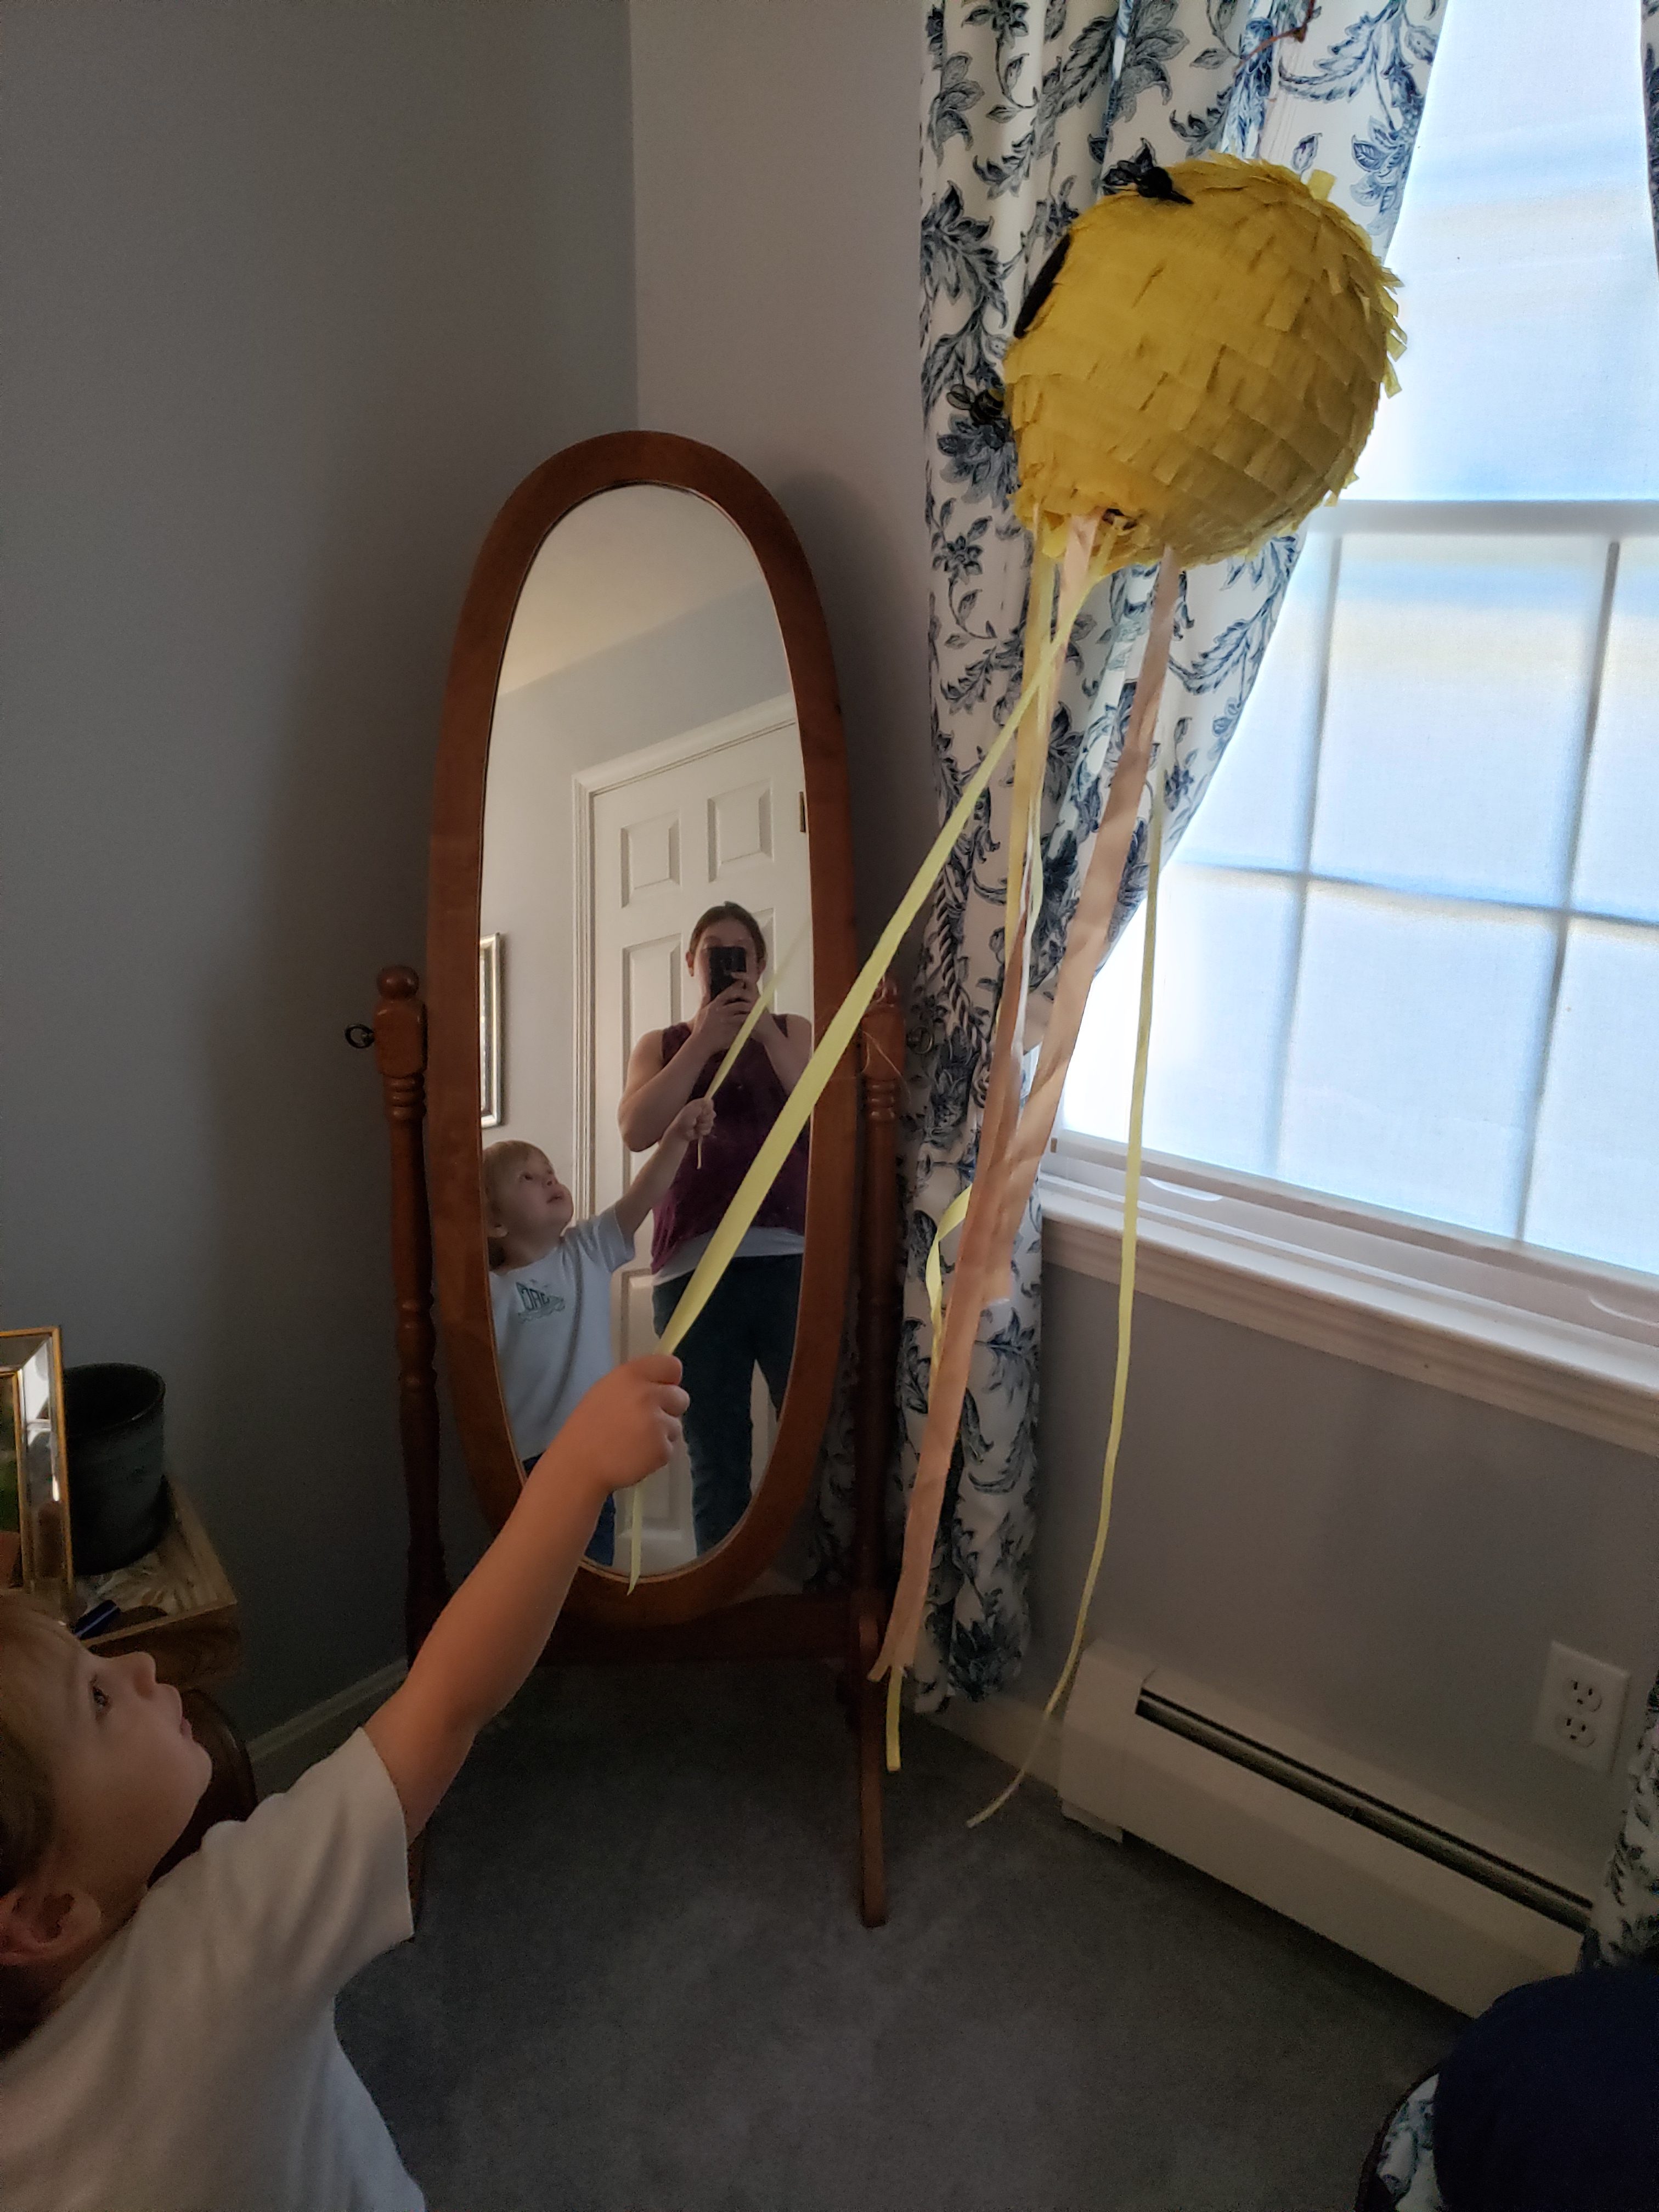
- To open the piñata have child(ren) pull a string on the door until the non-decoy string is pulled, opening the piñata and spilling out treats.

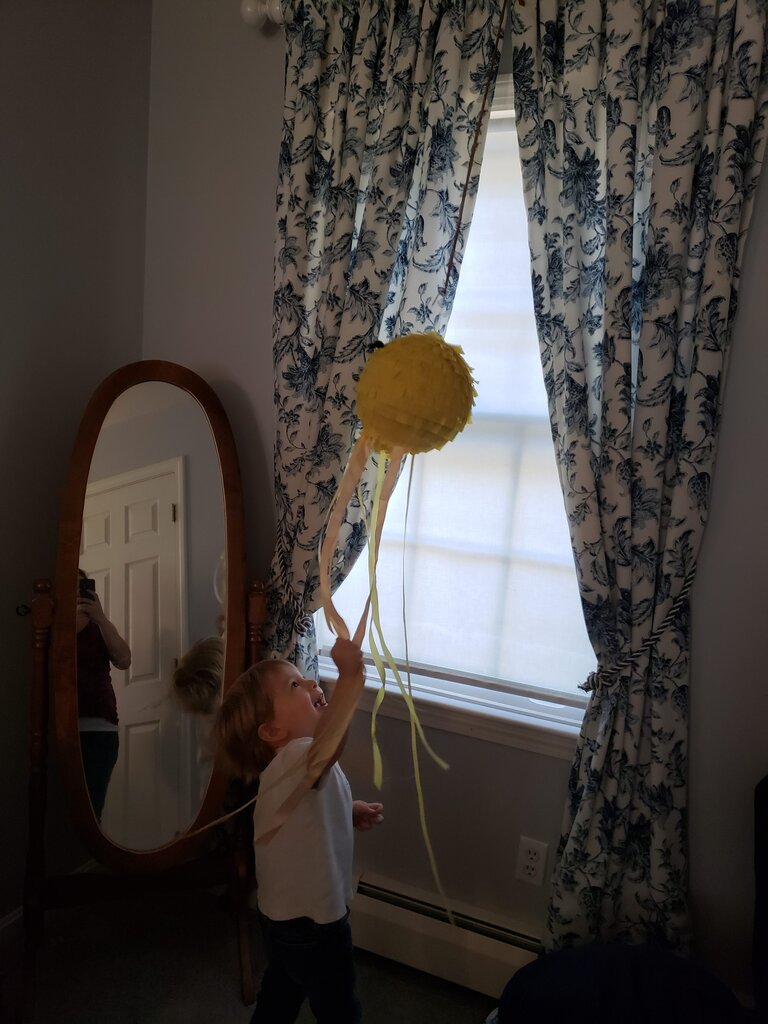
Julius really excited to see the pinata.

We convinced him to pull just one string first.

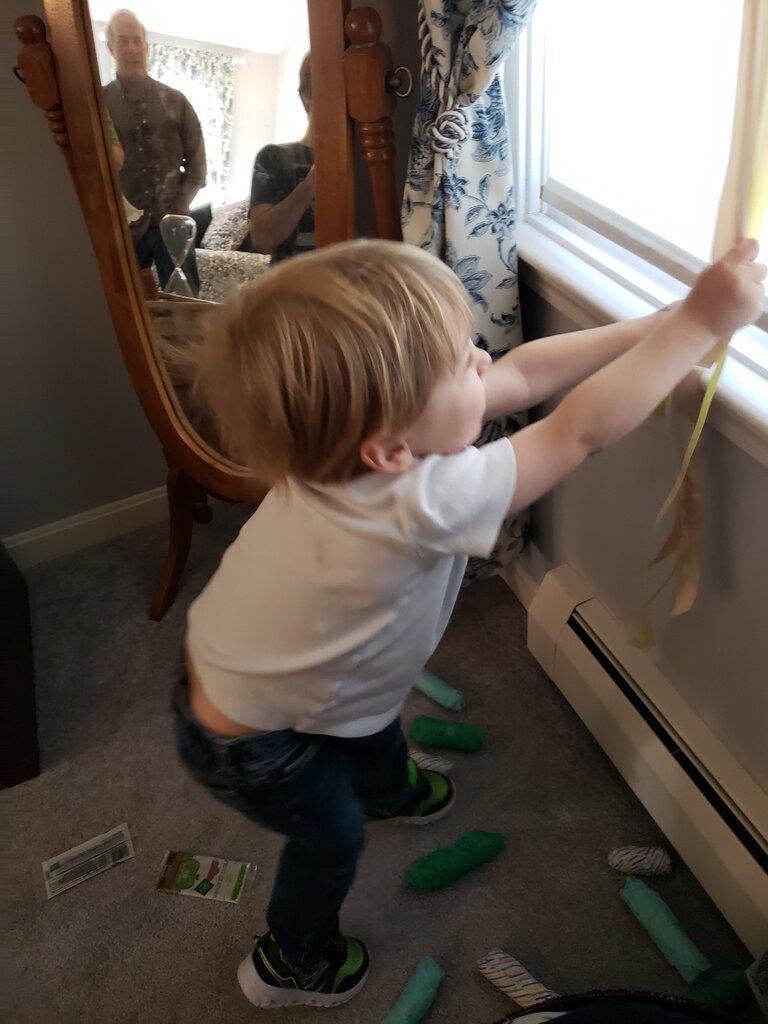
Releasing all the candy