
Well it turns out I have a bunch of life to catch up on! After a week of sabbatical, I don’t have much to show for it except a cleaner house! Since I’ve started this hat business the basement has gone from neat to a total disaster. It had gotten to the point where my sewing area has exploded to more than half the basement and the other 2 quarters (my wood working area and the laundry area) had taken on different Whimsical Brims related messes. For example – I was in a rush to get the sign roof brackets made and left a total mess (sawdust included) on the woodworking bench. The laundry area is full of several weeks of neglected clothing as well as ren faire garb to be washed before this Saturday.
Since I’ve been making so much clothing lately I’ve been doing a lot of hand washing an air drying. Since I don’t have a laundry line outside, I purchased a $1 clothesline at Walmart and strung it across my basement. This has actually worked rather well. Well except for the fact that I keep losing all the clothespins under piles of clean laundry. It has been on my list for a couple months now to make a bag for my clothespins. Today I’m happy to say that I finally get to check it off the list! I used some scrap clothing fabric that I saved from the landfill, which is why it doesn’t look like it was cut from solid pieces of fabric. I stitched a few pieces together to form one big square. You can do the same or just use a yard of fabric you have on hand.
Reversible Hanging Clothespin Holder
- 1.5 yards of fabric (You’ll need two squares around 20″x20″)
- lightweight fusible interfacing
- 4 large eyelets
- Metal clothes hanger
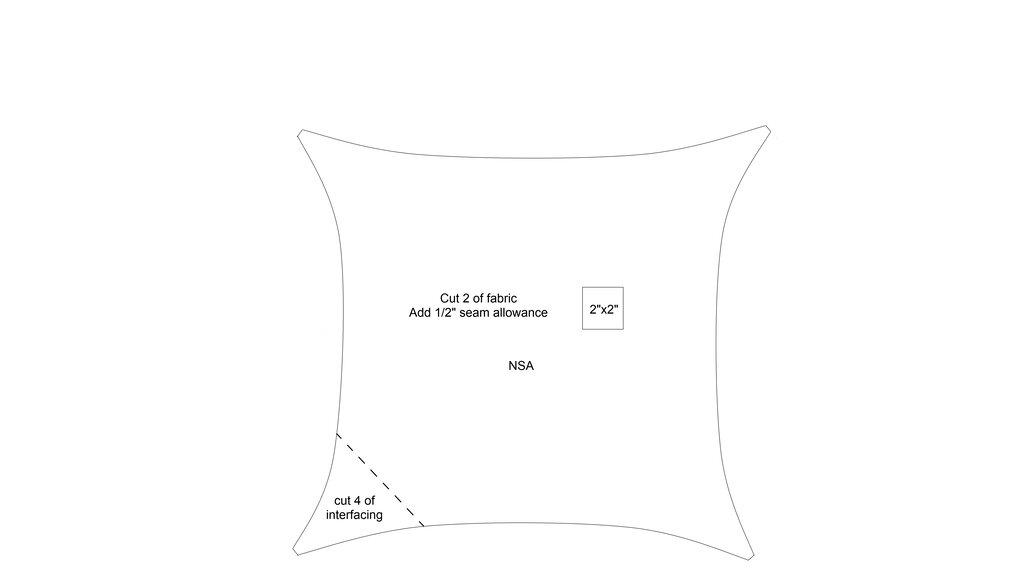
- Pattern here
- Trace and cut body pattern (above) twice on fabric (you can use two different types of fabric if you desire), you will need to add 1/2″ of seam allowance.
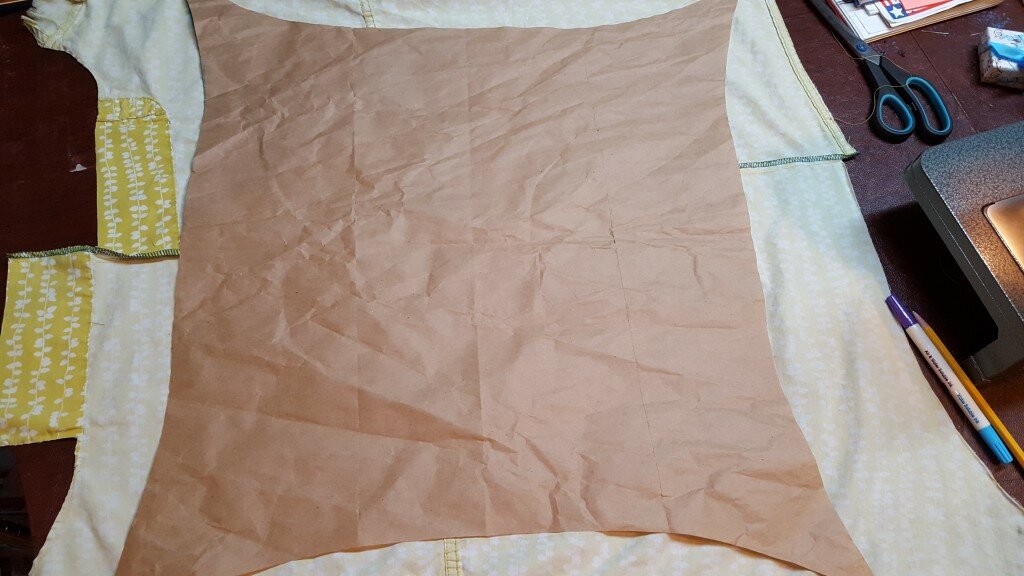
Trace and cut out pattern pieces. Be sure to add 1/2″ seam allowance
- Trace and cut 4 of the hanging reinforcements onto interfacing and cut out.
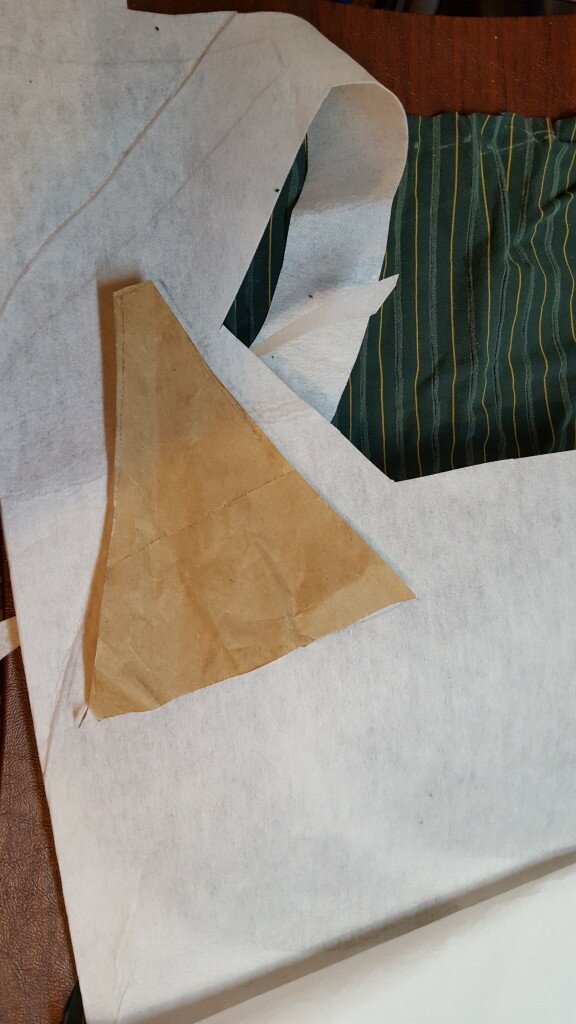
Cut out 4 pieces of interfacing for reinforcement
- Fuse reinforcements onto the wrong side of one of the pieces of fabric following manufacturer’s instructions.
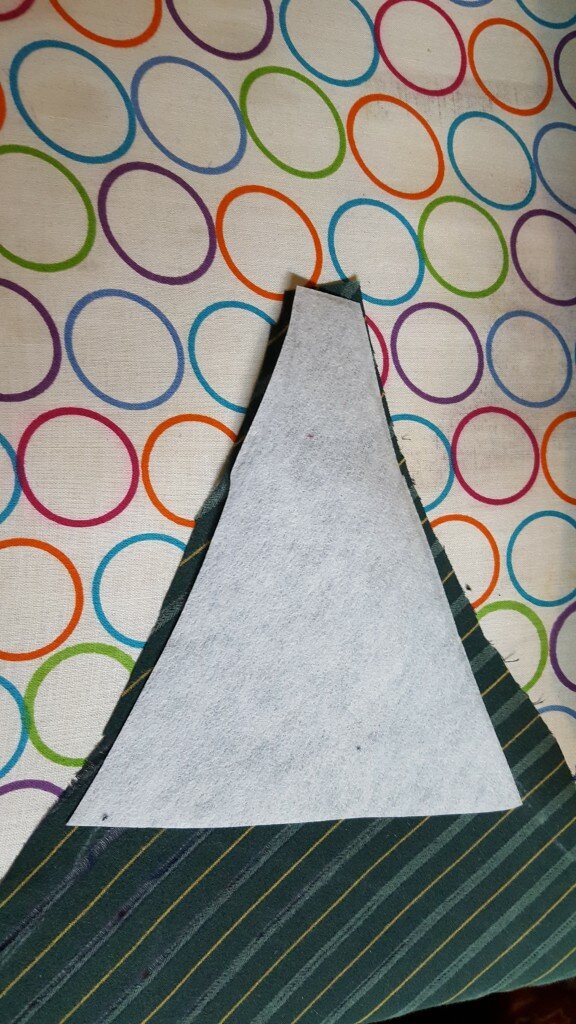
Fuse interfacing
- Pin body fabric together, right sides facing.
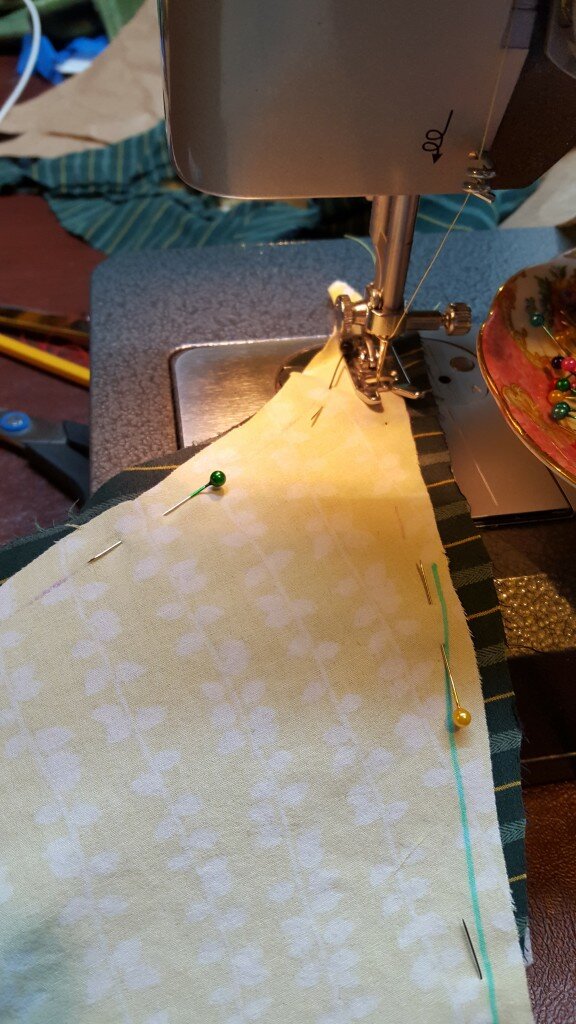
Pin and stitch body fabric together
- Stitch together, leaving a 3 inch gap in one of the sides. Trim seams.
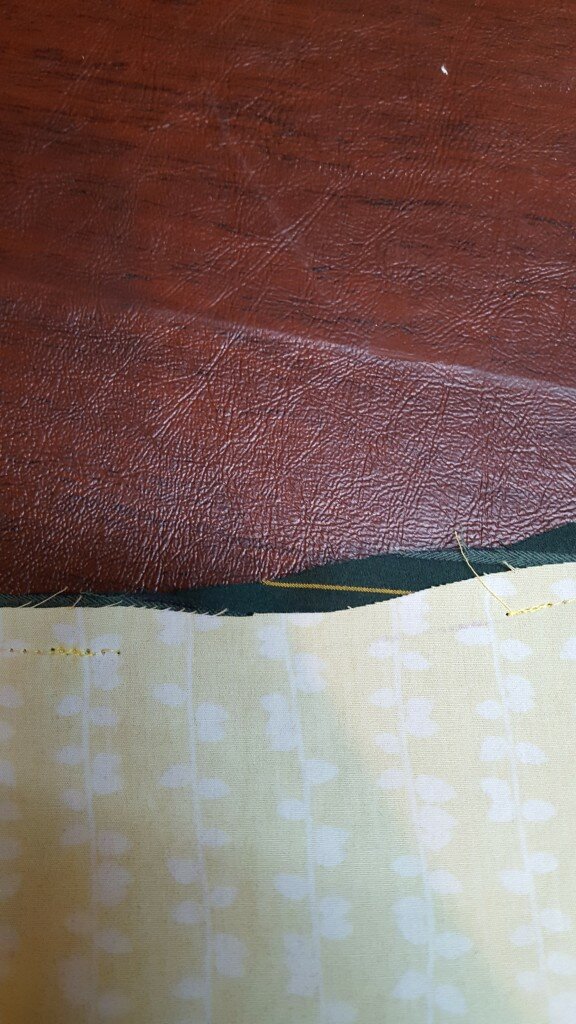
Leave gap.
- Turn body inside out through the gap.
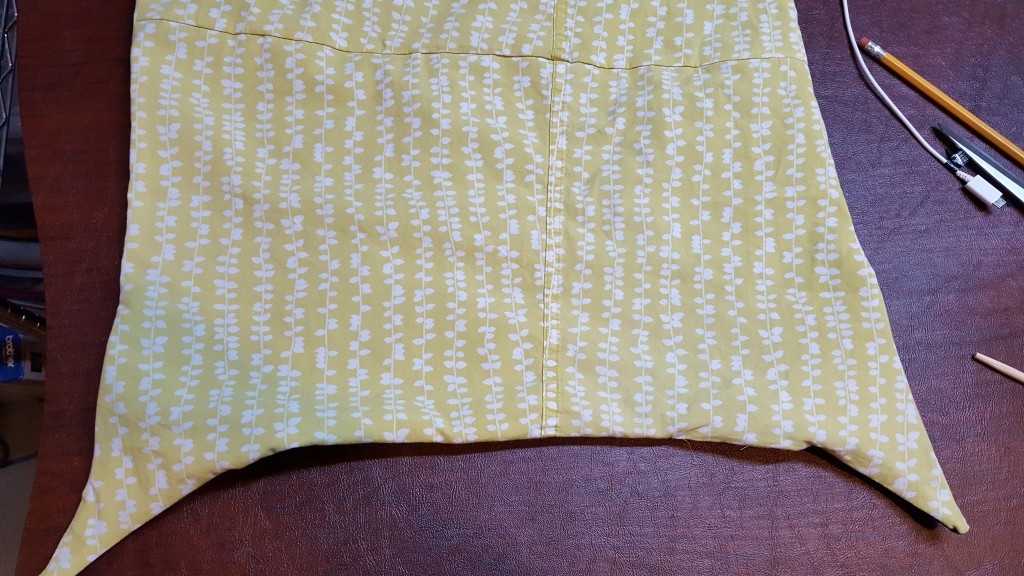
Turn right side out
- Press flat.
- Stitch all around the edges of the body close to the edge.
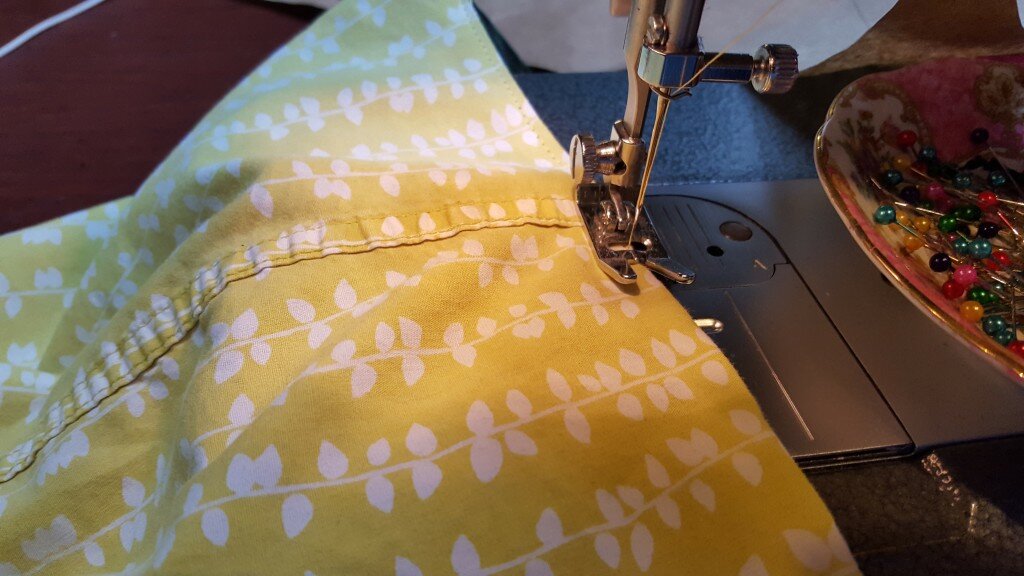
Stitch around edges
- Mark location of each eyelet on fabric, then cut out.
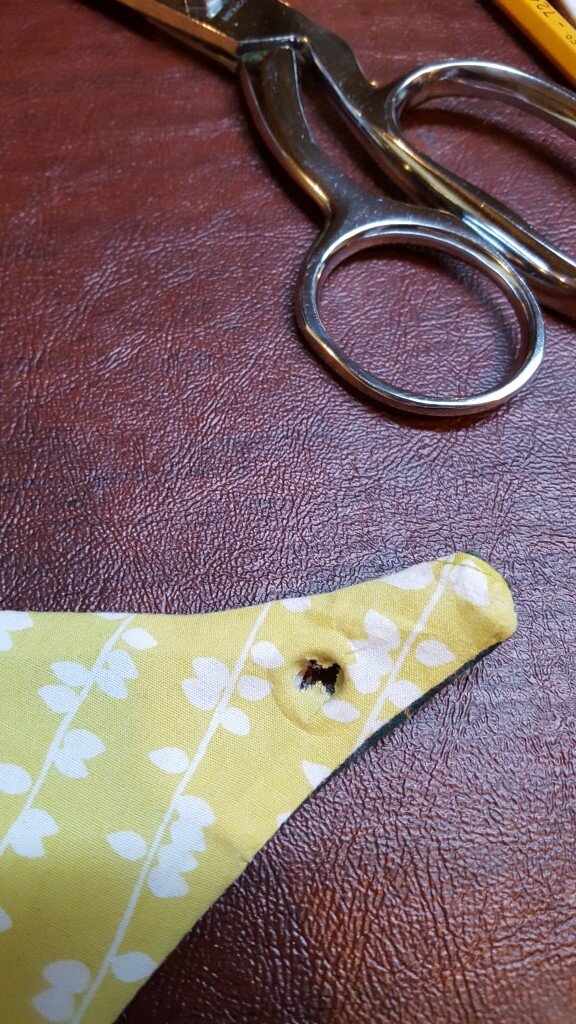
Cut out hole for eyelet
- Install eyelets per manufacturer’s instructions.
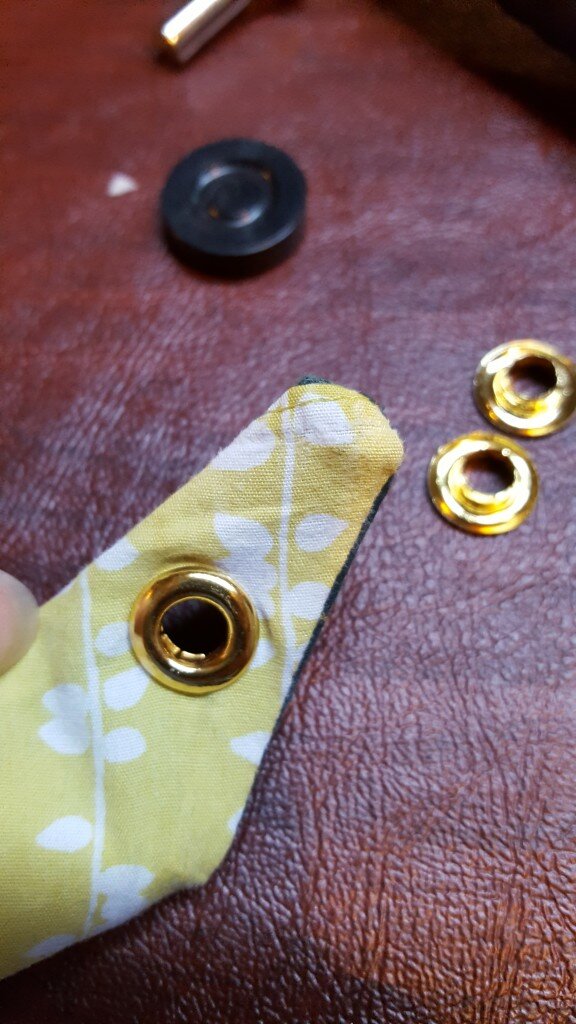
Install eyelet
- Take metal clothes hanger and using a set of pliers, untwist the neck of the hanger.
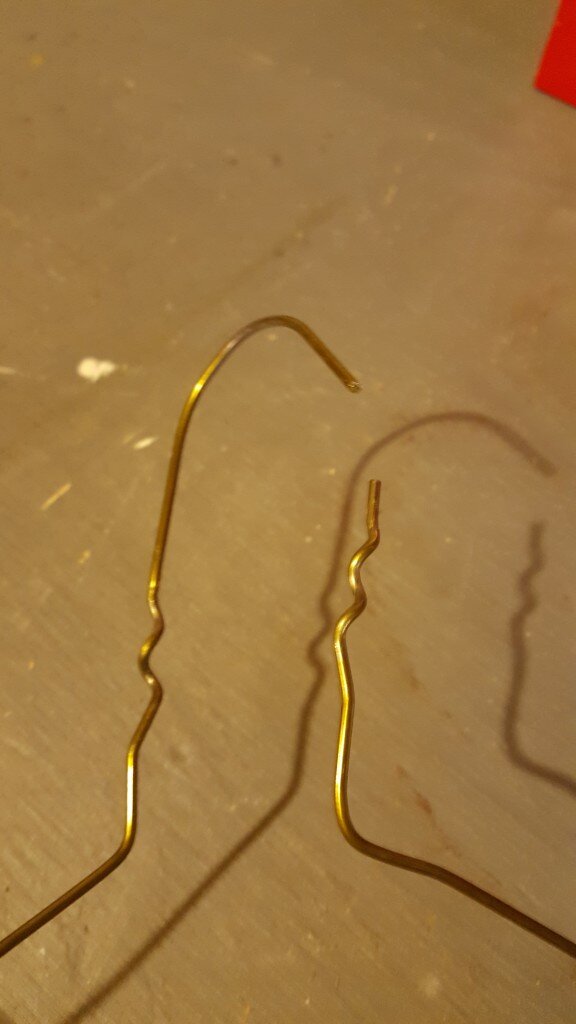
Untwist neck of hanger
- Using the set of pliers, bend the hanger to form a 1 inch diameter hook under the neck of the hanger.
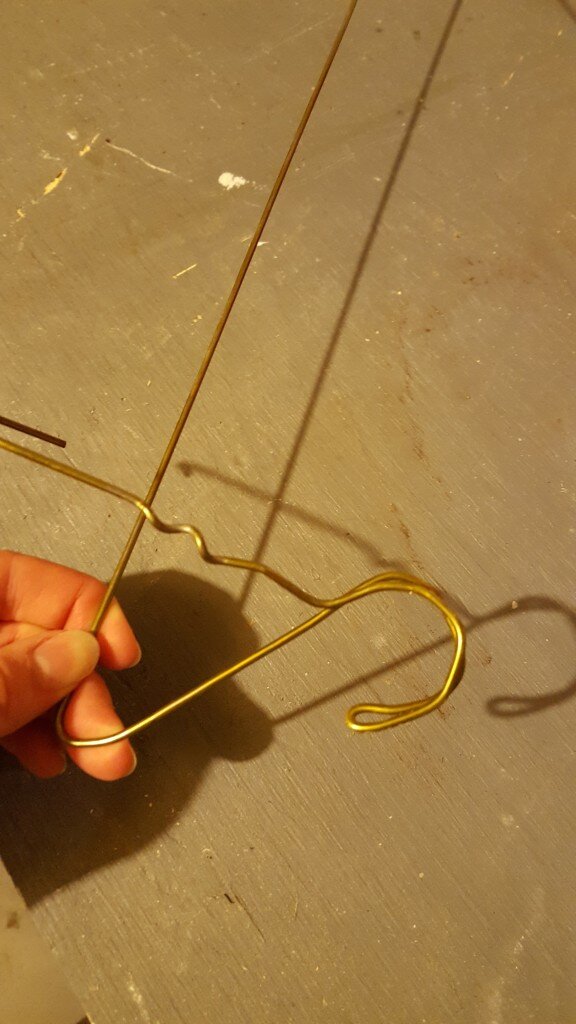
Twist into a hook
- Twist back around the neck of the hanger to secure. Clip.
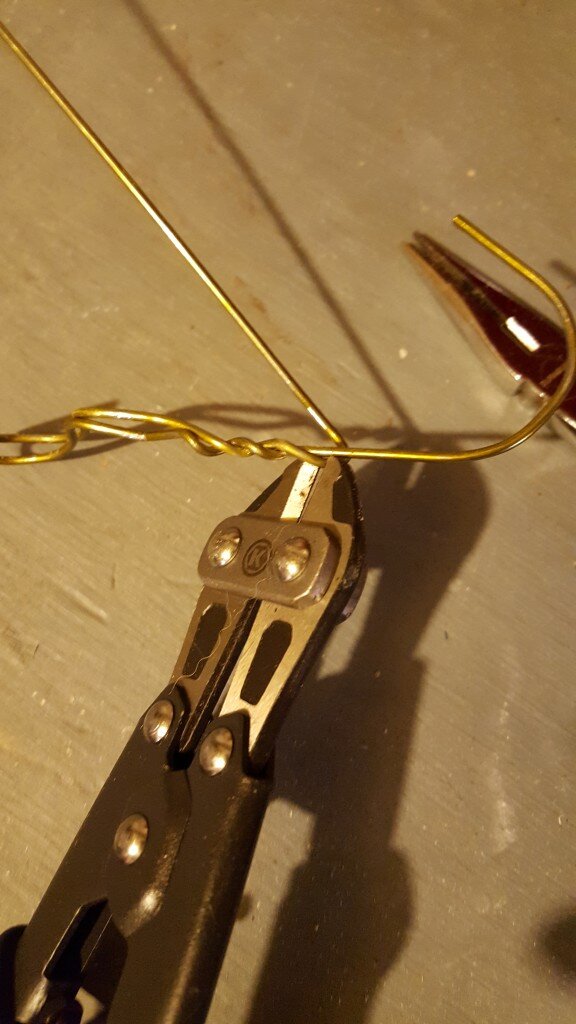
Clip.
- Feed the eyelets around the hook. Fill with clothespins and hang to use.
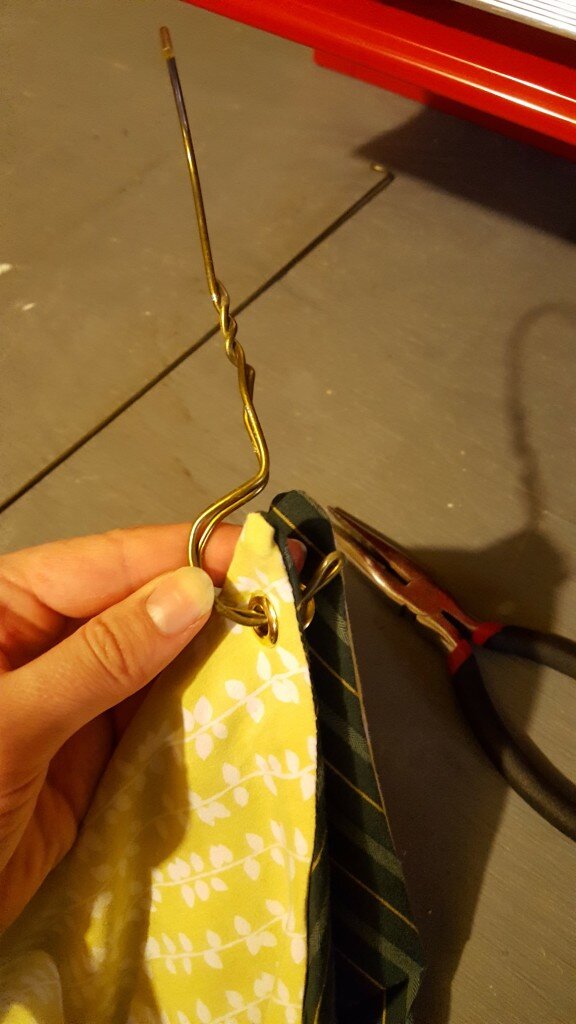
Thread hook through eyelets
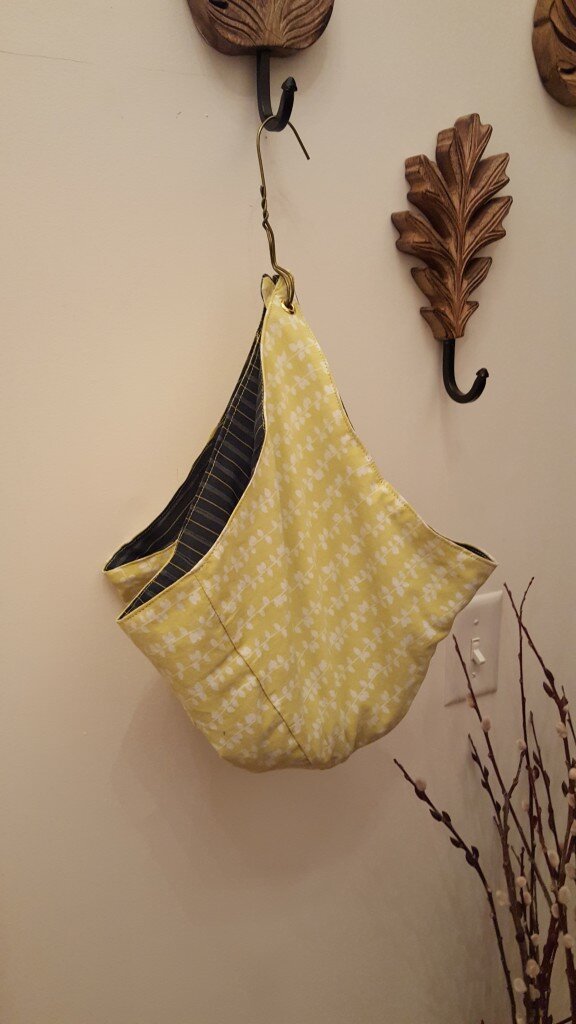
Finished reversible clothespin holder
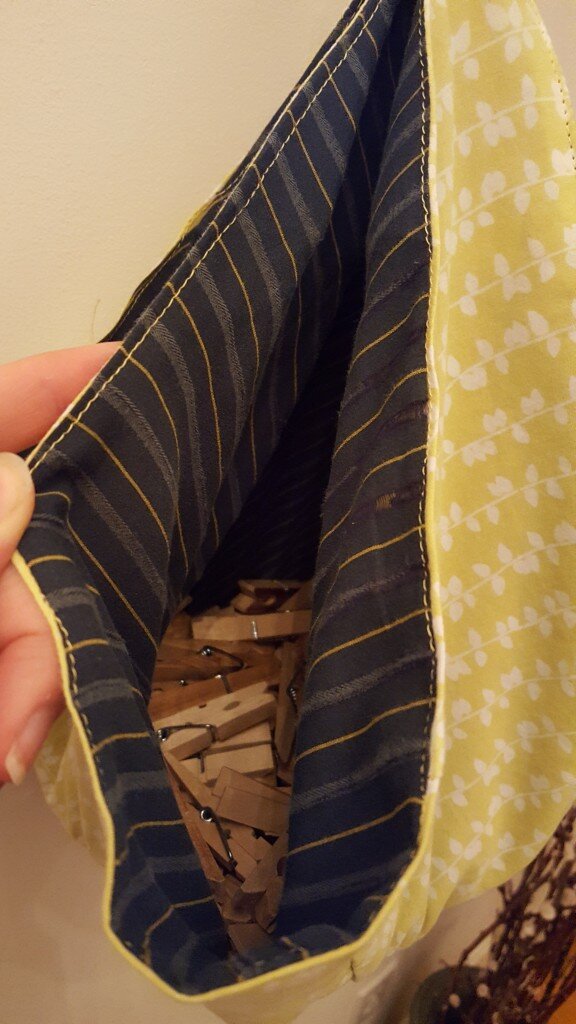
Fill with clothespins
