
While I have accumulated a huge a list of non-hat-related things to do during sabbatical, hats are keeping me so darn busy! On top of hats, I’m still working on faire raiments! Last week I finally finished a wool cloak for the faire and not a moment too soon. It was a brisk 42 degrees this morning when we stepped into the fairground! I need to make poor Will a cloak this week so he doesn’t freeze next weekend.

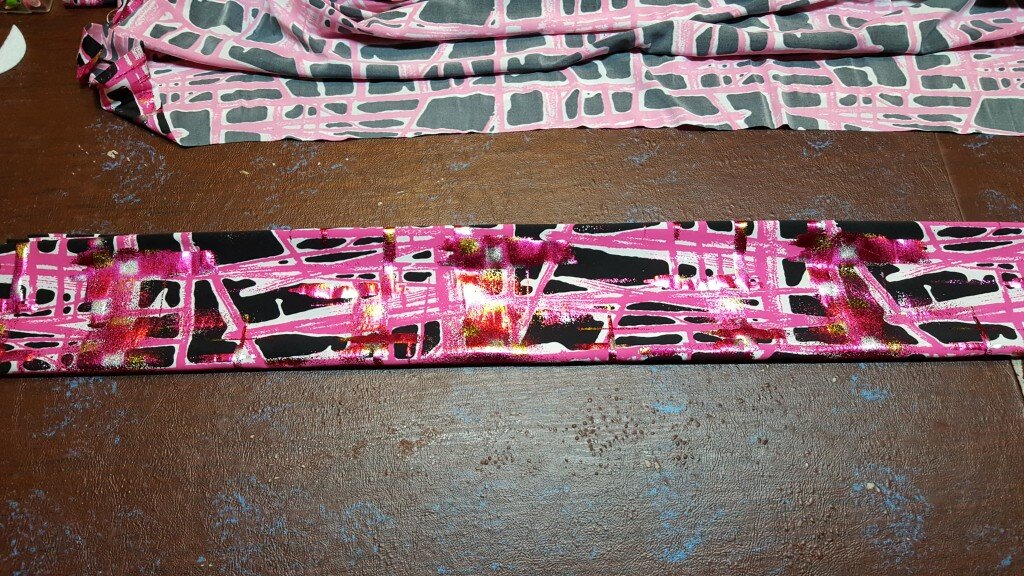
Terrible snap chat of my cloak. Note the pink hair for breast cancer awareness month.
Luckily in between all the hat and cloak sewing I had a chance to knock one thing off my laundry list – a running belt! My co-workers have been making fun of me for coming into work during lunch to do yoga or run with my running buddies. But yoga and running are the best part of my day! Why wouldn’t I drive to work to do the things I love? Anyway, one subtle problem I’ve had with driving to work to run with my friends is that I have no where to store my car keys or cell phone. Ladies’ running attire has a dirth of pockets, and when it does have pockets they are way too small to be of much use to anyone.
On pinterest a while back I saw this nifty running belt thing that has pockets in it! This is my interpretation of that device! A word of caution: I almost turned the whole thing into a mobius strip when I first made it so make sure you follow my instructions carefully. Also I got an industrial serger off craigslist the other day! I am totally in love with it. I have been in the market for a serger for a long time and finally committed. This thing is A BEAST. If you don’t have a serger you can follow my instructions for sewing stretch fabrics in this post on yoga pants.
Stretch Running Belt with Pockets
- 16″ wide by waist measurement long piece of stretch fabric. I used pink polyester spandex
- serger (or you can use a regular sewing machine with a ballpoint needle and an appropriate stretch stitch. See this post for more information!)
- Start out by measuring your waist at the largest part of the hips where you want your belt to sit.
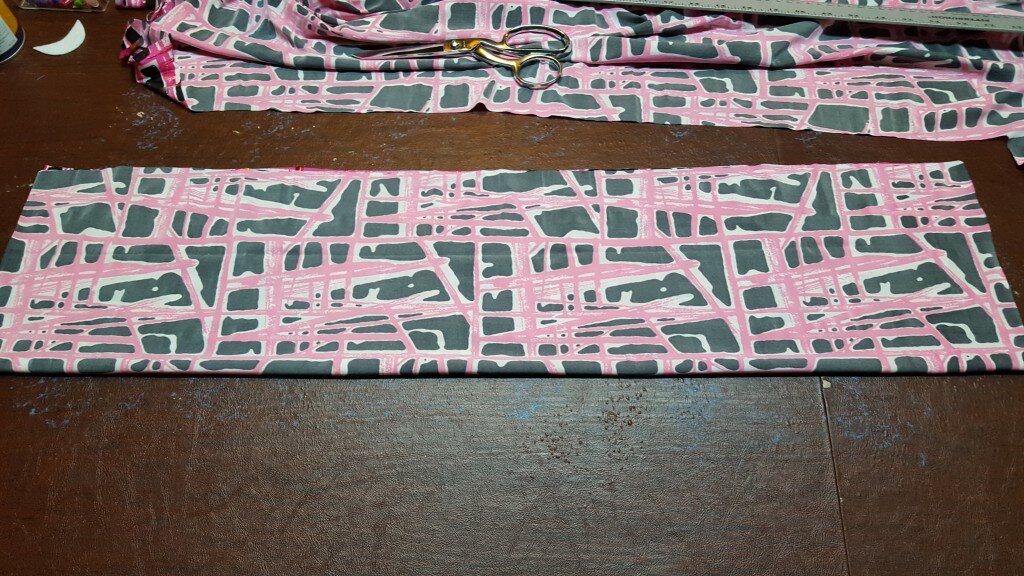
- Cut a rectangle 16 inches wide by the measurement you obtained in step 1. You’ll assume 1/2″ seam allowance since you’ll want the belt to be a bit snug.
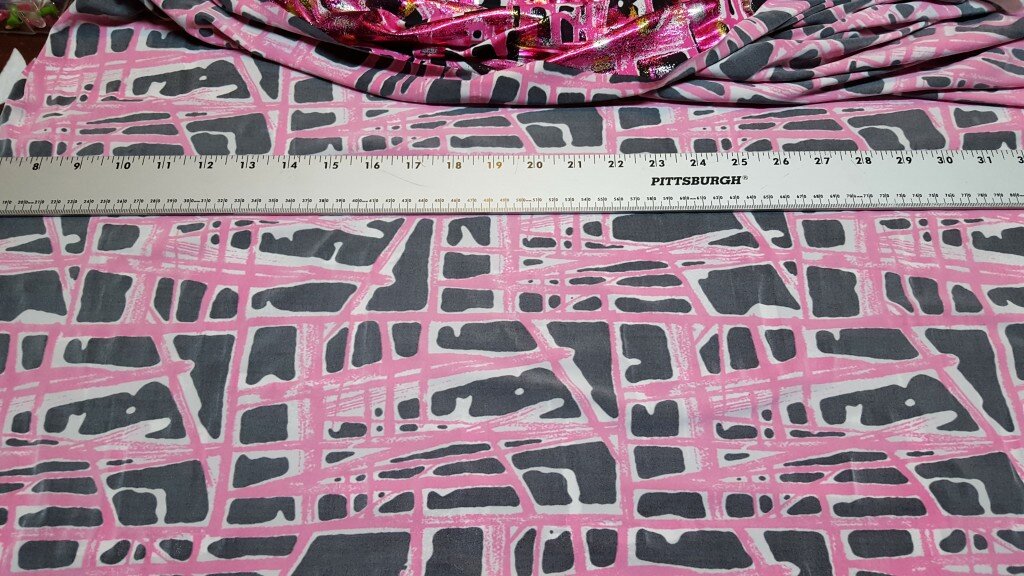
Cut rectangle 16″ by waist length
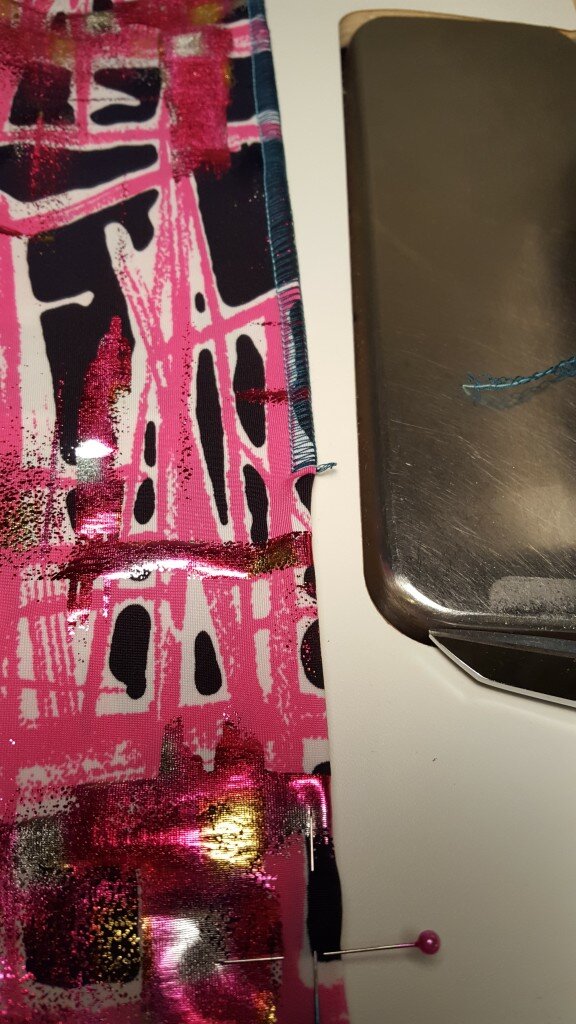
- Fold the rectangle in half along the length, right side in. Pin and serge along the edge.
Pin fabric right side together, sew along open edge.
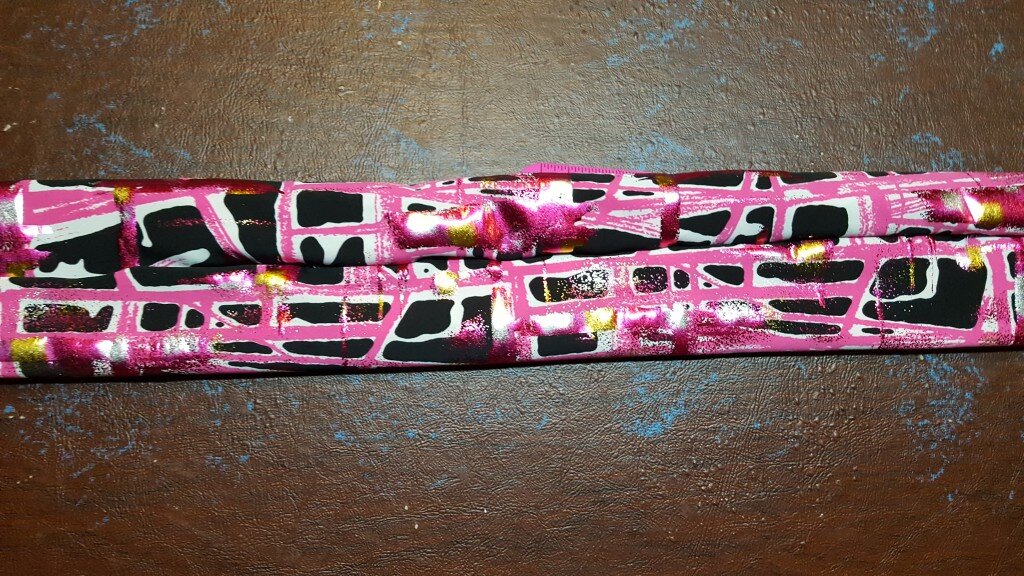
- Open tube, right side out

Open tube out
- Fold tube in half again the long ways. Pin.
Fold in half again lengthwise
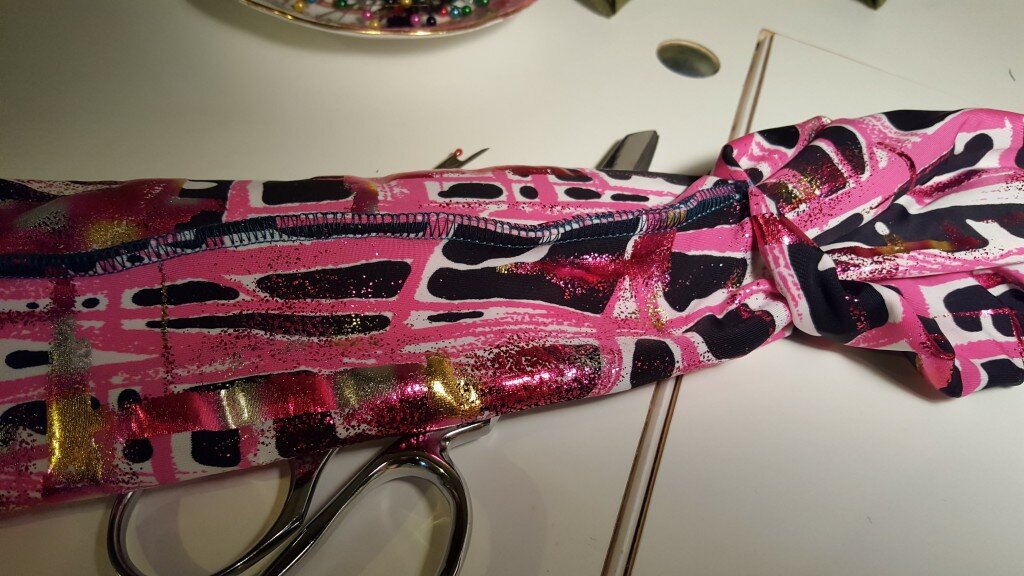
- Mark two 3.5 inch gaps with pins. Space them equidistant from the edges of the tube and each other. These will form your pocket openings.
Create two 3.5″ gaps along edge
- Serge along this edge, being sure to leave the 3.5 gaps opened.
Serge. Leave 3.5″ gaps opened.
- Flip the belt right side out (so you can’t see any serging seams).
Turn right side out.
- Here’s the tricky bit. Reach your arm through one of the pocket holes and grab the closest open end of the tube. Also grab the opposite end of the tube to form a complete circle.
Reach through pocket and pull both ends of tube through the pocket.
- Pull both pieces back through the hole. The top portion will be inside out.
- Pin the open end of the tube all around. When you pull this portion back out through the hole there should be no seam showing. Double check this is going to work then serge.
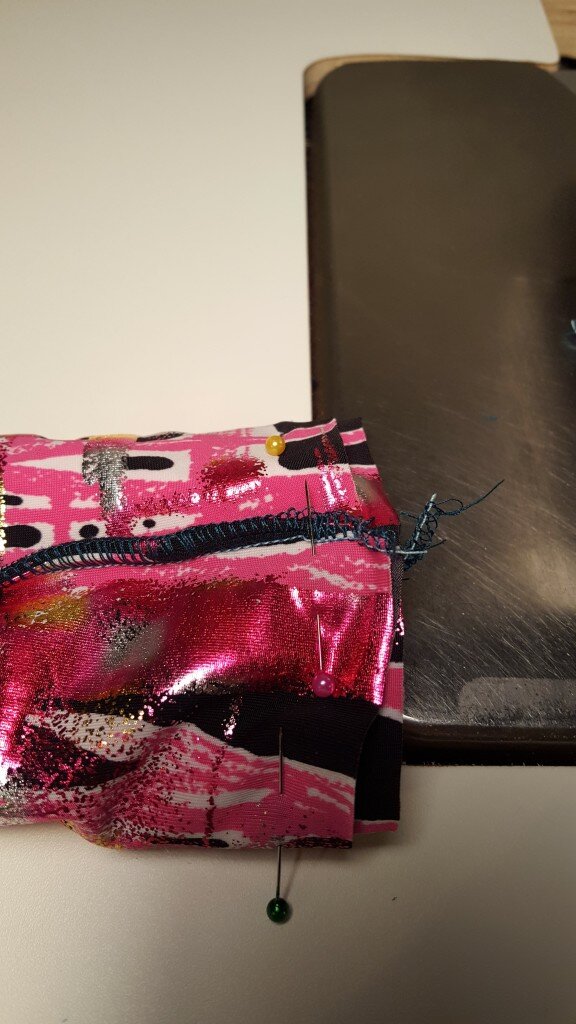
Pin around the edge of the tube.
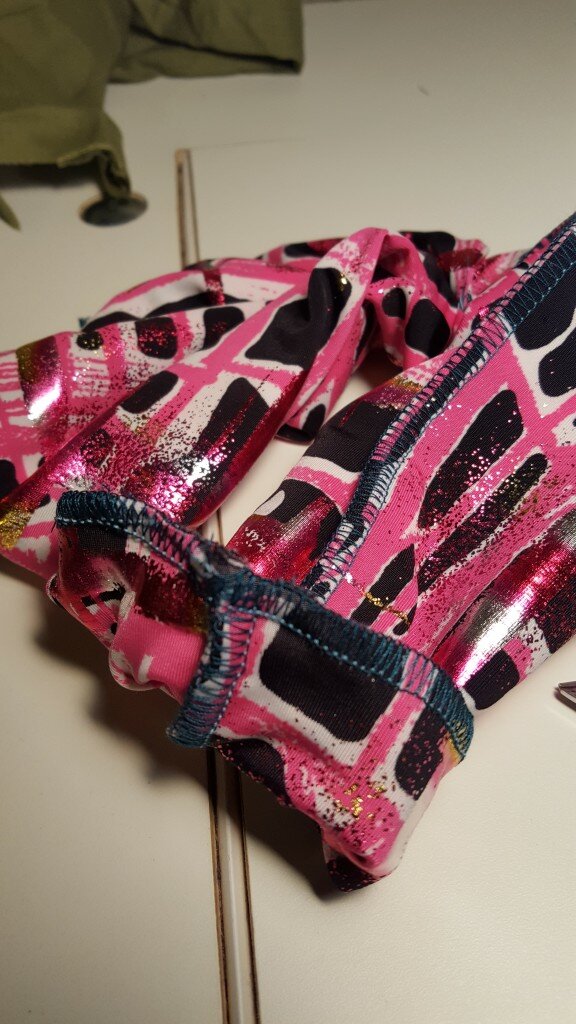
Finished edge after serging.
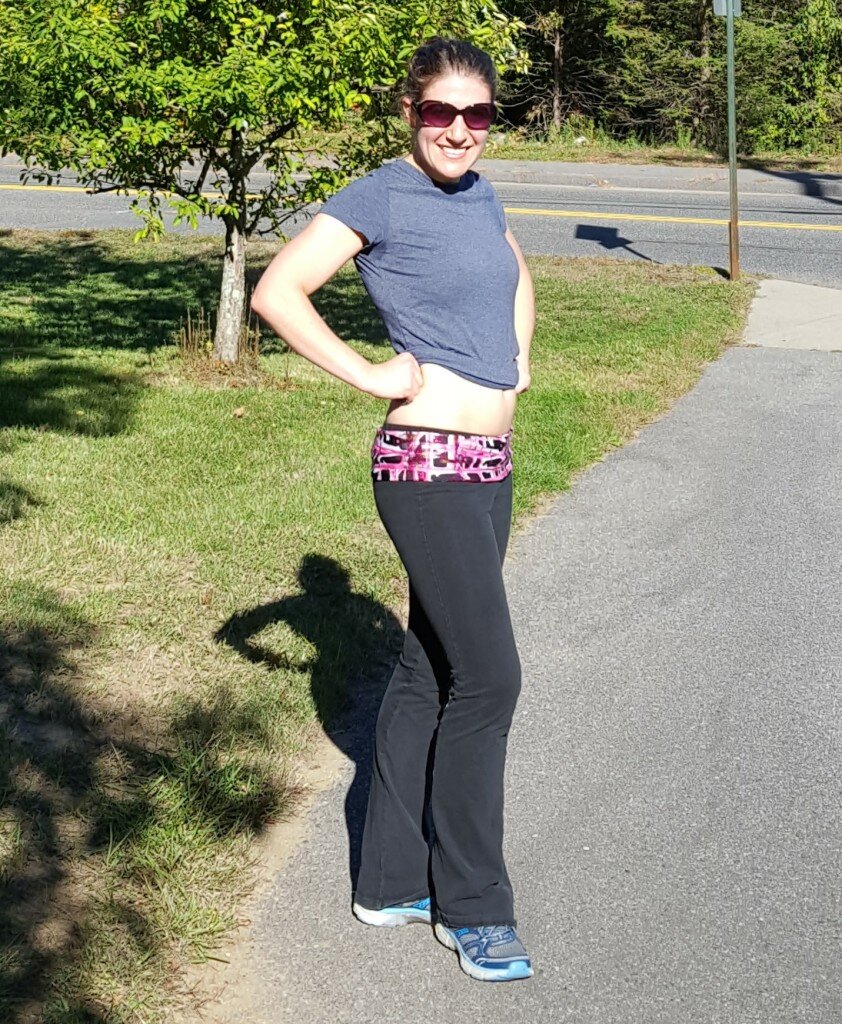
- Finally open out the tube and put your belt on, the pocket side should be against your body to prevent anything from falling out! Sorry these pictures are a bit weird, it was post run and I wasn’t sure if I was going to crop the picture or not!
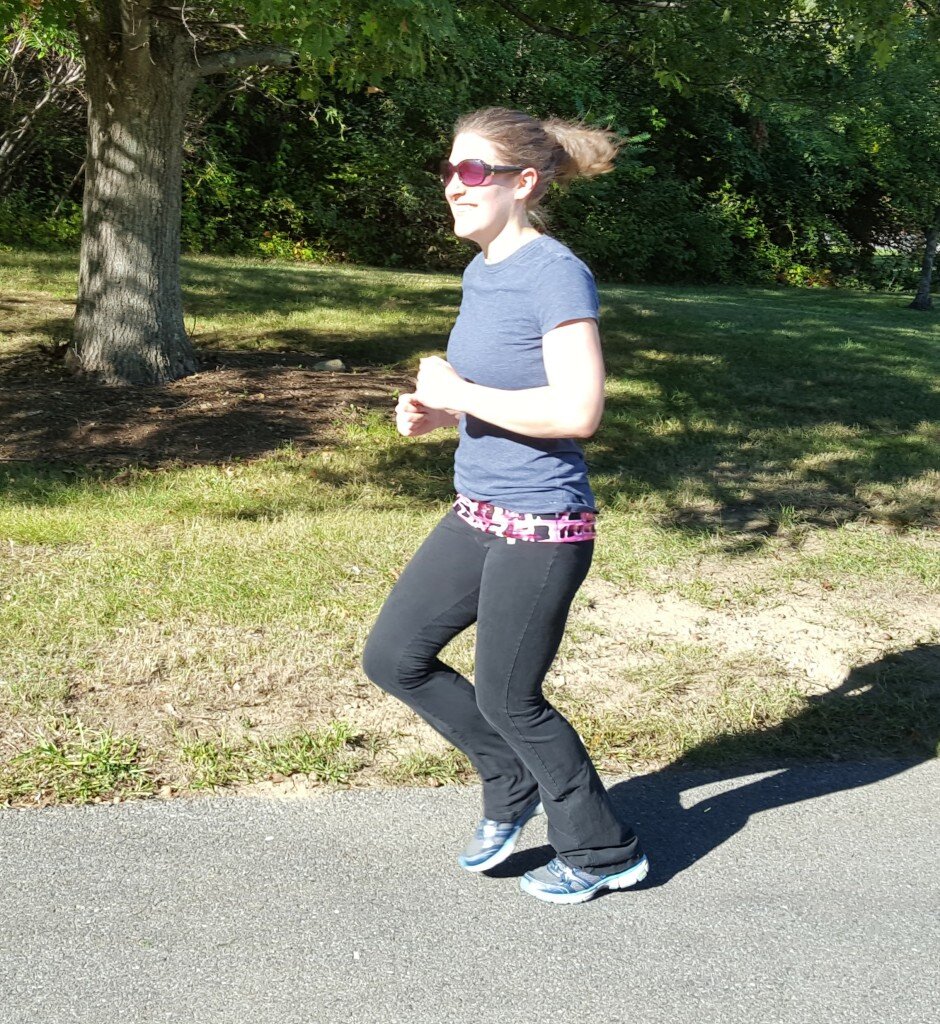
Proof that this thing doesn’t jiggle around! My keys and cell phone stayed in there nice and securely!

How do you put it on????
You just step into it and slide it up over your bum like a skirt!