
Betsy lives! After a solid week of rain I was finally able to check on her today. I am happy to report that I saw her moving about the hive and there were a bunch of eggs.
Well by this point I’m wondering if anyone is surprised that I didn’t post anything for Earth Day (April 22). Well why can’t it be Earth Day everyday?
In all seriousness I get a little depressed thinking about how we only celebrate one day a year in honor of our mother planet. We are obviously not perfect role models of being green but we try pretty hard. We compost. We heavily recycle and reuse. It kills me to throw away food and anything that we don’t need anymore we donate rather than throw it in the trash. Honestly trash is the thing that really bothers me lately. Everytime I throw something away I think about it sitting in some landfill 2000 years in the future perfectly preserved.
That was the same thought I had right before I went to throw away one of those mesh onion bags the other day. You know those plastic almost-dolphin-killer mesh bags?
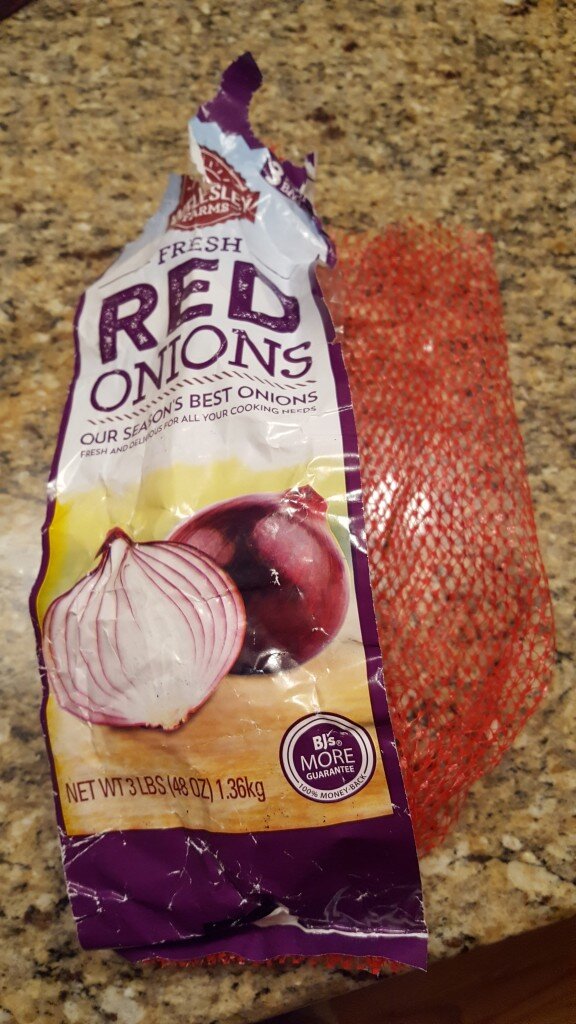
Yeah those. Well I started brainstorming what I could do with them while scrubbing dishes and it hit me. Dish scrubbies! Like the kind you find at Christmas bazaars! I’ve been wanting to try and make knitted dish scrubbies for years but for whatever reason I’ve never gotten to it. Well let me tell you, plastic almost-dolphin-killer-mesh bags work PERFECTLY for a knit scrubber. They are slightly more abrasive than ordinary tulle or mesh which is great for the task at hand. I highly encourage you to take those bags out of the landfill and make your own! (Or at least feel guilty enough about throwing them out to bring them to me or something.)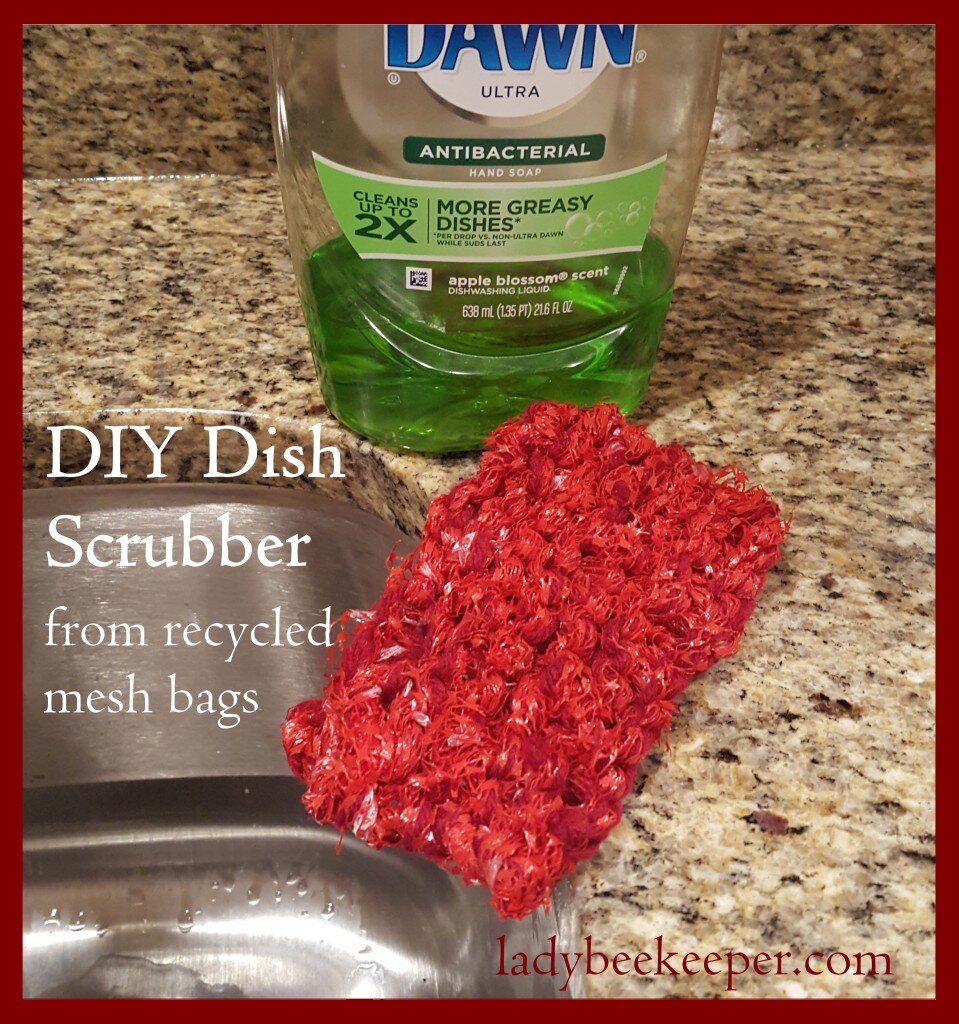
DIY Knit Mesh Dish Scrubbies from Plastic Mesh Vegetable Bags
Materials for one sponge size dish scrubby:
- 2 Mesh Vegetable Bags
- Scrap yarn (I would guess around 5 yards)
- Scissors
- Size 13 Knitting Needles
- Yarn Needle
Remove the label from an onion bag and cut the top and bottom off the bag so you have a tube of mesh.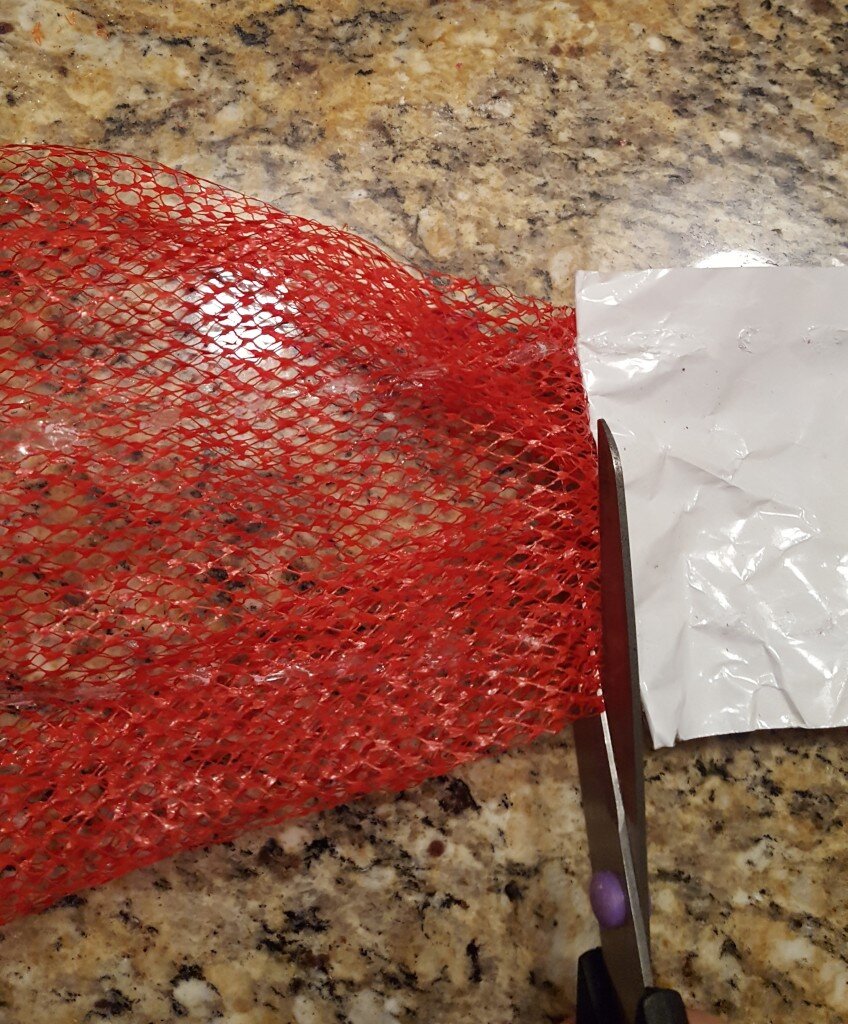
Cut the tube opened so you have a square piece of mesh material. Start cutting a 1 inch strip into the square, but stop an inch from the top of the square leaving the strip attached.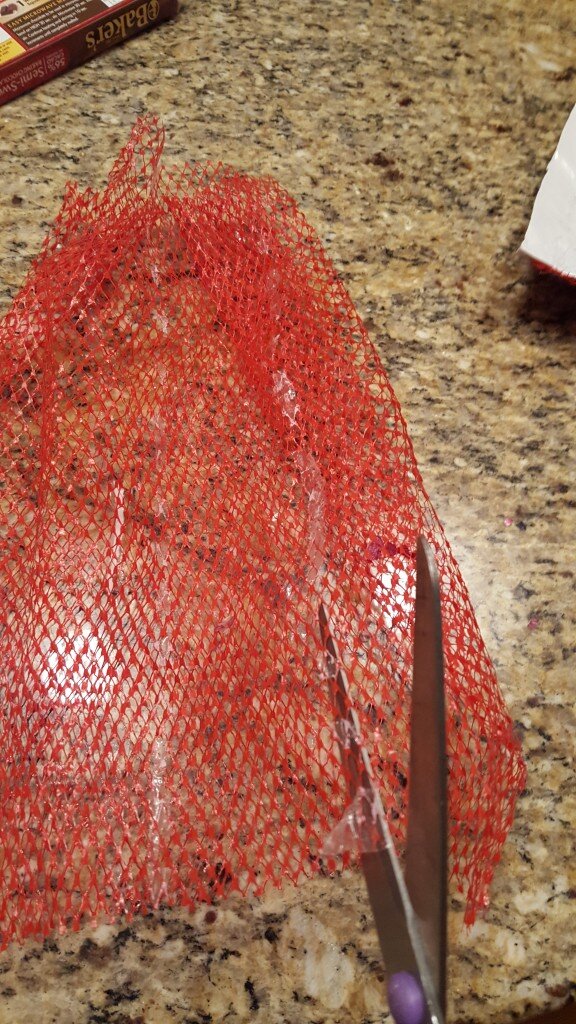
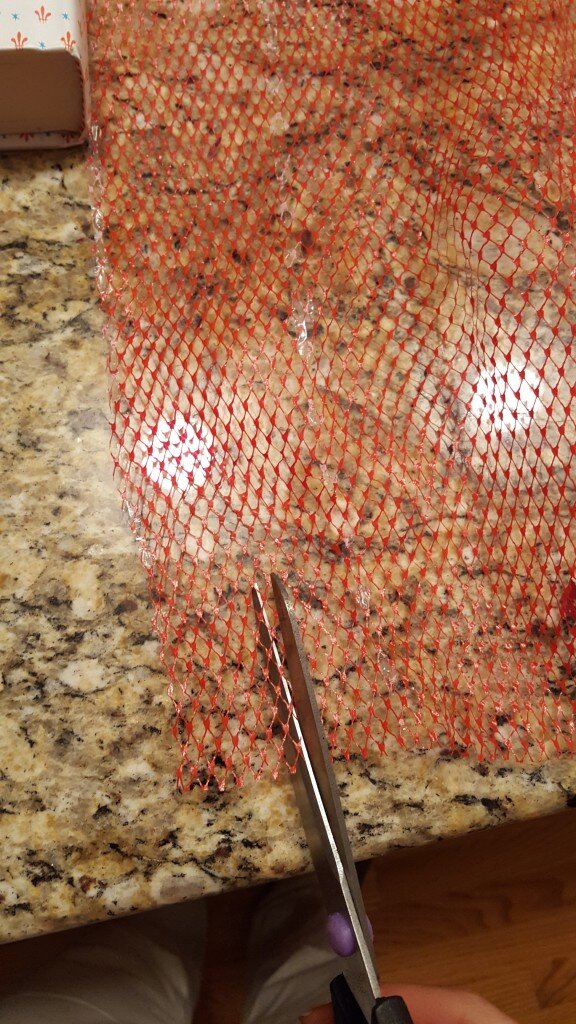
From the opposite side (next to the part you left attached) start cutting a 1 inch strip down the mesh, stopping and inch from the bottom of the square leaving the strip attached. It should form an “n” shape.

Cuts should follow the dark maroon lines.
Repeat for the entire square so you should have a continuous 1 inch wide strip. Repeat for the second onion bag.
Tie one end of each mesh bag strip together to form one large continuous strip. Wind it on a piece of cardboard to prevent it from snagging while you work.
Holding the yarn and mesh together, cast on 12 stitches. I like to wrap the mesh around the yarn while I’m knitting. When you hit one of the larger “turns” caused by keeping the mesh intact, just roll this around the yarn and continue knitting.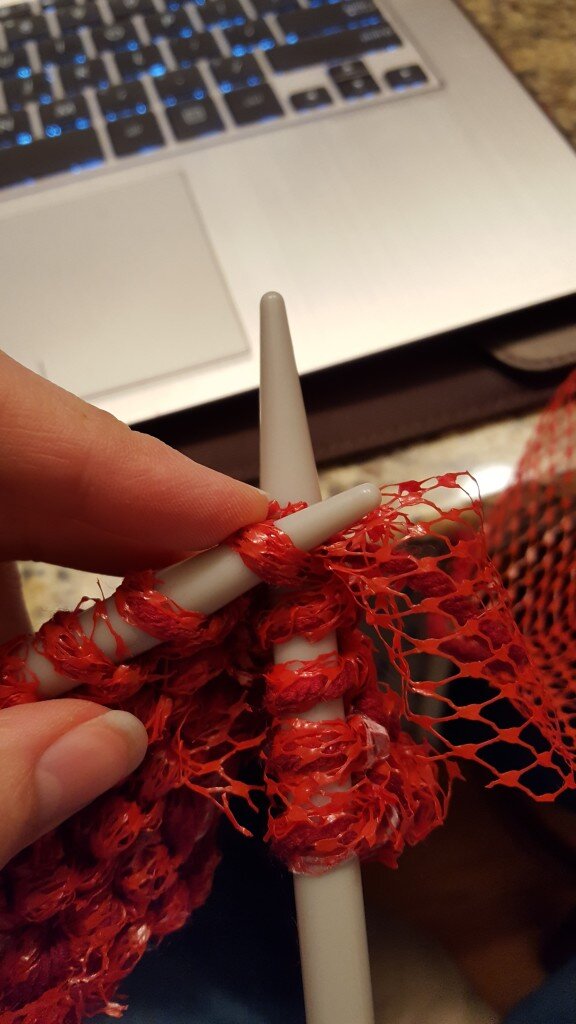
Knit 12 rows (or until you run out of mesh bag).
Cast off.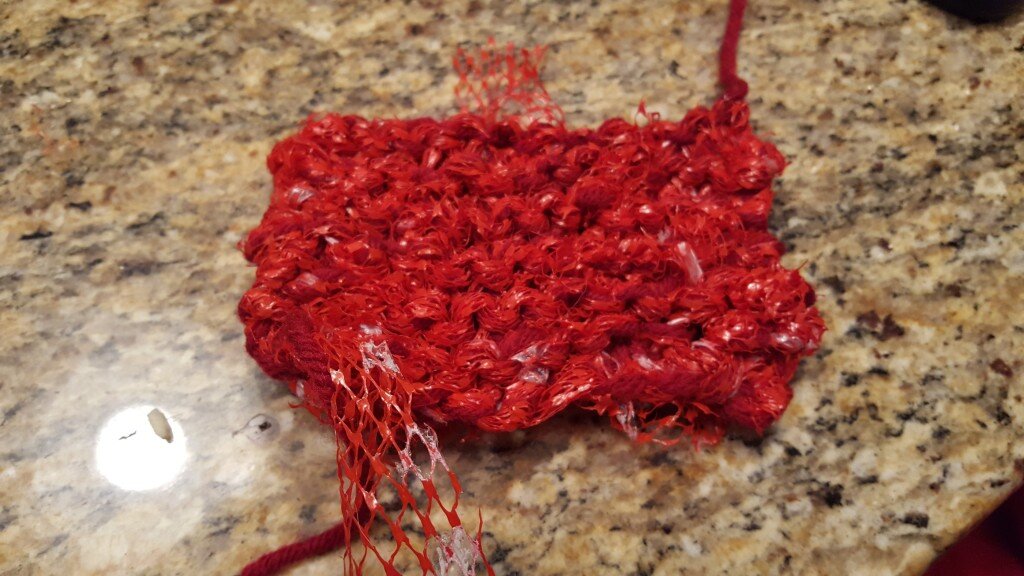
Using the yarn needle thread the beginning and end pieces of yarn into the piece and trim any ugly spots.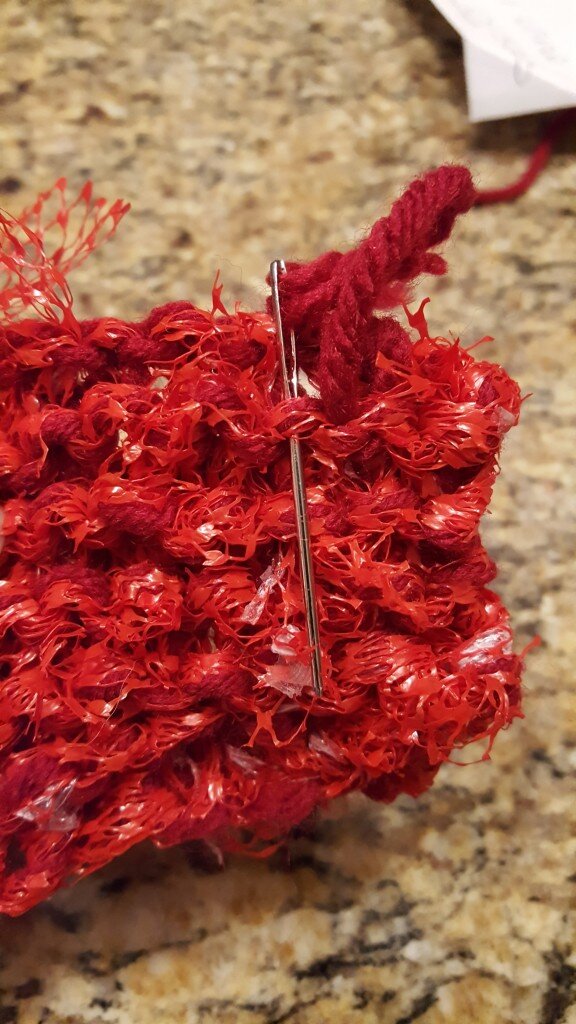
Scrub some dishes and smile thinking about how those onion bags got a new life!
