I am one today! Julius is wearing the onesie I made him instead of sleeping before our early wake up to fly to Nashville.
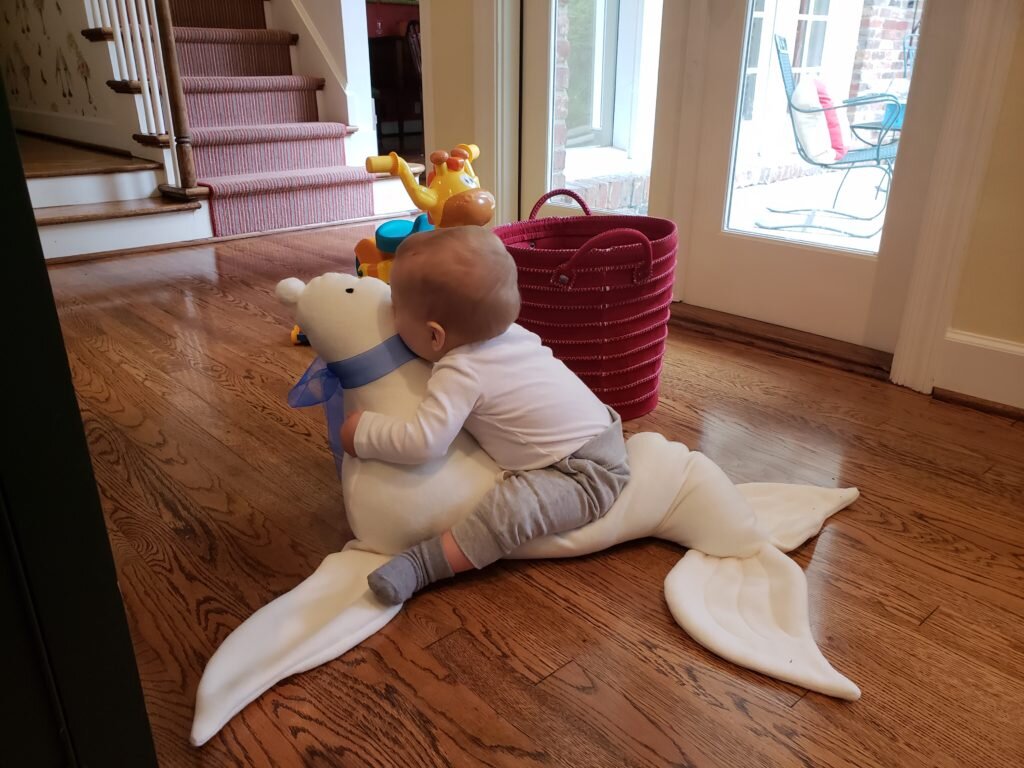
Last week Julius turned one! Though he didn’t quite understand the concept of opening presents he was very excited for all the new things he received! I decided to make Julius a big giant stuffed animal circus seal. Yes that sounds a bit weird, so of course there is a story behind it. For Lauren and Andrew’s wedding the staff came out halfway through the dancing with huge platters of LED glasses, crowns, tambourines, rings, etc. We all spangled ourselves in fabulous neon glory and danced the rest of the night away. The next day Julius discovered the cache of blinking goodies and decided the tambourine and ring were his favorite.
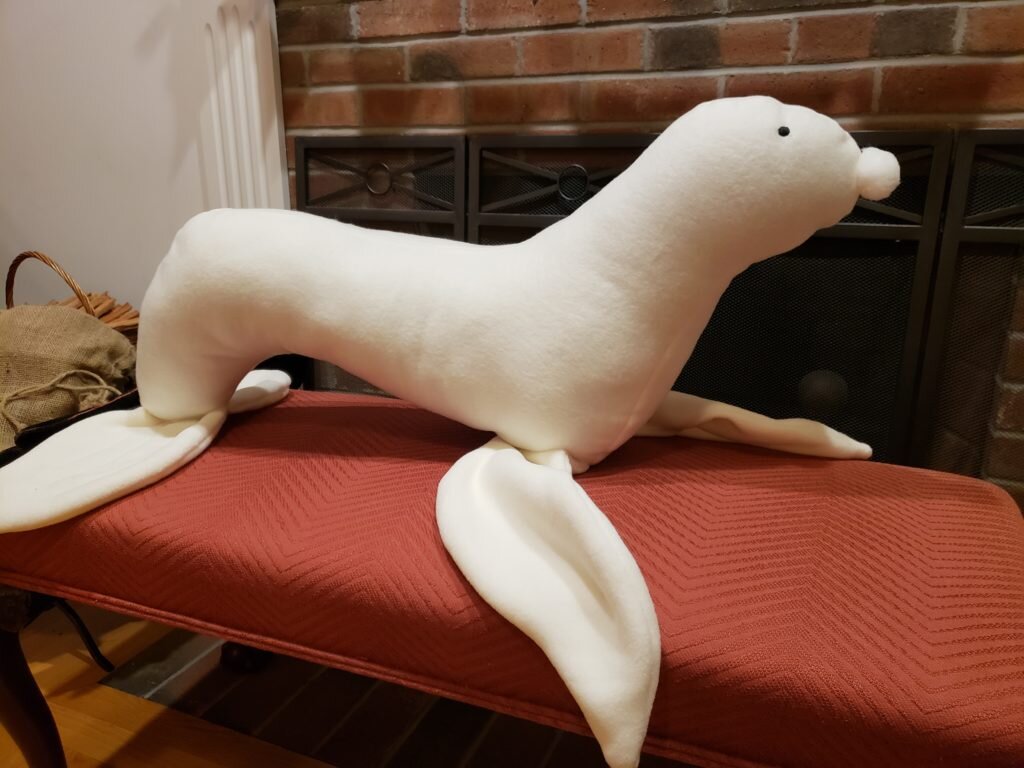
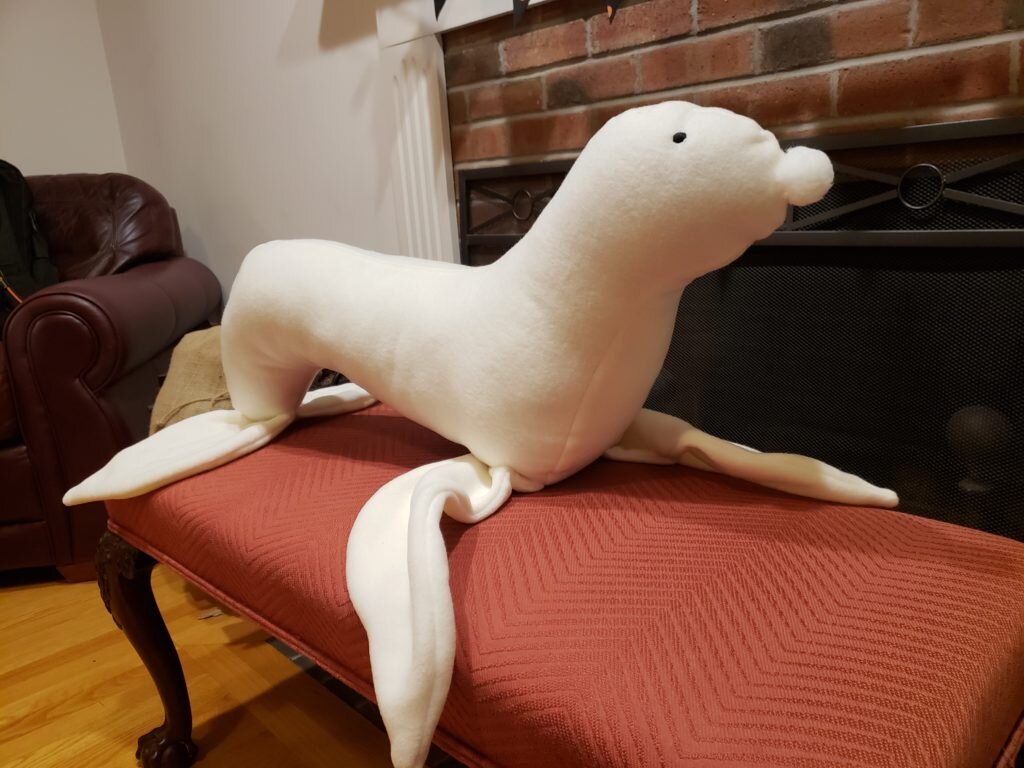
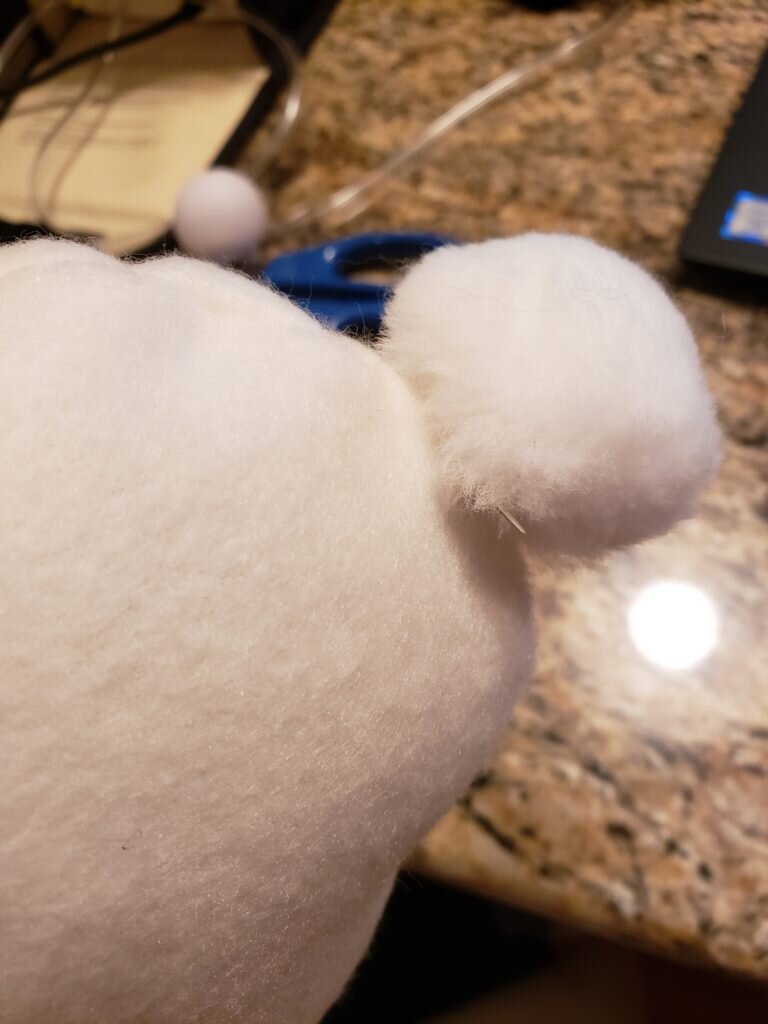
The problem with the ring is that it was a giant 1.5″ diameter sphere bauble that he liked to immediately put in his mouth. Though I think it would be nearly impossible for him to get that ring far enough into his mouth that he would choke on it, I didn’t want to take the risk. My idea was to take the color changing LED ring and turn it into the nose of my circus seal, that way it was solidly affixed to something, and would prevent him swallowing it. Unfortunately the idea did not pan out (I had to make some modifications to the ring to attach it, which looked silly), hence the pom pom nose. The first thing Julius did when I gave him the seal was chomp on his nose though, so I guess I had at least the vision correct.
Also I would have used grey, but I didn’t have any grey material. Now he’s a sort of sea lion cross snow seal hybrid….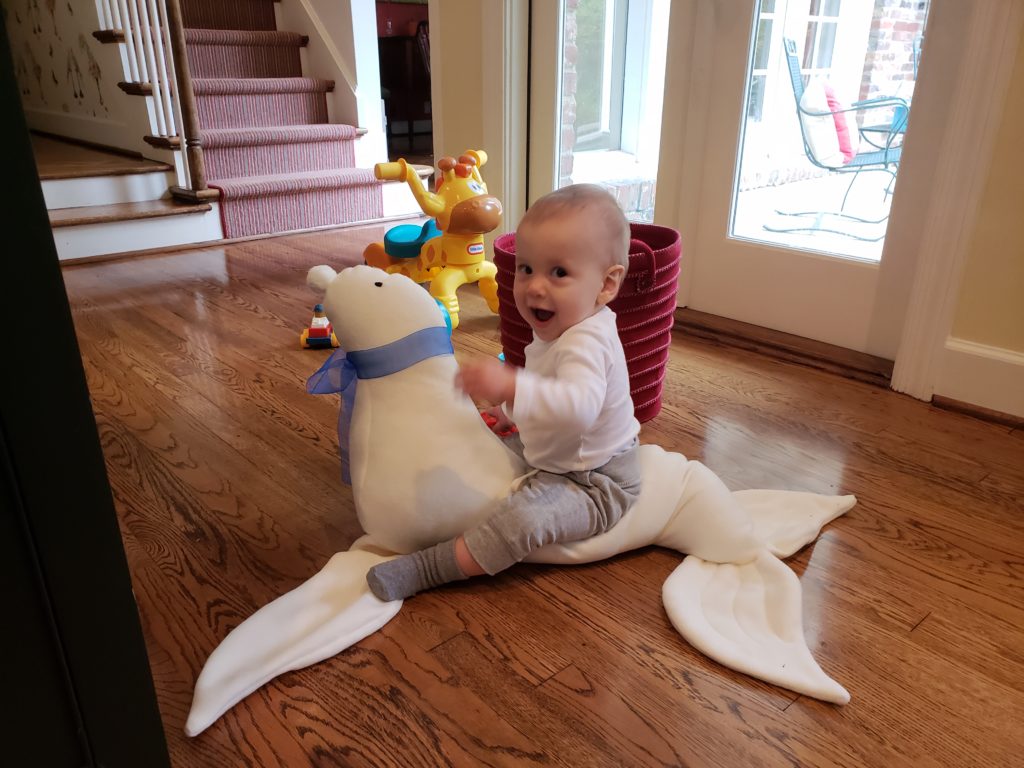
Giant Circus Seal
What you’ll need:
- 1.5 yards fleece fabric
- 2lb bag of stuffing
- 1 large pom pom
- black embroidery thread
- Pattern here
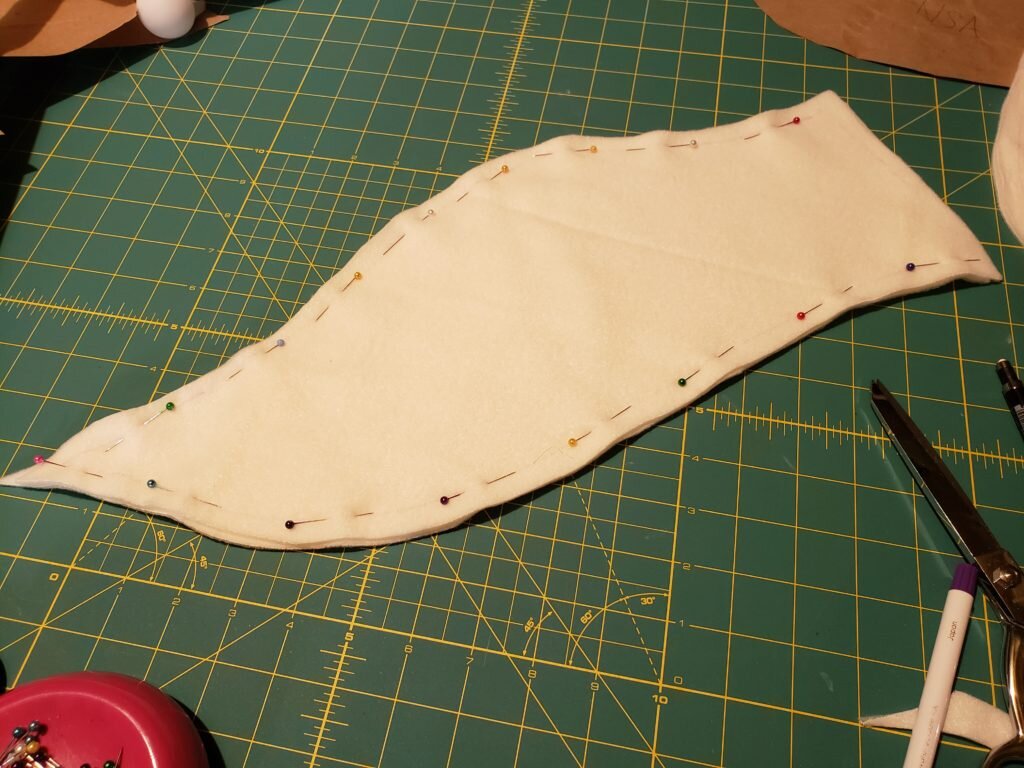
- Cut out all pattern pieces as indicated in pattern, being sure to transfer all markings.
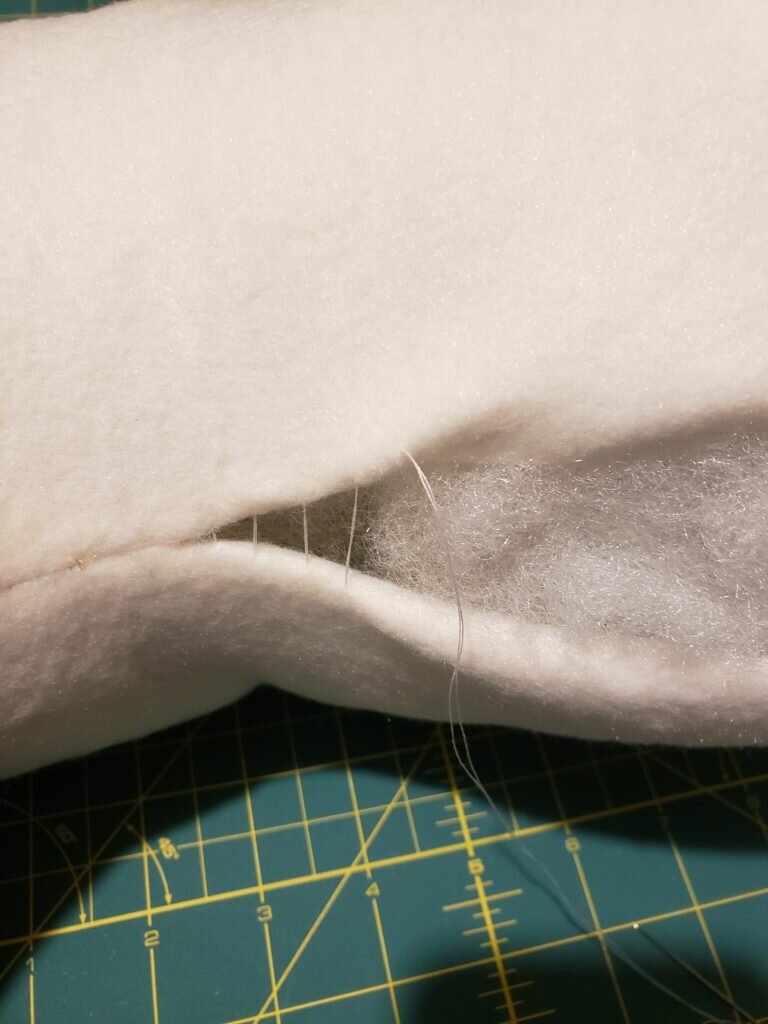
- Pin seal tail pieces together, leaving a 3″ gap in the center as indicated on pattern. Stitch.
- Turn tail right side out and make sure to fold the unfinished edge inside.
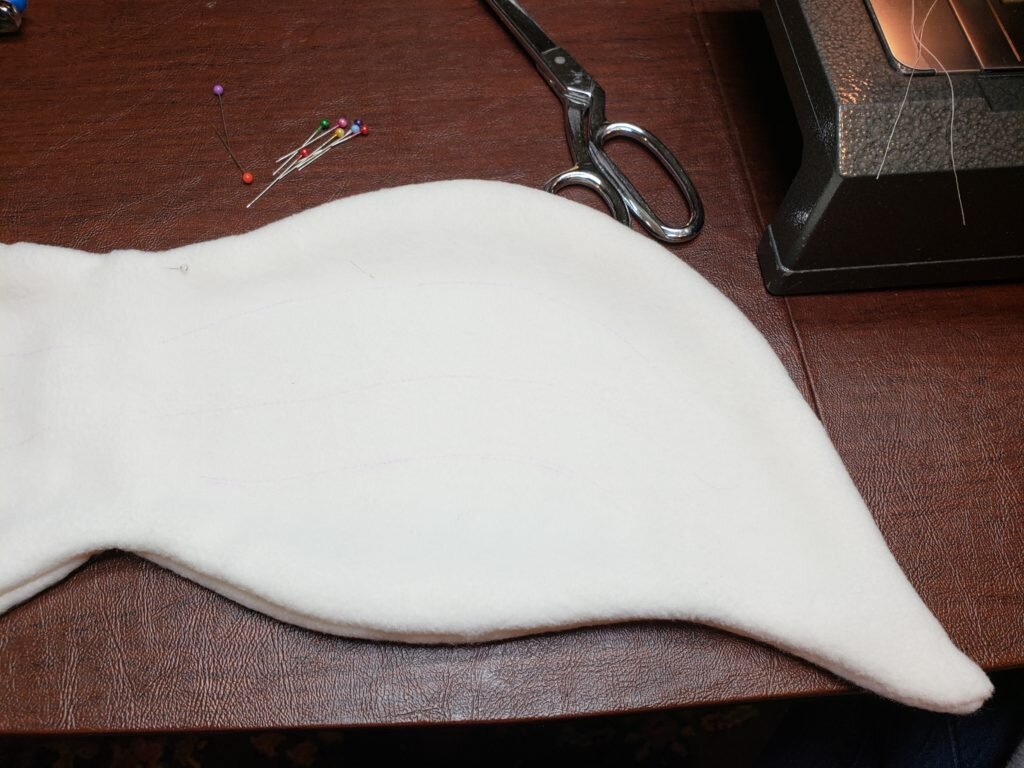
- Using a long running stitch, pin and stitch along three lines you marked on the tail.
- Place two of the flipper pieces together. Pin, leaving a gap where the flipper will attach. Stitch.
- Clip points of the flipper. Turn flippers right side out.
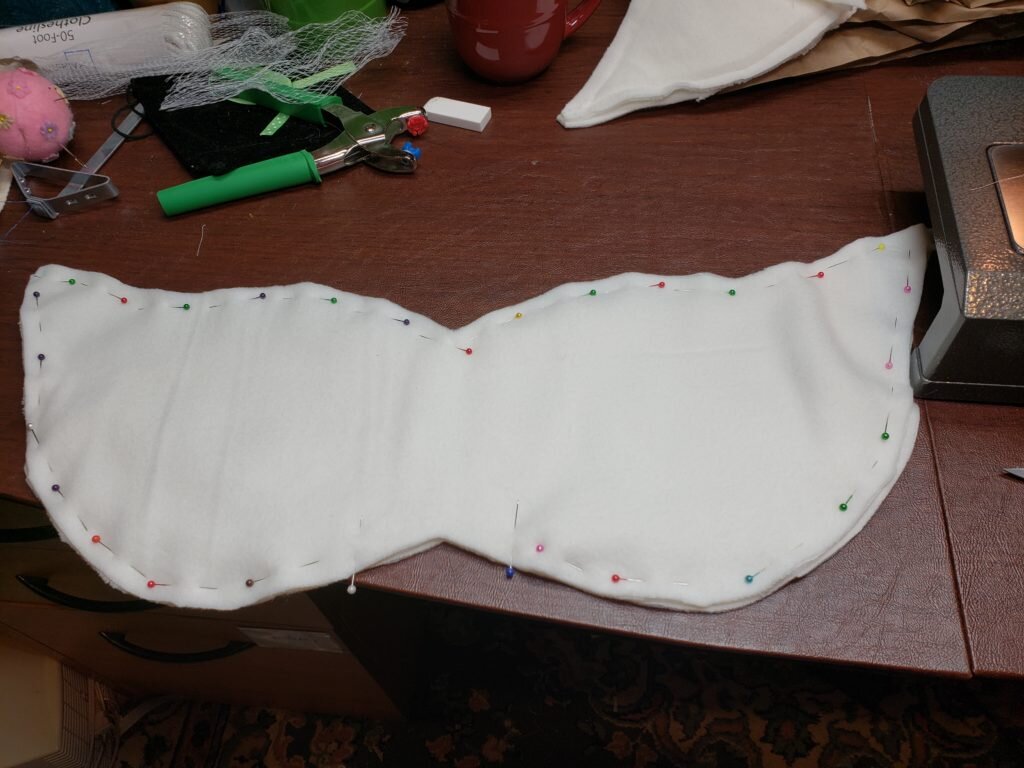
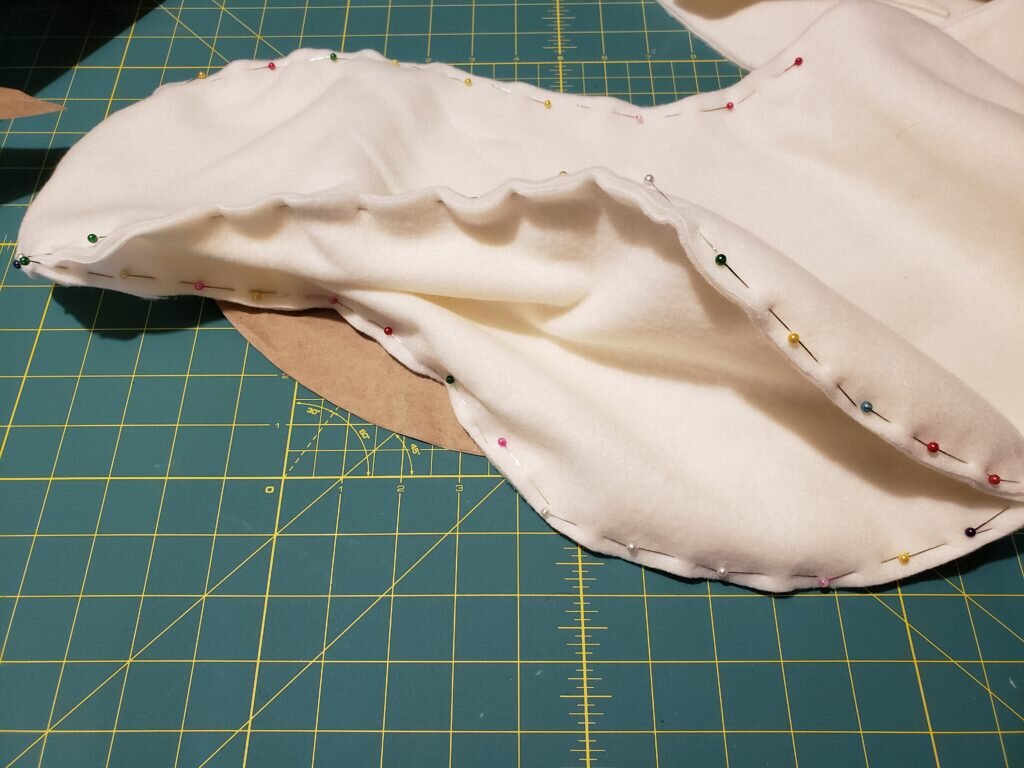
- Pin two sides of seal together on outside between markings.
- Pin the belly of the seal to the seal body, lining up points of belly at each marking.
- Remove pins to open up a gap at the top of the belly on one side about 4 inches wide. Insert a flipper inside the gap and repin the side of the belly, enclosing the open end of the flipper. Repeat for second flipper.
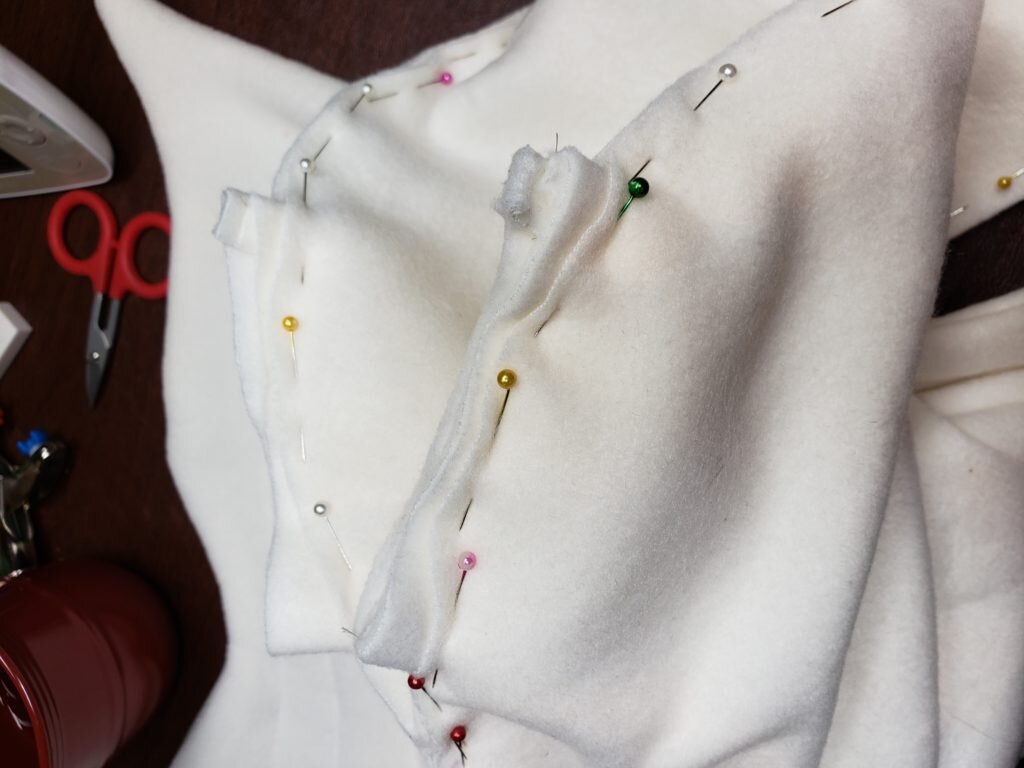
- Remove pins to open a gap about 4 inches wide on the bottom of the body on the tail end. Fold the tail in half and insert into the gap you just created. Make sure the unfinished edge of the tail is sandwiched in the gap. Repin, encompassing the unfinished edge of tail.
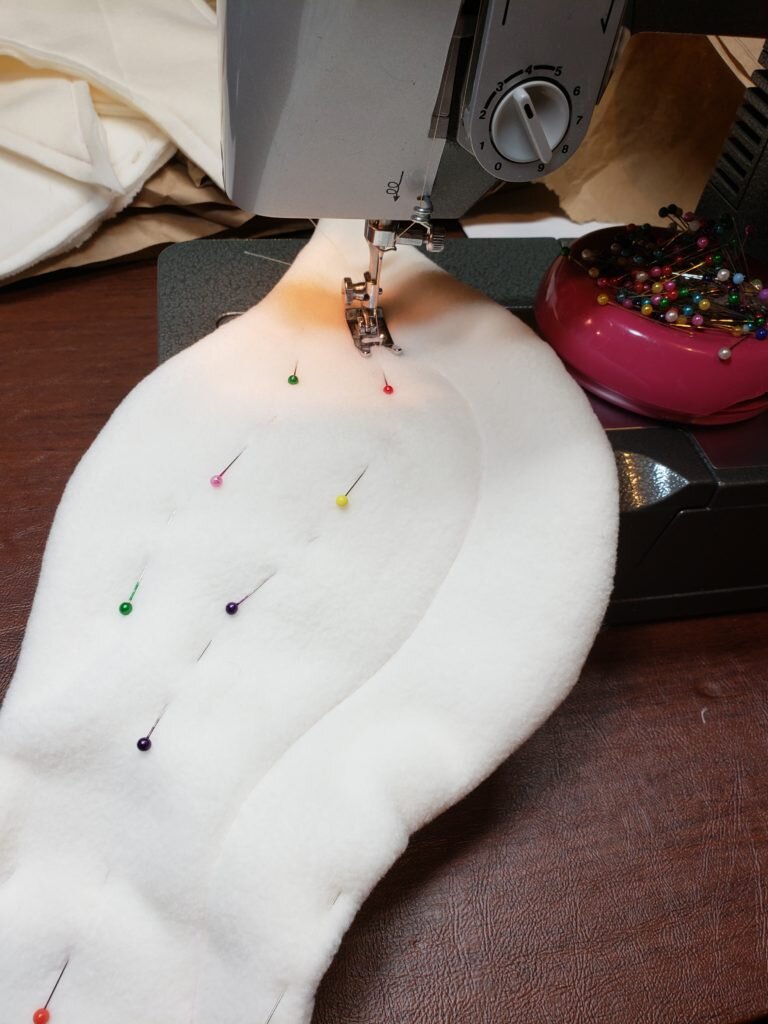
- Stitch along seal body pins, stopping on the underside about 6 inches from the seal belly.
- Turn seal right side out.

- Stuff.

- Stitch pom pom onto nose of seal
- Hand embroider eyes onto seal.
- Hand stitch the belly closed using blind stitch.