
This weekend we visited Will’s grandparents outside Knoxville to celebrate their 60th wedding anniversary. Will’s family on his mom’s side is huge and every single person came into town to celebrate for a total of 28 people! We had a lot of fun with all Will’s cousins hanging out, playing board games and singing along to piano renditions of Disney songs.
A tradition at all of these anniversary/birthday milestones is to dress up for a huge family picture. This year the family picture was held at Grandmother’s childhood home, which is this huge historical house that really could be a museum. The color theme for the photo was blue and white so everyone wore solid blues and whites with the exception of blue and white striped seersucker, which was allowed because it photographs as light blue. Given seersucker was called out specially, Will & I felt we HAD to wear seersucker. Will has lots of seersucker, but I didn’t have any shirts that would fit my pregnant belly so I decided to make one!
I got the shirt idea from my co-worker. A few weeks ago, after I wore my maternity shower curtain dress to work, one of my co-workers was complimenting the dress. She remarked that it looked like the “old style” maternity dresses and shirts that they used to wear (I guess before the days where it was appropriate to wear so much spandex). Then she gave me the great idea to make the dress pattern into a shirt pattern! I used the same pattern Kwik Sew K3486 as my dress and tweaked the pattern slightly. My modifications are below for your reference!

Will and I in our seersucker
Lined Seersucker Maternity Shirt
- Kwik Sew K3486 – pattern pieces 7,8,9,10,11,12,14,
- 2.25 yards seersucker fabric 43″ wide
- 2 yards cotton lining
- 13″ zipper
Lining
The seersucker I purchased was extremely lightweight and sheer, so I lined the dress. This meant that I cut 2 of 8*,10*,11,12* and one of 7 and 9* from seersucker material and two of 10*,11,14*, and one of 9* from lining material. In addition I cut piece 7 and 8 so that the stripes would be horizontal to the waistband instead of vertical.
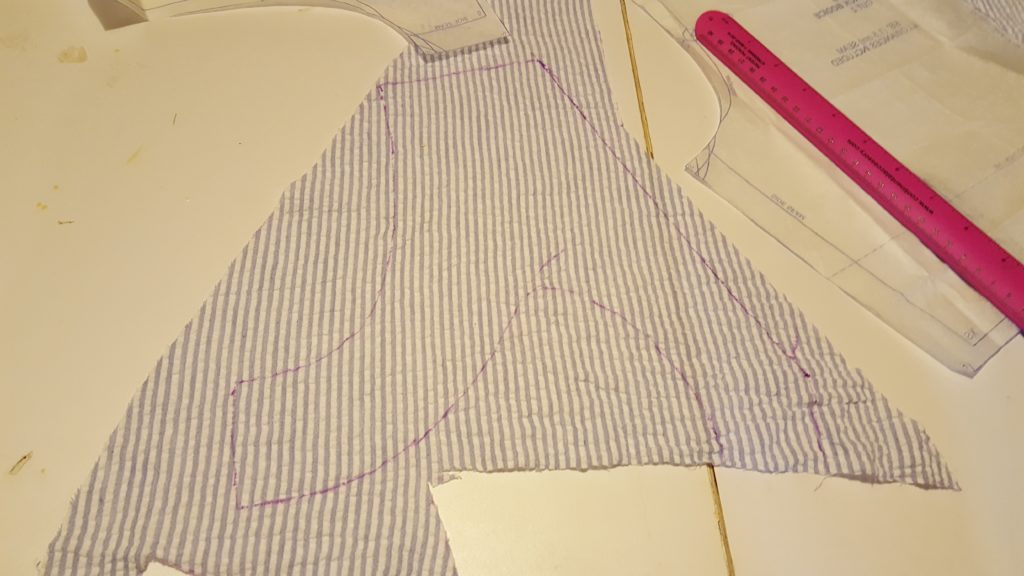
Back modification (piece 12, back bodice and 14, back facing)
I modified the back of the dress to come down into a v neck in the back. I thought this looked a bit more summery. This is why my zipper was slightly shorter than what they recommended. To modify the back, I took pattern piece 12 for the back bodice and measured down the center back from the neckline 6.5″. Then I drew a line from the point where the neckline and shoulder meet, down to the marking I made on the center back.
Adding line from shoulder seam to marking on center back for v-neck back.
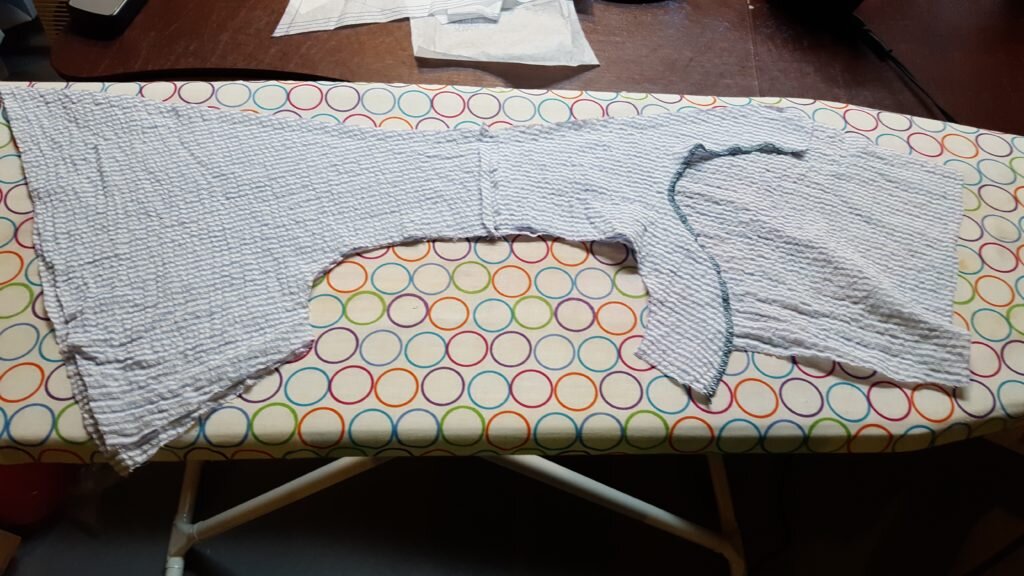
Because of my changes to piece 12, the back, I had to modify piece 14, the back facing. To adjust the facing, I left the shoulder and armscye portion alone and traced along the new v-neck back pattern from above. I extended the pattern 2 inches below the point of the v-neck and then used my curves to keep the width of this new “arm” of the pattern about 3″ wide. See the picture below for what it looked like.
Adjusted back facing. The right side was adjusted for the v-neck.
Bodice front
Everywhere that called for piece 13 of the pattern in the instructions, I used lining piece 11 instead. The only issue with this was in step 6 I sewed the waist of the lining to the bodice front, which meant I was unable to perform step 8 properly. Instead of flipping up the lining and stitching all the way down from lining to fabric just stitched the sideseams together, lining and all.
This shows the back lining (right) attached to the front lining (left) then attached to front and back neckline
Modifications to the ties
In addition to cutting the ties so the stripes were horizontal along the ties/waistband, I also made the ties a lot longer. I wanted to be able to wrap around the back of the shirt and tie it in the front, to give the illusion of a wrap shirt. I changed the length of my ties to 43″each.
Length Modifications
Since I wanted a shirt instead of a dress, I took pattern pieces 9 and 10 up considerably. The total length of each piece was 16″ and that includes 1″ for a bottom hem. I hemmed the shirt using a blind hem.
*pattern piece has some modification to it.

Finished shirt – note how the tie wraps around to the front.

Side view – note the horizontal stripes on the waistband and ties.

Back view – note the v-neck back.

Our favorite picture of us from the Pryor family photoshoot from Thelen Wright Photography!
