
Well friends I am SO SORRY that I did not post last week. I stayed up until 12:30am Tuesday morning to increase my hat stock for the last faire weekend, then got up at 5am to fly to Houston for the Grace Hopper Celebration of Women in Computing. The celebration was great and I’m glad I spent part of my sabbatical attending. There were so many inspiring women to meet and trade tales with, and lots of new and interesting information on different subjects. Because of my lack of post last week I promise to post one other time this week! I’ll be telling you about Grace Hopper in that post.
The final weekend of the faire concluded yesterday. Saturday was off and on down-pours so I bought a fabulous parasol umbrella from one of the vendors that I just can’t wait to rock next year! Will’s family flew in from Nashville and Austin to come visit and see the booth. They all looked quite fabulous in their hats. I will be posting some more pictures on my facebook site in the coming weeks. Yesterday night we tore down and packed up the entire booth in the dark. All that remains is the sign and backdrop. I’ll be heading down there tomorrow to take care of those.
While we had tons of fun at the faire getting to meet new and interesting people and accomplish my high school dream of selling hats, we will not be returning to the faire next year to sell hat. Ignoring the slight financial loss, it is just too big a time commitment for Will & myself. Without counting any of the hours my mom spent cutting hats or the time we spent at the faire it was at least 350 hours of time to make the full hat stock. That may not sound too terrible, but on top of my >40 hour per week full time job that means consuming 5 months of my weekends and week nights. While I love to sew, sewing the same 8 hats over and over again can get mighty tedious, especially while I’m giving up waterskiing or board games to do so.
Now that I’ve put my sewing machine through a torturous 8 months I am going to give her a thorough cleaning this week before I start anything else. I also decided that it was time I made her a cover so she doesn’t collect dust while she’s sitting in my basement sewing studio (not that she really sits long enough unused to collect dust). This was so embarrassingly easy that I actually contemplated not posting it. I even used an old laundry bag to make mine so it was even easier! You’ll need to measure your sewing machine dimensions first to decide how large to make it.
Quick and Easy Sewing Machine Cover
What you need:
- 1 yard of scrap fabric
- Measure the width, depth and height of your sewing machine.
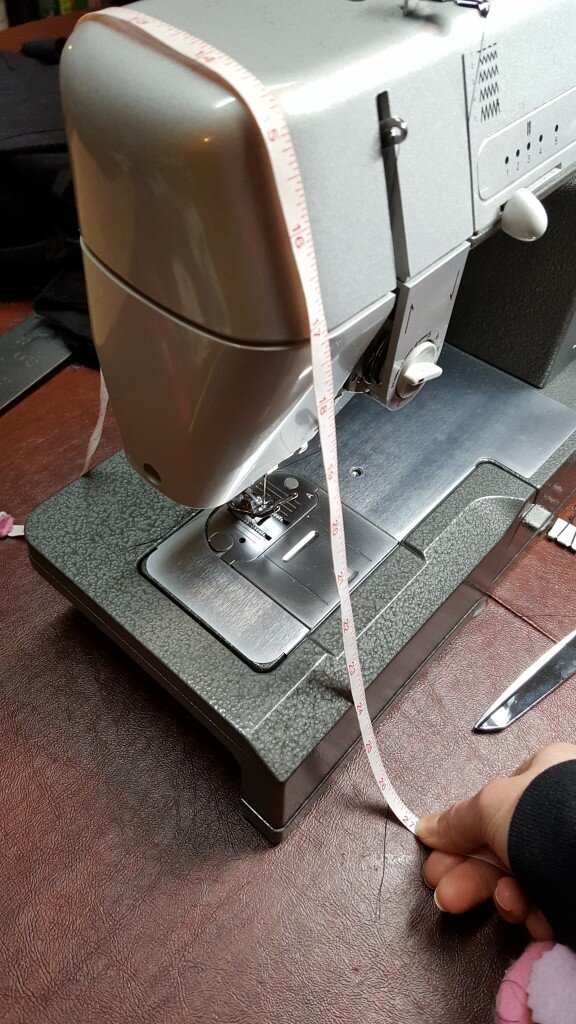
Measure height, depth and width of your sewing machine.
- Cut 2 rectangles (height+ depth) x (width + depth)
- Sew the rectangle together along one width+depth end and the other two height+depth ends
- Hem the open end.
- Put cover over machine and pinch top corners along the top of the machine
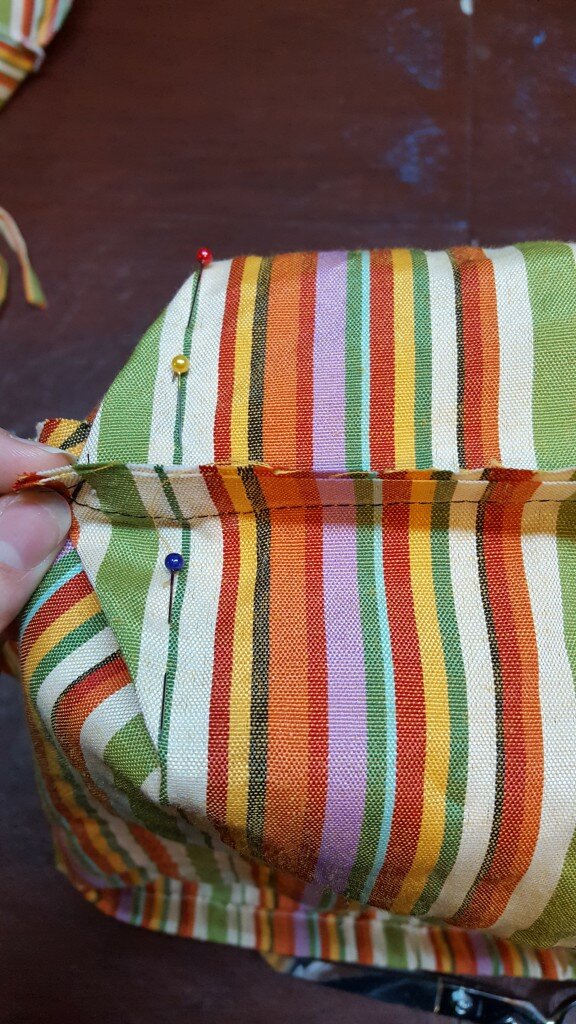
Pin across the corner, perpendicular to the seams.
perpendicular to the seams on the top and sides. Stitch along this line on both corners.
That’s it! Super easy!
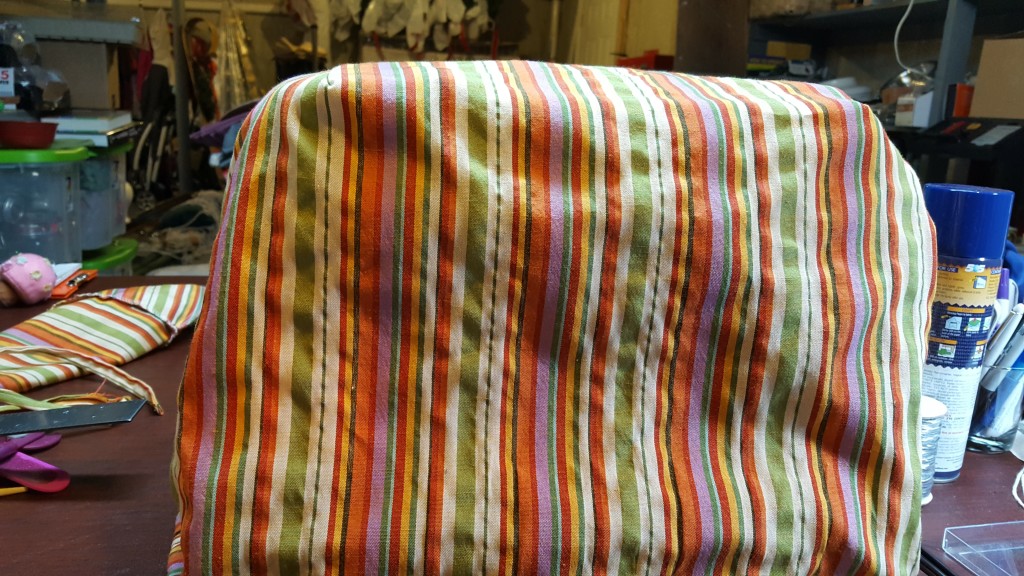
Finished sewing machine cover! You can use the same concept for a toaster cover!
