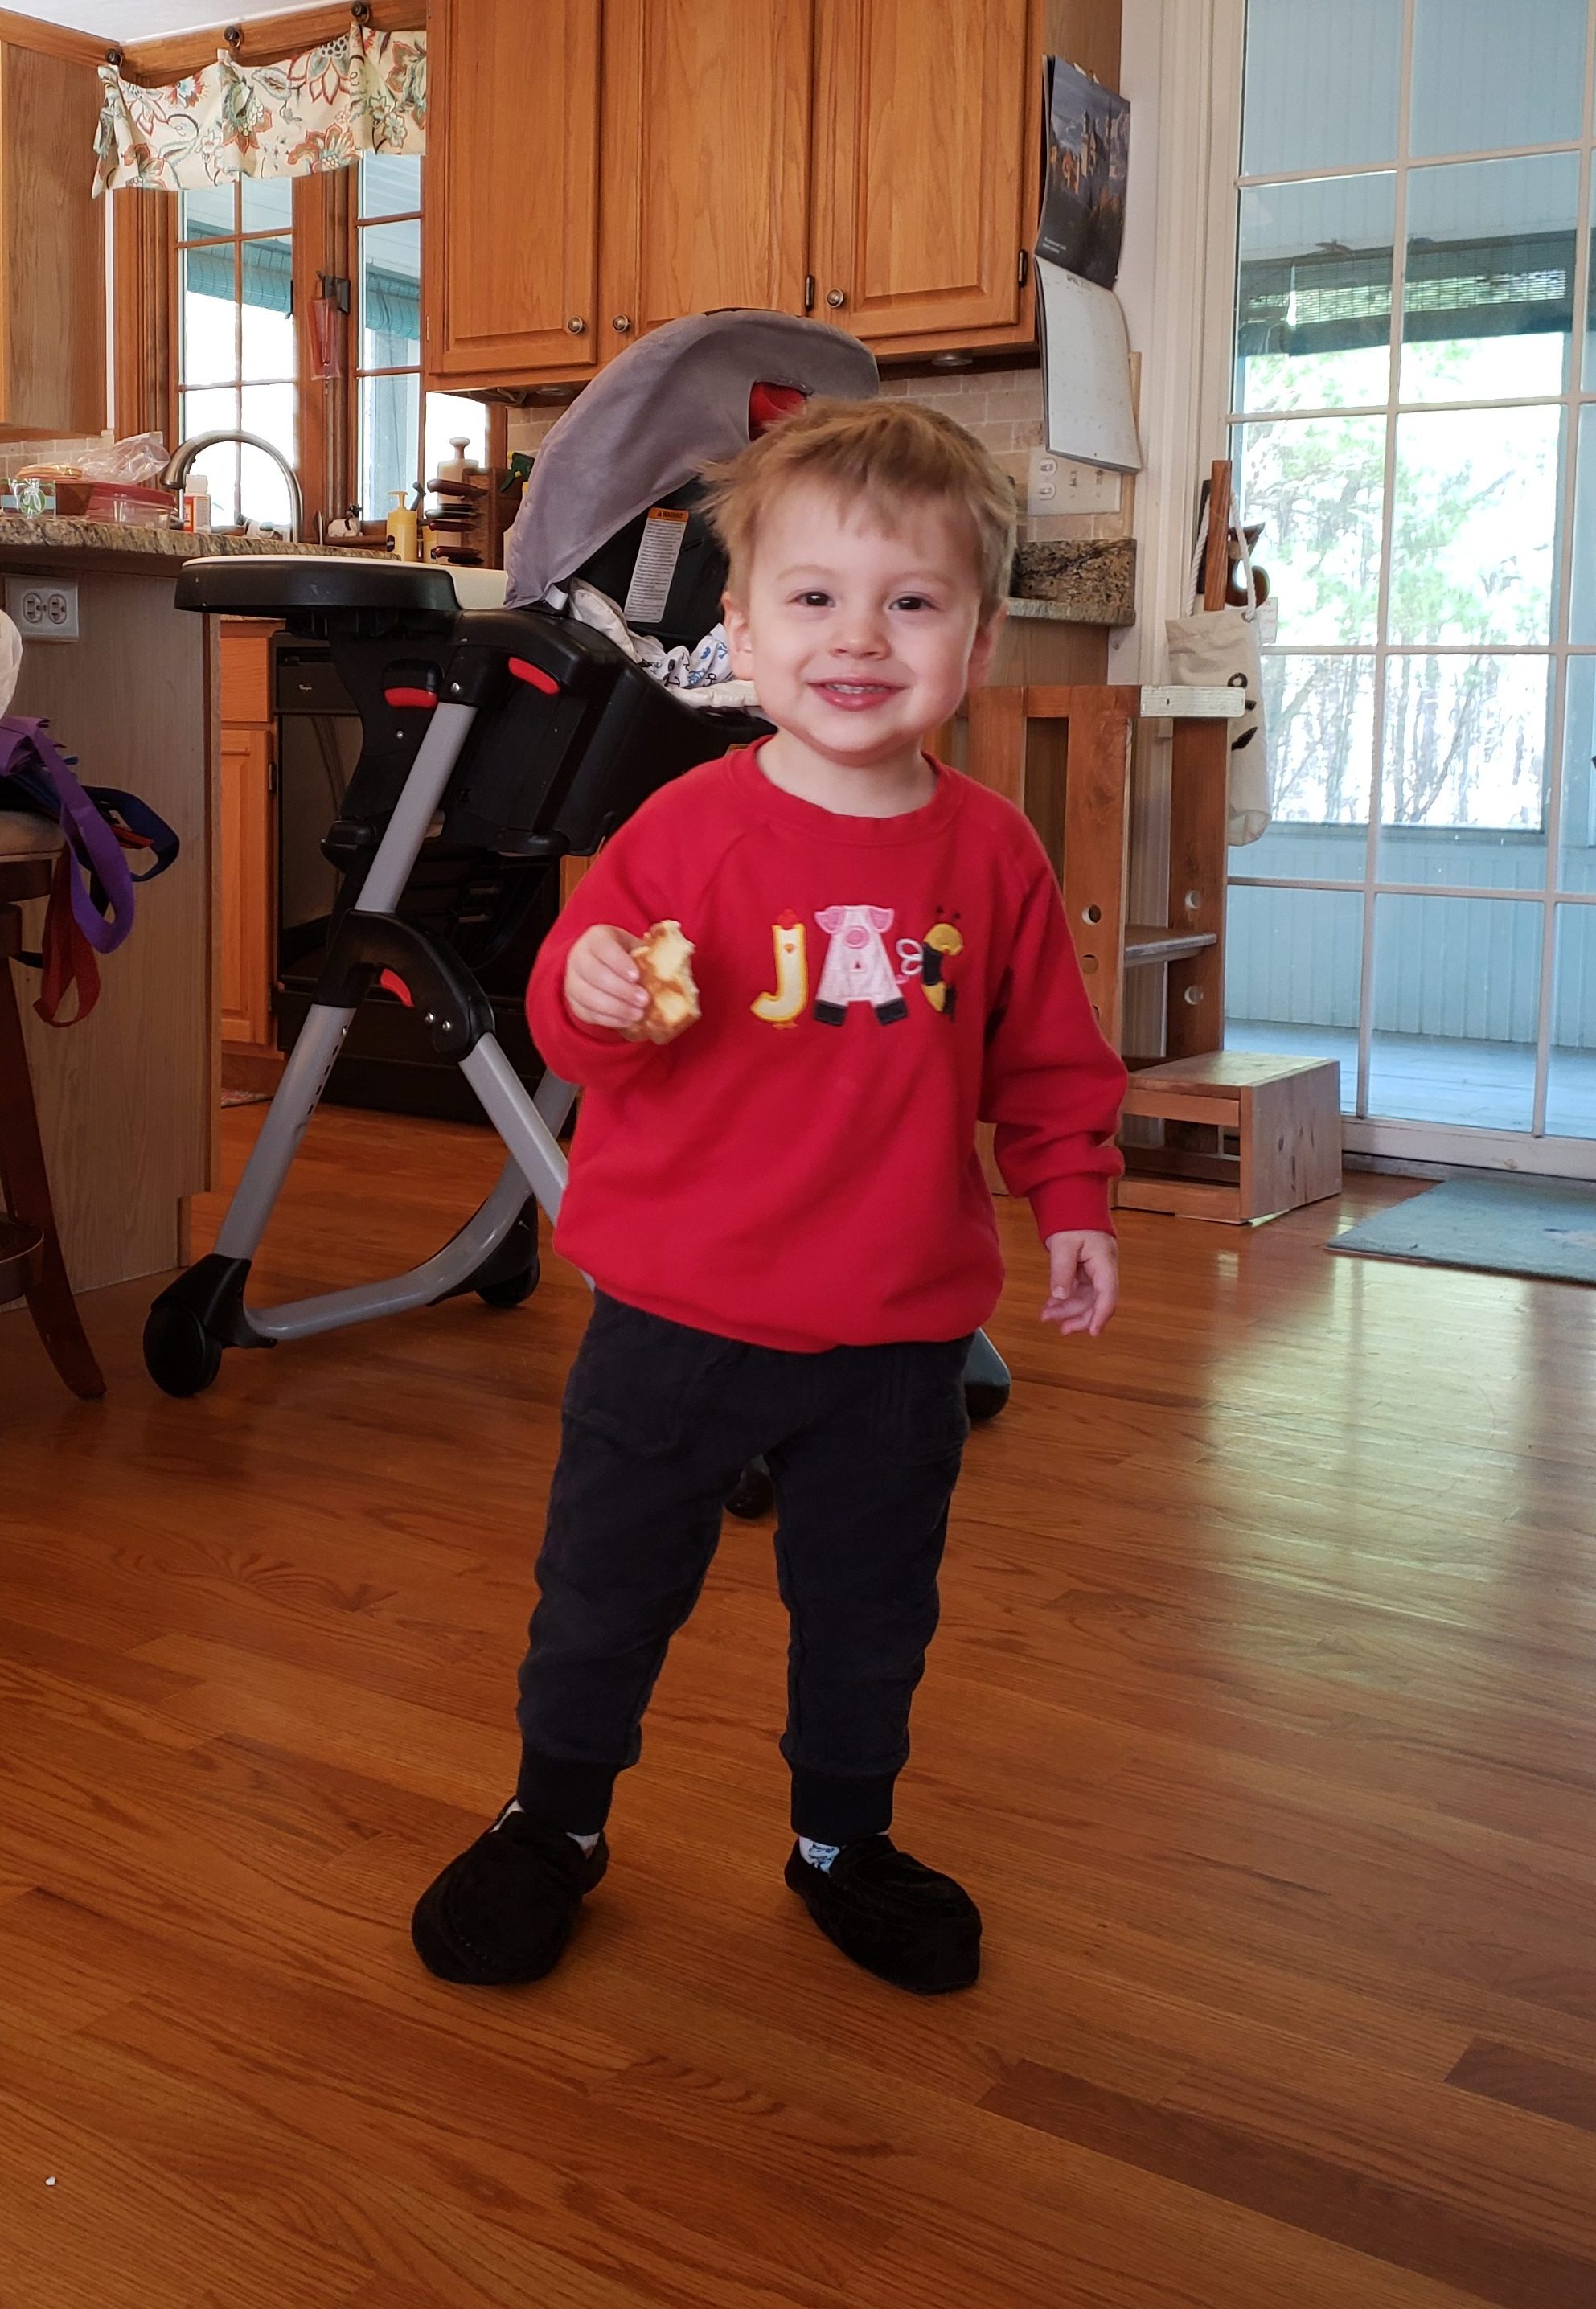
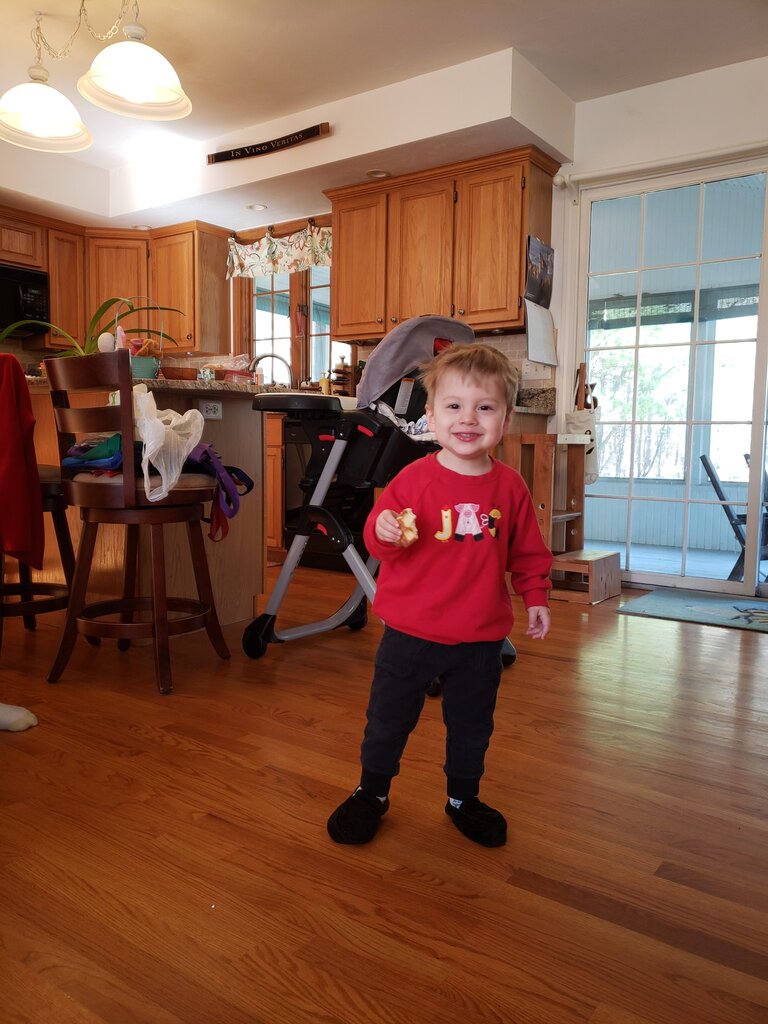
Well it’s June, so I figure it’s high time I tell you how I the Easter Bunny made those slippers in Julius’ Easter basket. In all honesty they aren’t my best work. They are a bit uneven and wonky looking, but that doesn’t both Julius. He is quite proud of his slippers. In fact Julius is already outgrowing the slippers but he still likes to put them on and prance around the house. Have I mentioned how making things for a toddler is really rewarding?
If I make these slippers again there are a lot of things I’ll do differently – mainly I’ll try to find a better way to attach the top to the bottom of the slipper because hand stitching is a pain.
Toddler Slippers
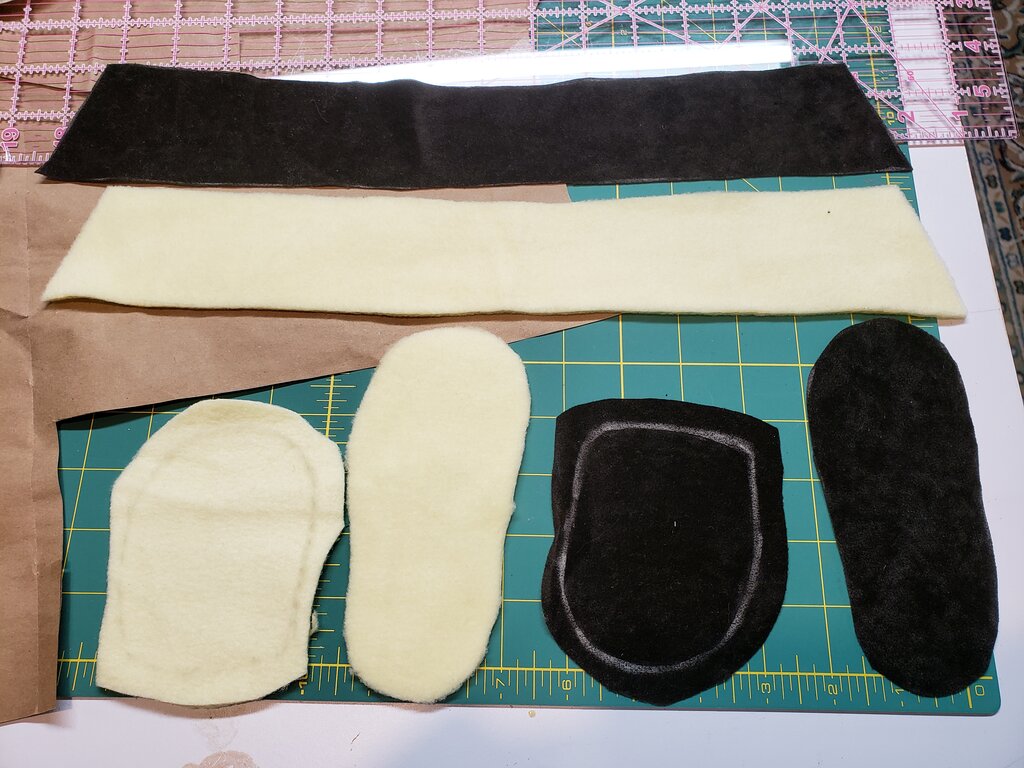
What you’ll need (size US 6 toddler slipper):
- fat quarter size of fleece for inside
- fat quarter size of “vegan suede”
- Pattern here
- Cut out all pattern pieces as marked. Note you will need to flip the pattern over to cut out pieces for the opposite shoe.

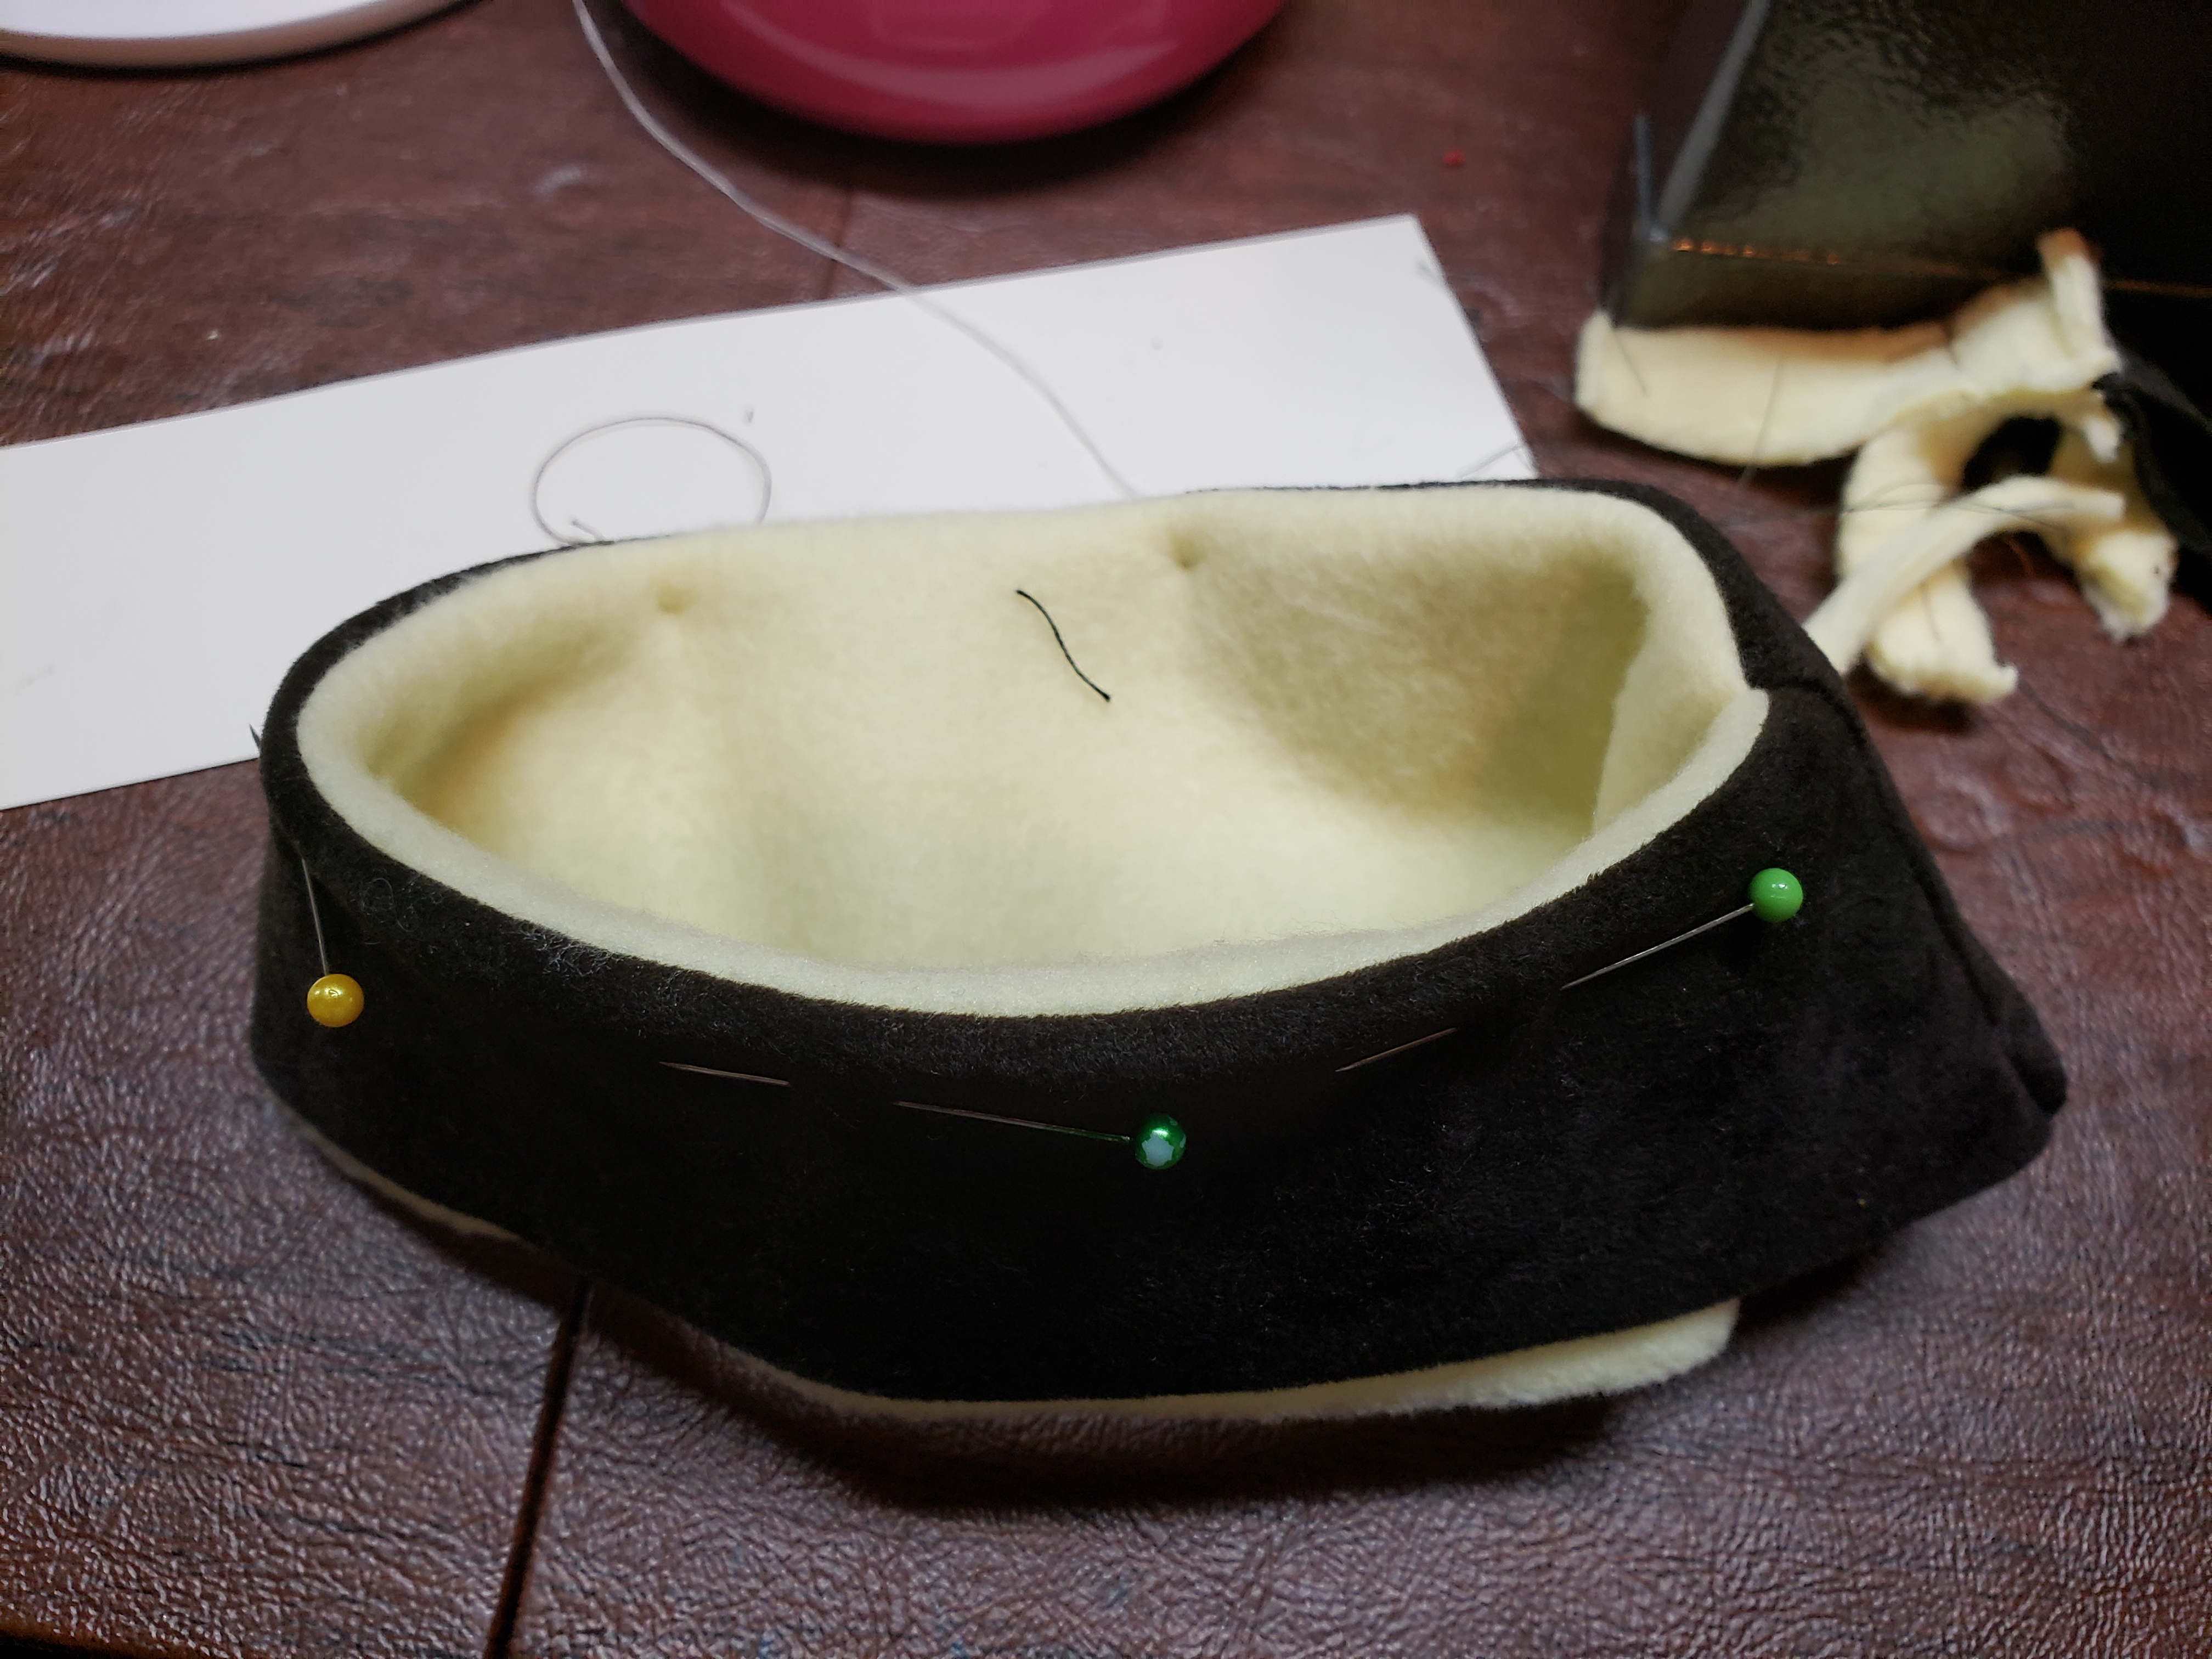
- Assemble the shoe sides. Place long strip of leather on top of long strip of fleece, right sides together. Pin the top and stitch.
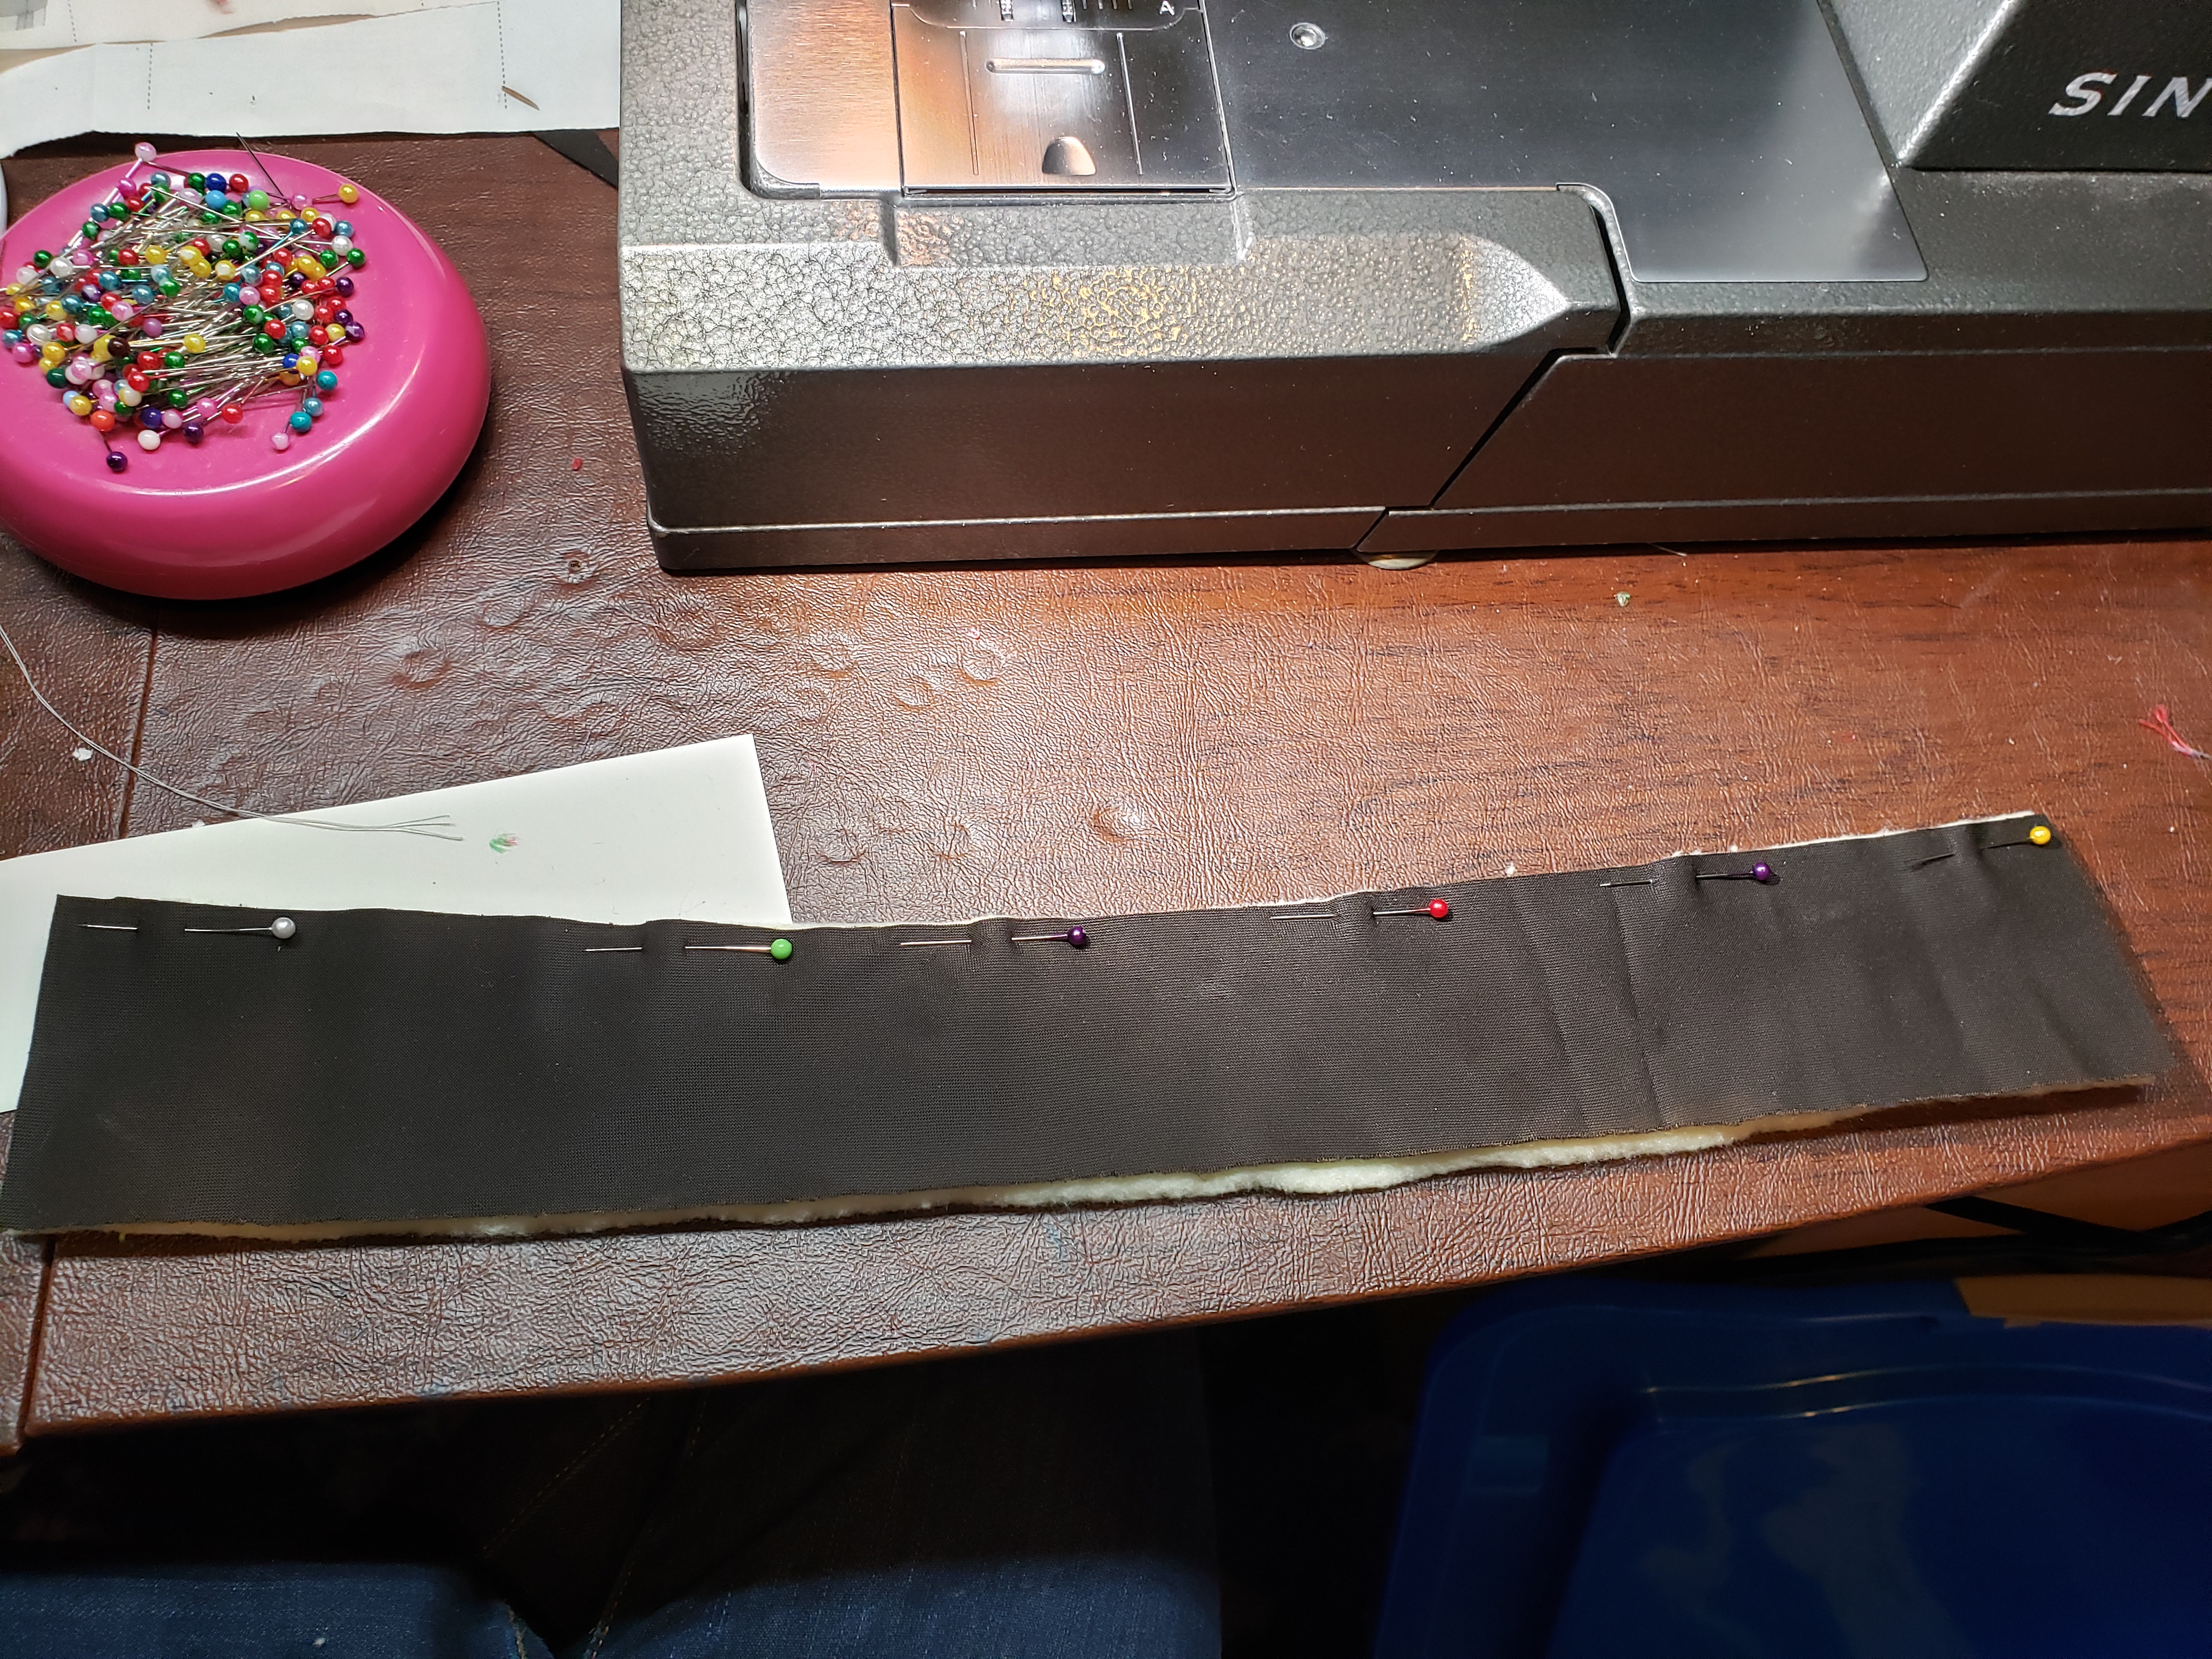
- Open out and stitch the fold in half so leather ends meet and fleece ends meet. Stitch down this side, following the edge (it will form a slight ‘v’) then trim.
- Turn right side out and stitch 1/4″ from the top to form decorative stay-stitching.
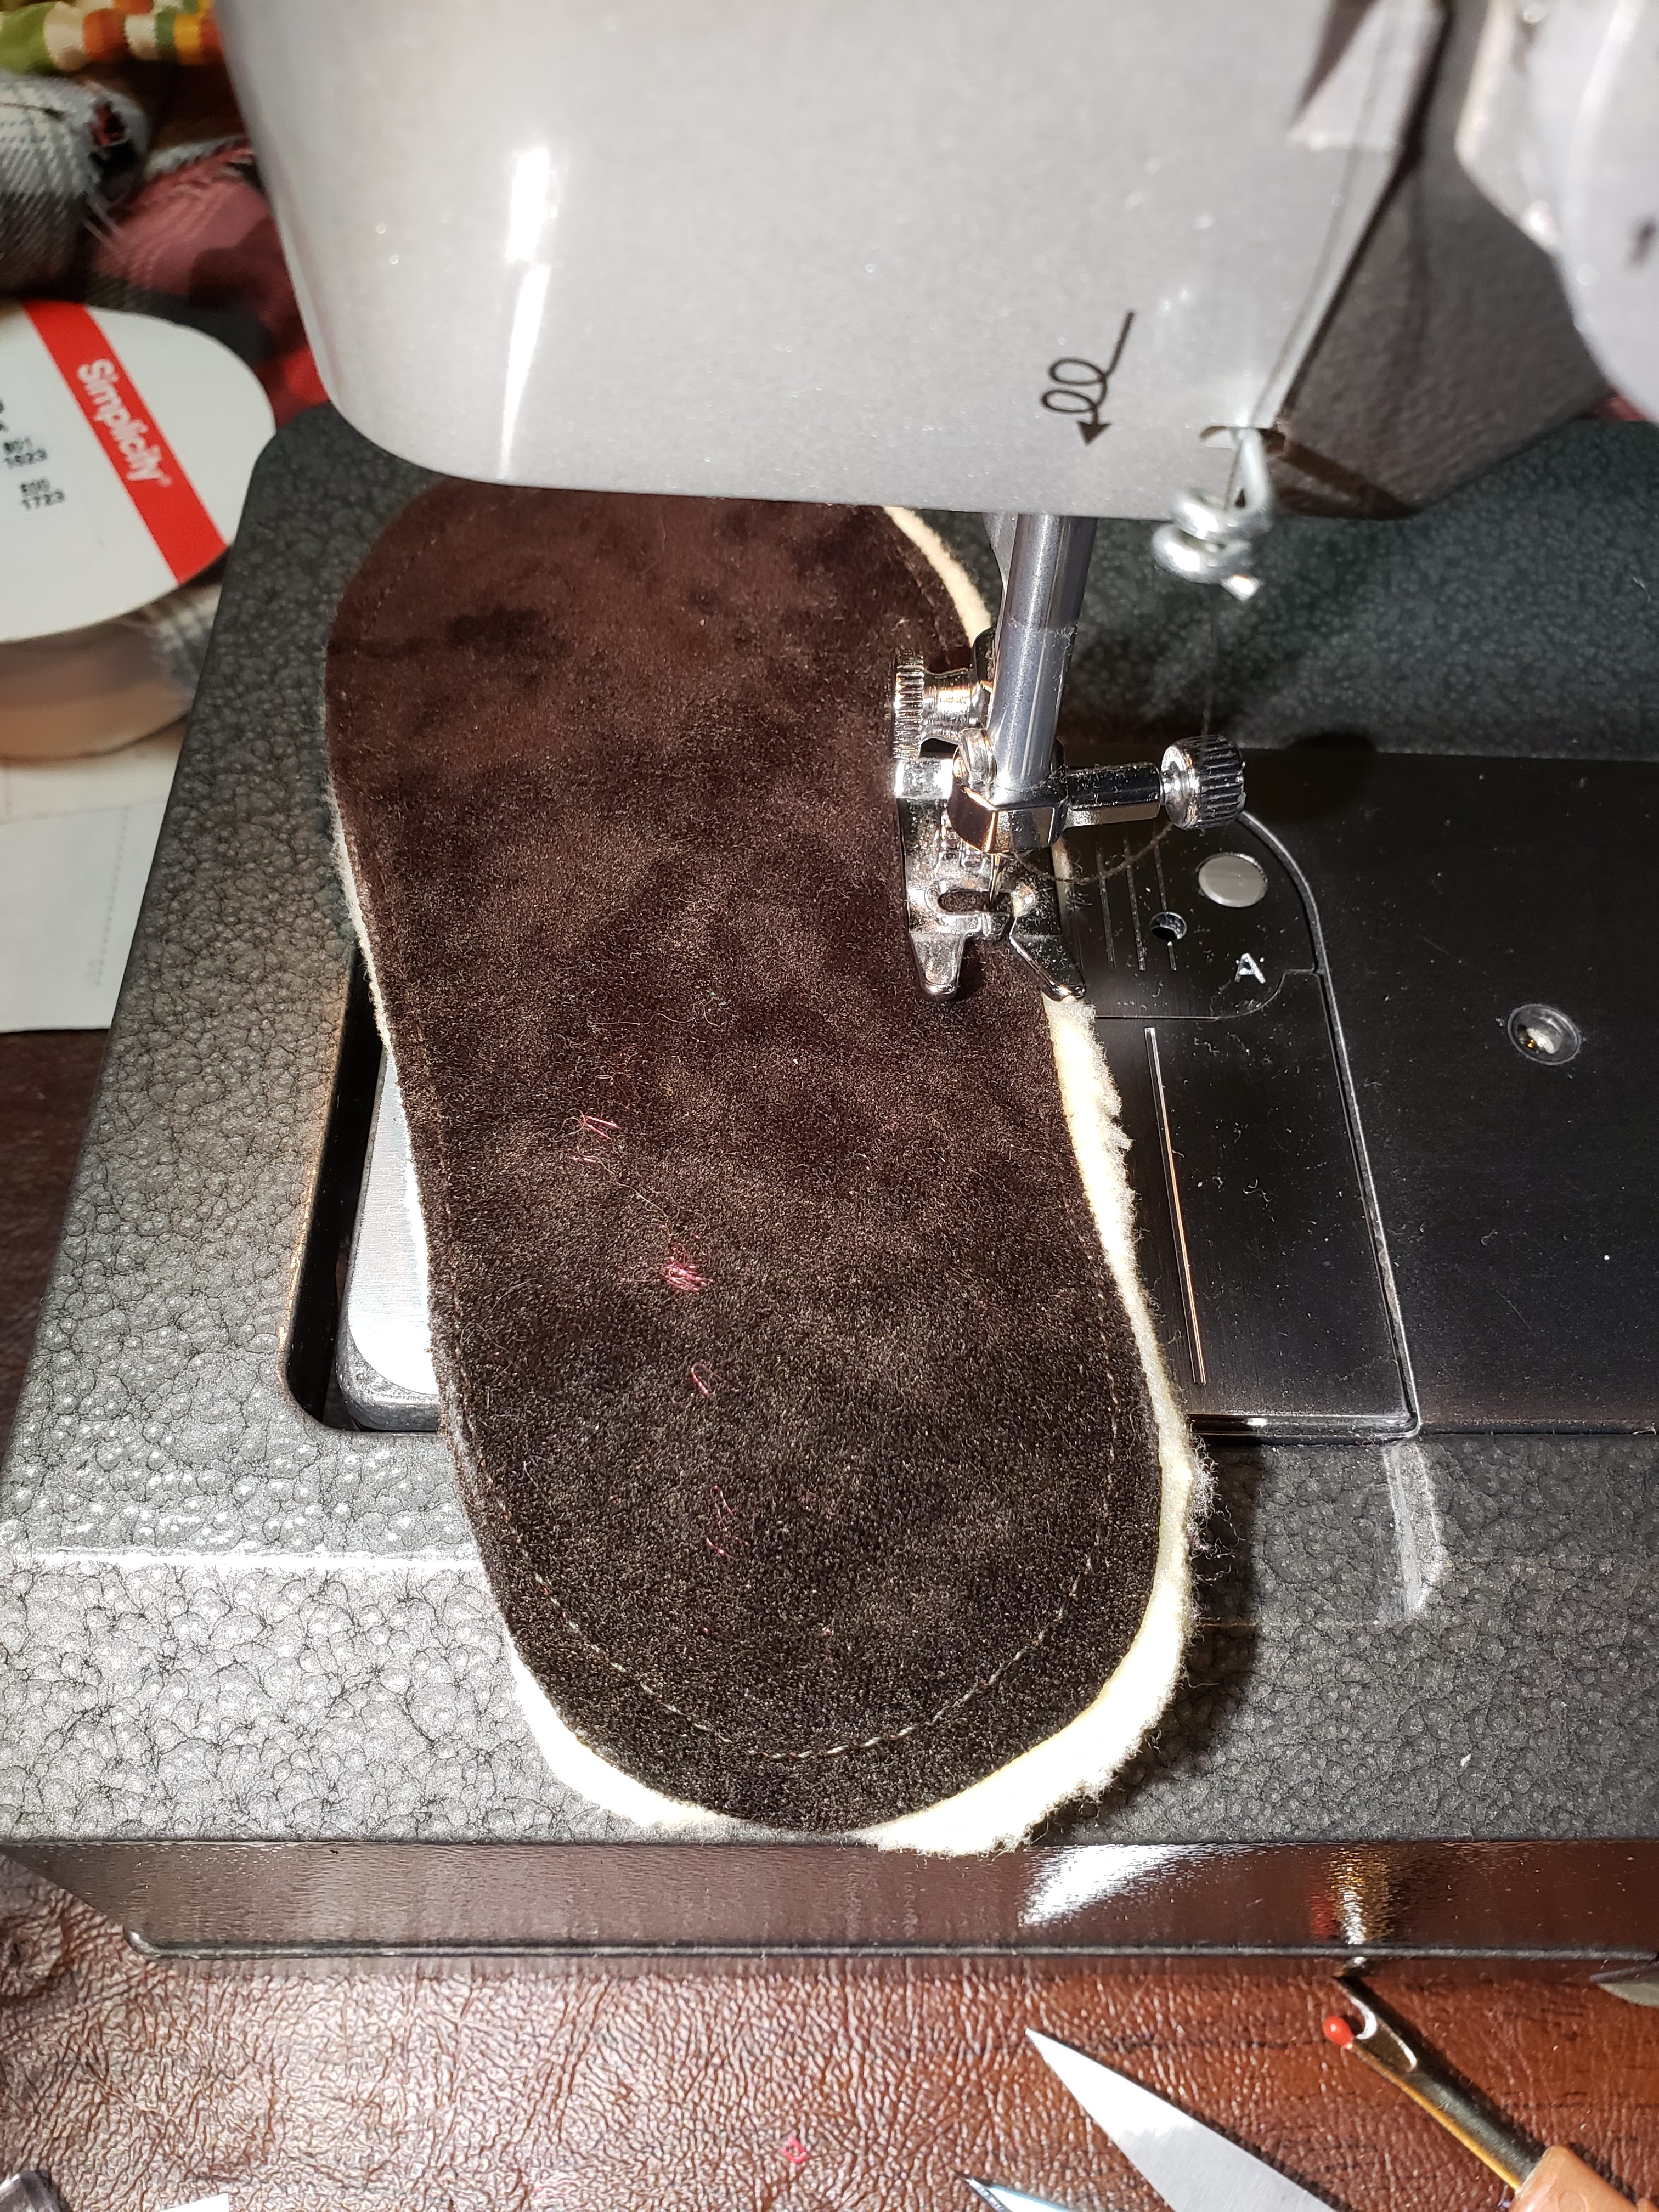
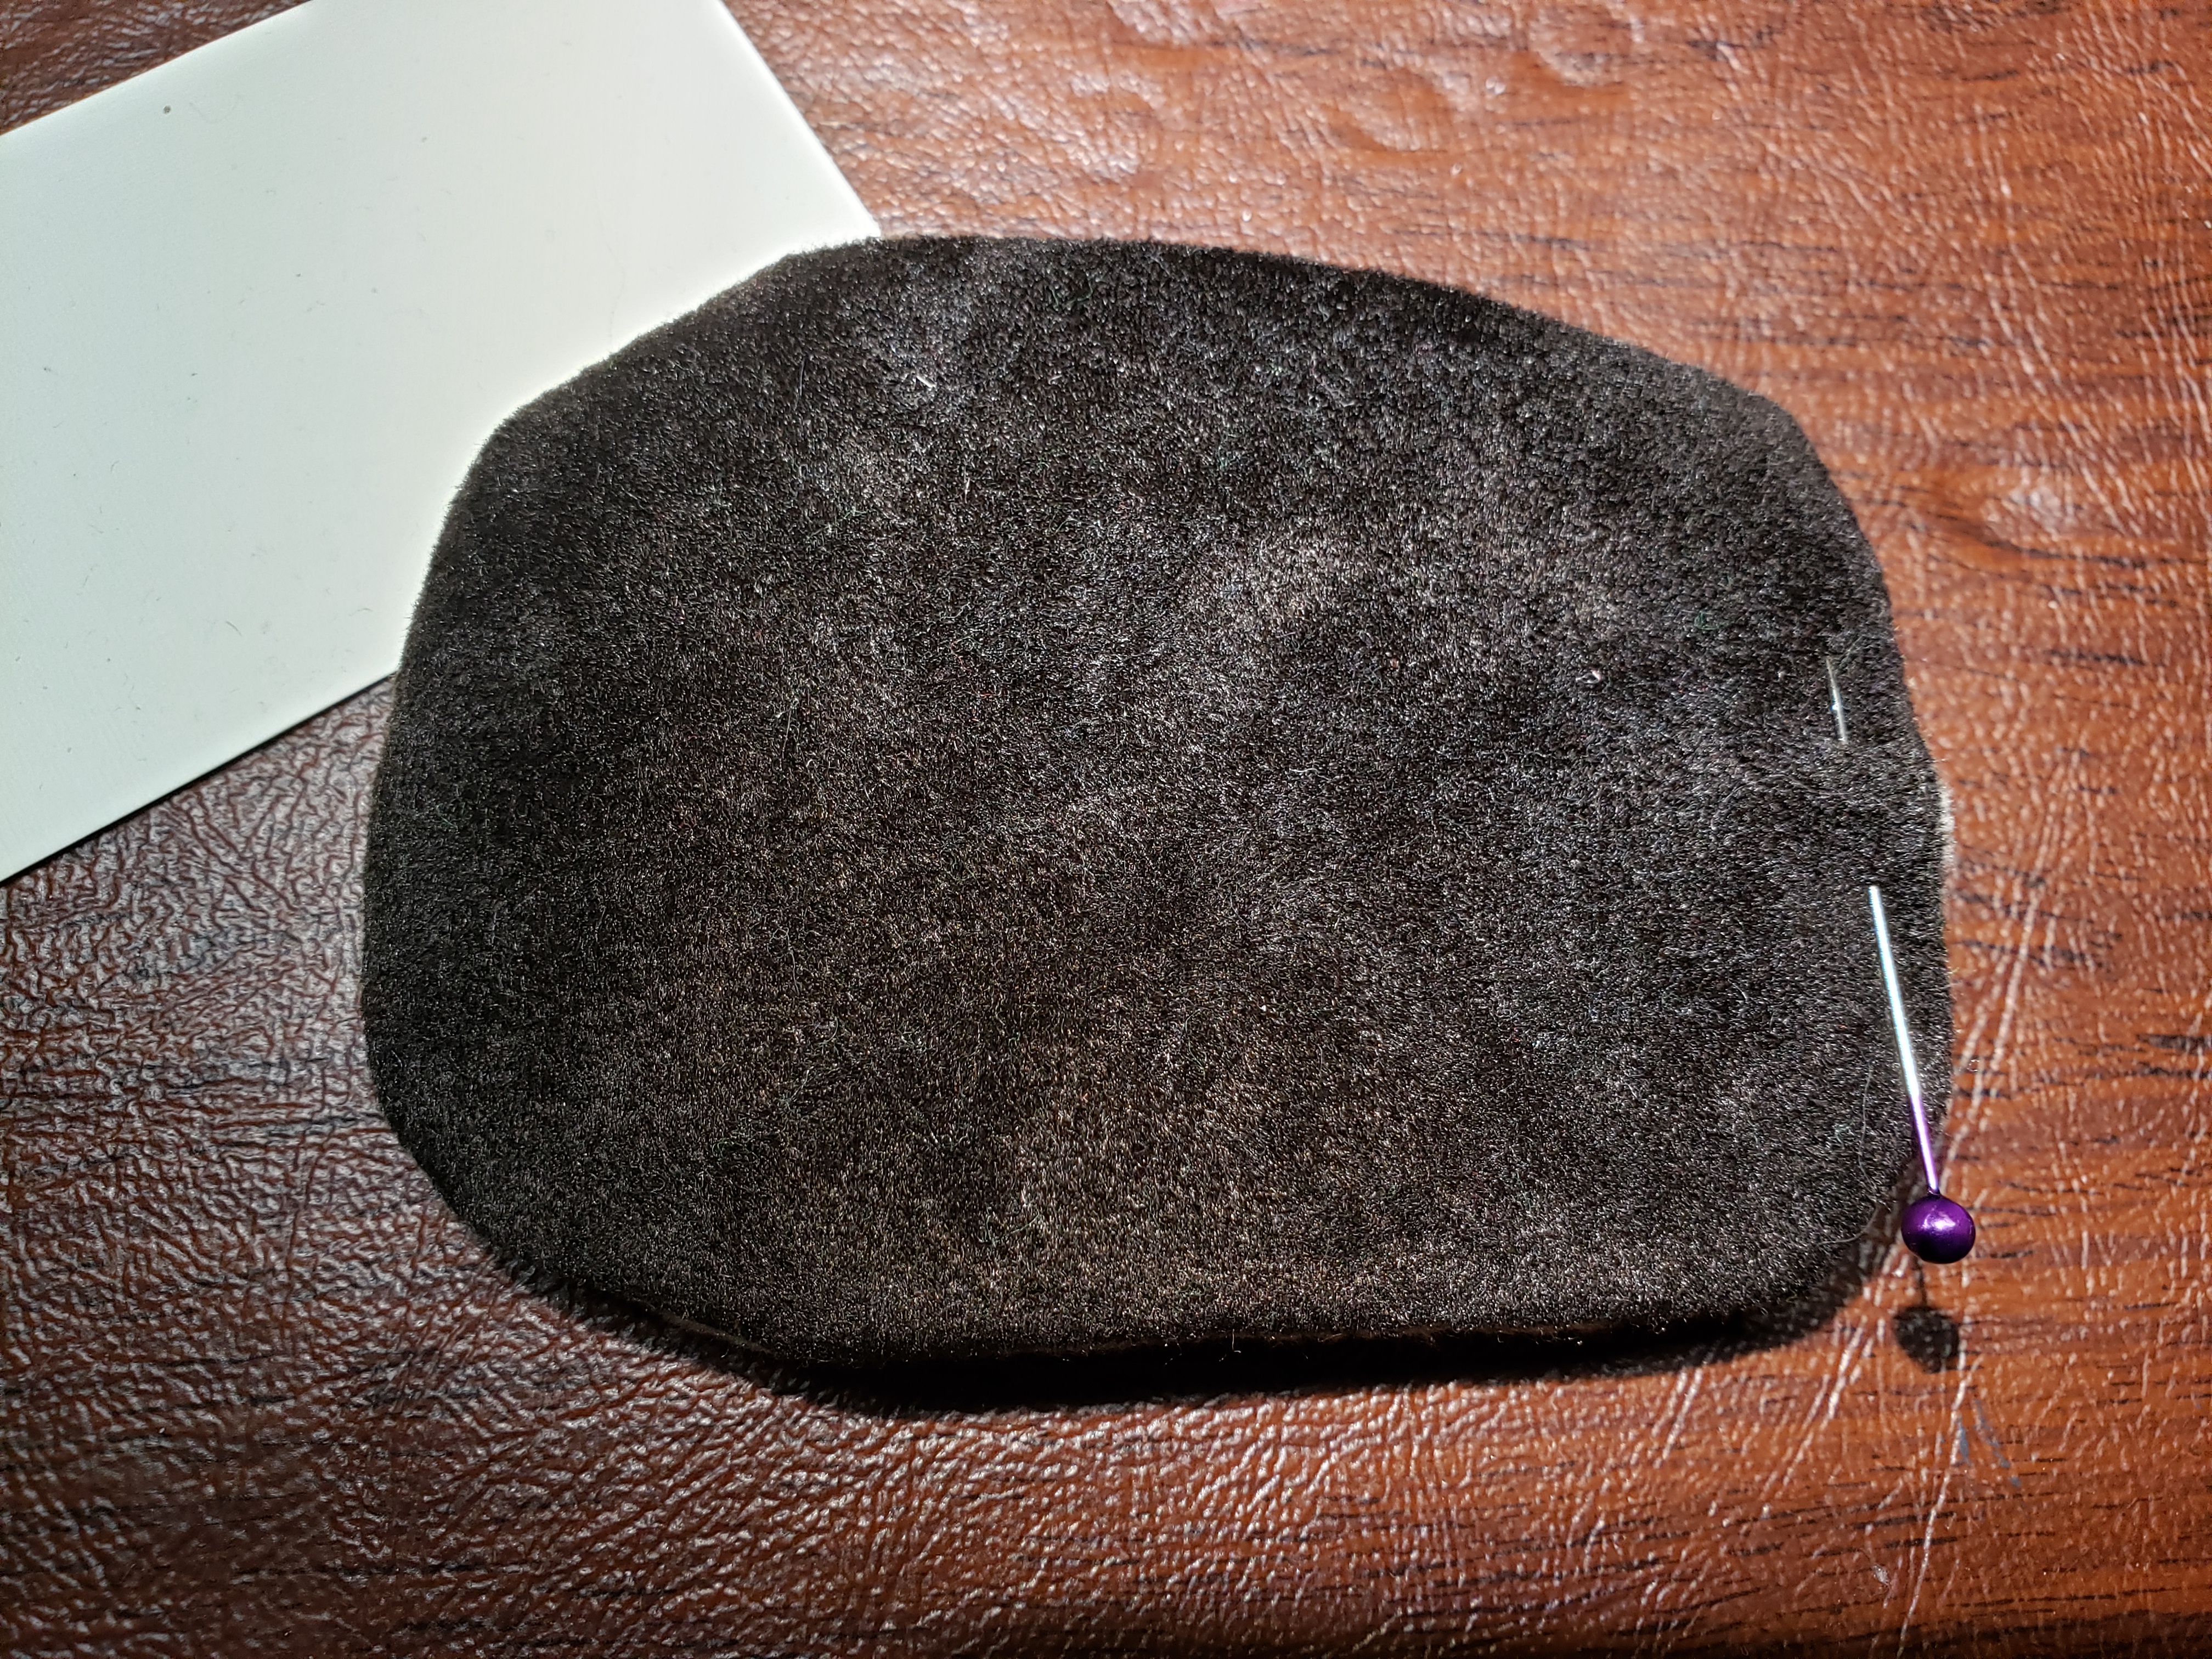
- Place sole of slipper on top of flannel sole, wrong sides together and stitch 1/4″ from the edges.
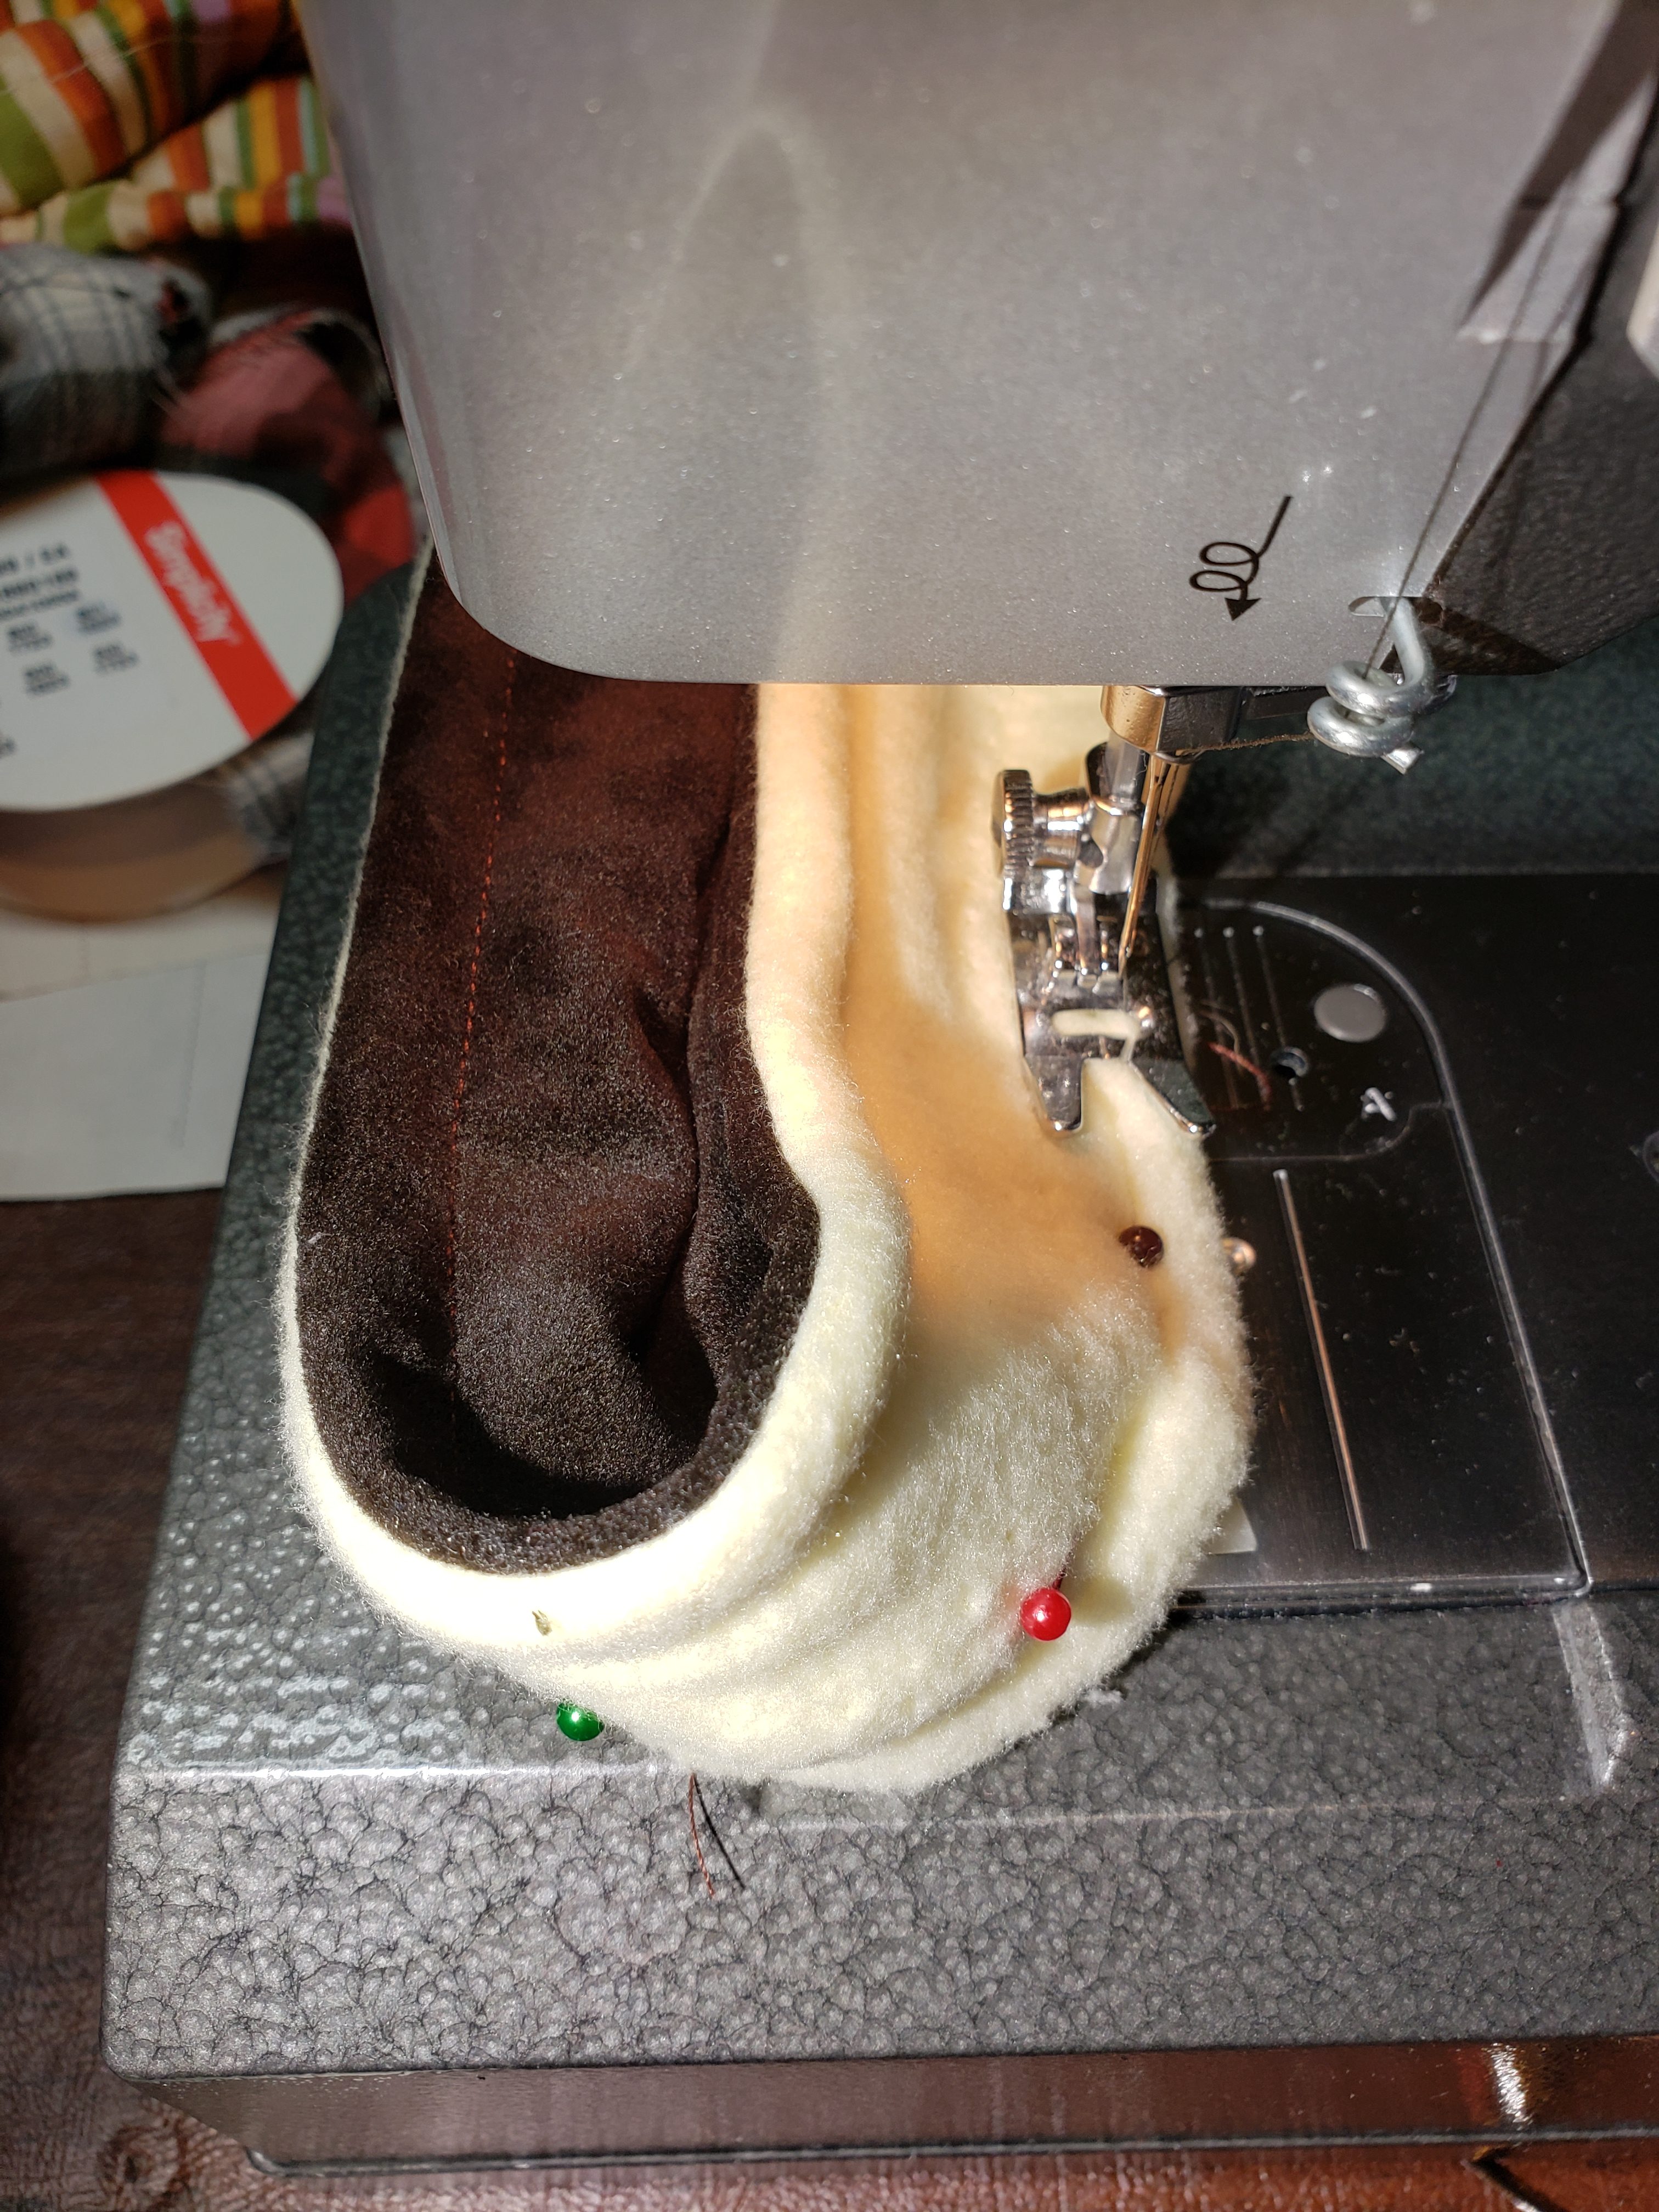
- Pin sole of slipper to sides of slipper, right sides together. Make sure the end with the seam is towards the heel of the shoe. Stitch.
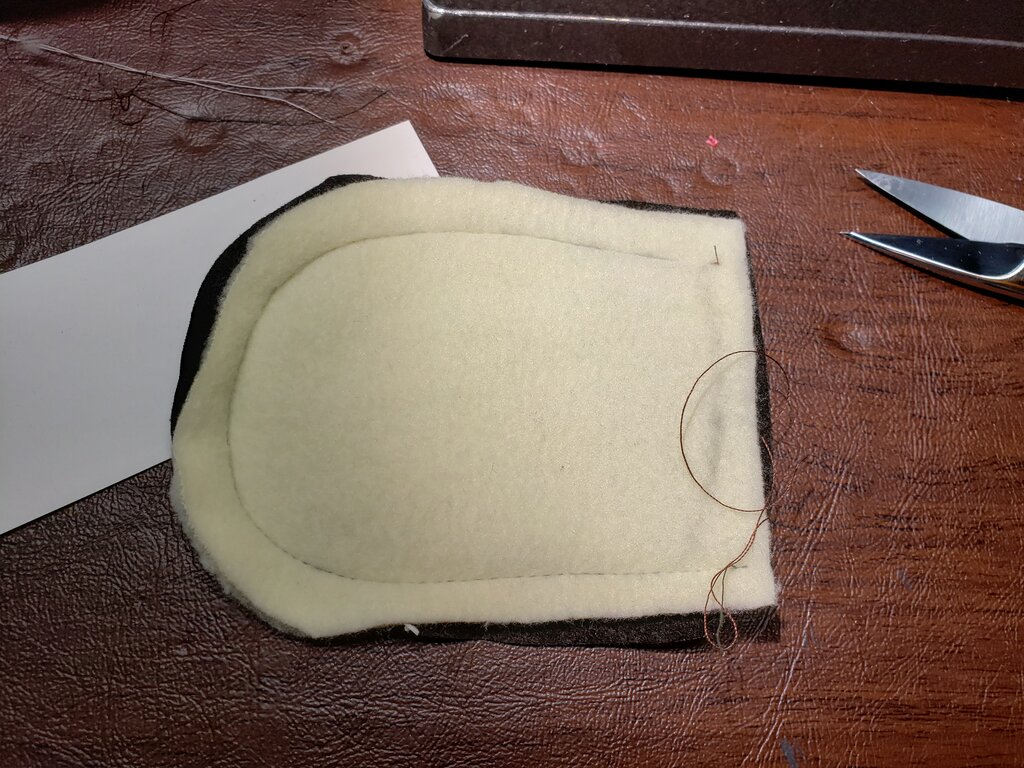
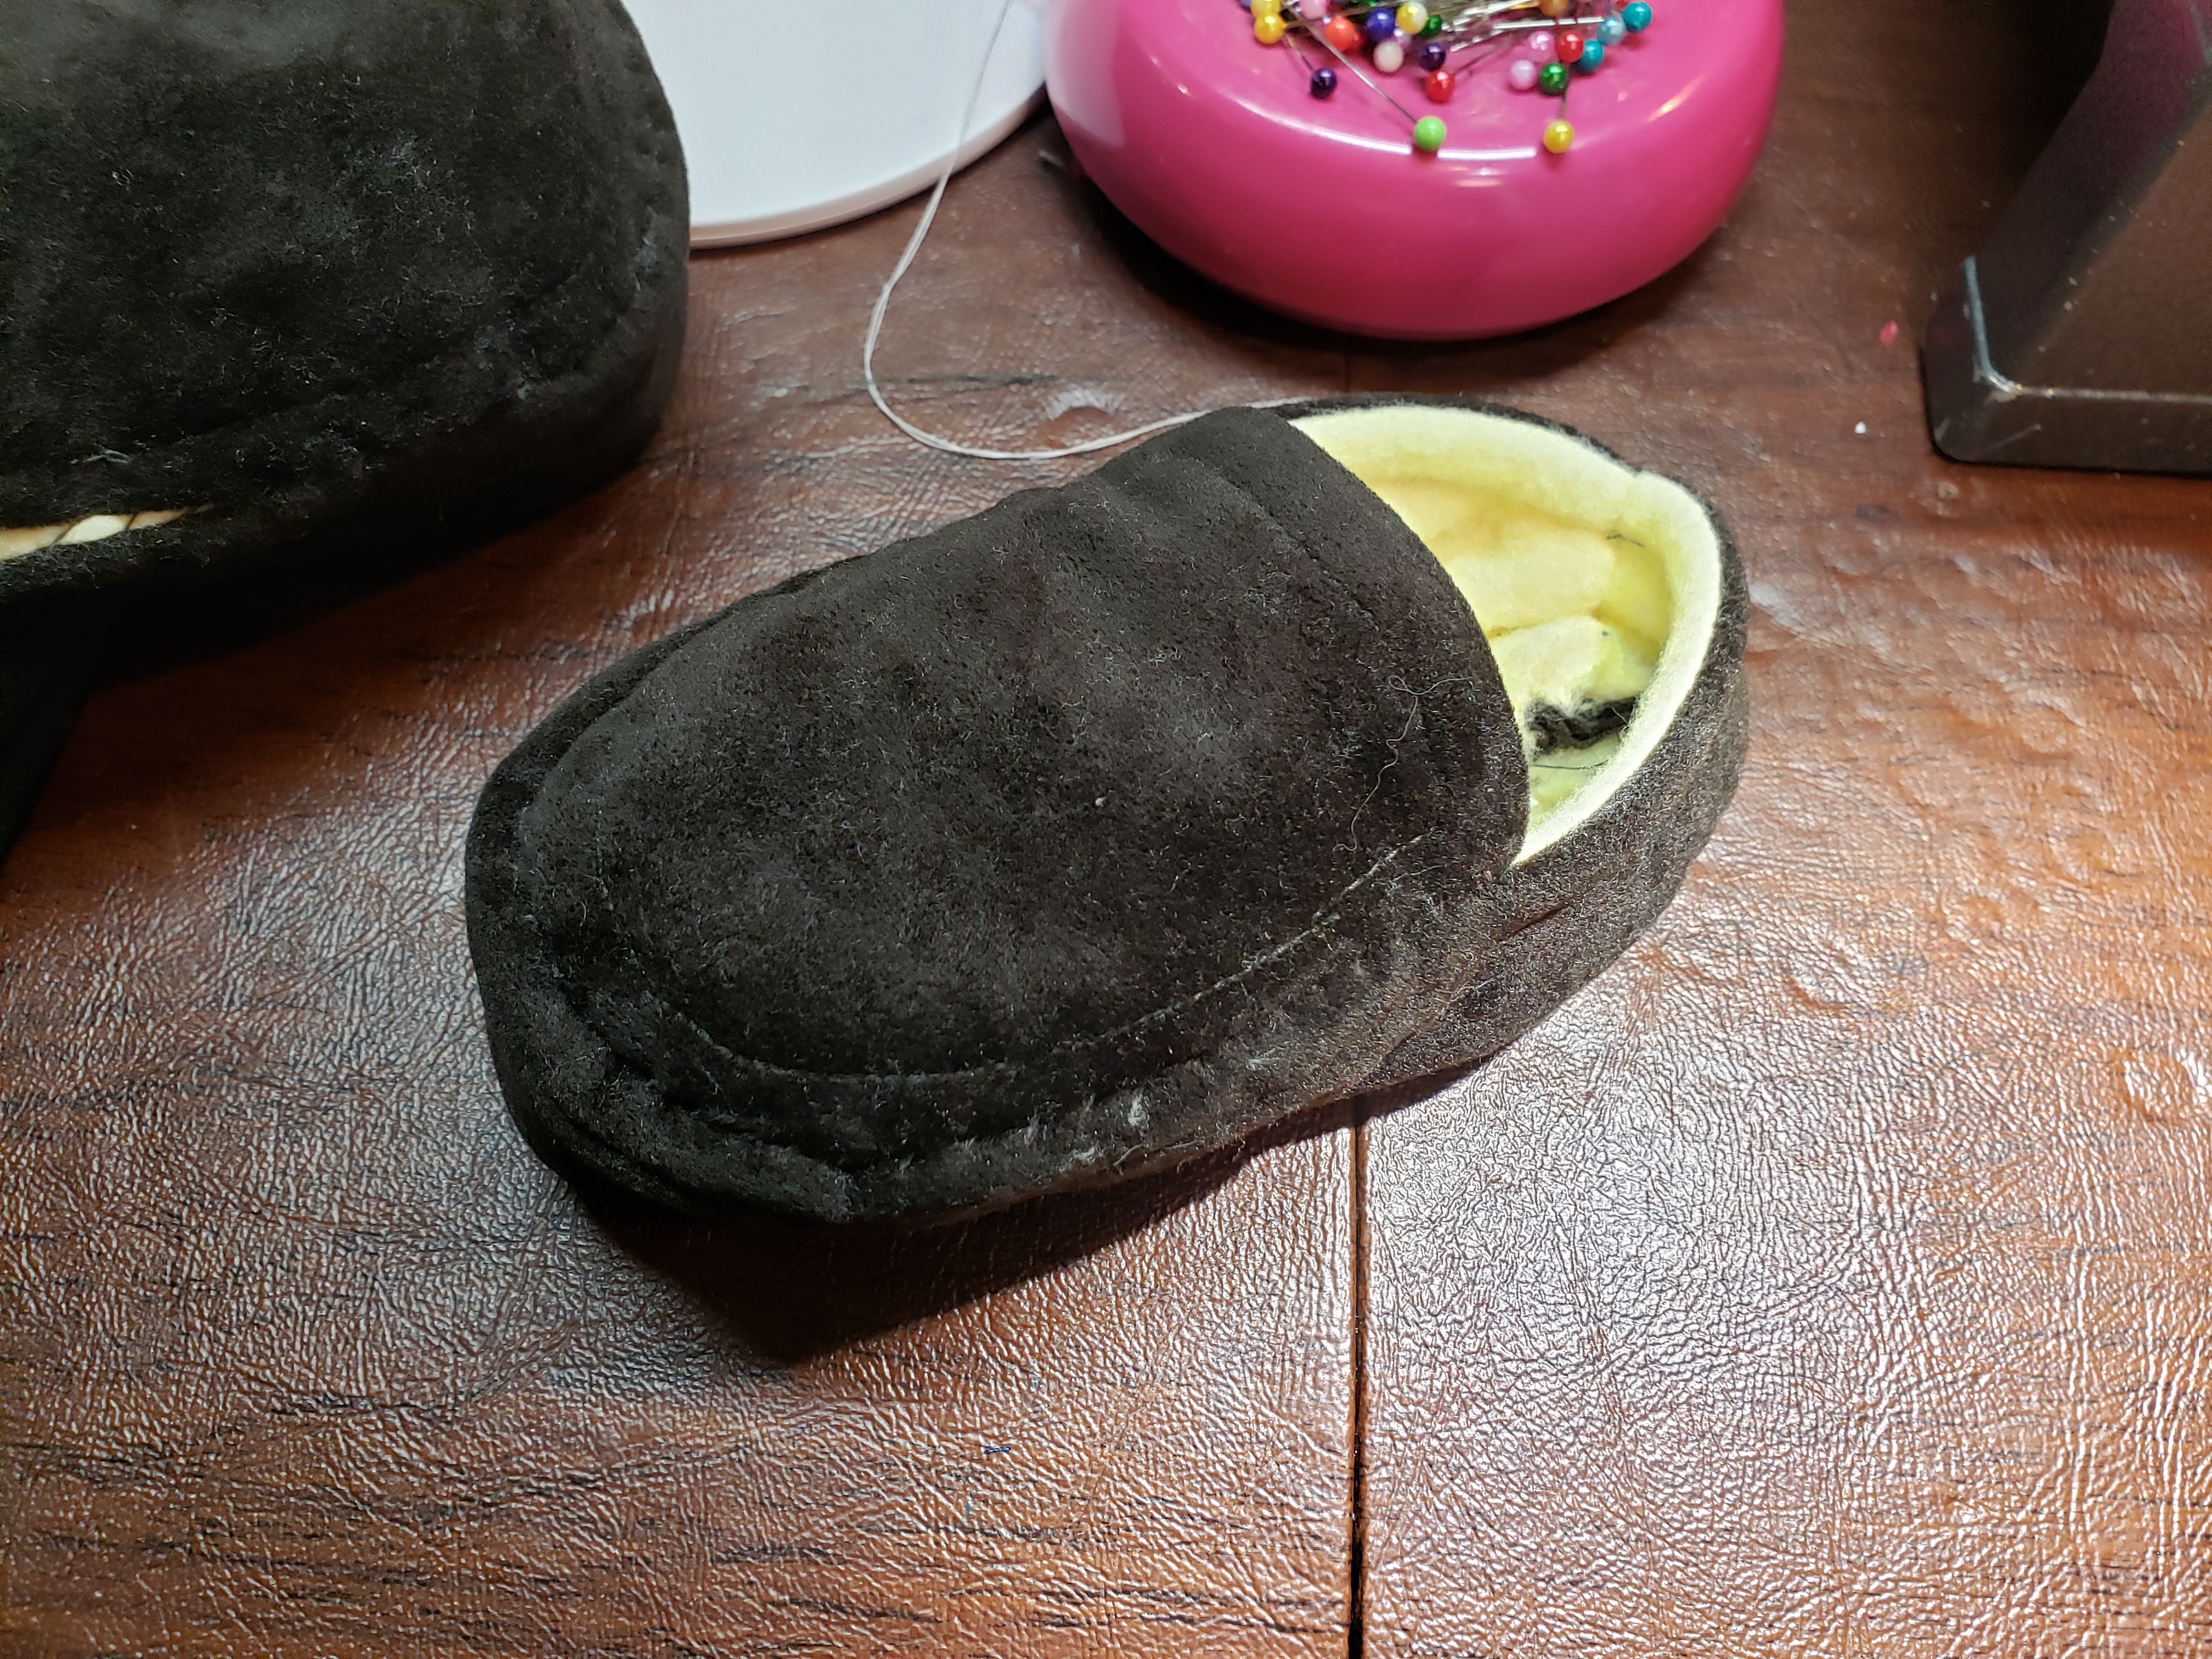
- Place the leather for the top of shoe on top of the flannel. Stitch around the toe end.
- Turn right side out, fold under the open end and stay stitch close to all edges.
- Place top of shoe onto the toe area of the slipper, so the flannel side is inside. Hand stitch around the top of the slipper to attach it to the bottom of the slipper. Leave a 1/2″ gap from the start and end of the top of the shoe, for ease of inserting one’s foot.
- Repeat steps 2-9 for second shoe.