
I’m writing this on Will’s laptop, which currently has a dead battery, since my laptop currently has a dead storage device. Hopefully we can get that sorted out in the next month… We’ve been hanging out with family the last few weeks and Julius and Patricia have been having a ball. This is the first time Patricia has been with her cousins while she is old enough to play with them and she was very excited. Other people the same size as Julius?! Ari and Finn were very cute and included her in their little games.
Julius had a grand time running around the house with Ari and Finn. They dubbed themselves “the giggle gooses” (I call Julius and Patricia my silly gooses) and ran around the house shouting all sorts of silly things. At one point before bed Julius came up to me and we had the following conversation:
Julius: “I love Finn, he’s my best friend. He’s my grandson.”
Me: “You mean cousin?”
Julius: “Yeah.”
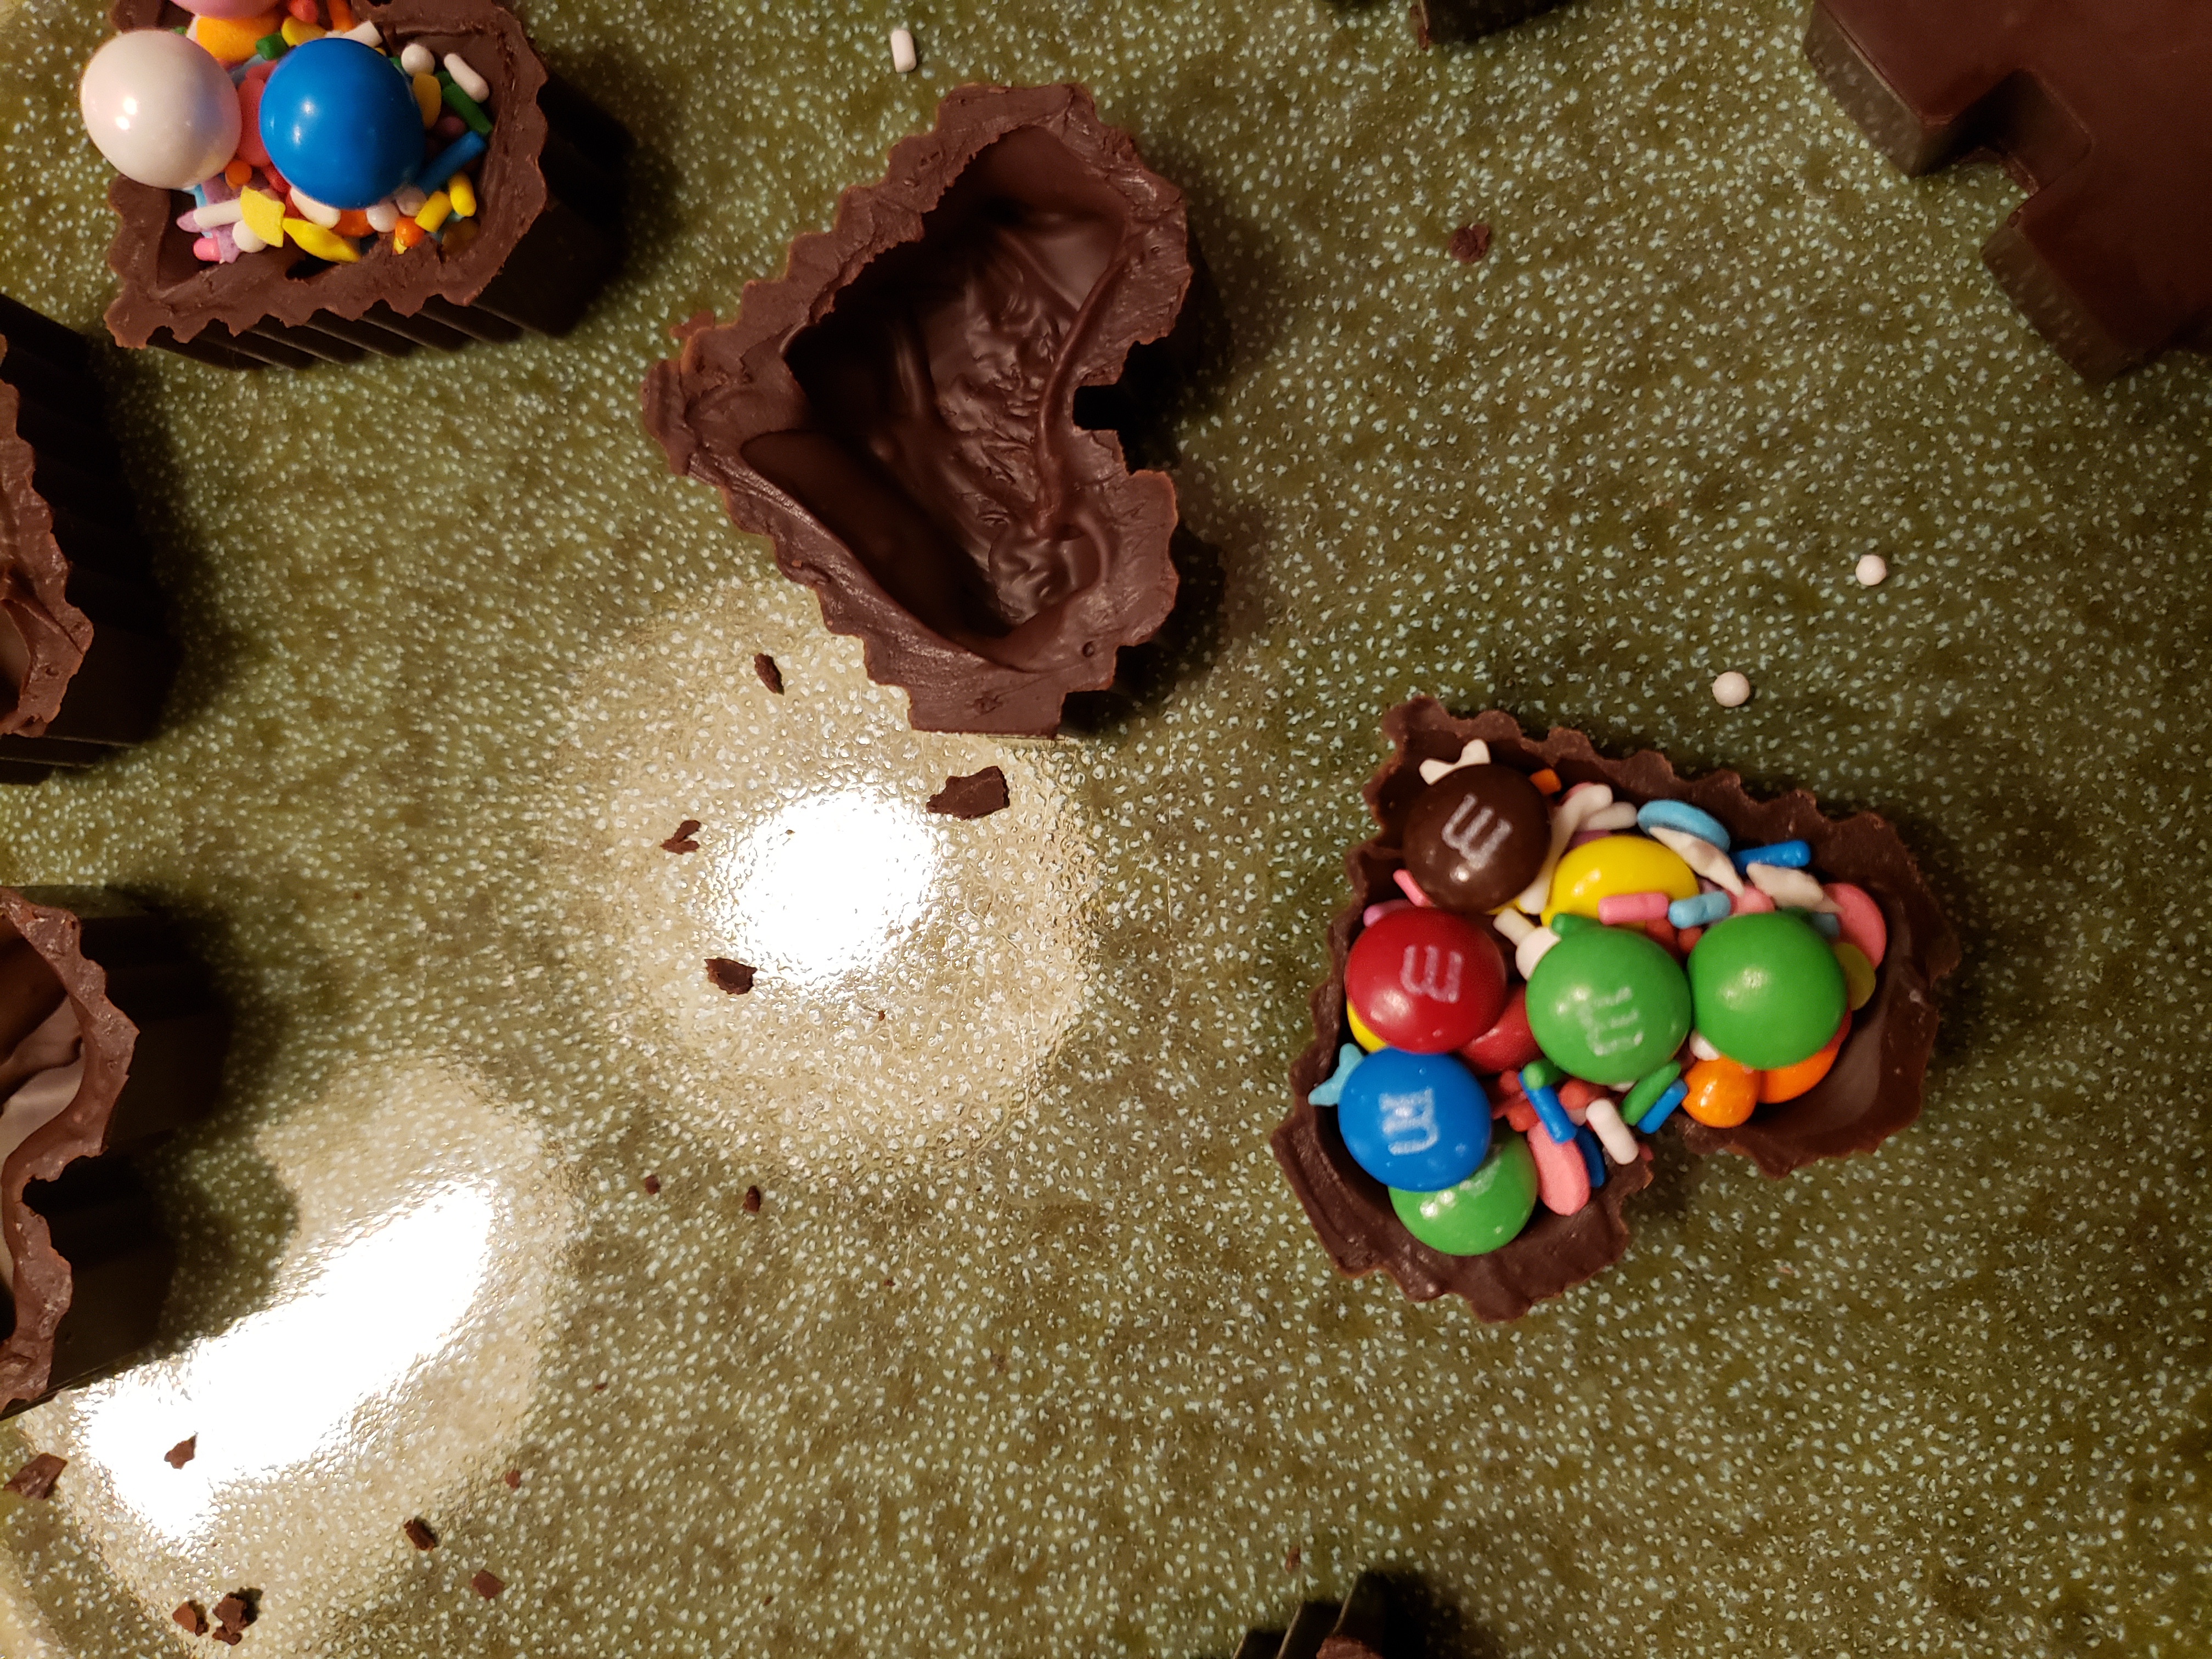
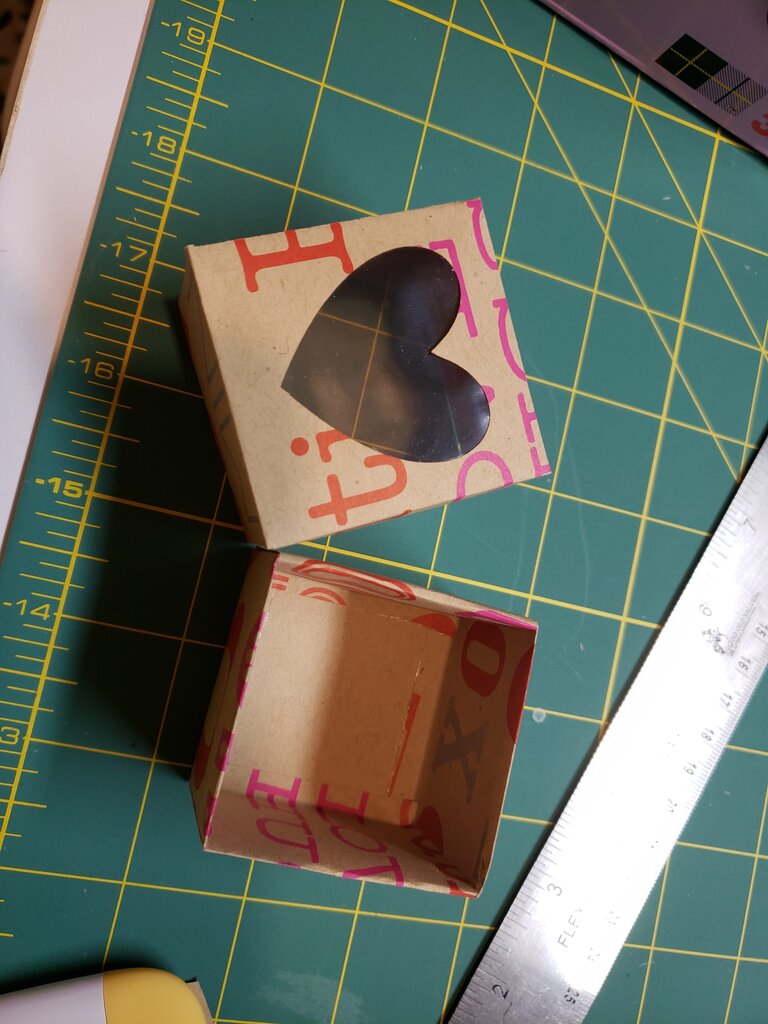
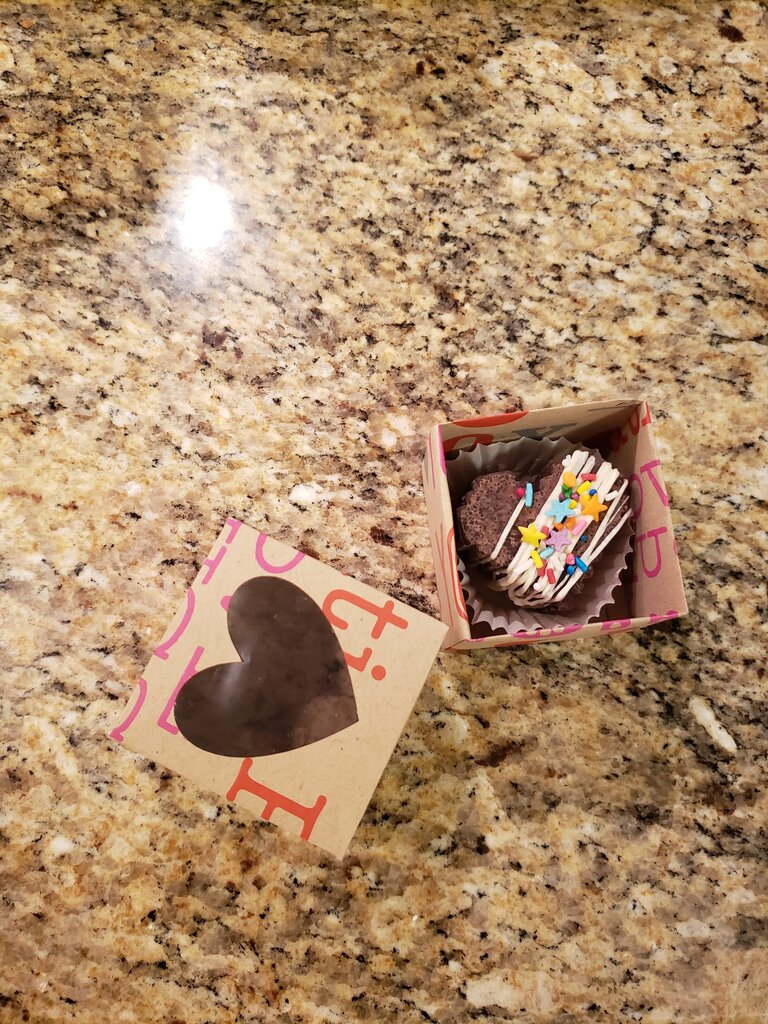
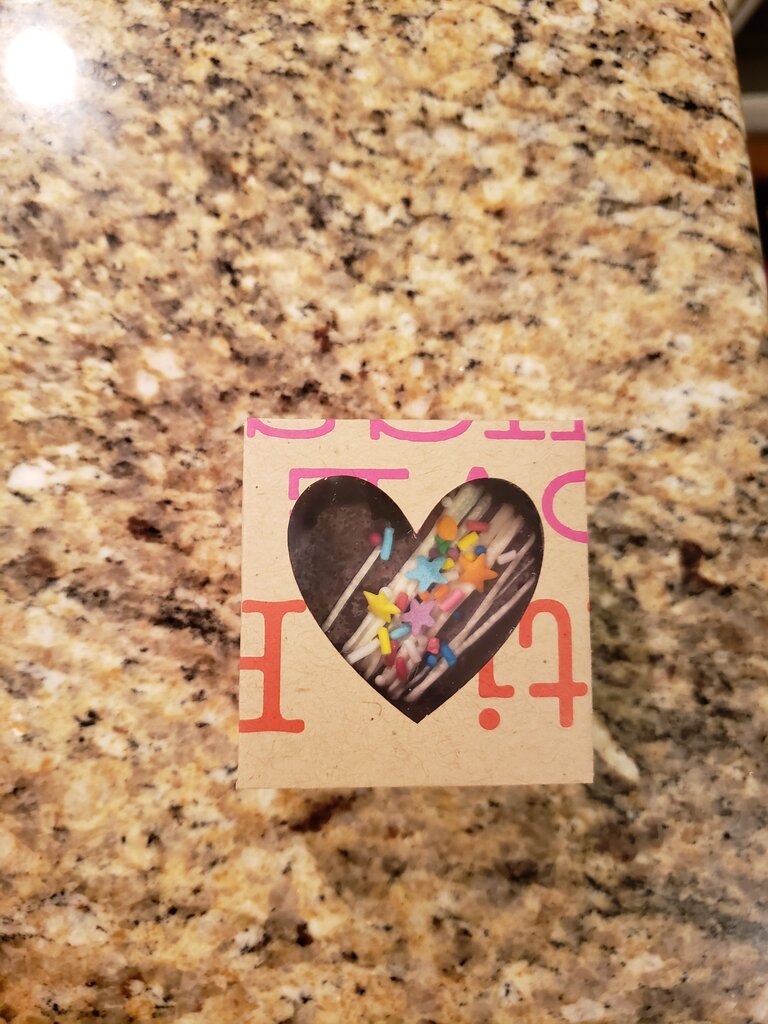
I guess he is trying to figure out the meaning of the word grandson through guess and check. Well I’m running out of my backlog of projects during our world tour, so this one is a blast from the past. For Valentine’s day this year I made Julius a mini “smash heart”. The smash heart I made at the same time as the hot cocoa bomb and filled it with sprinkles and m&ms. I added a tiny hammer and some fancy packaging that I made from some recycled wrapping paper to make things adorable. Julius hasn’t used the tiny hammer but he carried the box around for weeks… so I guess it was worth making.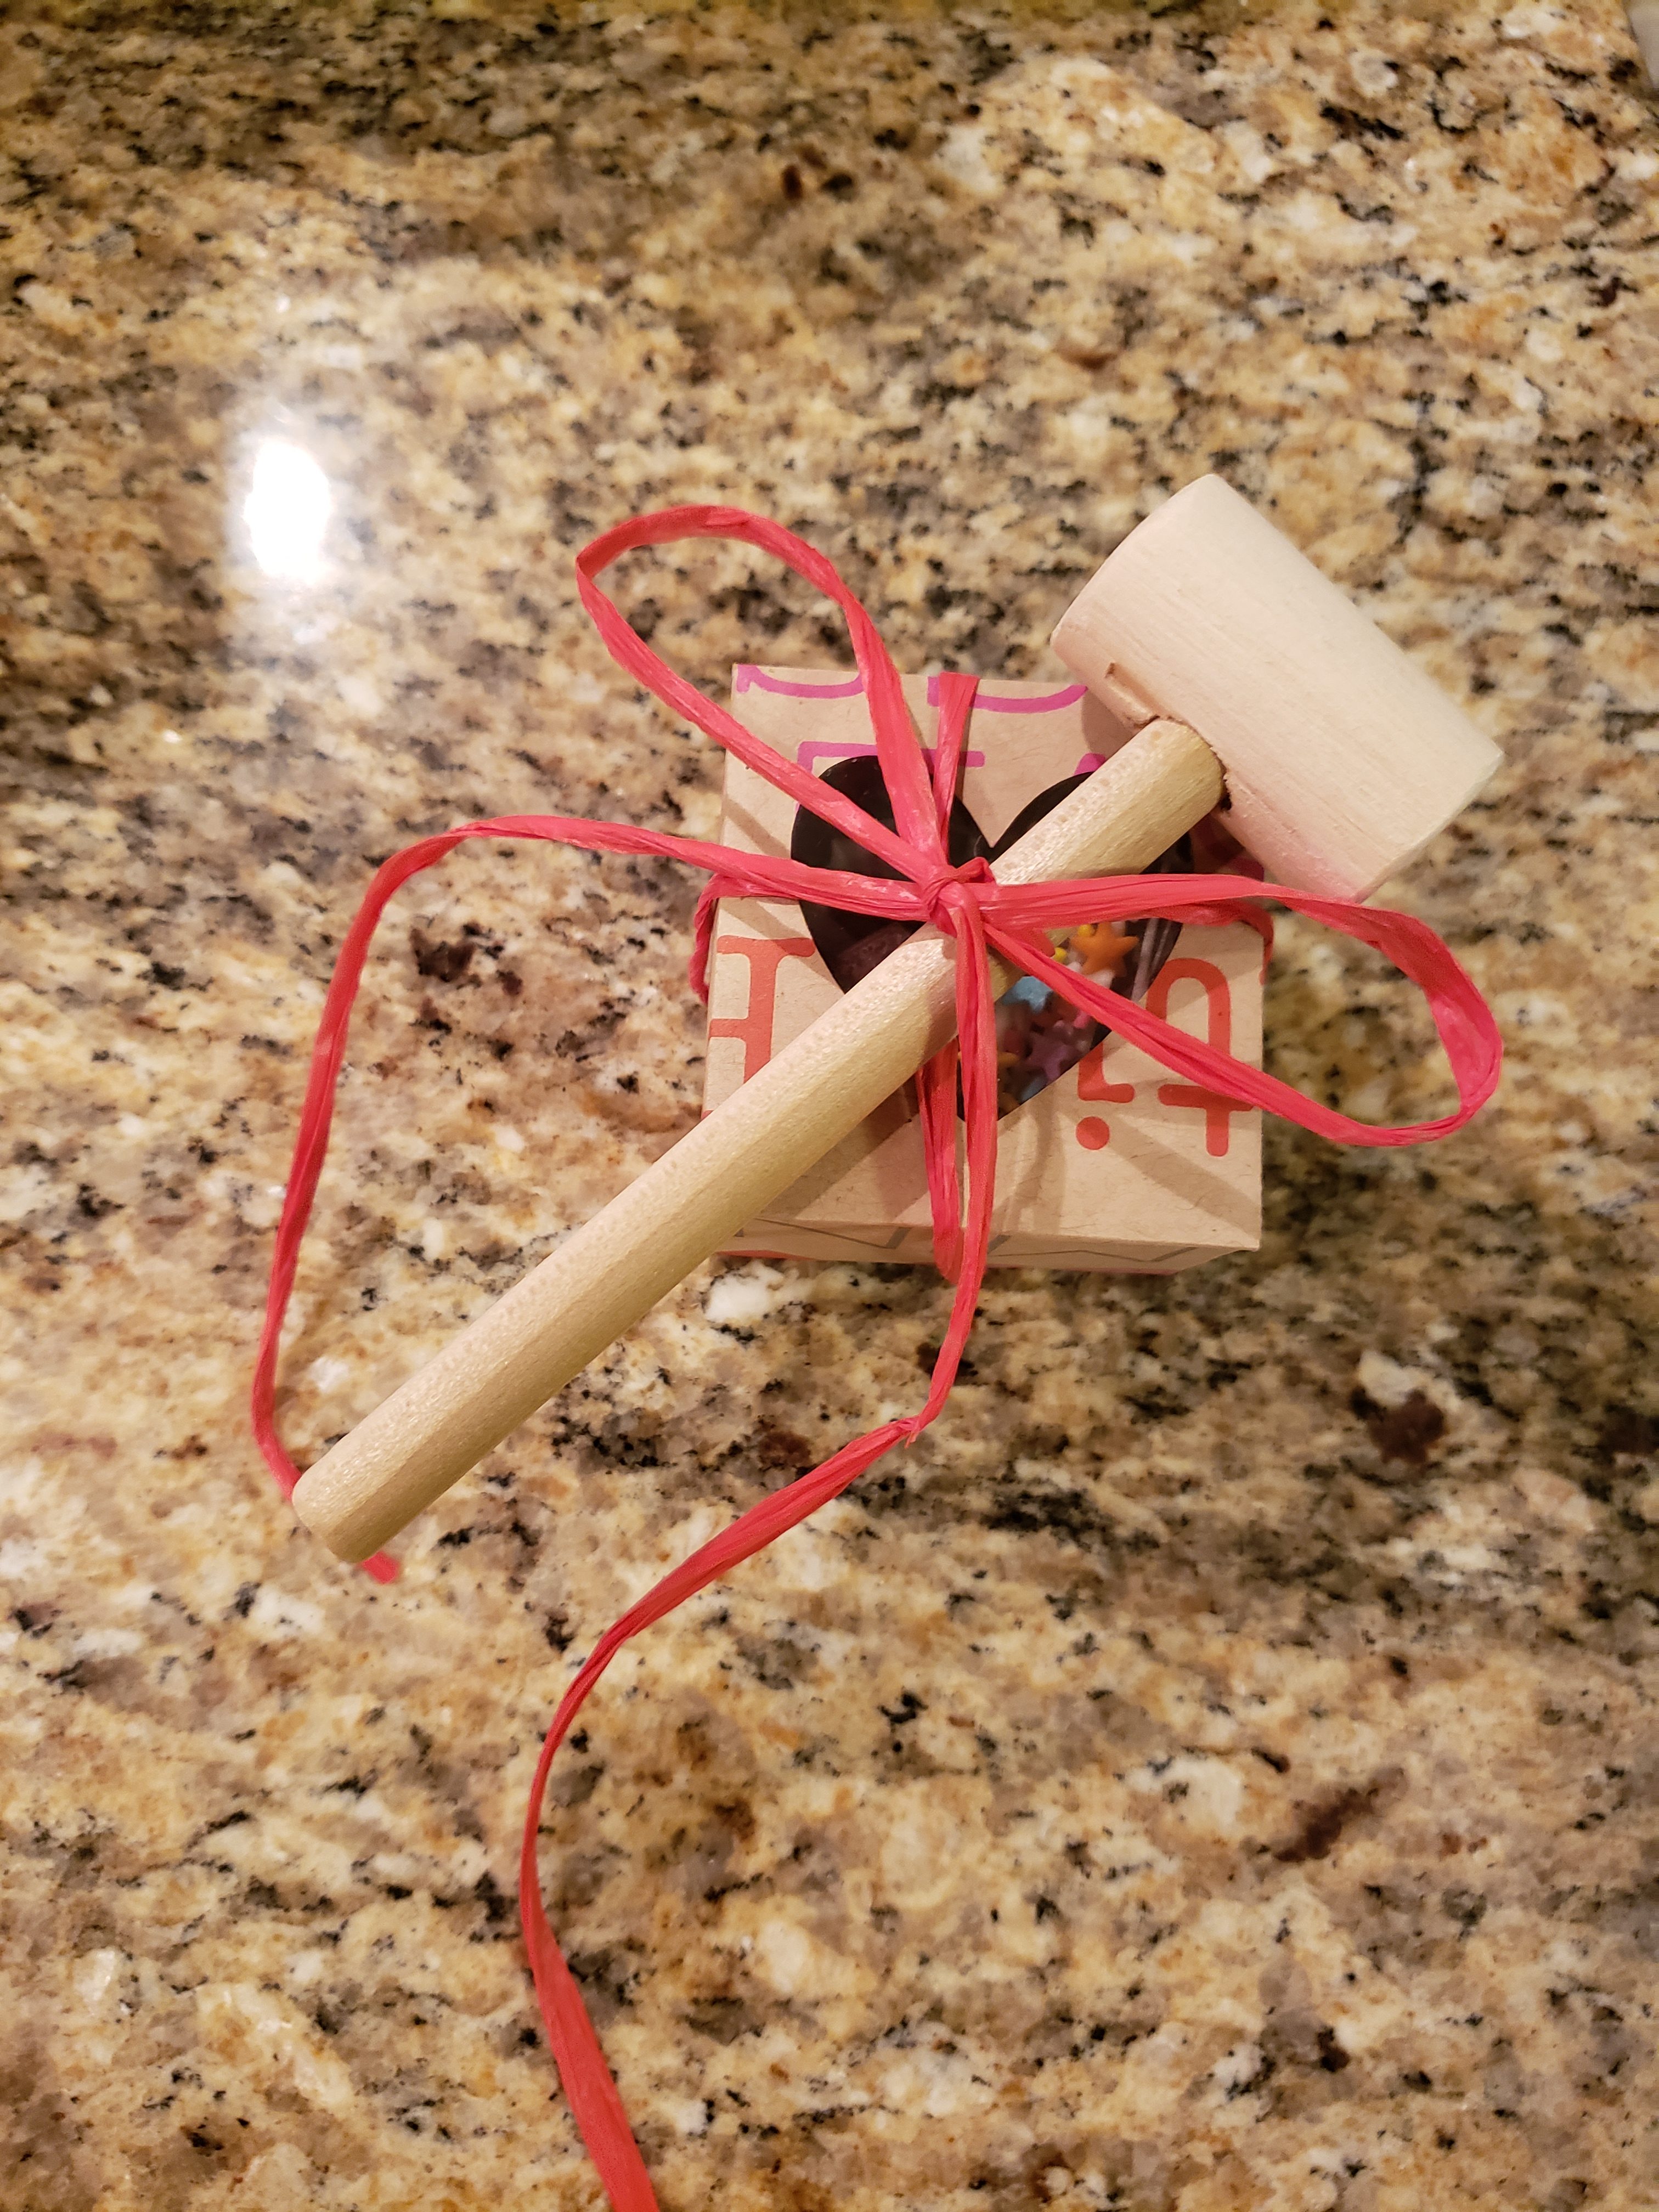
Mini Smash Heart
For the Smash Heart
What you’ll need:
- Sprinkle mix of your choice
- m&m minis
- 6 oz of chocolate
- white chocolate
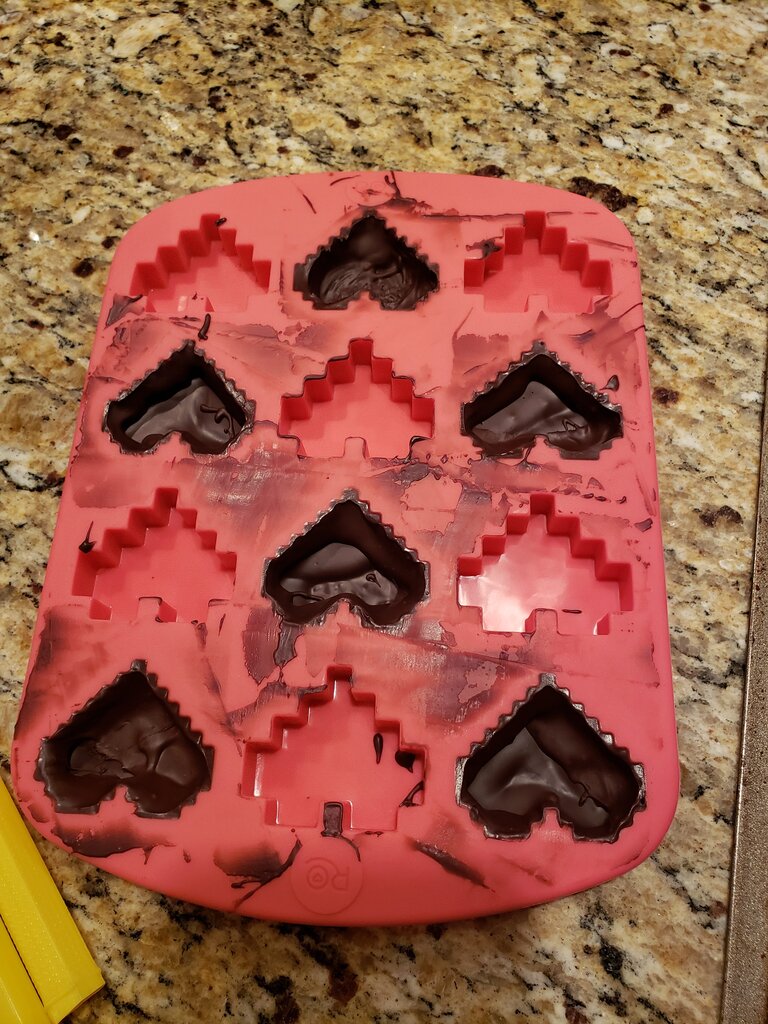
- Temper chocolate.
- When chocolate is in temper, pour a teaspoon full in each cavity and use a silicone brush to gently drag the chocolate up the sides of the mold. Level the top of the mold using a cake spatula.

- Put chocolate into the freezer for 2 minutes to set. Make sure to maintain temperature of melted chocolate while you wait.
- Repeat steps 2&3 2 more times until you have a layer of chocolate about 1/8″ thick.
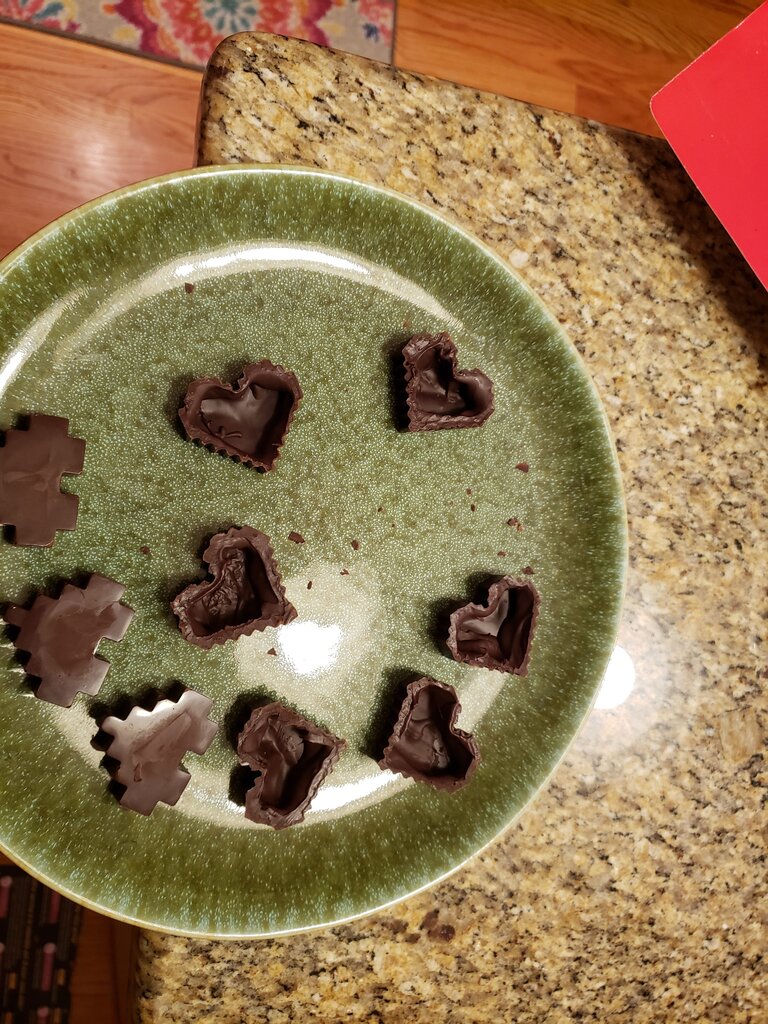
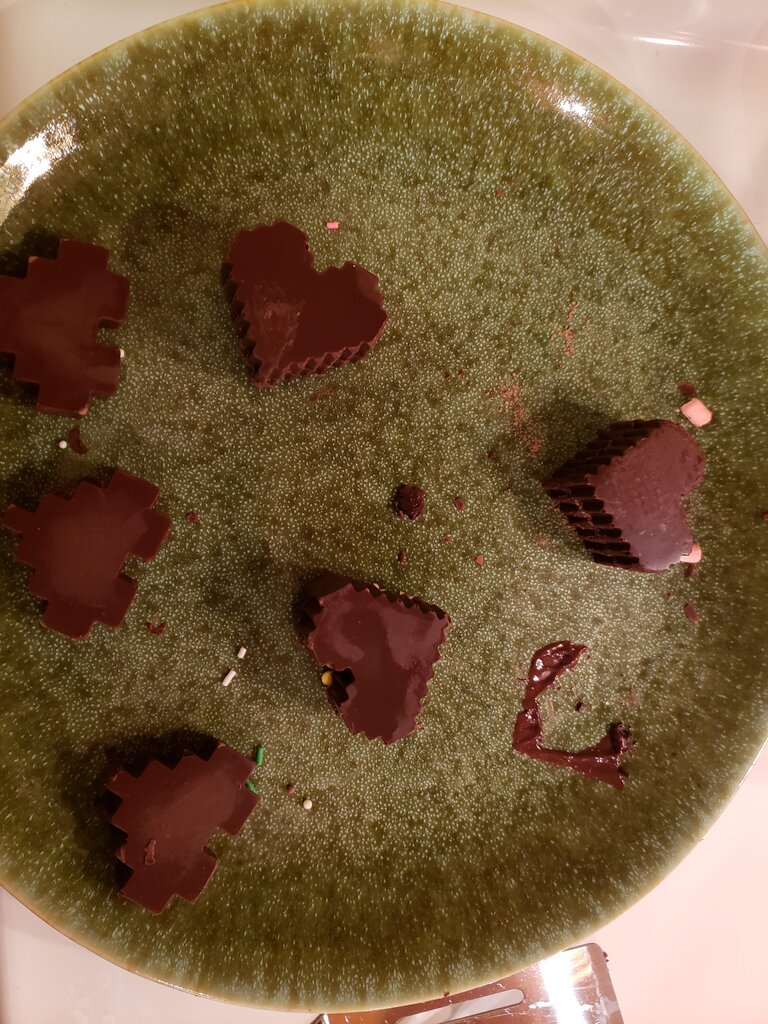
- Gently remove chocolates from the mold.

- Each heart will require two heart halves. Fill one heart half with sprinkles and m&ms.
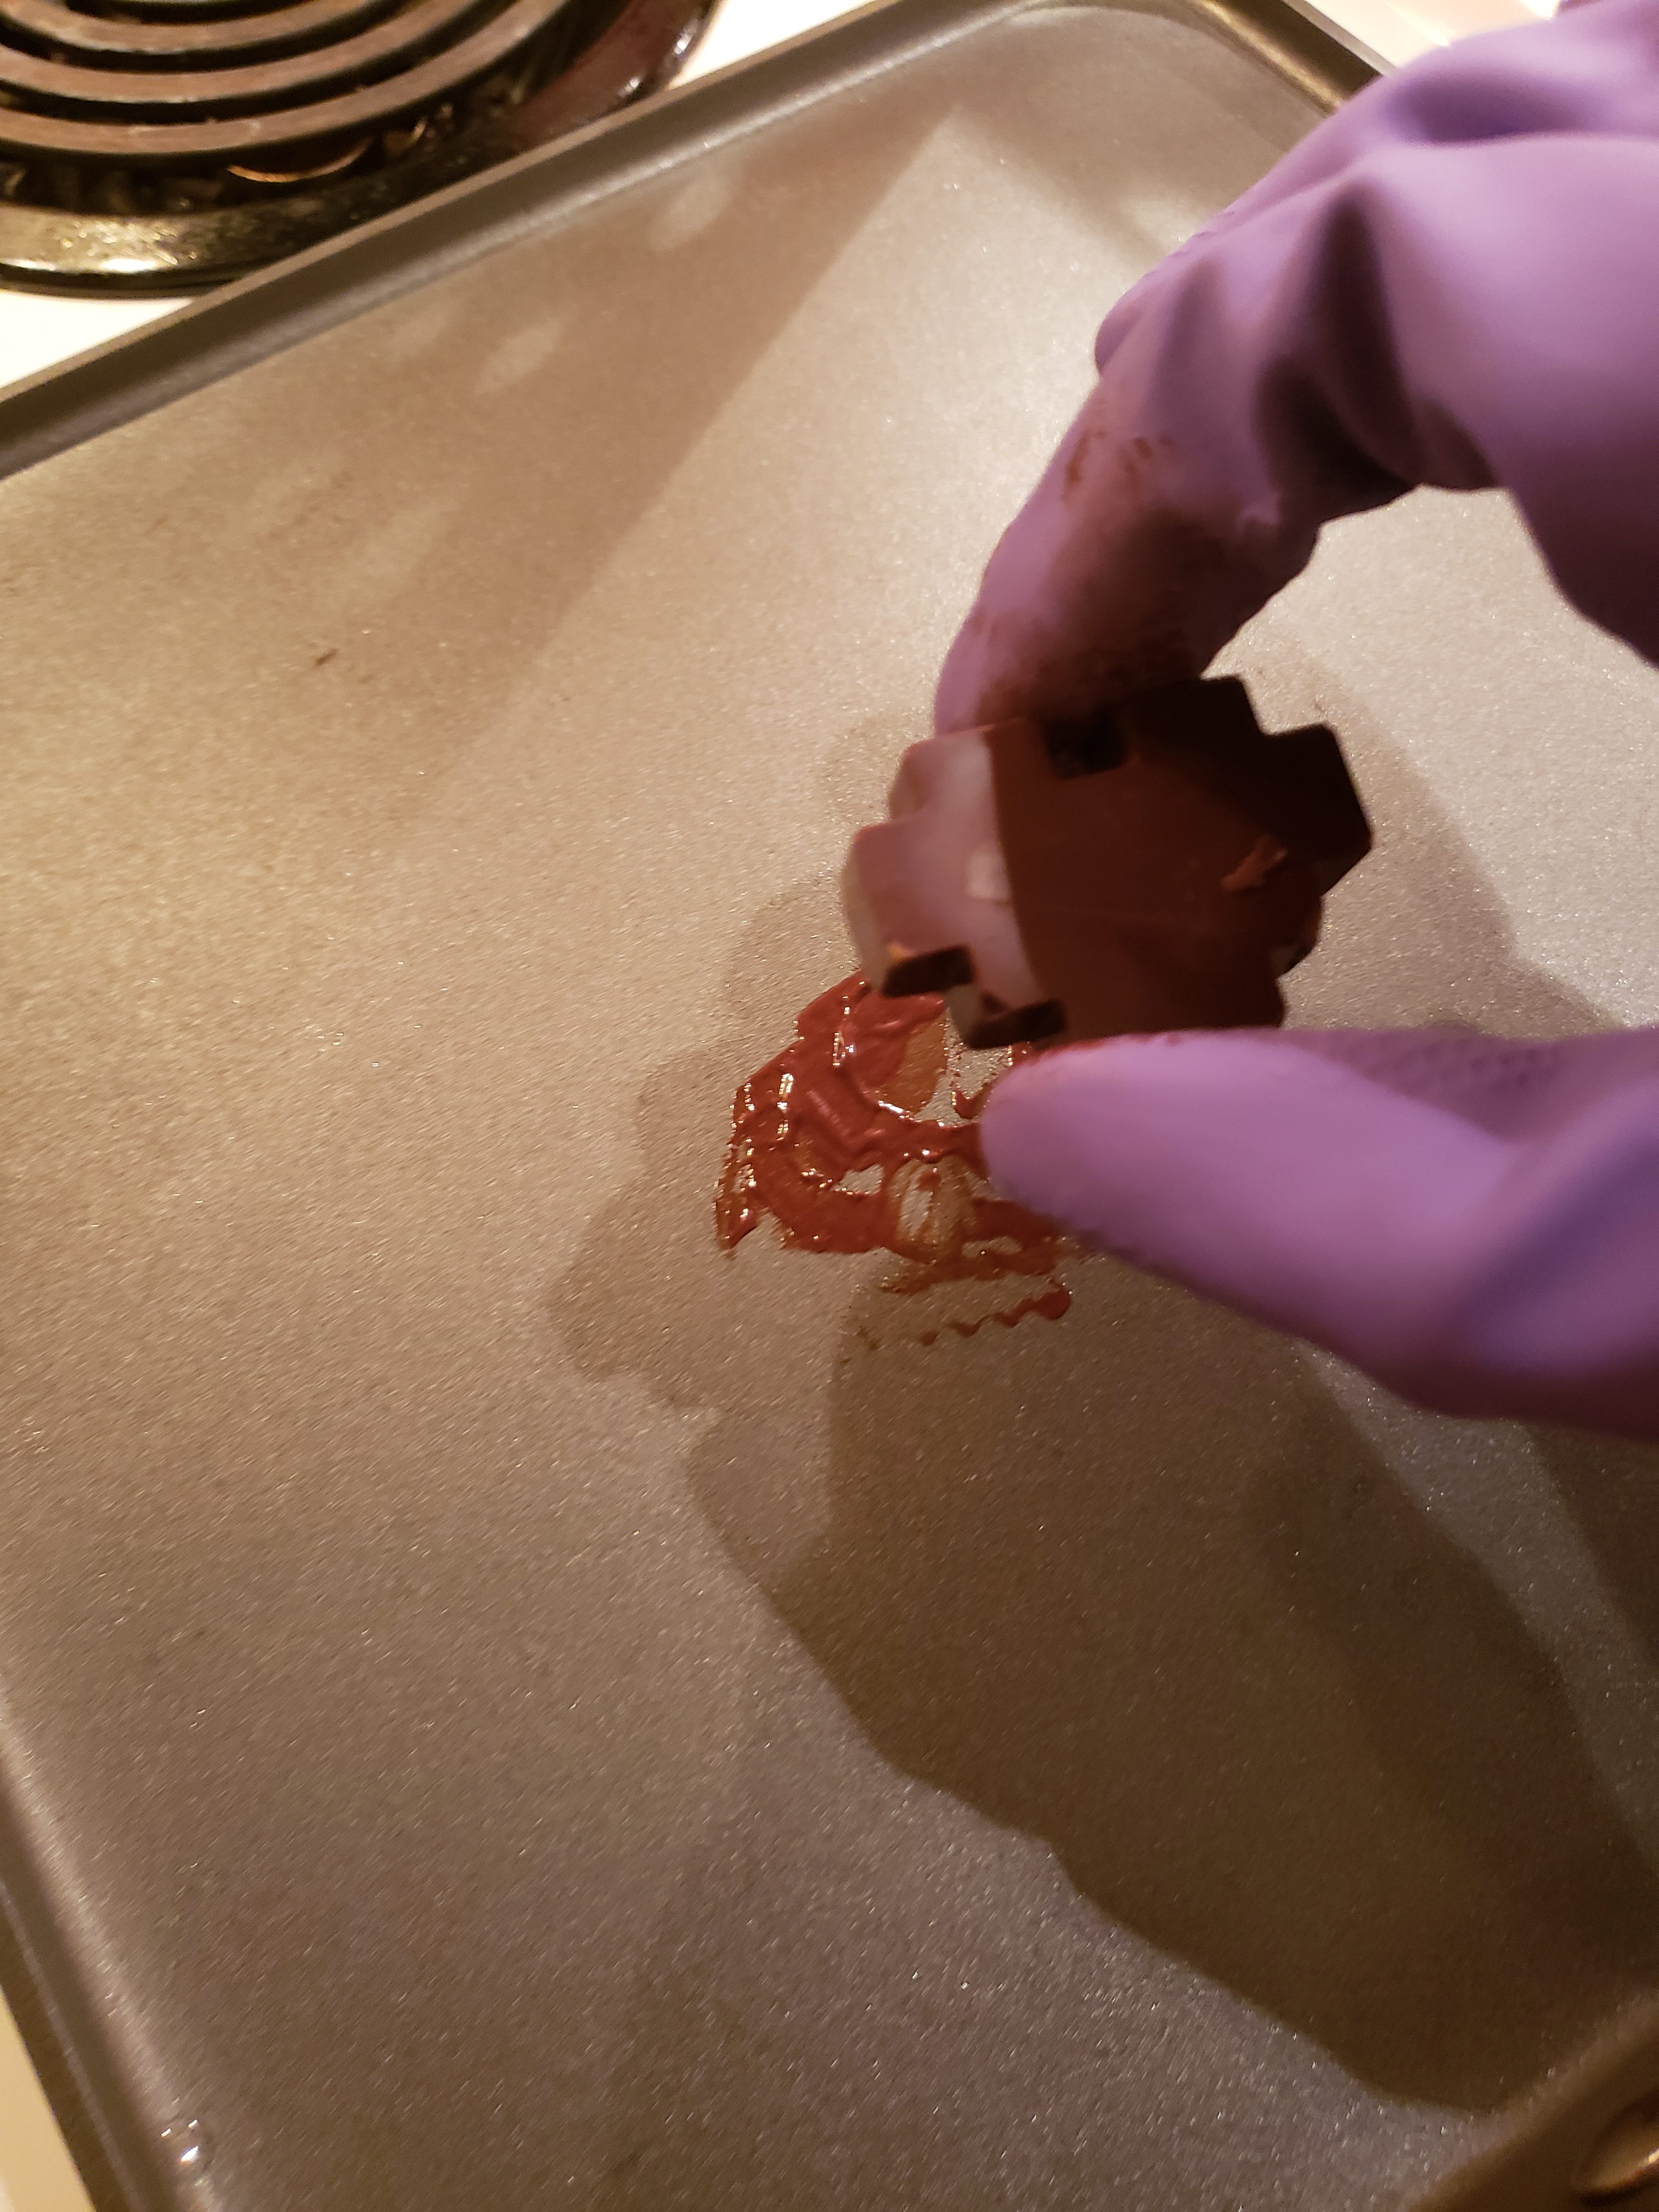
- Warm a skillet until warm but not hot to the touch. With gloves, take top unfilled half of heart and place on the plate to melt the bottom edge.

- Place heart on top of the half with sprinkles and mini m&ms, pushing down gently to adhere. Make sure no sprinkles or m&ms are poking out.

- Temper some white chocolate.
- Place white chocolate in a pastry bag and snip off a very tiny amount so you have a hole about 1 mm wide.
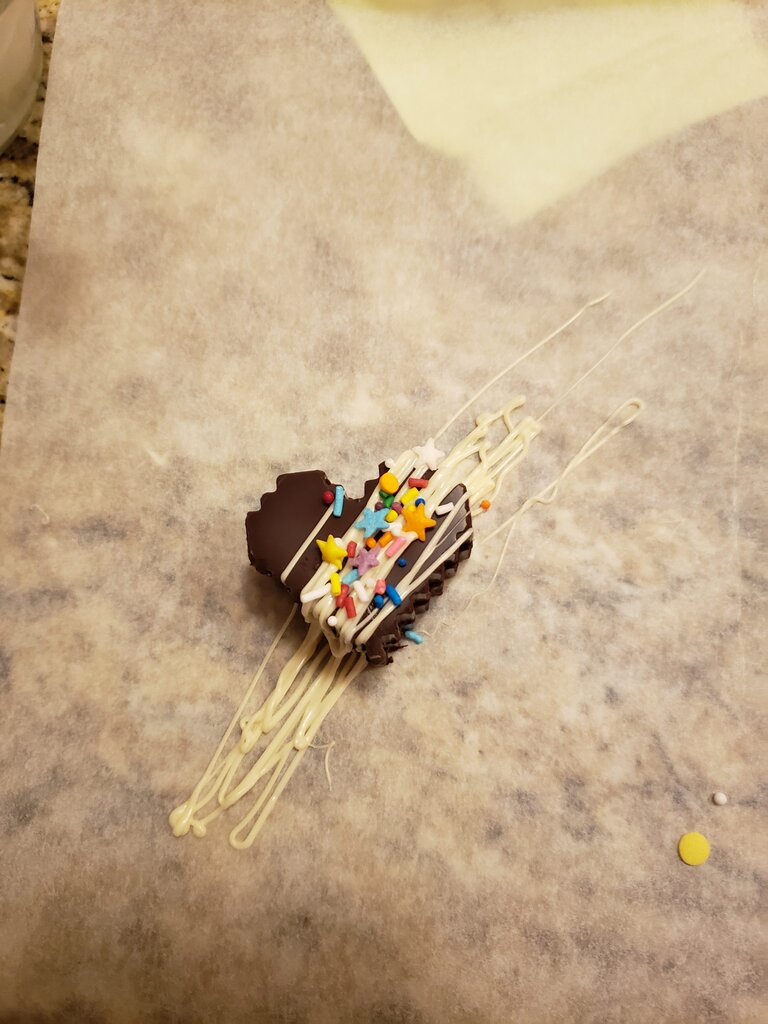
- Decoratively drizzle white chocolate back and forth over the heart.
- Immediately sprinkle some sprinkles over the white chocolate.

For the Box
You’ll need:
- The cricut template for box top here and box bottom here (I’ll have to get this when my laptop is back)
- cutting tool
- scoring tool
- wrapping paper
- cellophane (I used a piece of food grade vacuum seal bag)
- tape glider
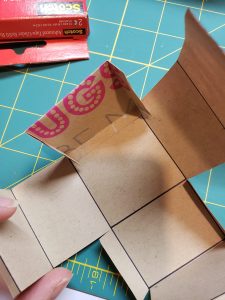
- With paper face down on cricut mat and material set to paper, follow the instructions to cut the box top and box bottom.
- Fold inward along all the score lines, with the exception of the 4 end tabs, fold those out.

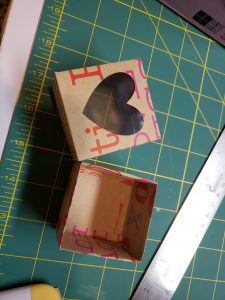
- For the top of the box, cut a small square of cellophane to fit into the lid of the box. Just outside the heart and inside the center folds add 4 lines of tape. Add cellophane to the top of the box on top of tape and press.
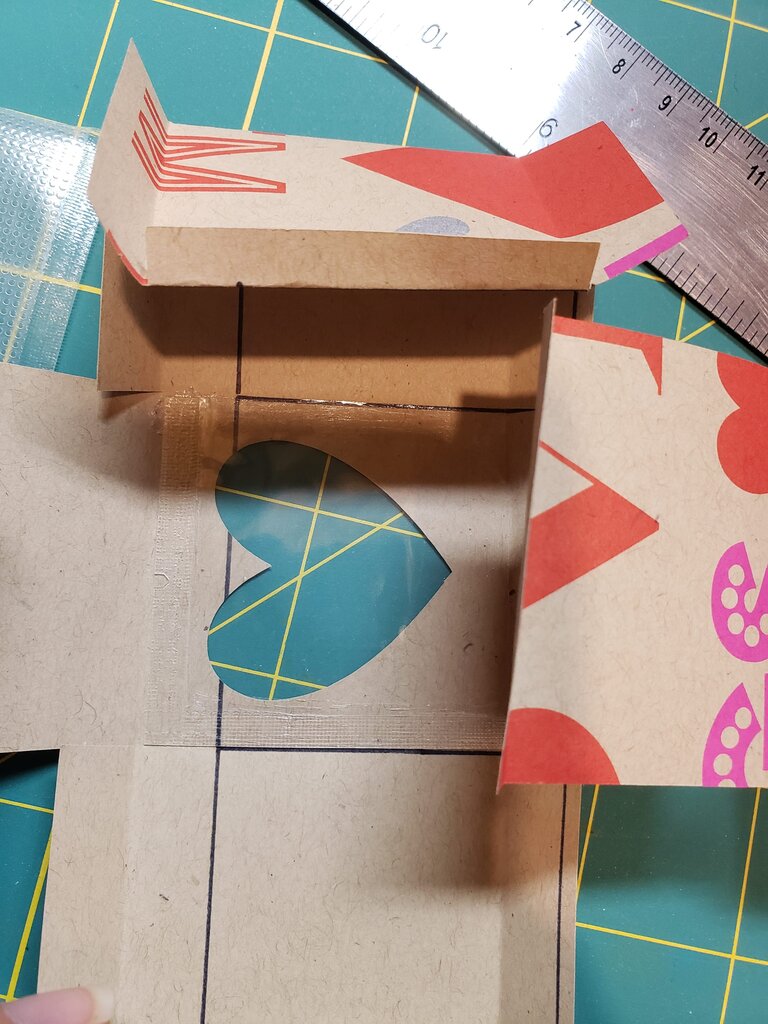
- Place tape on the end tab of one of the side flaps with side tabs. Fold the side flap up then fold down in half and adhere the end tab to the bottom inside face of the box. Repeat for opposite side flap.
- Place tape on all the side tabs.

- Fold a side flap without side tabs up. Adhere adjacent side tab to the inside of the flap. Press in place. Repeat for other side. Place tape on the end tab, fold in half to the inside of the box and adhere the tab to the bottom of the box.

- Repeat step 6&7 for other flap.
- Repeat steps 1,2,4,5,6,7 for bottom box.


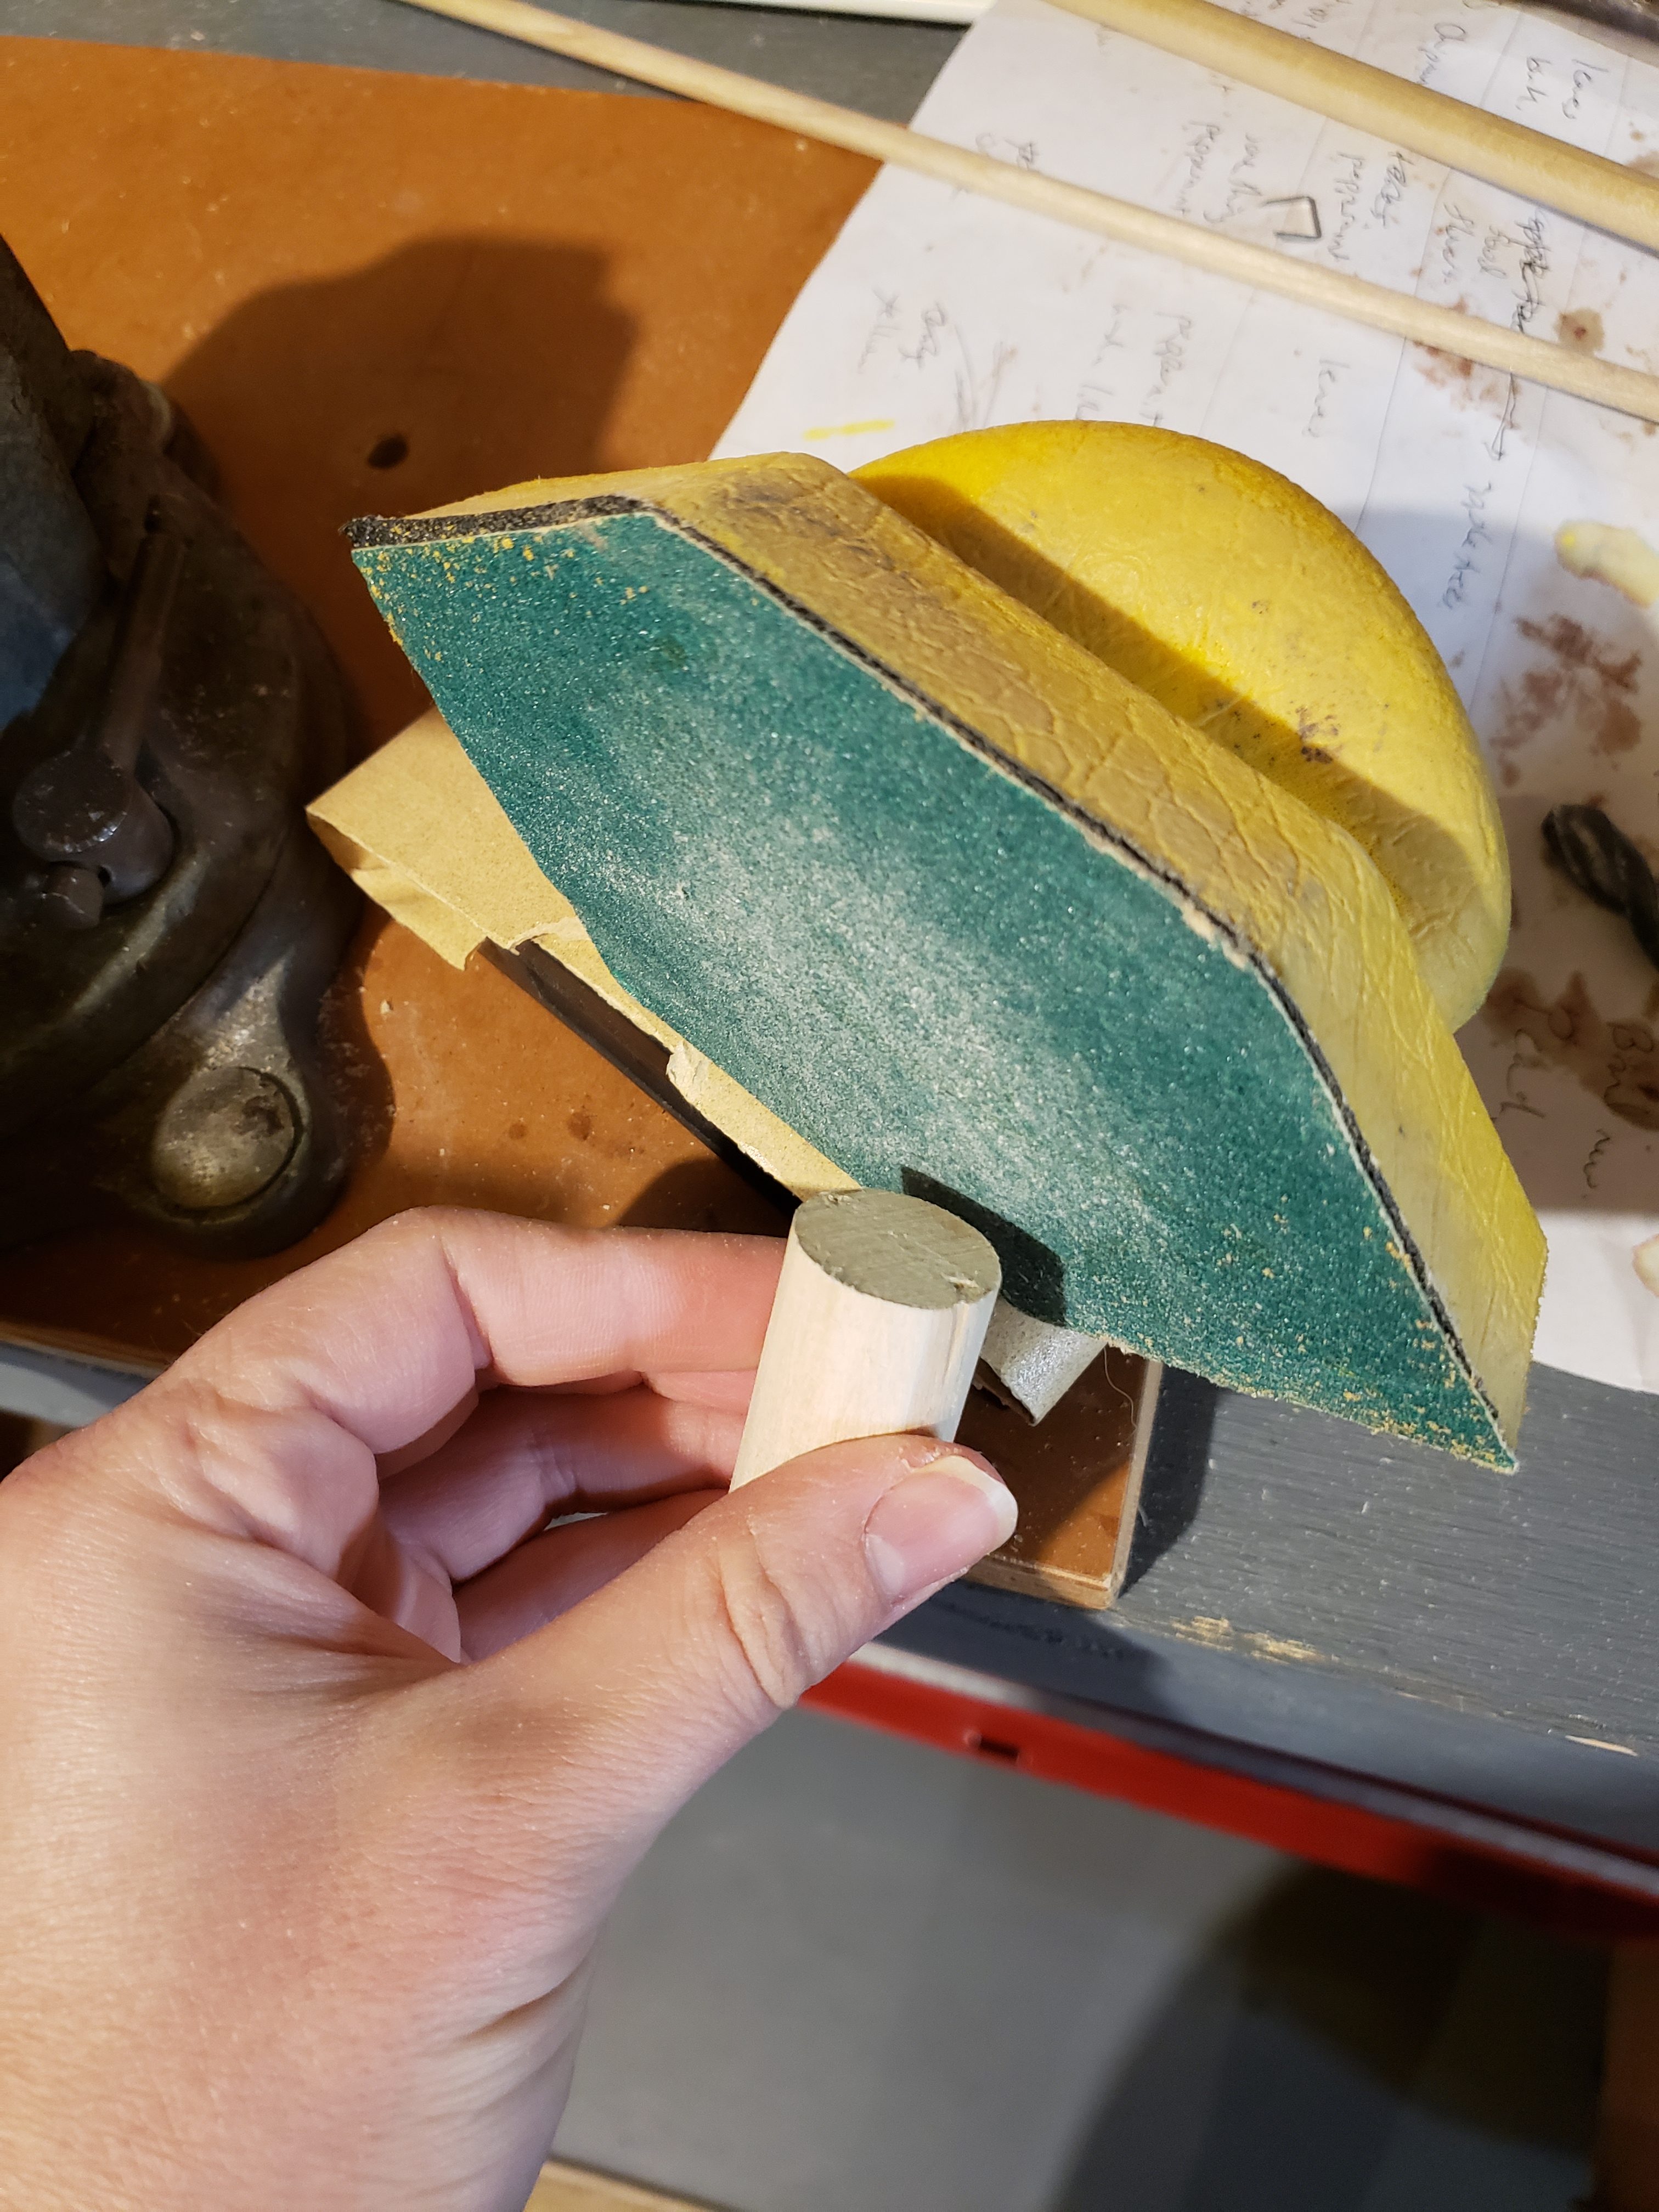
For the Mallet
You’ll need:
- 1/4″ dowel
- 1″ dowel
- wood glue
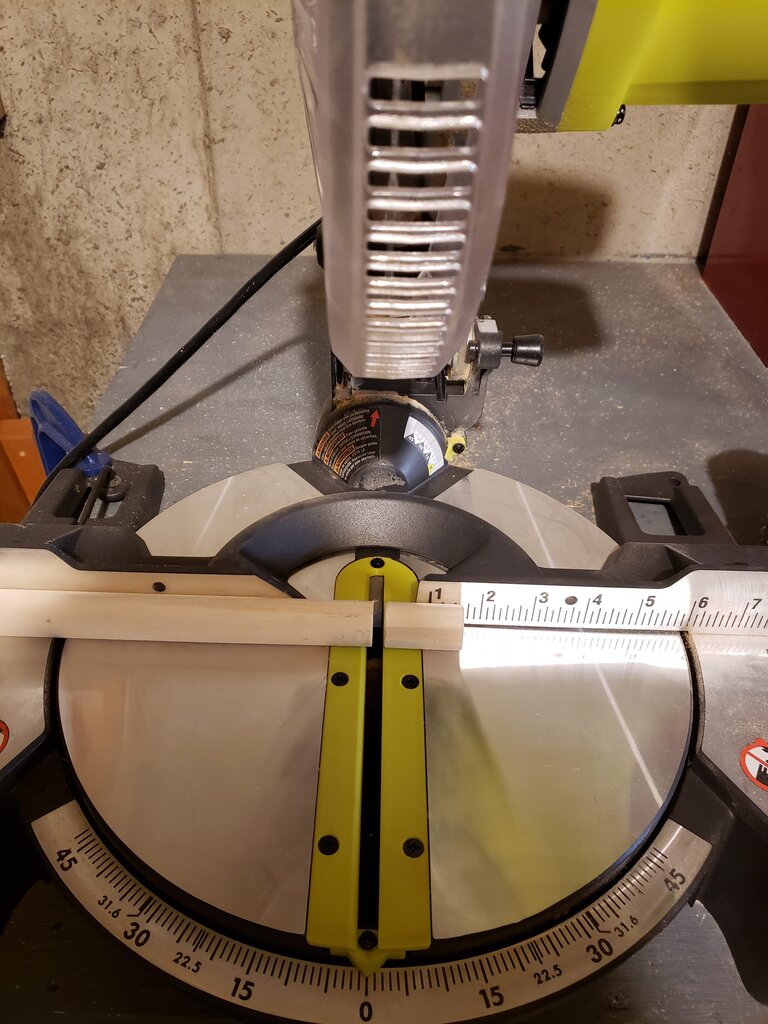
- Cut the 1/4″ dowel to 4″ for the mallet handle.
- Cut the 1″ dowel to 1.5″ for the mallet head.

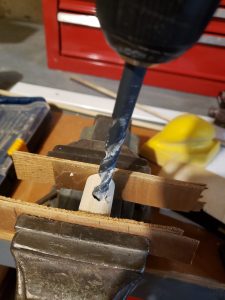
- Drill through the center of the 1″ dowel 2/3 of the way through.
- Sand edges of the two pieces of wood.

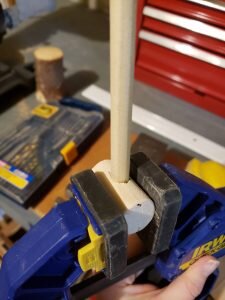
- Add a tiny drop of wood glue inside the hole you drilled and insert the handle into the head. Let dry.


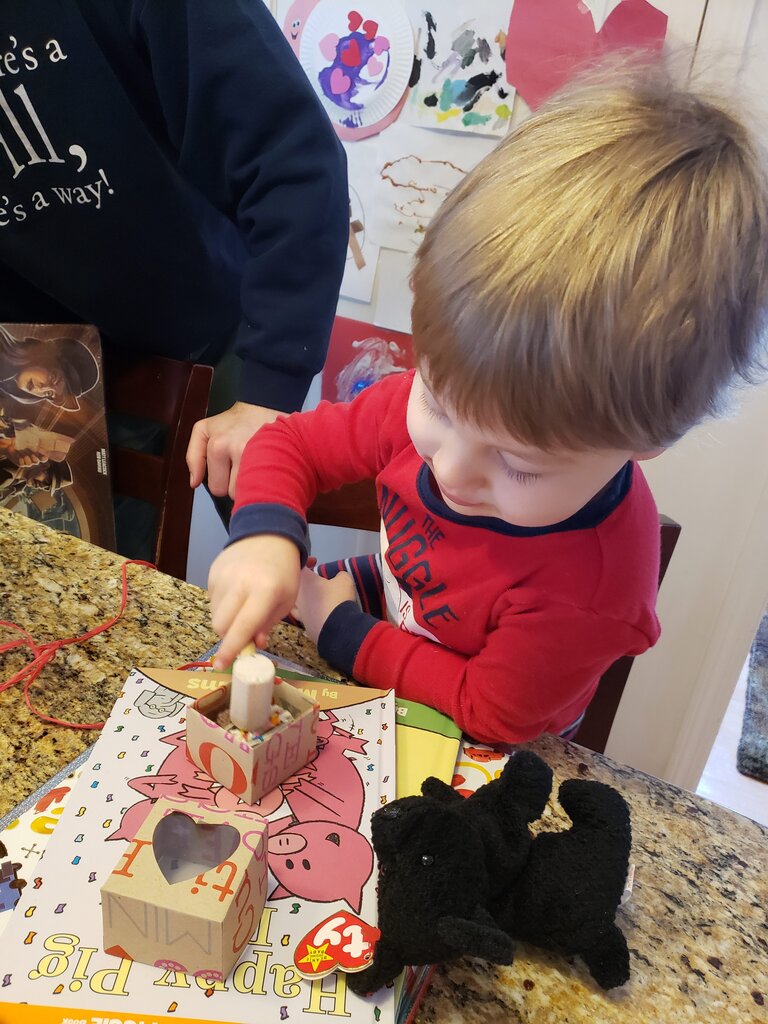
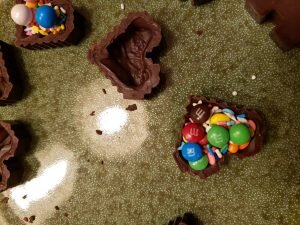
Julius smashing his candy heart
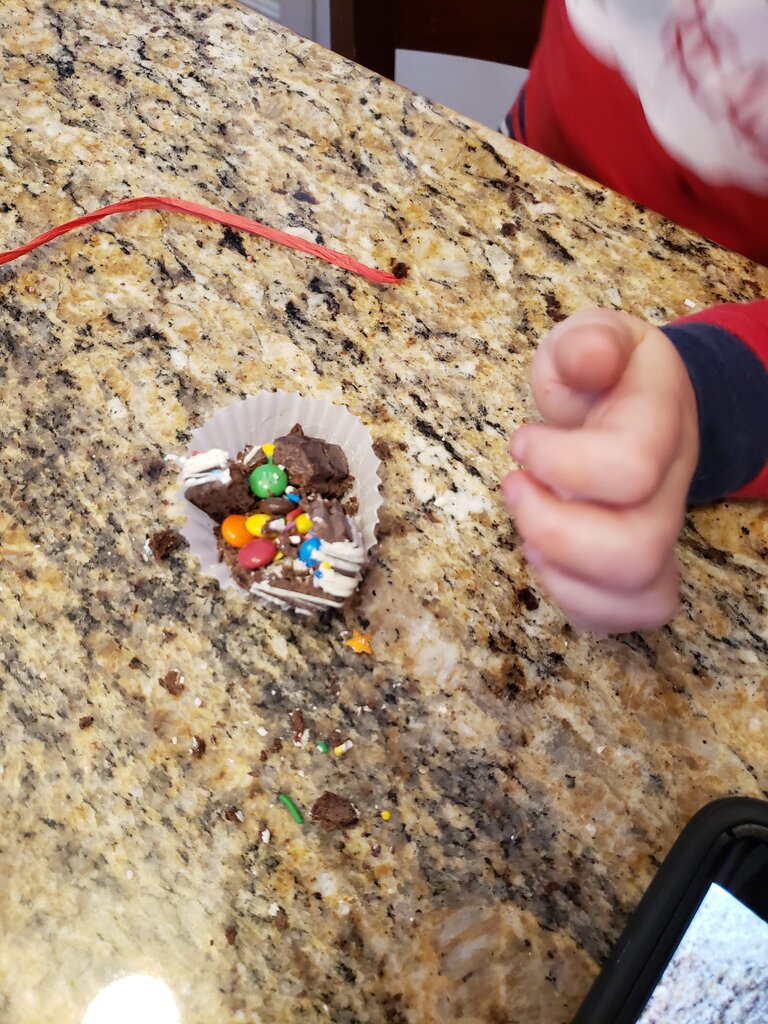
What’s inside?
