
Last January I resolved to blog more regularly. More specifically I wanted to blog once a week. Later in the year I started to impose a more strict goal of finishing a blog entry every Monday. I didn’t quite hit every Monday. A few times I was a couple days late, but looking back I feel pretty proud that I managed to accomplish my original goal! Not only that but I came up with a year of food, craft and sewing tutorials and got a lot of great Pinterest traffic from all you awesome pinners! Plus that blogging goal was all before my early spring decision to make and sell homemade hats at King Richard’s Faire! So I guess you can say I feel pretty accomplished! What a great feeling!
If you can imagine, the whole hat thing ate up a lot of my time (understatement of the year, try 6 months of nights, weekends and holidays), but if you count hat-making as “life” and not “work” (I do) it forced me to keep a more reasonable work/life balance. This year I’m planning to keep to my Monday blogging schedule and attempt to keep that work/life balance I managed to forge. I also want to work on my time management and scheduling skills. More specifically I’d like to be more reasonable with the goals and deadlines I set for myself. I’ll have to come up with a measurable success meter for that. Handmade hats will not be a goal for this year. While I’ll always be a mad hatter at heart, I feel that I can also say, “been there done that”. Oh and you’ll have to stay tuned for some ridiculous vignettes from the faire.
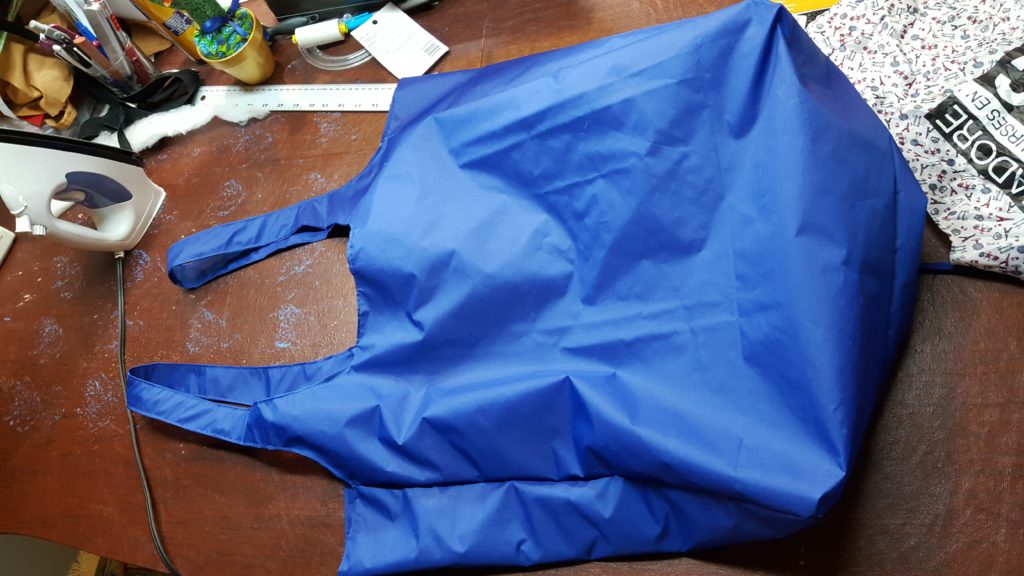
Amidst all the bustle of my hat making and blogging I did manage to fulfill a few custom orders for family and friends. One of those was a neat fold-up beach tote. If you’re like me and have a “to make” list a mile long you’ll want to put this on your list now so you’ll finally get to it by beach season. Or perhaps whipping up this bag will evoke fantasies of laying on the beach and stave away the winter doldrums. This reusable tote was requested by a friend of mine and it is based on a free bag they got at a company give away. My friend lives near the ocean and he and his wife frequently trek down to the beach with lunch, towels, chairs and drinks in hand. This bag can hold it all, and effortlessly hang over your shoulder! The embroidery is optional but adds a nice touch. Unfortunately it was very tricky to successfully embroider on rip-stop nylon without excessive puckering, so take that as a warning!

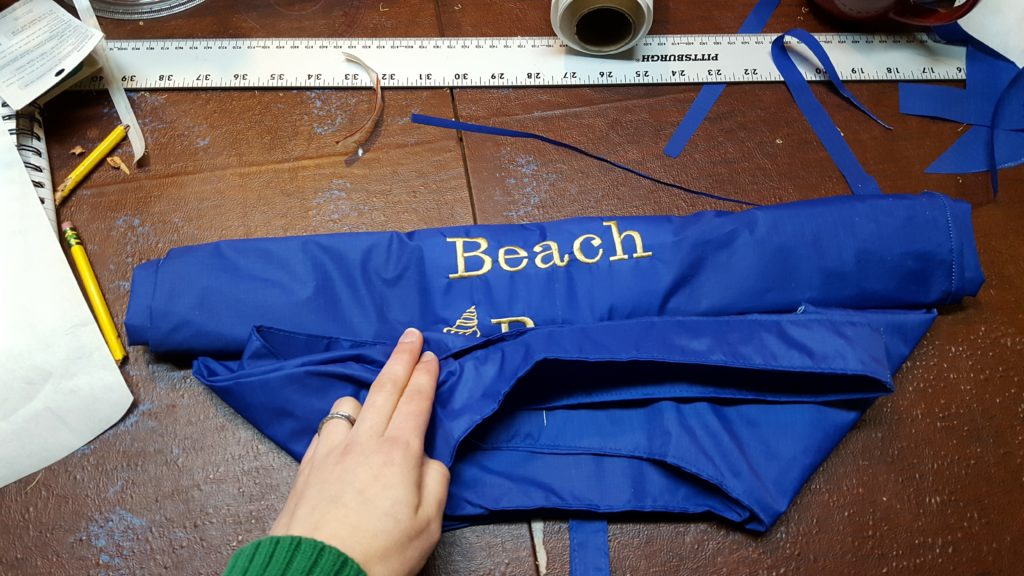
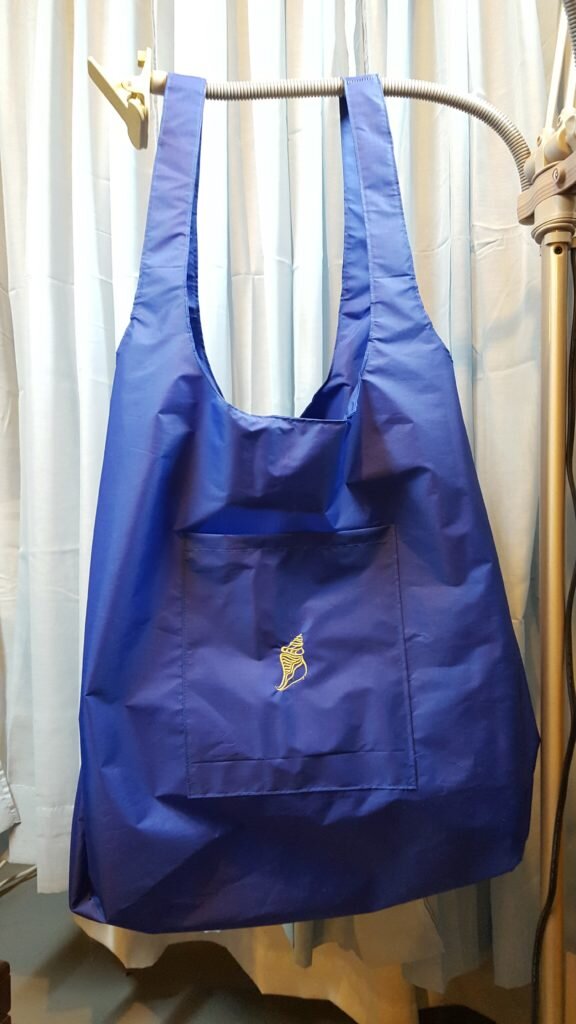
Look how big this bag is! (Or how tiny I am?!)
Take-it-all-to-the-beach Bag
Materials:
- 2.5 yards of rip stop nylon
- Scrap pieces of lightweight fusible interfacing
- 1 set of snap fasteners I used this kind
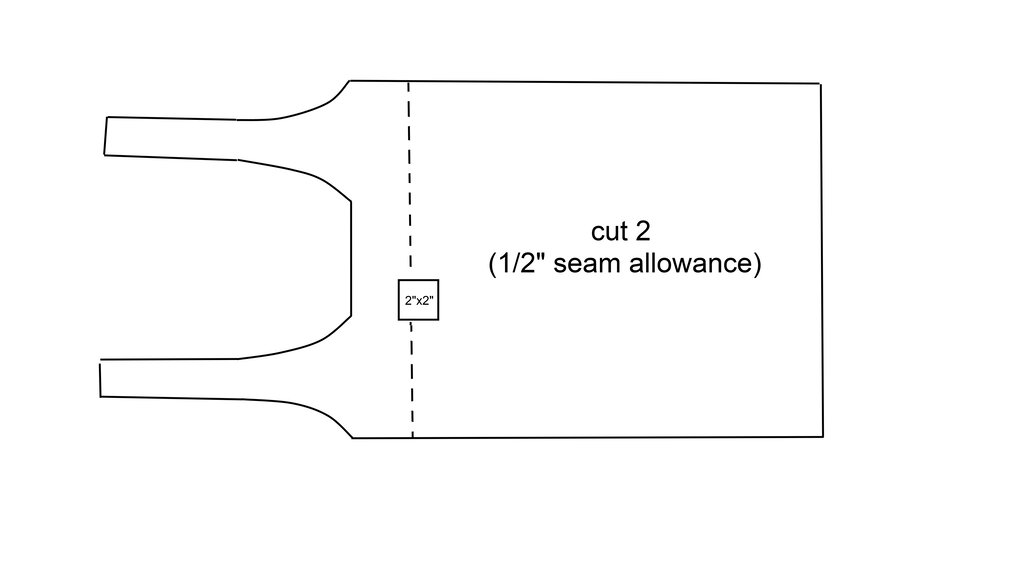
- Beach Bag Pattern here
*Note in the pictures below I used my serger – my new favorite sewing device! If you don’t have a serger, no worries, you can use just an ordinary straight stitch!
- Cut 2 body pieces from pattern above. Cut 4 20″x5″ rectangles for side of bag. Cut 2 handle pieces to the line on the pattern and 2 3″ by 8″ rectangles for handle reinforcement. Finally cut 4 5.25″x1.25″ rectangles for the snap closure.
- Take 2 of the 20″x5″ rectangles and pin them together along to the length. Stitch. Repeat for second set.
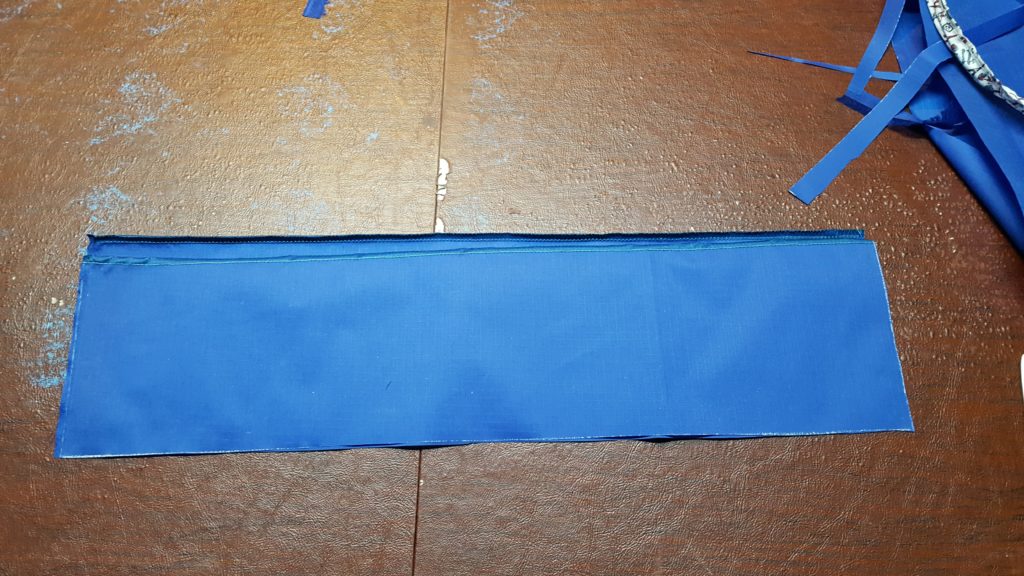
Pin to side rectangles together and stitch.
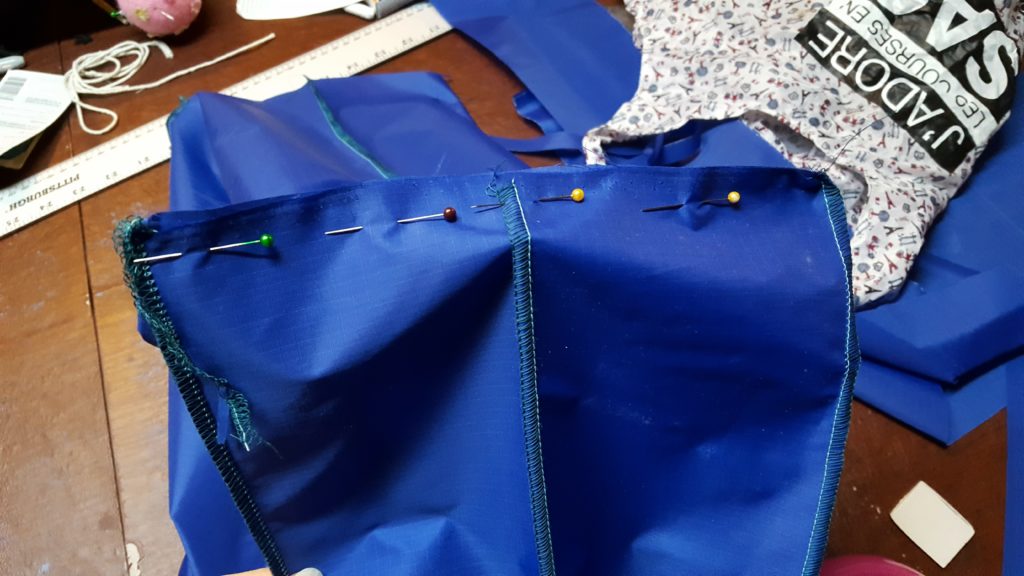
- Pin one of sides of the bag from step 2 to the side of one of the body pieces starting at the point below the handles. Make sure to keep right sides together. Pin second body piece to other side of the side piece from step 2. Stitch both sides.
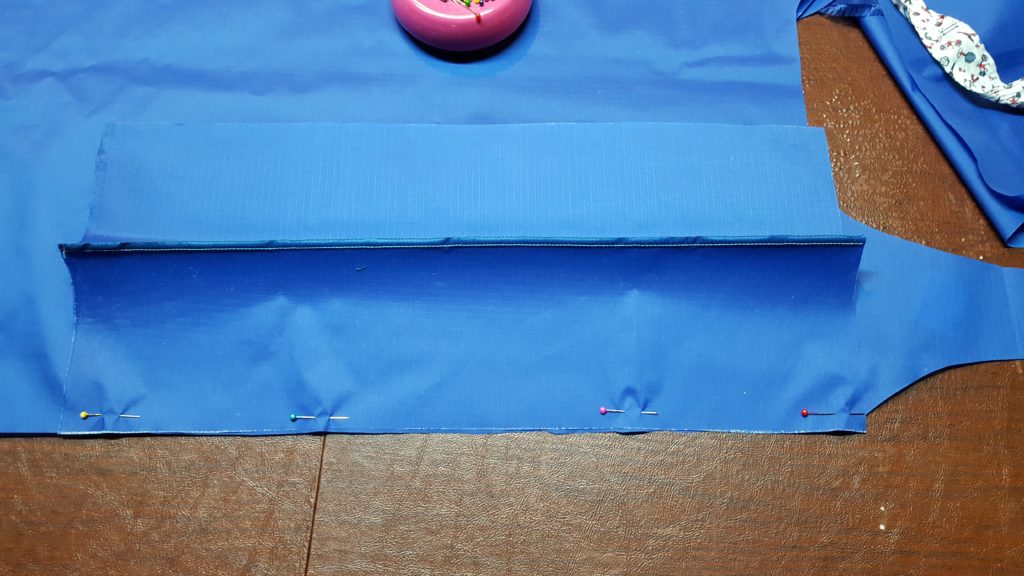
Pin side to body of bag, matching top corner of body to corner of side.
Repeat for second body piece.
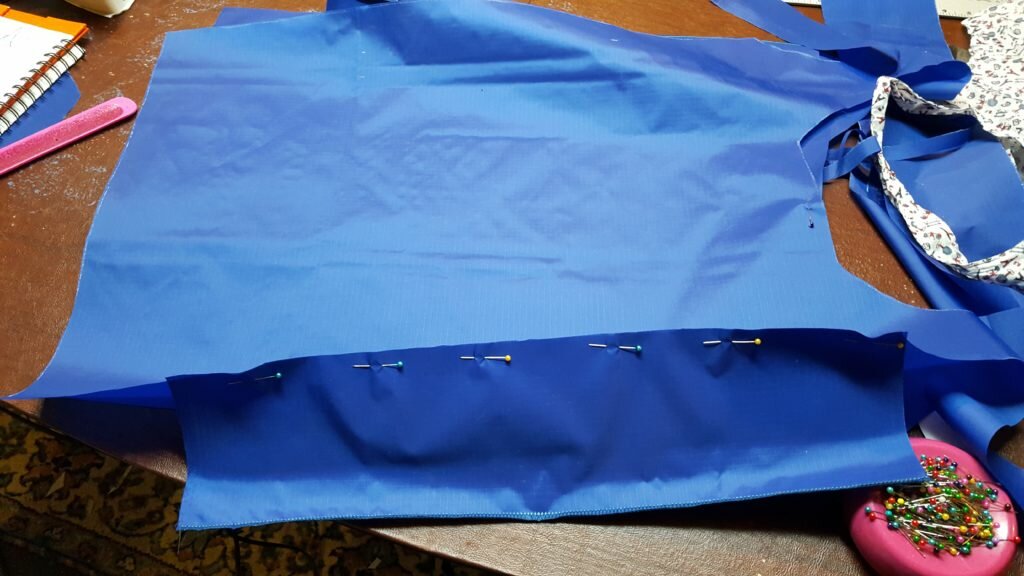
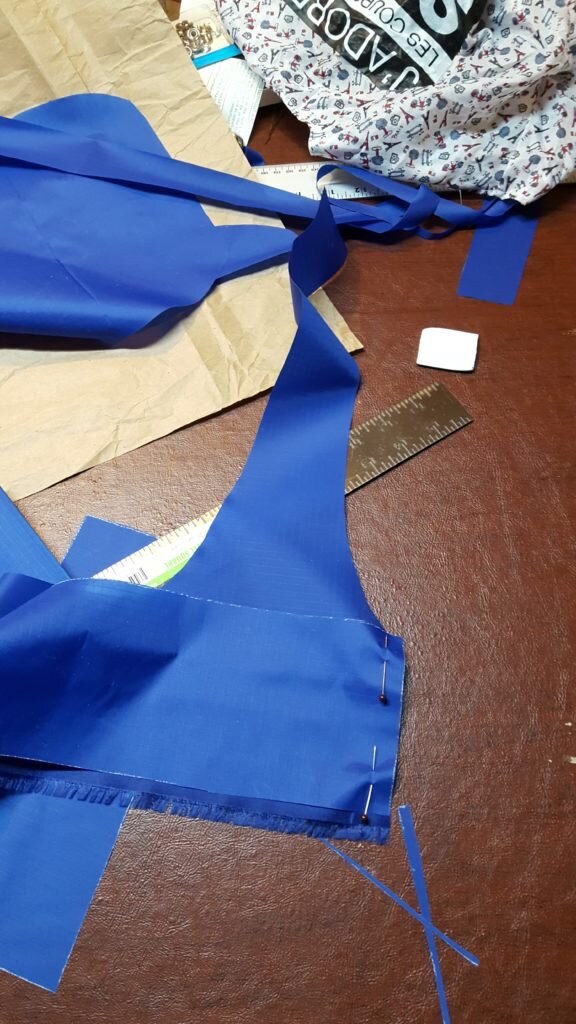
- Pin the bottom of the bag together, then pull out sides to see if bag bottom length will line up with sides perfectly. Adjust pins as necessary. Stitch bottom of bag.
Pin bottom of bag, pull taunt to bottom side of bag to see if sizes match.
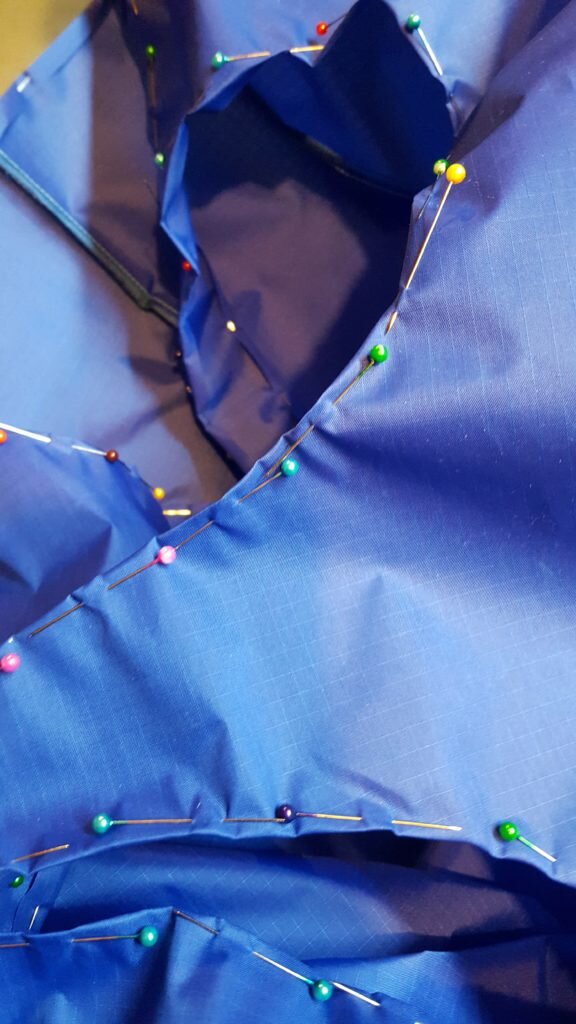
- Pin side bottom of the bag to sides. They should line up perfectly if you lined things up in step 4. Stitch.
Pin bottom of bag to side, stitch.
- Pin handles to each other at the top, right sides together. Stitch
- Pin handle reinforcements to side reinforcements. Stitch.
Pin handle reinforcement to side reinforcement, stitch. Repeat for other handle piece and other side.
- Pin handles on reinforcements to each other at the top, right sides together.
- Open the bag right side out. Fold under 1/4″ along unfinished edge of handles and bag top. Pin.
Pin handle area to handle reinforcement.
- Repeat step 9 with the handle reinforcement.
- Slip handle reinforcement inside bag and align the handles. Pin reinforcement to bag all along the edges you just pinned. Unfinished edges should be sandwiched in between.
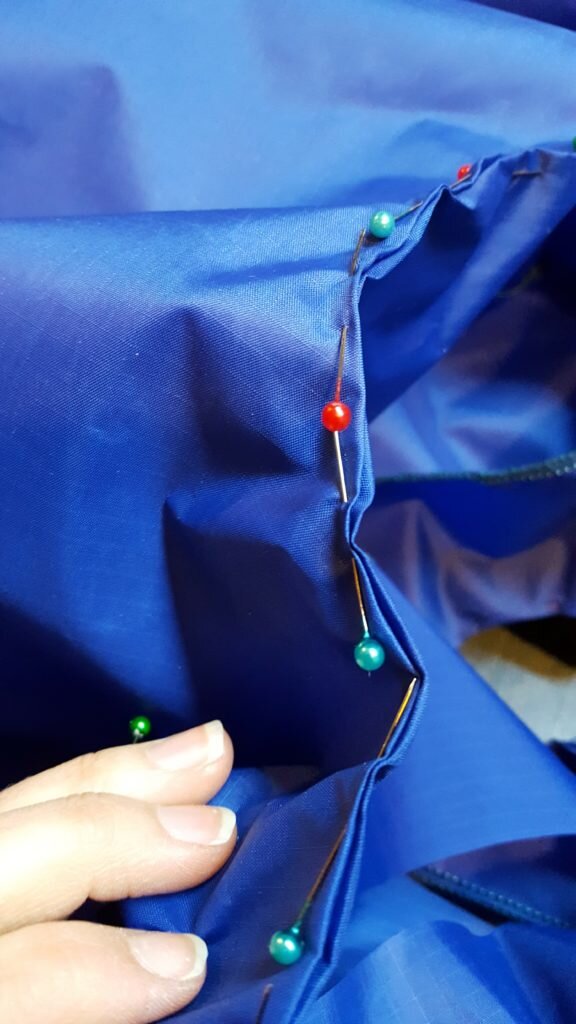
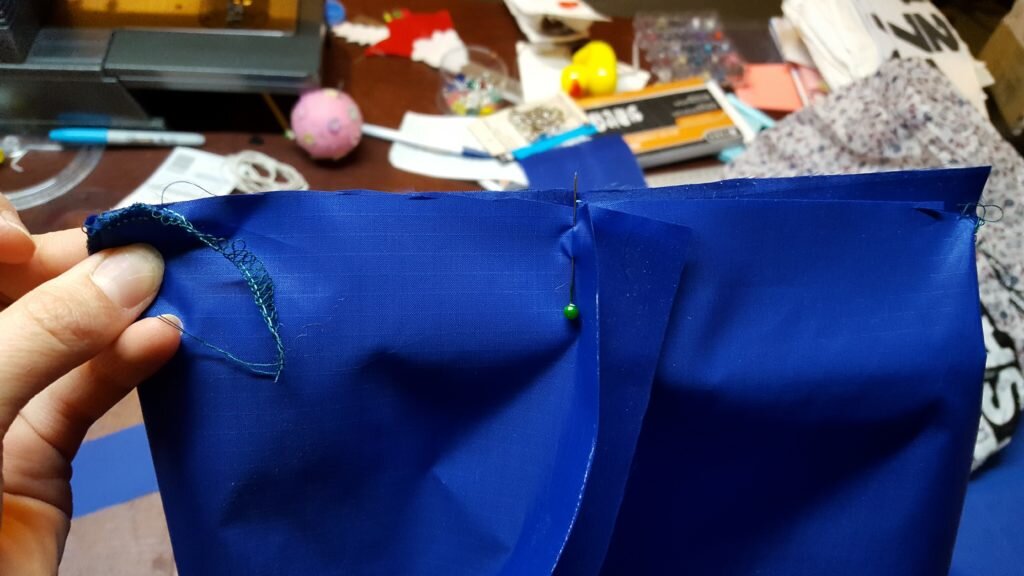
- Stitch around “armpits” of the bag. Mark the center back of the bag with a pin. Stitch from 1″ past pin to 1″ from this pin all the way around the handles.
Stitch around edge of handles.
- Take 2 of the thin strips for the snap closures and iron on a 1.25″x1.25″ square of interfacing to one end of each strip.
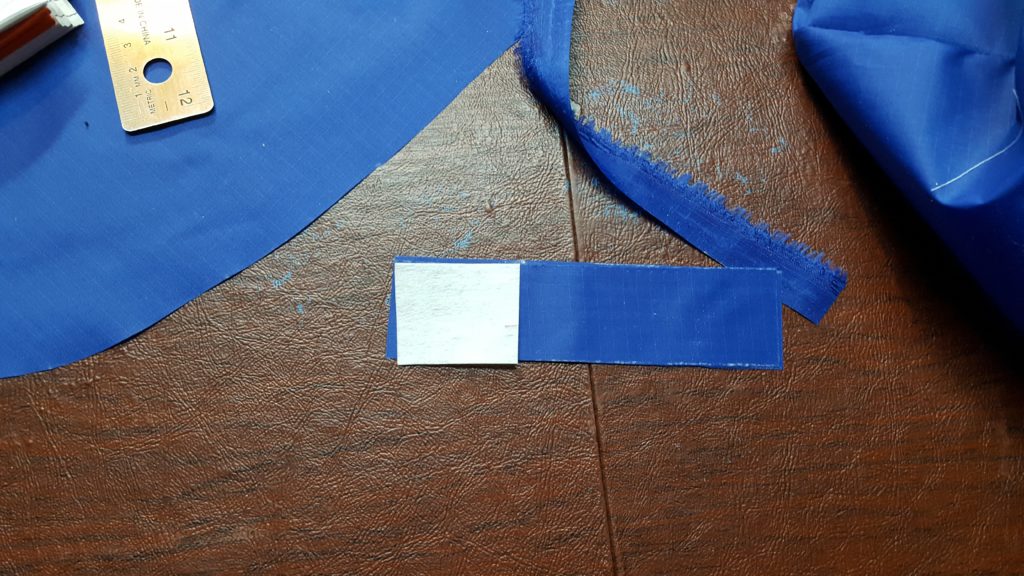
Attach interfacing to strip for snaps.
- Pin a strip with interfacing to a strip without interfacing, interfacing side out. Leave the edge opposite the interfacing opened. Stitch.
- Clip corners.
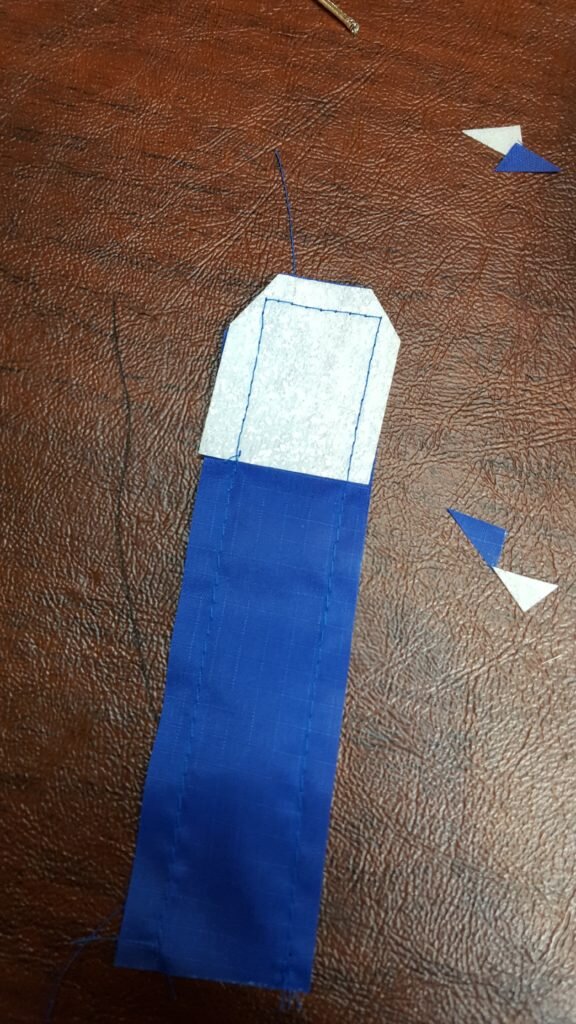
Trim corners.
- Turn inside out, press flat and stitch 1/8″ around the edges to reinforce.
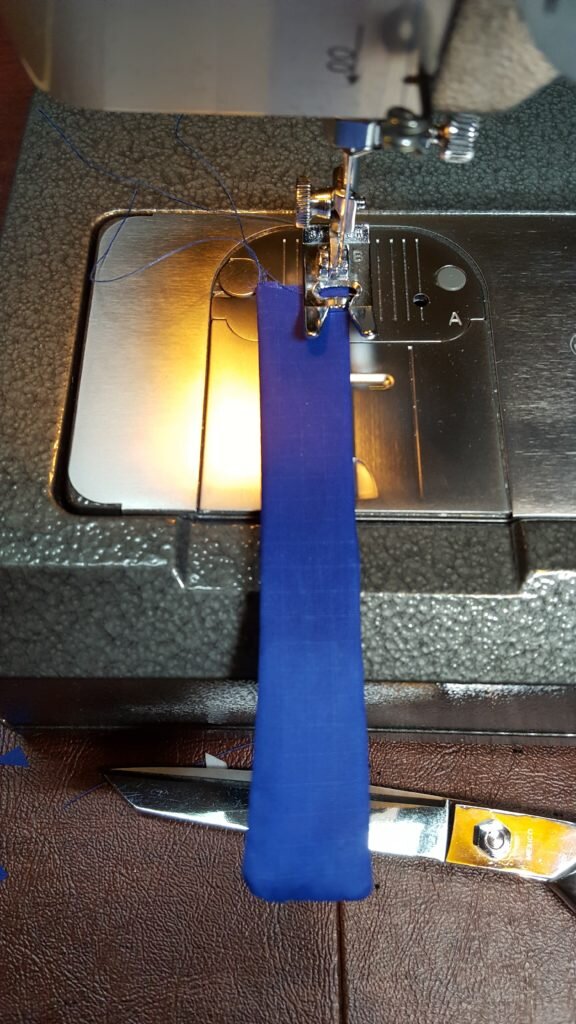
Top stitch 1/8″ from the edge.
- Attach one edge of the snap following package directions.
- Repeat steps 14 through 18 for second snap strip.
- Insert unfinished edges of snap fasteners in between the handle and handle reinforcement you left unfinished in step 12. Pin.
- Double check your alignment of the snaps. You want to be able to roll the bag up to the snaps, and the snap pieces to button around the bag like a bracelet. (See picture of the bag closed below.) When you’re content you have it right, stitch the remaining edge closed, sandwiching the unfinished ends of the snap fastener pieces inside.
- Go to the beach (or optionally add a pocket in steps following!)
- Cut a 10″x10″ square.
- Fold under 1/2″, press and stitch. This is the top of the pocket.
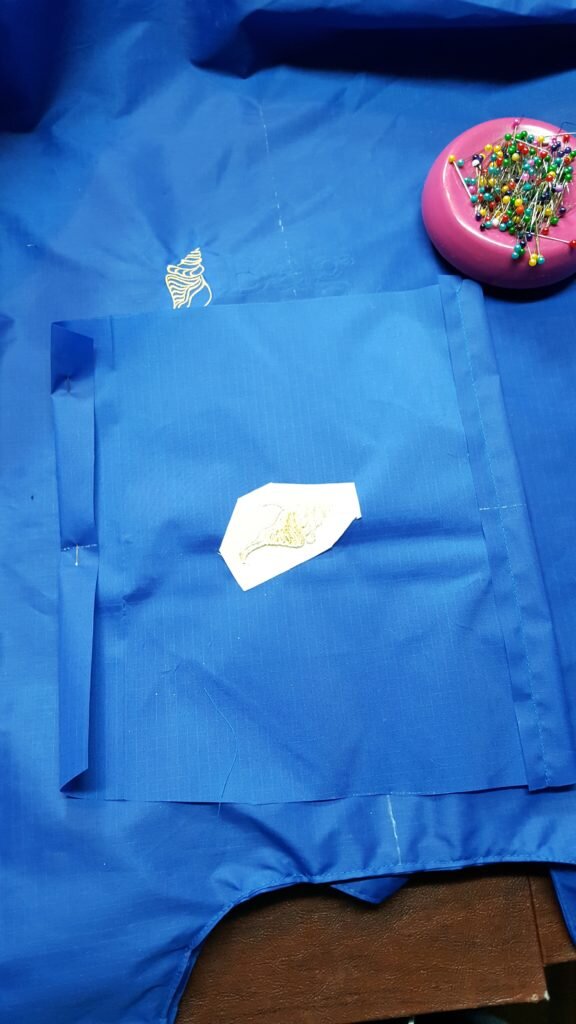
Fold under 1/2″ on top of pocket and stitch.
- Press under 1/2″ all around the remaining edges of the pocket. Pin the pocket to the center of the bag all around the unfinished edges. Top stitch 1/4″ from the edges of the pocket to attach to bag.
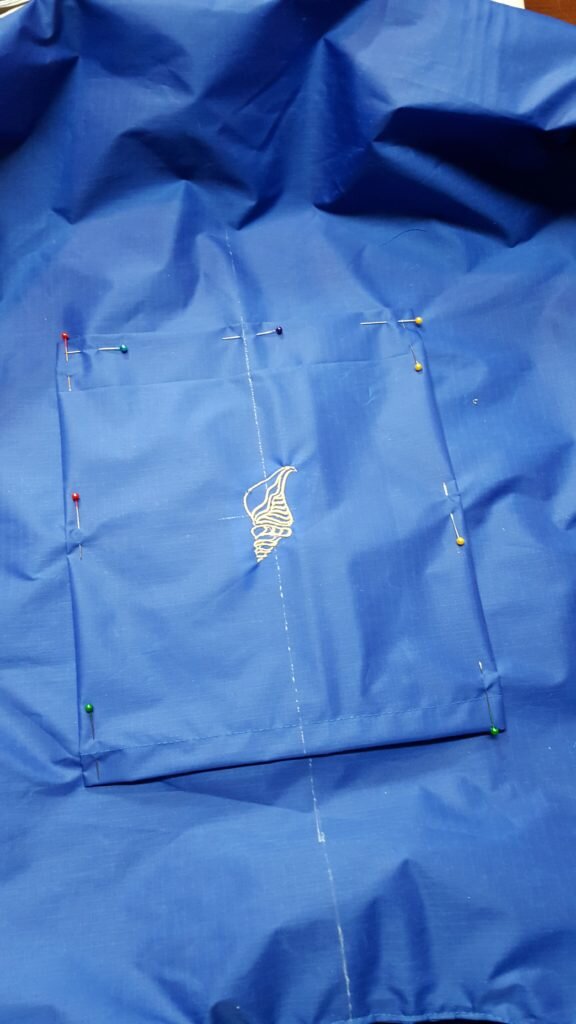
Fold under edges 1/2″. Pin pocket to center back of bag. Top stitch around edges.
To fold the bag up, just fold up tightly starting at the bottom of the bag. When you get to the top, fold in thirds then fasten the snaps around.
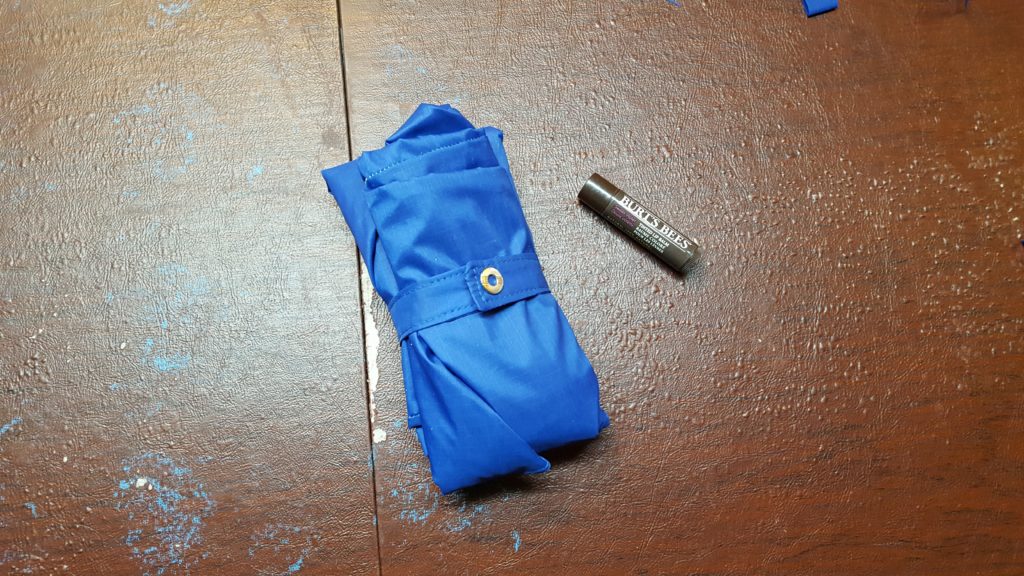
Snaps fastened around the bag. It folds up fairly small for such a large bag!

You can fit a novel in the back pocket for beach reading!
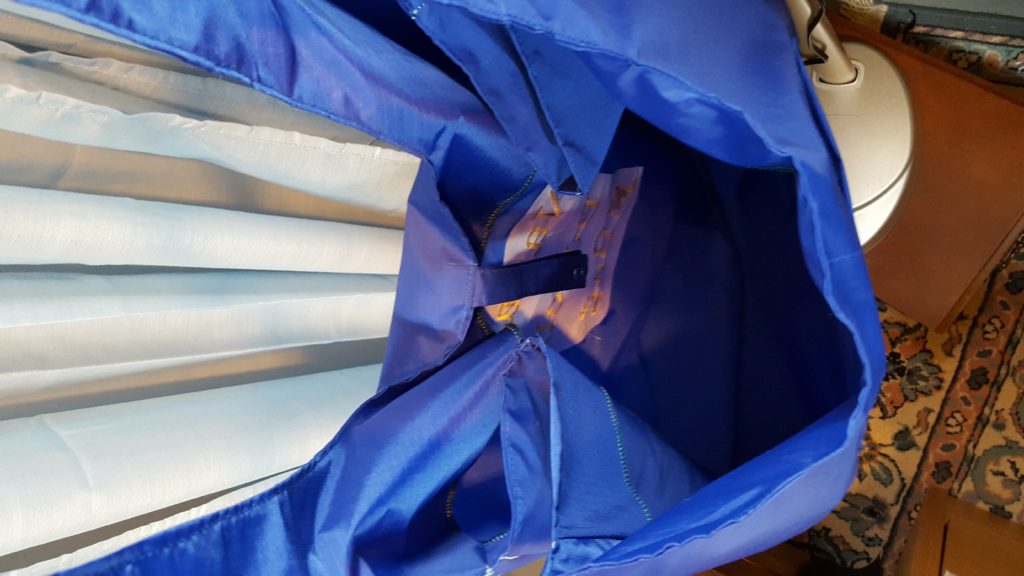
Inside view of the bag. The strips for the snaps just hang inside the bag.
I added an optional pocket (steps 22 through 24) to the back.
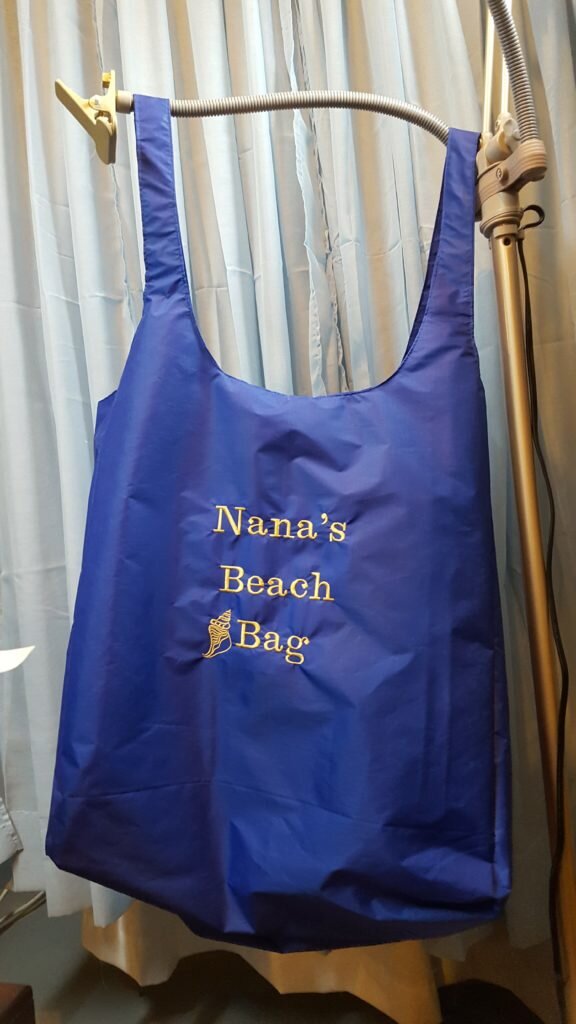
My friend wanted the bag to say “Nana’s Beach Bag” on the front. His wife is now “Nana” to his young grandson!
