When I was pregnant I saw these adorable tiny crowns on Etsy and decided I wanted to make one. It was very easy to make, but our uses for it were rather silly. We took multiple pictures of him with the crown. First, our friend Joe photographed us holding the crown while I was pregnant and waiting for our little prince. The second time was the day after he was born when he had hospital photos taken. This picture was incredibly silly (you can see below). Finally I took a third picture 2 weeks after his hospital photos. You can tell the crown is already way too small by this point! And looking back… he has gotten SO MUCH BIGGER in only 4 more weeks!

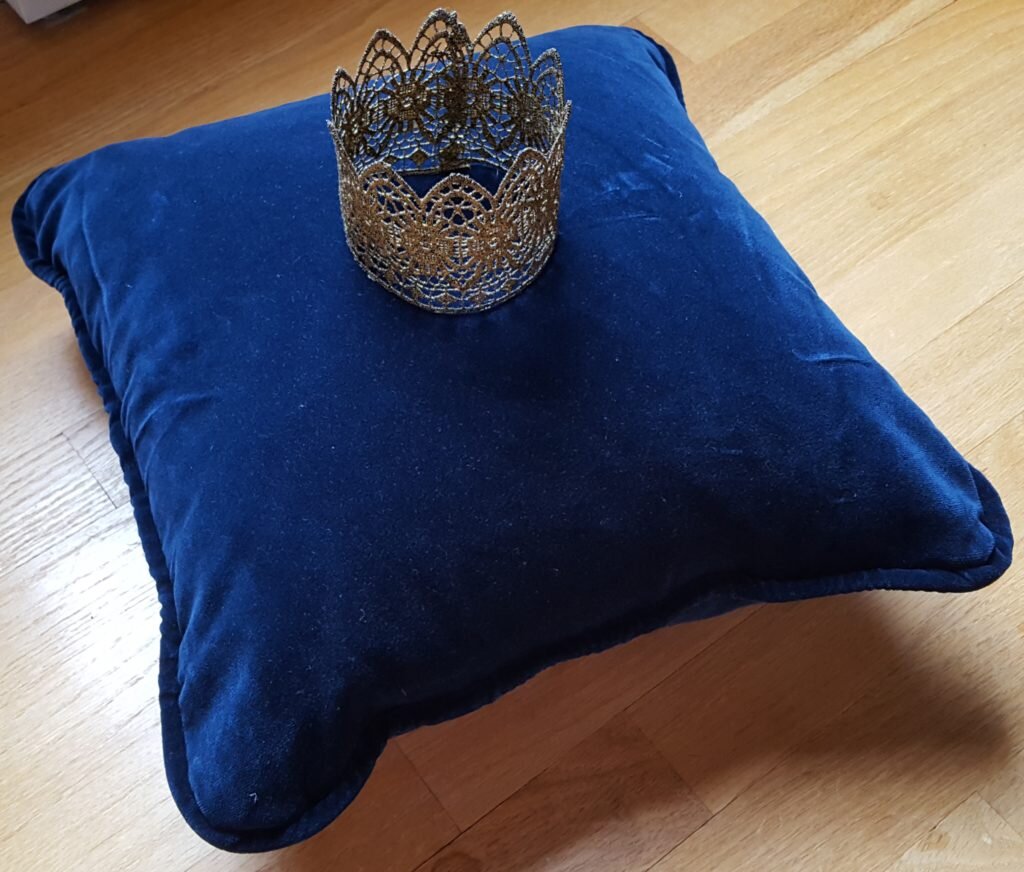
Our friend Joe Kerekes took this cute picture of us awaiting our tiny prince.
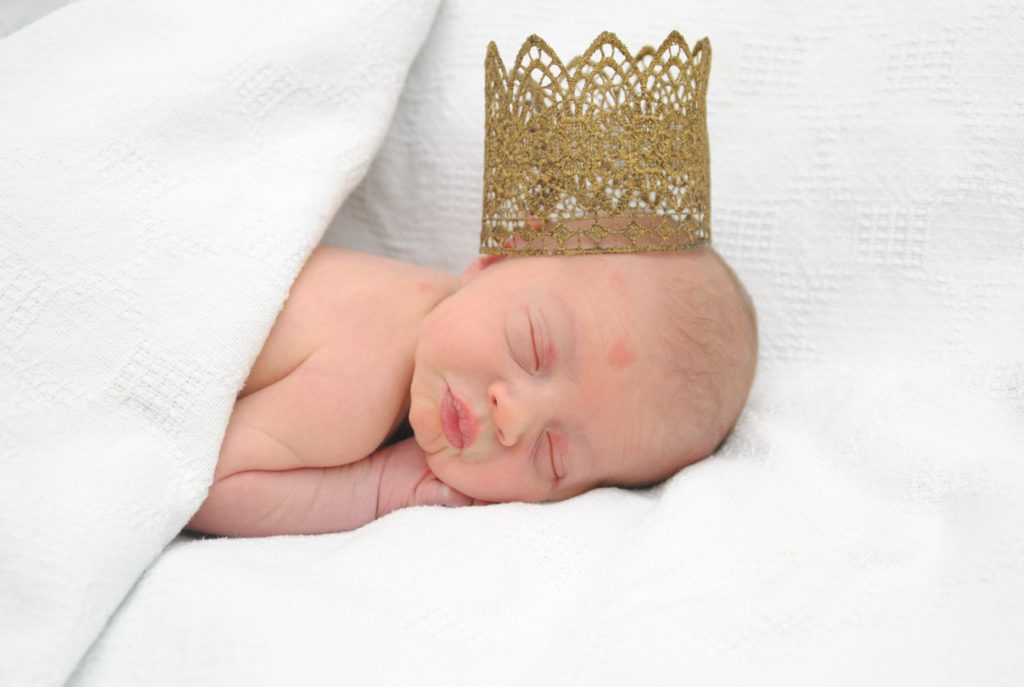
Julius’ silly hospital photo. He wasn’t awake enough to put it on top of his head… but this is just plain silly.

This is just two weeks after his hospital photos were taken, but his head is already way too big!
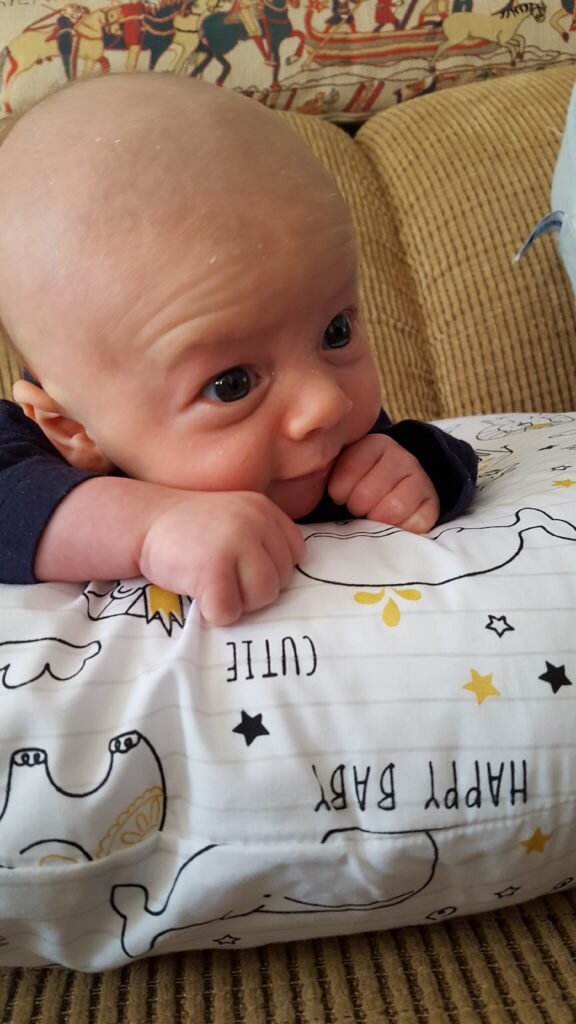
And just for perspective, this was Julius yesterday at 5 weeks, 5 days! Look at that noggin, definitely won’t fit a 3″ diameter crown now! But what a cutie, right?
3″ Diameter Tiny Crown
What you’ll need:
- fabric stiffener – I used Aleene’s Stiffen Quik
- gold fabric paint – I used Tulip Colorshot
- 11″ of lace ribbon – mine was 3″ high
- aluminum foil
- Overlap the edges of your lace ribbon so the seam will not be noticeable. For instance, if you have arches on your ribbon, make sure those arches overlap. Make sure the diameter is close to 3″. Pin and stitch the edges together.
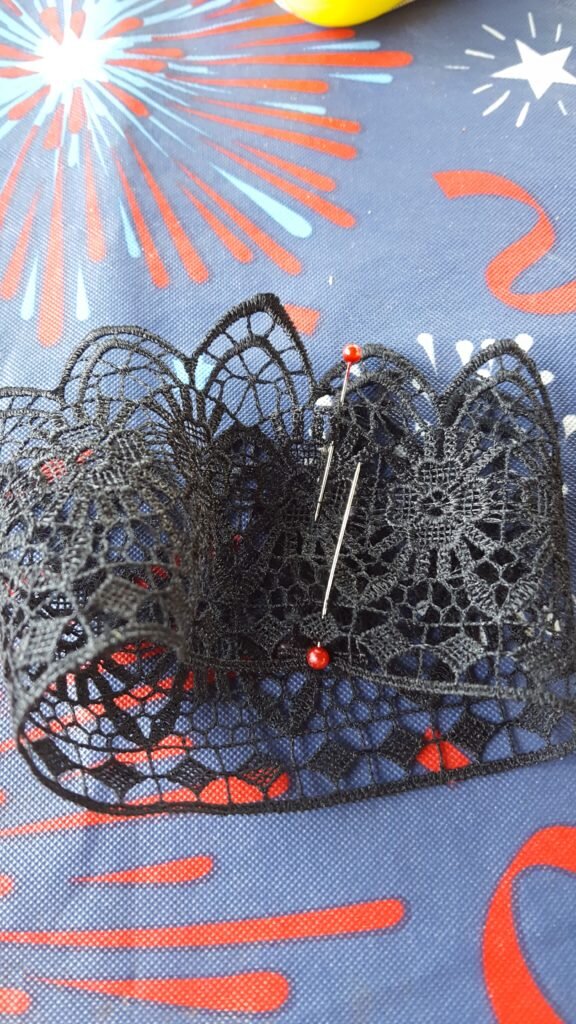
Pin lace so it discretely overlaps.
- Make an aluminum foil form to hold the crown, then spray with fabric stiffener. Let dry following manufacturer’s instructions.
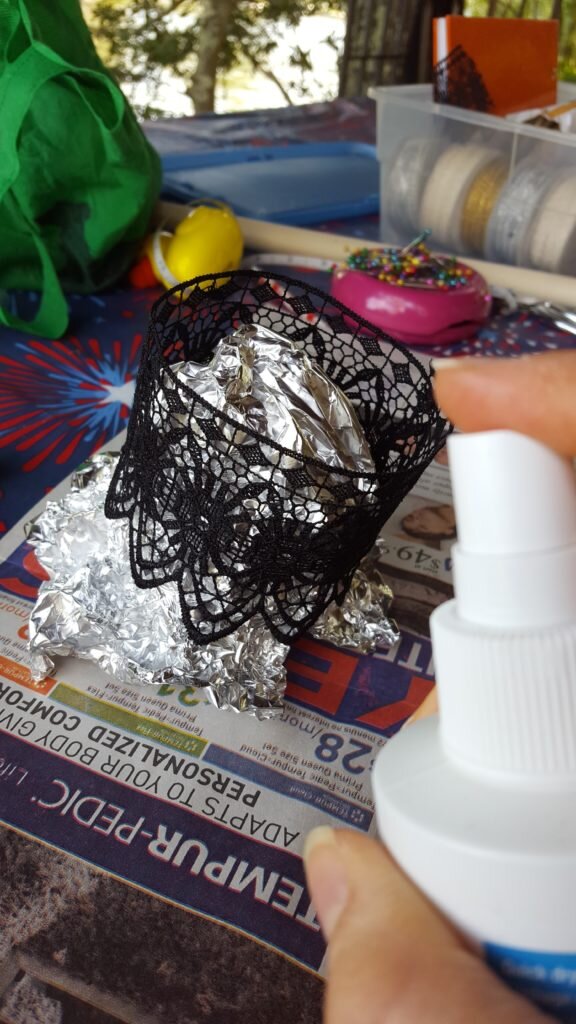
Spray crown with fabric stiffener on aluminum form.
- Spray the crown with gold fabric paint. Let dry following manufacturer’s instructions. You may need to do multiple coats for full coverage.
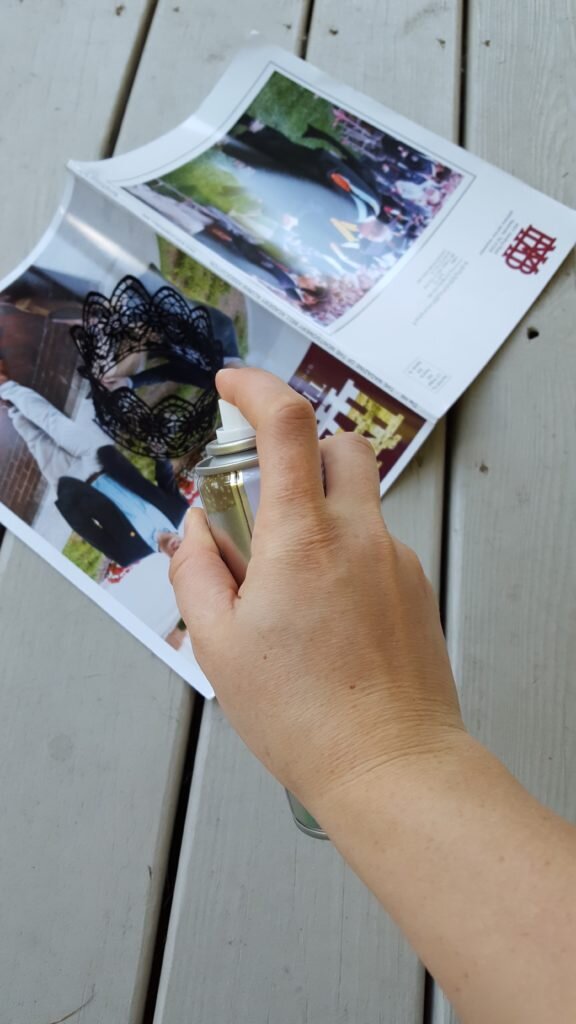
Spray crown with gold fabric paint.