Right now I’m procrastinating. I’m putting off lugging a quarter of a ton of wood to the attic as flooring. So I’m writing this blog post a little early (though you won’t read it for another couple days). I know what you’re thinking, the Colton household has amazing Saturday nights, count me in for the next lumber haul. To be completely honest, the lumber lugging procrastination is just additional procrastination from pillow making, which in turn is just additional procrastination from cutting wood for my next Julius project (not related to the attic wood). When you’re like me you have artful levels of procrastination that you label as “to do lists”.
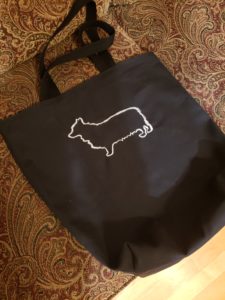
One thing I actually did NOT procrastinate on this year was Danycon prep. I made the shirts almost a week before Danycon started (instead of the day before) and I finished the bags I think a solid night before guests arrived. Though I may be remembering wrong, because I do have a vague shadowy memory of me staying up way too late before Danycon started, though I think it involves cleaning all our bathrooms. The bags I made this year I am really proud of. I’ve liked all of the bags that I’ve made for Danycon, but these ones are extra fun. I based the pattern off the bag I got when I became a member of the NRDC. I know what you’re thinking, the NRDC sends out junk mail and tote bags, isn’t that self defeating? Yes it is, but they don’t. They only send you the tote bag if you check a box and everything else is email. I battled internally for a while if I should check the box for the tote bag and waste the resources I was donating to protect. What tipped me over the edge was the bee on the bag. I guess bees are my weakness, I’ll log that away for later when I discover my super powers.
Anyway, the bag I got from the NRDC is actually a pretty nice bag. It’s a big strong tote bag that you could use to cart books from the library, groceries from the market or board games from your cubicle. I turned my favorite Dany silhouette into a machine embroidery pattern for the shirts and bags this year. I think it really makes the bags look complete, and gives you that subtle pop of corgi you’re always looking for.

Danycon bags waiting for their owners!
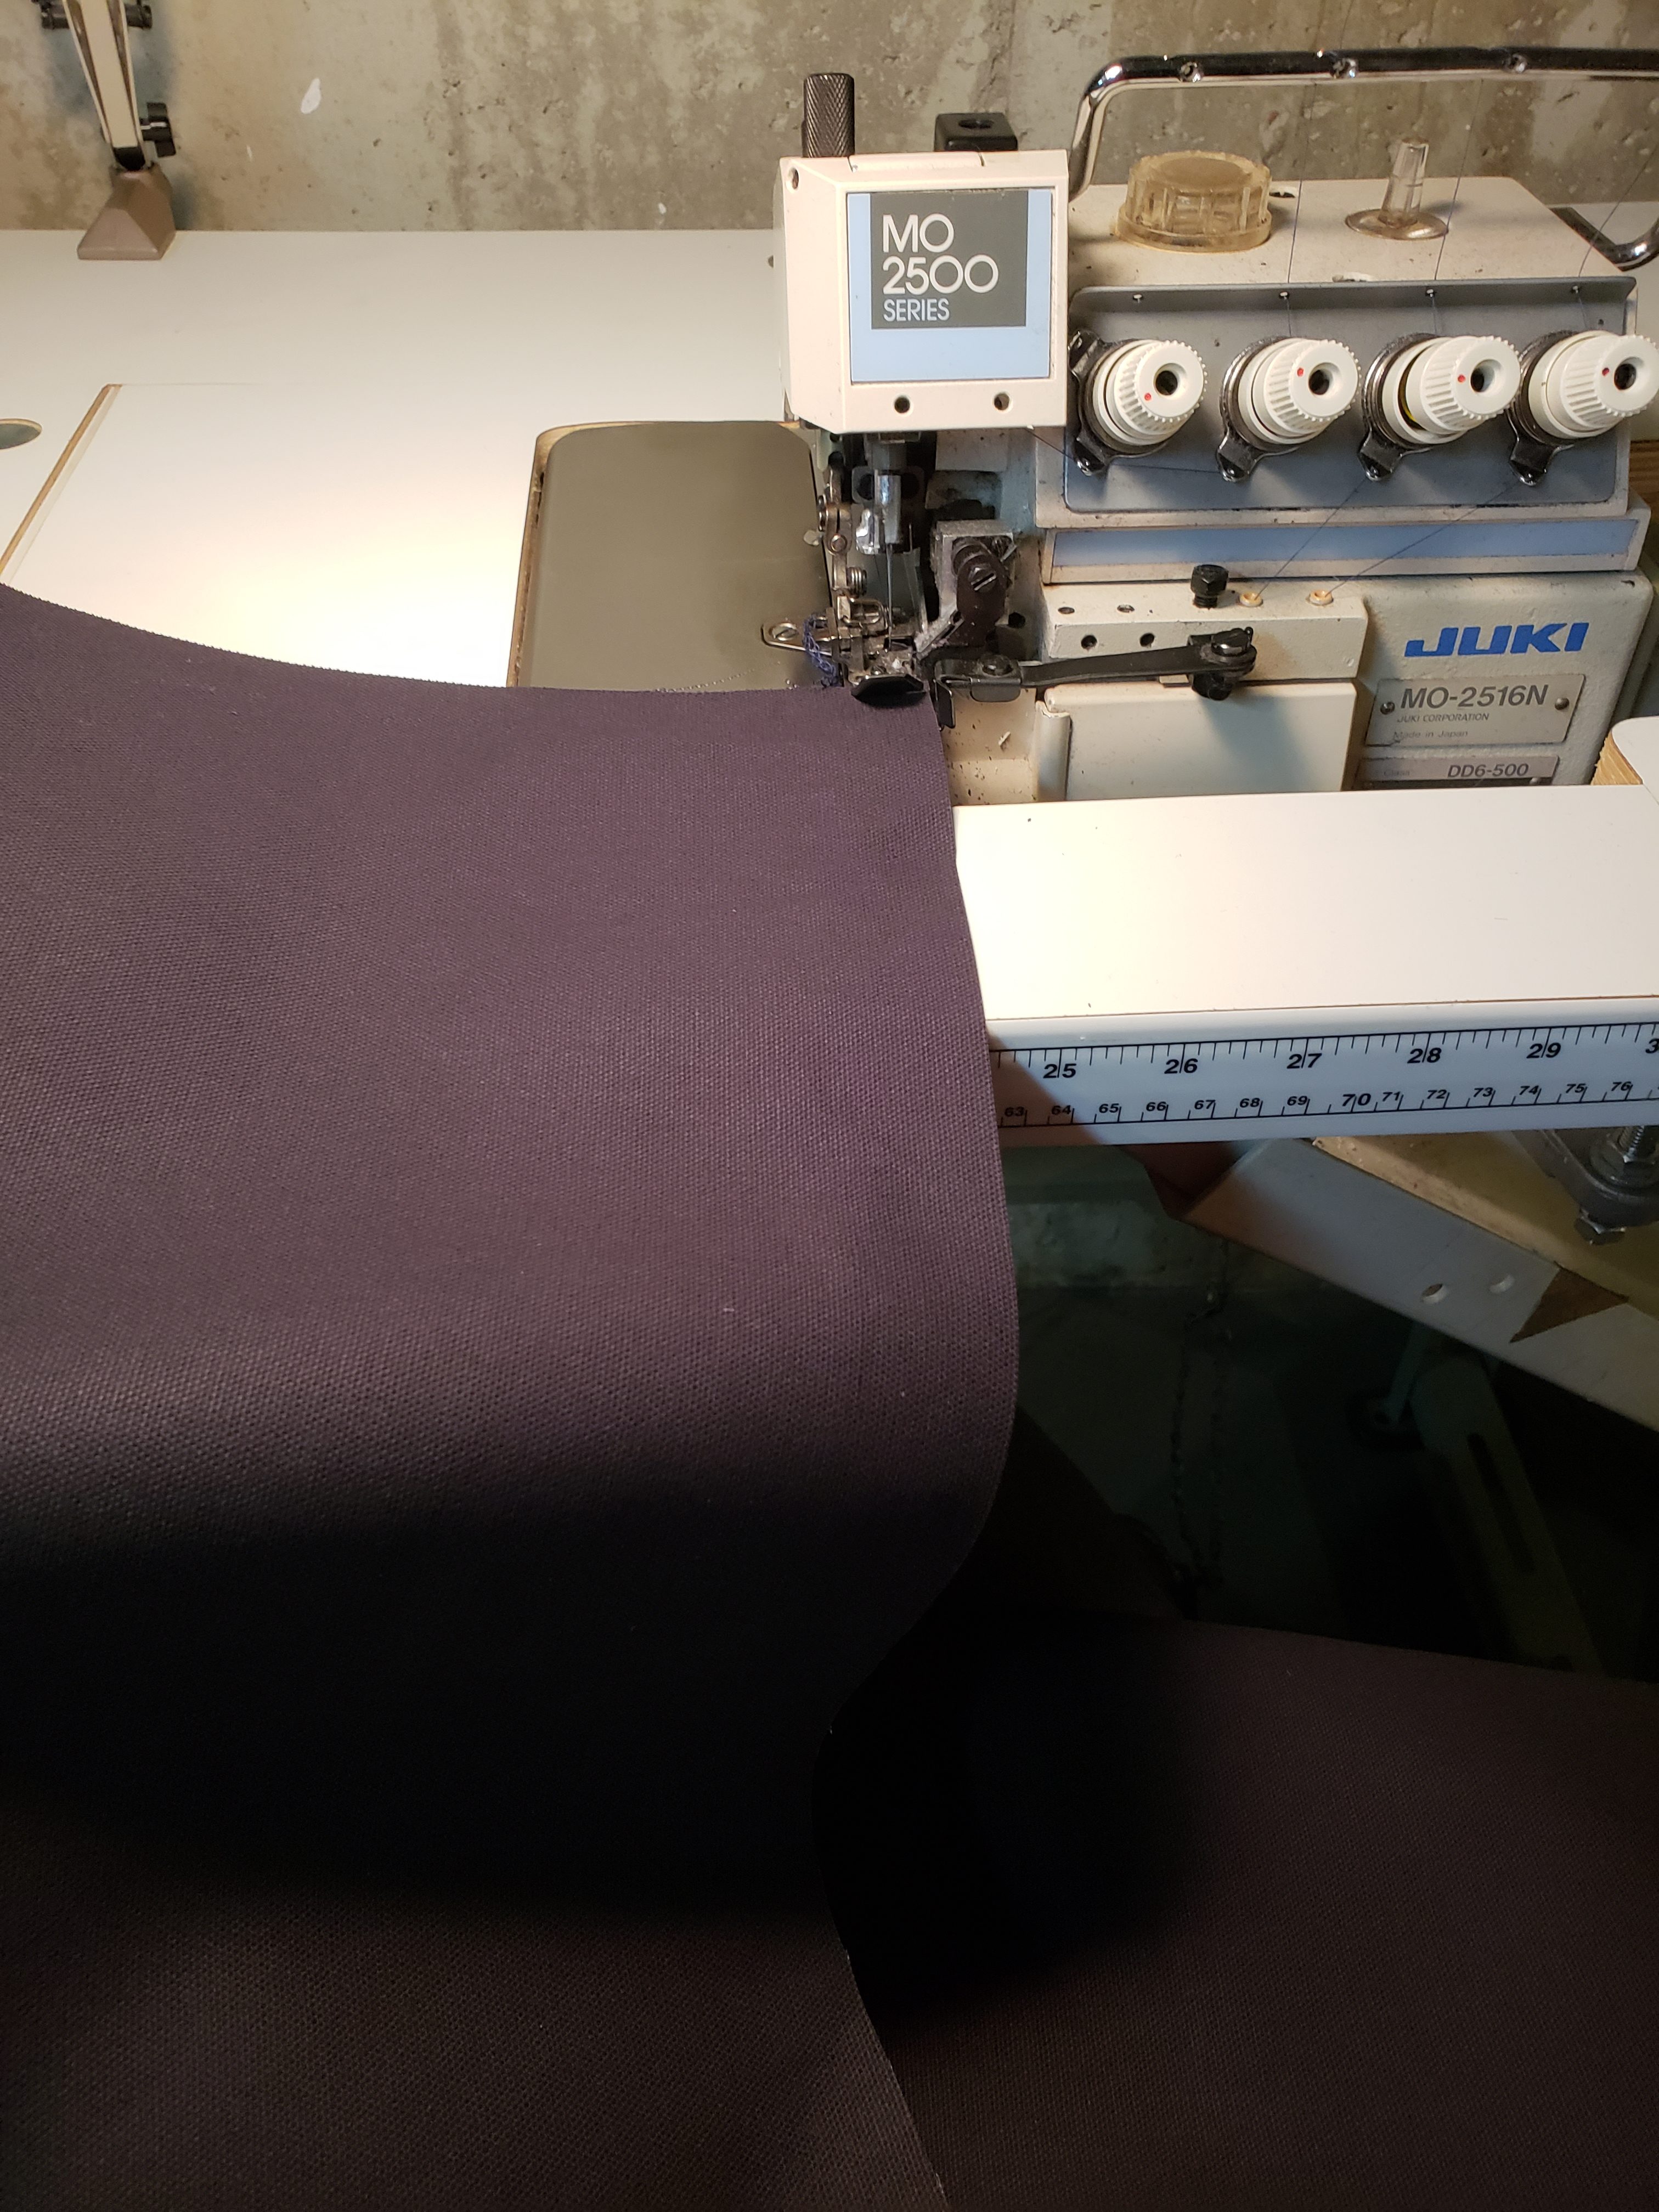
Sturdy Canvas Tote Bag
What you’ll need:
- 18″x40″ rectangle of canvas fabric
- 44″of 1″ thick cotton webbing (cut into 2 22″ pieces)
- materials for embroidery (if desired)
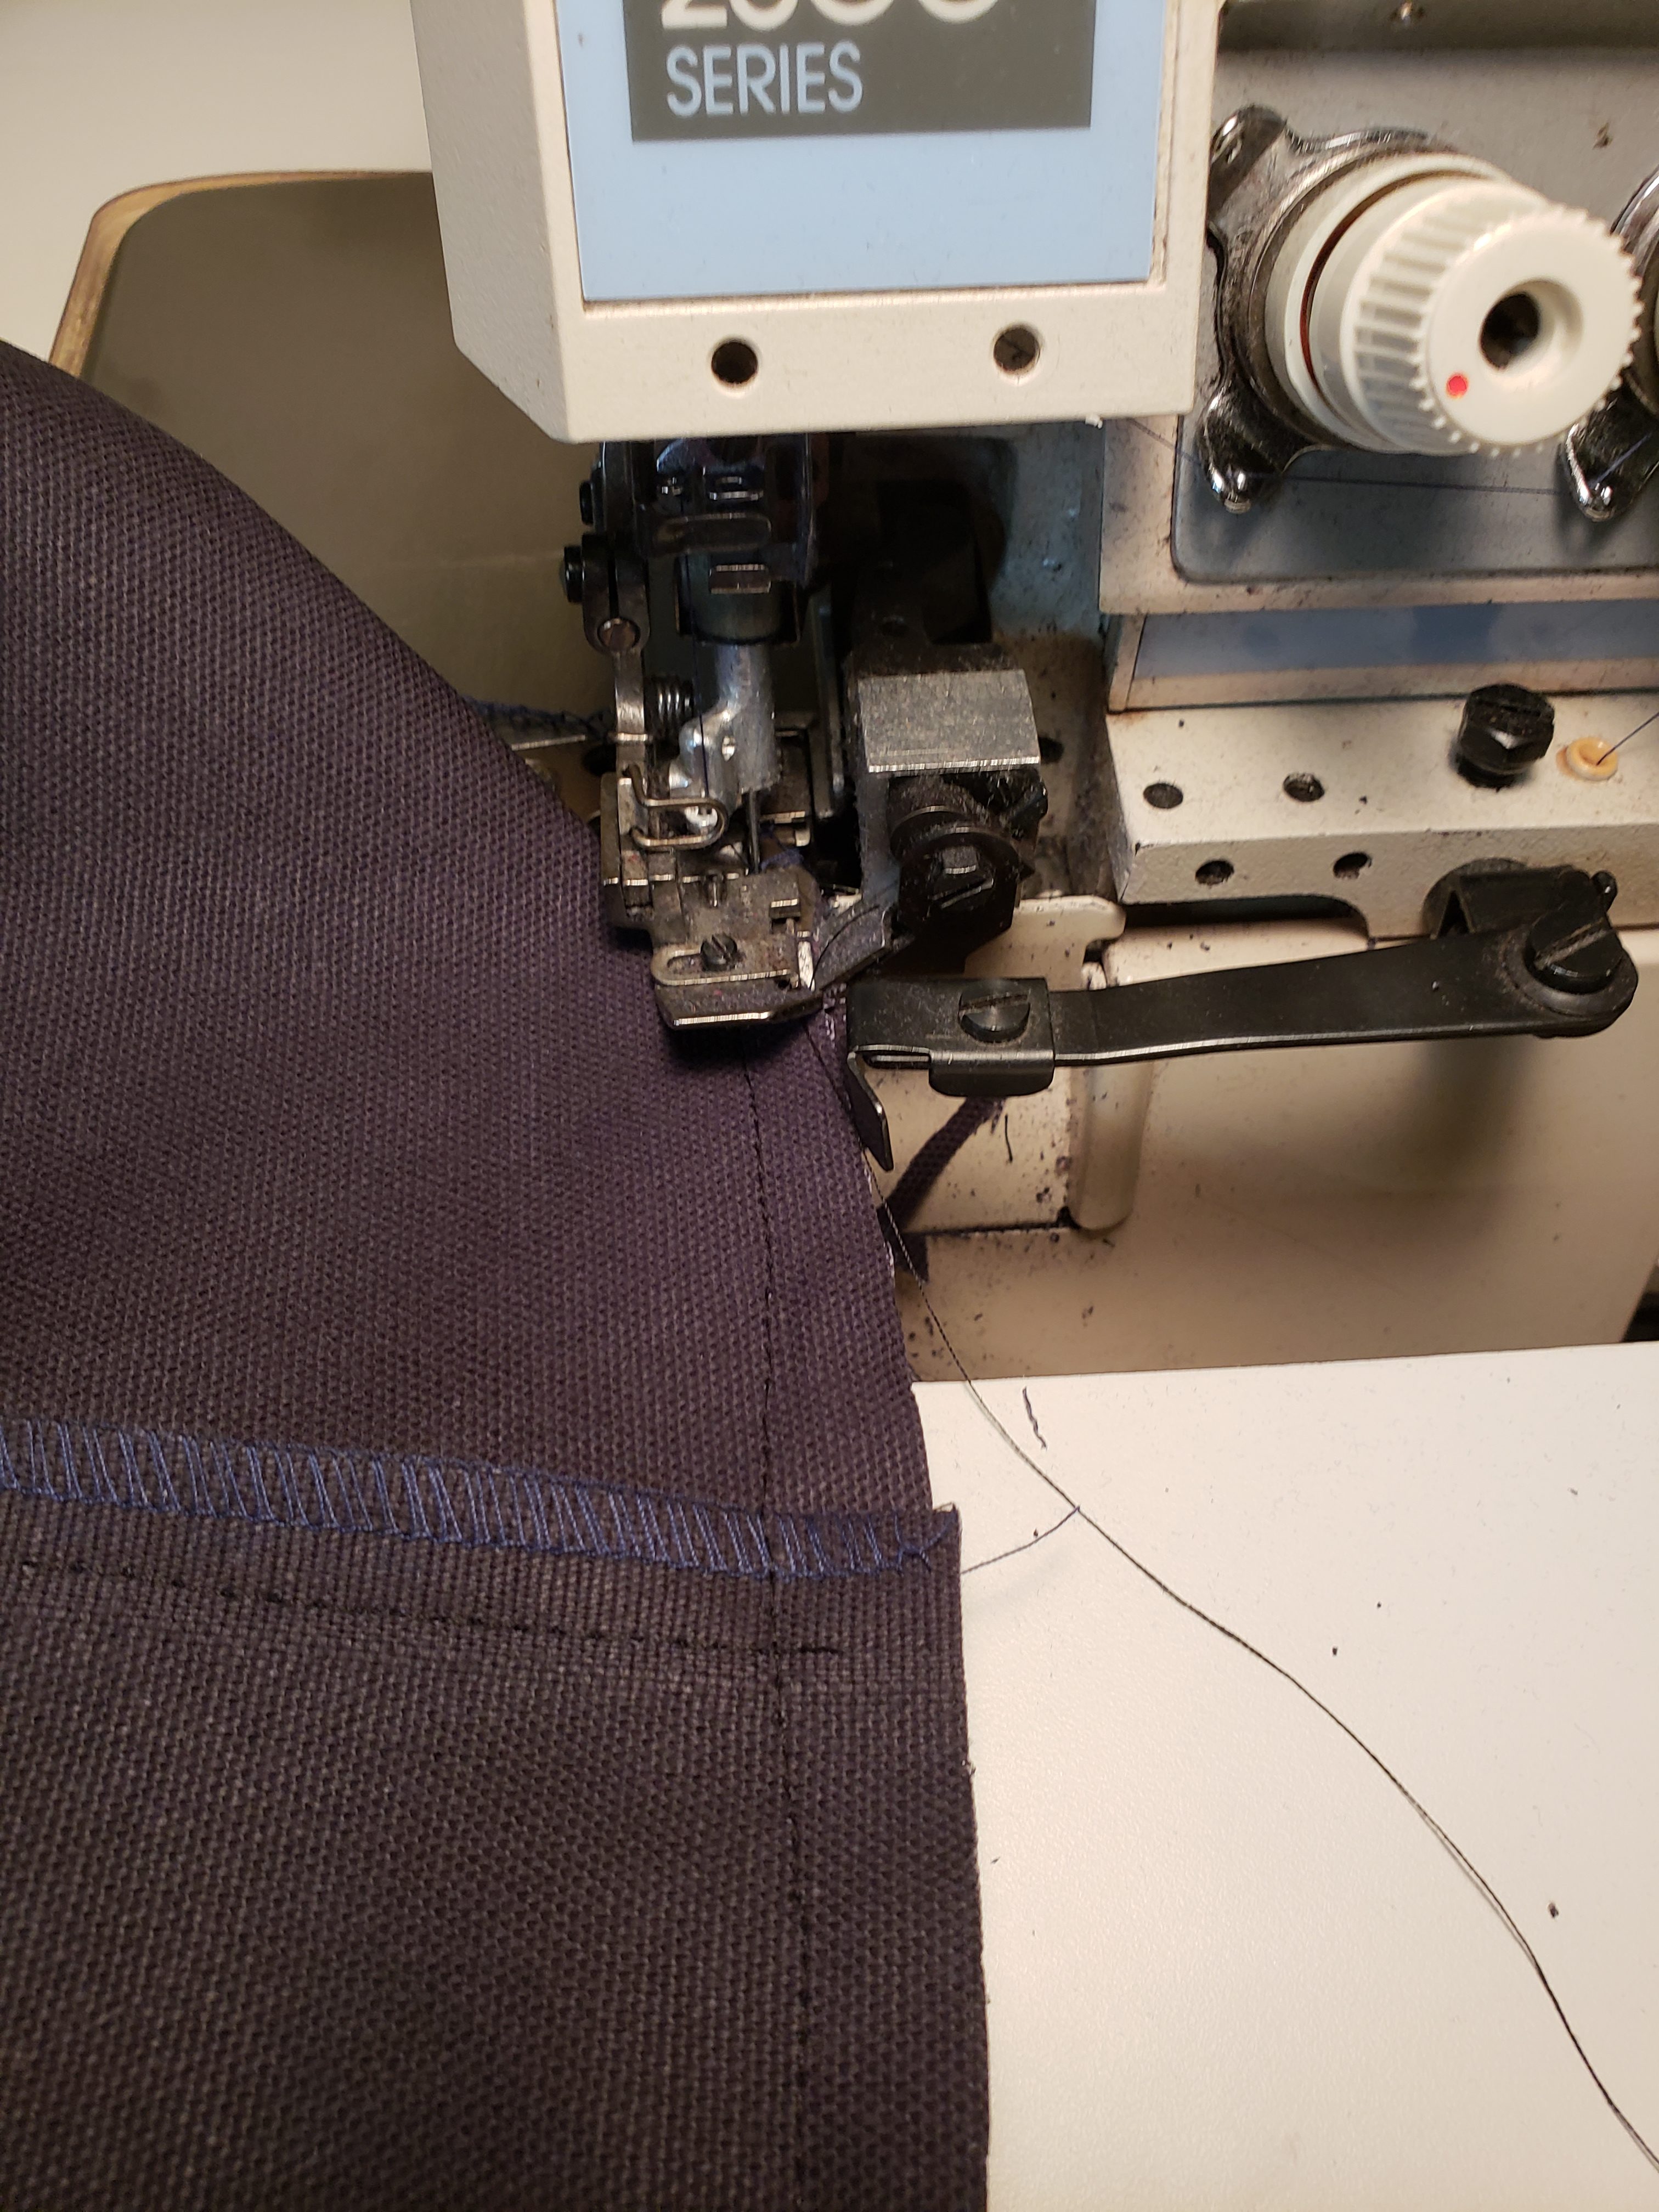
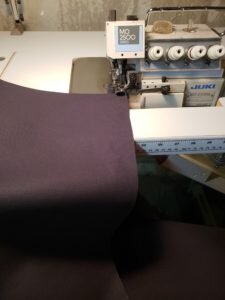
- Serge each 18″ edge of fabric to prevent unraveling.
- Fold canvas rectangle in half to form an 18×20″ rectangle. Stitch down both sides adjacent to the fold with 1/2″ seam allowance.
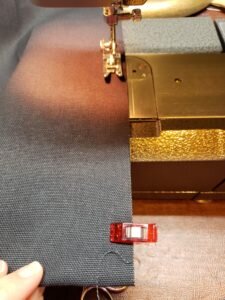
- Serge along these two sections to reinforce.
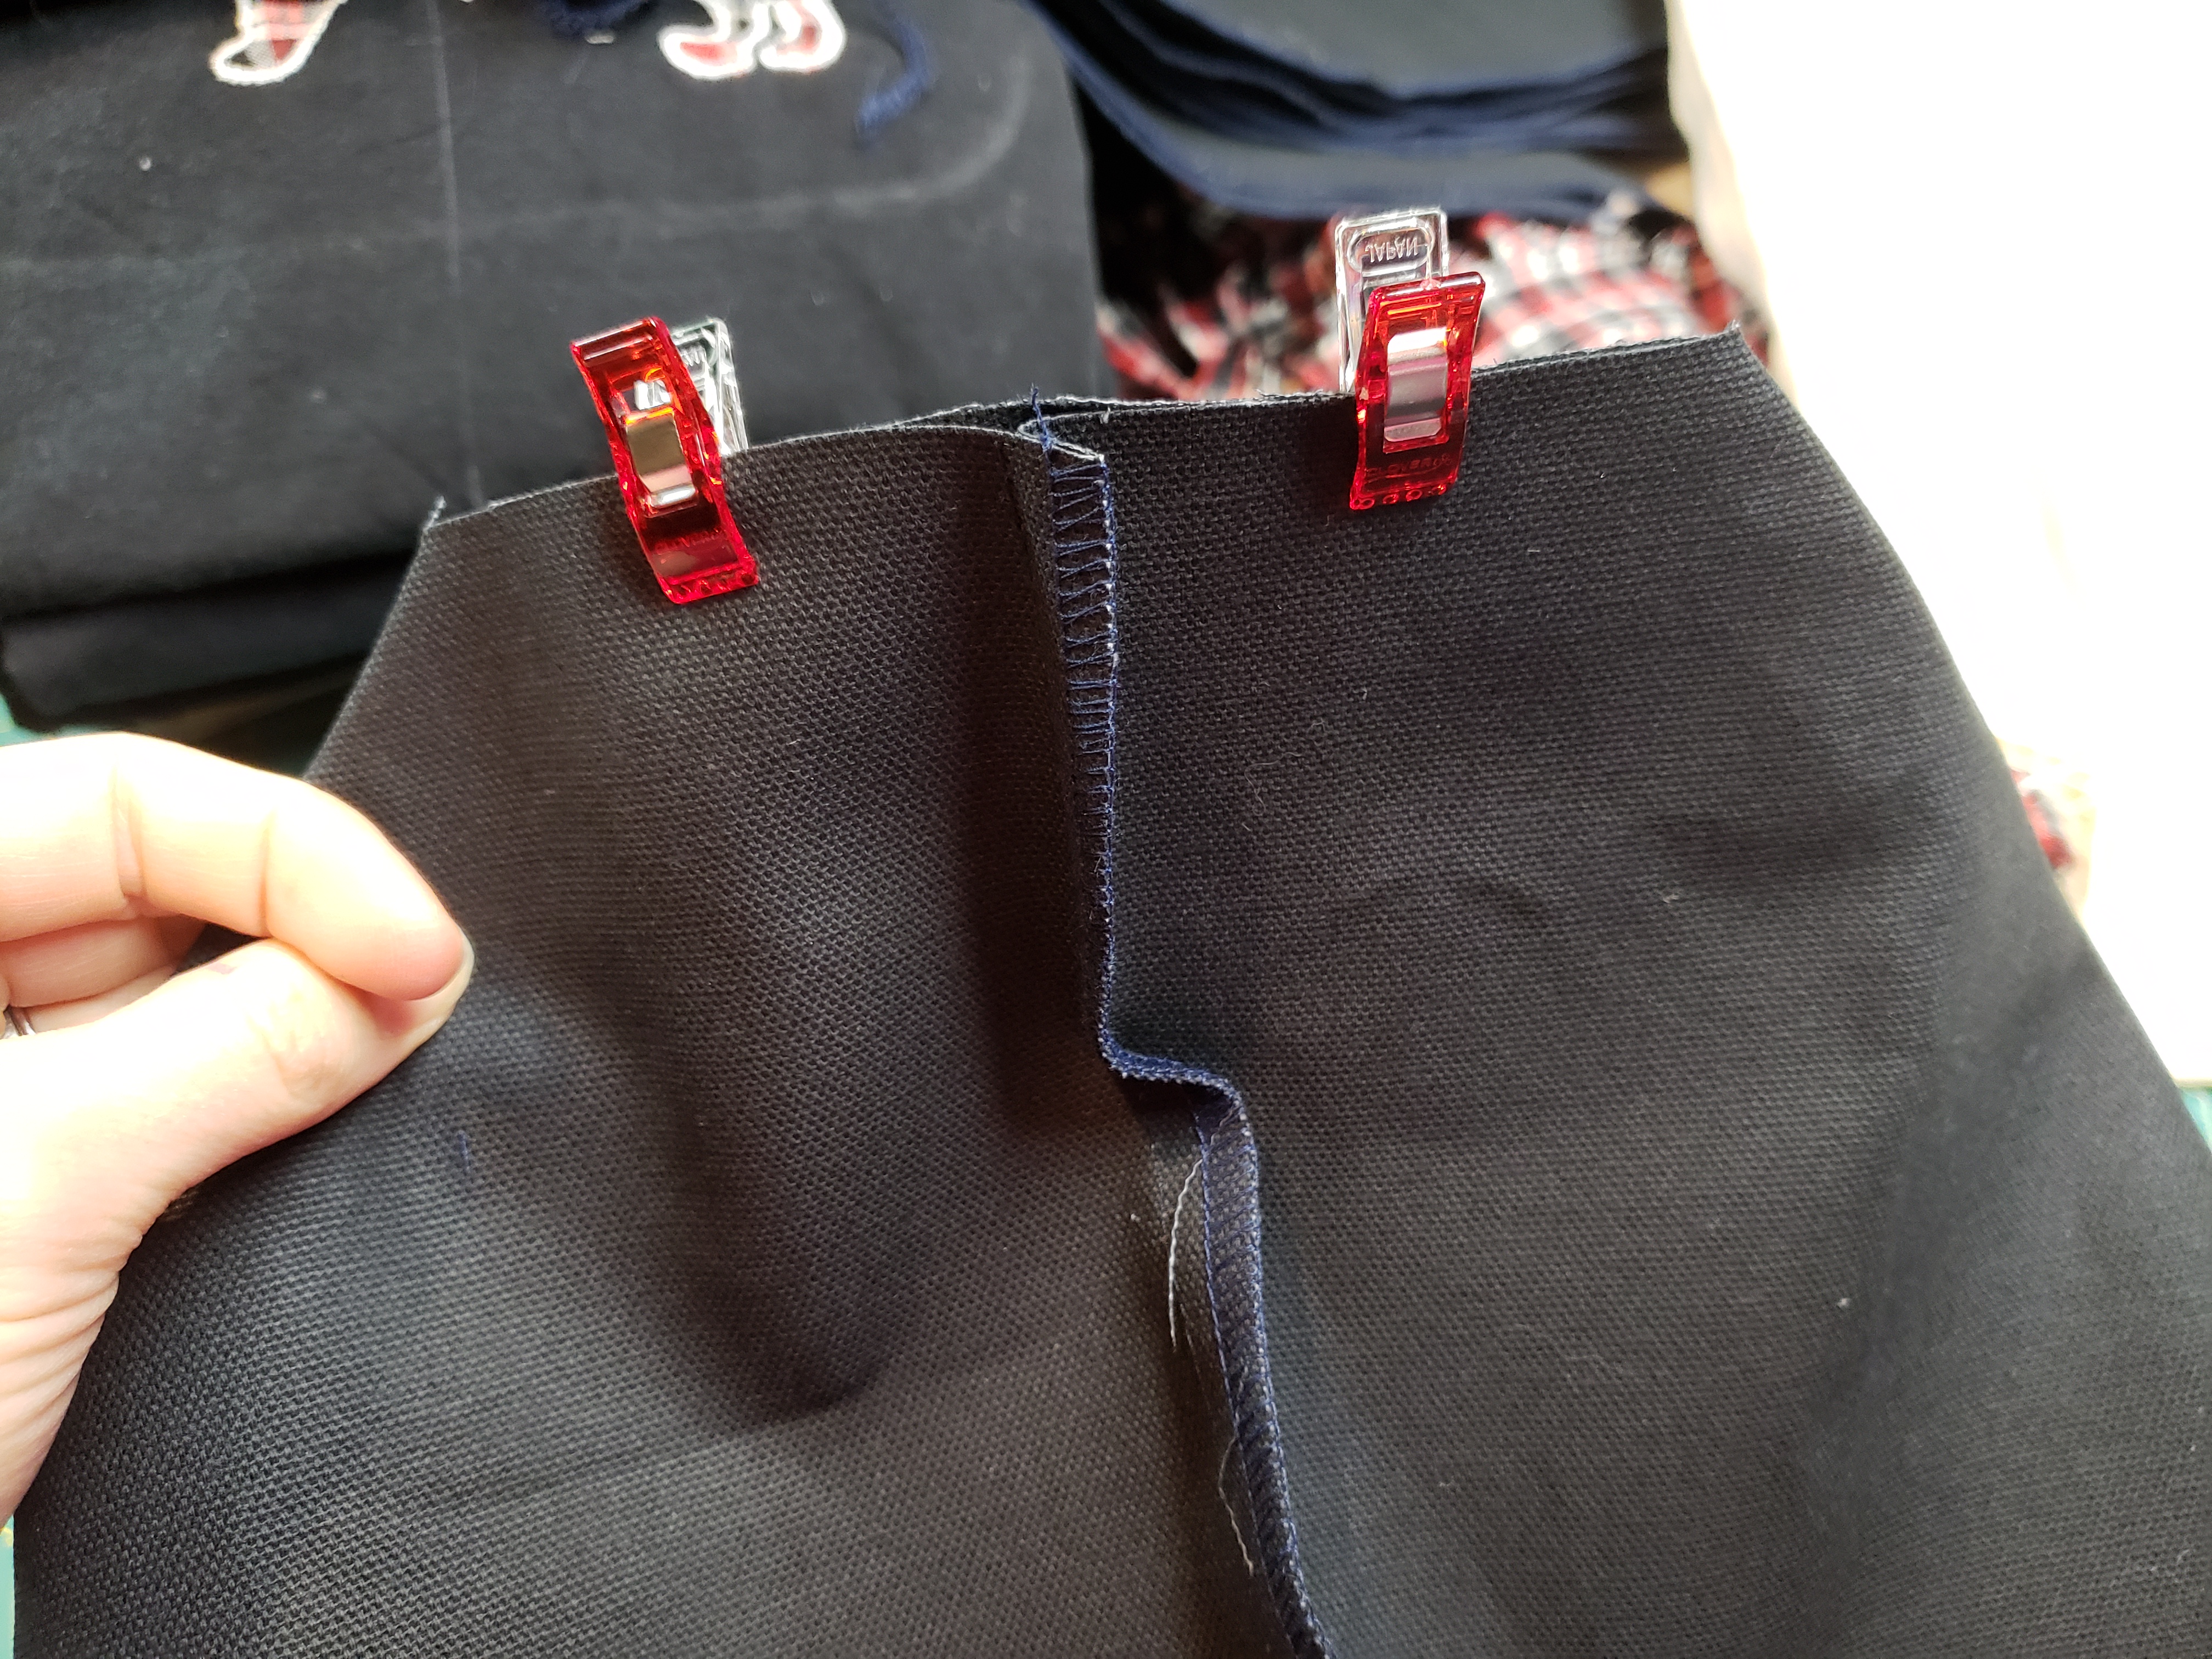
- Mark a 3.5″x3″ rectangle in each of the bottom corners of the bag (3.5″ side is into the seam allowance, so effectively creating a 3″x3″ square within the non seam allowance portion of the bag).
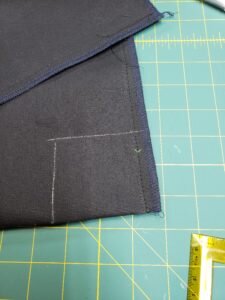
- Cut out rectangles. Starting with one side of the bag, pull the points of the two negative space rectangles you just created apart so that the two seams meet and the unfinished edges line up. Pin. Repeat for second corner of bag.
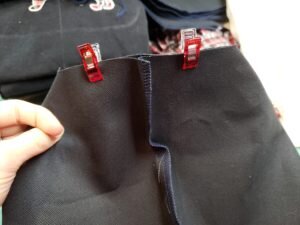
- Stitch along the areas you just pinned. Serge along each seam to reinforce.

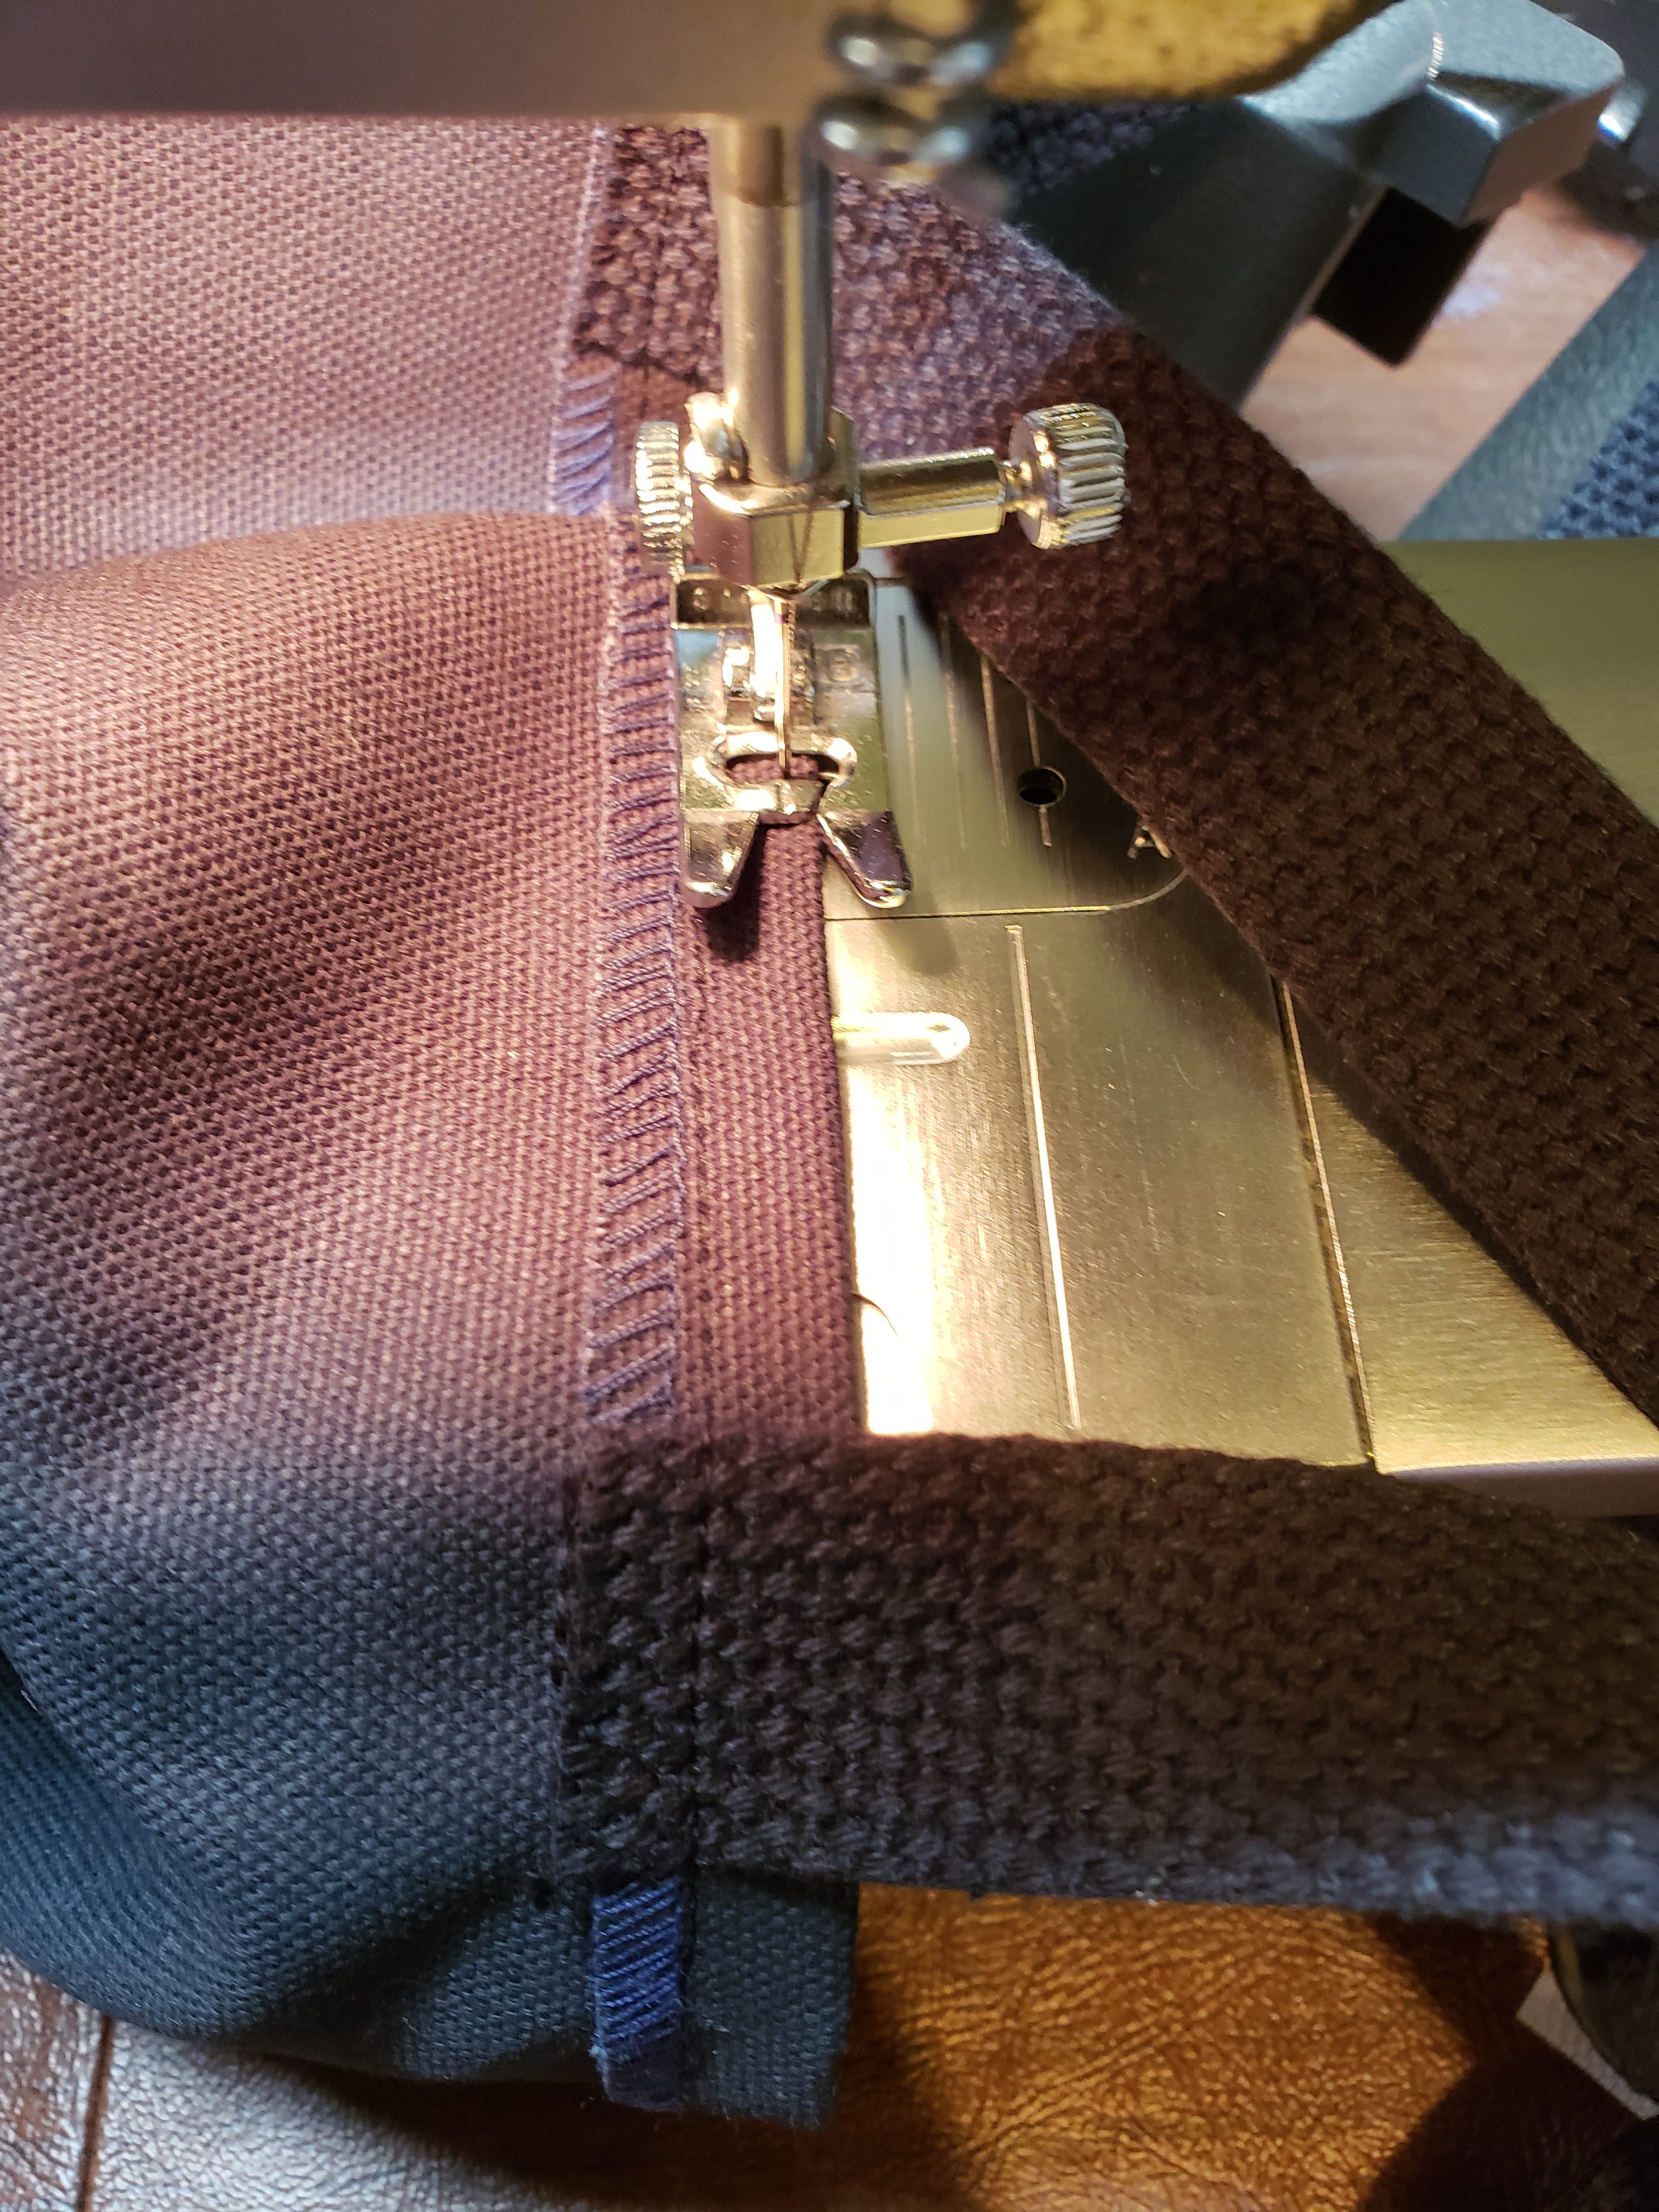
- At the opening of the bag, turn the fabric over 3/4″.
- Mark at the 5.5″ mark and 6.5″ mark and the 11.5″ and 12.5″ mark along the top edge of the bag. Place one edge of one length of cotton webbing inside the 5.5″ & 6.5″ marks, so the edge touches the serged edge of the flap. Pin. Ensuring the strap is not twisted, place second edge of cotton webbing inside the 11.5″ and 12.5″ marks. Pin. Turn bag over and repeat.
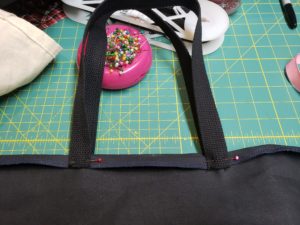
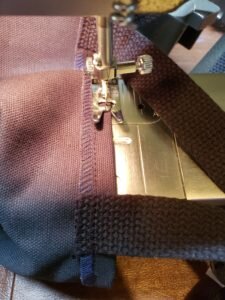
- Stitch 1/2″ from the top of the bag and again 5/8″ from the top of the bag, encompassing the cotton webbing.
- Turn bag right side out.
- Decorate as desired!