
Well Julius loved opening all his Valentine cards yesterday! In addition to all the cards from his pen pals, he even got some surprise ones from readers of the blog! That really made my day and his, so thank you! It was so fun seeing all the different Valentines. Every single one was unique! Stickers, coloring, seeds, applesauce, hearts, sloths, Disney, Winnie the Pooh, animals etc… he will be busy looking at all of them and playing with them in the coming days. He has again been carrying his Valentines around the house. This year he’s carrying them in his Valentine mailbox. We removed the staples from it so he could take out his cards to open, so it is back to paper bag form. Perhaps a good reason to leave the handles on… I’ll have to update last week’s post!
I somehow had a lot of ideas for Valentine cards this year. I think it is easier when the kids are a little bit older since more activities are age appropriate. Of course that meant that some of the siblings of the pen pals got Valentine’s that weren’t really age appropriate (sorry) though I give props to Ka who thought of that when she sent her daughter’s Valentines out. The one I’m going to show you today was technically sent from Patricia even though she is not able to do the craft herself yet… But she has gotten so good at grabbing things and shoving them in her mouth now! Hmm…
Before I tell you how to make Patricia’s Valentines, I want to share another Julius-ism. One of the cards Julius received was a dog bone shape card sent from Brooklyn and Febes, Mandy and Bailey’s dogs. After I read him the tag, Julius asked, “How did Brooklyn make this?” I didn’t want to burst his adorable card-making dog bubble, so I told him Aunt Mandy and Aunt Bailey must have helped. (Also he pronounces Brooklyn as Broke-lin.)
DIY Paint with Water Valentines
What you’ll need:
- paintbrush & watercolor paints
- a printer and printer paper
- paintbrushes to include with the valentines (I used these cheapo ones, but they really don’t hold water well since they’re plastic)
- A6 Envelopes (I used these)
- Scissors or paper cutter
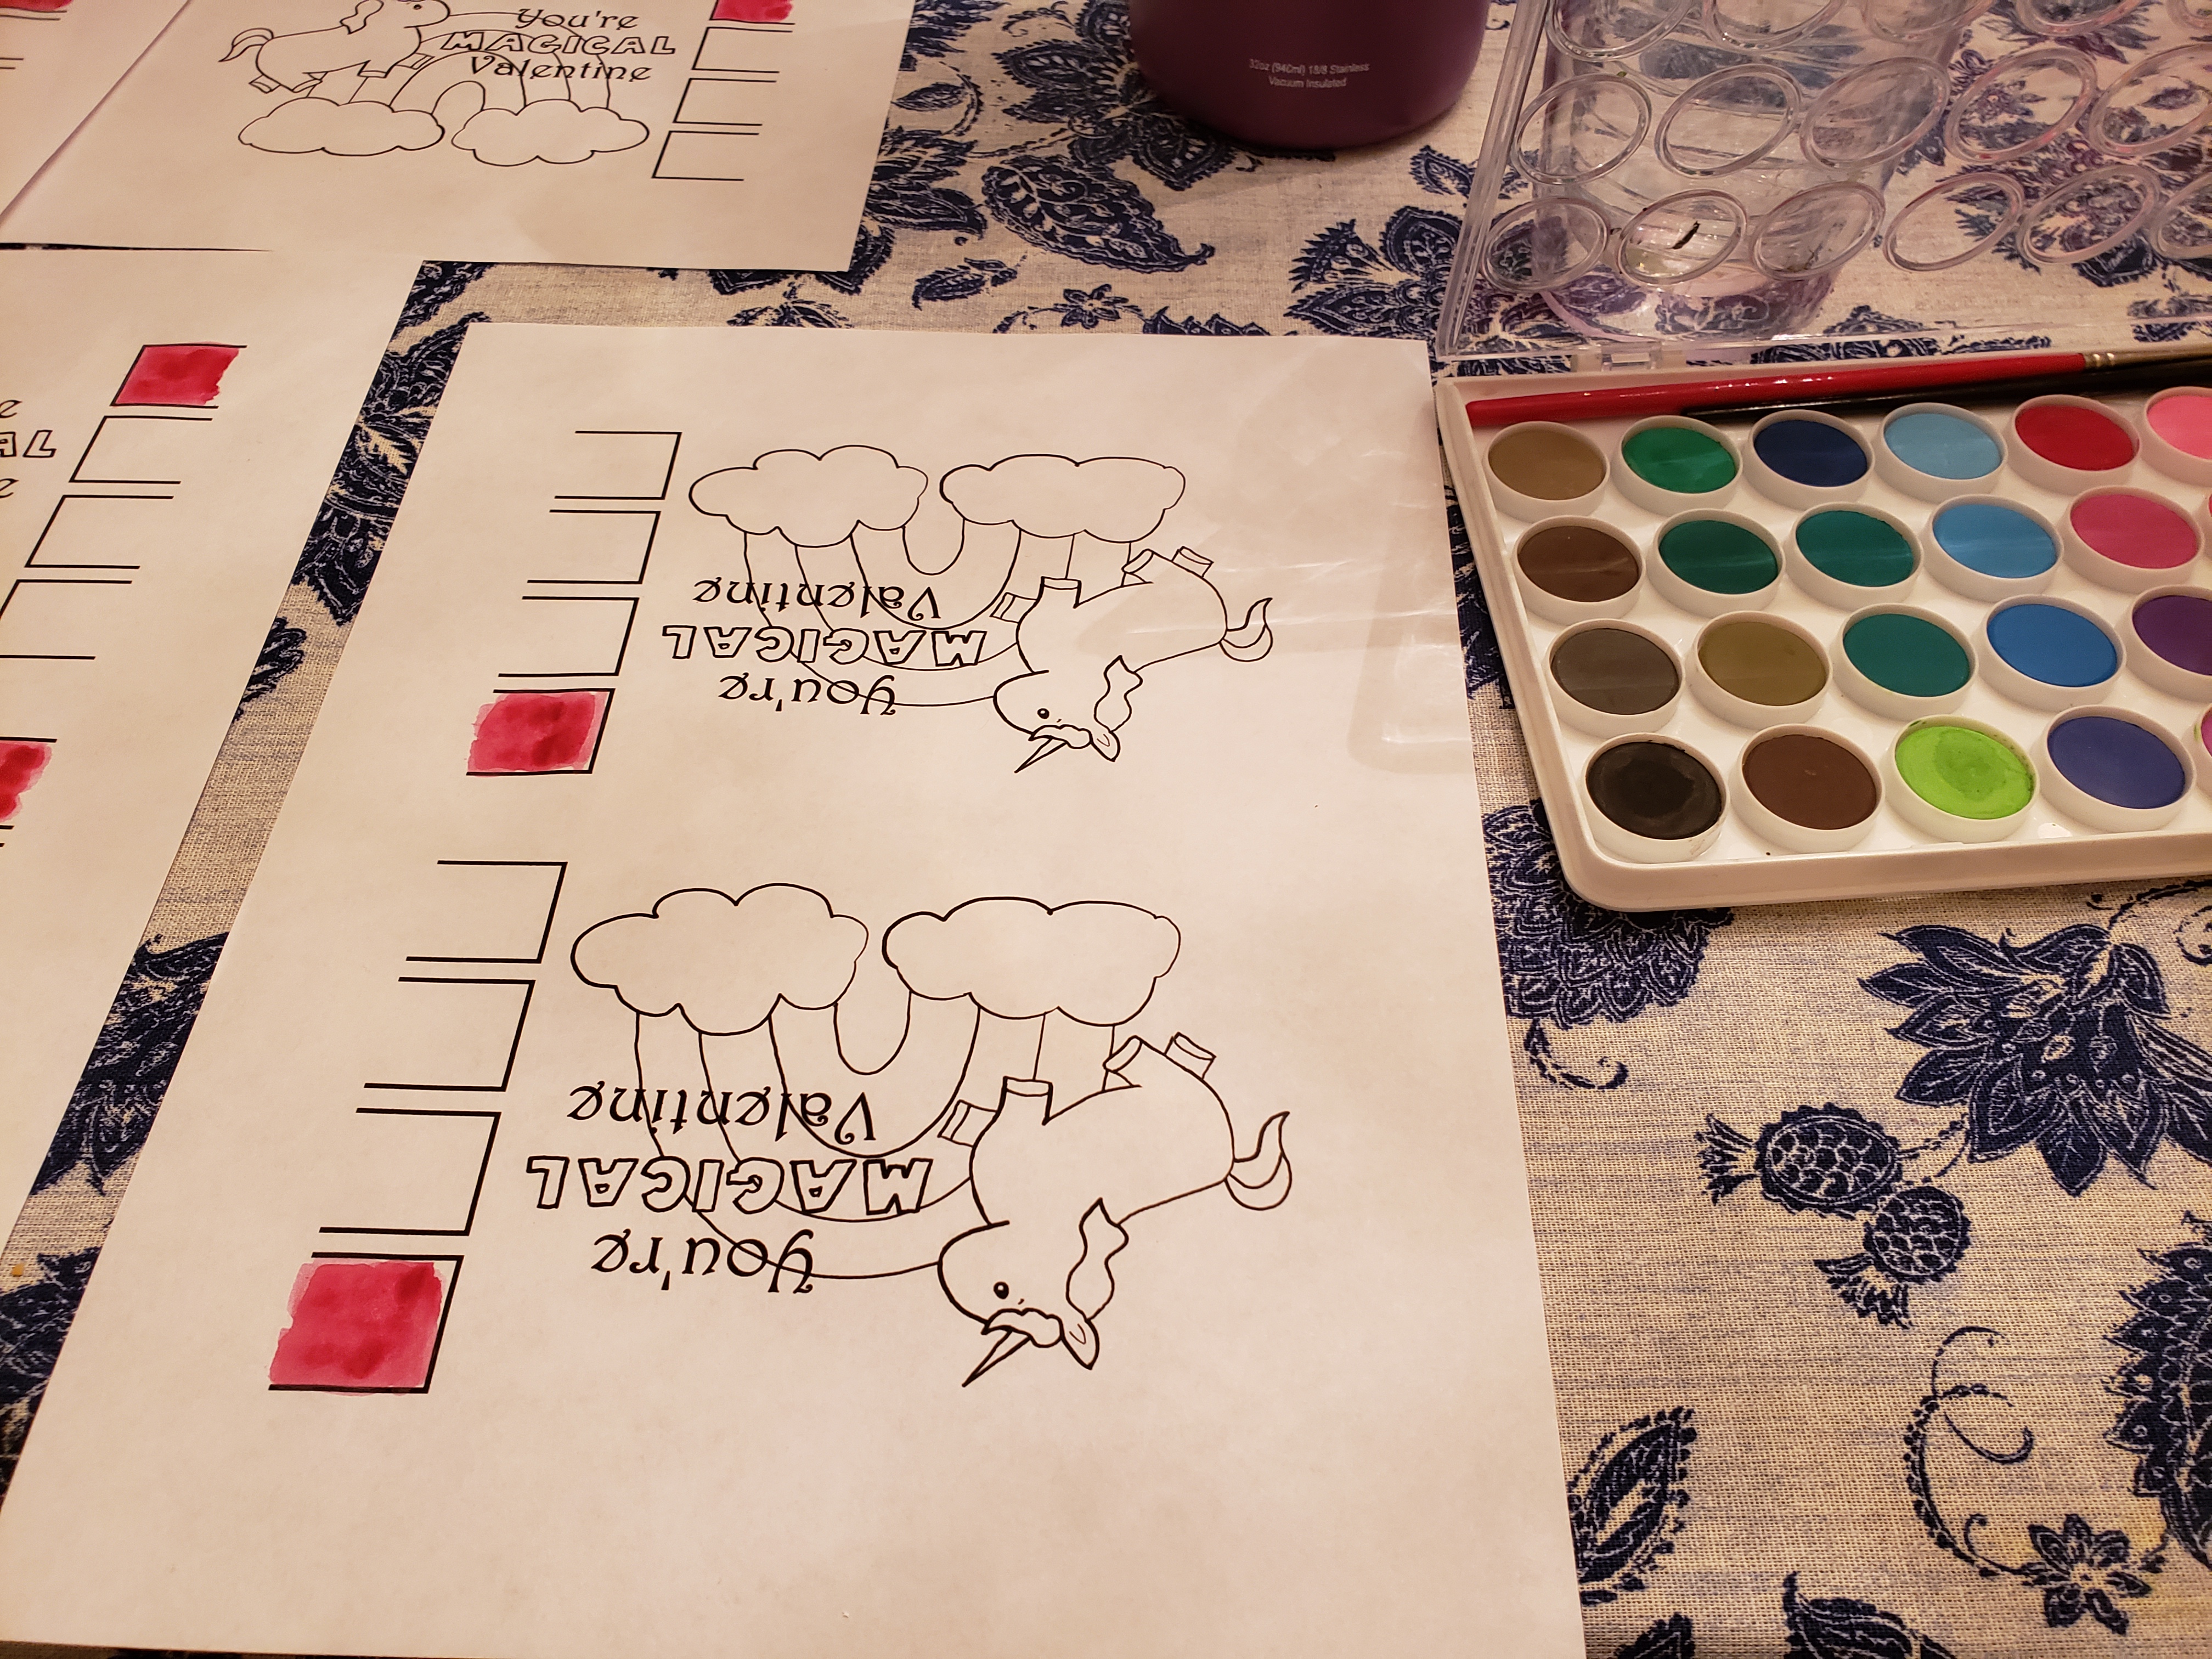
- My valentines template here
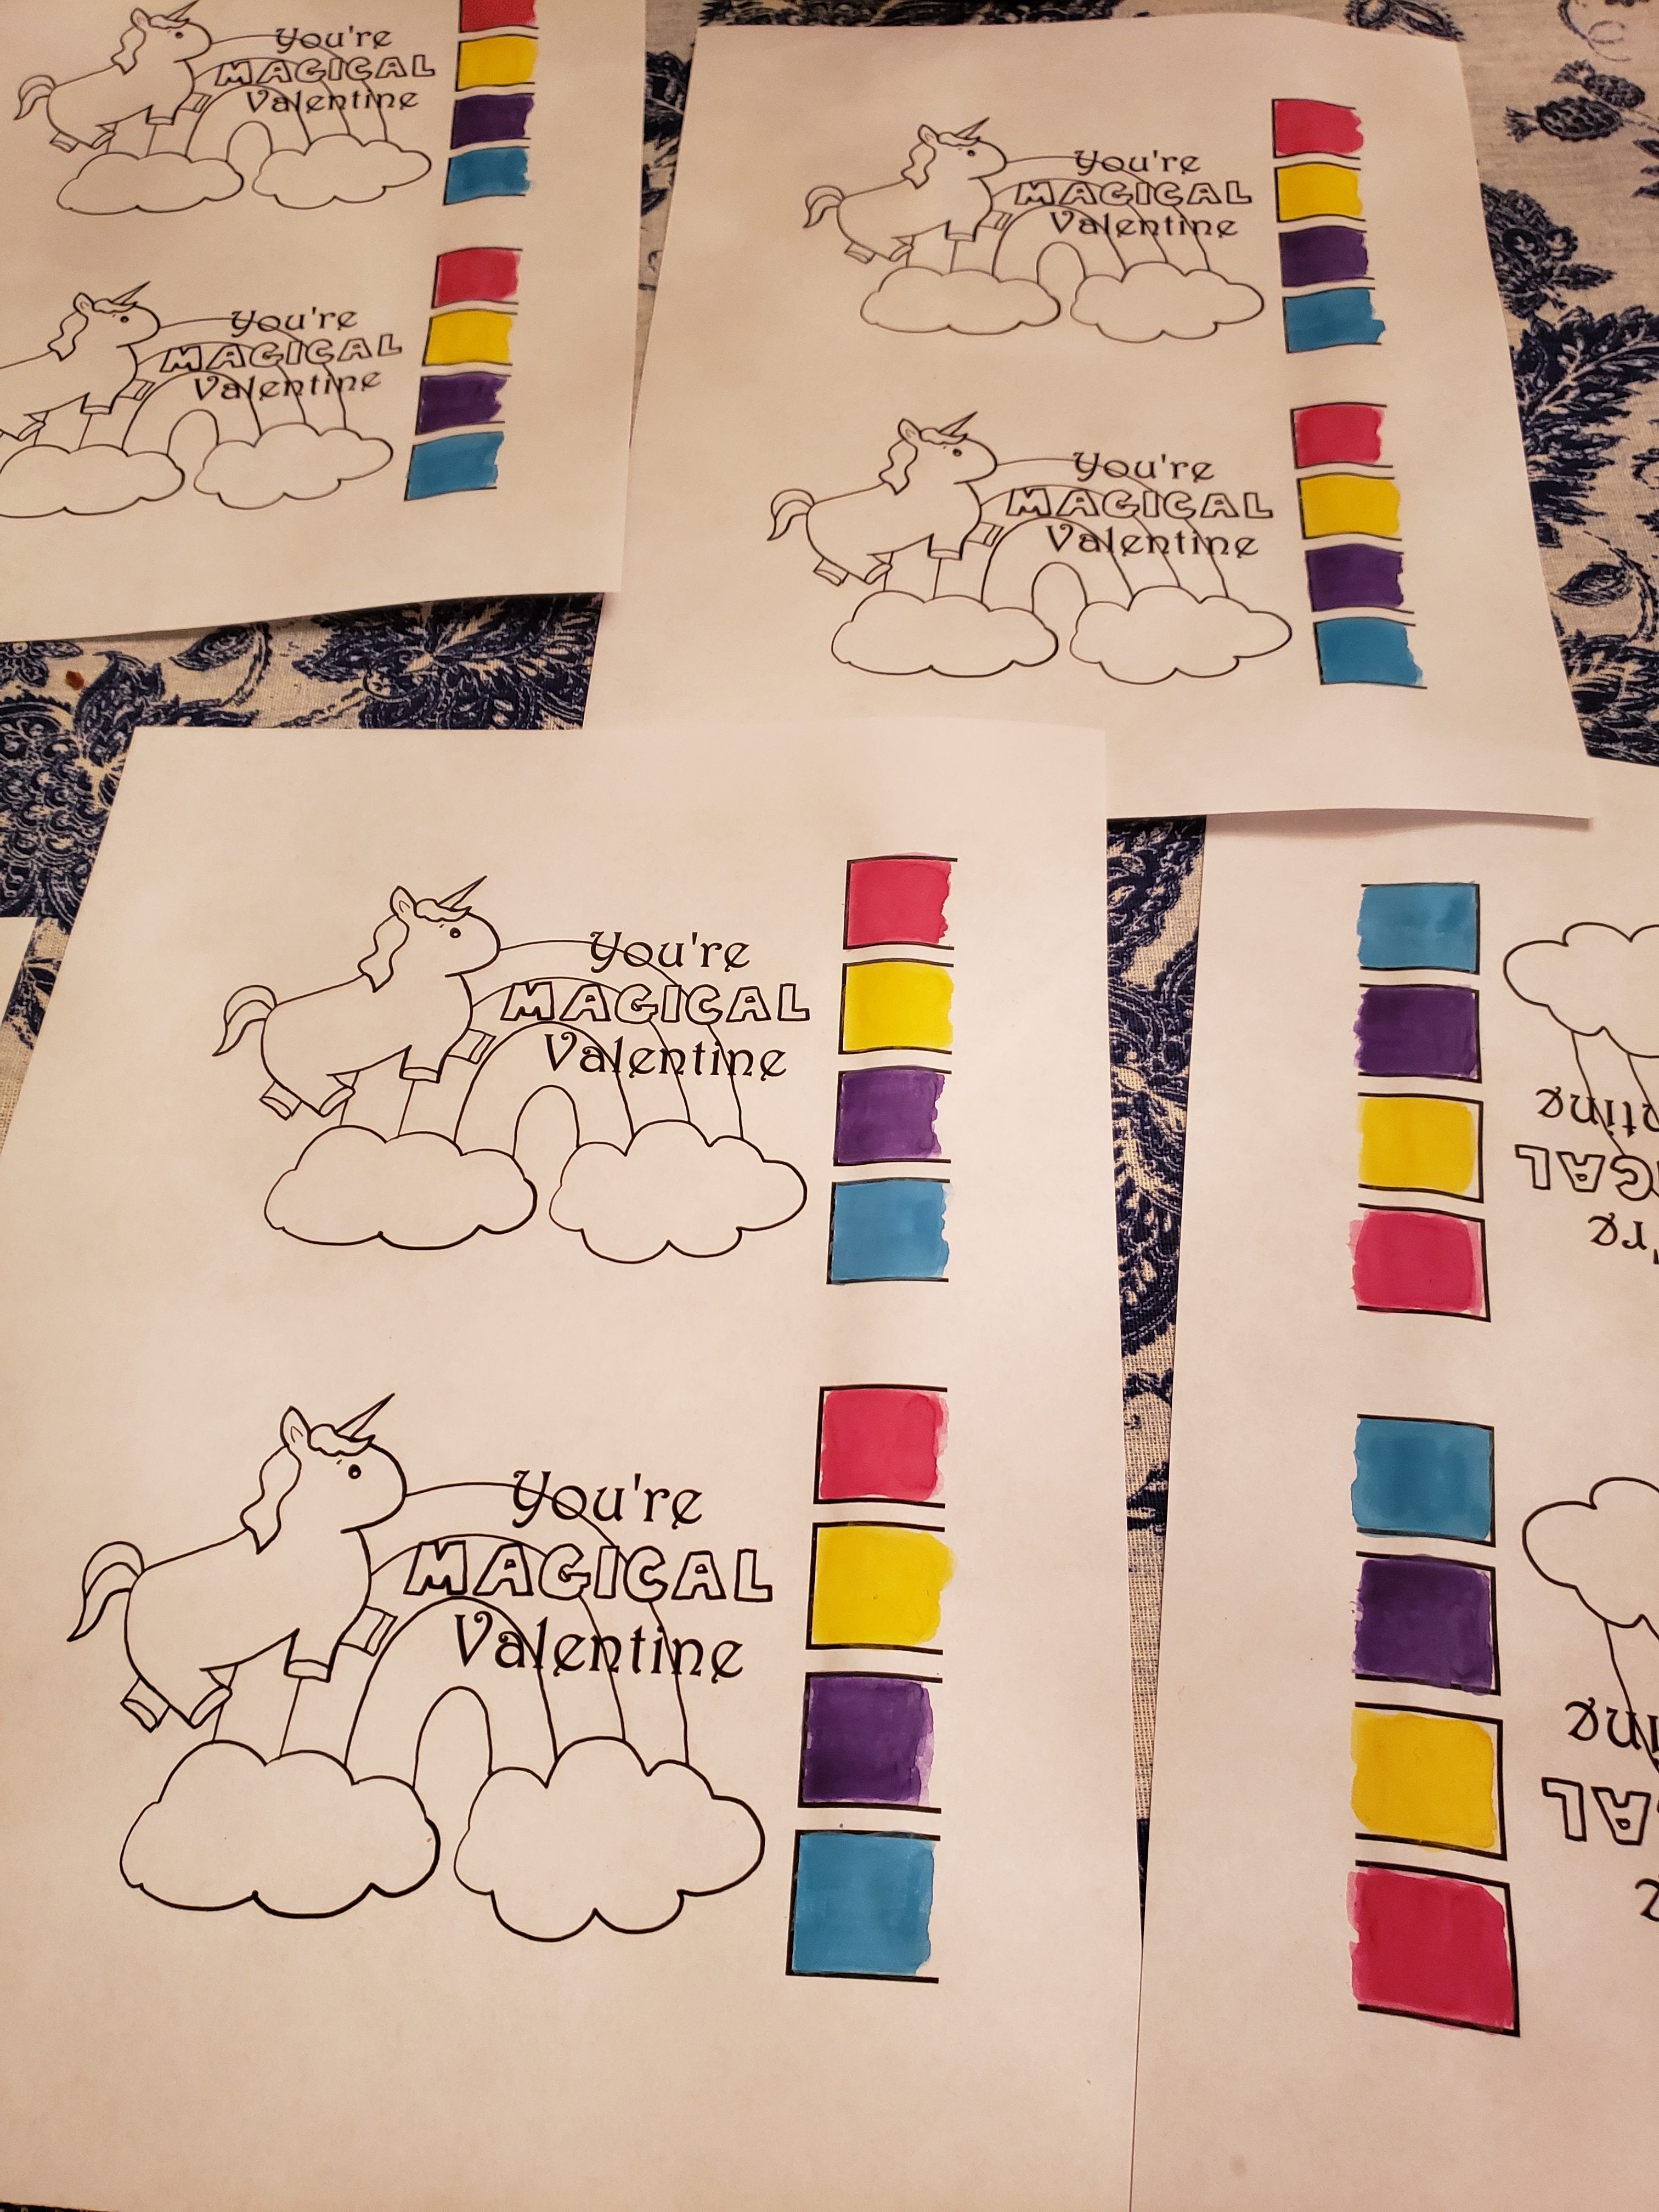
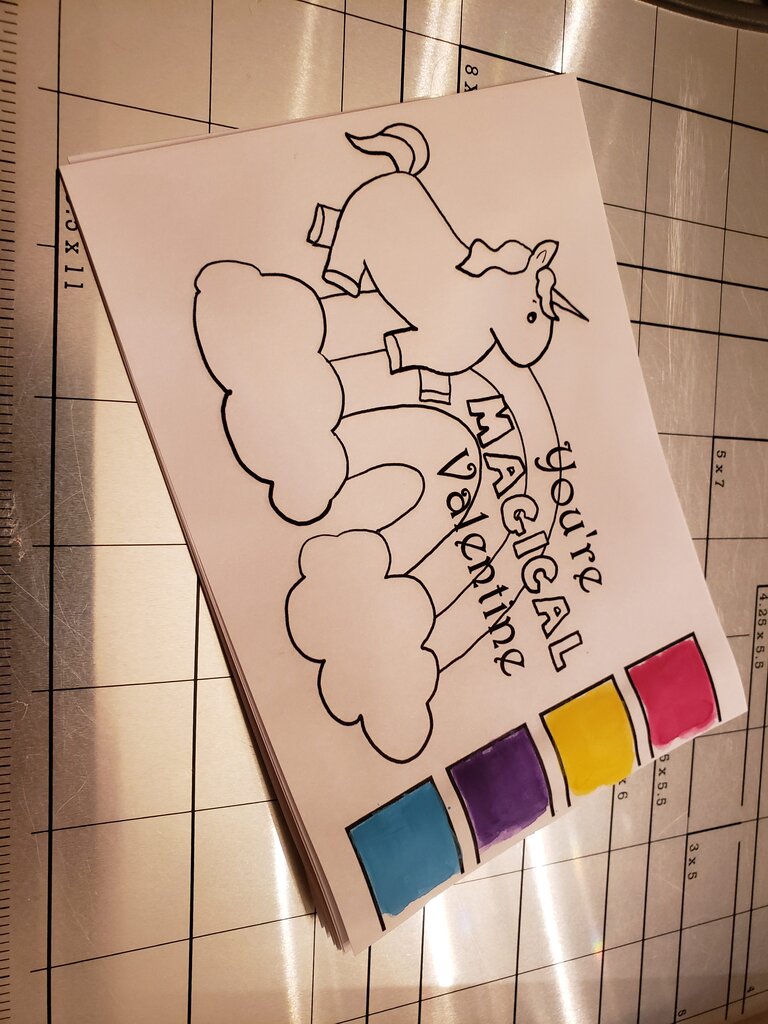
- Print out the Valentines I drew above (2 per page) or draw your own, and print them, leaving space on the side for your to add paints.
- Paint a thick layer of water color paint in the first box of each Valentine. Let dry (for me it was dry by the time I got back to the first one.
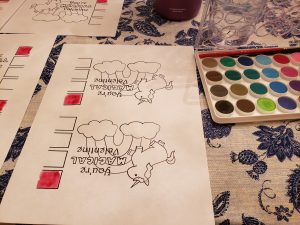
- Continue to layer on paint as in step 2. I found 5 coats worked great.
- Repeat steps 2 and 3 for the other 3 boxes of colors.

- Using paper cutter or scissors, cut Valentine down to size (4″x6″)
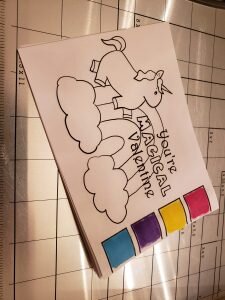
- Have child sign the bottom of the card if desired.
- Insert Valentine and paint brush into envelope.
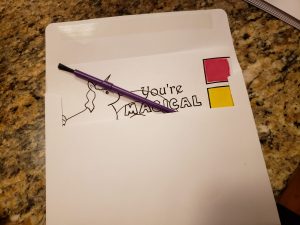

To use the card the child can simply dip the paintbrush in water and wet the water color square to paint. I like self contained water color paint pages like these because toddlers tend to instantly corrupt the entire box of watercolors by mixing them all together. (No matter how hard you try to stop them.)
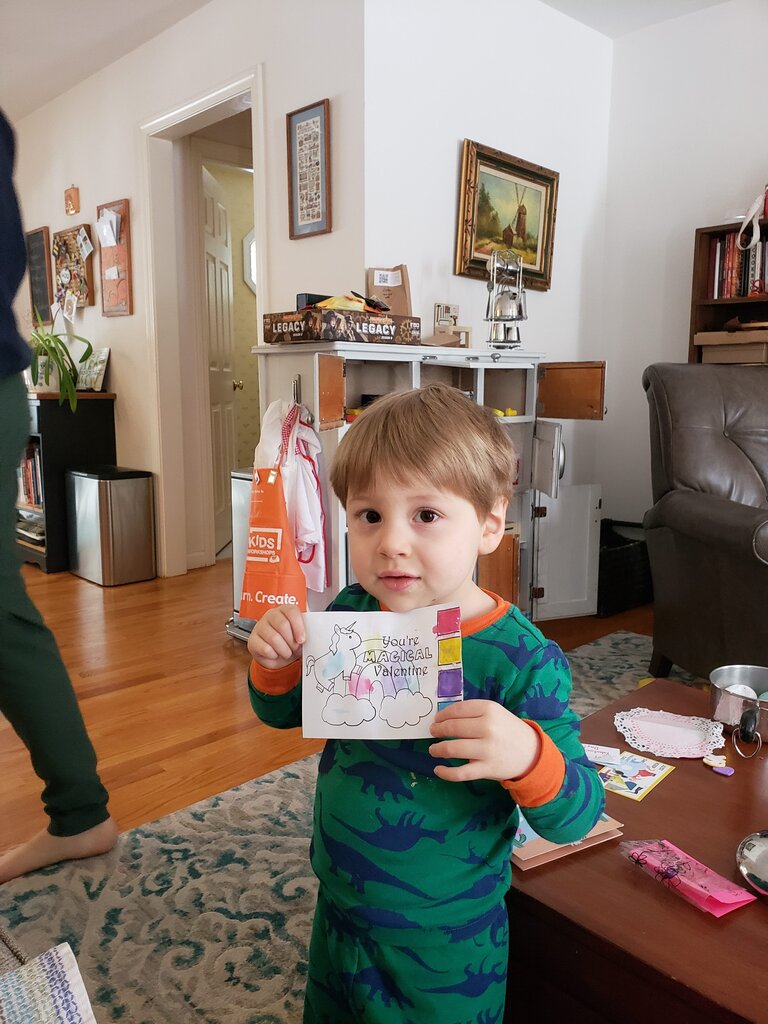
Julius’ masterpiece!
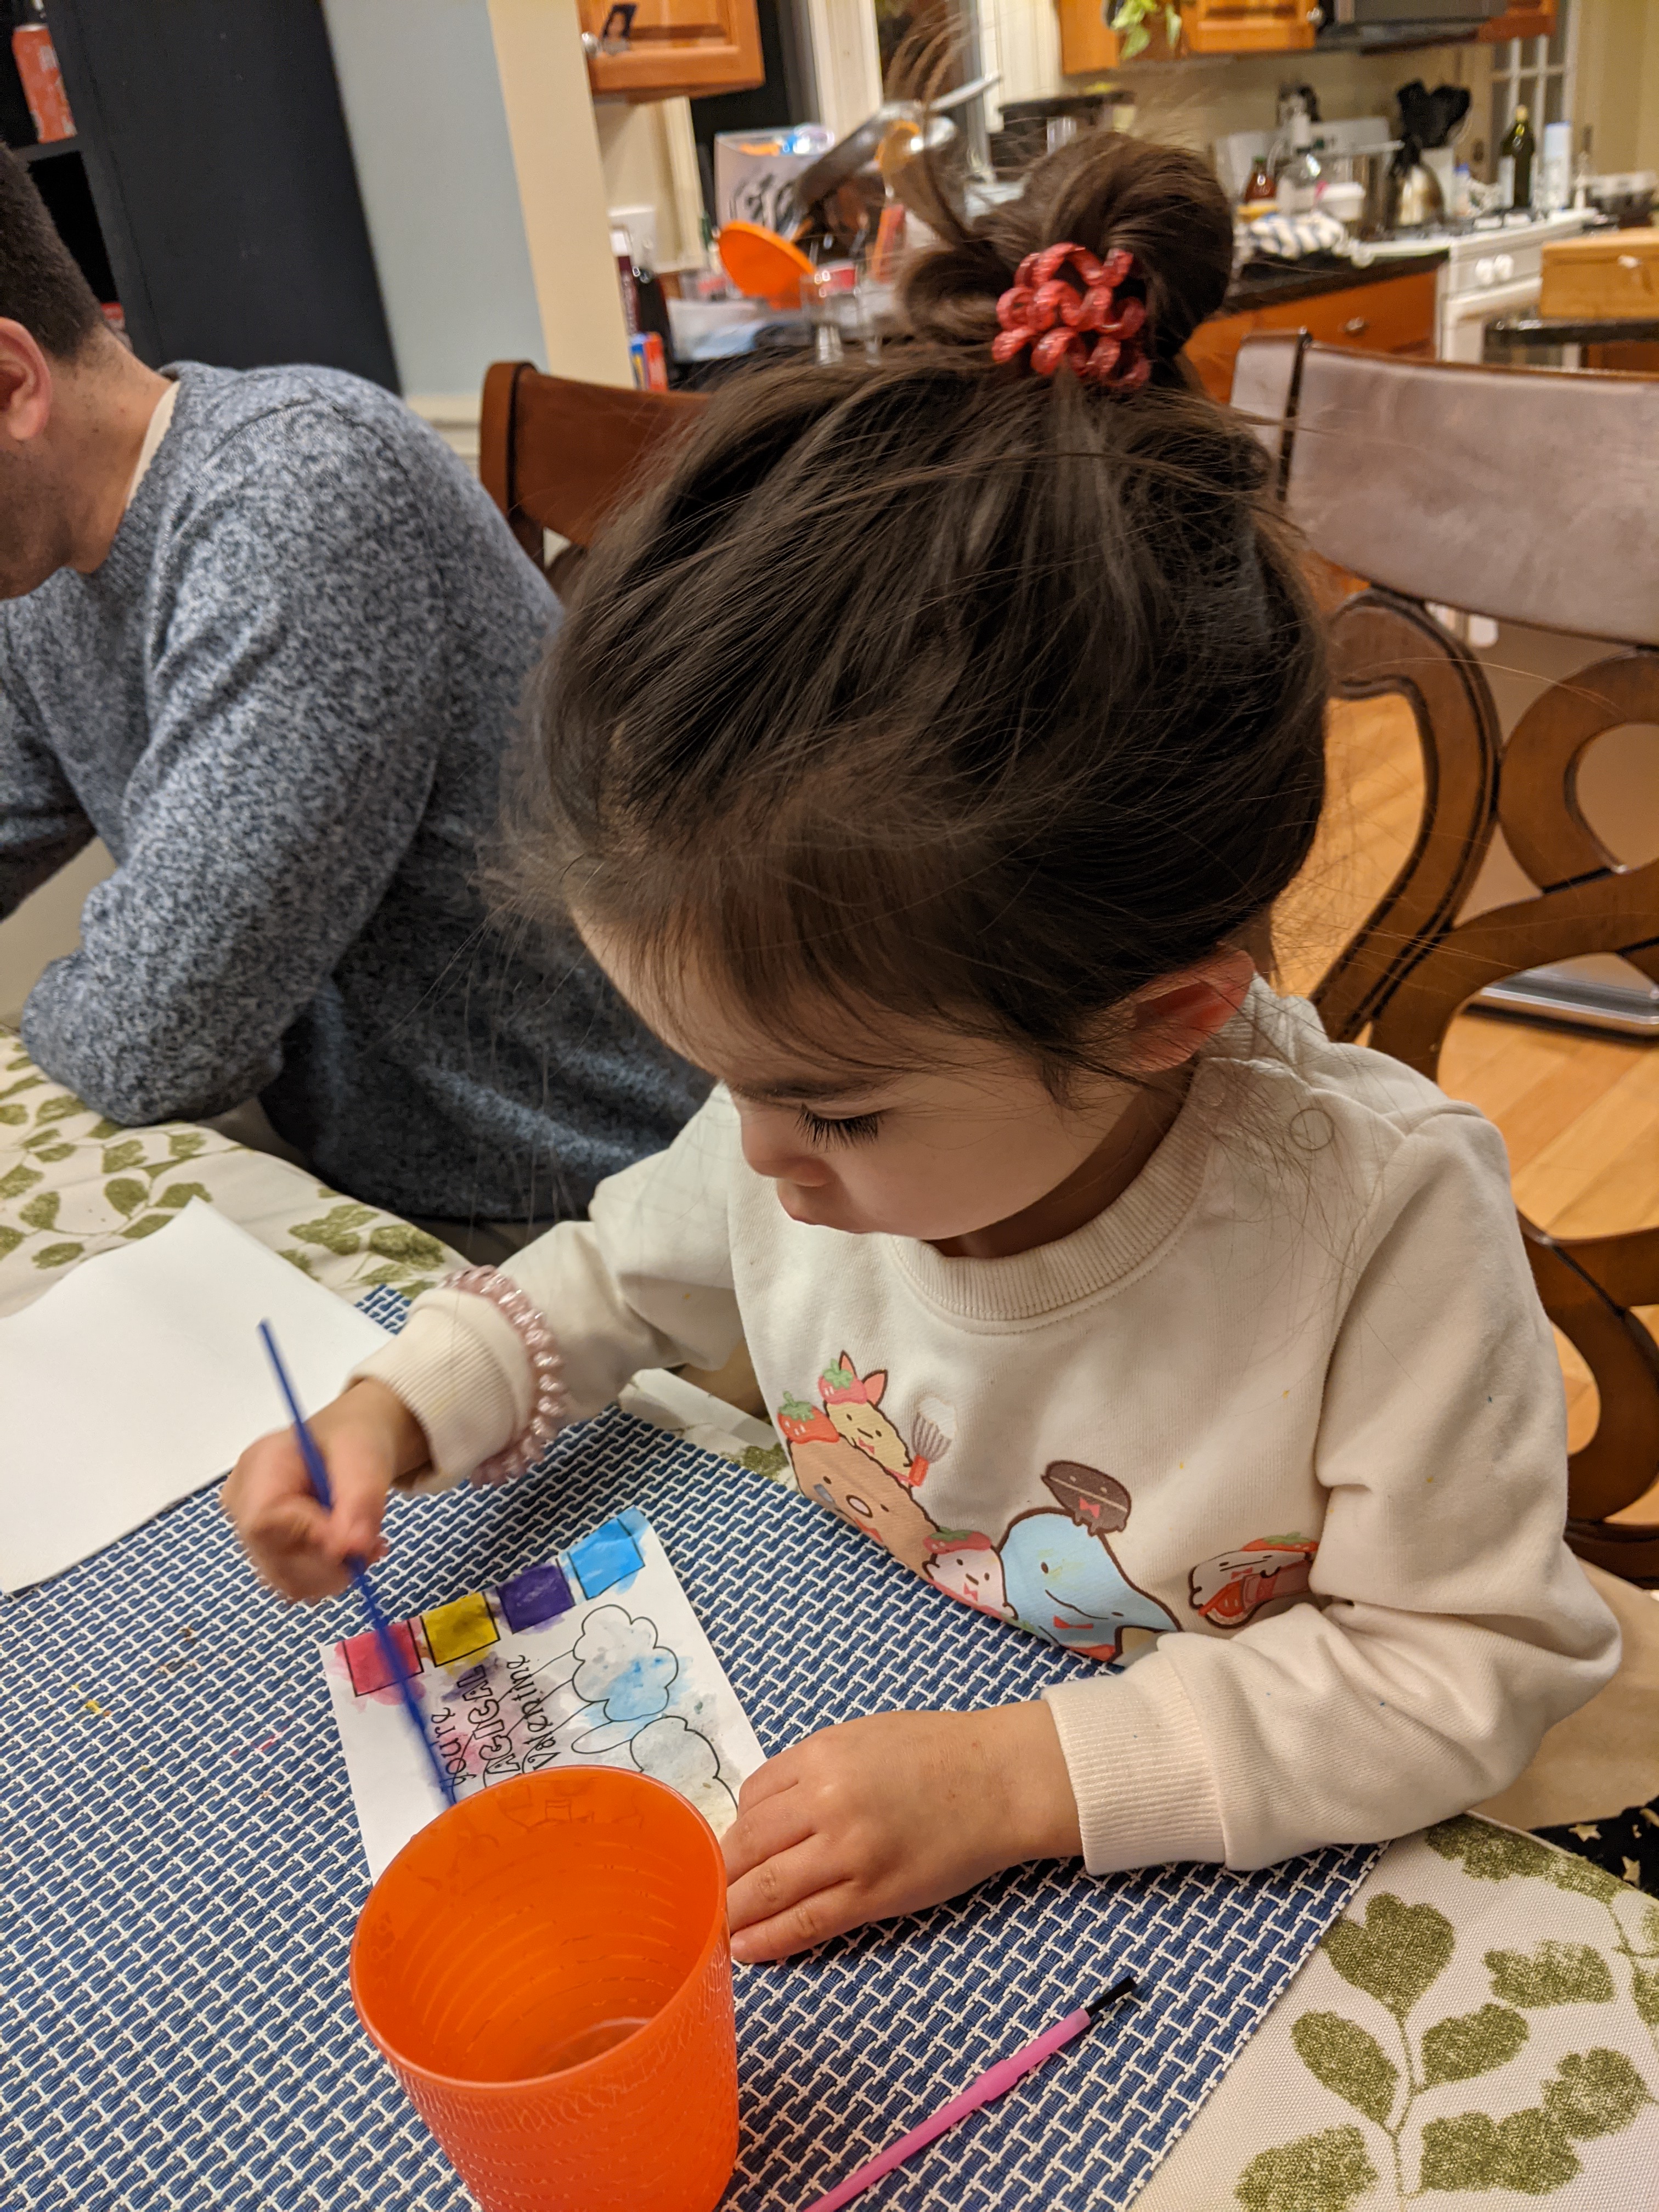
Victoria is showing off her painting skills!
