
Mandy, Amy and I went to our first ever yoga and meditation retreat this weekend. It was great fun and wholly refreshing. I can’t wait to do another one! This was also the first weekend I’ve spent away from Julius. It seems Will and Julius got along fine without me (or as Will says “survived”), though Will mentioned it was very tiring. Will sadly didn’t send me any pictures of Julius (he admitted that at one point he planned to take some pictures, but was embarrassed to send them when he realized Julius was still in his pjs and it was late afternoon). At one point Mandy caught me back in our room watching videos I’d recorded of the little guy.
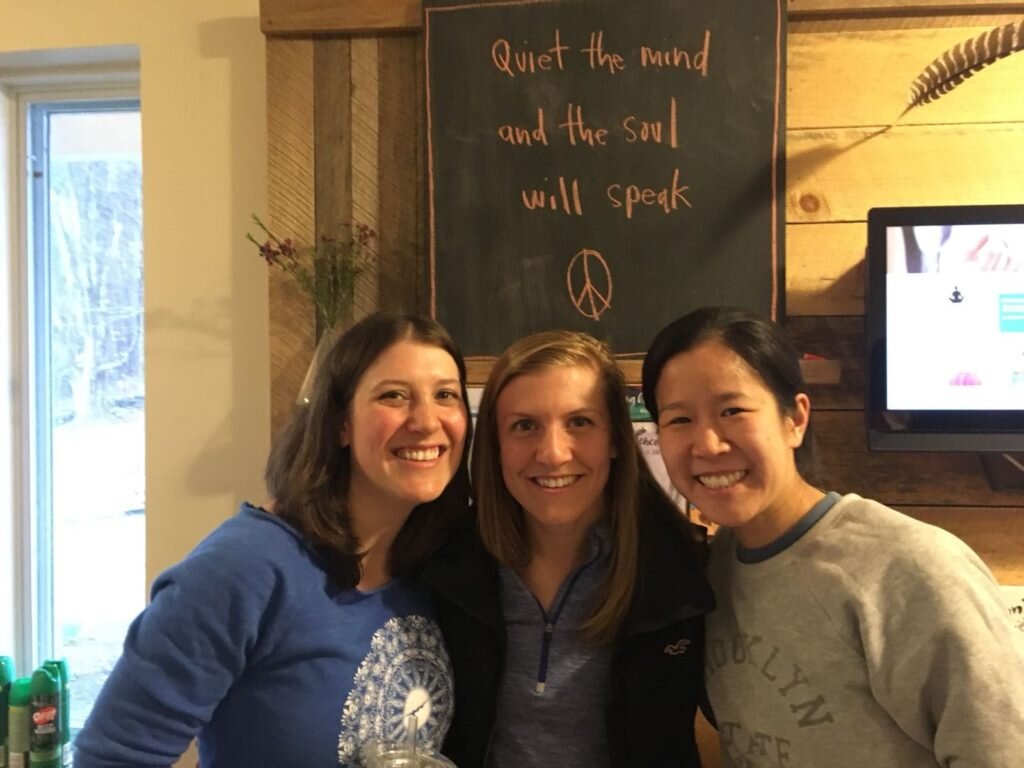
Yoga retreat
Did I mention that tomorrow is my first day back at work? Scary, right?! I can’t believe it’s already been nearly 6 months since Julius was born. For the last couple months I have been communicating with our daycare director on ways to ease Julius’ transition to daycare. Last Tuesday and Wednesday we agreed I’d bring him in for a bit to get to know the teachers and his new friends. I guess I somehow hadn’t wrapped my head around the idea of dropping him off, so when I asked how long I should stay and she mentioned that leaving him for a couple hours would be good, I was slightly thrown off. (Though not disappointed since I had plenty of things I could get done at home.) Before leaving I glanced through the glass door into the infant room and saw how he was smiling and playing with some toys, and remarked to the director, “he looks so happy”! A millisecond later I burst out crying.
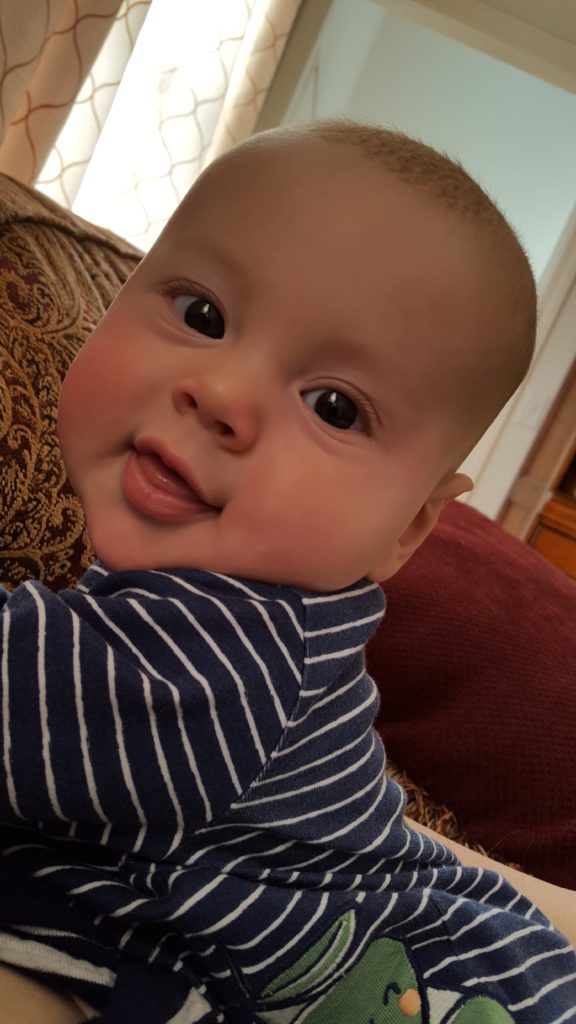
How could you not miss this face?!
I didn’t think I’d be the type of mom to produce waterworks on my son’s first day at daycare. I told the teachers just that while I stood there blubbering and apologizing as the director searched for tissues. Their response was simply “they all cry”. So those of you with children not yet in daycare – you’ve been warned!
Luckily it was just a one day waterworks session and I haven’t cried the next two times I dropped him off. And more importantly Julius has been getting along just fine at daycare and he looks very happy and smiley every time I drop him off or pick him up!
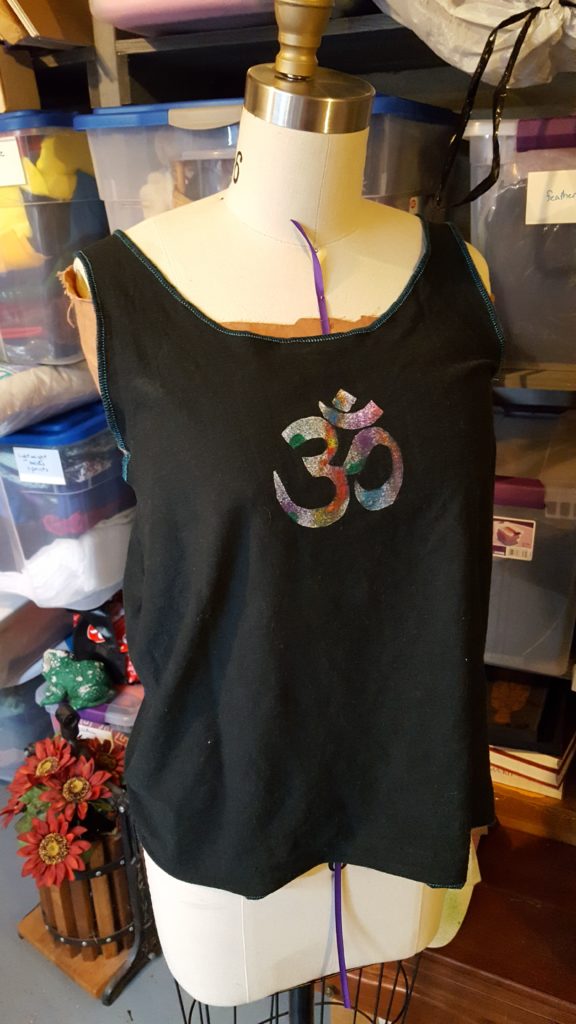
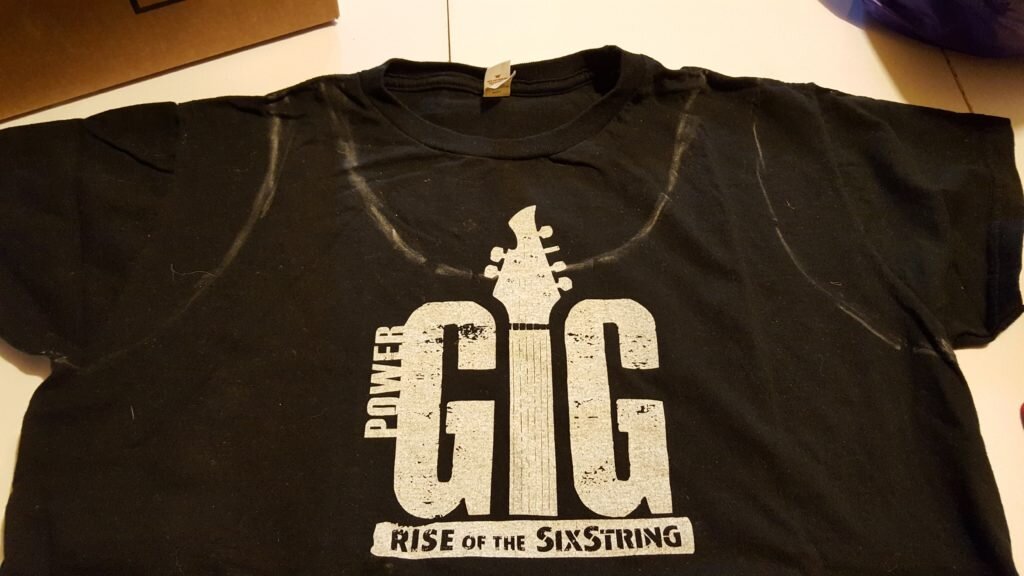
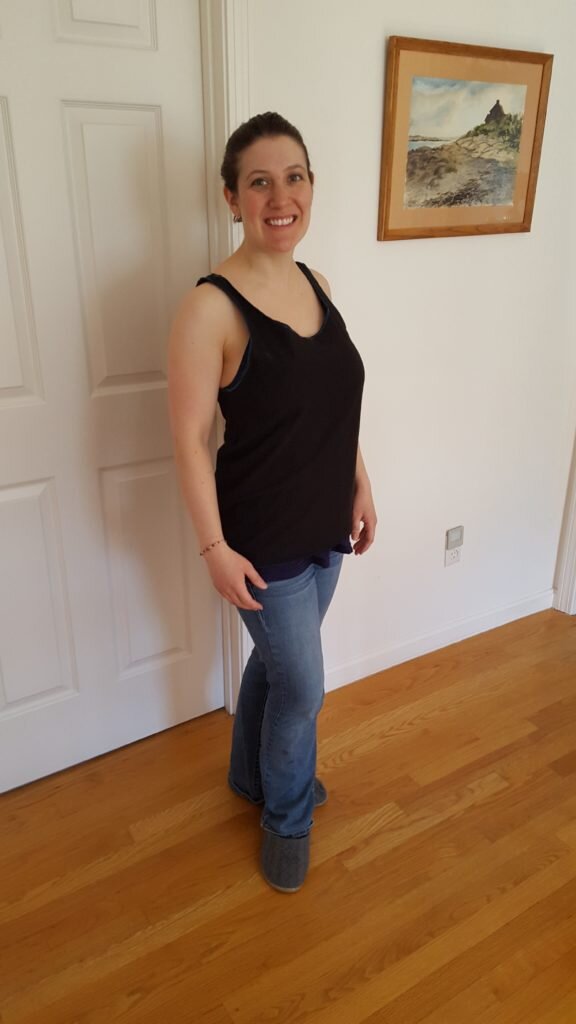
During one of the 2 hour sessions I left Julius at daycare last week I whipped up something I’ve wanted to try for a while – a t-shirt turned work out shirt. Do you have 1000 free t-shirts from high school or college that you really don’t need anymore? (My mom recently cleaned out all the remaining junk from our rooms and forced us to take our keepsakes, so I now have an embarrassing number of shirts.) This is a great way to turn your t-shirt into something slightly different that is totally gym or yoga appropriate. I wore mine to the retreat Friday.
What you’ll need:
- T-shirt
- tailor’s chalk
- optional fabric paints & contact paper
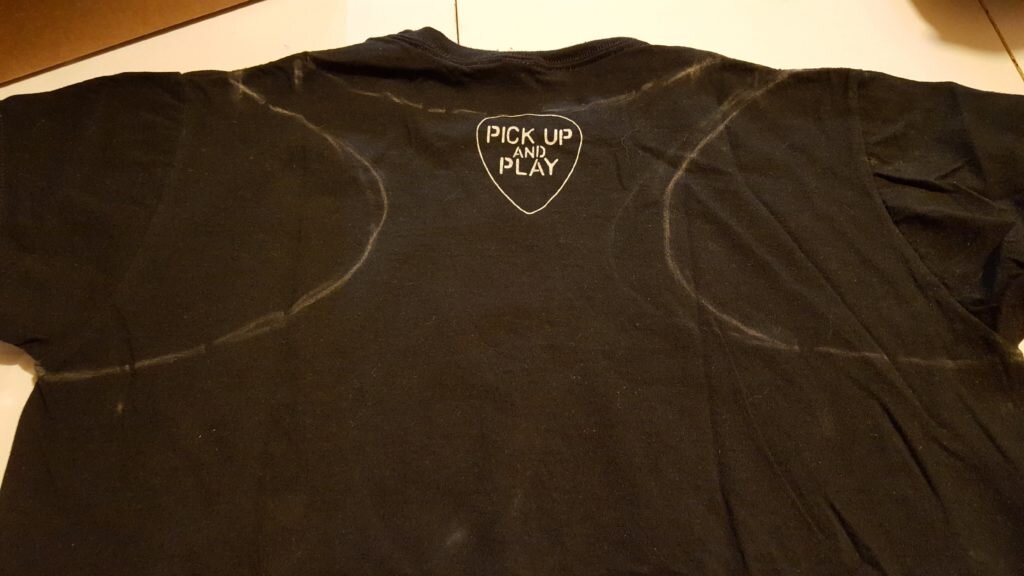
- Lay your tshirt flat on a table and mark 2 inches in from the sleeve shoulder seam and a half inch below the sleeve armpit seam.
- Draw a curve in the shape of the tshirt armscye connecting the shoulder seam to the armpit seam.
- Mark 1.5 inches in from your curves, along the shoulder seams, and 4″ below the neckline at the center of the shirt.
- Draw a u-shaped curve for the neckline connecting the marks you made in step 3.
Mark new armscye and neckline
- Flip shirt over and move your mark at the shoulder and armpit so it shows onto the back of the shirt.
Transfer shoulder strap markings to back side of shirt
- Draw a deep curve connecting the outer mark on the shoulder to the mark below the armpit.
- Mark 2″ below the neckline at the center of the shirt. Connect inner mark on shoulders with center mark to form a shallow neckline in back.
Mark racerback shape.
- Cut along the markings you have made, being careful not to cut through the wrong side of the shirt.
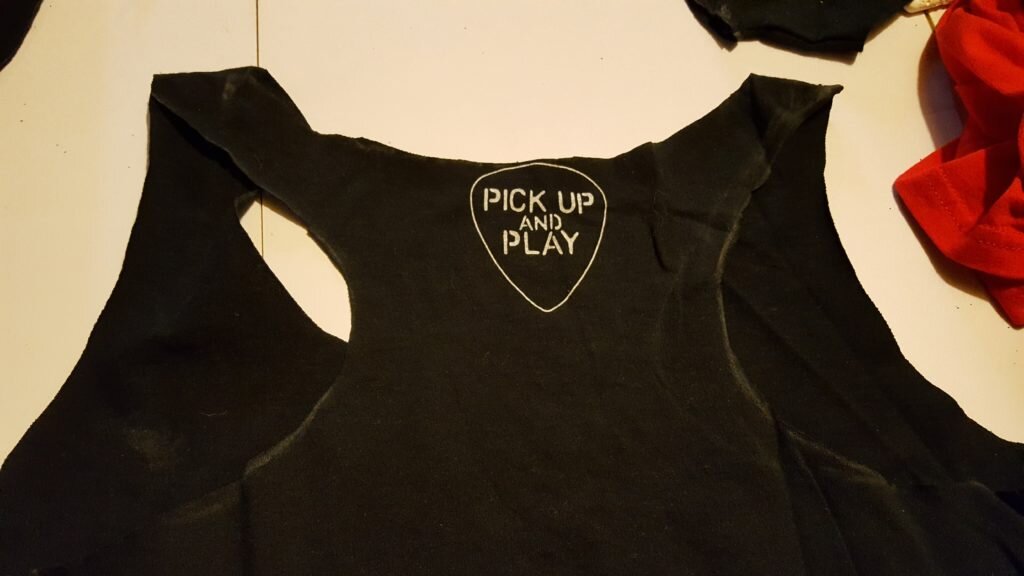
Cut along markings.
- Stitch rip the hem of the shirt, open it up and iron it flat to add some additional length to the tank (this is optional, but I always want more length in my shirts).
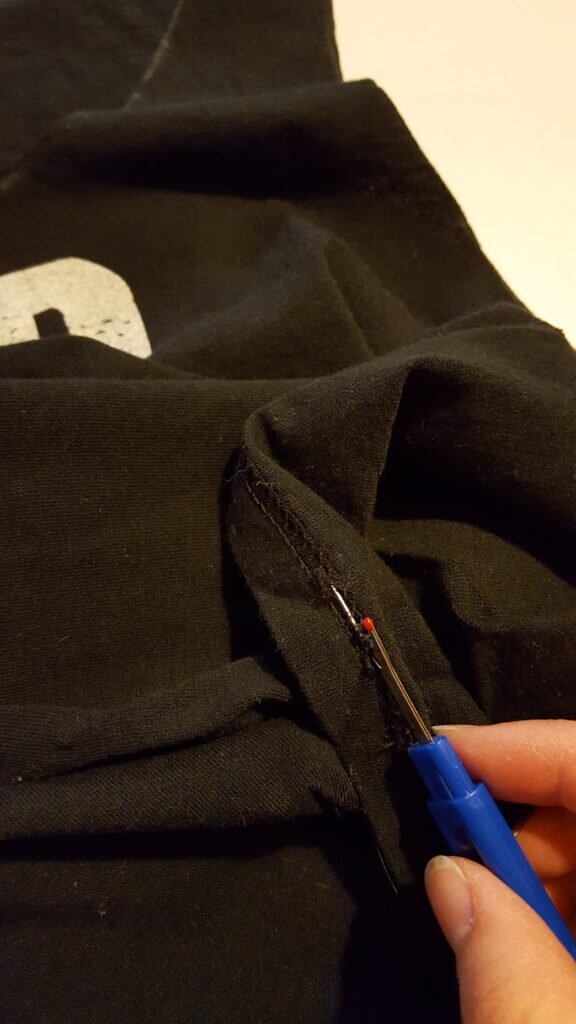
Stitch rip the hem of the shirt
- Serge along all the unfinished edges. (If you don’t have a serger you can use a long zigzag stitch instead).
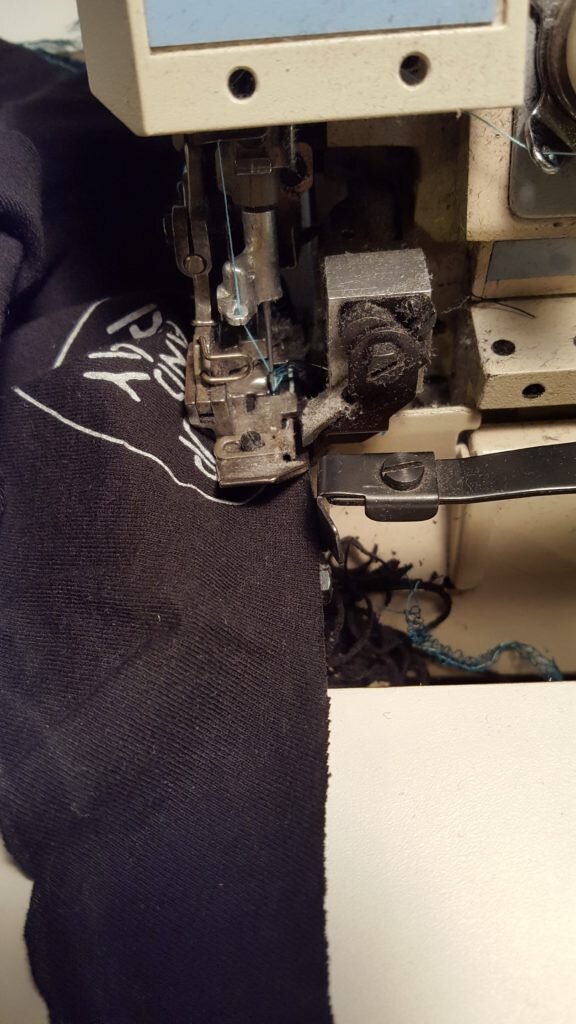
Serge all unfinished edges
- Just below the armpits form a dart 1″ wide and 3″ long. Note, I formed this hem on the “outside” of my t-shirt because I wanted to turn it inside out so I could add my own decoration.
- Serge the dart, or zig zag stitch and cut excess dart material.
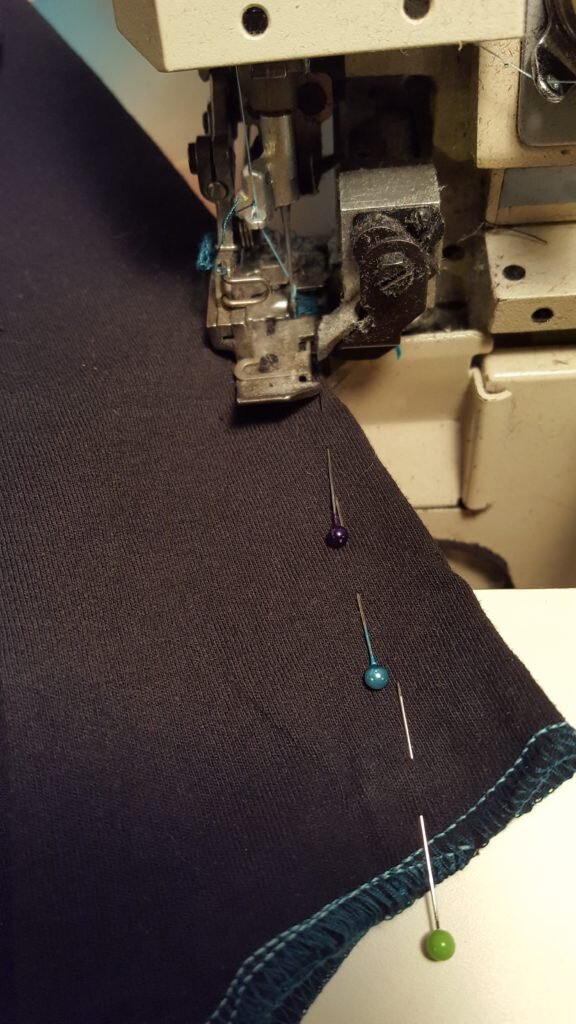
Add dart to sides of shirt
To decorate
- Print symbol of your choice onto paper.
- Tape print out to contact paper.
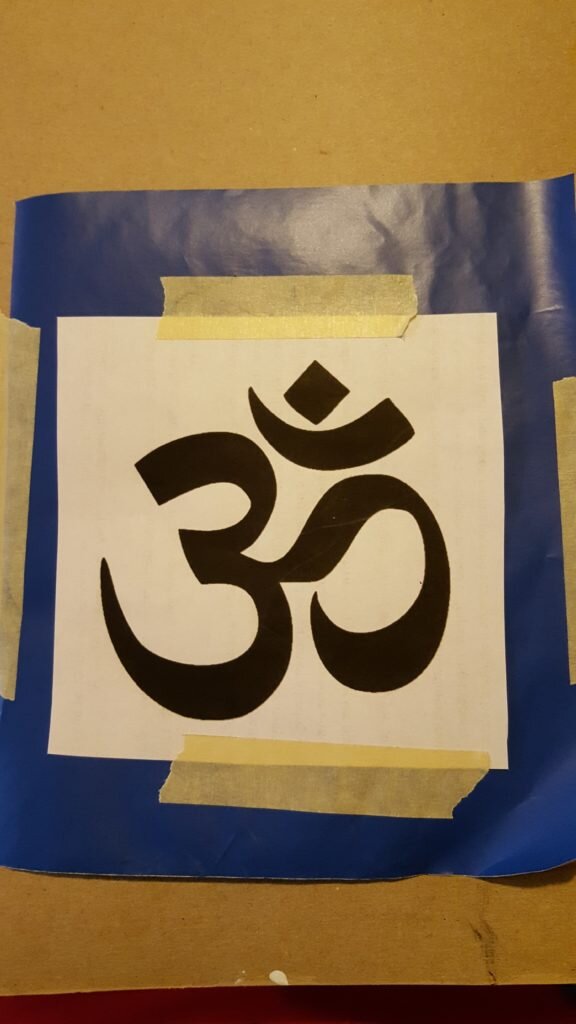
Print symbol and affix to contact paper.
- Using an X-acto knife, cut symbol into contact paper.
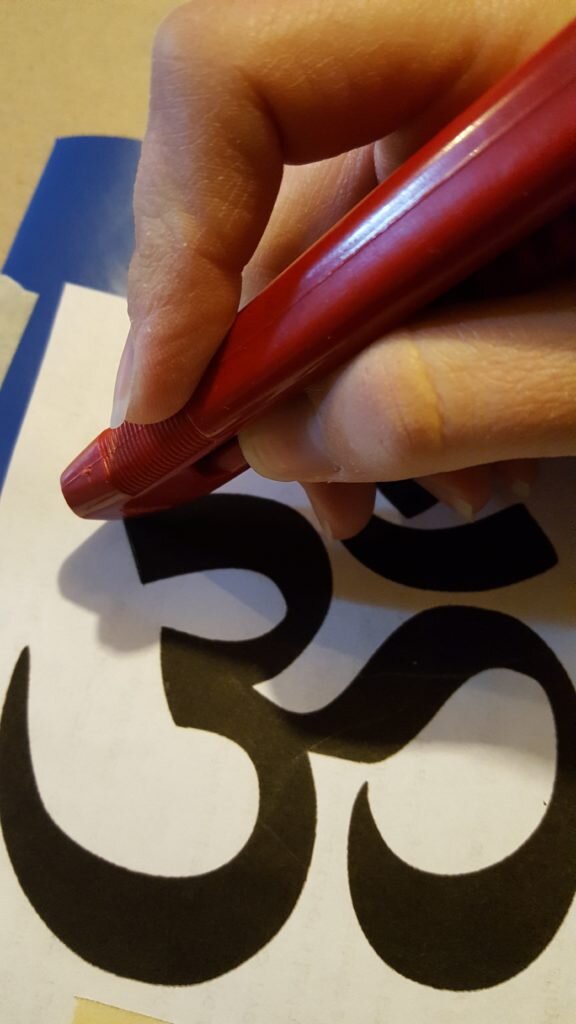
Trace shape with X-acto knife.
- Stick contact paper onto shirt in desired location.
- Fabric paint on top of contact paper stencil. Let dry.
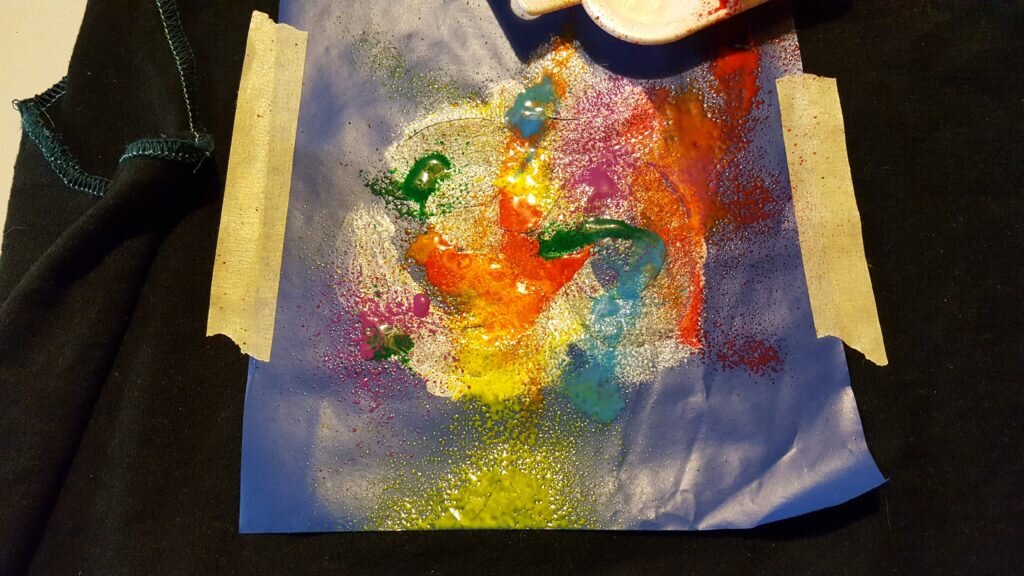
Affix stencil to shirt and paint over it.
- Remove stencil and launder as per package instructions.
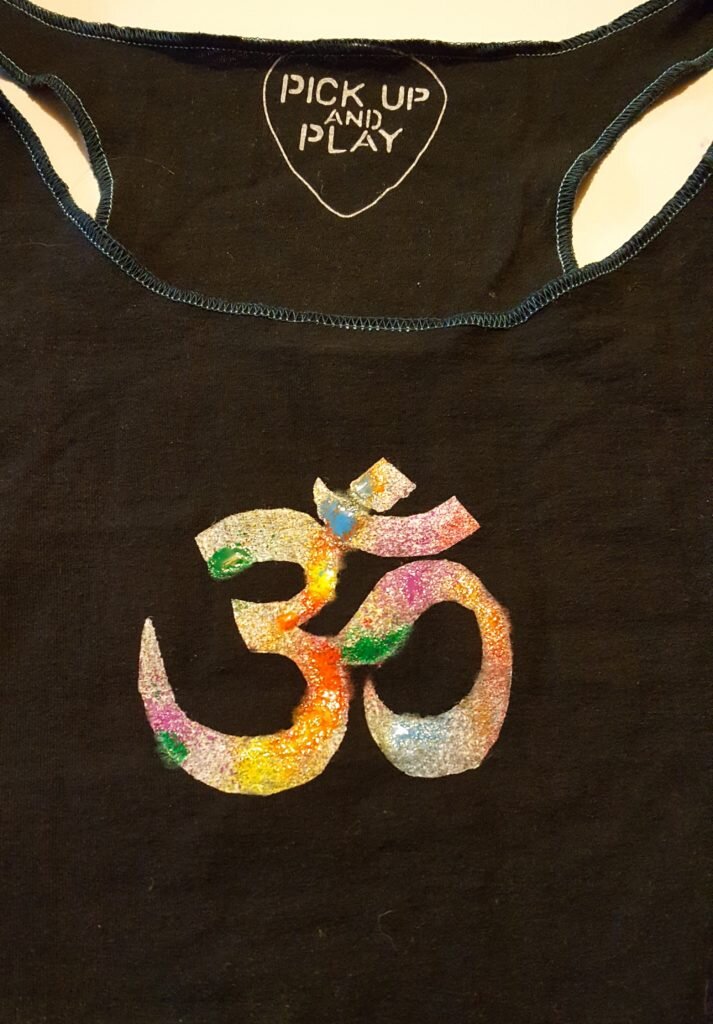
Let dry and remove stencil
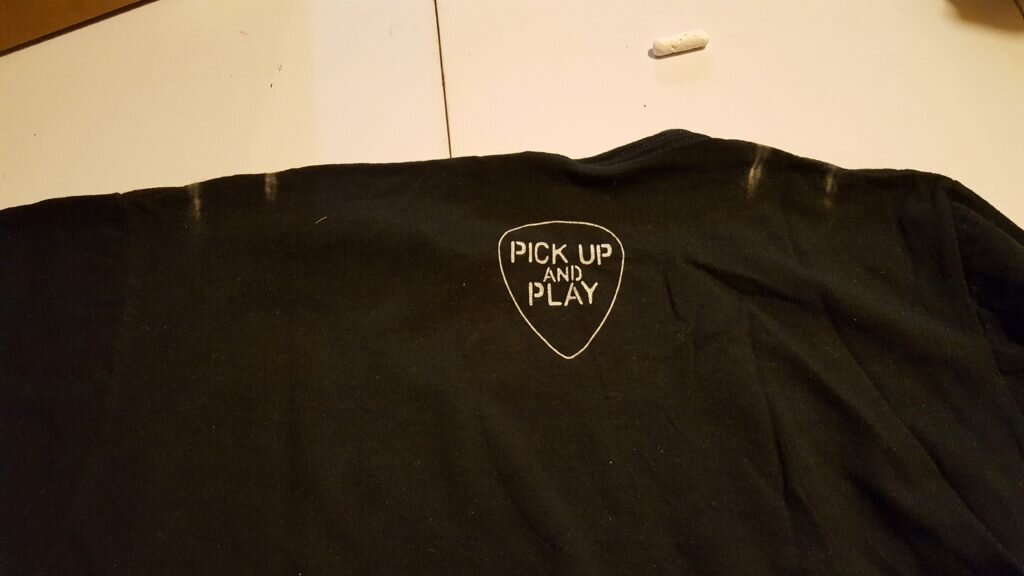
Here’s what it looked like before adding the fabric paint.
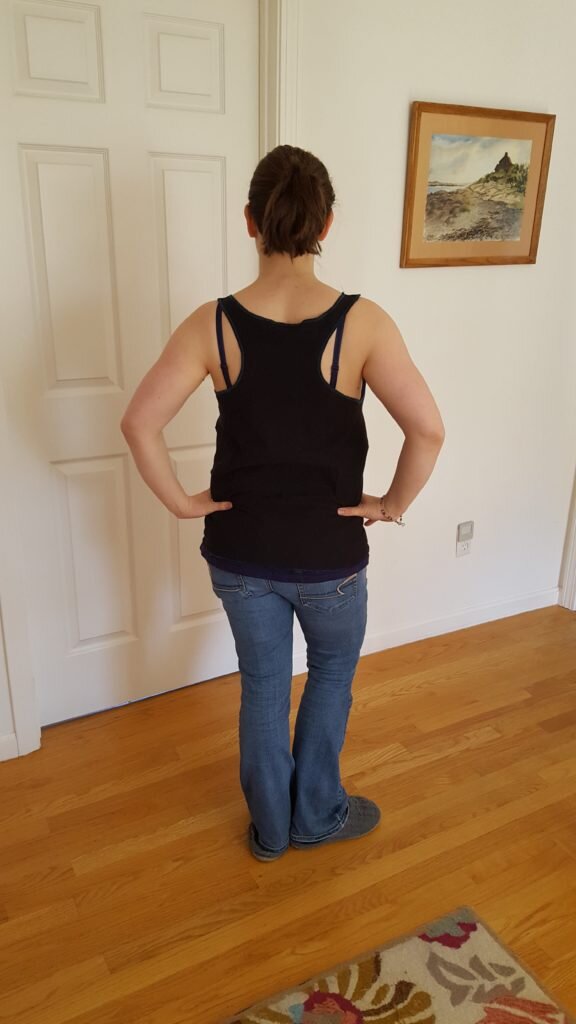
Back of shirt
