
After tea party week I sort of fell off the themed week bandwagon. Last week we read some books from the library about MLK jr, did a dinosaur dig and a melting snowman STEM activity, and even I can’t pretend to cobble those together into a theme. So a grand total of 2 weeks of themed mama daycare, learning about the important subjects of coconuts and tea parties. Today we played with blocks and Julius destroyed his creations, which Patricia thought was HILARIOUS. She laughed a bunch of times and it is the hardest I have heard her laugh yet! I’m glad someone is enjoying chaos unplanned activity week.
Let me go back to tea party week. Tea party week was themed to the MAX. We made tea paintings using different types of tea.
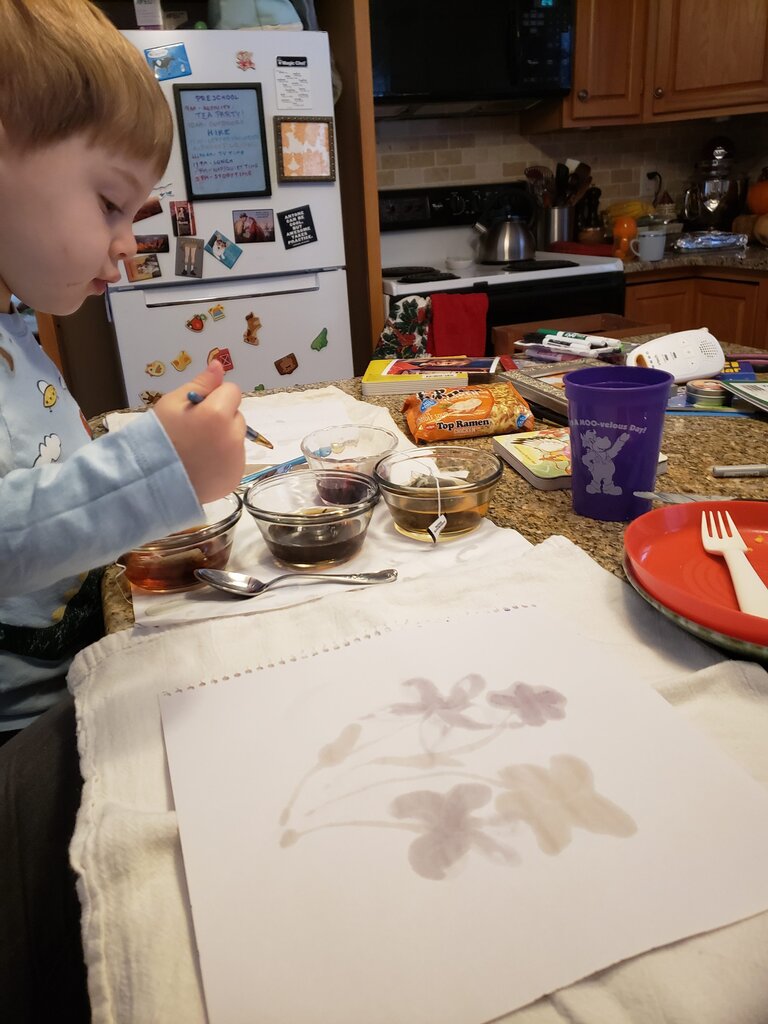
Julius trying out the different types of tea to see if they make different colors on the page.
Used our senses to see, smell and taste different teas. (Julius correctly determined that the peach black tea smelled like peach, but all the other teas he determined smelled like grass…)
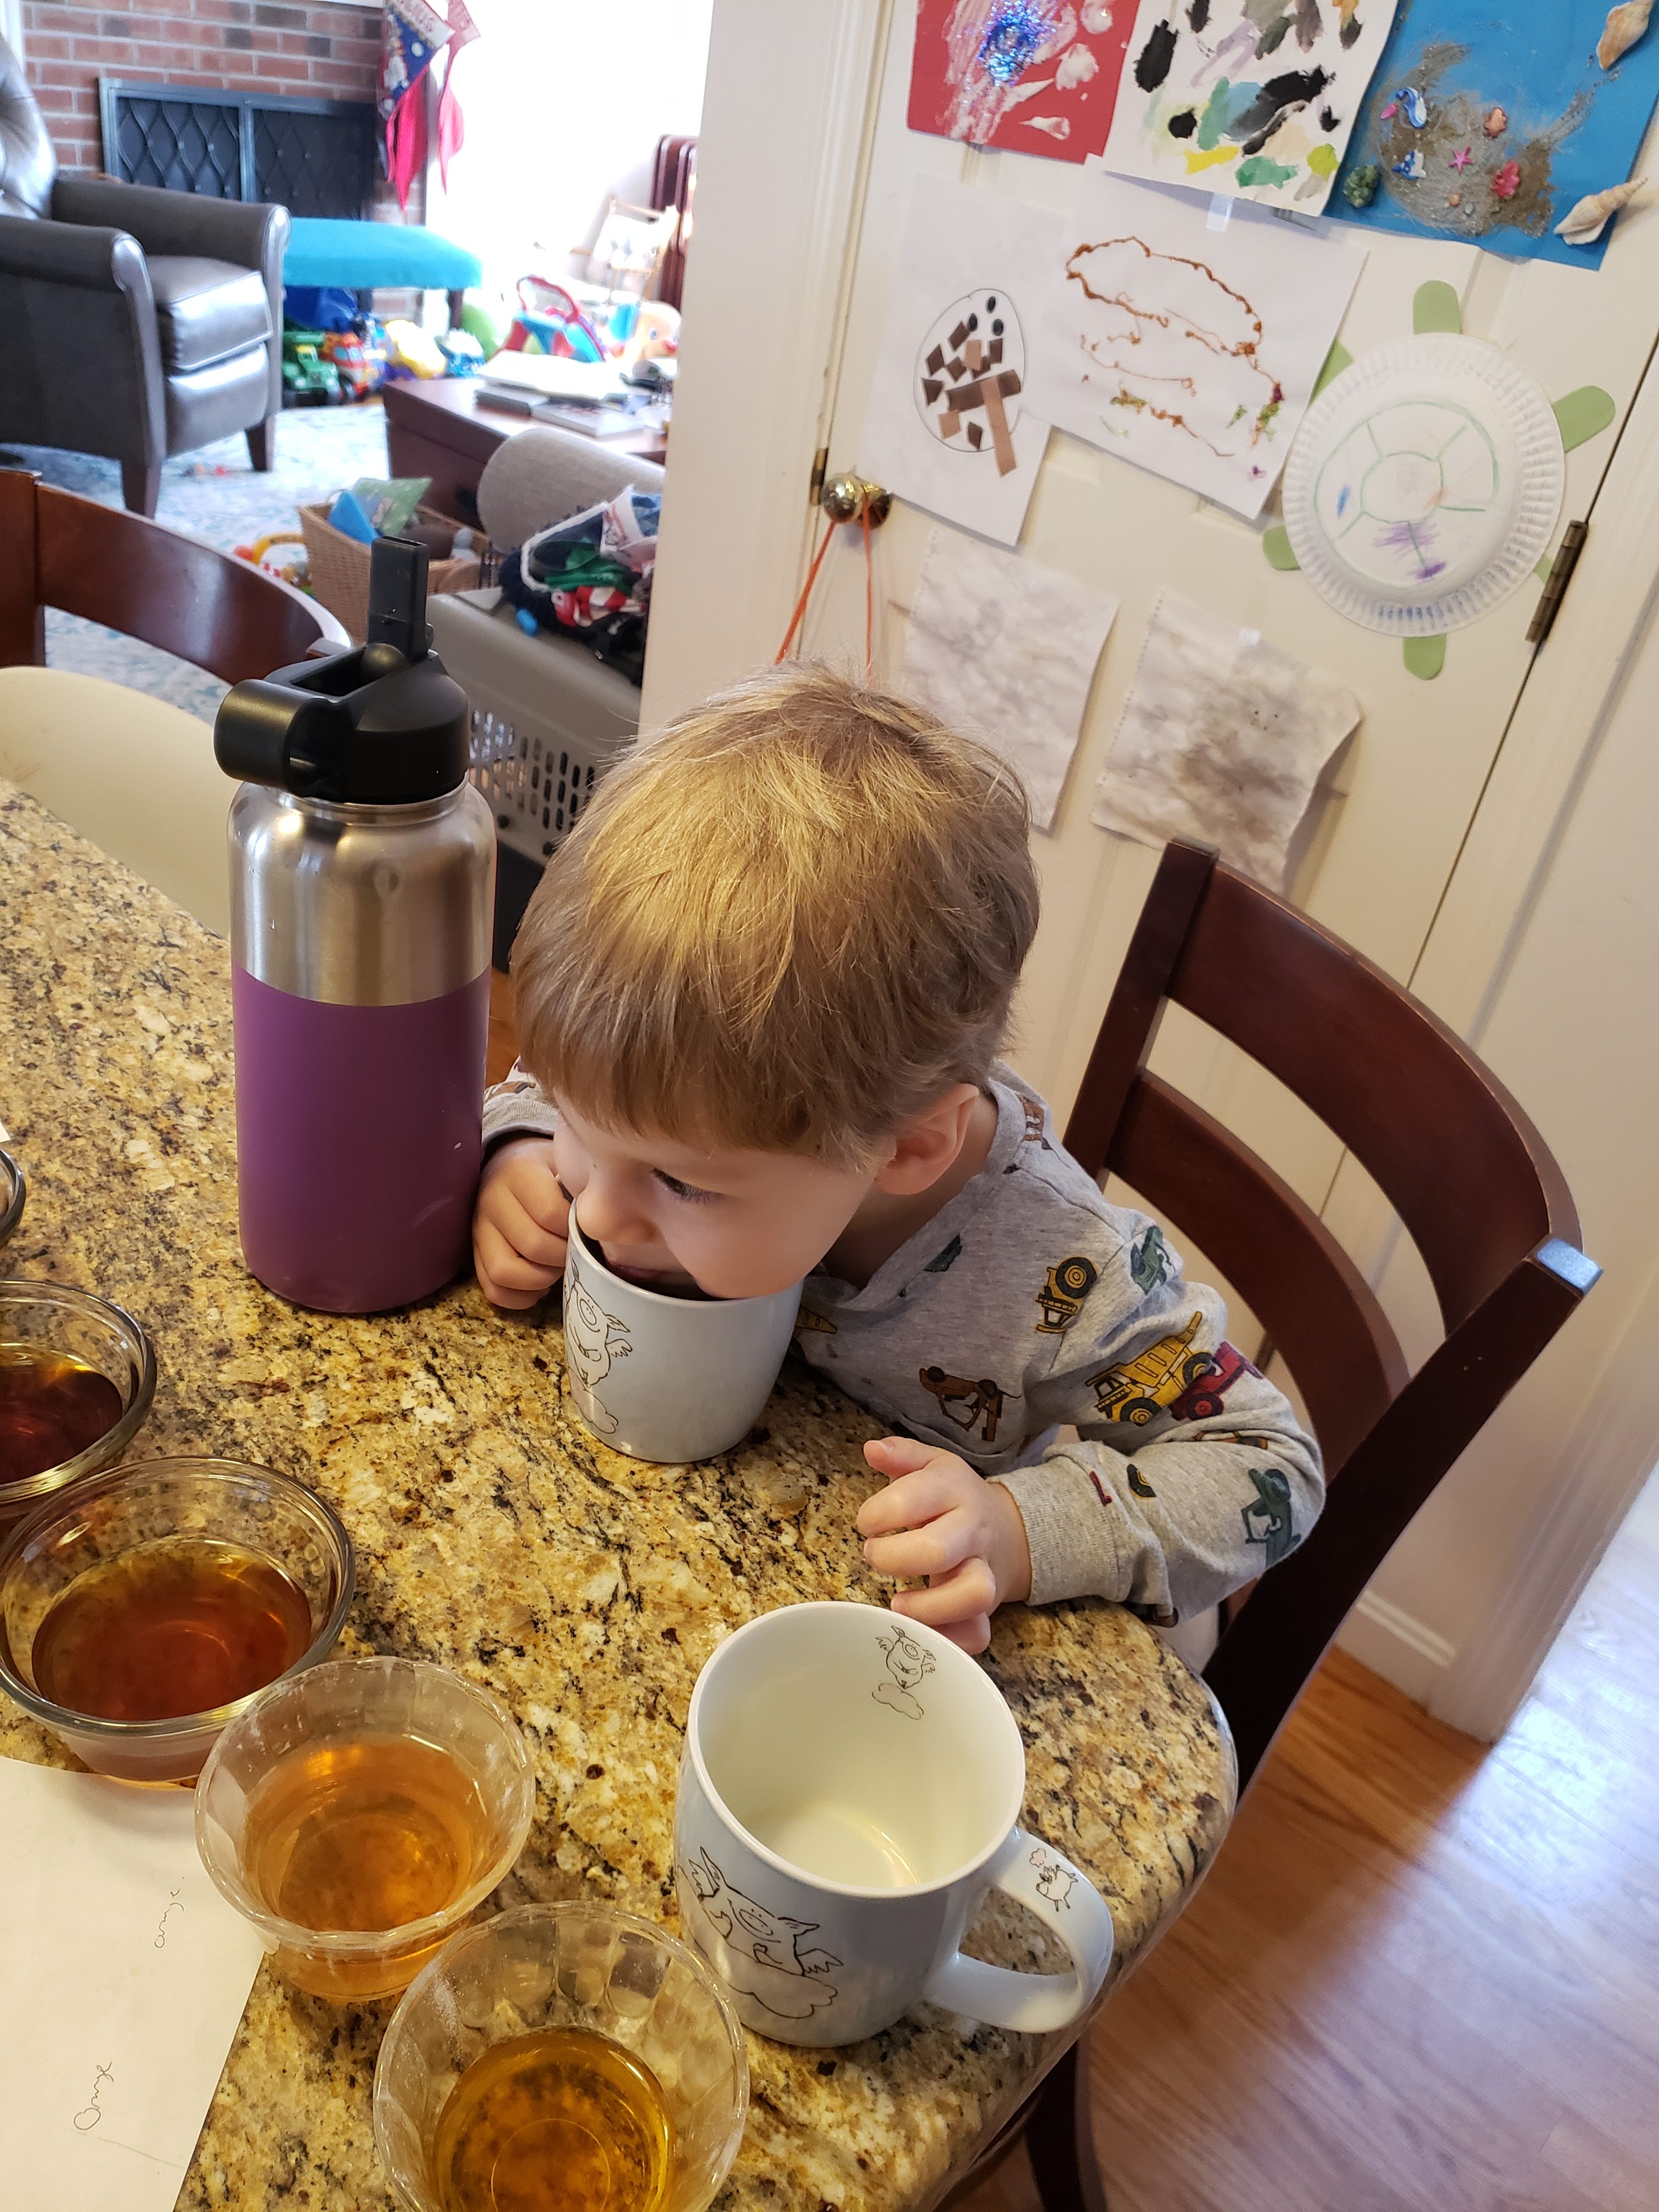
Cannot wait to try the next tea….
We read books about tea and tea parties, made scones, decorated hats for an elegant tea party…
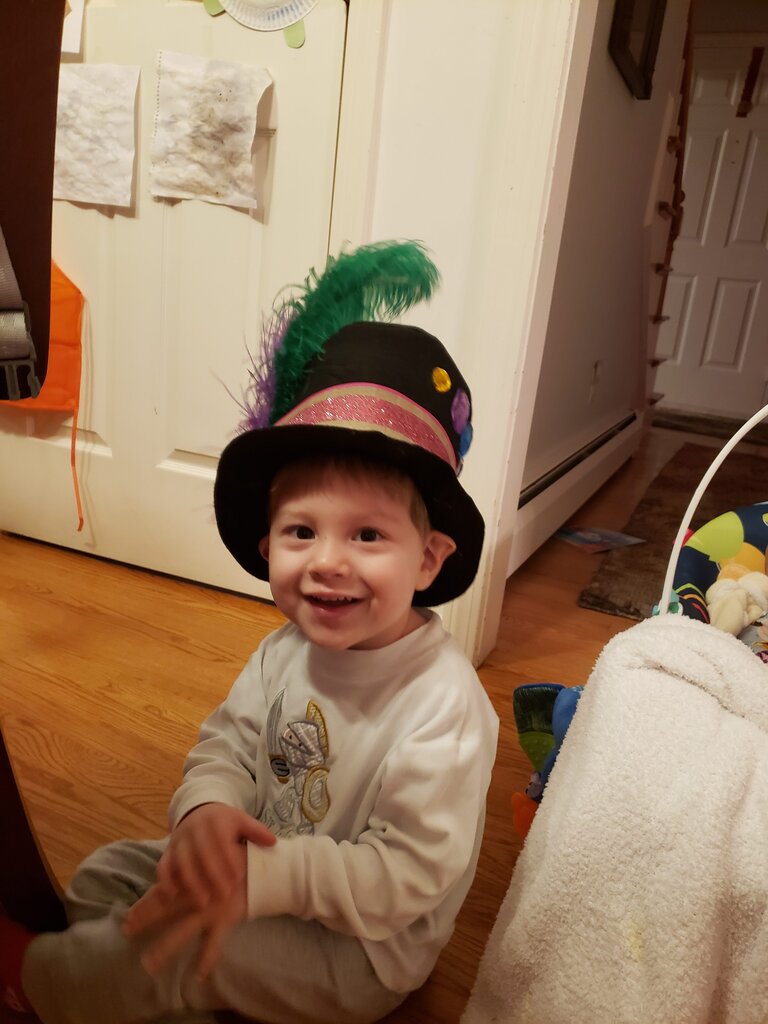
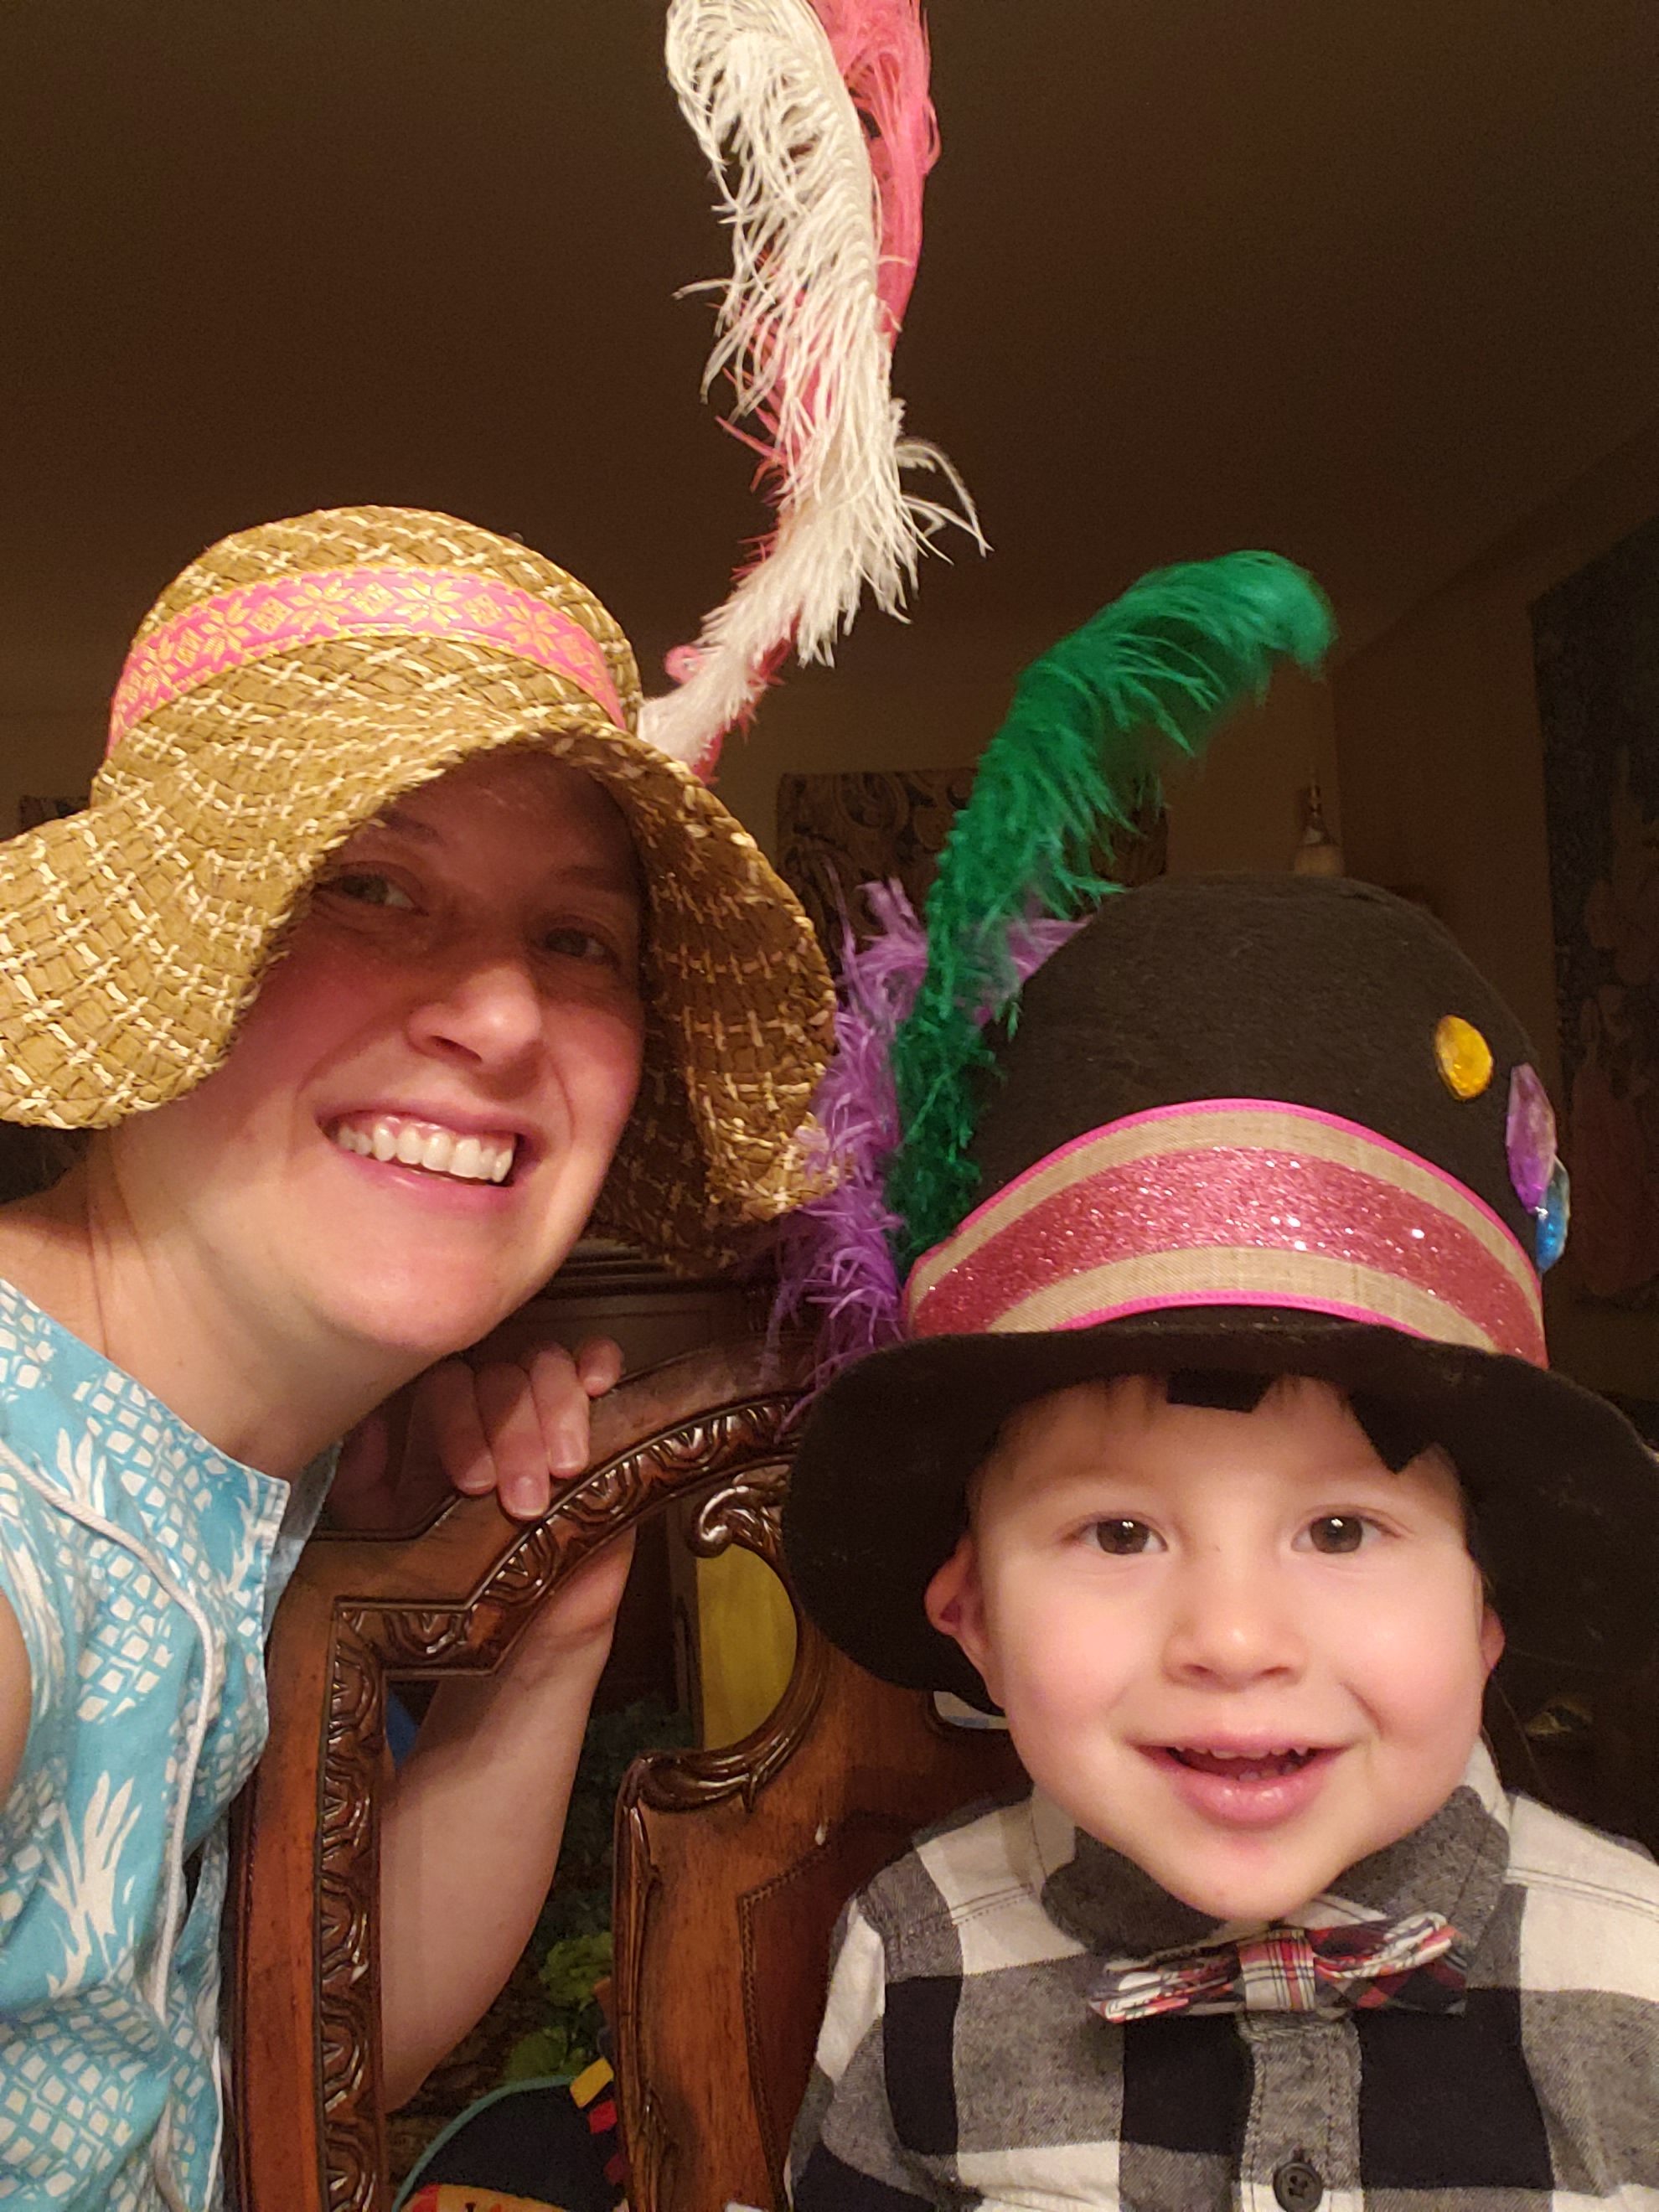
Showing off his finished hat. Julius picked all the accessories from my craft supply and we hot glued them on together.
…and had high tea!
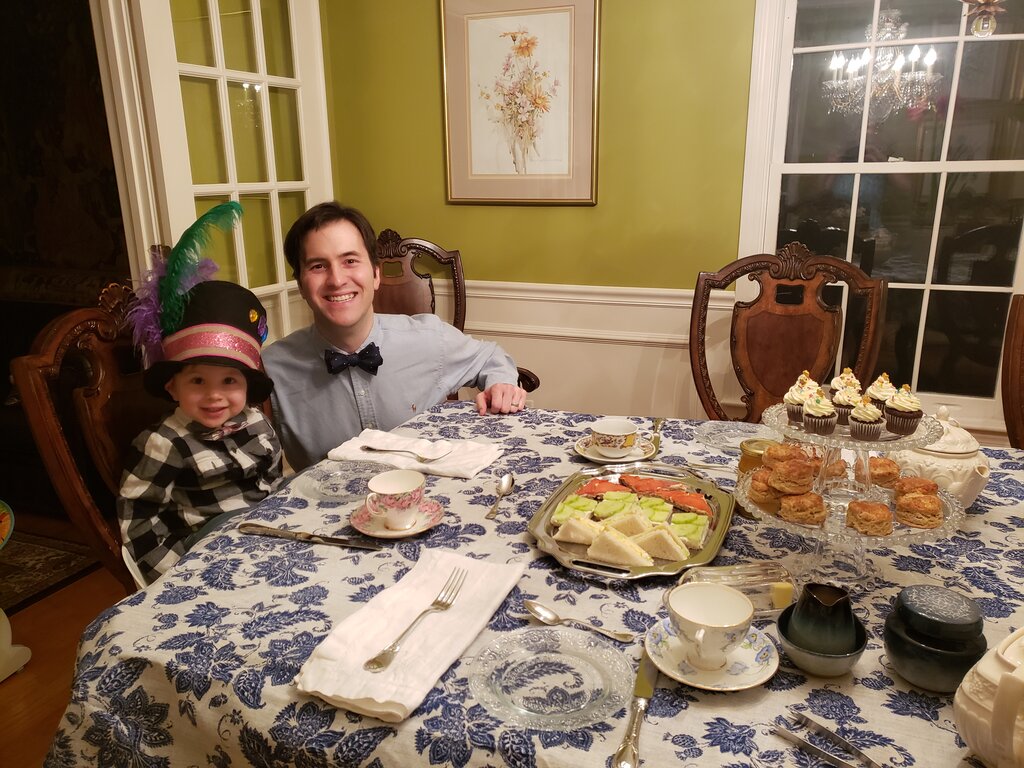
Two gents enjoying some high tea!
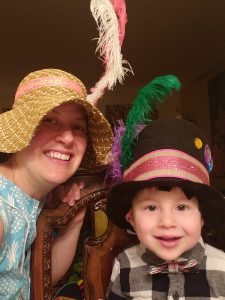
There are lots of tea party hat decorating ideas for little girl’s tea parties, but I wanted to come up with something for little boys. In all honesty I think Julius would have been very happy to decorate a sun bonnet. I was seconds away from buying a toddler sun bonnet off Amazon when I decided I could do better and went downstairs to make him a top hat. Frankly I find it surprising that as the mad hatter, I have never made a top hat before! This bell crown top hat was made entirely out of things I had on hand, and took me about two hours to design and fabricate. It fits perfectly on little man’s head who is currently 3 years old. You can upsize the pattern for your own needs.
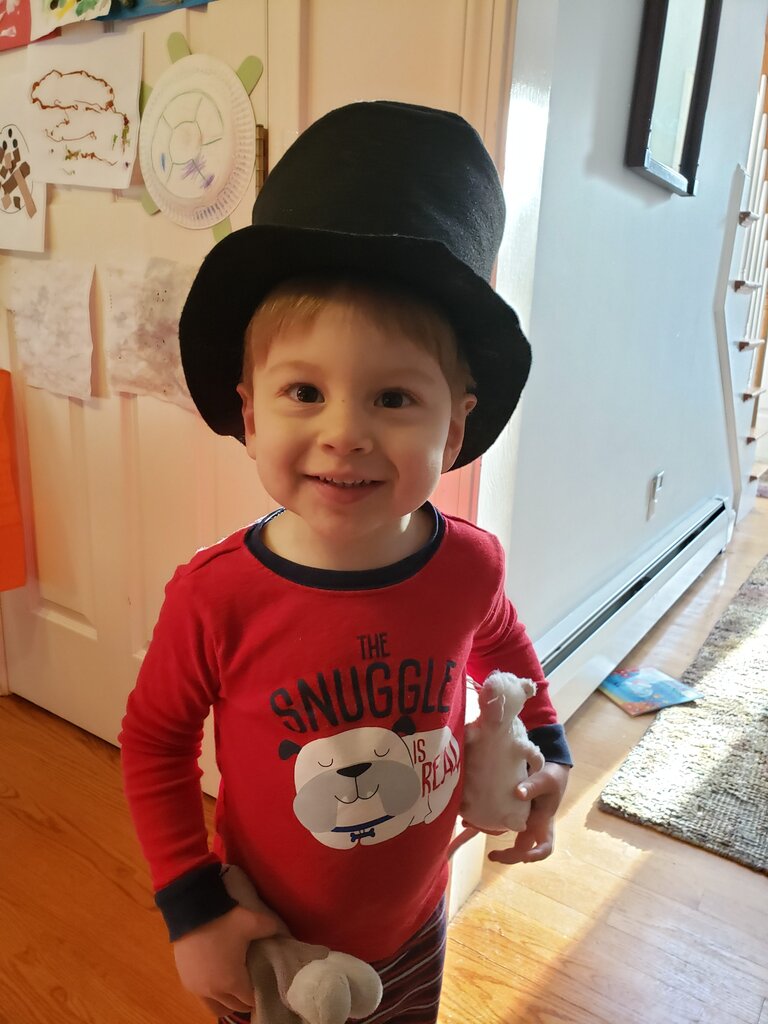
Dapper Gent in his new hat.
Little Gentleman’s Top Hat
What you’ll need
- 1 yard of black felt
- Aleene’s Stiffen-Quik
- the pattern here
- Cut out pattern pieces as directed, be sure to add half inch seam allowance on the inside of the brim, as well as around all the other pieces.
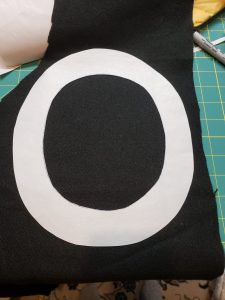
Cut pattern, be sure to add seam allowances.
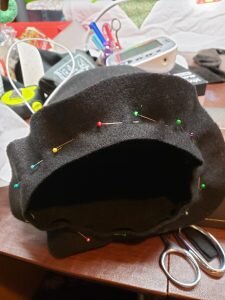
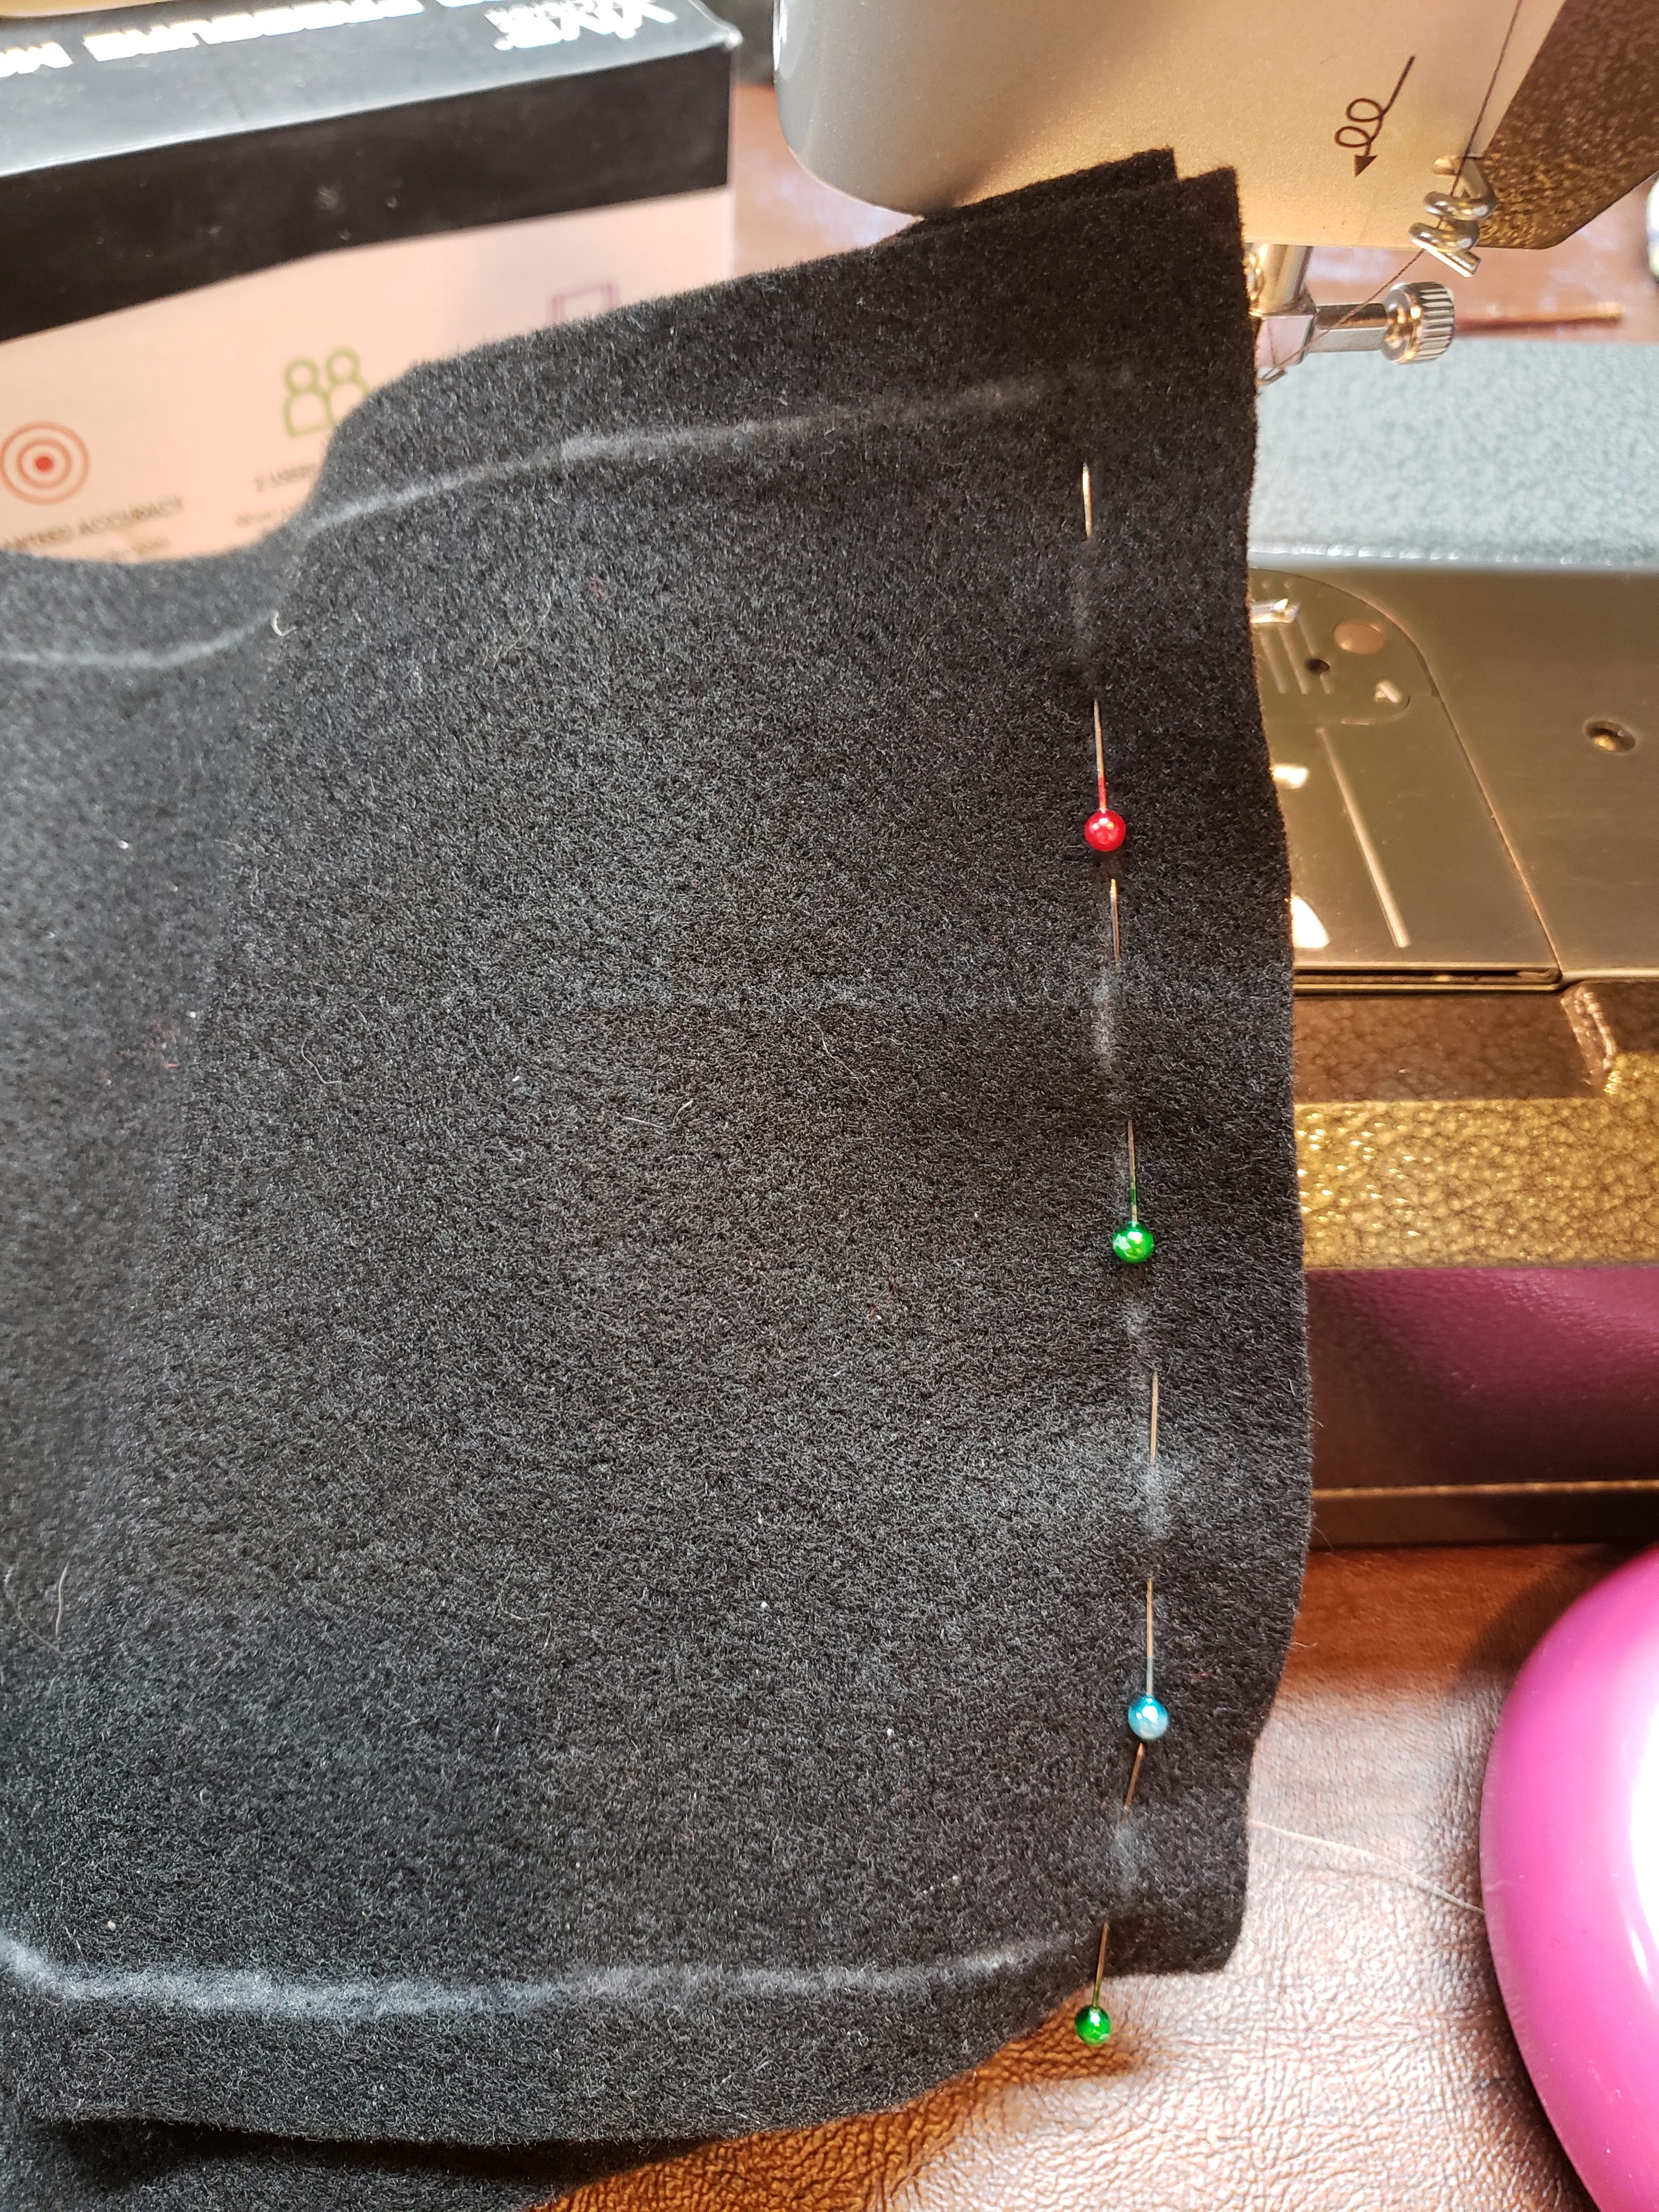
- Pin crown of hat, right side together, along straight edges and stitch.
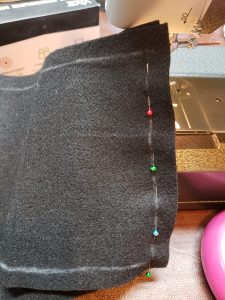
Pin crown of hat and stitch to form a tapered cylinder/truncated cone.
- Pin the top of the hat to the cylinder of the crown, on the side marked top, right sides together. Stitch.
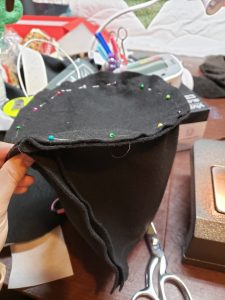
Pin top of hat to the crown.
- Pin the bottom of the crown of the hat to the inside of the brim, right sides together. Stitch.
Stitch brim to bottom of crown.
- Clip curves very close to stitching. (At this point you can fold the seam allowance in and fabric glue it in place – I was going to do this but Julius wanted to wear it before I got to that.)
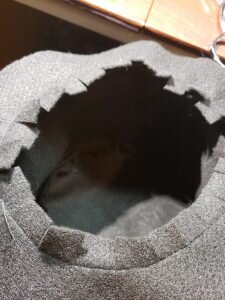
Clip curves
- Turn the hat right side out and spray with fabric stiffener following the instructions on the package. Pay close attention to the brim especially.
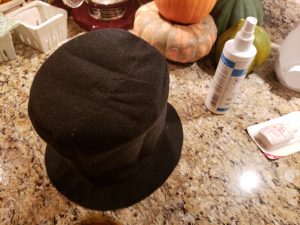
Spray with fabric stiffener, shape and let dry, repeating as necessary.
- Decorate as desired by gluing ribbons, feathers, jewels etc onto the hat.
Mighty fine hats


High Tea Menu
- cucumber Sandwiches (white bread, herbed cream cheese and cucumber)
- salmon sandwiches (wheat bread, herbed cream cheese & smoked salmon)
- egg salad sandwiches
- English scones with lemon curd and jam
- Chocolate cupcakes with whipped cream frosting
- Assorted teas
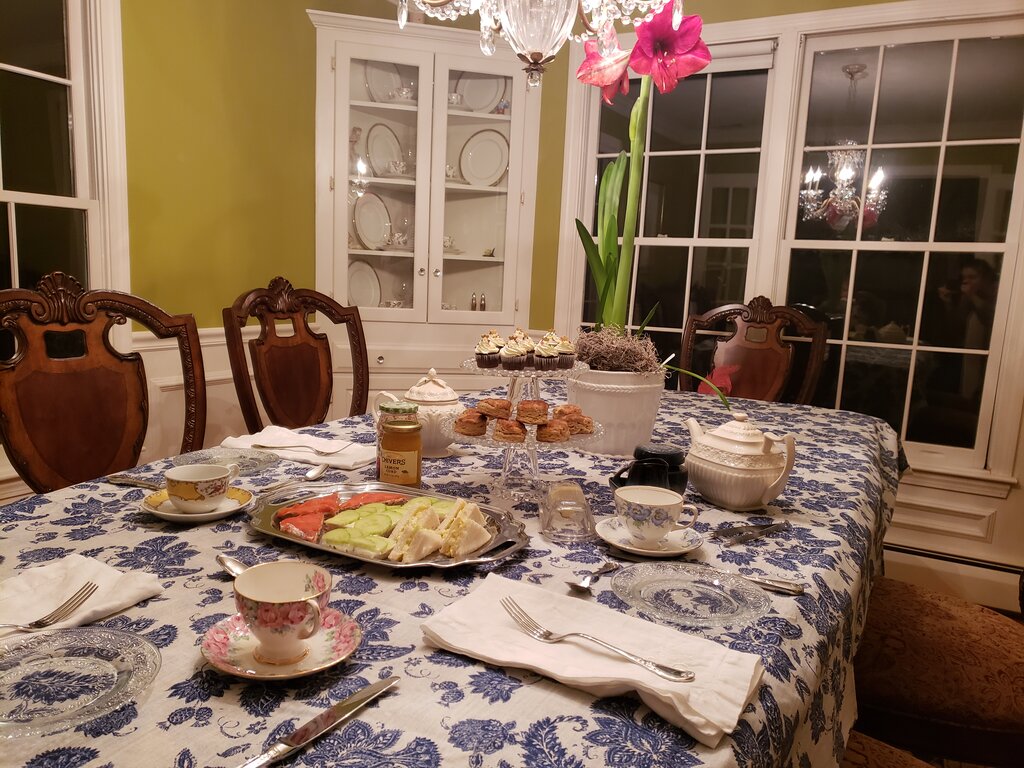
High Tea is served, complete with our blooming amaryllis!
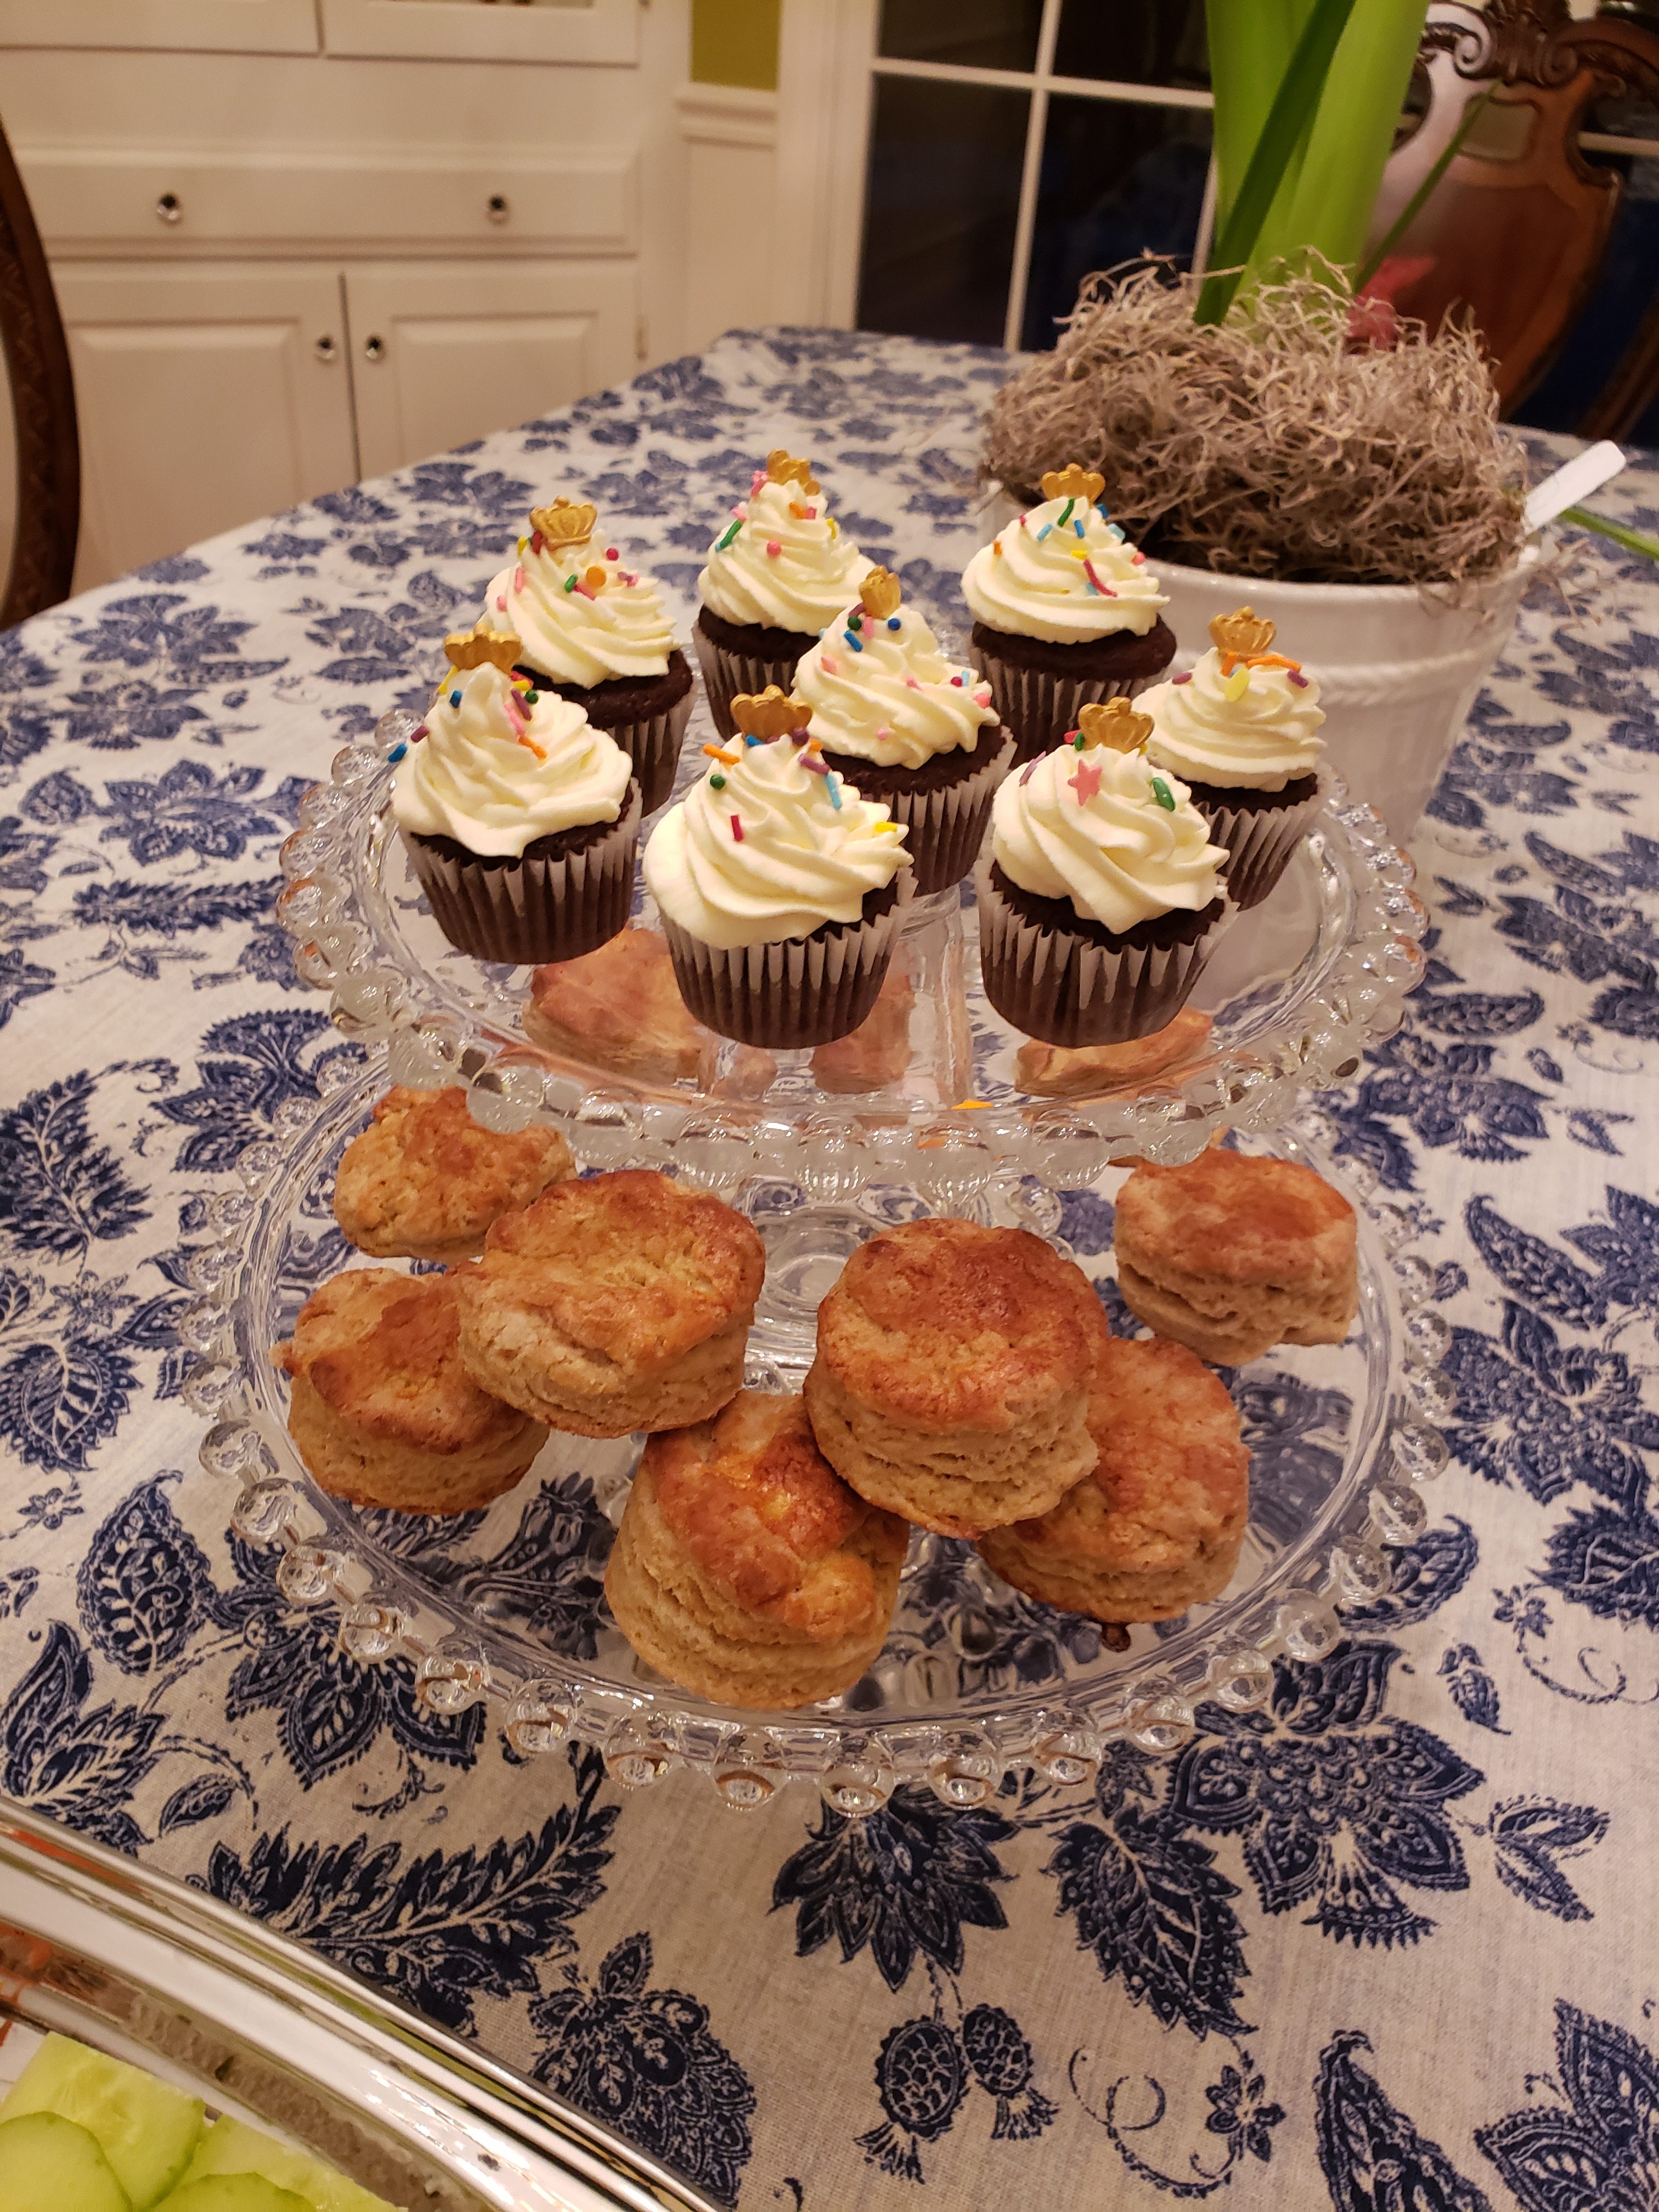
Scones and cupcakes
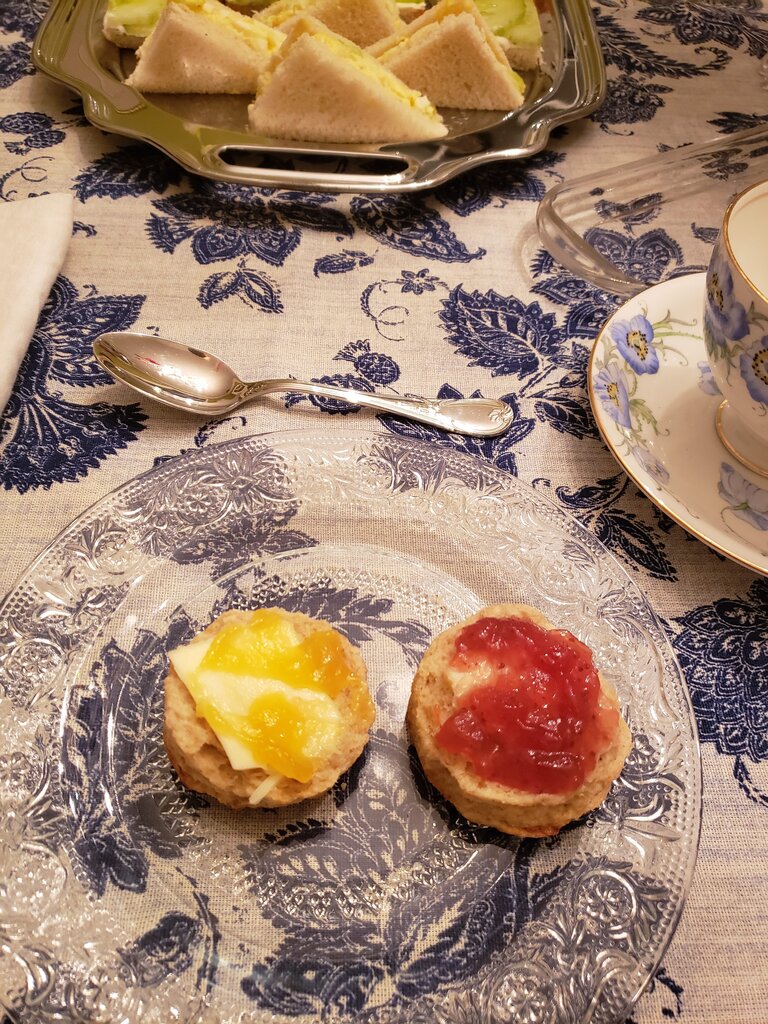
Scones!
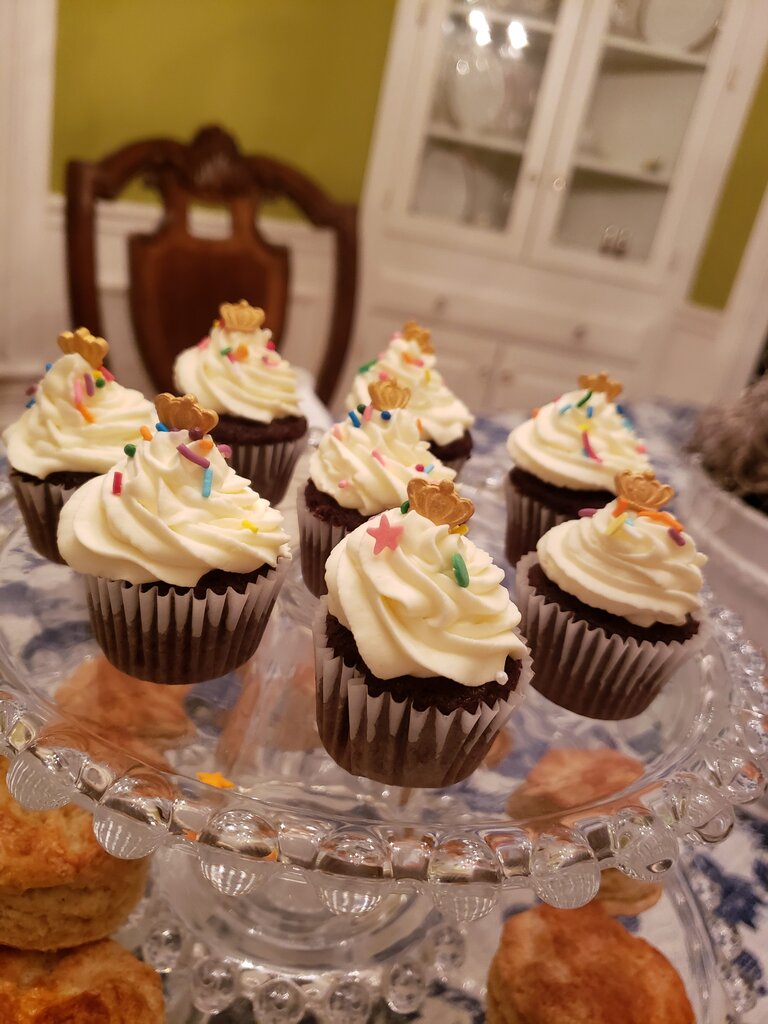
Check out these cute mini cupcakes – I made them for thanksgiving and froze the leftovers so I could whip them out in a flash.
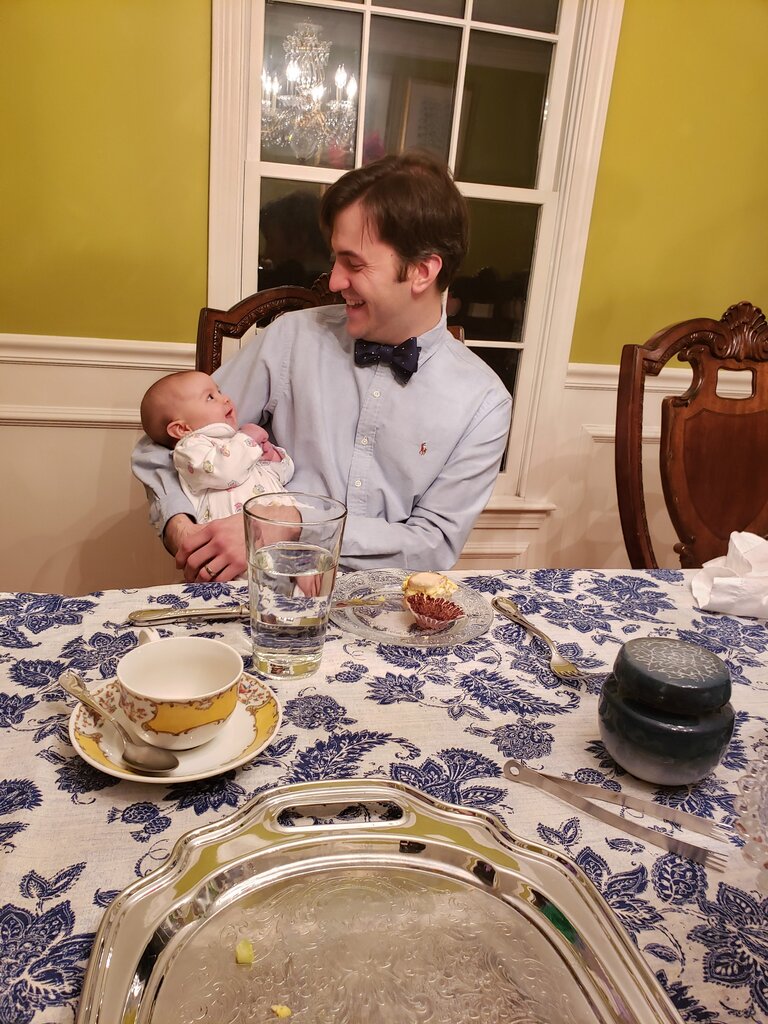
Even the little lady enjoyed high tea! (Or at least being held by Dada!)
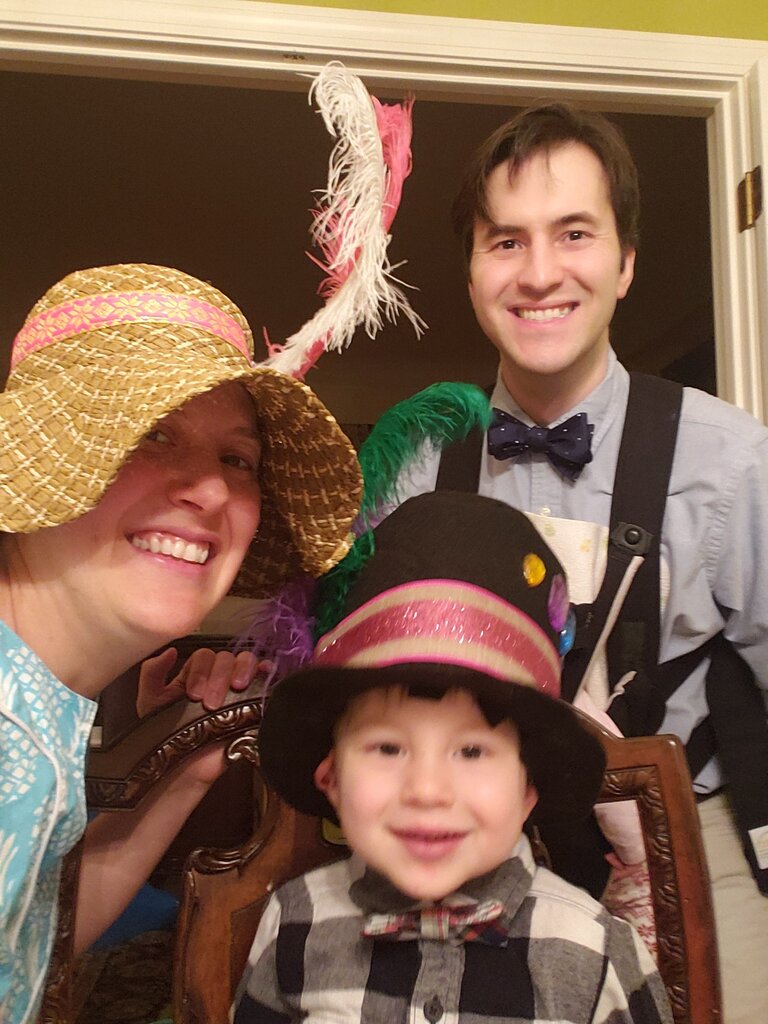
Ready for tea!
