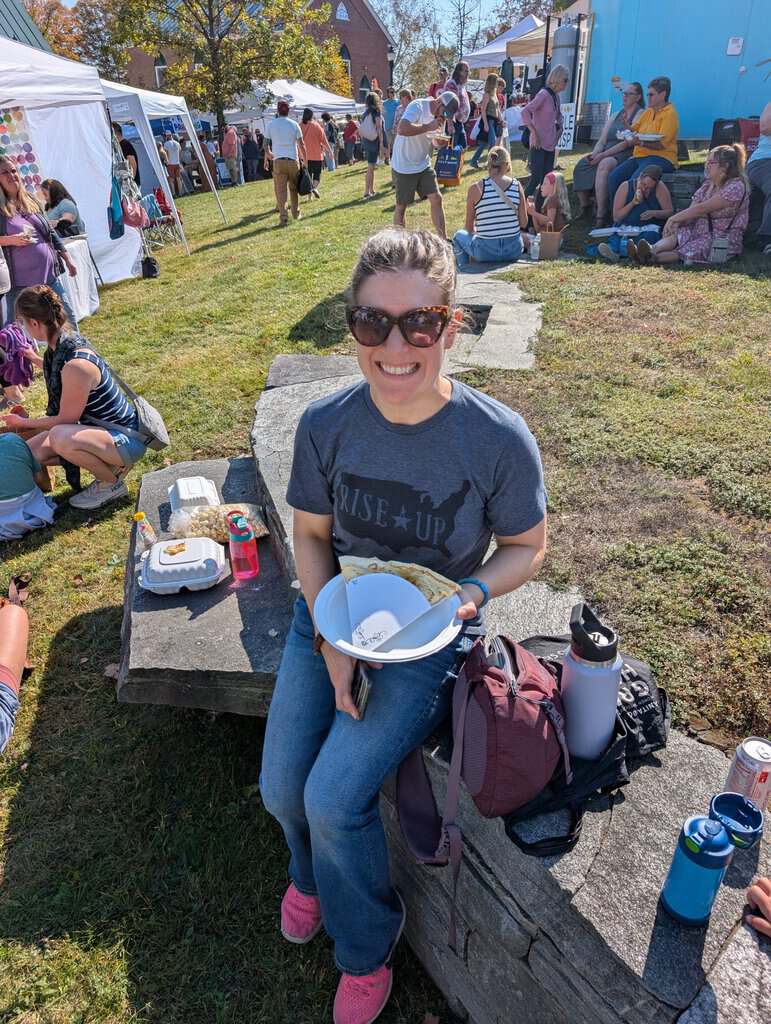
Well I really meant to post last week. I really did but I started reading Manacled and physically and mentally could not do anything else until I finished that. It was a struggle to live life last week with the knowledge that if it weren’t for <playing with the children/working/eating/sleeping> I could be reading that book. Man I loved it. I don’t think I’ve enjoyed a book that much since ACOTAR. Suffice it to say I’m now in a reading slump because nothing else compares.
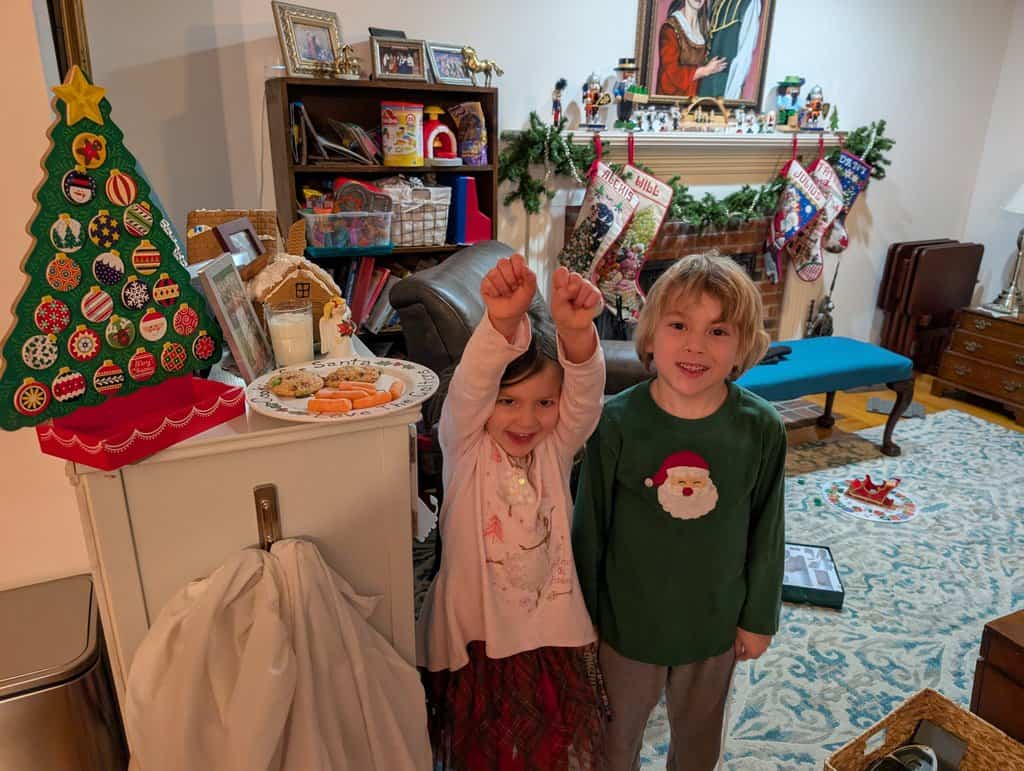
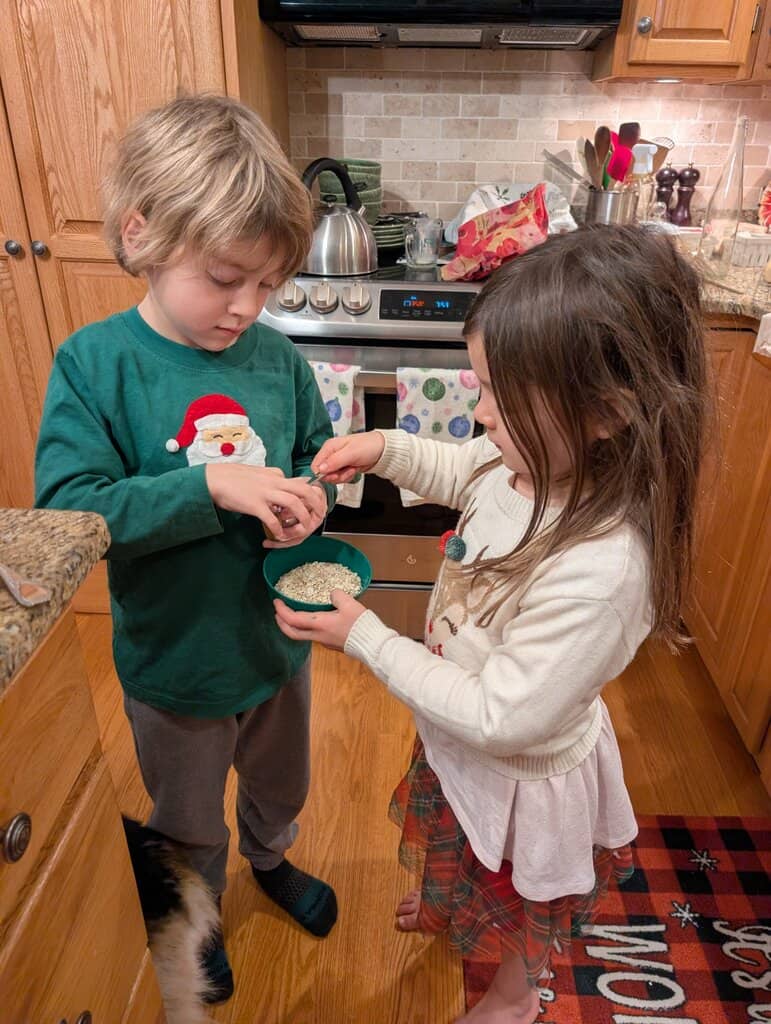
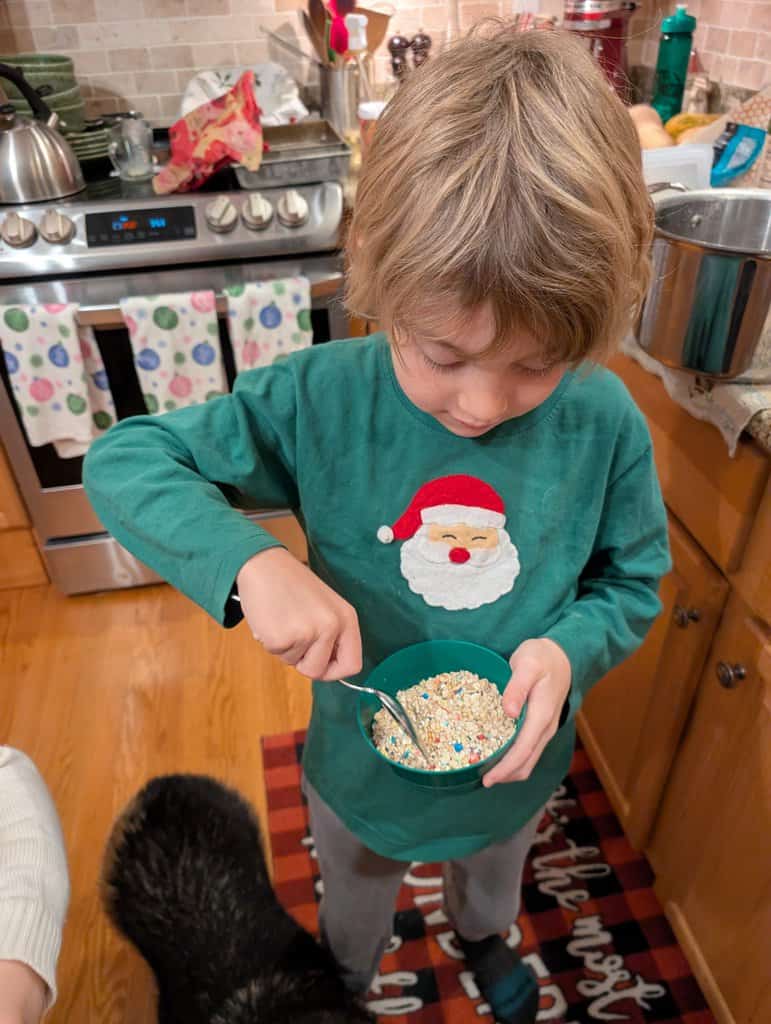
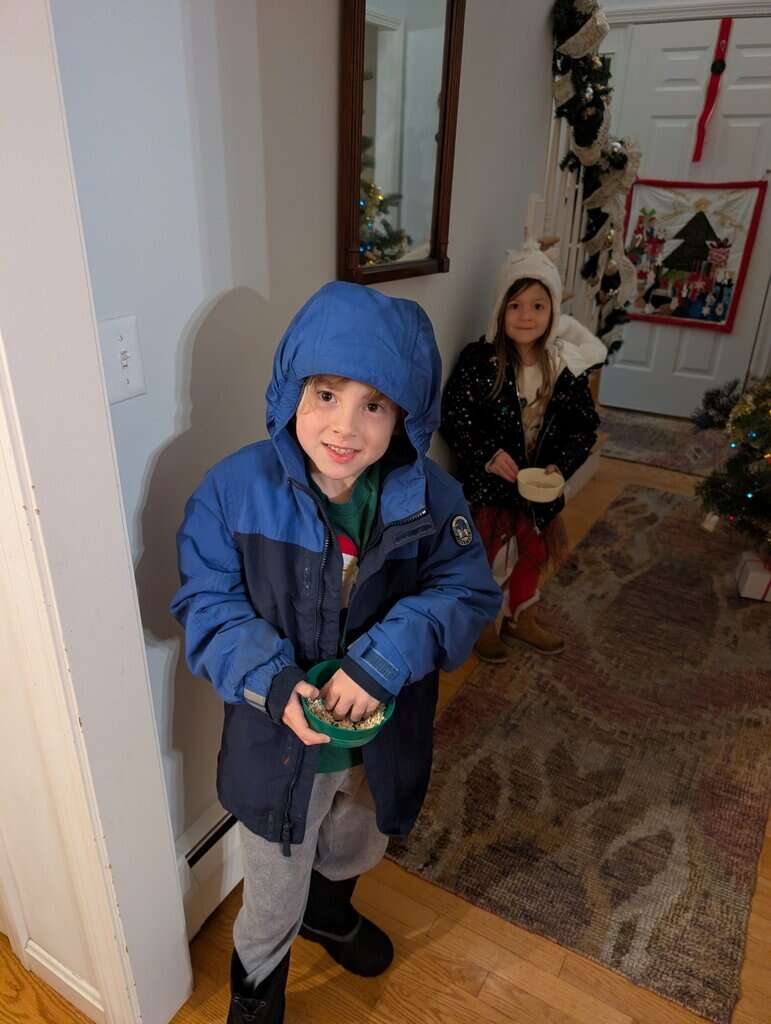
Julius has been baking for us every weekend in his easy bake oven. It’s really cute. He seems to really enjoy it, even more than I did as a child. We got him a cookbook that has a bunch of recipes so you don’t have to make the kits and he’s been cruising thru it. I think he’s made a dozen recipes. Patricia has been playing with her easel almost daily as well, which means I’m greeted to a new assortment of colors decorating the floor. (But at least it’s not on the carpet anymore!) I’m glad she’s so creative and it’s fun to watch her paint. The kids have also been doing a really good job picking up after themselves a bit more. We did a huge clean up after Christmas because we literally had too many toys to fit in the house. We got rid of a bunch before Christmas too, but seeing what they got for Christmas made the kids realize there were a lot of things they were just never going to play with again (read: Will donated and threw everything away while they protested.)
In all honesty though I was at my wit’s end with the state of the house on a day to day basis and my therapist suggested having a quick family clean up time in the evenings, and try to make it fun. So we dubbed it the ten minute tidy (anyone remember The Big Comfy Couch?) and each kid picks a song to add to our tidying playlist and then we work on an area that mom dubs the most messy. We’ve been doing it daily since before Thanksgiving and I really think it has improved my sanity! It also holds the children a bit more accountable for their messes. Yesterday they surprised me by doing TWO ten minute tidies themselves (they set up Alexa to play songs for them and count down a timer). Today they did another 10 minute tidy before dinner without me asking! Of course they’re not perfect, but it is a relief to have them even notice the disaster.
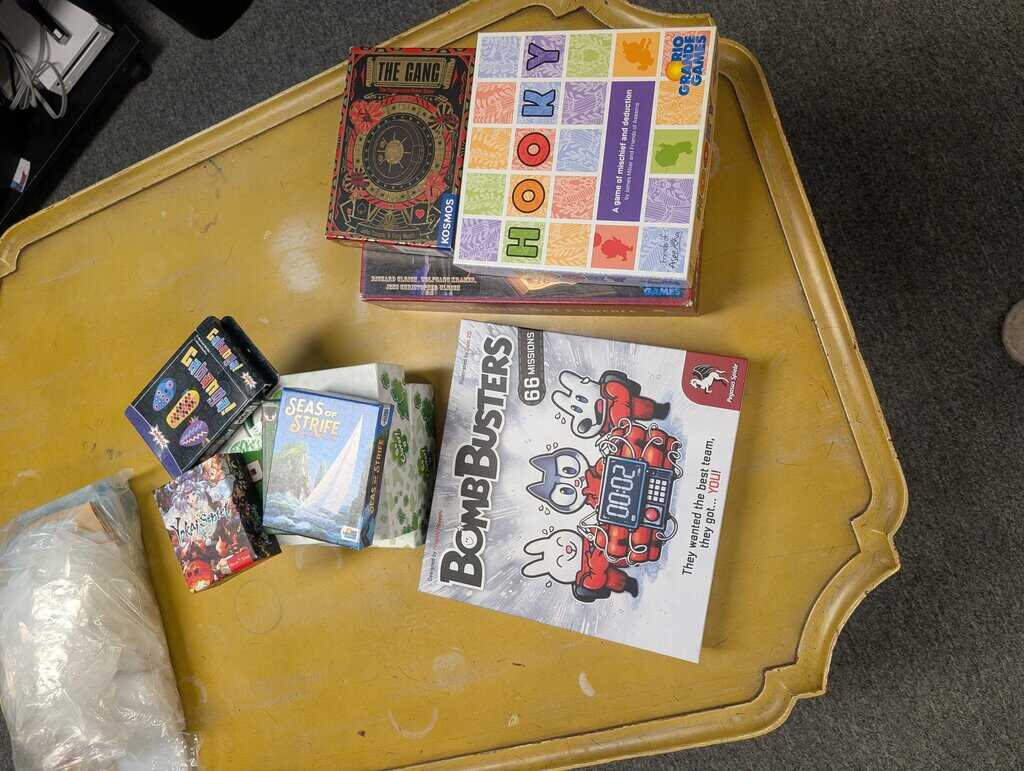
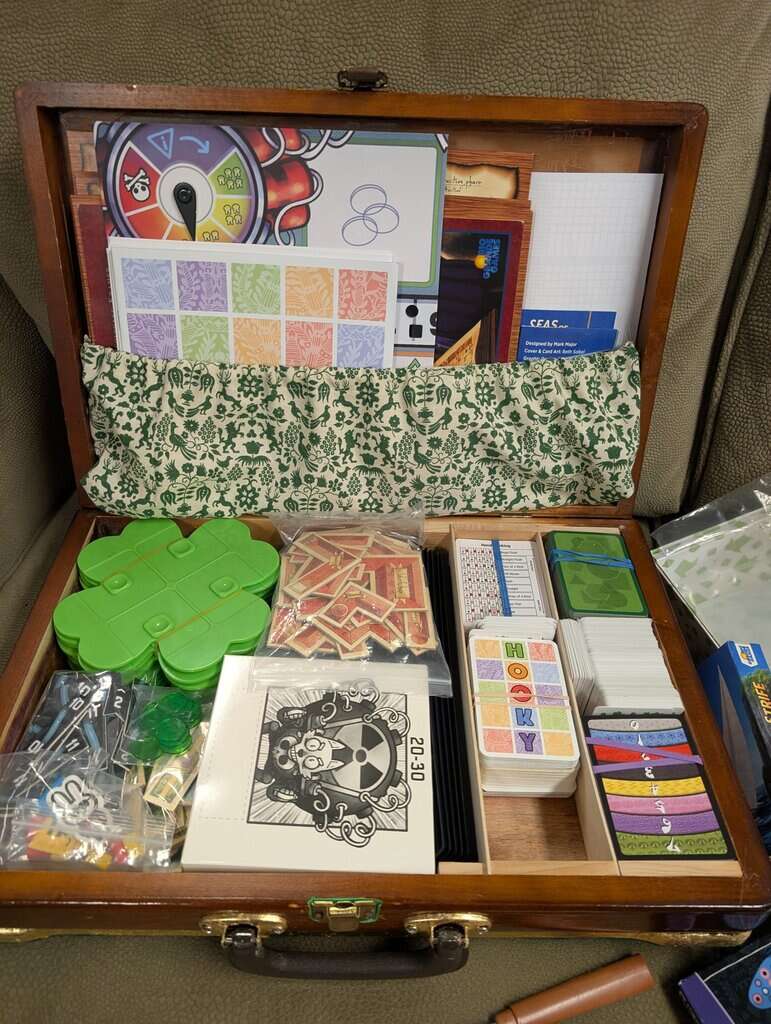
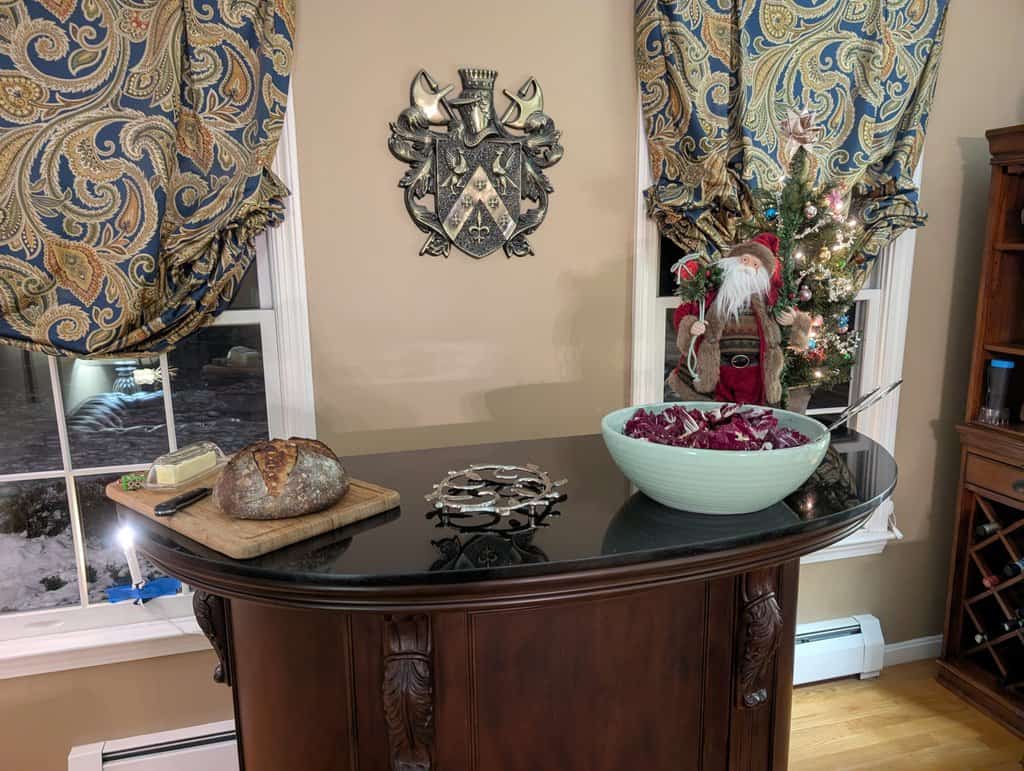
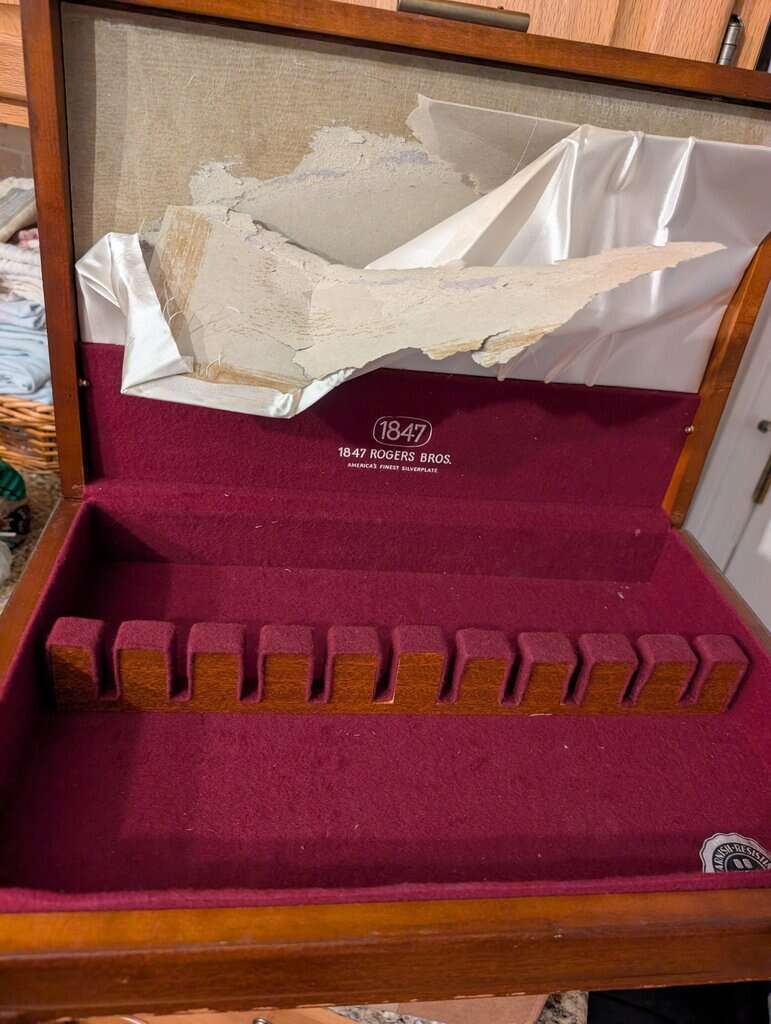
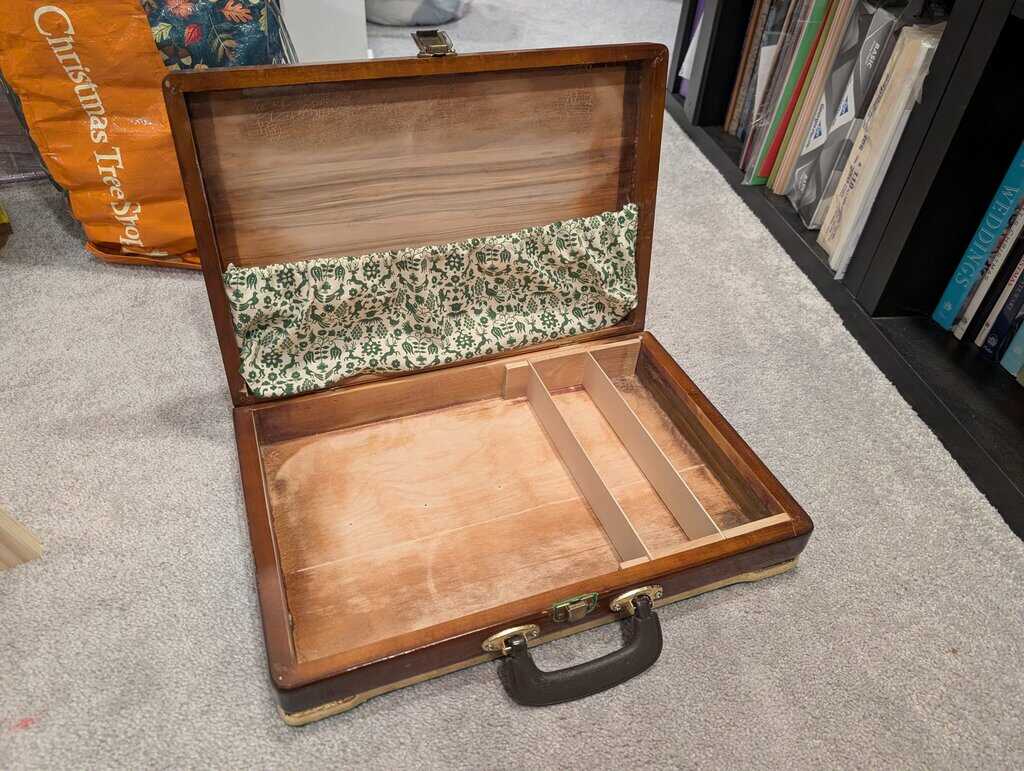
Speaking of organized I want to show you the silly thing I made for Will for Christmas. So for a while I’ve been wanting to make Will a board game carrying case. The idea is for him to take a bunch of games out of their boxes and bring them in a hard sided carrying case. Will usually brings a bunch of boxes of games and the boxes get all crushed. He’s tried bringing just the components in his backpack but then the cards and boards get bent. This, in theory would solve those problems! The key dimension is that it had to be carry on size. I bought a box at the thrift shop before I realized that it would be too big to fit in the overhead or under the seat in front of him. I eventually found a utensil box at Savers that fit the bill: it was small enough for a carry on in all dimensions, and it had a cover with some depth to hold game boards. I would use the bottom to hold cards. If I’d made the box myself completely I would have made the bottom a bit taller so I could fit cards on their side.
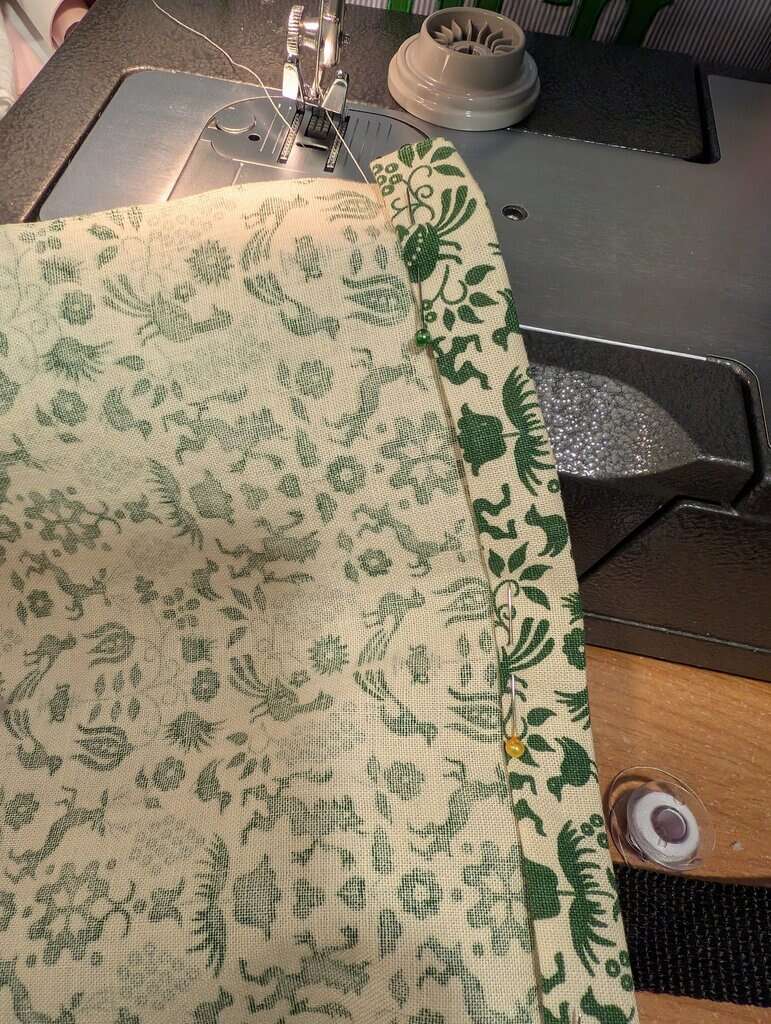
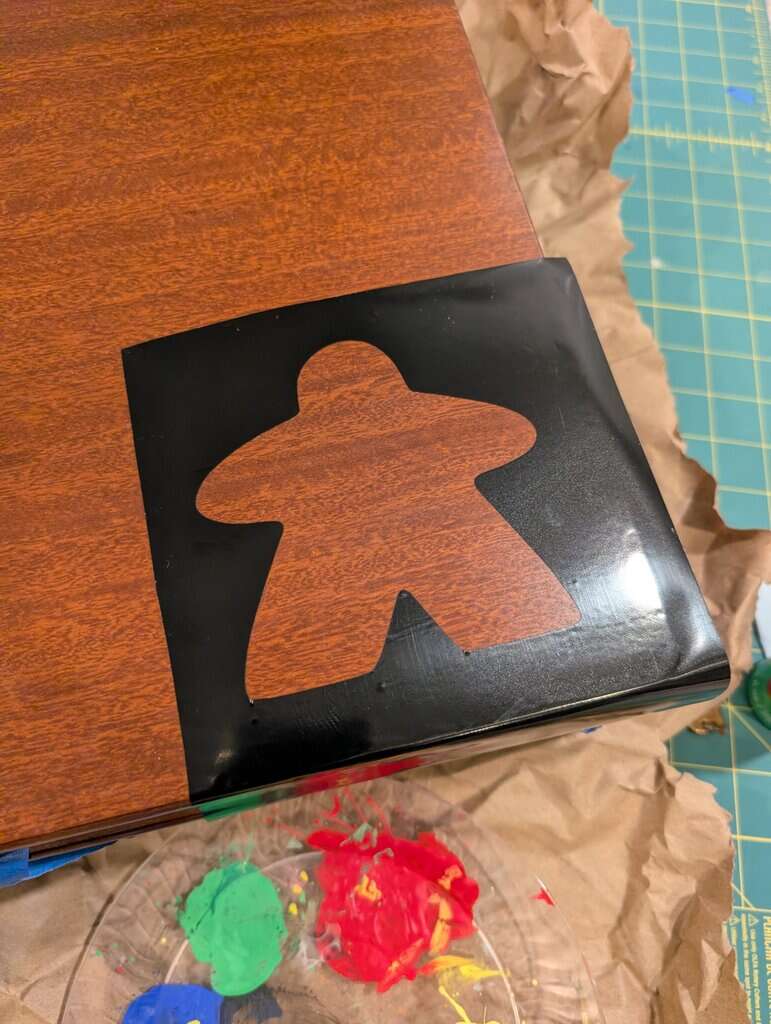
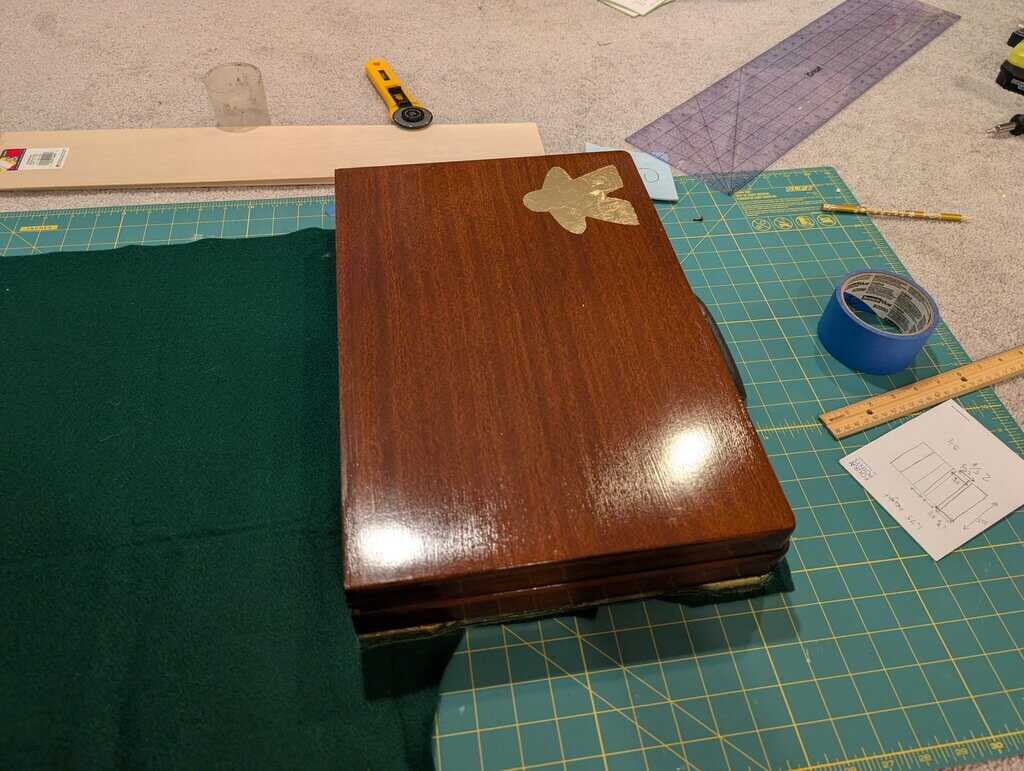
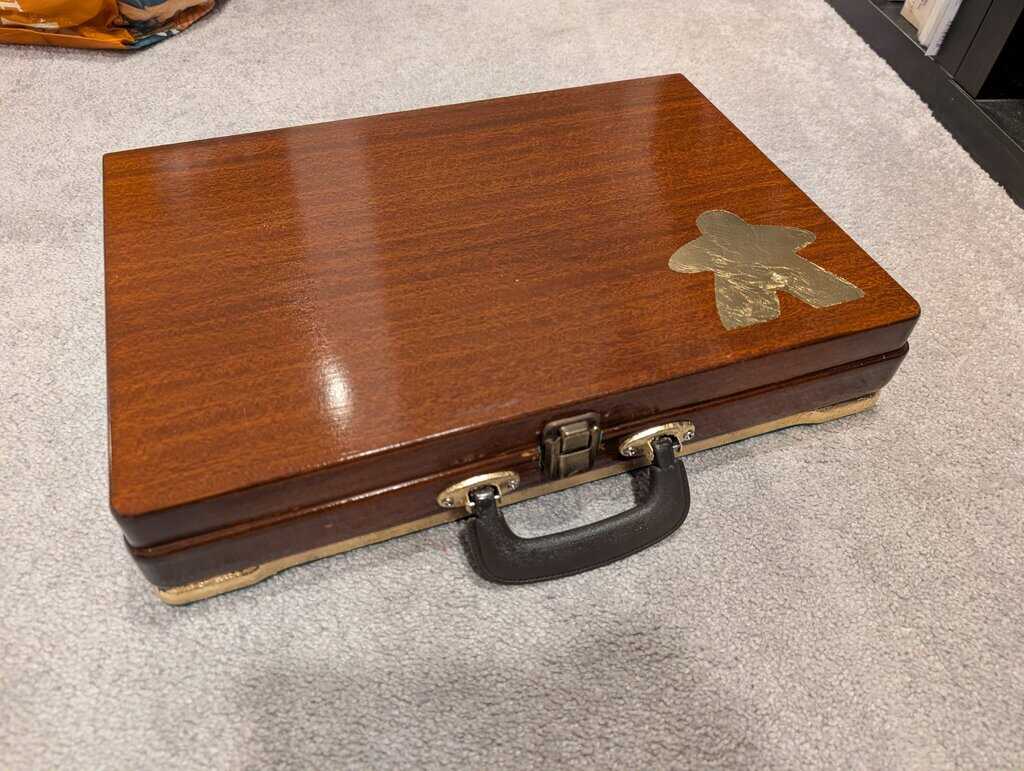
The first step I did was removing all the gross interior fabric, and fabric on the bottom of the box. It was in pretty bad shape. I then added a clasp mechanism (taken from the first box I bought, and added a handle for carrying like a suitcase. I added felt to the bottom again, and inside the box I added a strap and pouch to the top area to store game boards and instructions. On the bottom I added a couple slots the width of a standard deck of cards and used balsa wood strips to create dividers. On the outside I added some gilding. (though I realized afterwards that I put the gold meeple the wrong side up in my opinion!)
We took it to Nashville for it’s maiden voyage and it fit A LOT of games; especially card games. It’s not going to fit Dark Tower or Fireball Island, but it will fit a bunch of fun favorites. Check out everything we took: