Hello Friends! I’ve barely been able to keep up with the once a month posts! And, despite the summer, I haven’t had time to do very many crafts or hobbies. Where has the time gone?!
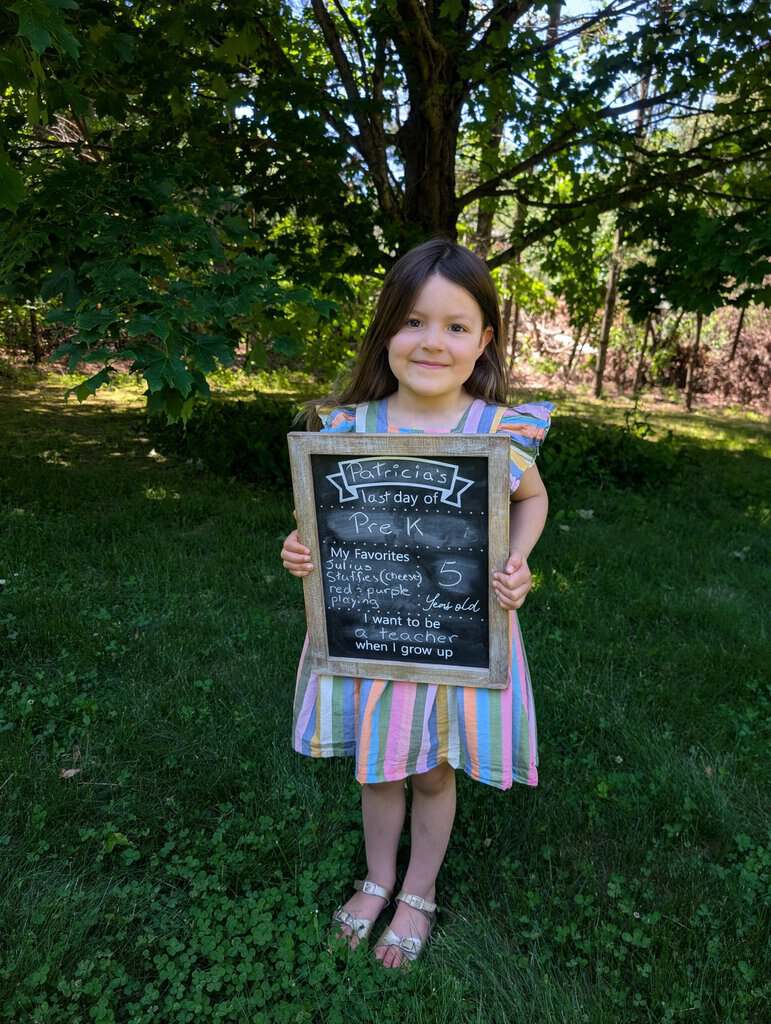
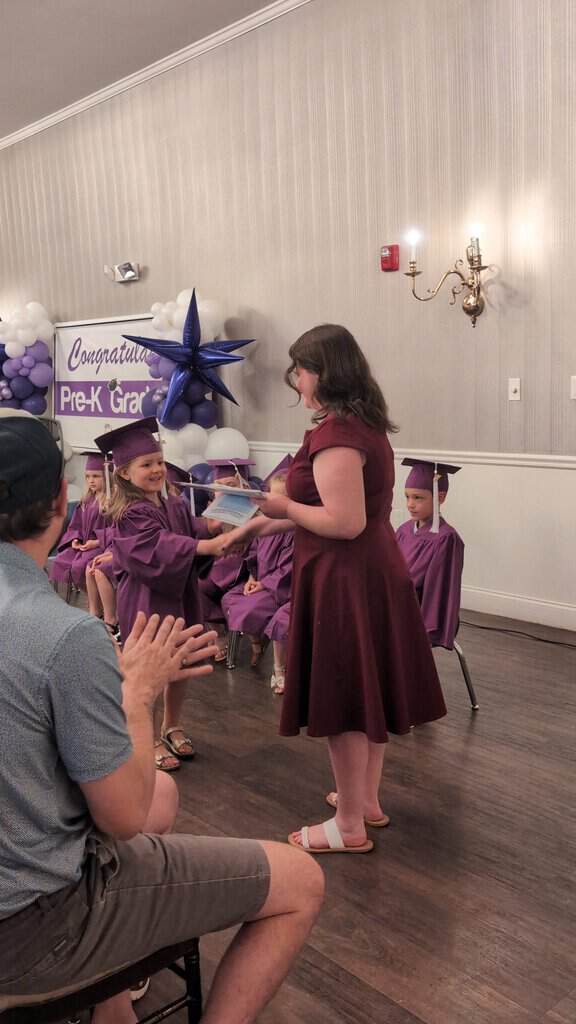
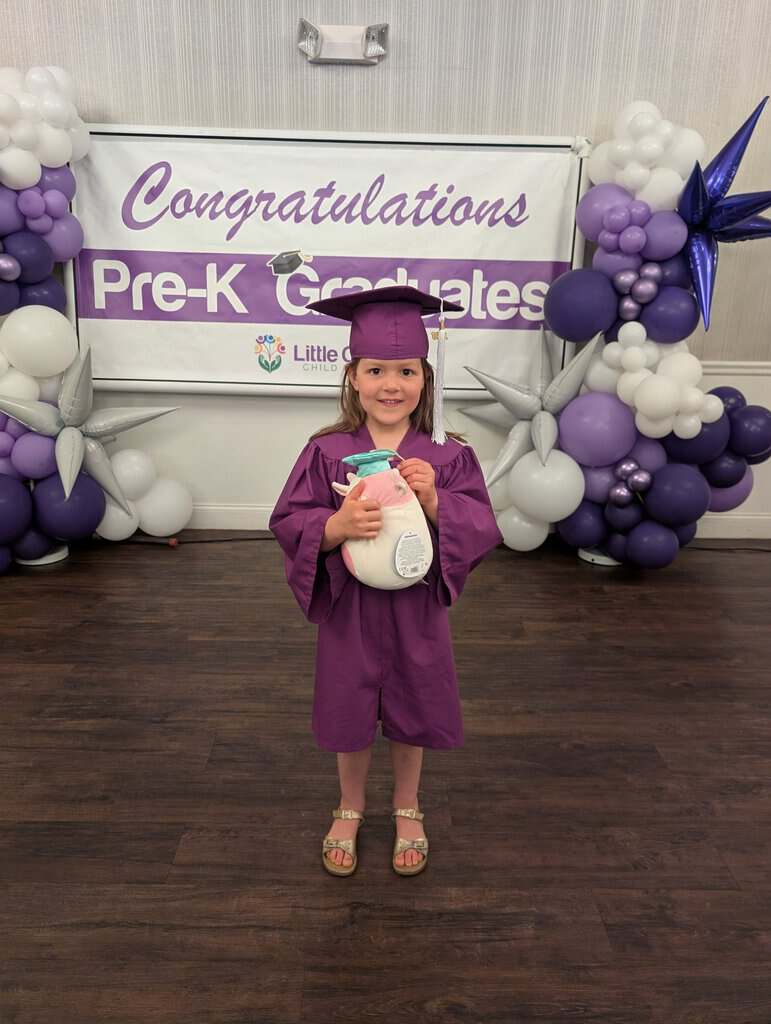
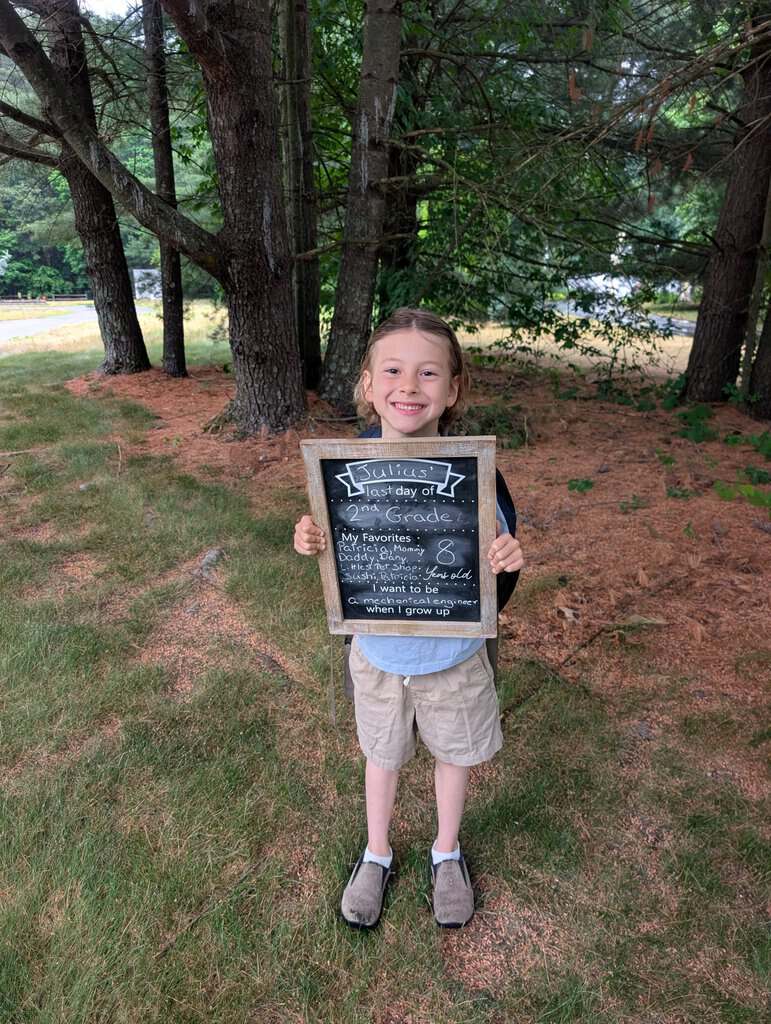
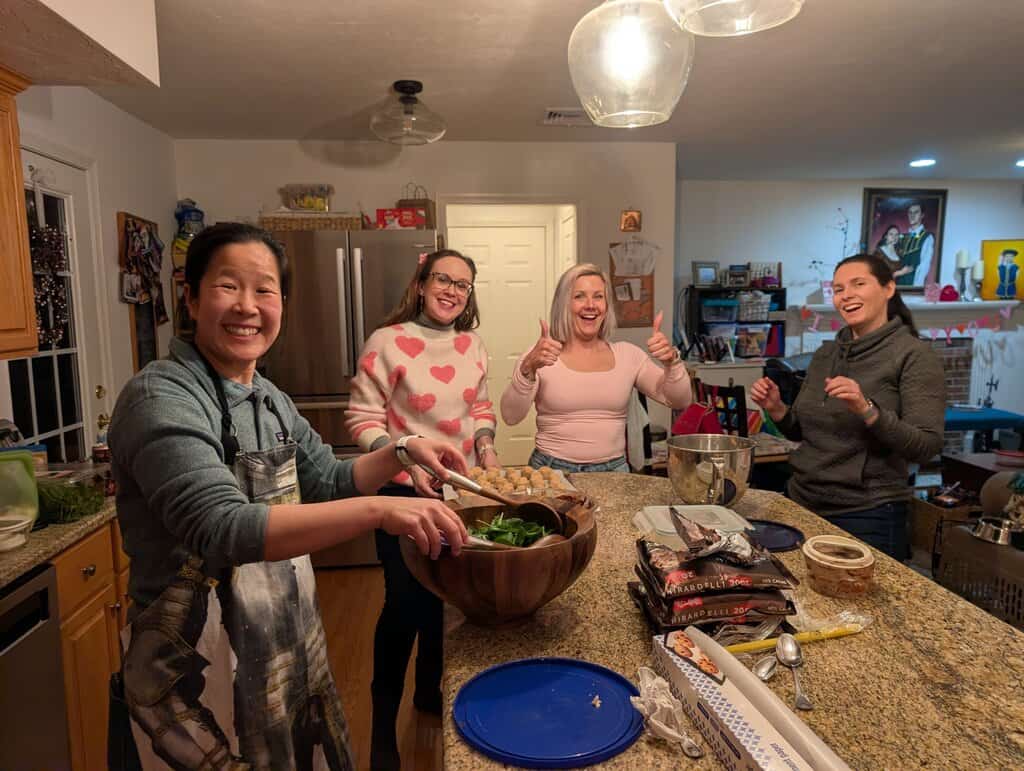
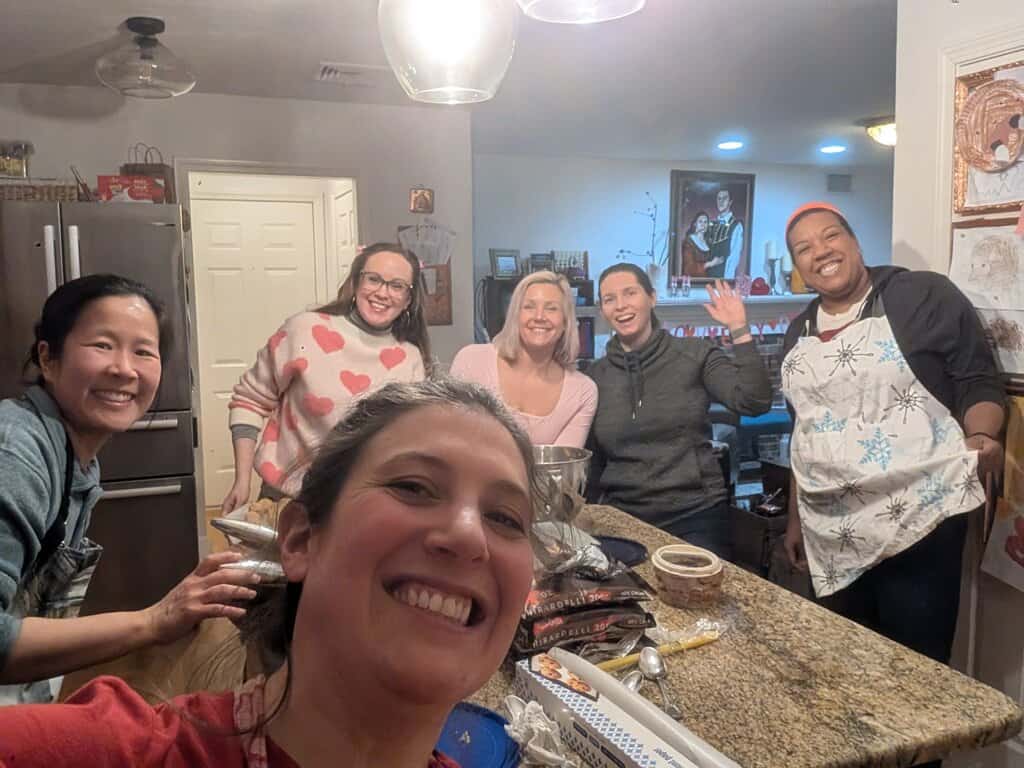
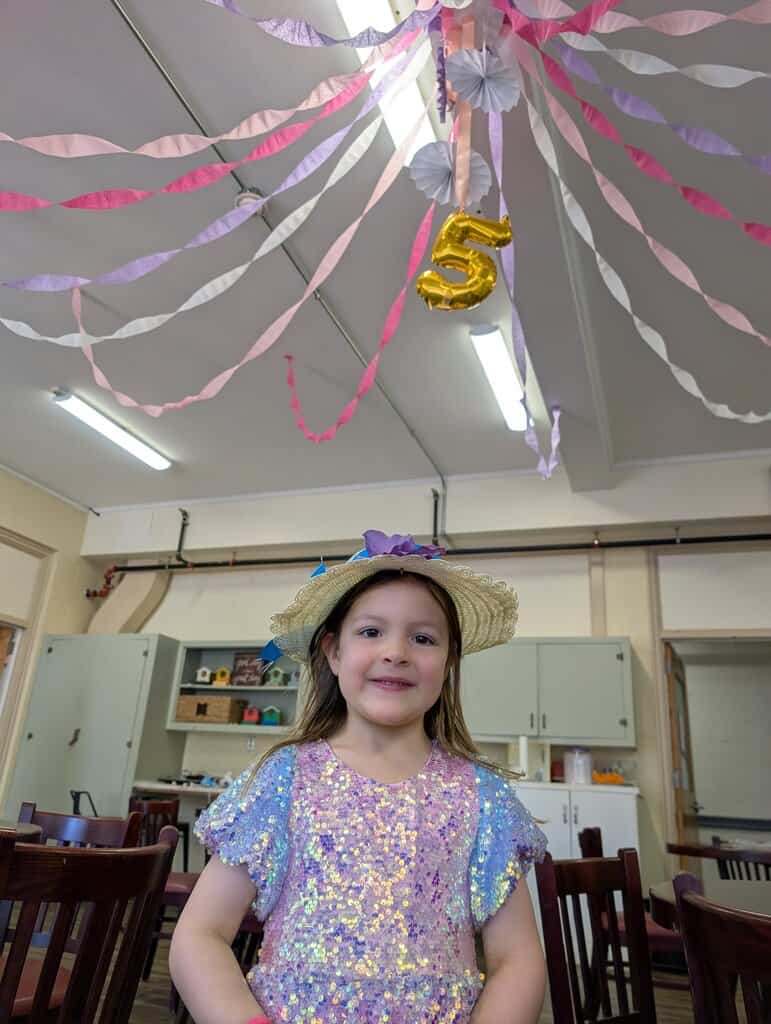
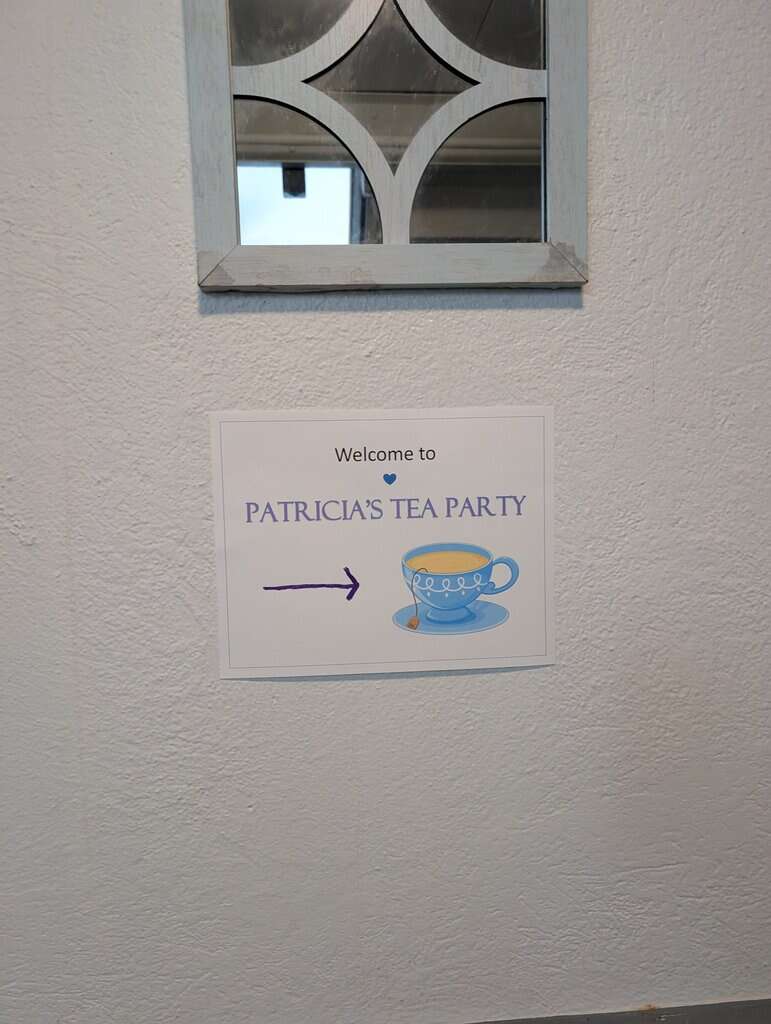
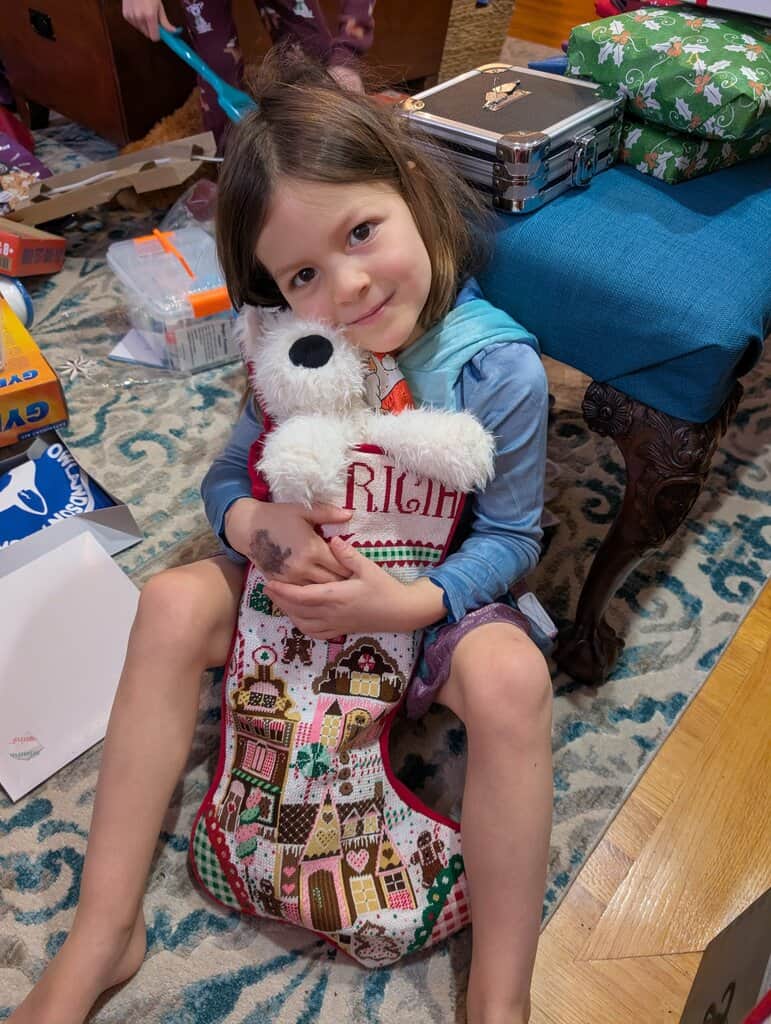
Since school gotten out the kids have been busy with daycare and summer camps. Last Friday was Patricia’s last day of daycare! Insane, I know! She’s my big lady now. The rest of this summer has been lots of trips and weekend activities.
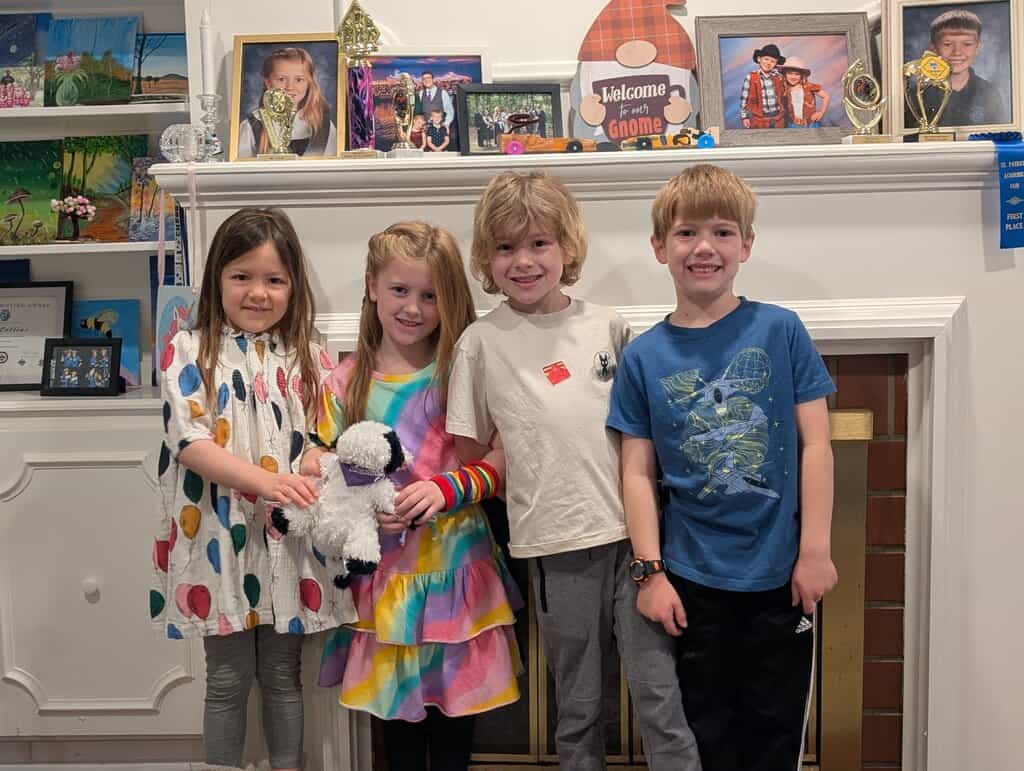
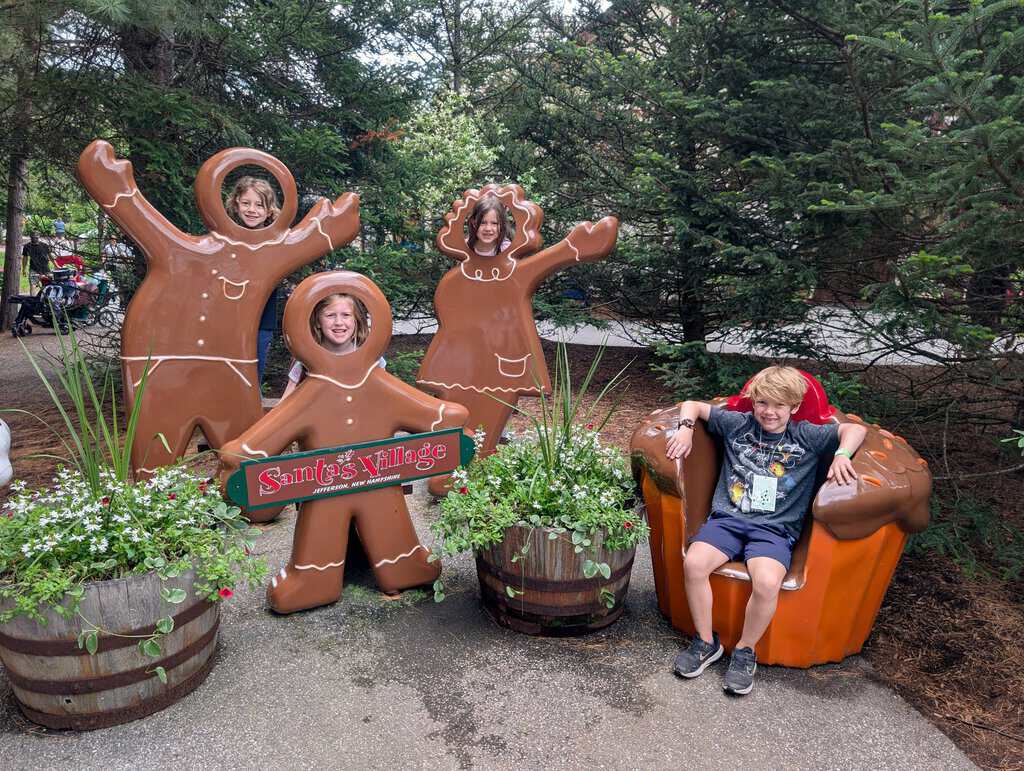
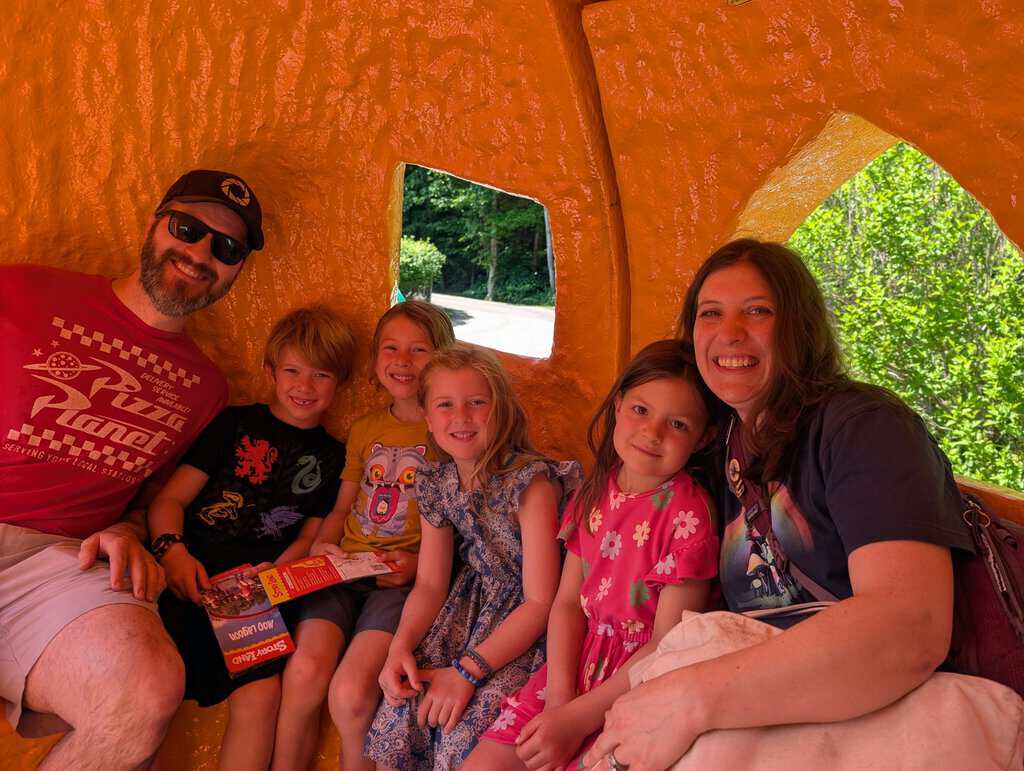
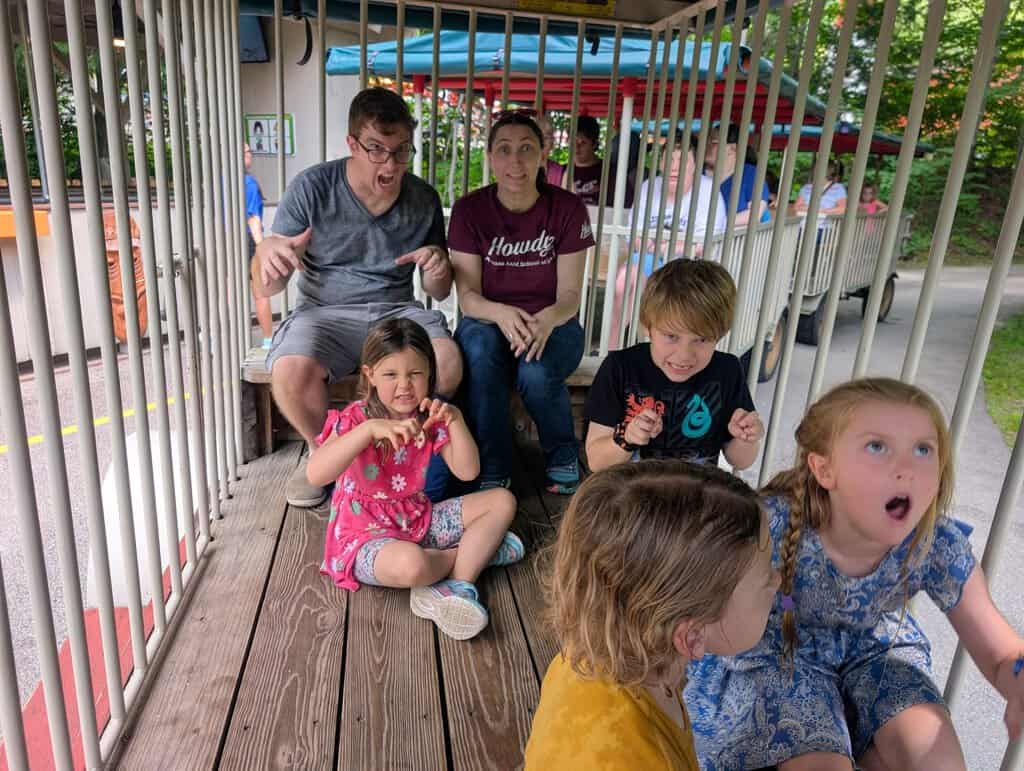
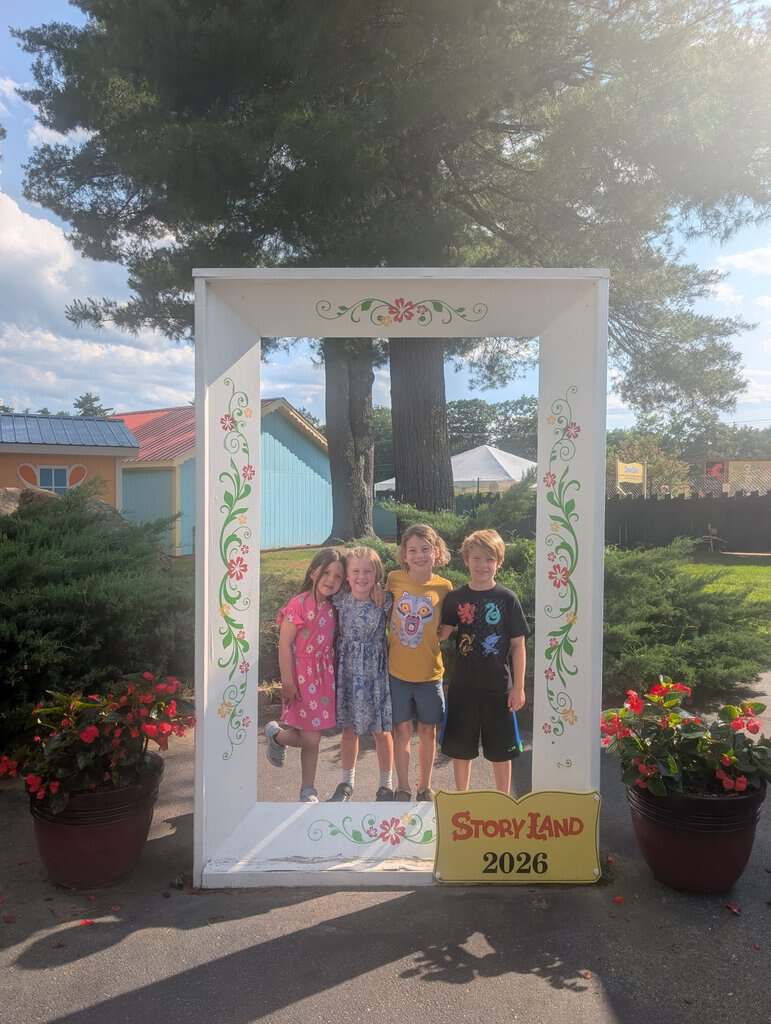
The beginning of summer my brother and sister in law and niece and nephew flew in and we all stayed with my parents in Maine to go to Santa’s village and Storyland. What a blast. The kids loved it too. It went by too fast but it was so much fun! As the kids get older, everything has gotten easier. We have to cut less things up, they entertain themselves, we worry less about keeping an eye on them 24/7 because we trust them to make good decisions (within reason). It’s the same traveling with Finn and Ari because they’re the same ages. And they are all happy to do big kid things with us. It’s great.
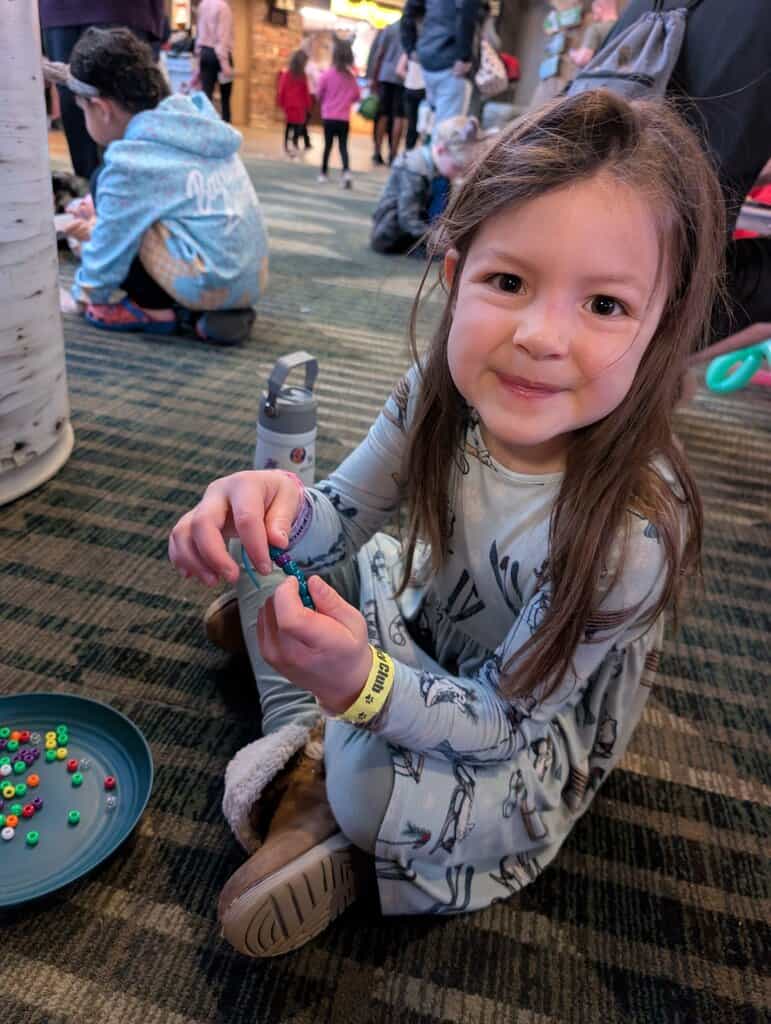
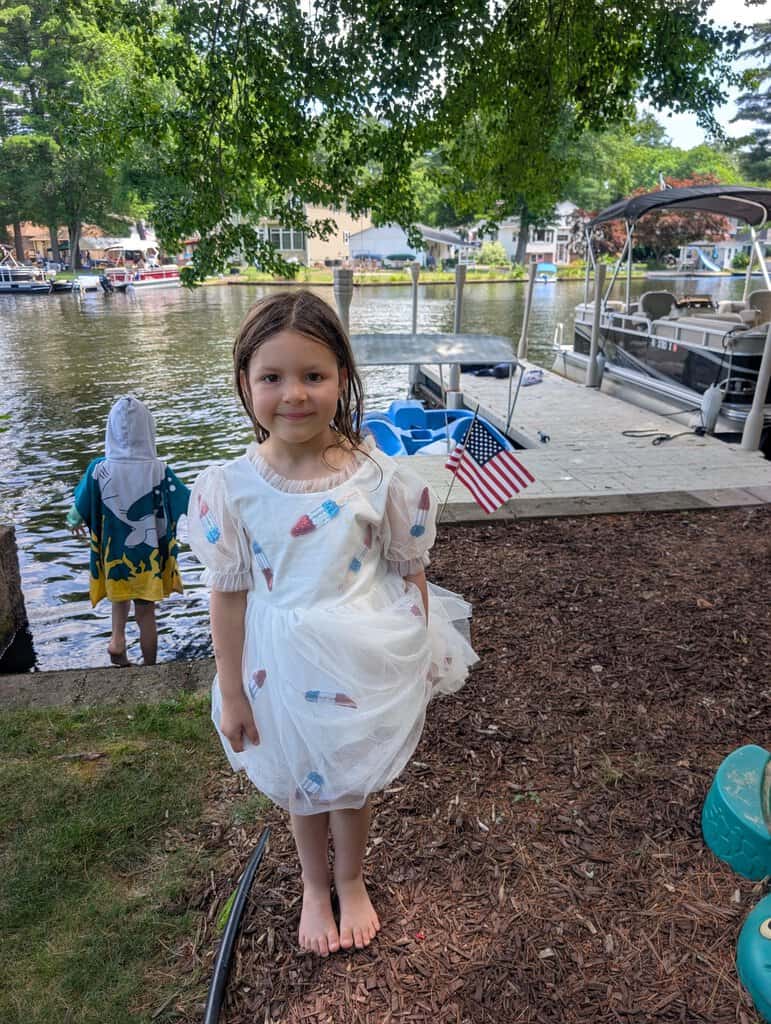
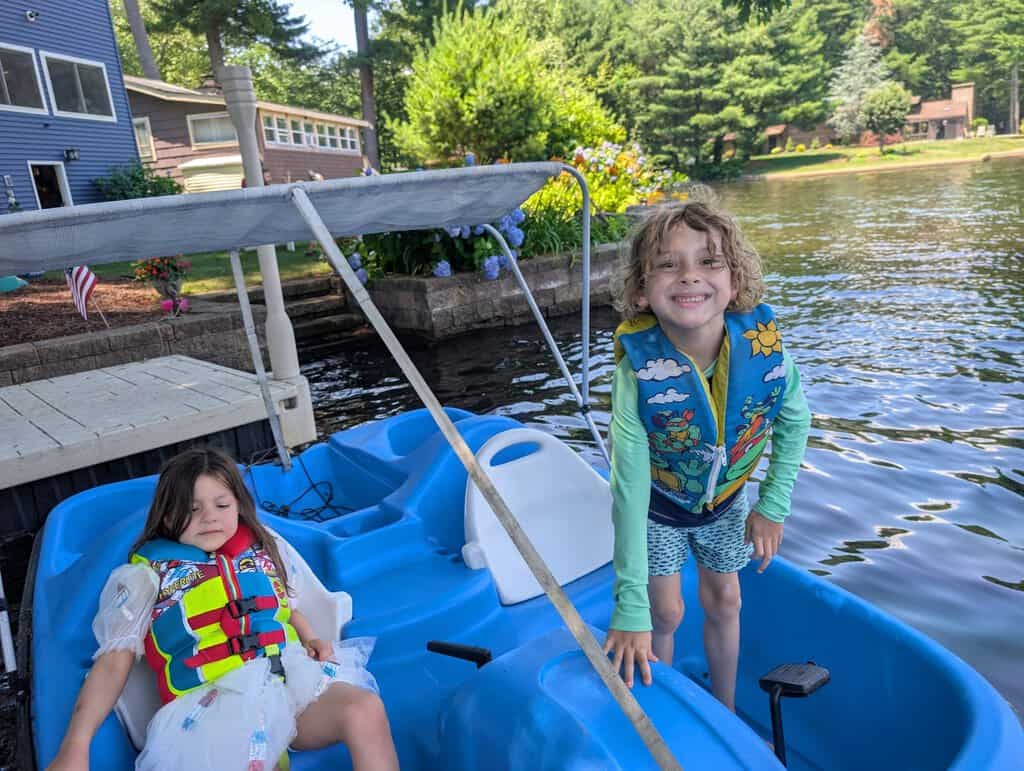
The following weekend we spent the 4th of July with my parents in RI on the lake. It was great! The kids have some friends they met down there across the lake that they spend hours playing with – shuttling people back and forth on paddle boards, paddle boats and all other manner of self-propelled watercraft. Patricia is the youngest by far but they are all very sweet to her and include her in their games. Despite the multi year age gap she really still keeps up! She is also really good at advocating for herself or speaking up when she’s not being included which is something I always struggled with as a child. It makes me quite proud.
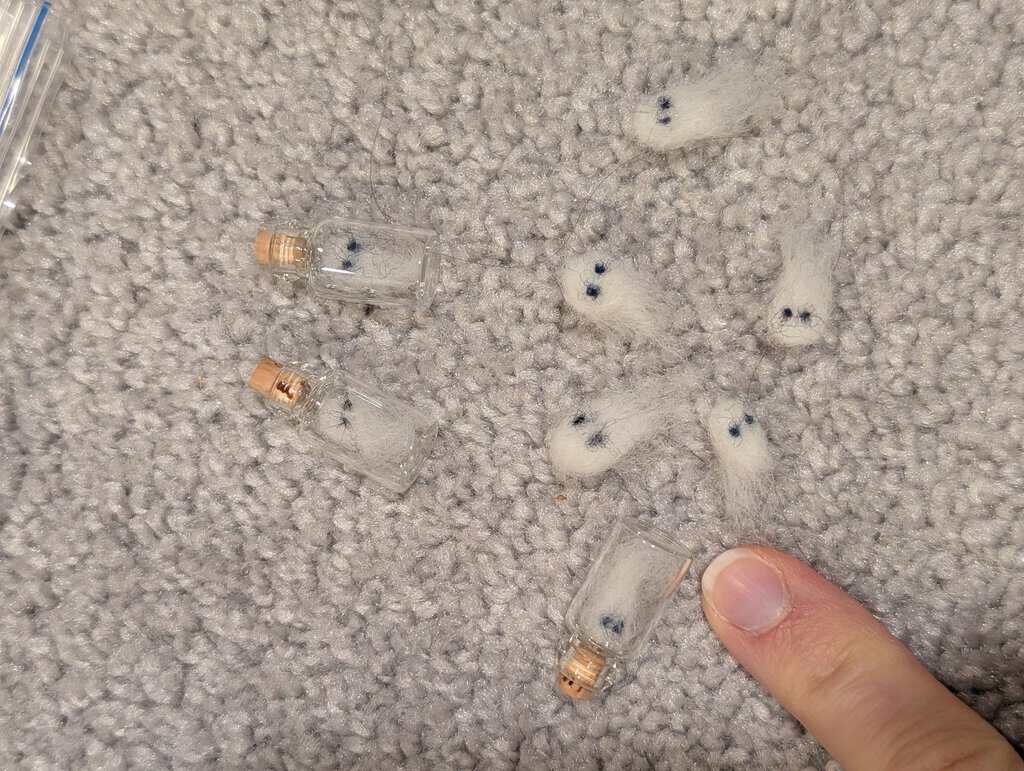
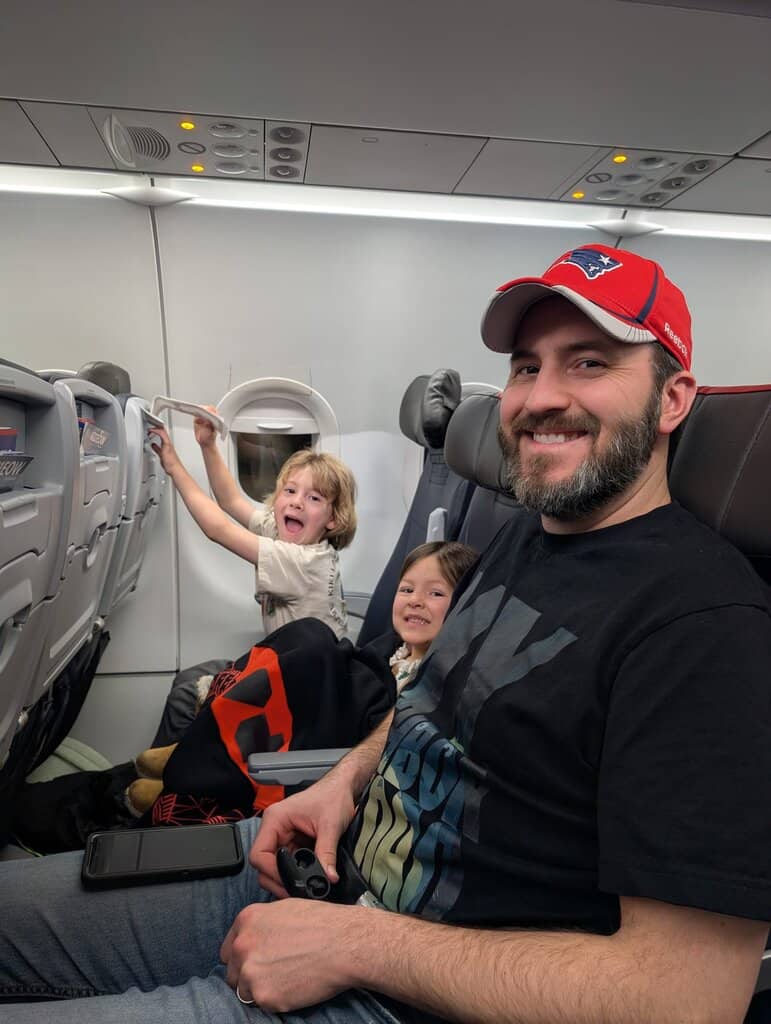
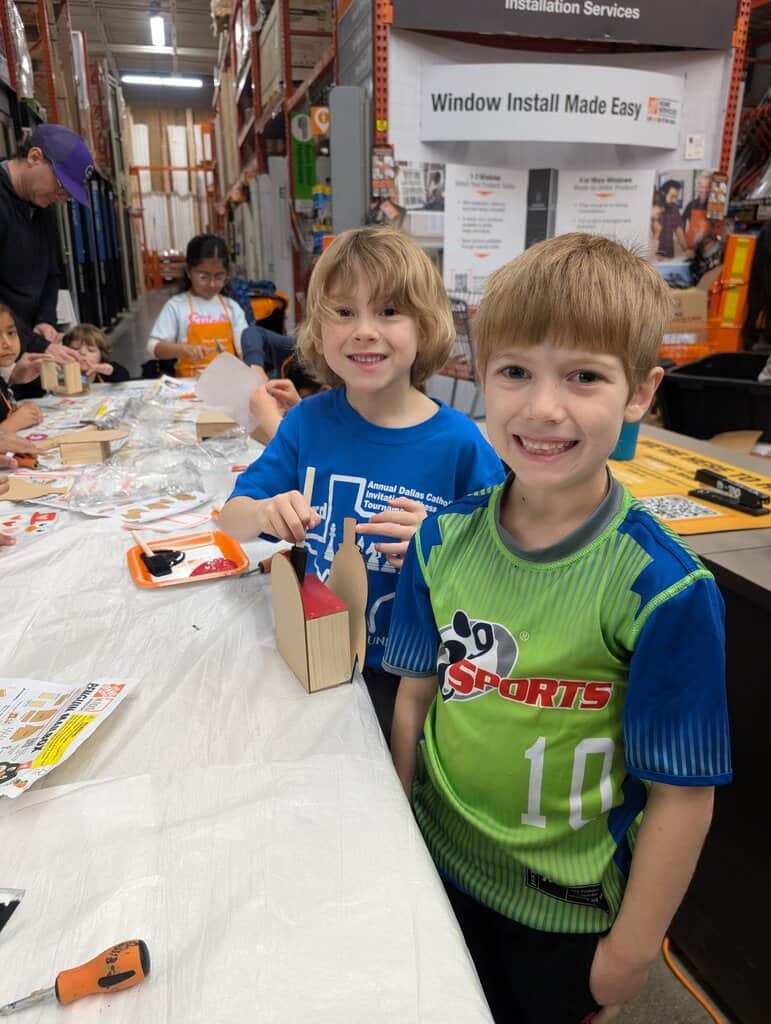
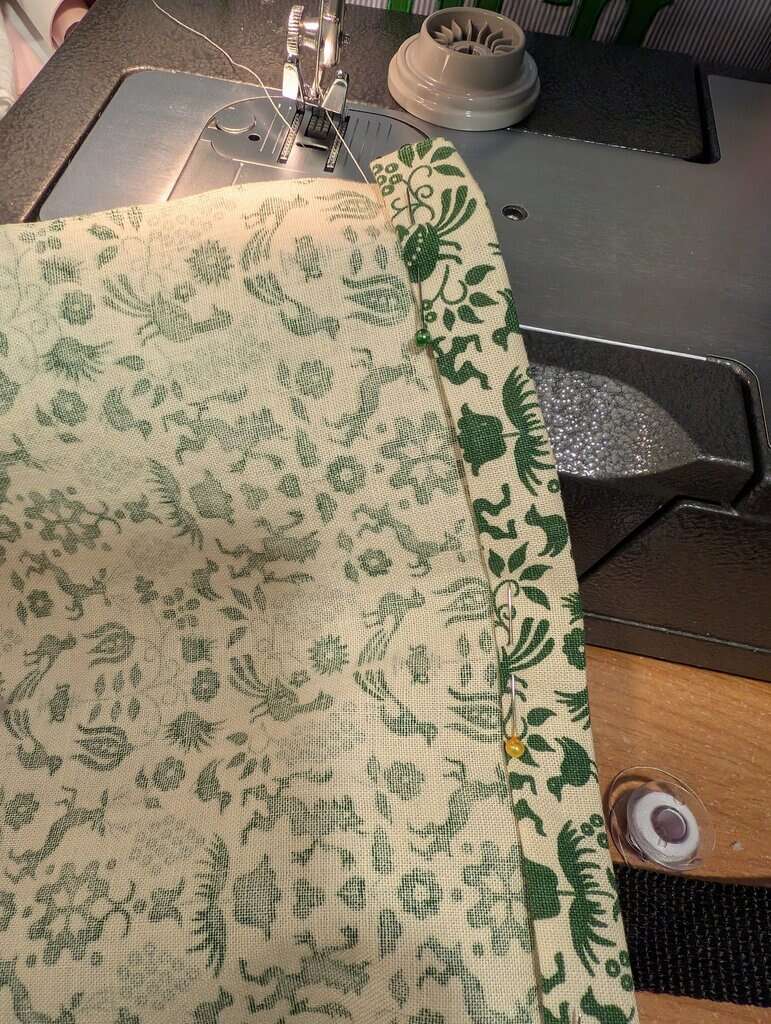
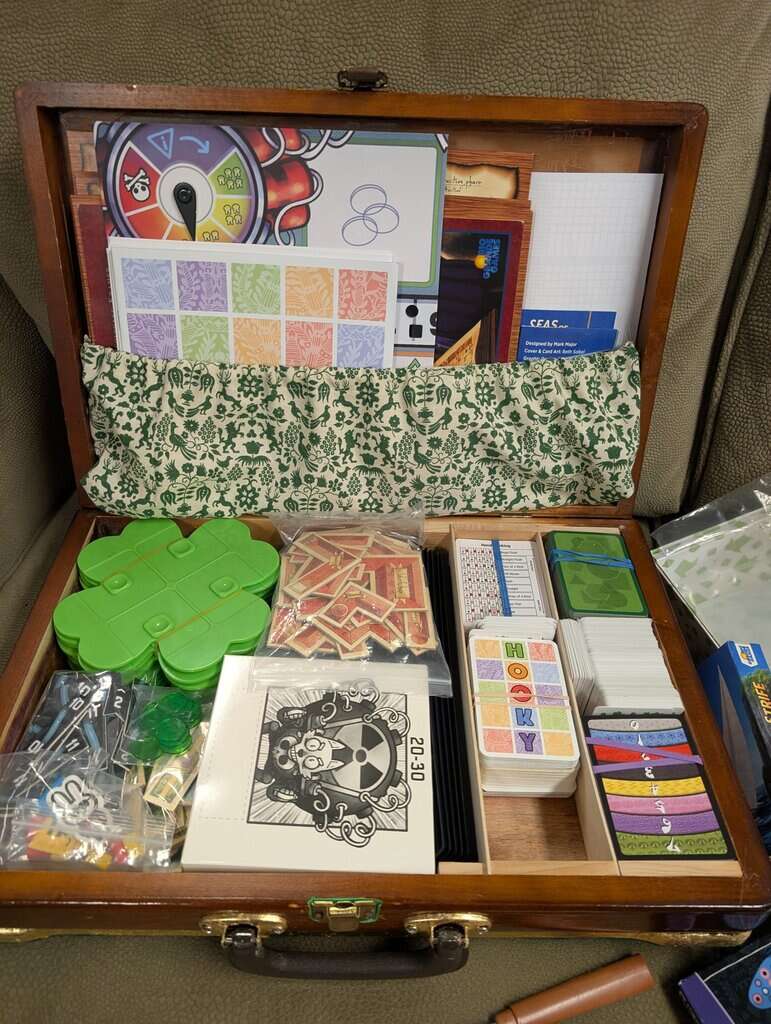
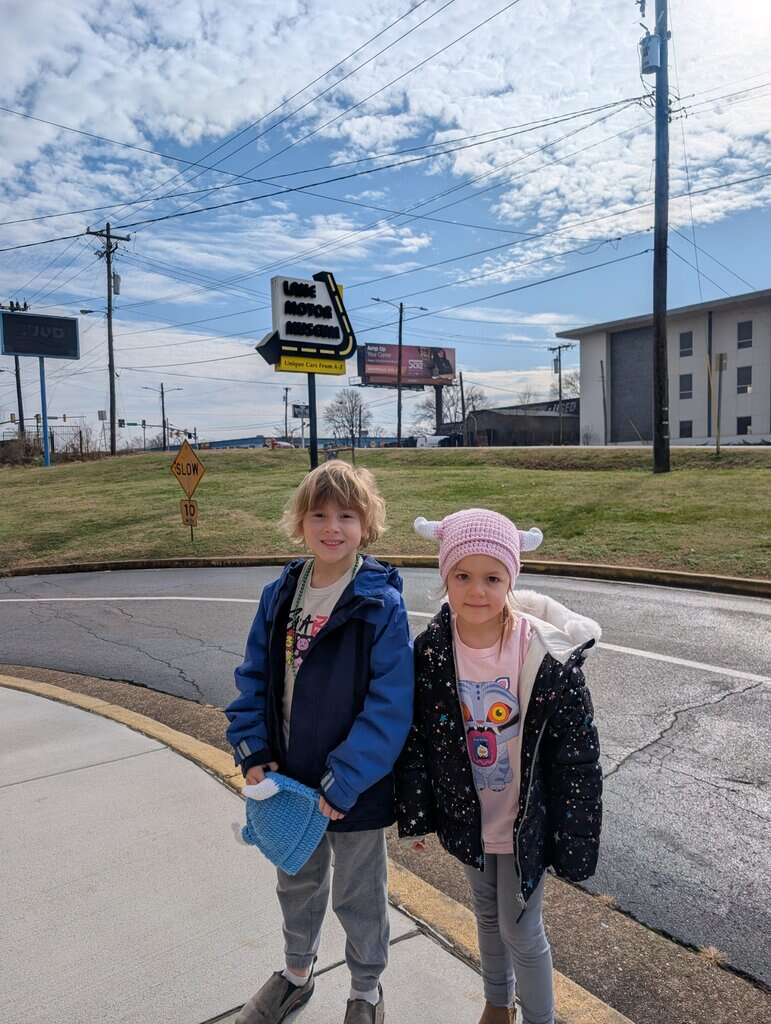
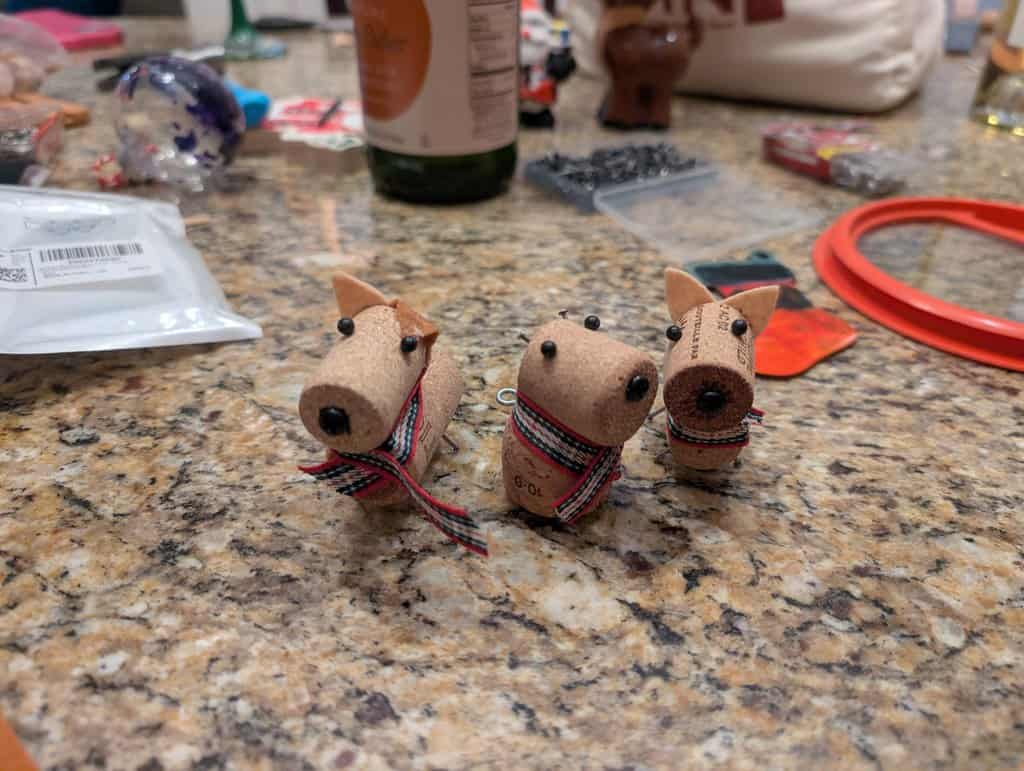
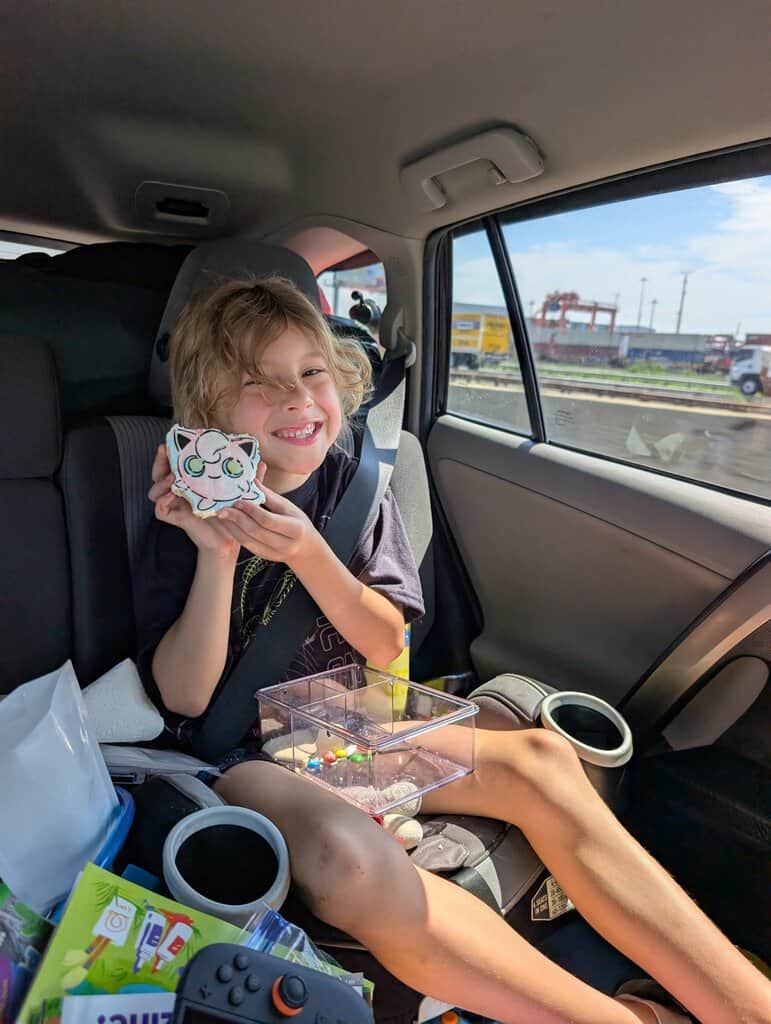
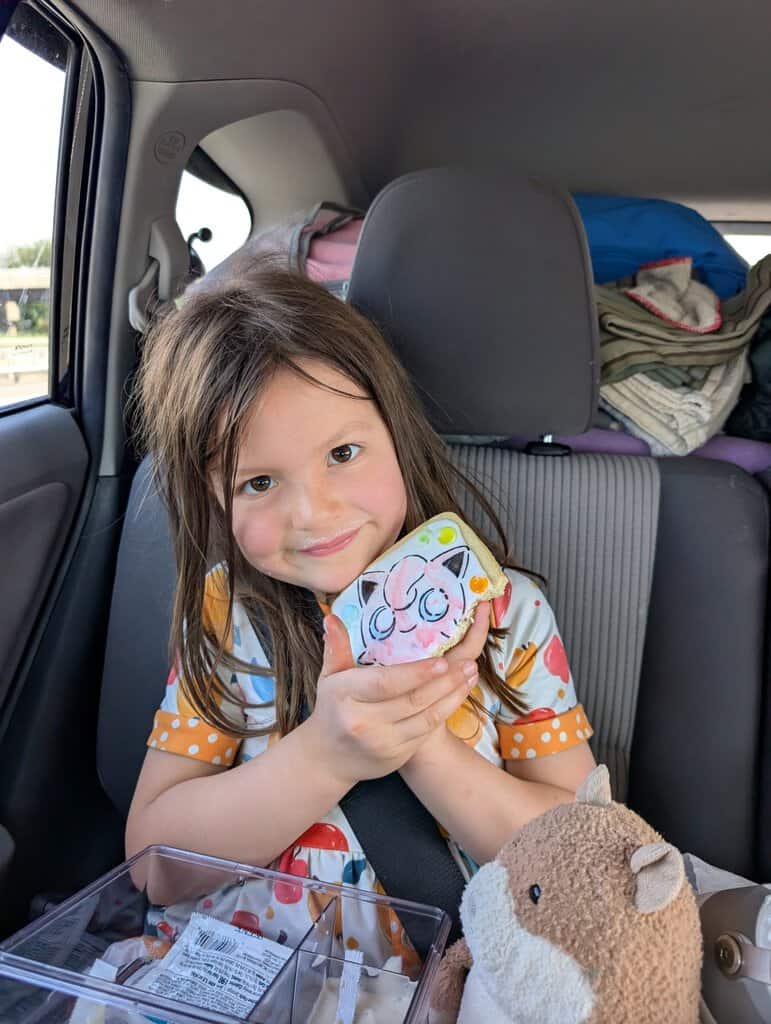
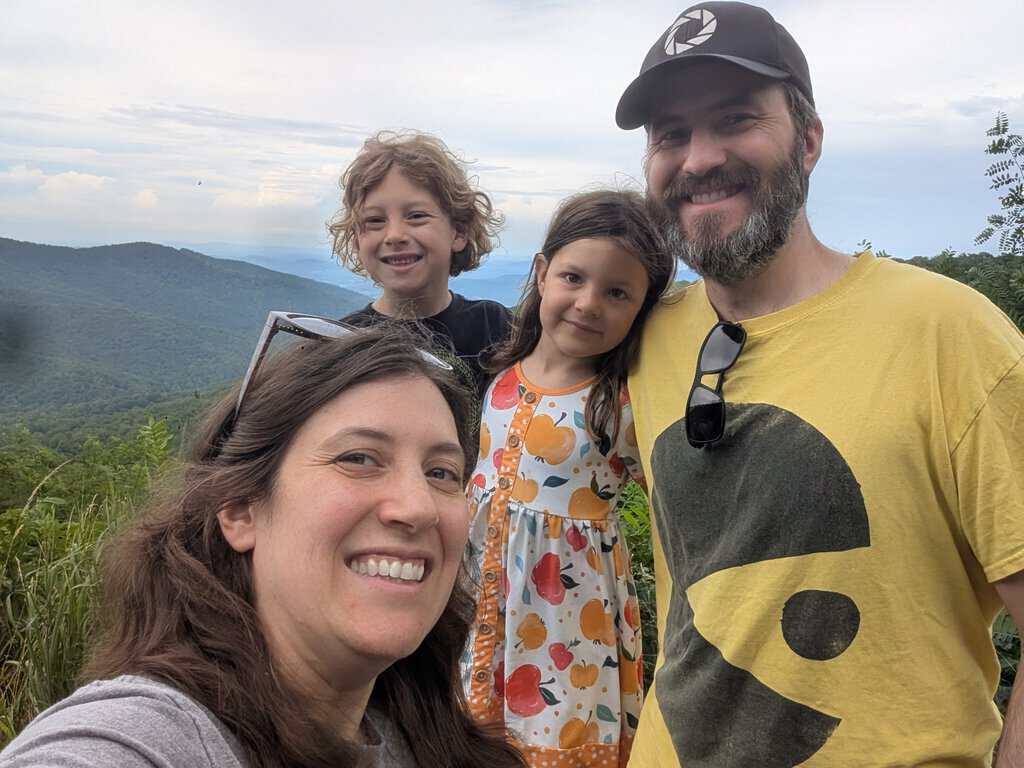
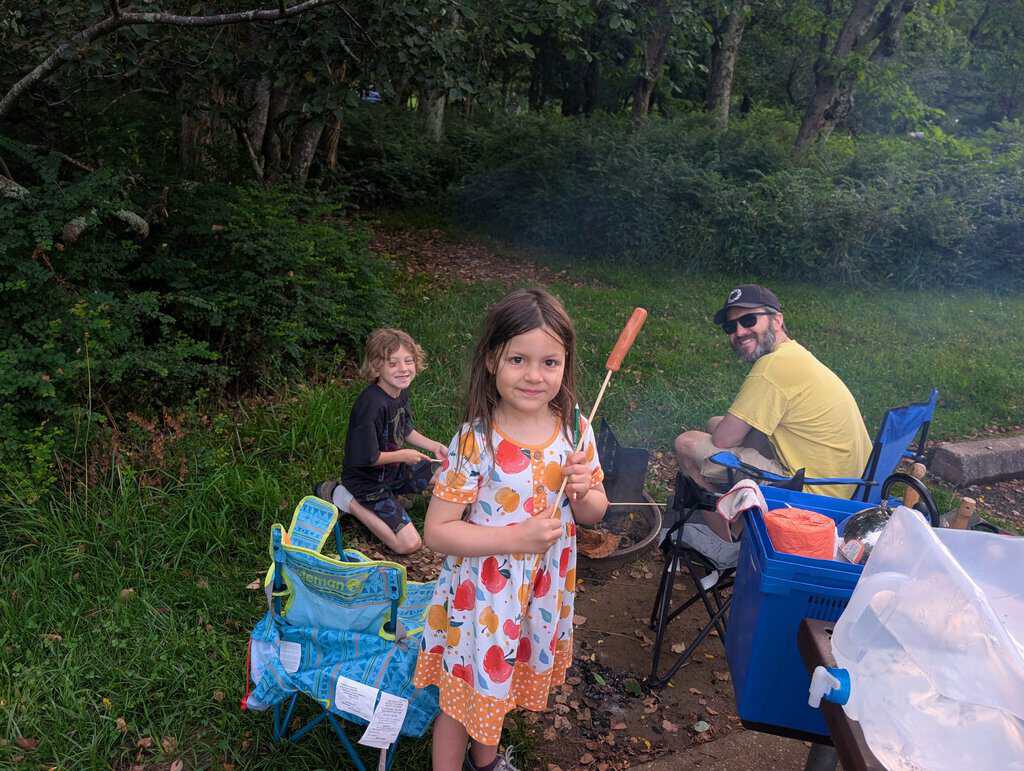
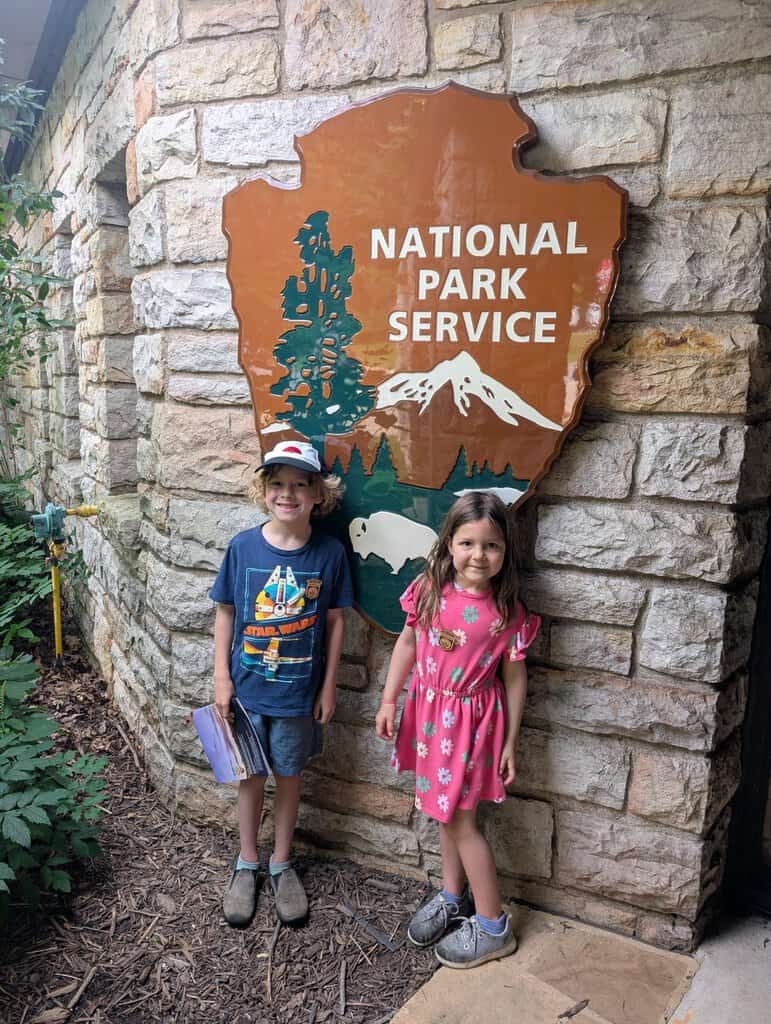
The next weekend we left town for our next adventure – a trip to Lake Lure, NC. My in laws booked an Airbnb down there and we decided to save money and drive down. On the way we stayed overnight at Shenandoah National Park which is in the Blue Ridge Mountains. It was beautiful! And there was tons of wildlife. The kids once again wanted to sleep in the microcamper (be still my heart) so we did! Shenandoah apparently has a lot of bears (we didn’t see any) so they have bear boxes at most of the campsites – we were able to put all our stuff in there which was great for the microcamper! For dinner this time we roasted hotdogs over the fire with a side of broccoli and I finally tried my new home made woof-em sticks! They worked great! Since the kids are into video games now we let them play games and watch a few pokemon movies on the way there and back, in between the silly games I packed for them. The only really new thing I packed from last time was this sew your own monster craft that we actually already had in the basement. It’s been sitting around for a while. Let me tell you it was a hit! The kids did really well putting the kits together with limited help. I of course also packed snackle boxes again for the way there and back with paint your own sugar cookies, but I only did one new design, a jigglypuff.
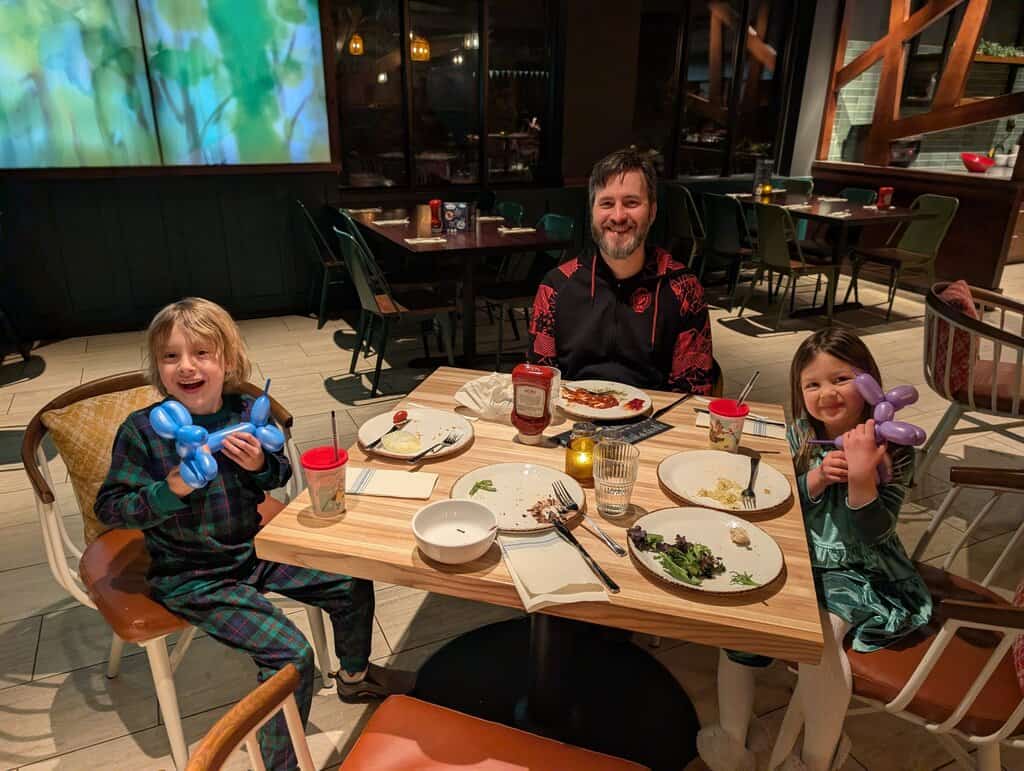
We had a blast in Lake Lure with Will’s entire family. The views were gorgeous from the huge screen porch. Our days were filled with swimming, boating, (I drove the pontoon boat! We even went to a dock and dine spot!) hiking and hanging out. The kids had fun with our niece and nephew even though this time they were the big kids! It was a beautiful trip and again I didn’t want it to end. For our drive back home we had planned another camping trip in Maryland, stopping to visit my friend Danielle for lunch along the way since we pass right by her! We got to meet Andrew finally too and we had a great short visit with them over lunch before we had to check out the cool retro arcade in town then hit the road again. Unfortunately when we got on the road again we discovered there was a tornado watch for the area we were camping in, so we made a game time decision to just drive straight back home. The kids and I were disappointed we didn’t get to have another fun camping adventure, but relieved to have basically an extra day!
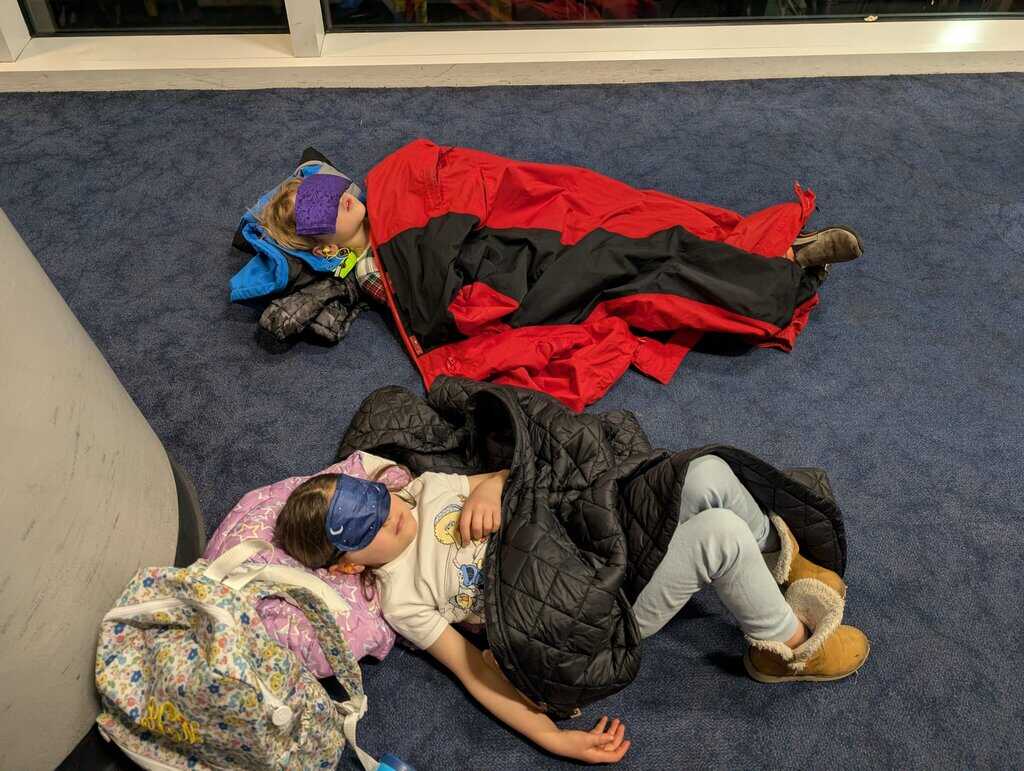
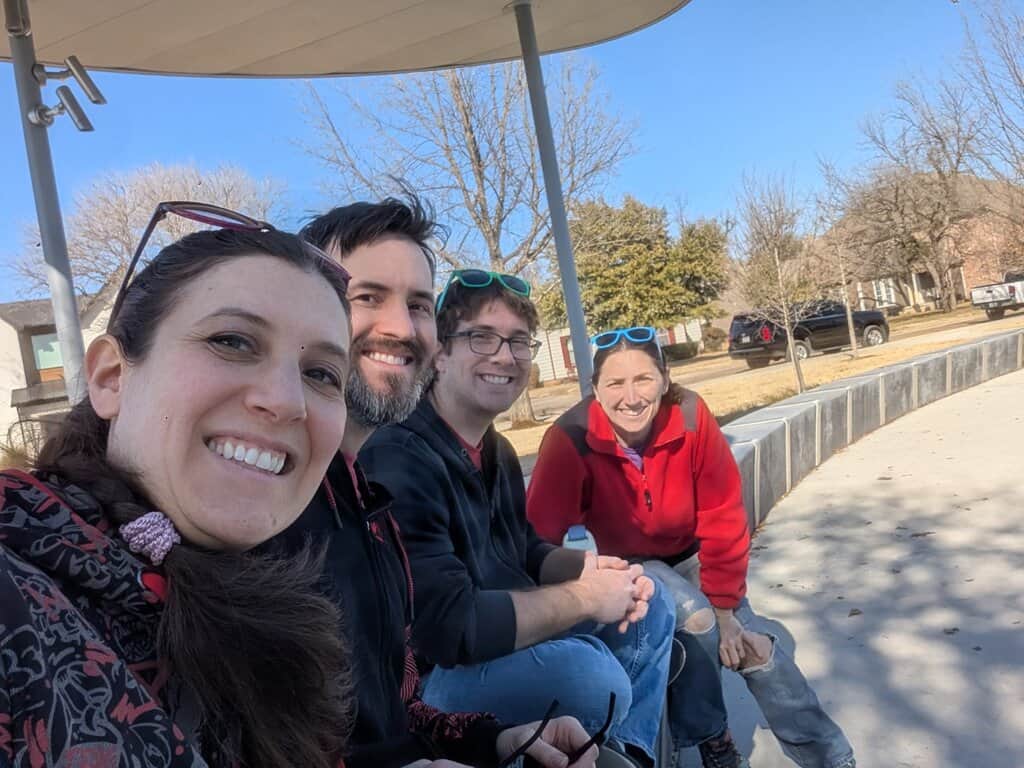
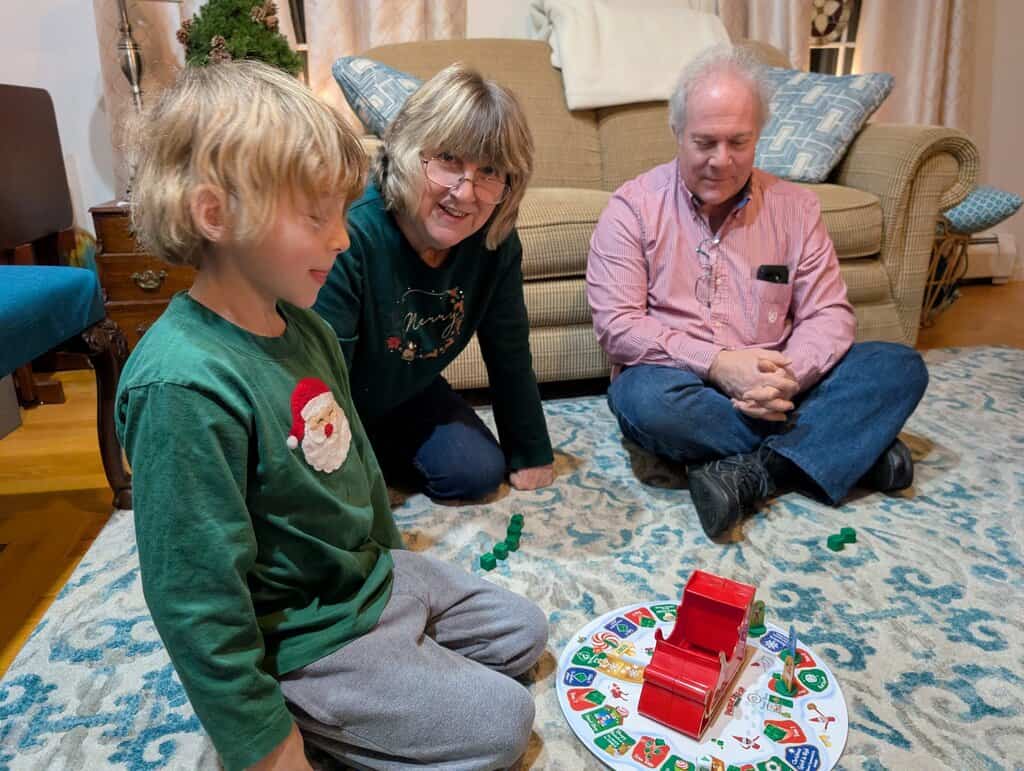
Last weekend we dropped the kiddos off at my parents’ house for “Camp Meemah” (something my in laws have volunteered to do for us too when we are ready to put the kids on a plane by themselves – I’m just not ready yet even if the kids say they are!) I thought Will and I were going to have a fun week to ourselves to do adult things… but I had a work trip come up with travel to Costa Rica! I probably could have said no, especially since it’s right over when Mandy and Bailey are in town, but I feel like I will probably never get the chance again! When making a list of who I need to say hi to in Costa Rica there were nearly 40 people on my list, all but one of which I’ve never met in person. Even though I’m not directly on this project my manager thought it was good for me to go. I told Will he should join me but his passport is expired! Ugh! So I guess he gets to have a fun bachelor weekend instead!
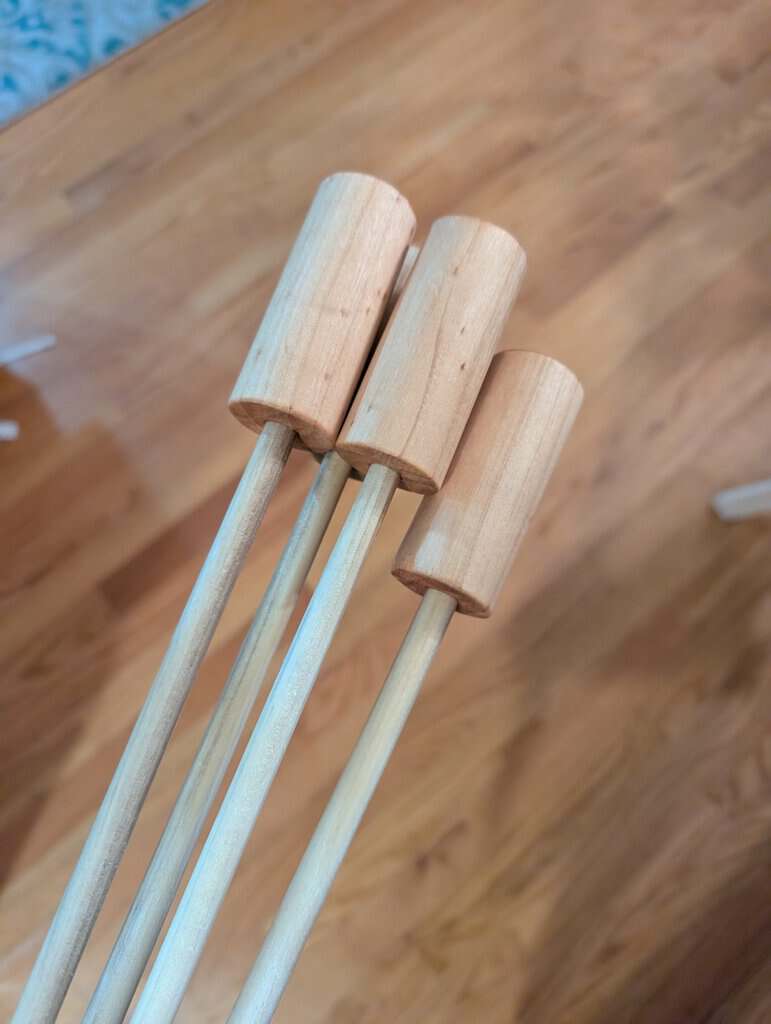
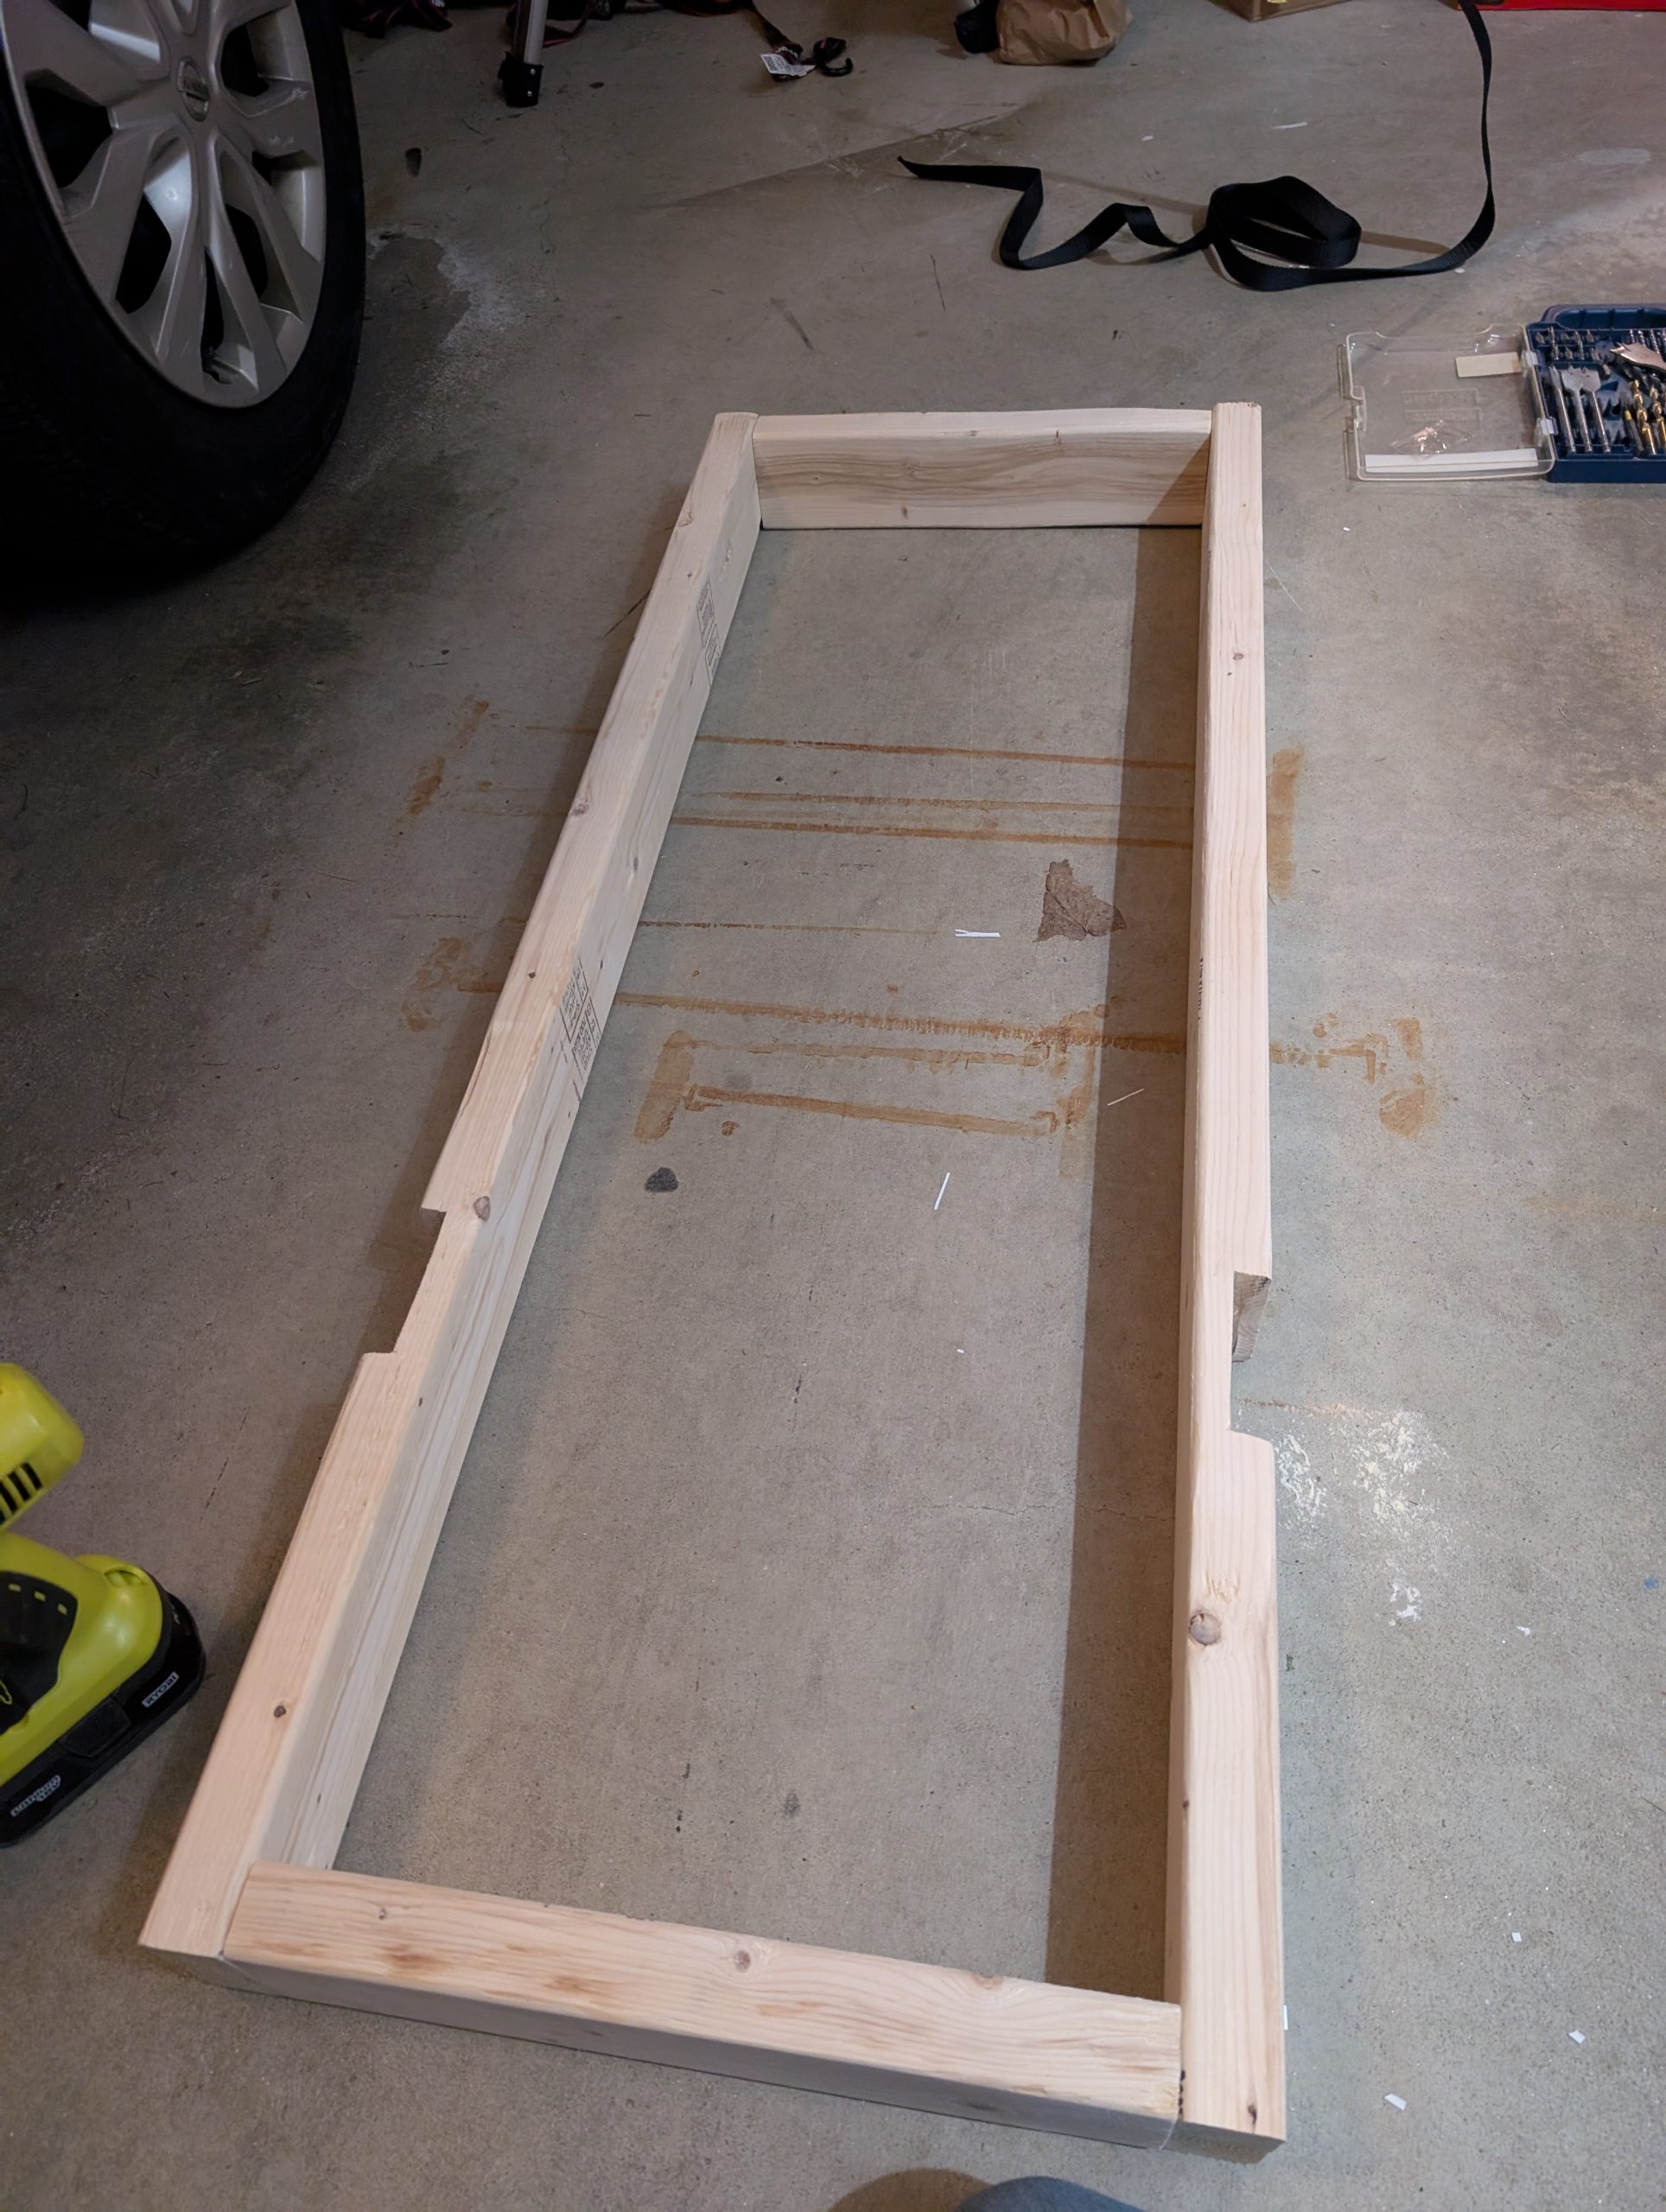
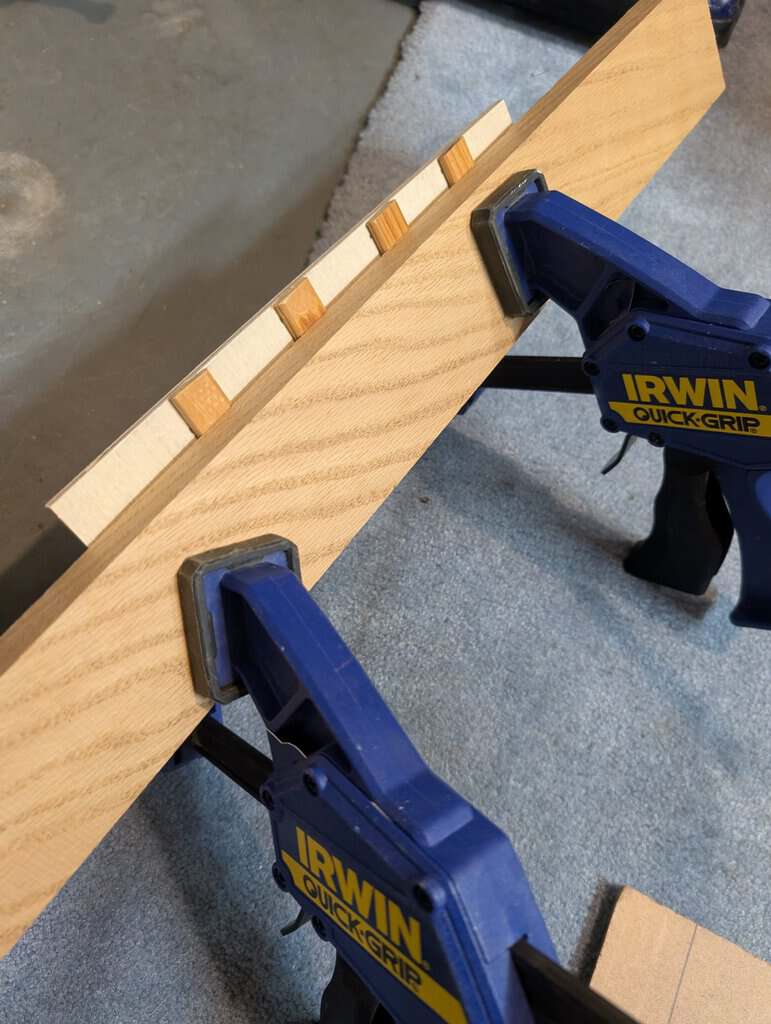
Woof Em Sticks
What you’ll need:
- 1” dowel (larger would be better but I couldn’t find any)
- 3/8” dowel
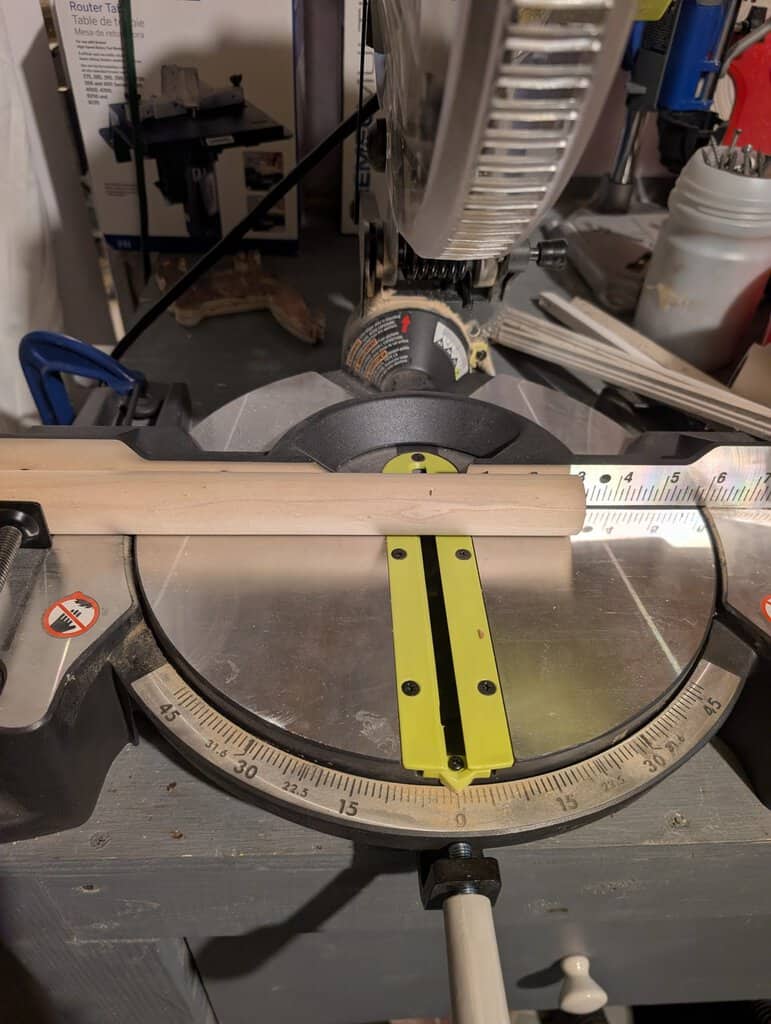
Cut 3/8” dowel down to 3 feet each. Cut 1” dowel down to a 3” section. Sand everything very well.
Drill a 3/8” wide hole into the bottom of the 1” dowel, about 1.5 inches deep. I did this by first using a 1/4” drill bit first to prevent the dowel from cracking.
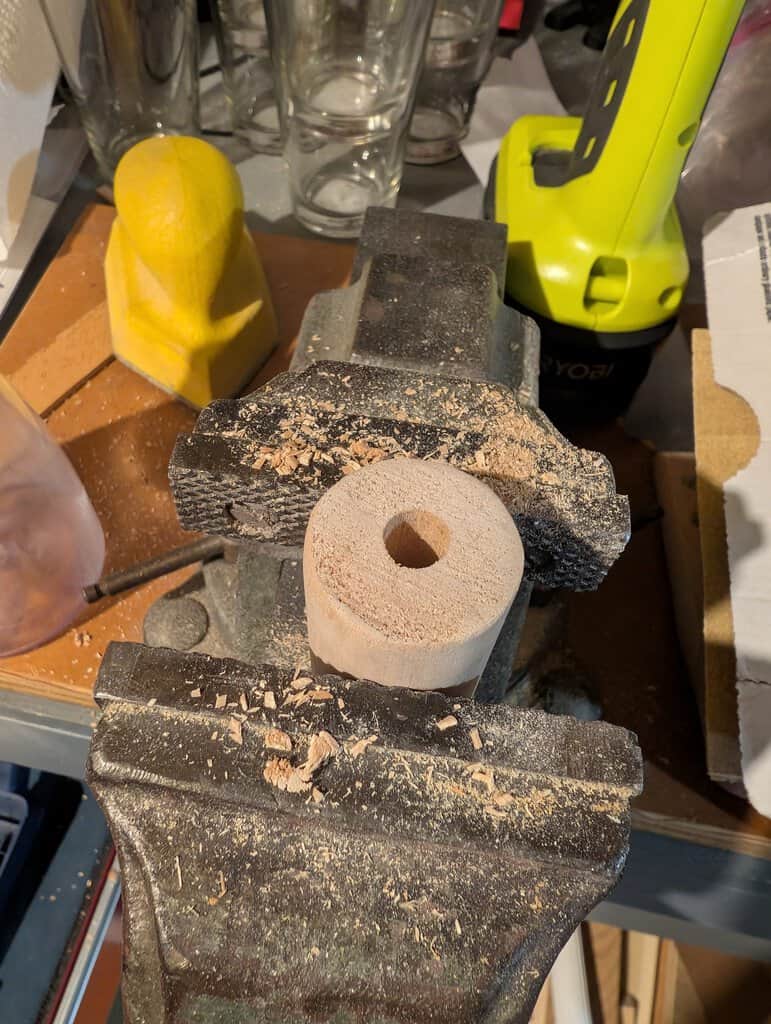
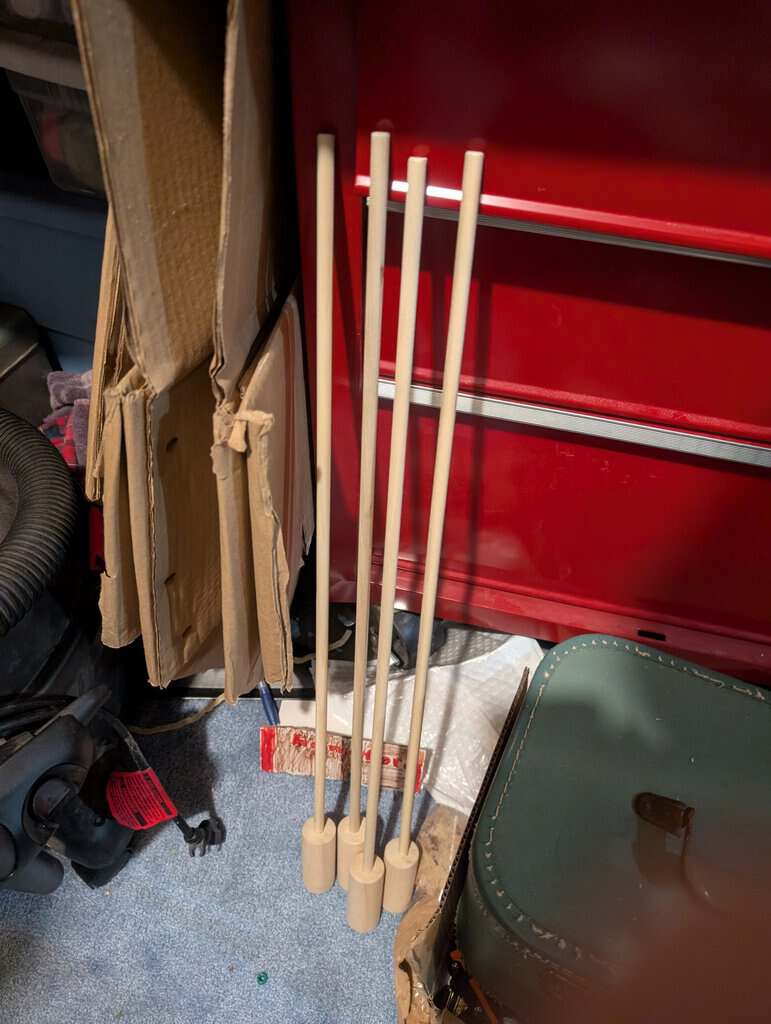
Shove the 3/8” dowel into the hole as far as it will go. Mine were snug so I didn’t add anything else to hold it in place.
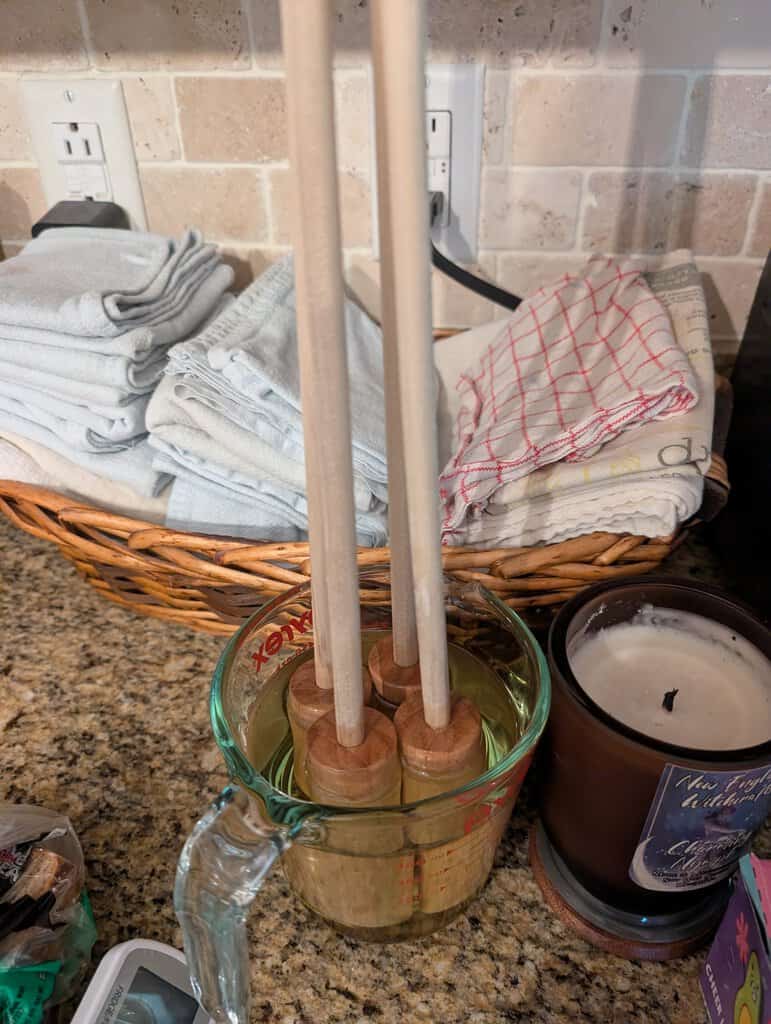
Finally, let the 1” dowel section of the sticks sit in cooking oil for a few days to absorb the oil.
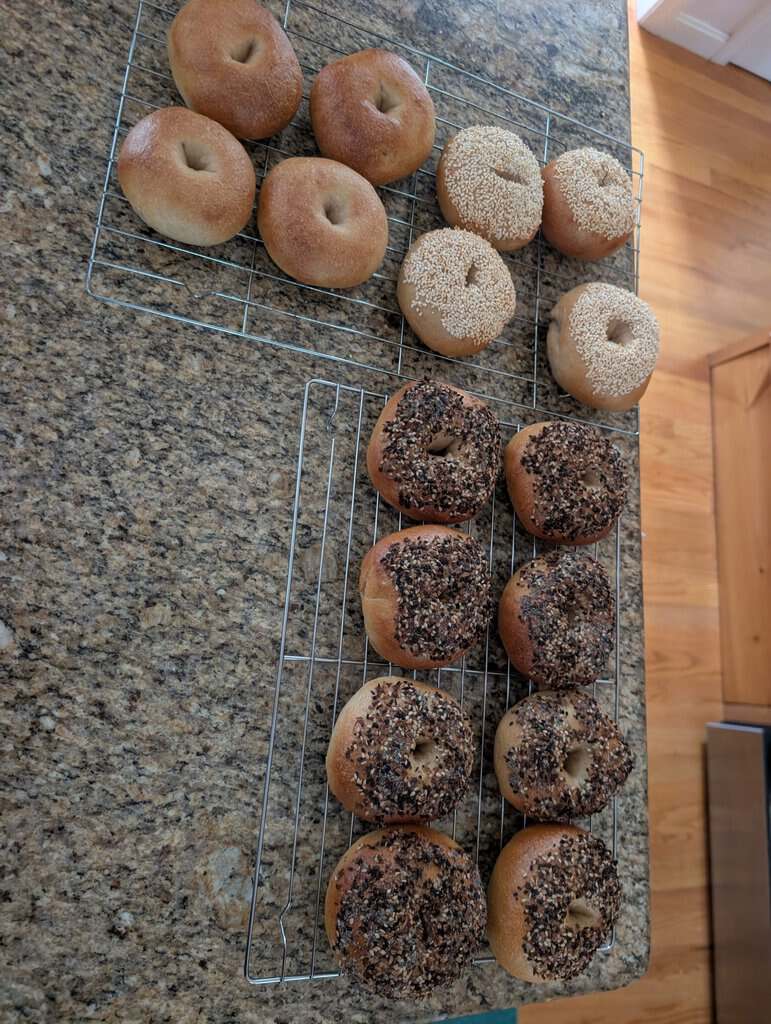
The first time we used the woof em sticks the fully cooked woof ems pulled right off the stick. I am going to re-season them again though just in case.