
Why am I so exhausted lately?! Was 35 the turning point? I’ve been taking power naps after the kids go to bed just so I can stay awake later to pack lunches for the kids or enjoy a bit of me time after work. It was a struggle to get back out of bed.
In other news I’m beyond my one year anniversary of sourdough and still at it. My co-worker sent me a meme the other day that sourdough was basically like the Tamagotchi of the 30 and 40 year olds. They are not wrong. There are so many stories of people accidentally forgetting about it or neglecting it, comparing notes, showing off their best versions. I even was complaining to my coworker how I have to sometimes plan out my meeting schedule/lunch break to catch my starter at it’s best. (Remember trying to feed your Tamagotchi during recess or lunch break?!) I’ve been trying to perfect sourdough hot dog bun making and today was probably my best batch. It’s so fun to make something so delicious with just flour, water and magical microbes.
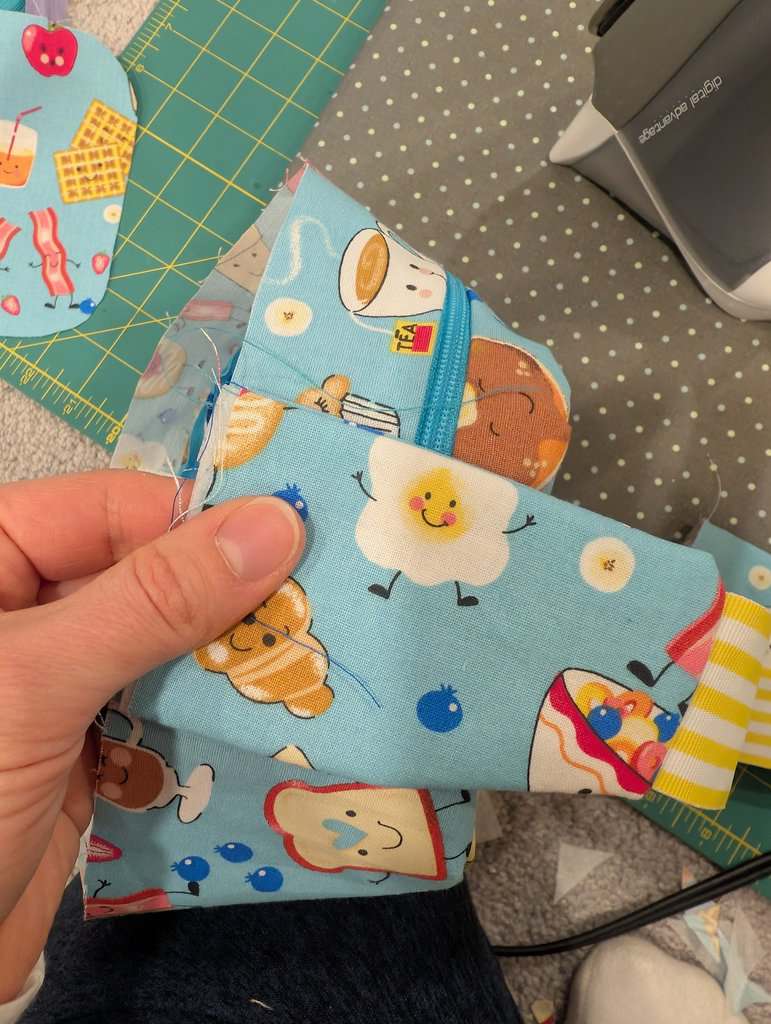
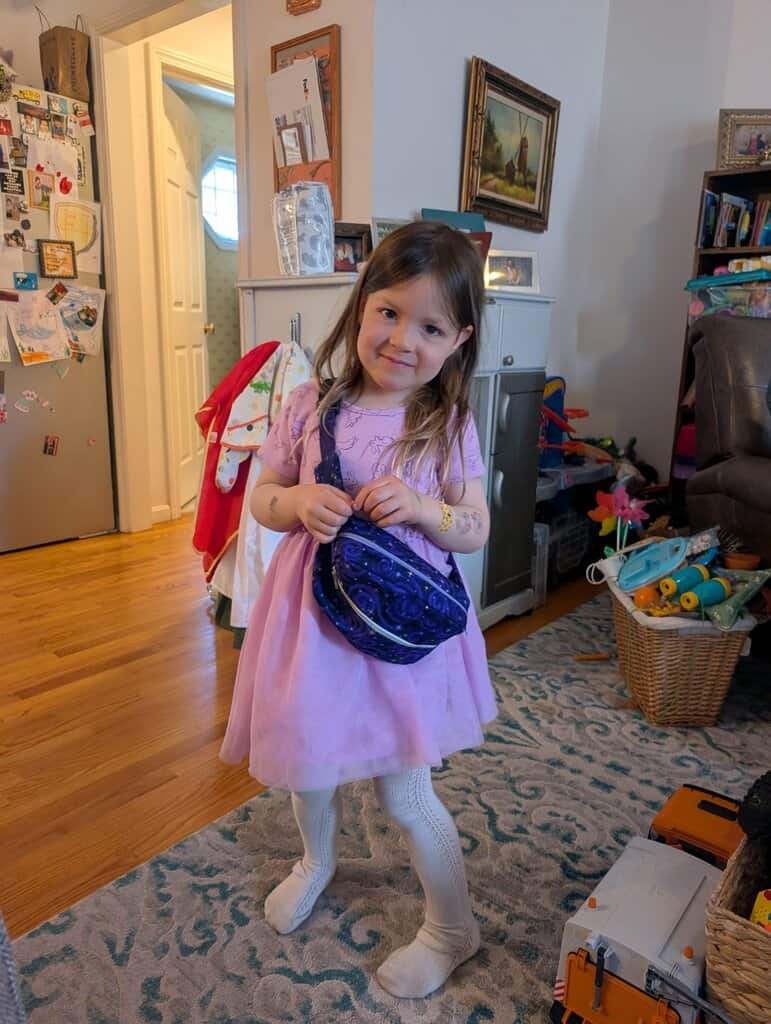
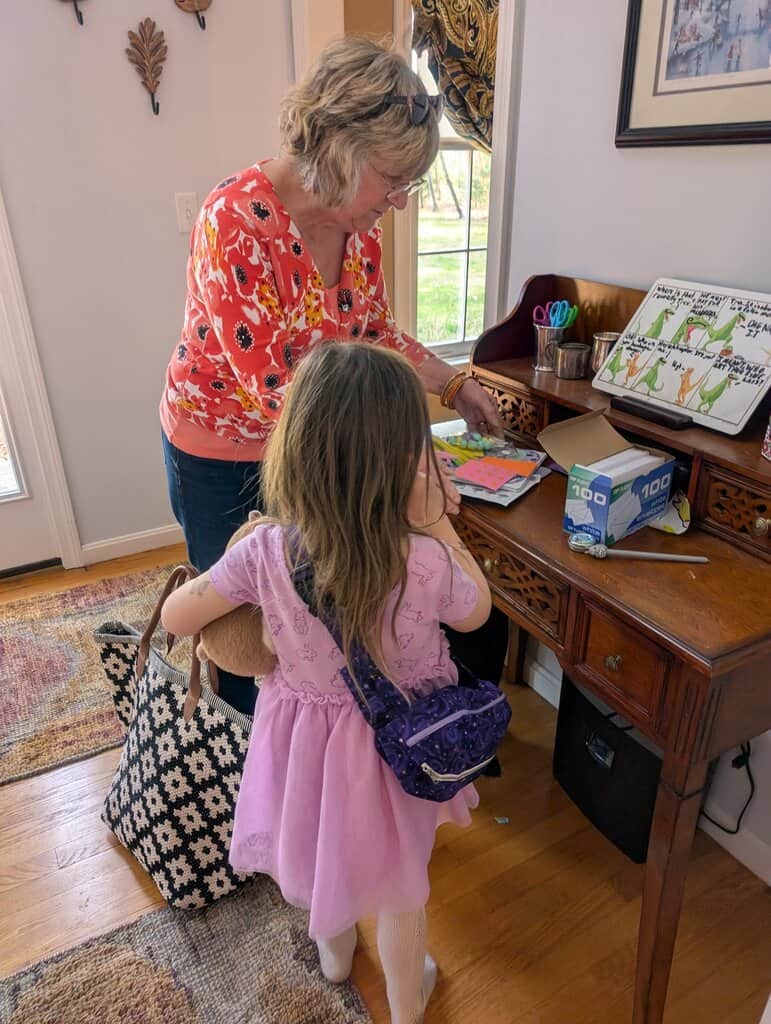
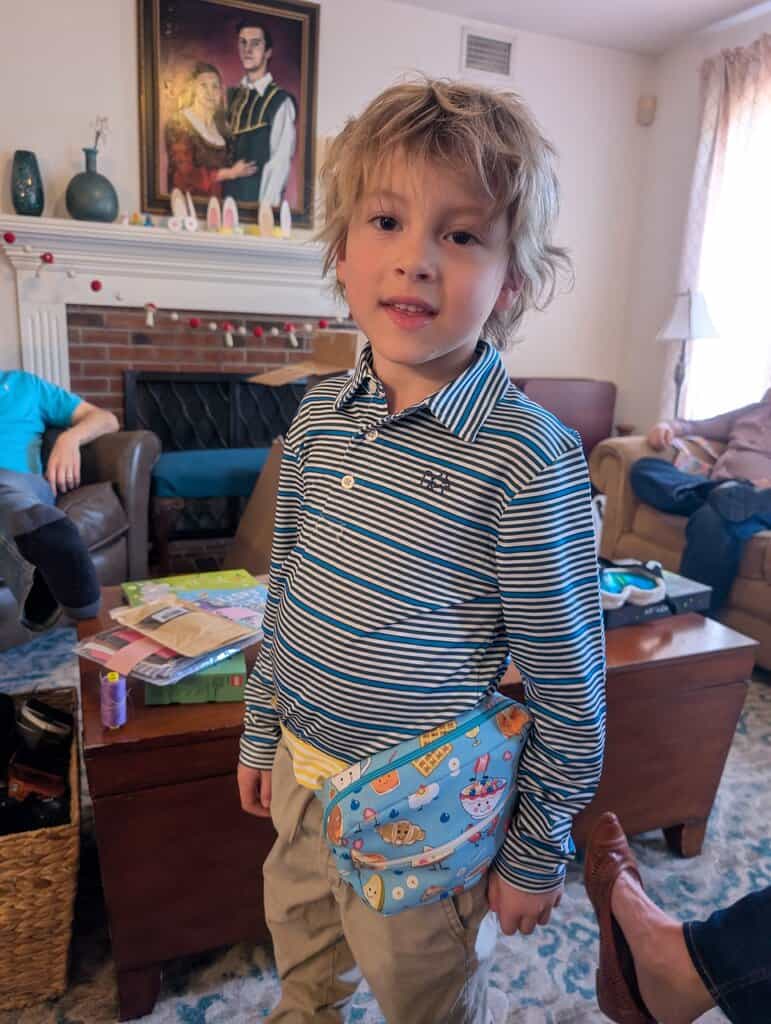
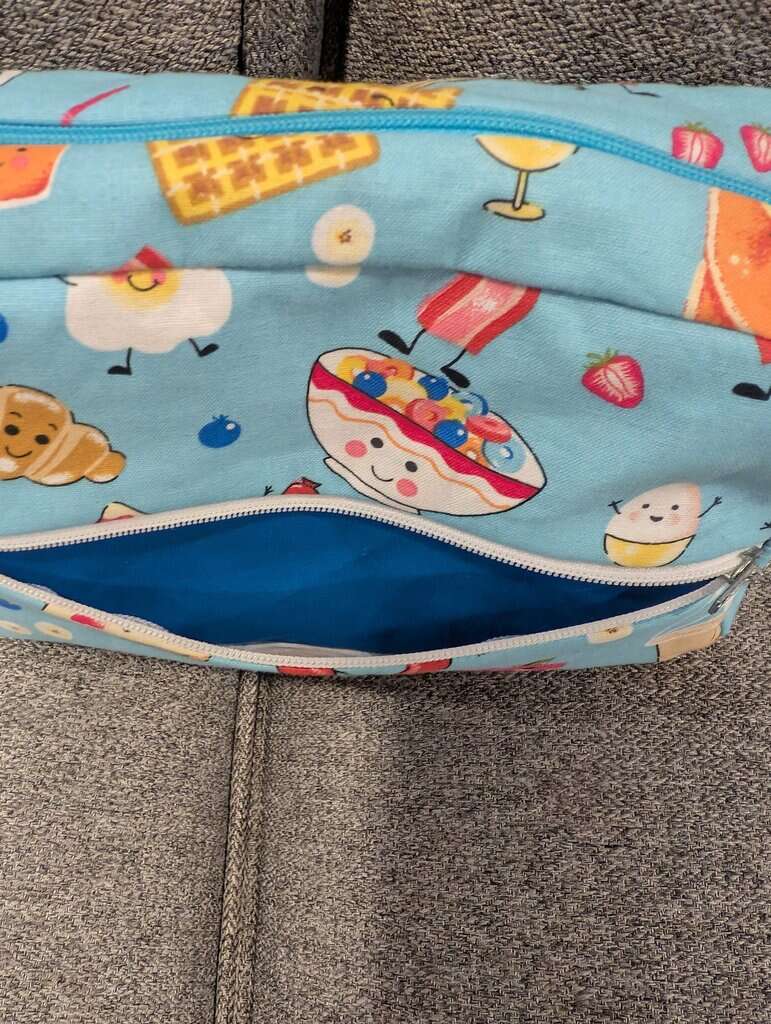
Though I’ve been tired, I’ve been working diligently on my “micro camper”. I am now working on the bed for Will & I. I did pause right before Easter to make a couple fanny packs for the kids. They came out super cute. I let Julius and Patricia pick out some fabric before Joann Fabrics closed (I know I can’t believe it either). They chose some cute fabrics that I told them I would make into “a bag” for them, but I didn’t give them anymore information than that. I’ve been wanting to make them fanny packs since Maren mentioned it a while back! I think she was making them for her girls and I thought it was a great idea. Julius has a wallet now that he likes to carry around, but he misplaces it everywhere. I figured a fanny pack (or I guess they call them hip bags now) would be an improvement! I showed Patricia that she could also wear it over her shoulder like my Patagonia sling bag that I’ve been using since before she was born, and she thought that way was way cooler.
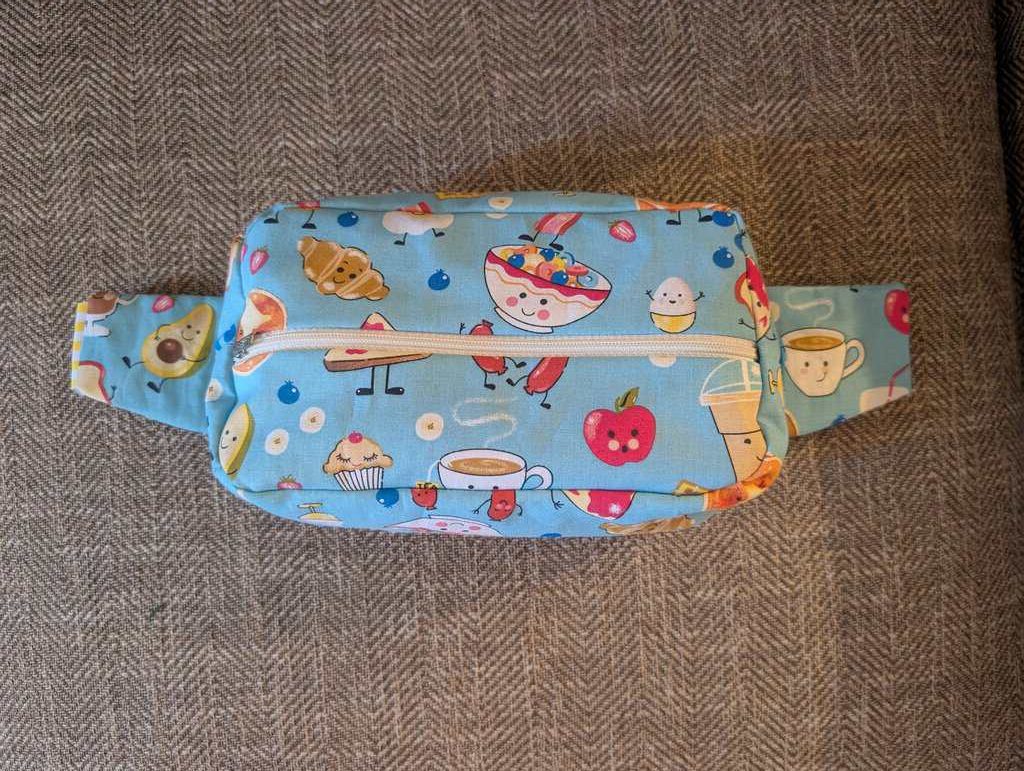
Overall I’m pretty pleased with how cute they came out and honestly tempted to make one for myself! Aside from the fabric, I purchased the clips. I looked everywhere for them, and the only place that carried any larger ones was Home Depot, but the ones near me (tried several) didn’t sell the right sizes. I ended up having to get them from Amazon… sigh. To counteract that I reused some ribbons and webbing I saved up from presents and old shopping bags and I also got the opportunity to use up some zippers that were from my grandma’s stash of zippers! Talk about way upcycling.

DIY fanny pack/sling bag
What you’ll need:
- About 1/3 yard of exterior material
- About 1/3 yard of interior material
- 1 12″ zipper
- 1 8″ zipper
- 1’x1′ lightweight sew in interfacing
- 1 yard of 1″ or 1.5″ webbing (or wider if you have a wider waist) divided into 1′ and 2′ pieces
- 1″ or 1.5″ side release buckle (depending on ribbon or webbing width)
- my pattern here
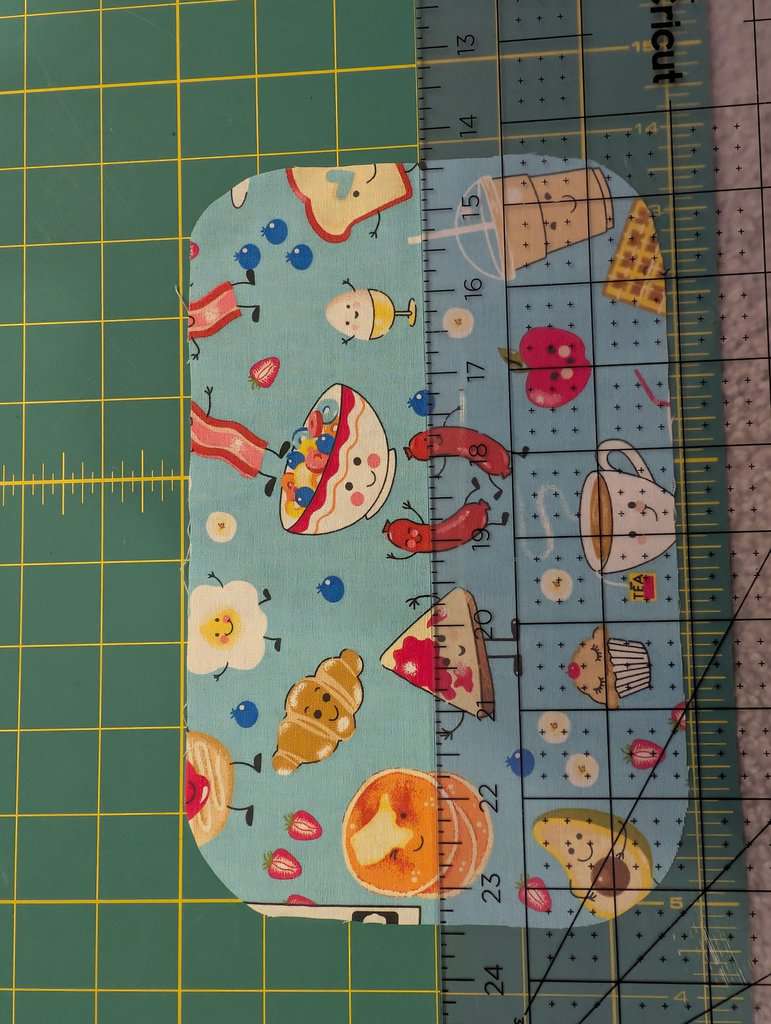
1. Cut out all pattern pieces according to pattern.
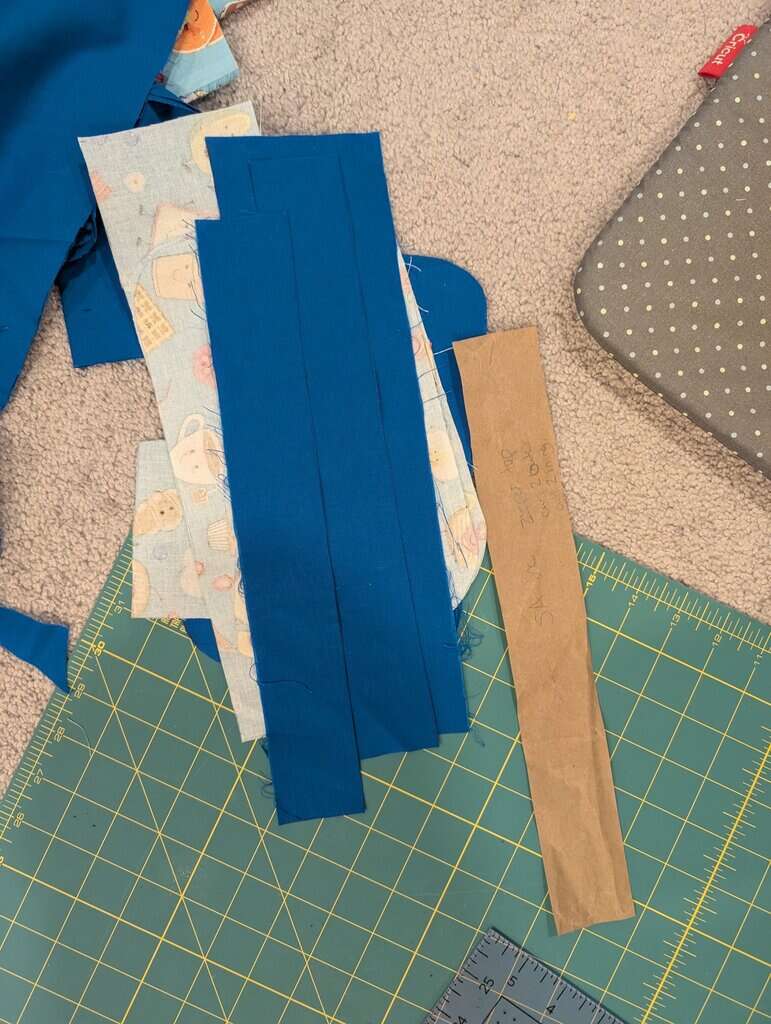
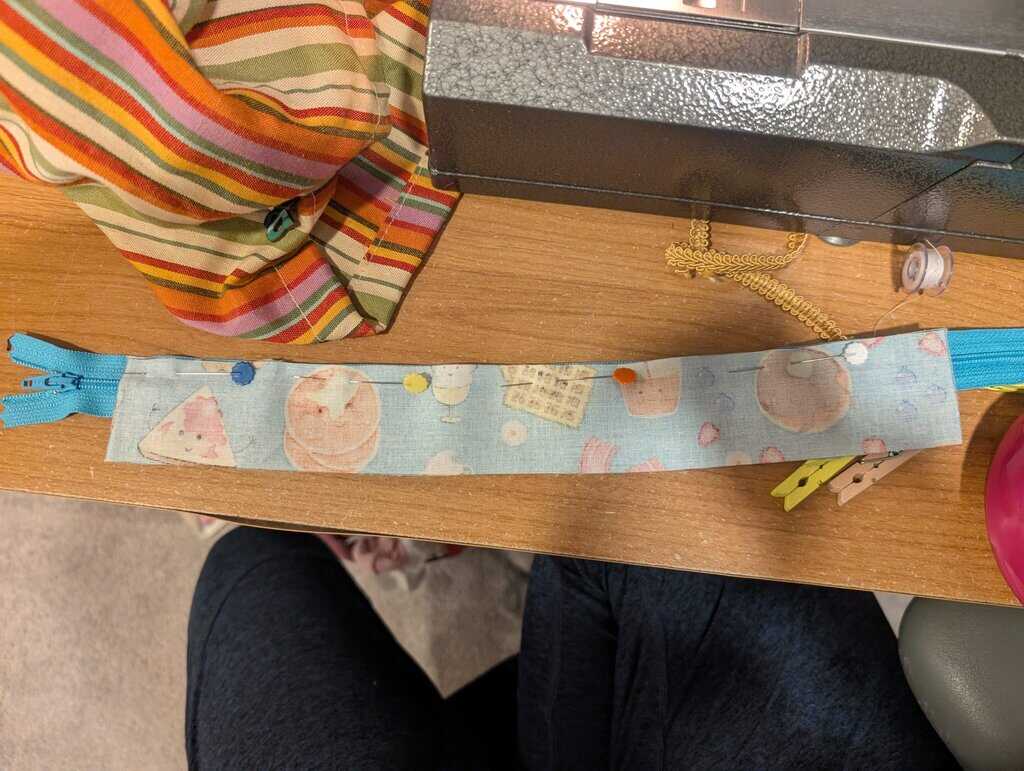
2. Cut one of the bag face pieces in half on the horizontal.
3. Place one side of the cut face of the bag face on the 8″ zipper tape, right sides together (matching up the edge you just cut with the zipper tape). Stitch with a zipper foot, then press out and repeat with other half.
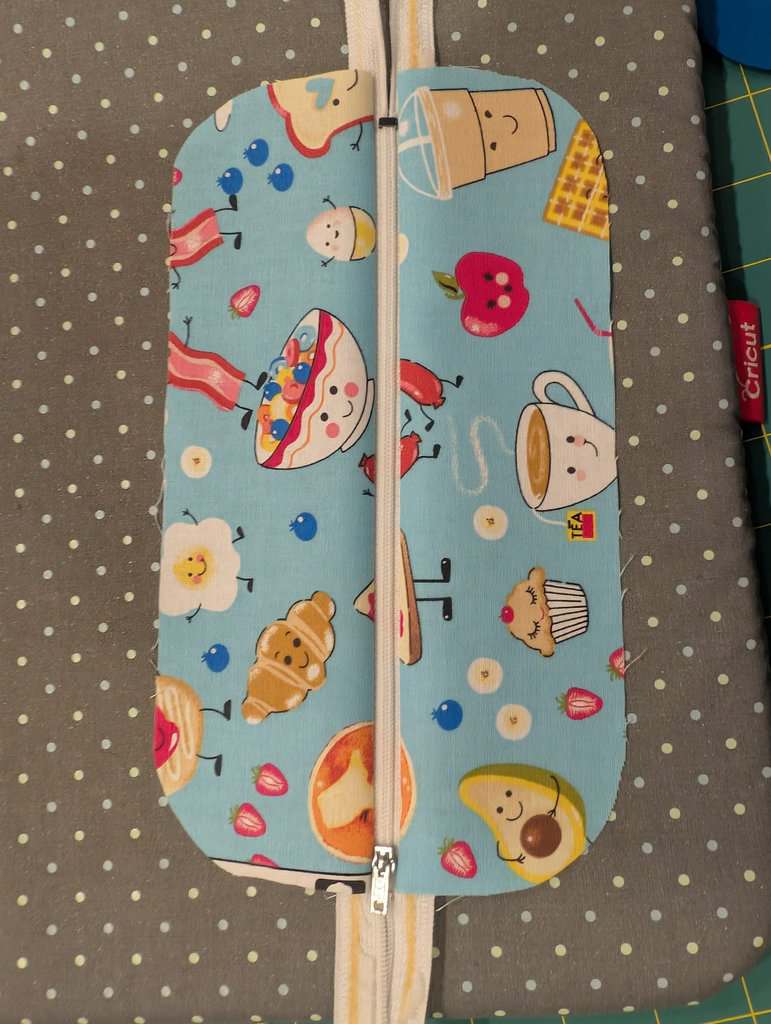
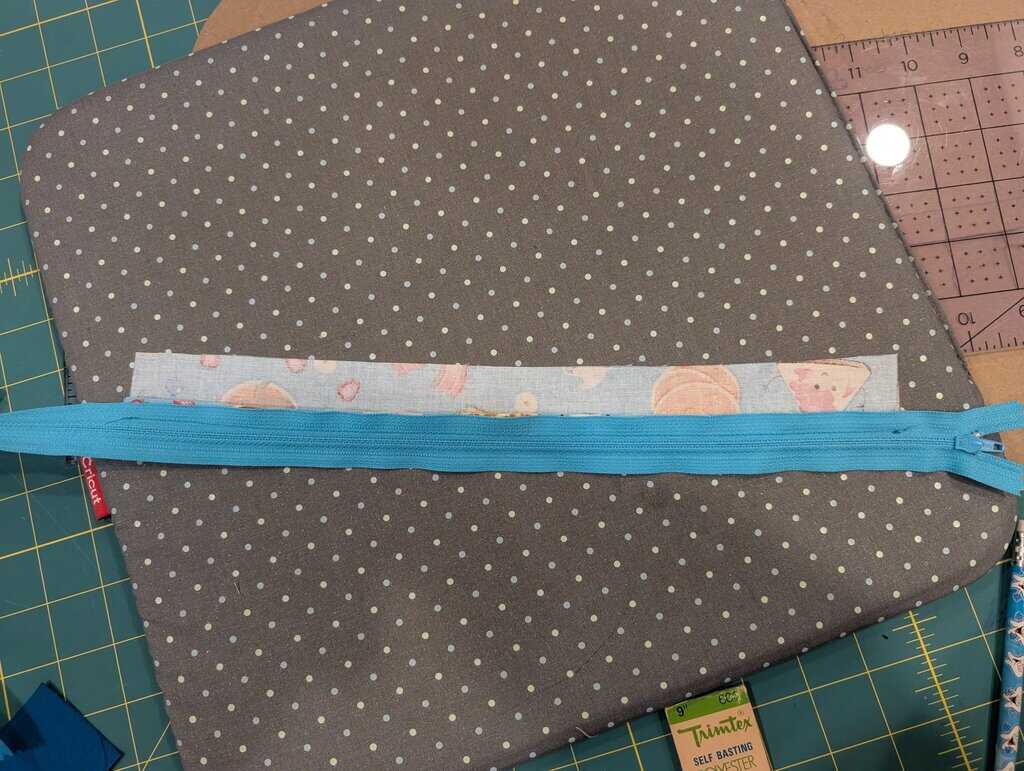
4. Stitch another bag face outer piece underneath the bag face where you’ve attached the zipper (you want the right side of the outer fabric to show thru when you unzip the zipper. Baste 1/4″ from the edge.
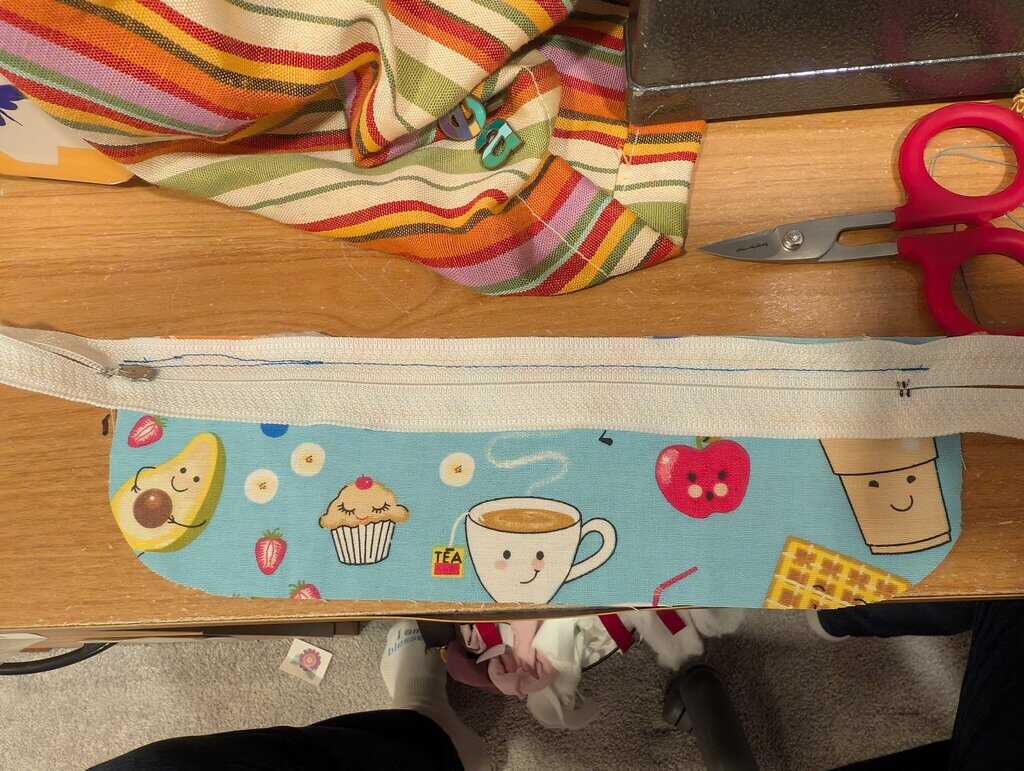
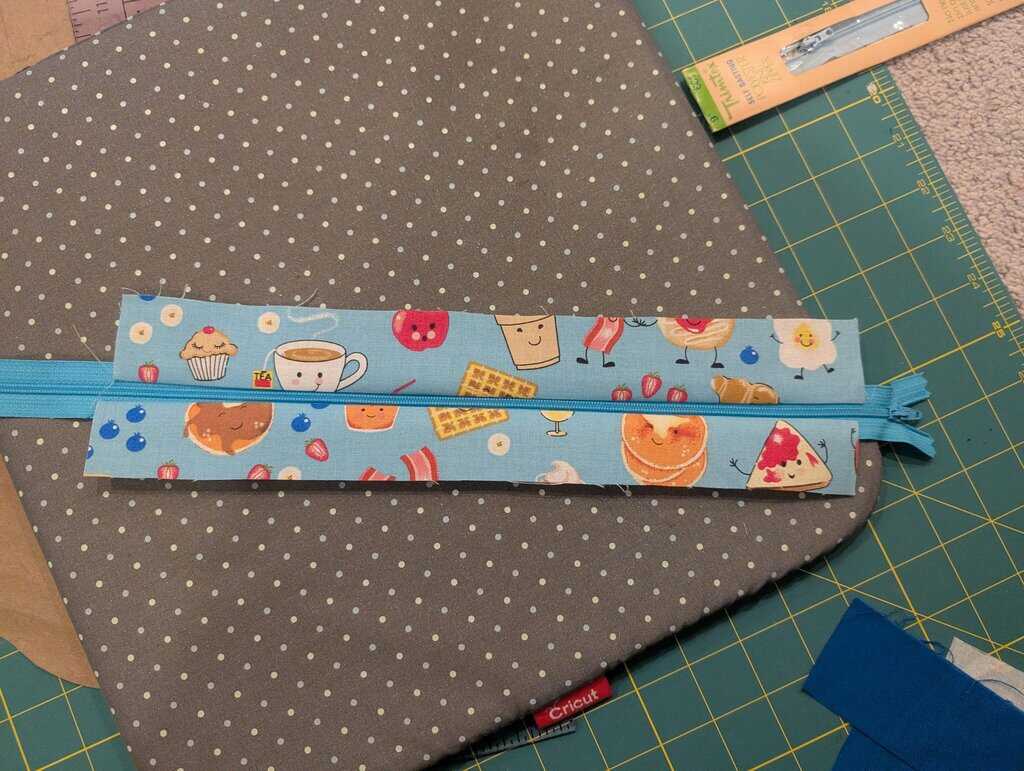
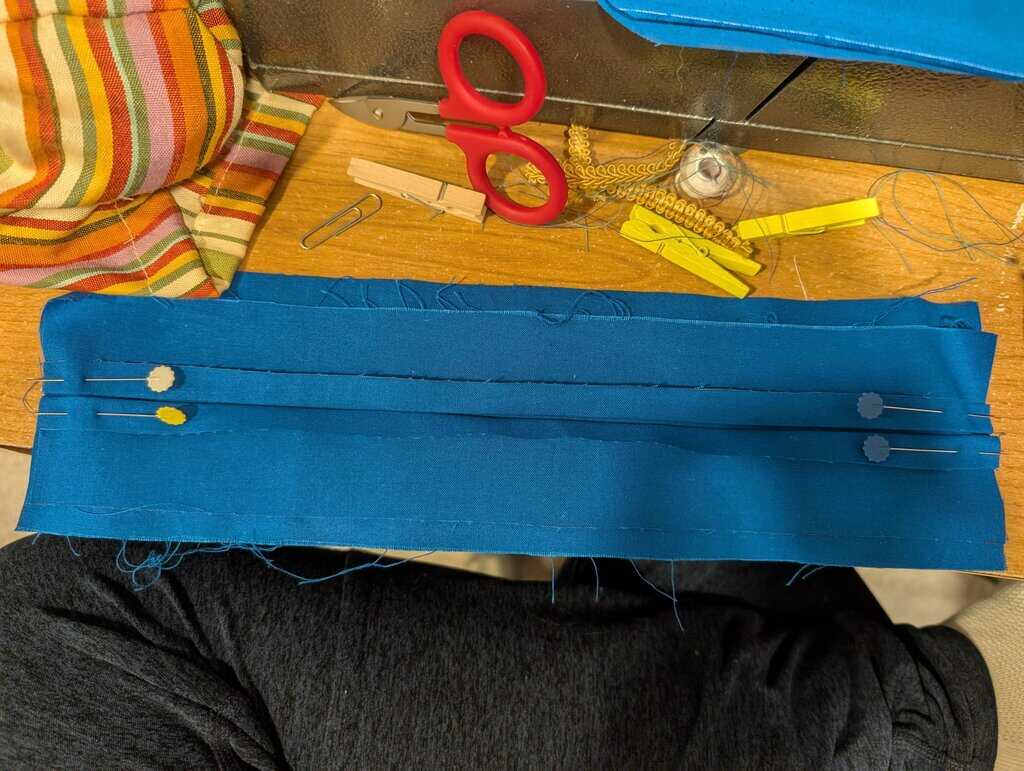
5. Attach 12″ zipper to one strip of the “zipper top” piece as you did in step 3. Repeat with other piece of zipper top.
6. Attach bag bottom to zipper top and 12″ zipper piece created in 5 on the short edges (make sure right sides are together). It should form a closed loop.
7. Pin the last piece of bag face to a piece of interfacing (wrong sides together and baste on 1/4″ mark.
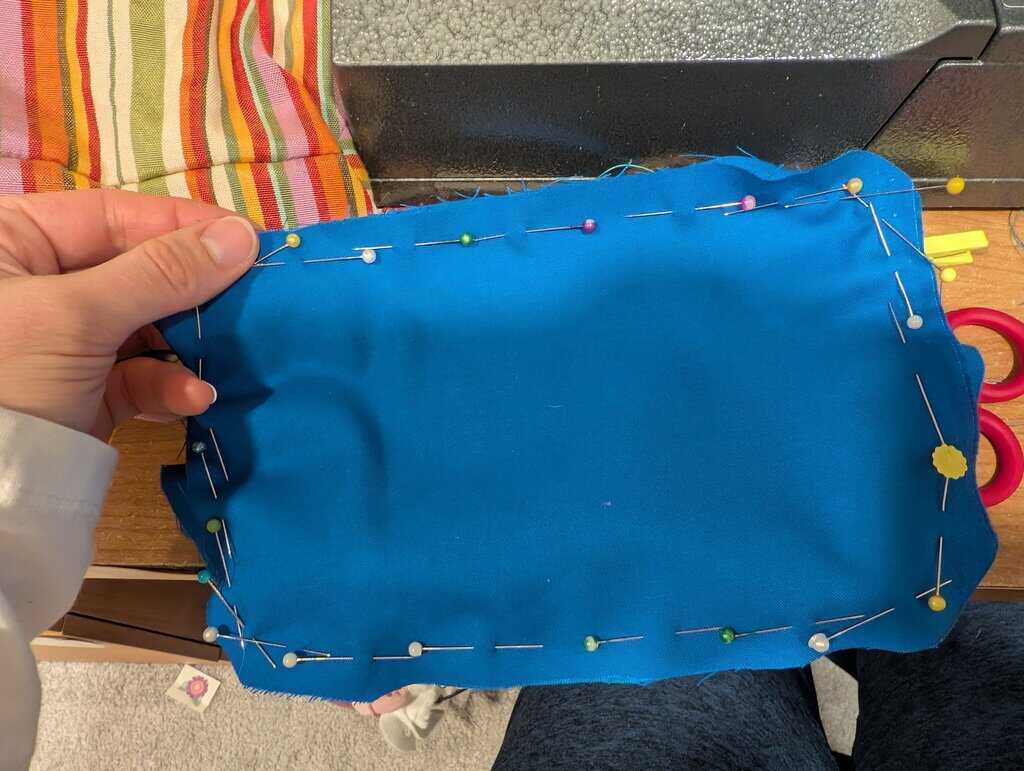
8. Place the bag front (with the zipper) to the closed loop from step 6. Make sure to line up the horizontal center line with one seam of the closed loop, then pin all the way around, right sides together.
9. Place one of the stacks of waist flap as follows: interfacing, waist flap (right side up), waist flap (right side down). Pin around edges, leaving the wide end opened. Insert one end of your belt material into the wide end, between the two layers of outer material. Pin to the shorter end. Stitch all around the edges of the waist flap, leaving the unpinned edge opened. Turn right side out.

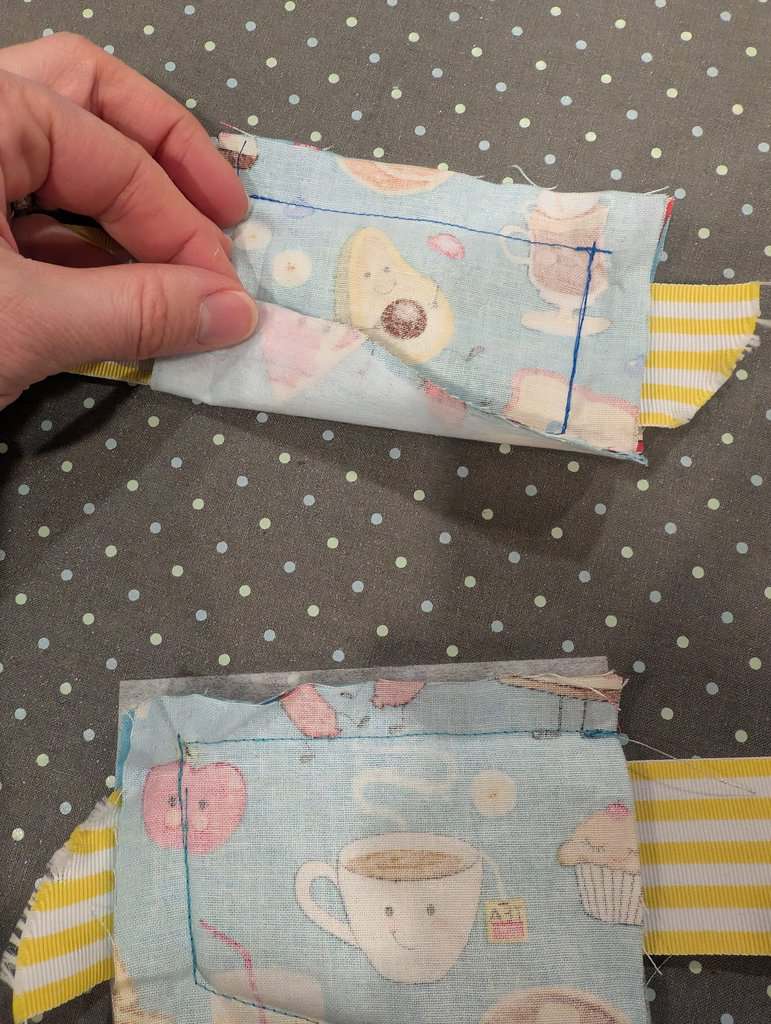
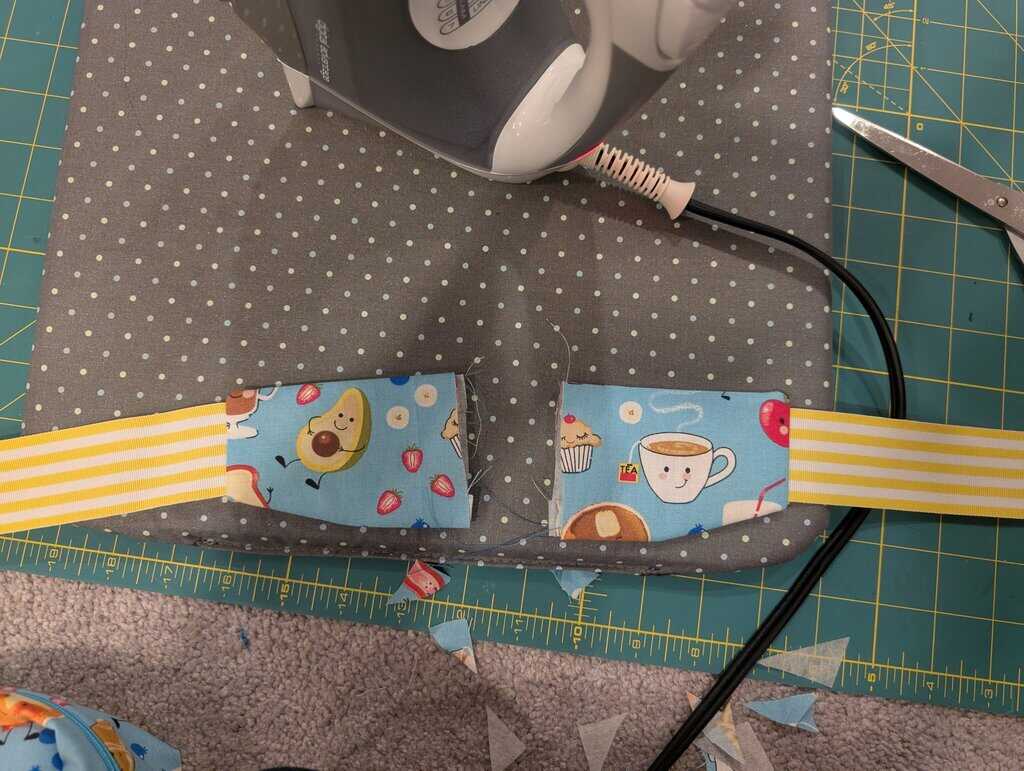
10. Repeat step 9 from the other pieces of waist flap but make sure when you make your stack the waist flap is pointing the other direction (so the interfacing ends up on opposite side).
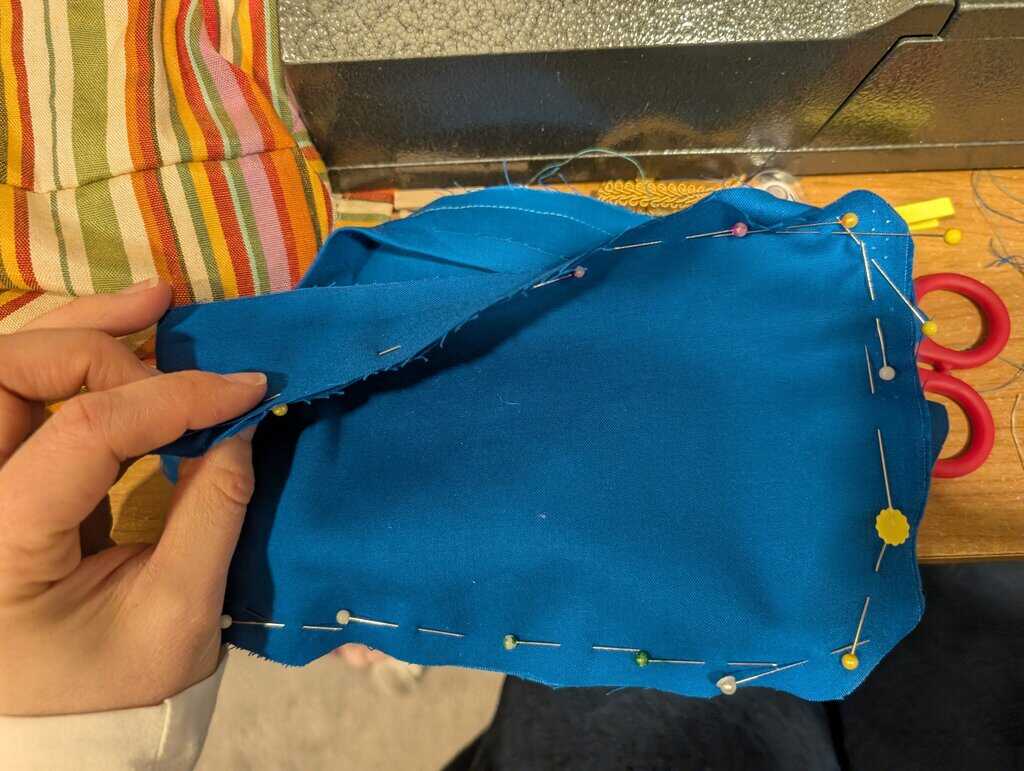
11. After your waist flaps have been assembled and turned right side out you can pin the back of the bag to the closed loop and pin as in step 8 but don’t stitch yet. After you have it set up, decide where to position your waist flaps (you will want them between the end of the zipper and the corner), then remove the pins there and insert your waist flap inside, lining the open unfinished end up with the unfinished edges of the bag back and closed loop. Repeat for other flap.
12. Stitch.
13. Unzip and turn right side out.
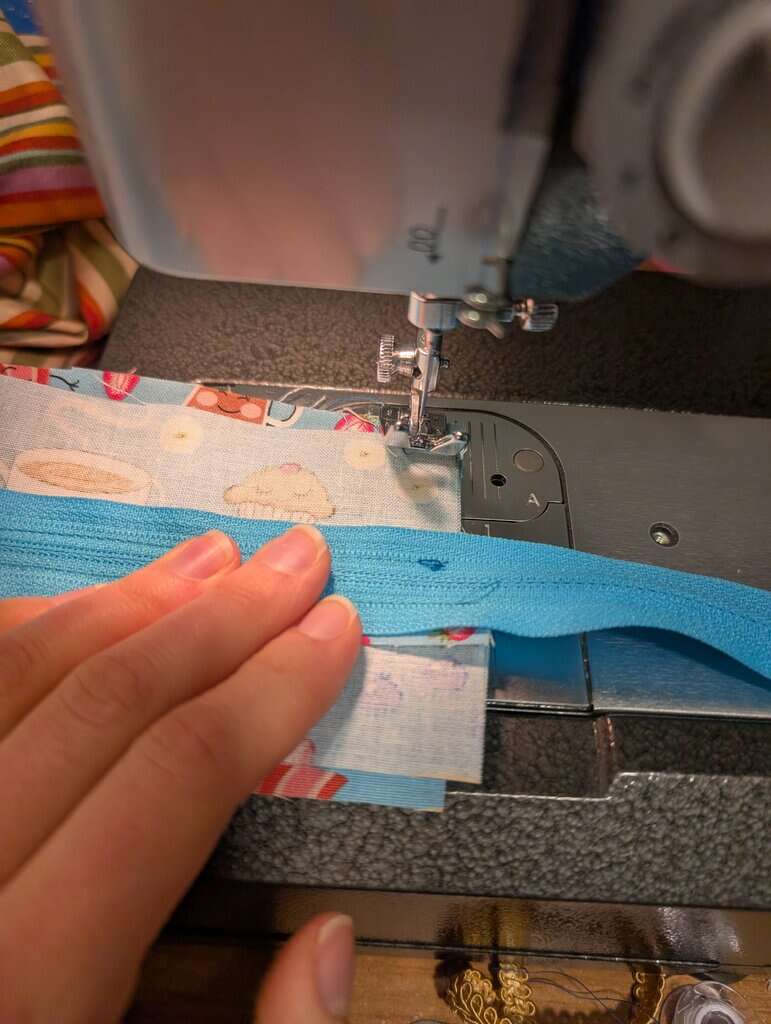
14. Assemble the lining. First fold the zipper top fabric 1/4″ and press. Repeat for second strip. Put zipper top strips side by side, folded sides touching and baste bottom edges so they stay together.
15. Repeat step 6 with lining (and there is no zipper).
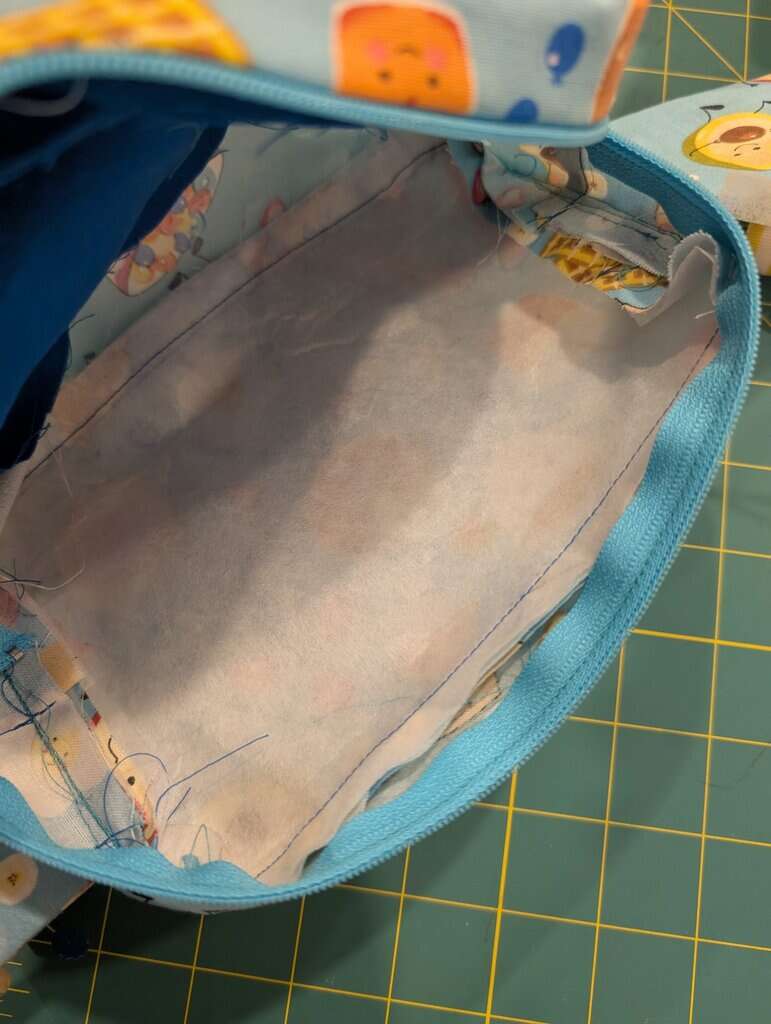
16. Repeat step 8 with lining fabric on front and back of bag lining.
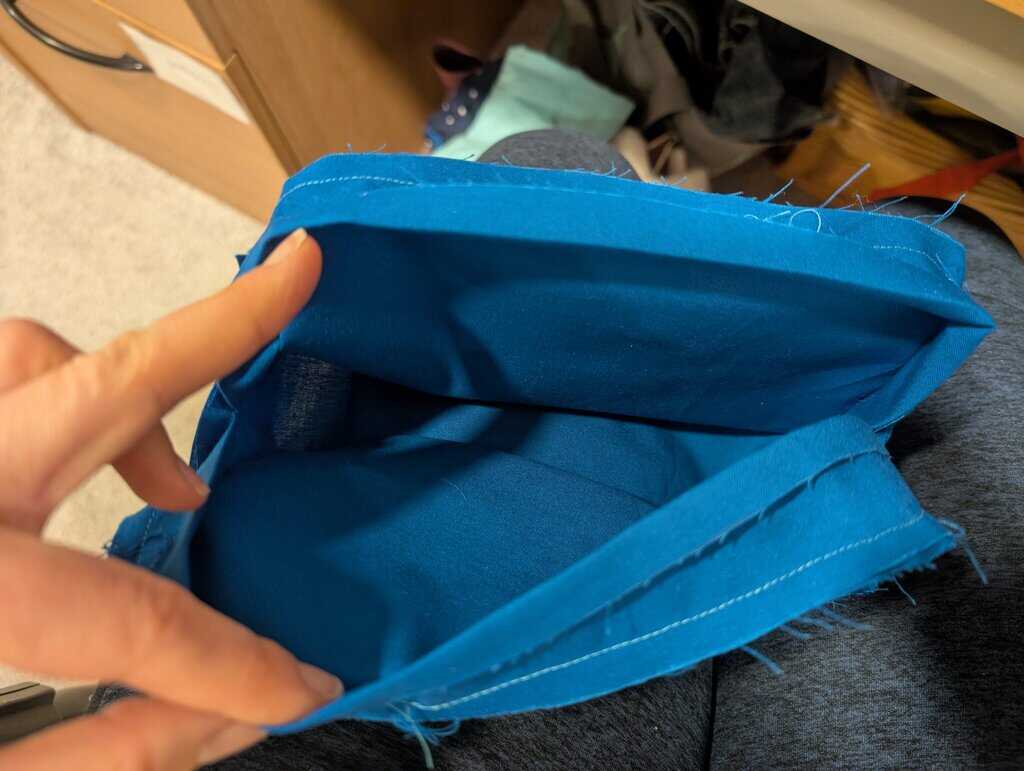
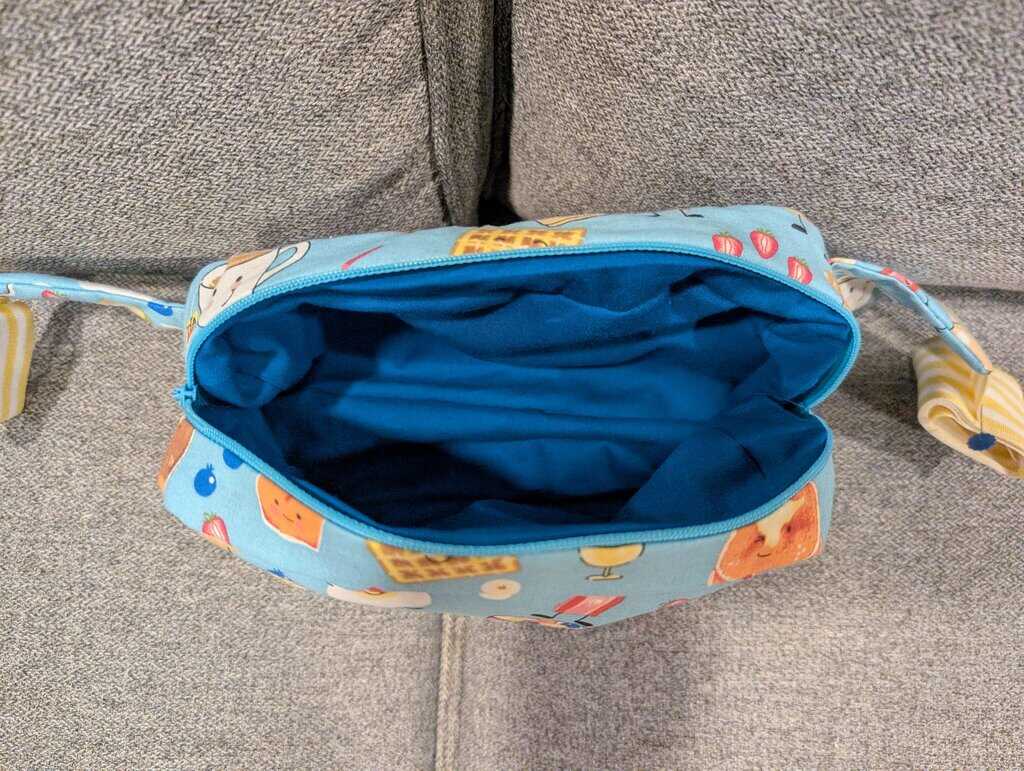
17. This step I didn’t take any pictures of which is annoying because it was tricky. What I did here is stitched the lining to the zipper. You can do this multiple ways, but the way I chose to do it was by stitching the folded over portion of the lining to the wrong side of the zipper tape. I did this by turning the outer part of the bag inside out and putting it inside the lining material and stitching around the zipper leaving a 3″ gap to turn the fabric. I then turned the fabric thru and then stitched closed using an invisible ladder stitch.
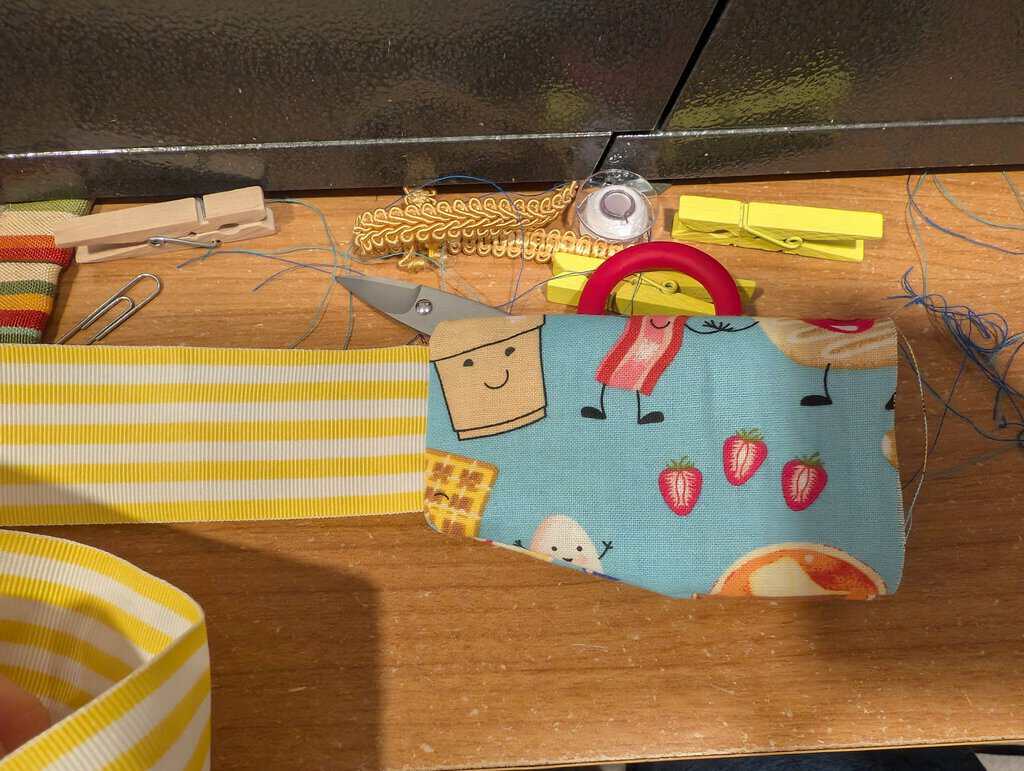
18. To attach the clips, seal the edges of your ribbon/webbing using a heat gun (if polyester) or by making a small rolled seam. (Make sure to do this for both sides.)
19. Place the shorter end of ribbon/webbing thru the female clip end and stitch it on permanently. Thread the male side with the longer end of ribbon/webbing.

20. Wear!
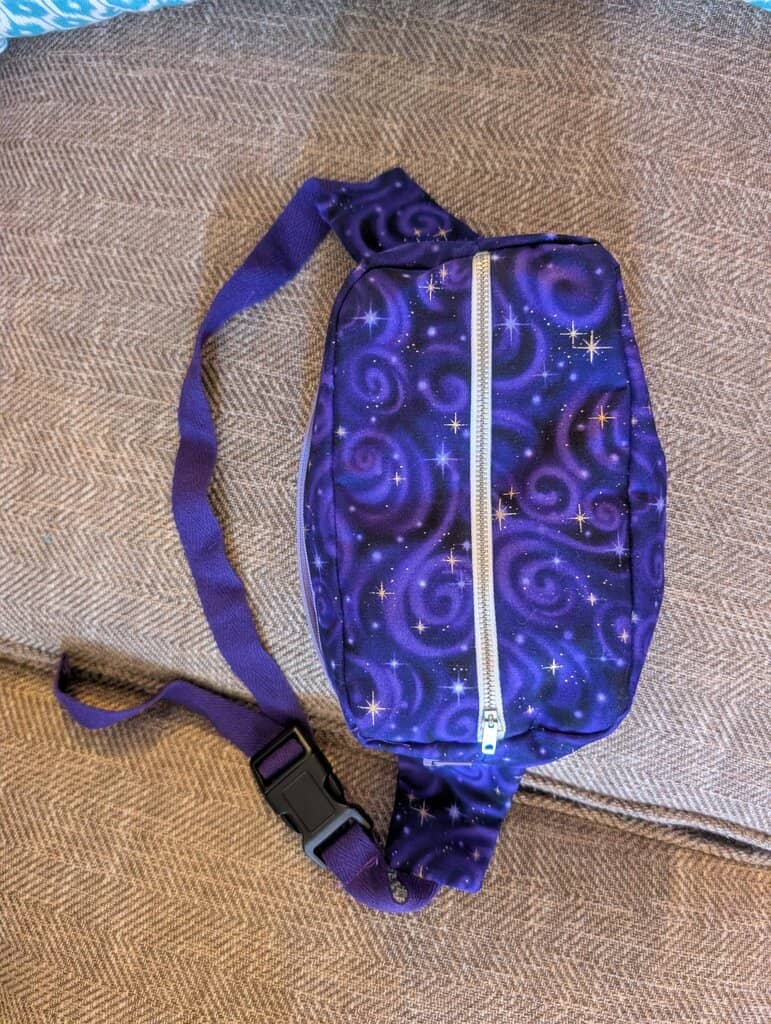

Those fanny packs are amazing! Super cute! I love the print Julius picked.
Thanks Amy! I want to make something out of it for myself hahaha.