
We spent the last week in Nashville/Knoxville as a celebration of life for Will’s grandparents. I think they had all the cousins and aunts and uncles and all their partners and kids for a total of 32 relatives there! That’s wild! The kids had a blast because they got to hang out with their cousins! It was really cute to watch them all play together. Such fun.
Some of Will’s cousins were really sweet and indulged Julius’ love of cars by chatting with him about them at length. Patricia took it upon herself to play with (and mind) both Liza and baby James, the newest cousin in the gang. She just loves being an older cousin since she generally is the youngest in the other cousin group (and in the sibling group)! When the cousins were napping or elsewhere they spent a lot of time in the pool and playing “hamsters”. This is where Julius makes squeaky noises and pretends to be Patricia’s pet hamster. It’s adorable.


Our flight got cancelled but luckily we were able to get booked on the flight 5 hours later so we’re hanging out in the airport. While I’m here I’m going to show you a project I did just after Christmas last year. So we have this super skinny Christmas tree that we put up on the second floor. My grandpa won it from the local 4H several years when I entered a tree in their contest. I baked lebkuchen hearts for it and decorated it with German Christmas stars. It took me a really long time. I did not win though! (Though I’m pretty sure mine was the best, I think some company sponsored one won!)
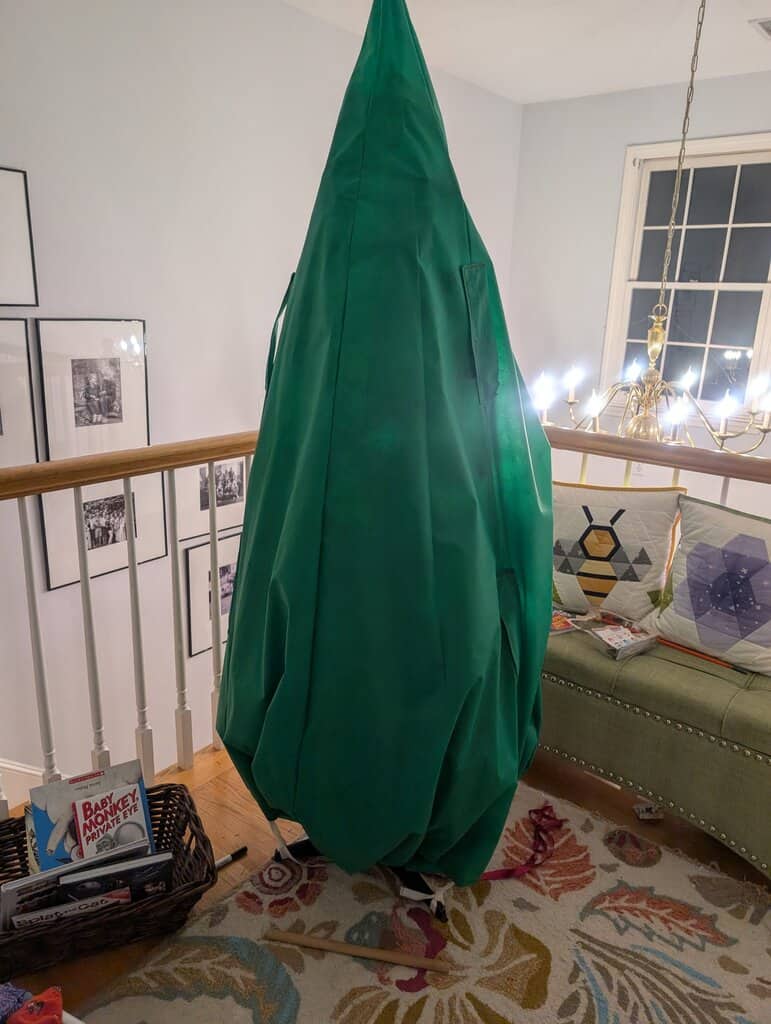
Anyway, I digress! The whole point of this story is that this is a skinny 5 foot tall tree! I am too lazy to redecorate a second tree every year so I put it in the attic every year fully decorated. The problem is there are no tree bags made for skinny 5 foot tall trees! They are all way too large. The one I’ve had until the version I made was so large that when I tried to hold it by the bag handles the tree was just swimming around inside and would completely become disassembled. I decided instead to make one that was lightweight, custom sized to the tree, and would strap onto the bottom supports of the tree so it would not fall apart. Honestly I’m so happy with how it came out. I even used the rest of the oly fun I bought ages ago which is very lightweight but still fairly durable. I will tell you how I did it, but you’ll have to custom measure everything for your own tree!
DIY Decorated Tree Cover
What you’ll need:
- 6 yards of Oly Fun
- 3 yards of Ribbon
- Measure the height of your tree from the bottom of the needles to the top. Measure the radius of the bottom of the tree where the needles are.
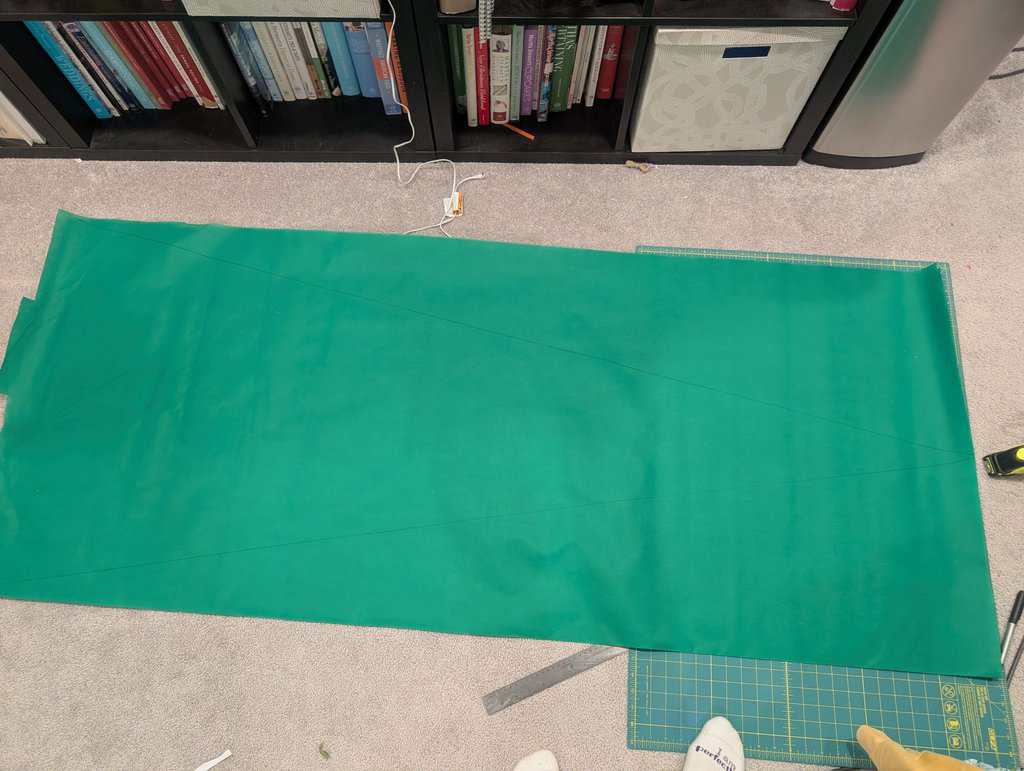
- Fold Oly fun in half lengthwise and draft a right triangle that is the height you measured above for the leg along the fold, and the length of the radius *.9 for the other leg.
- Here I made my triangle a bit longer to account for more material to fold underneath to cinch in. I recommend adding the radius width more.
- Cut out 4 of the above shapes (this accounts for all the seam allowance and some wiggle room for the circumference of the tree.
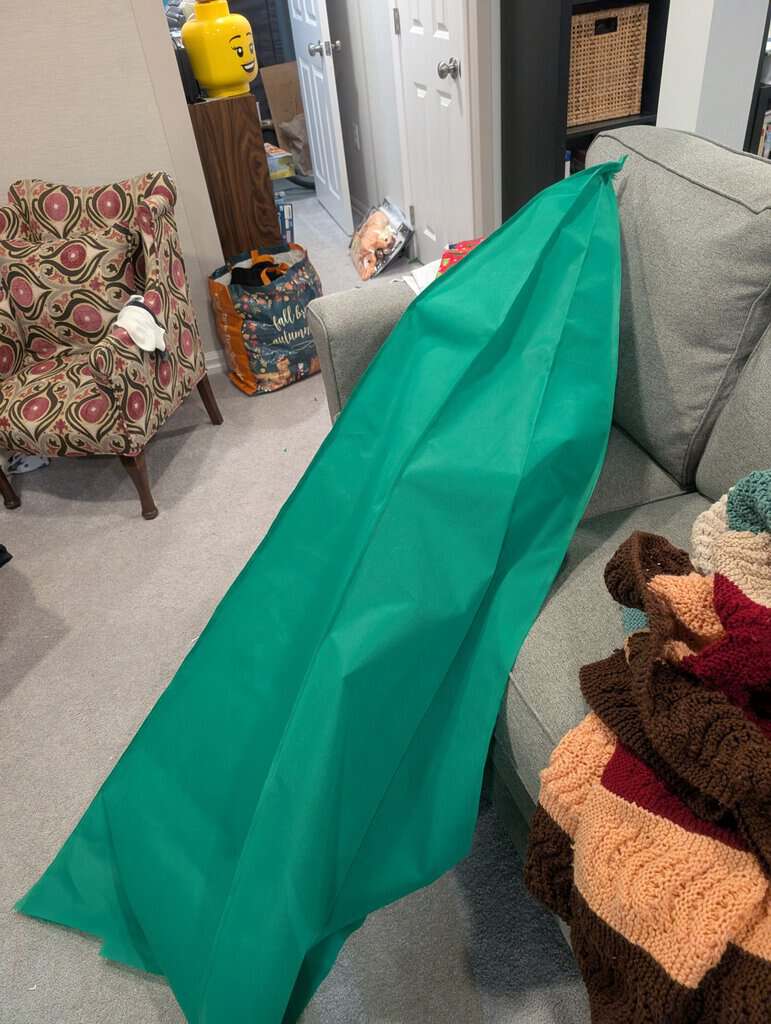
- Stitch the 4 shapes together leaving the bottom opened.
- Fold the bottom of the bag under 1.5″ and stitch along the edge, leaving a 1″ channel for a ribbon to go and a 1″ gap for you to insert the ribbon.
- Thread a ribbon thru the bottom of the hem.
- Add handles on 4 axises of the tree (on the top and bottom, for a total of 8 handles) by folding a piece of 8″x4″ oly fun in half and stitching along all axes. Stitch the top an bottom of the handle to the middle side of the tree bag on each seam.
- Along 3 points interspersed on the bottom of the bag (it’s easiest to do this last after testing) add a 18″ piece of ribbon stitch thru the middle. This is where you will tie the bag to the feet for extra support.

To use the bag, put it over your decorated tree, cinch the bottom of the bag closed and tie, then tie the ribbons on the bottom of the bag to each leg securely. Hoist by the handles up into the attic (or wherever!
