
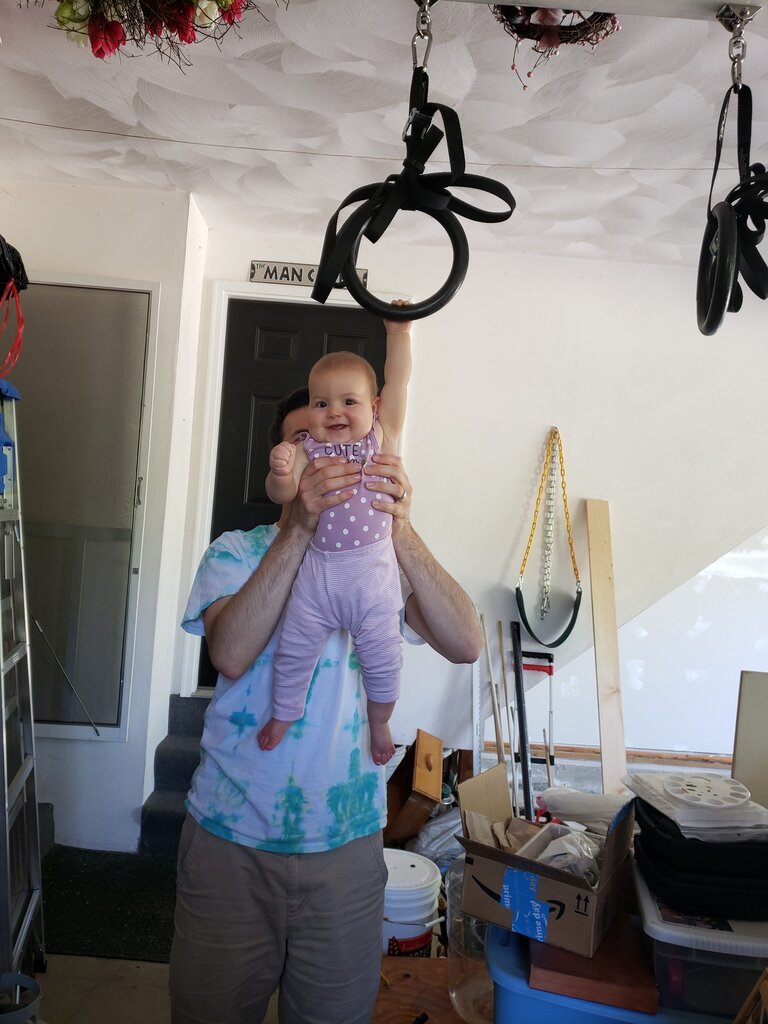
Well I am sorry for my tardiness friends I HAD to get my garage cleaned. That sounds insane but after over a year without the use of a garage I have been desperate to get it back. You see, we first moved the cars out of the garage in November of 2020 so I could house some refrigerator boxes for Julius’ Winnie the Pooh adventure. After that, we kept the cars out so I could work on Julius’ climbing wall in secret. After the climbing wall was completed I added in a set of rings/a swing and we kept the cars out so Julius had somewhere playground like to play even while it was very cold out.
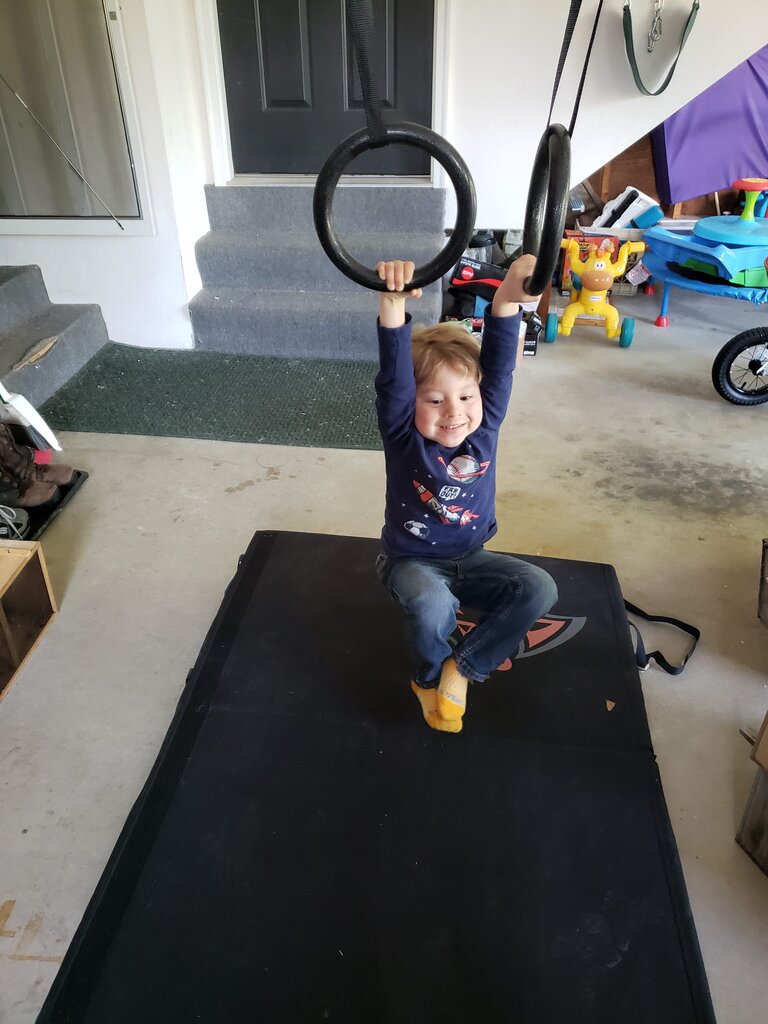
Julius enjoying his “indoor” playground.
Then in February we decided we were going to re-do the basement, so we started moving our entire basement into our garage. This meant I first had to extend the shelves in the garage (we had a kind of odd set of two shelves when we moved in and I was always lamenting the poor use of vertical space). After that was complete I moved another set of shelves from the basement into the garage. We started organizing and transferring things from the basement to the garage, slowly donating items we hadn’t used in years along the way.
In May the basement people told us they were running behind so we started slacking off on our basement moving. Then Tesla came and they told us where all the powerwalls needed to go and we moved the giant mass of basement junk over slightly so they could do their work. Then Tesla left and we started moving things like mad up from the basement because we’d gotten a one month warning from the basement people.
Tesla called us back and said they couldn’t pass the inspection without entirely drywalling our garage. This meant we needed to move everything in the now-over-full garage to the center and also take every single item in the garage off the walls including the climbing wall and any shelves that did not have drywall behind them. Oh no. We somehow did that in one night, leaving our garage even more of a mess.
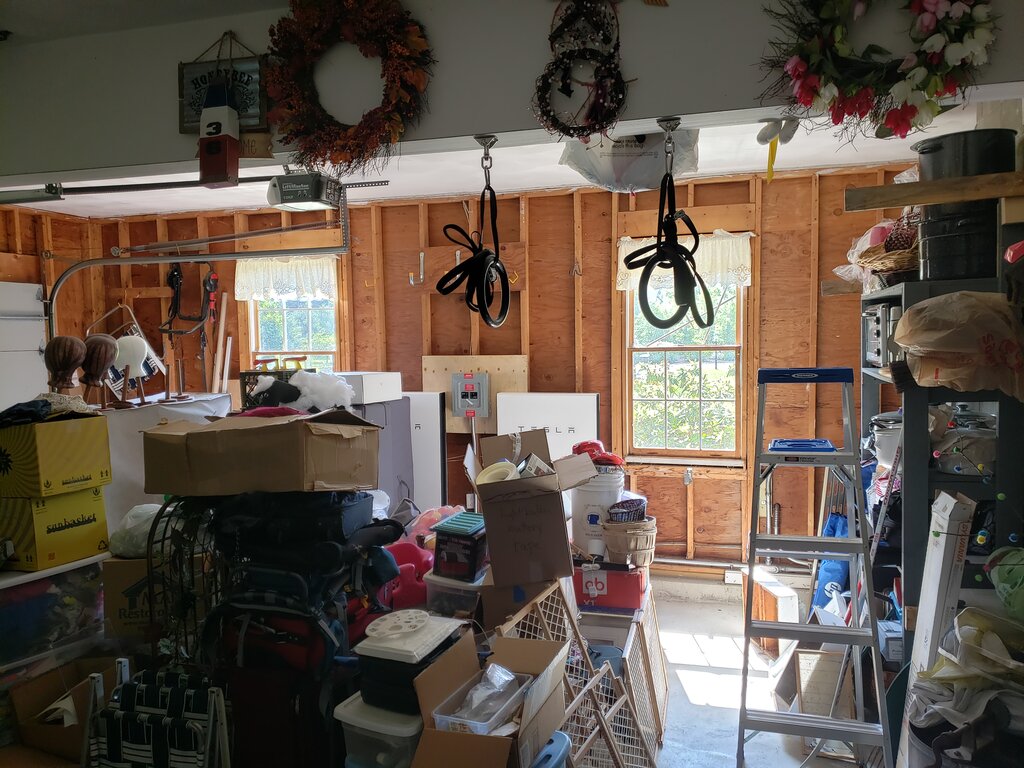
Here’s the only photo I have of the mess after they drywalled everything – it may be hard to tell but there is almost no where to walk in the garage. Doesn’t seem to be bothering Patricia though!
Since Tesla and the basement people left (end of August) we have been slowly moving things to new homes in the basement, their new place in the garage or donating them. Three nights ago we finally had a breakthrough! I could see most of the floor, and 90% of the items in the garage belonged there! I went to Home Depot and bought dozens of hooks and got to work. I stayed up way too late but it was all worth it because Julius told me “Mama the garage is so clean! Good job!” He did tell us later “everything but the snowblower and the gas cans are put away.” I wonder if he’ll be confused when he sees the cars in there tomorrow morning. Anyway, please enjoy the pinnacle of my organized garage!
Before (this is before Tesla dry-walled everything, but before I took anything off the walls!)
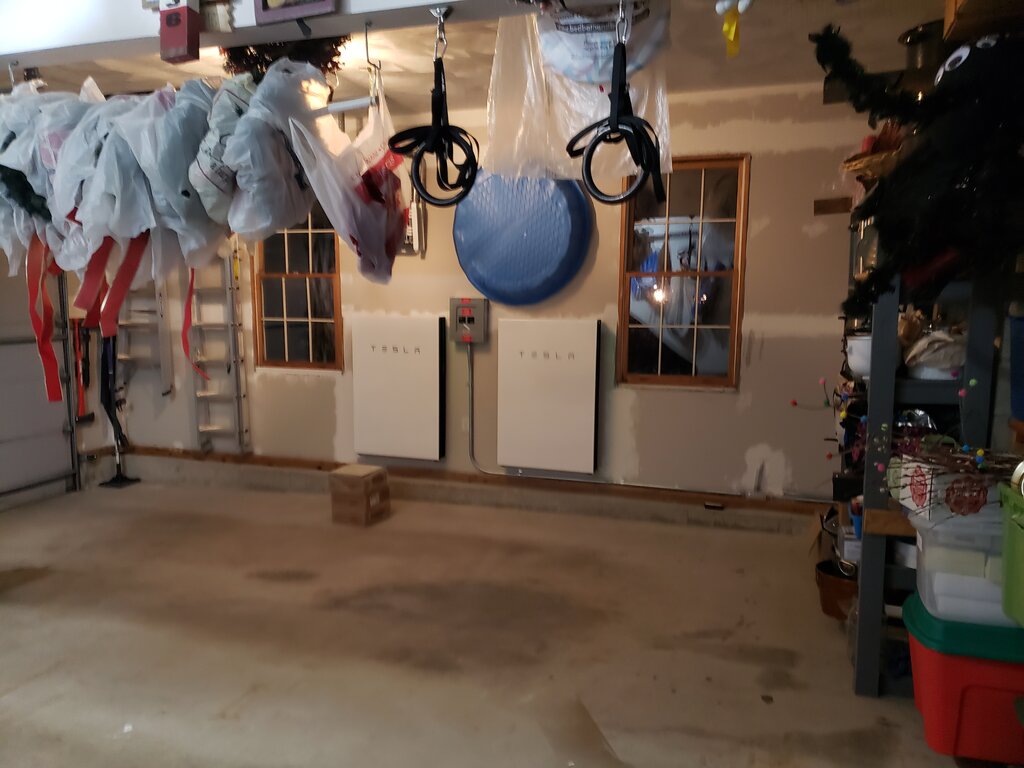
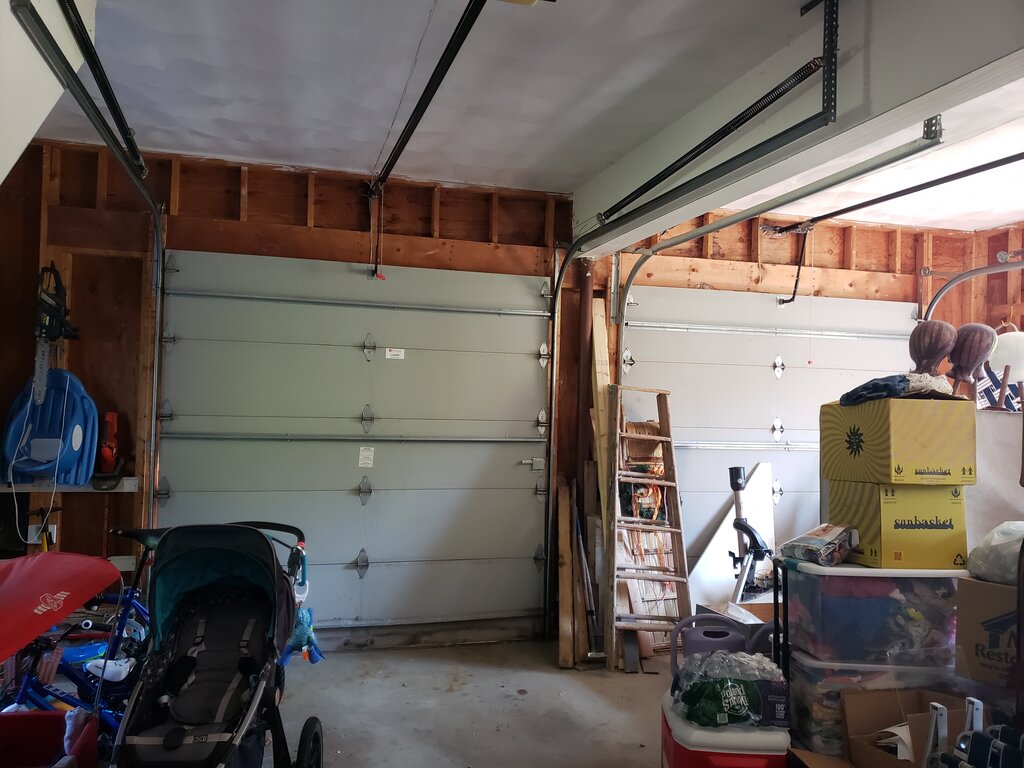
After! You can see the garage?! check out our power walls, and our new spot for ladders, plus the wreaths I hung from the rafters on a PVC pipe.
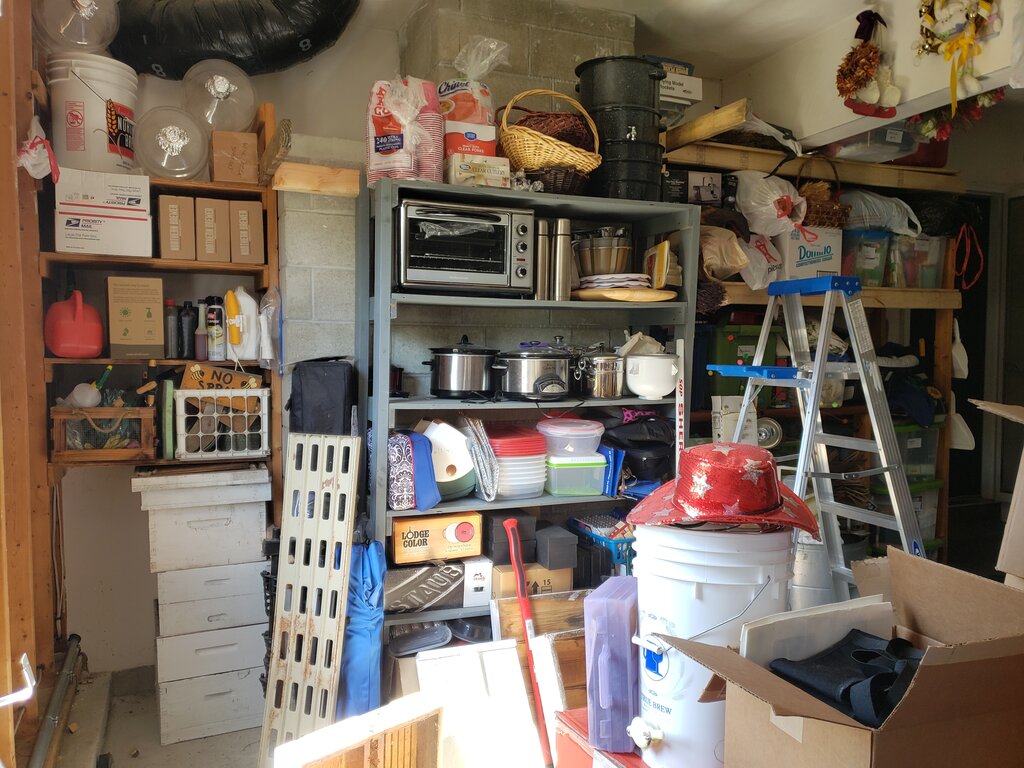
Before – we had to remove all the shelves on the left.
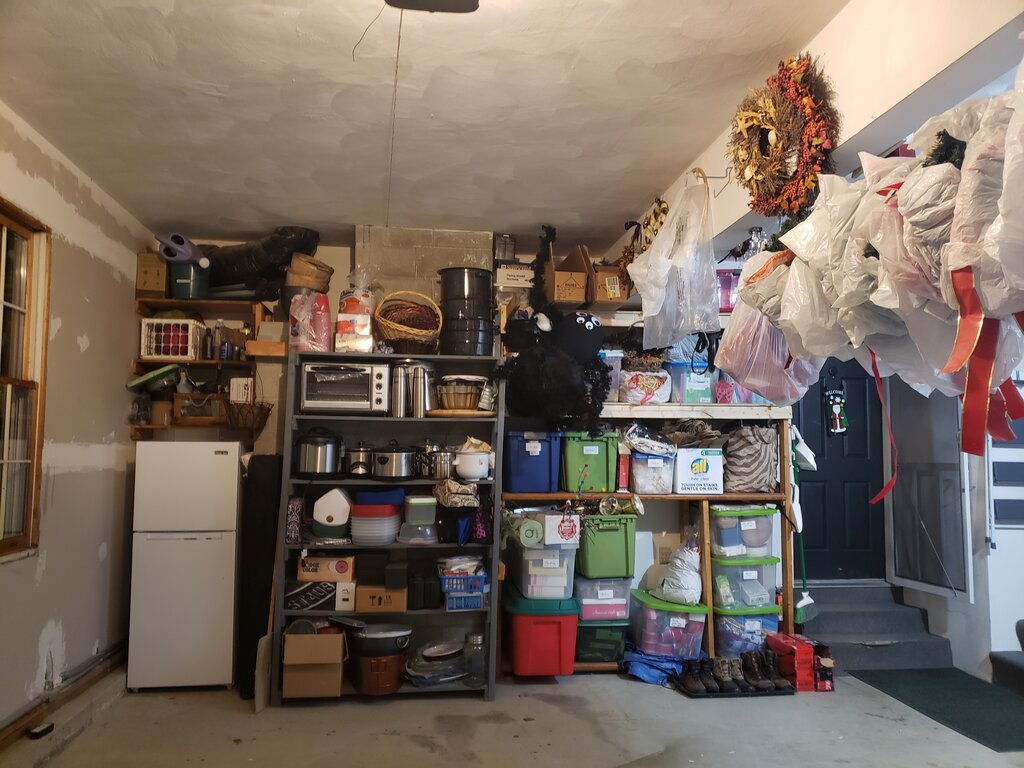
After – we ended up moving our tiny fridge to the garage for when we have company. The middle shelves I moved up from the basement and reinstalled up here. the shelves on the right used to only go less than halfway up the wall.
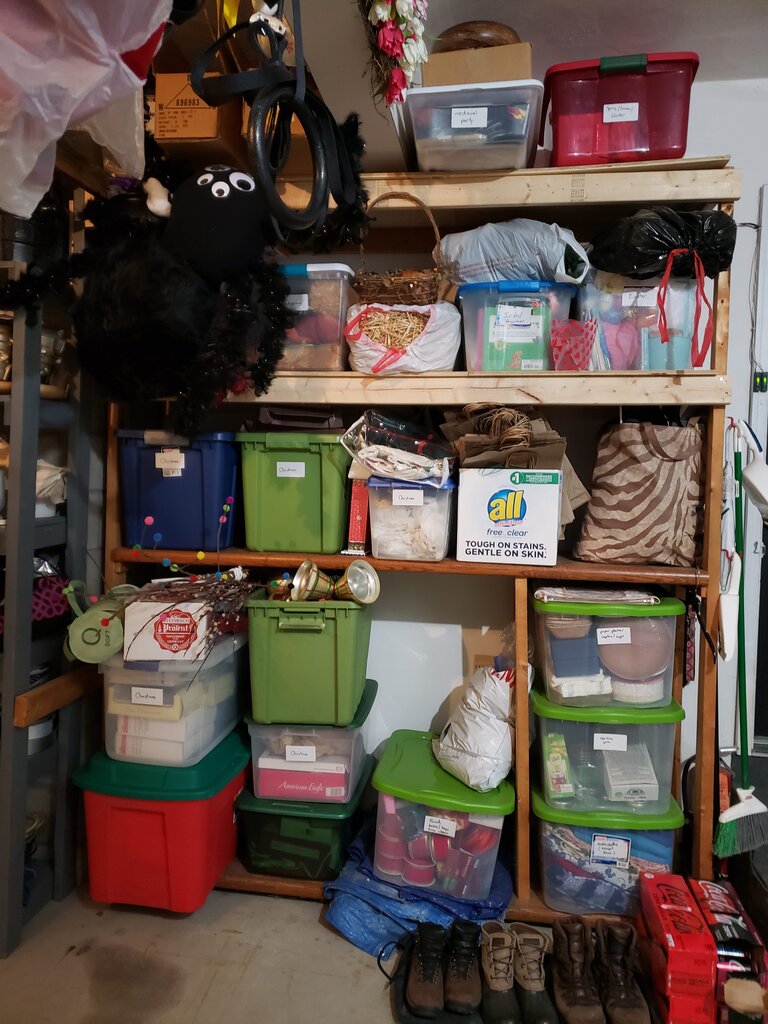
These new shelves now house all my holiday storage (and things I need occasionally like tablecloths).
Before – yup the climbing wall had to come down… what a pain.
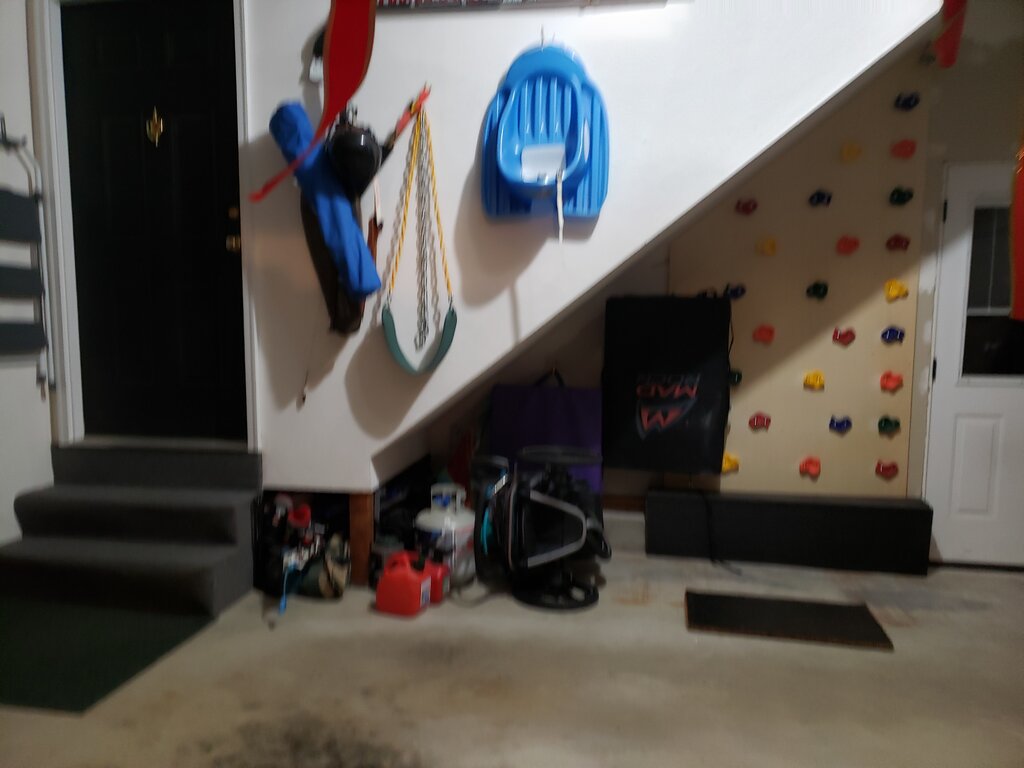
After – climbing wall re-installed and better organization for the climbing and tumbling mats.
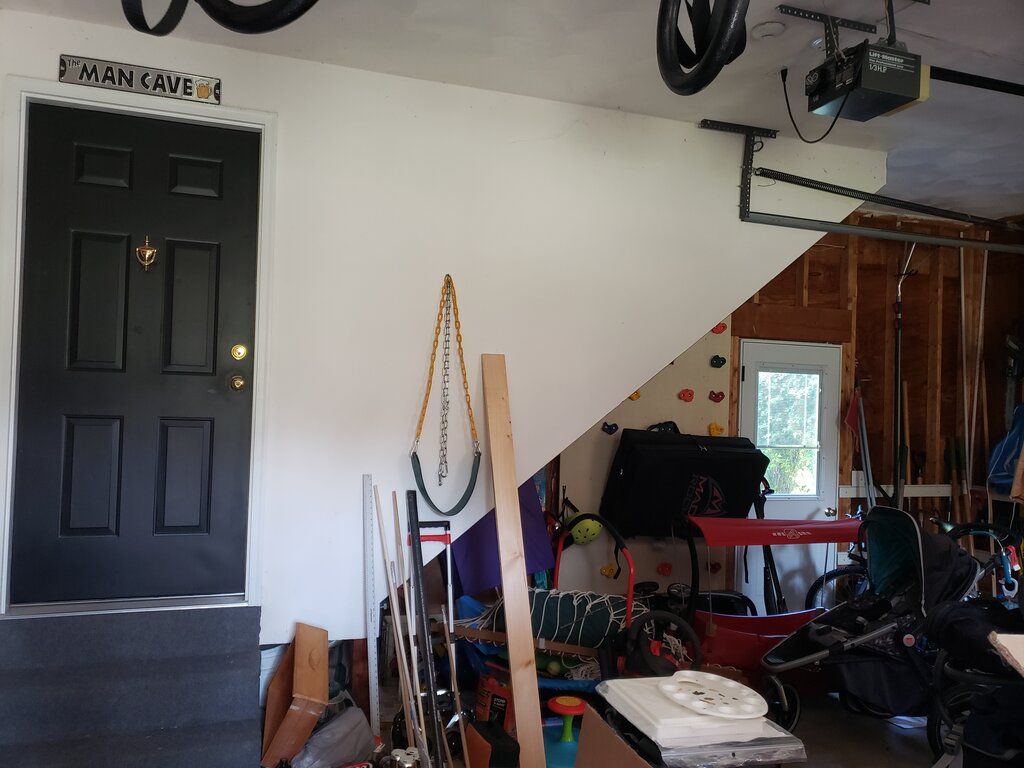
Before – shortly after this the climbing wall and shelves were removed from the wall and we had almost no room in the garage.
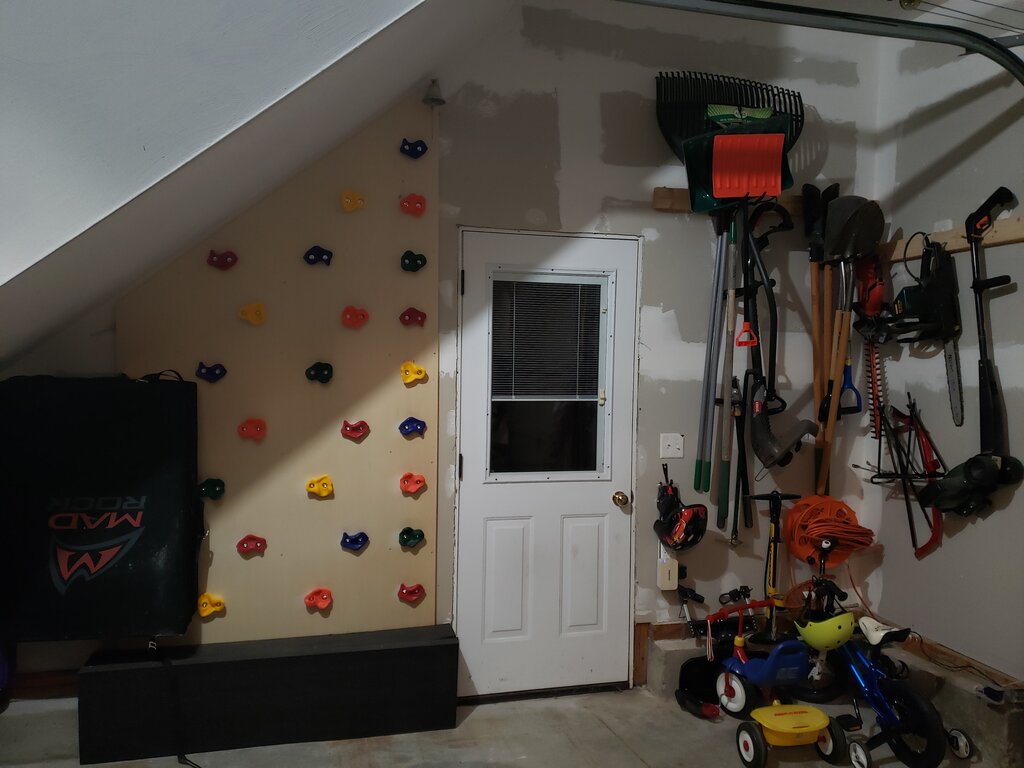
After – climbing wall installed again, plus lots of tool storage, with Julius’ bikes underneath.


