This past weekend was Danycon! It’s the event we wait all year to celebrate! Because the kiddos aren’t vaccinated and plane flights are scary, we opted to do virtual again. I’m not going to lie, virtual events are getting me down. I’ve had a taste of freedom, and now I want to go back to the before times! I am hopeful the kiddos will be able to get vaccinated soon.
Theme
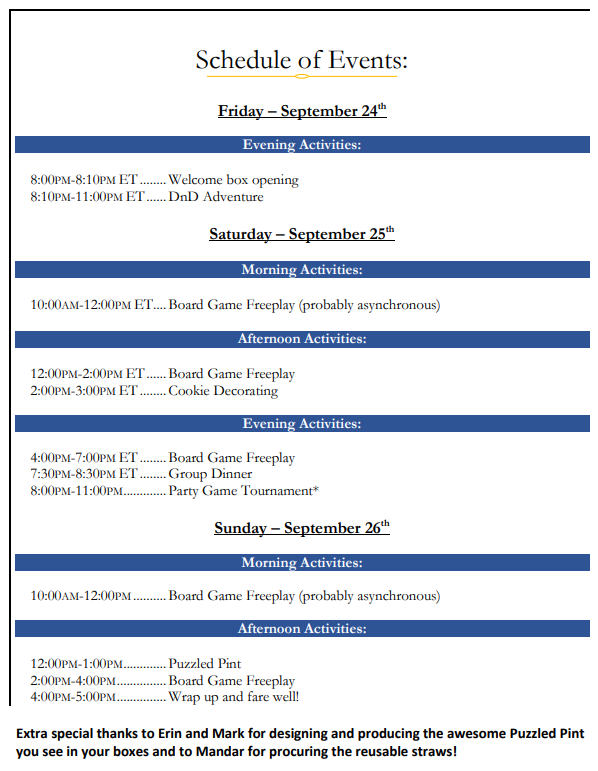
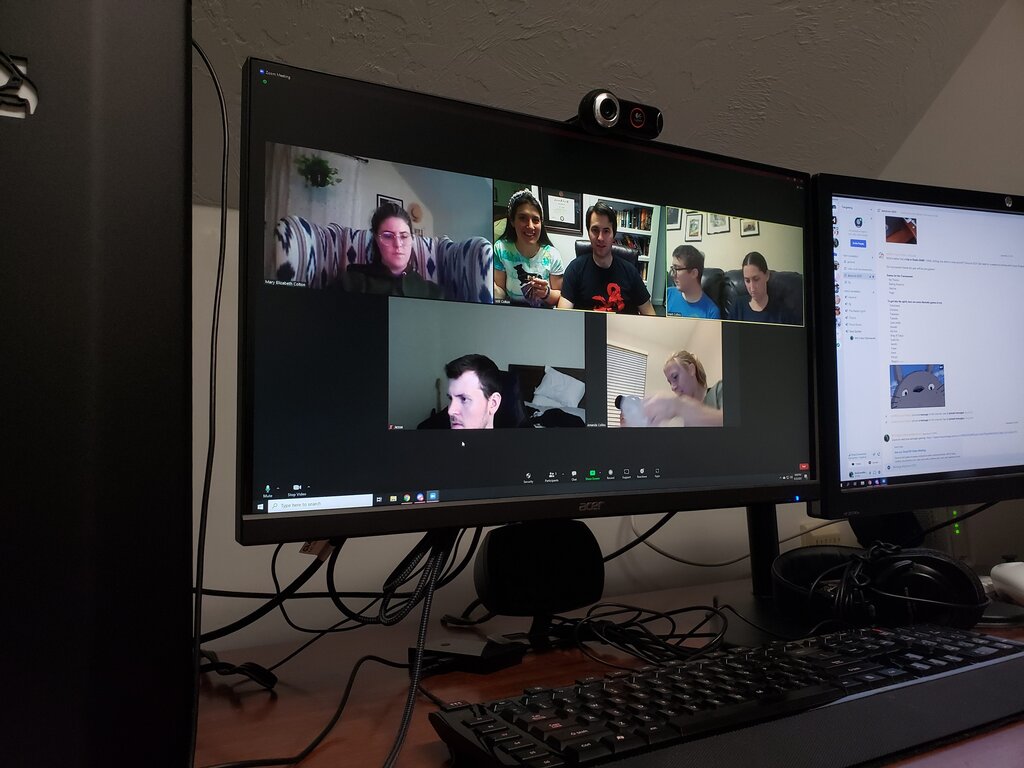
All that aside, it was a fun weekend! We decided to theme this year’s Danycon around Studio Ghibli/Japan! Because many Miyazaki movies involve air or water, we used blues and turquoises for the color theme. We had several organized events to incorporate the theme, and then the rest of the time was free-play. We thought this would work best considering virtual events involve different time zones. Like last year we used mostly discord, but this year we also had a couple events over zoom. We played everything on Board Game Arena, who has really beefed up their collection since last year! The entire schedule is printed below (and was sent out virtually before the event so people could plan). We also included a list of every thematic board game available on BGA (there are quite a few)! This meant either themed around Japan or designed by a Japanese designer.
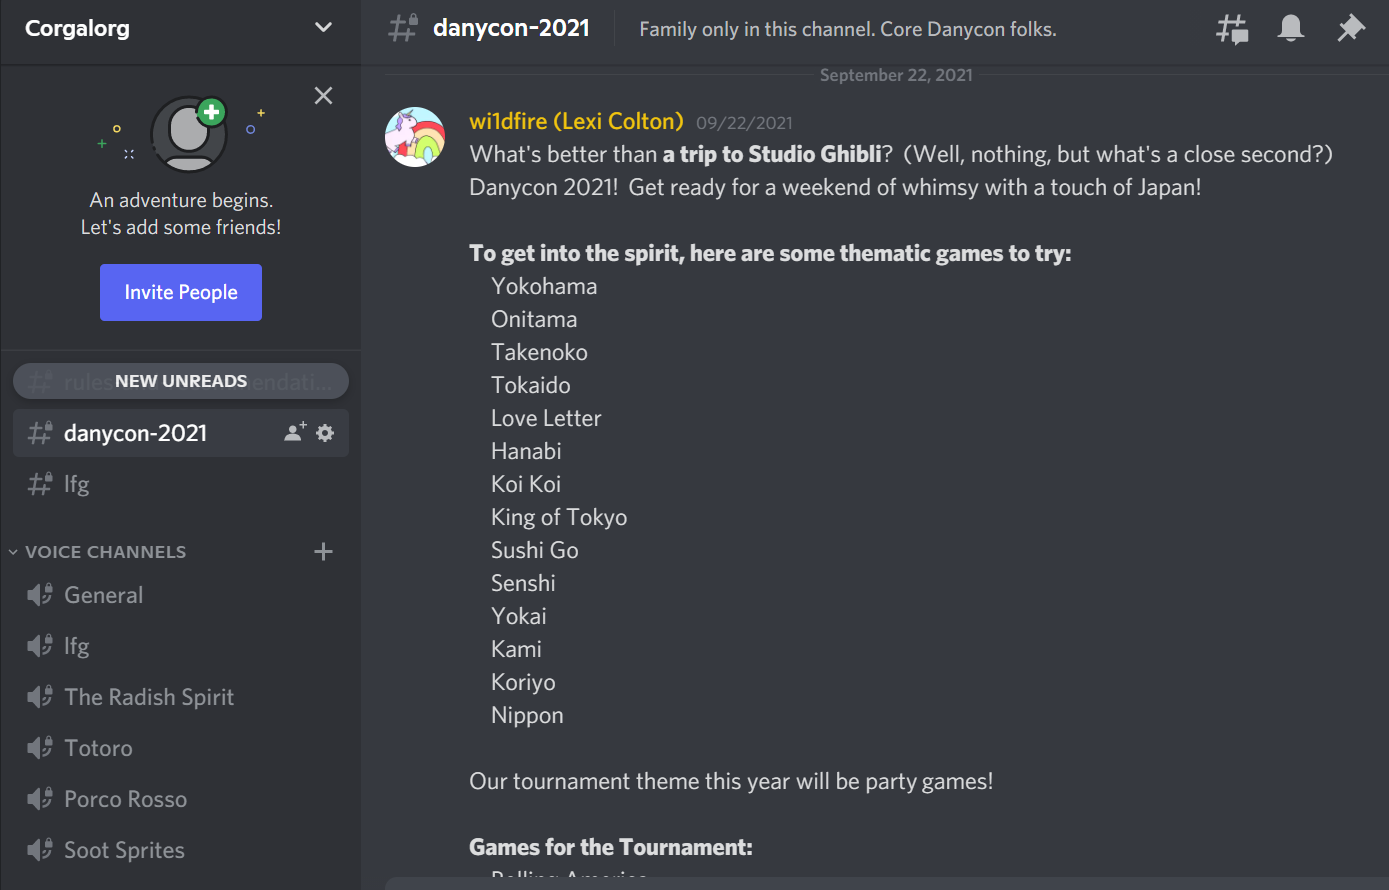
Danycon 2021 Discord
Swag
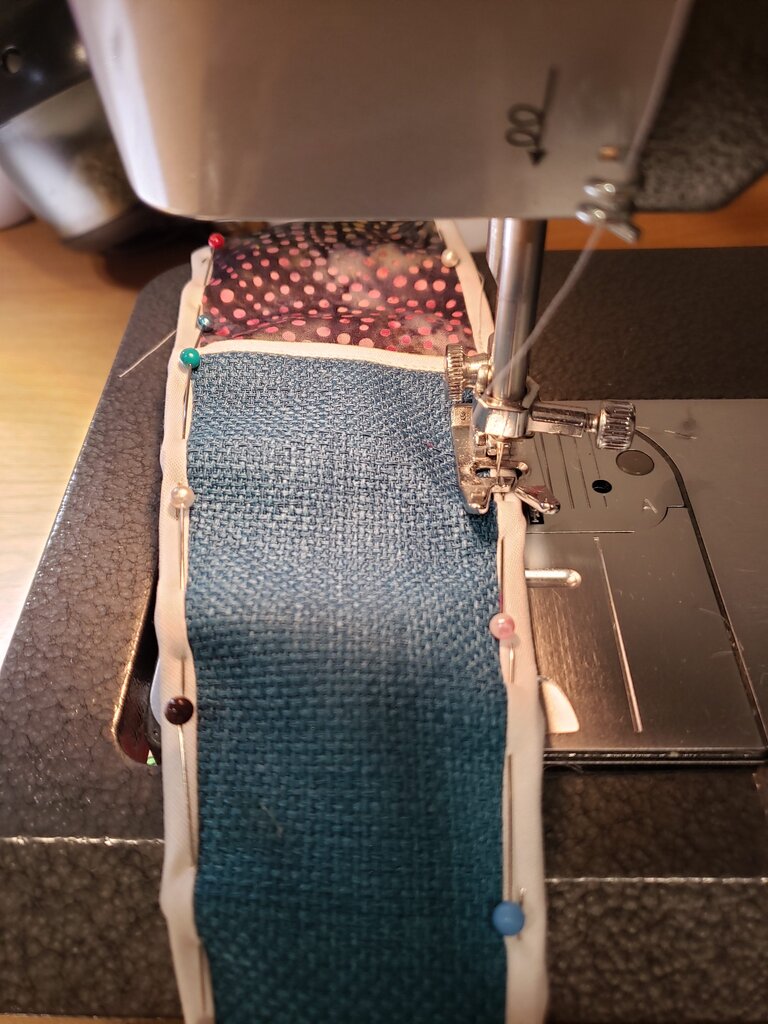
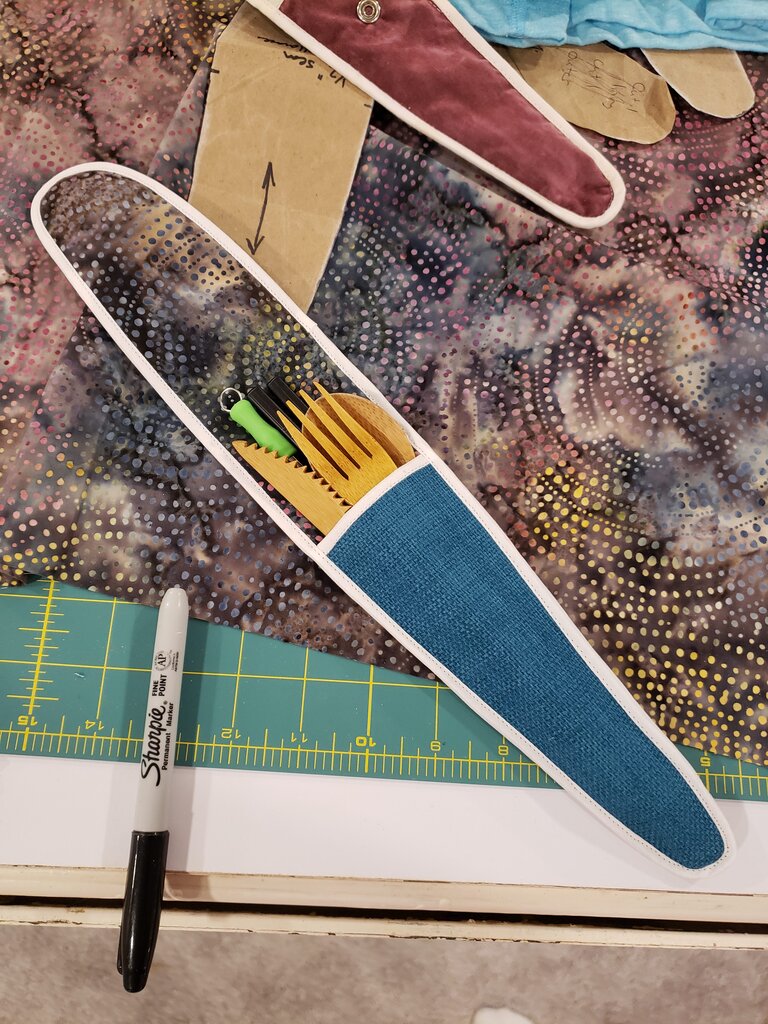
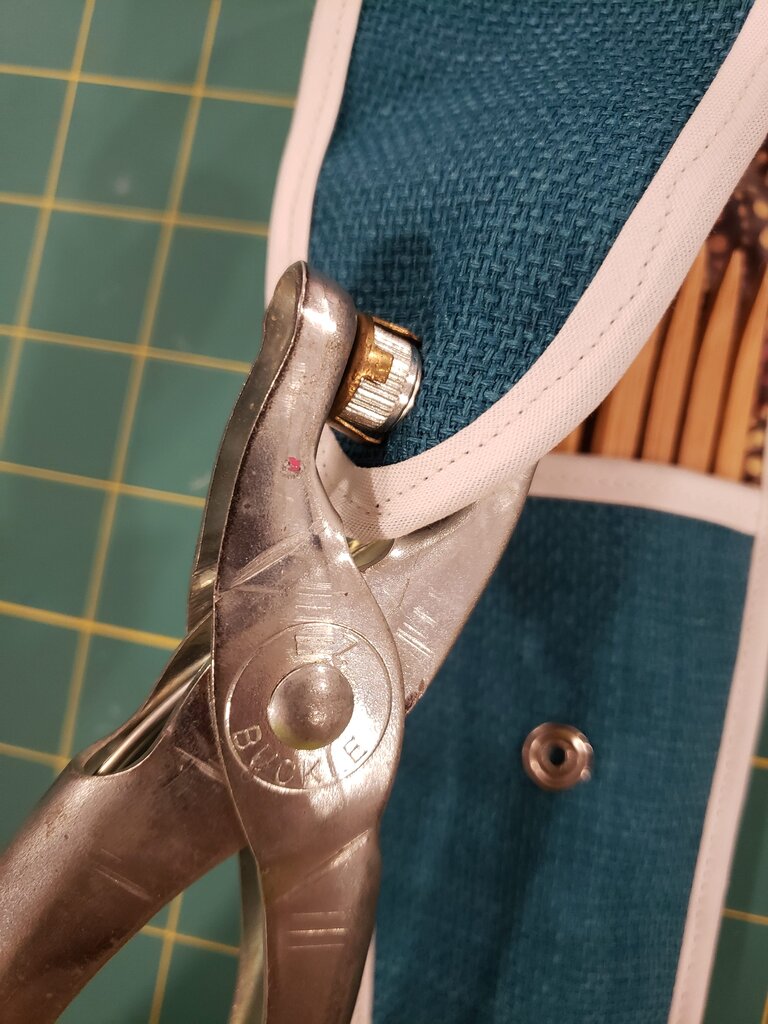
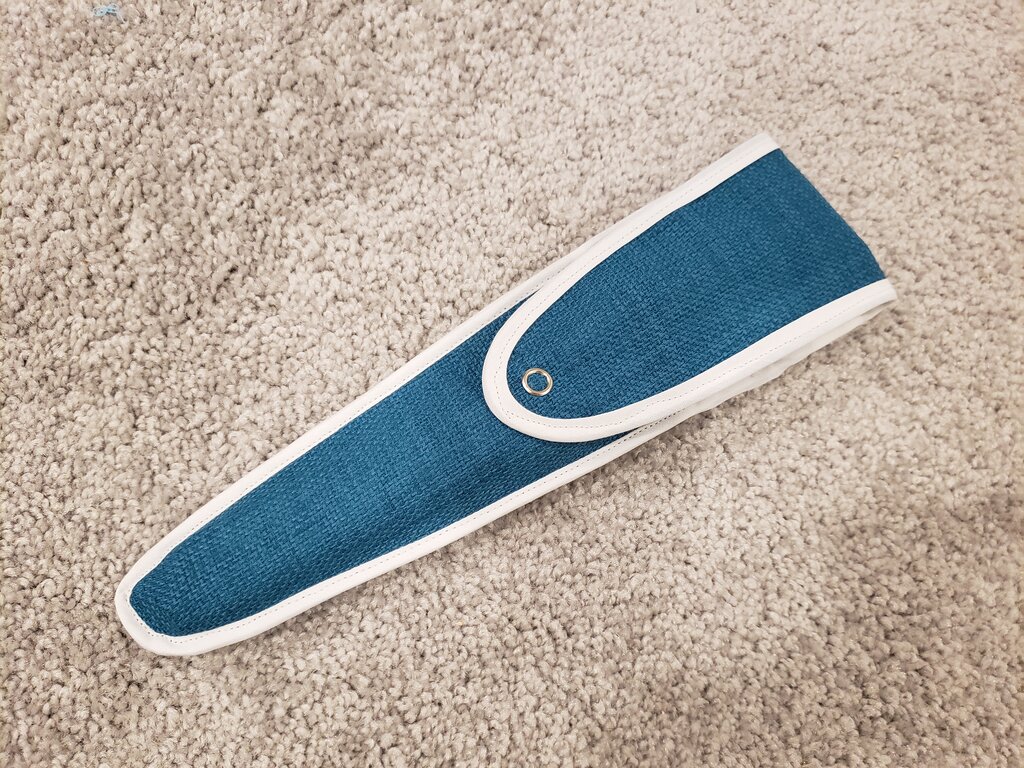
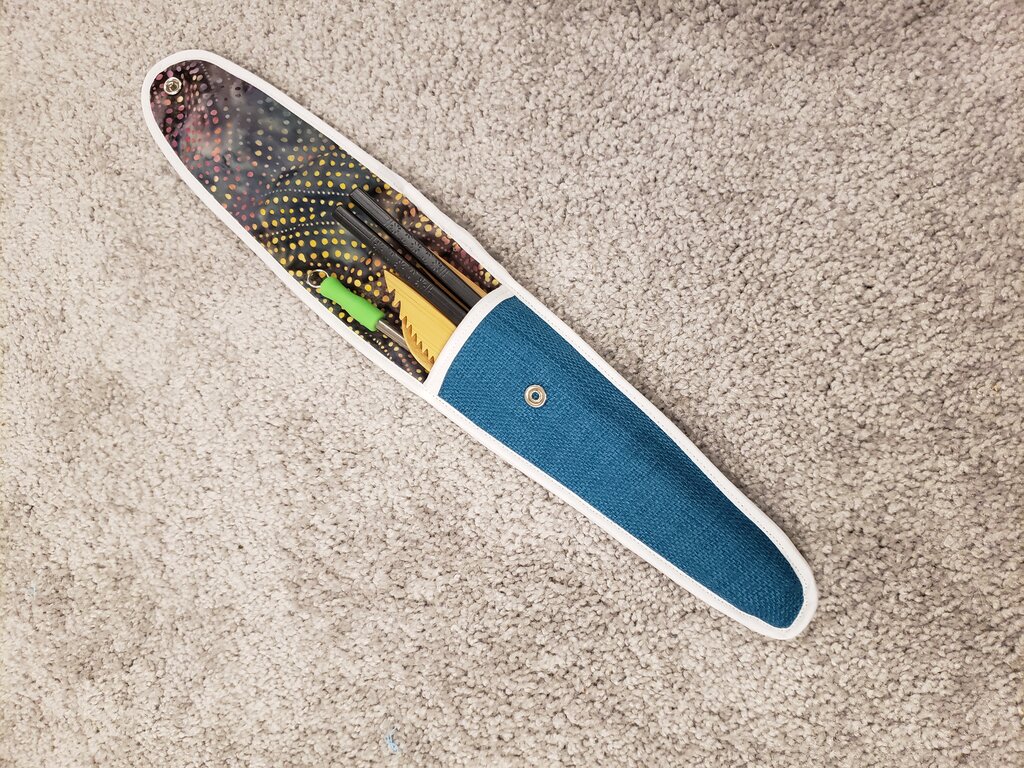
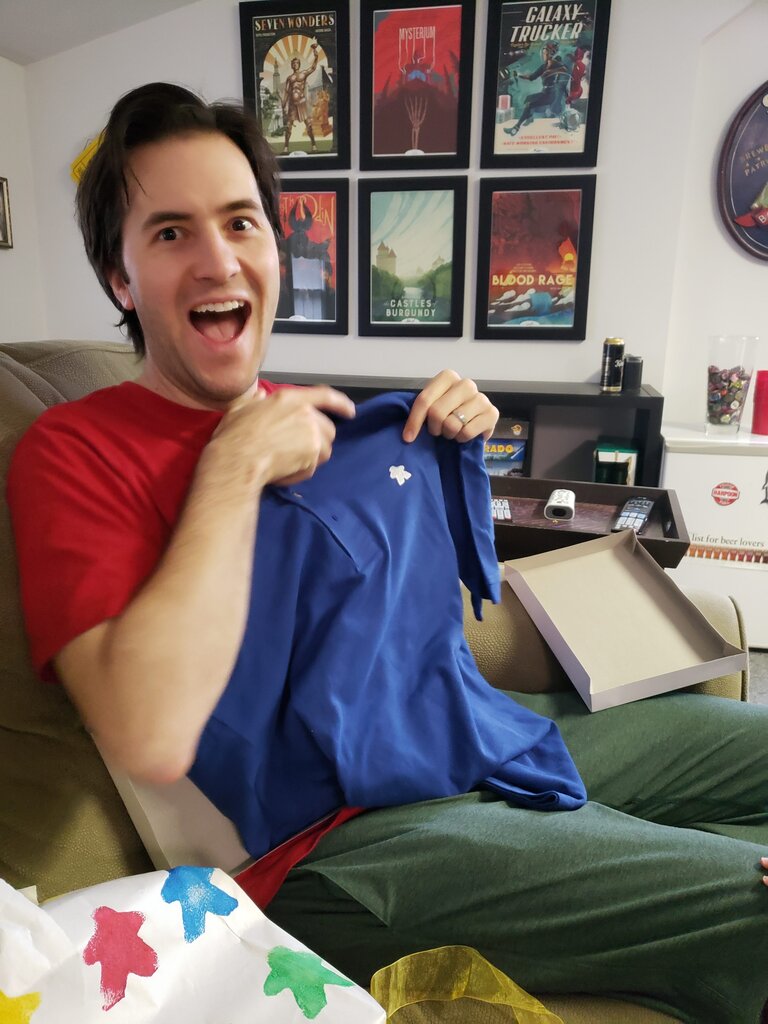
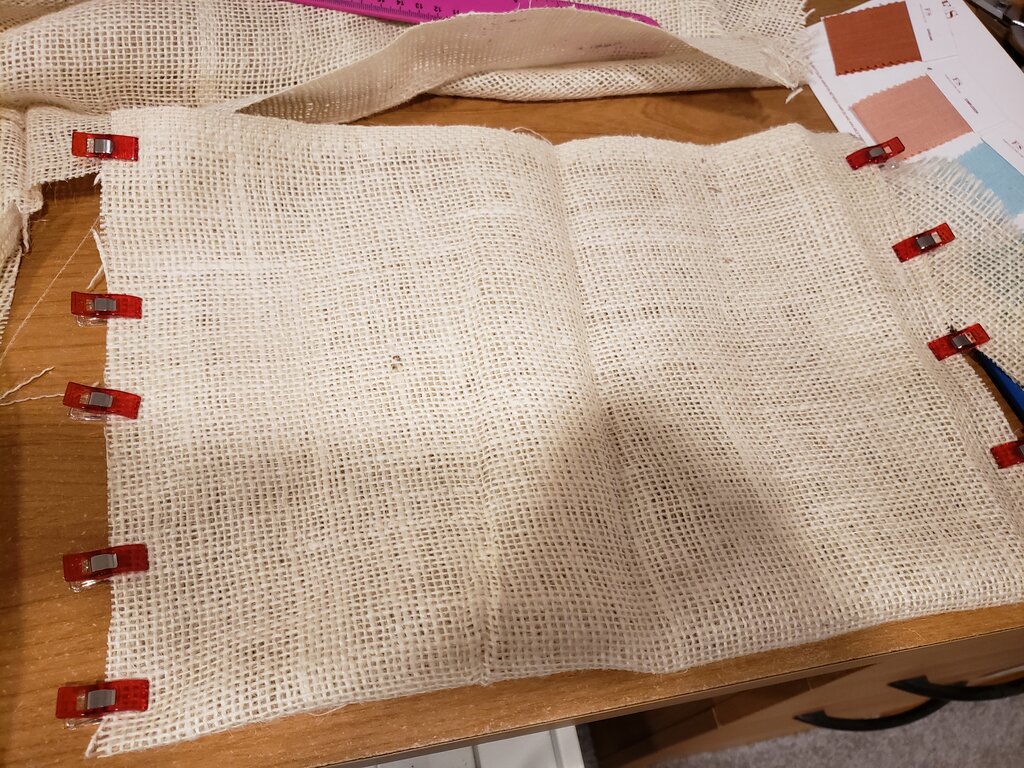
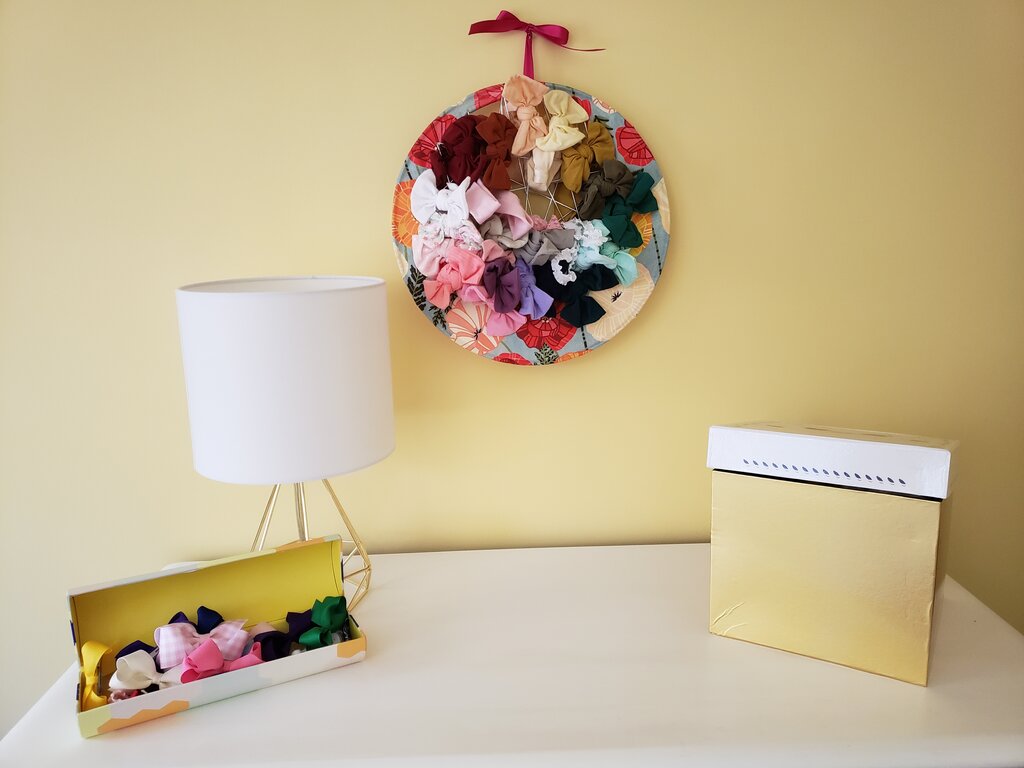
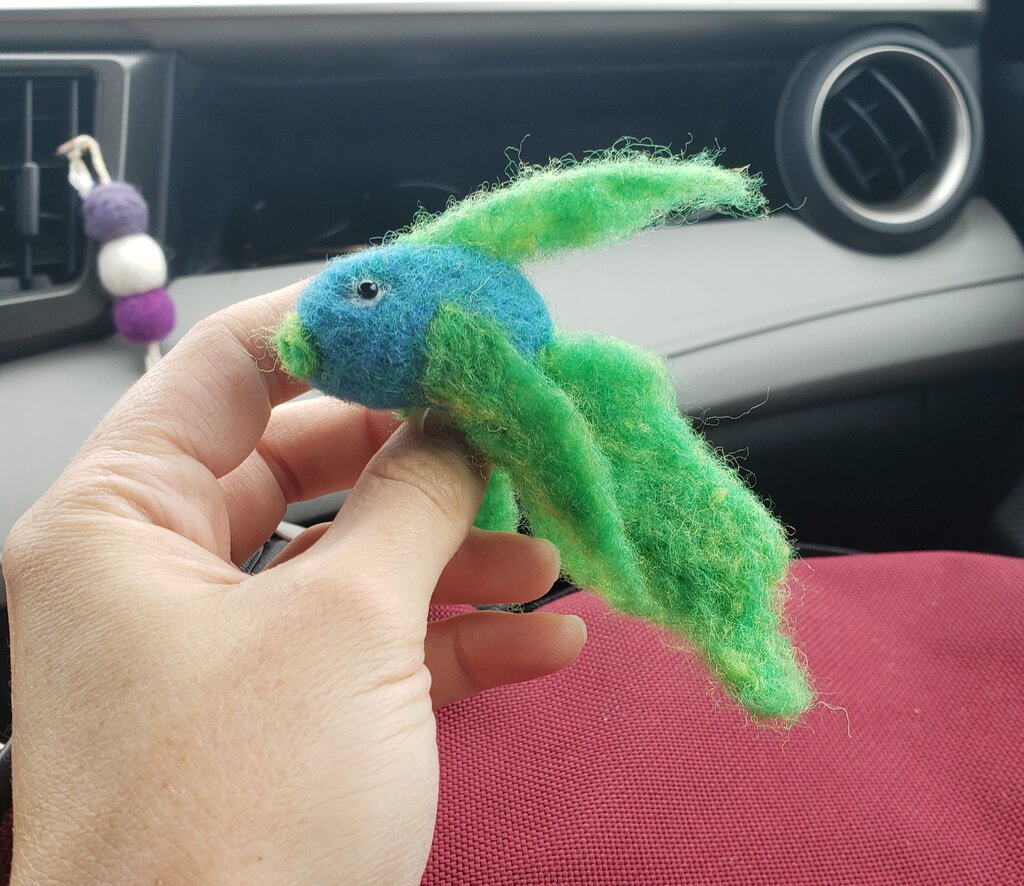
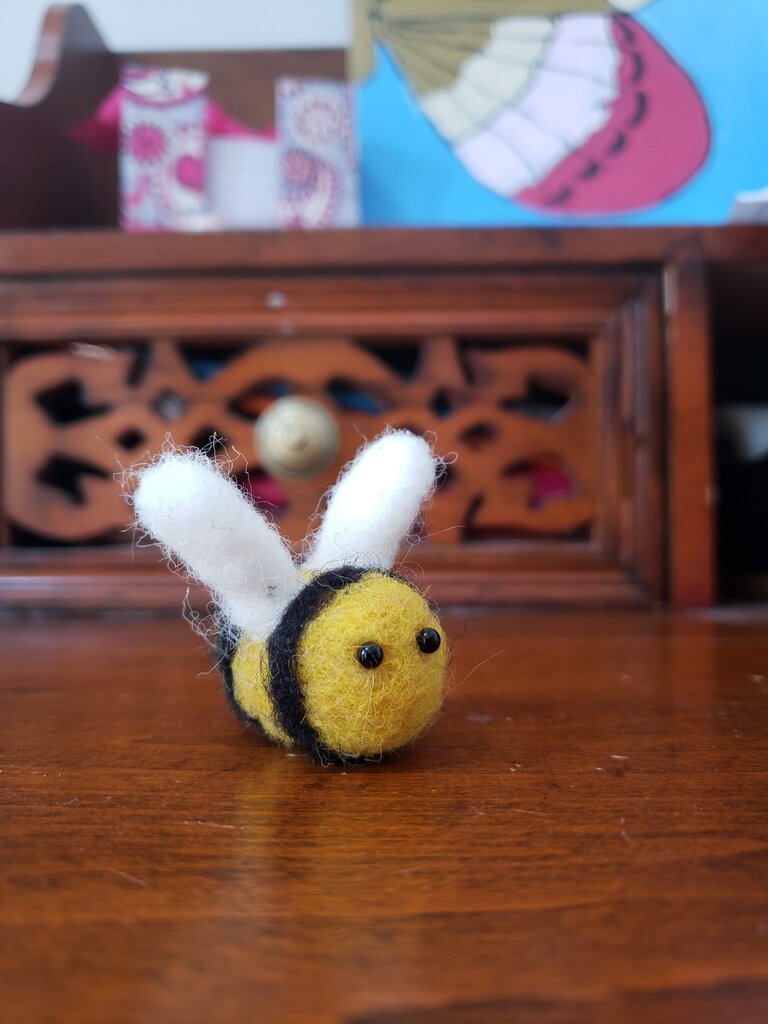
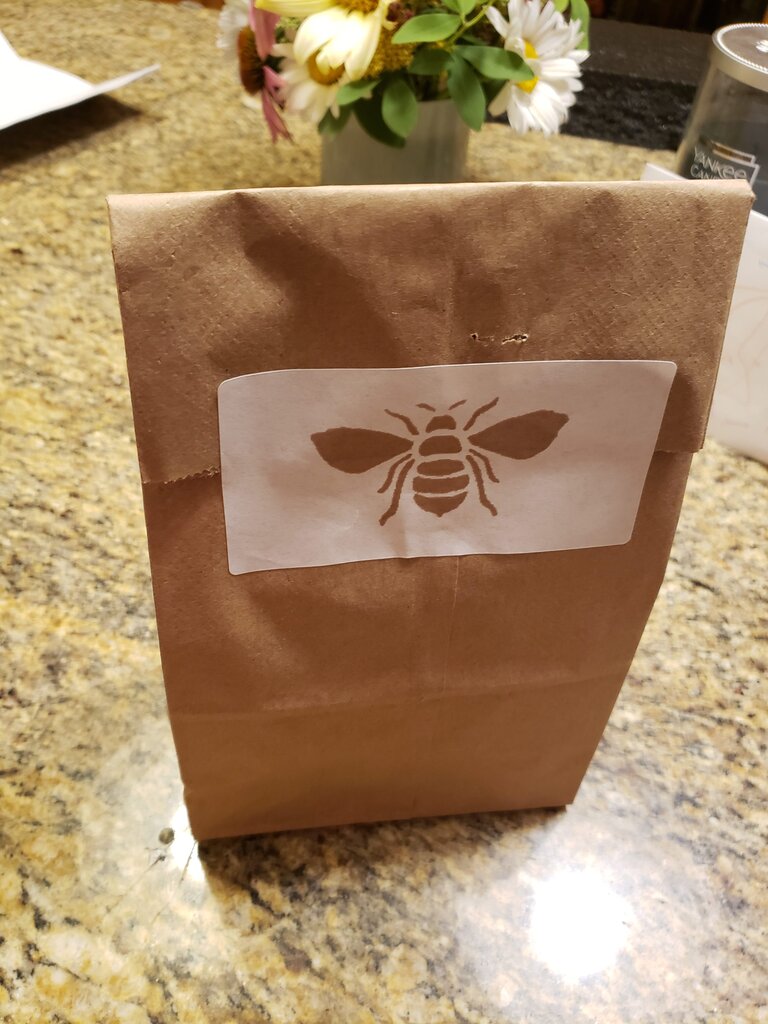
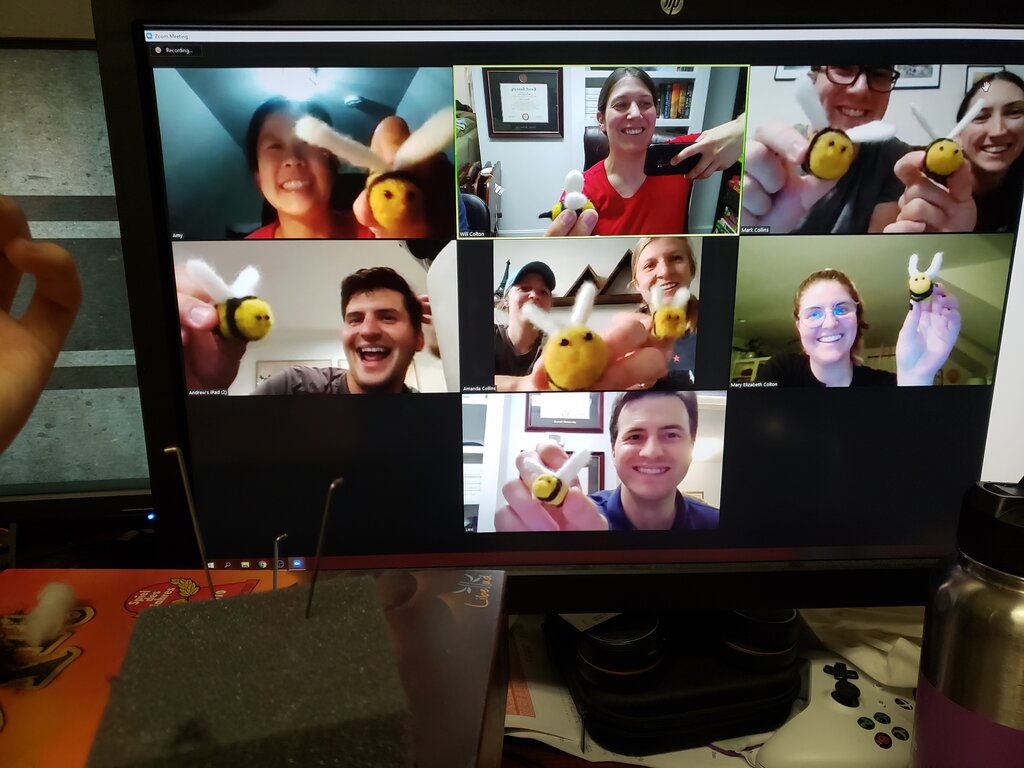
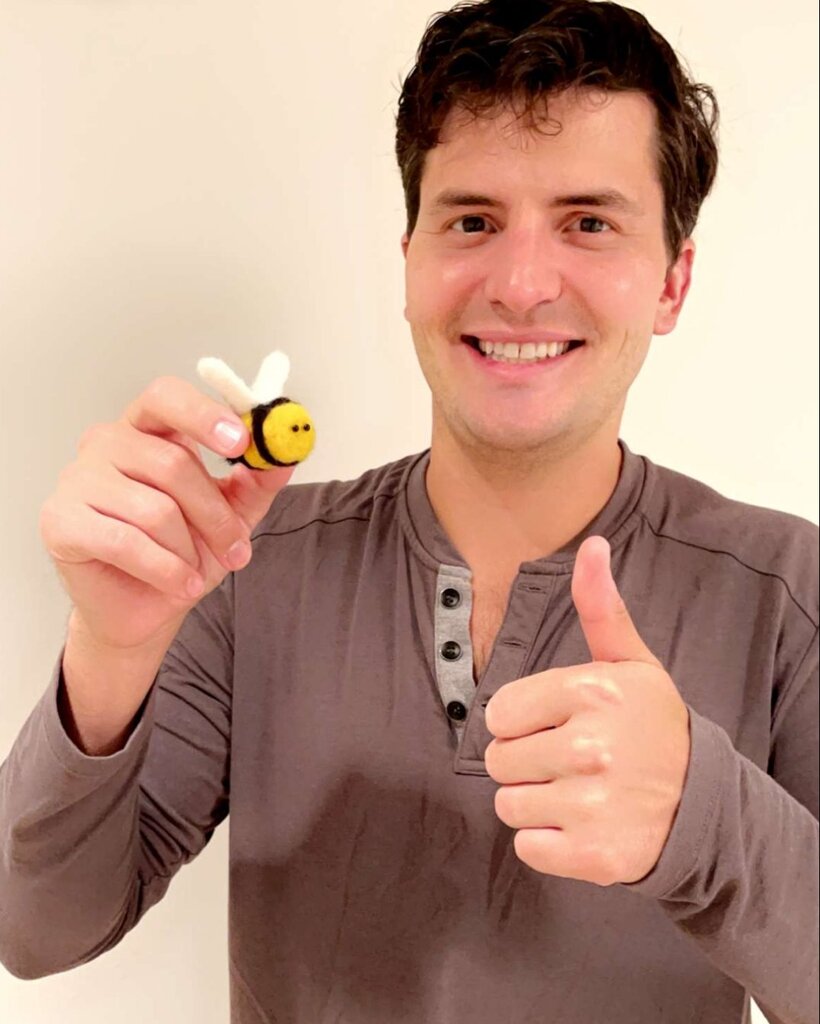
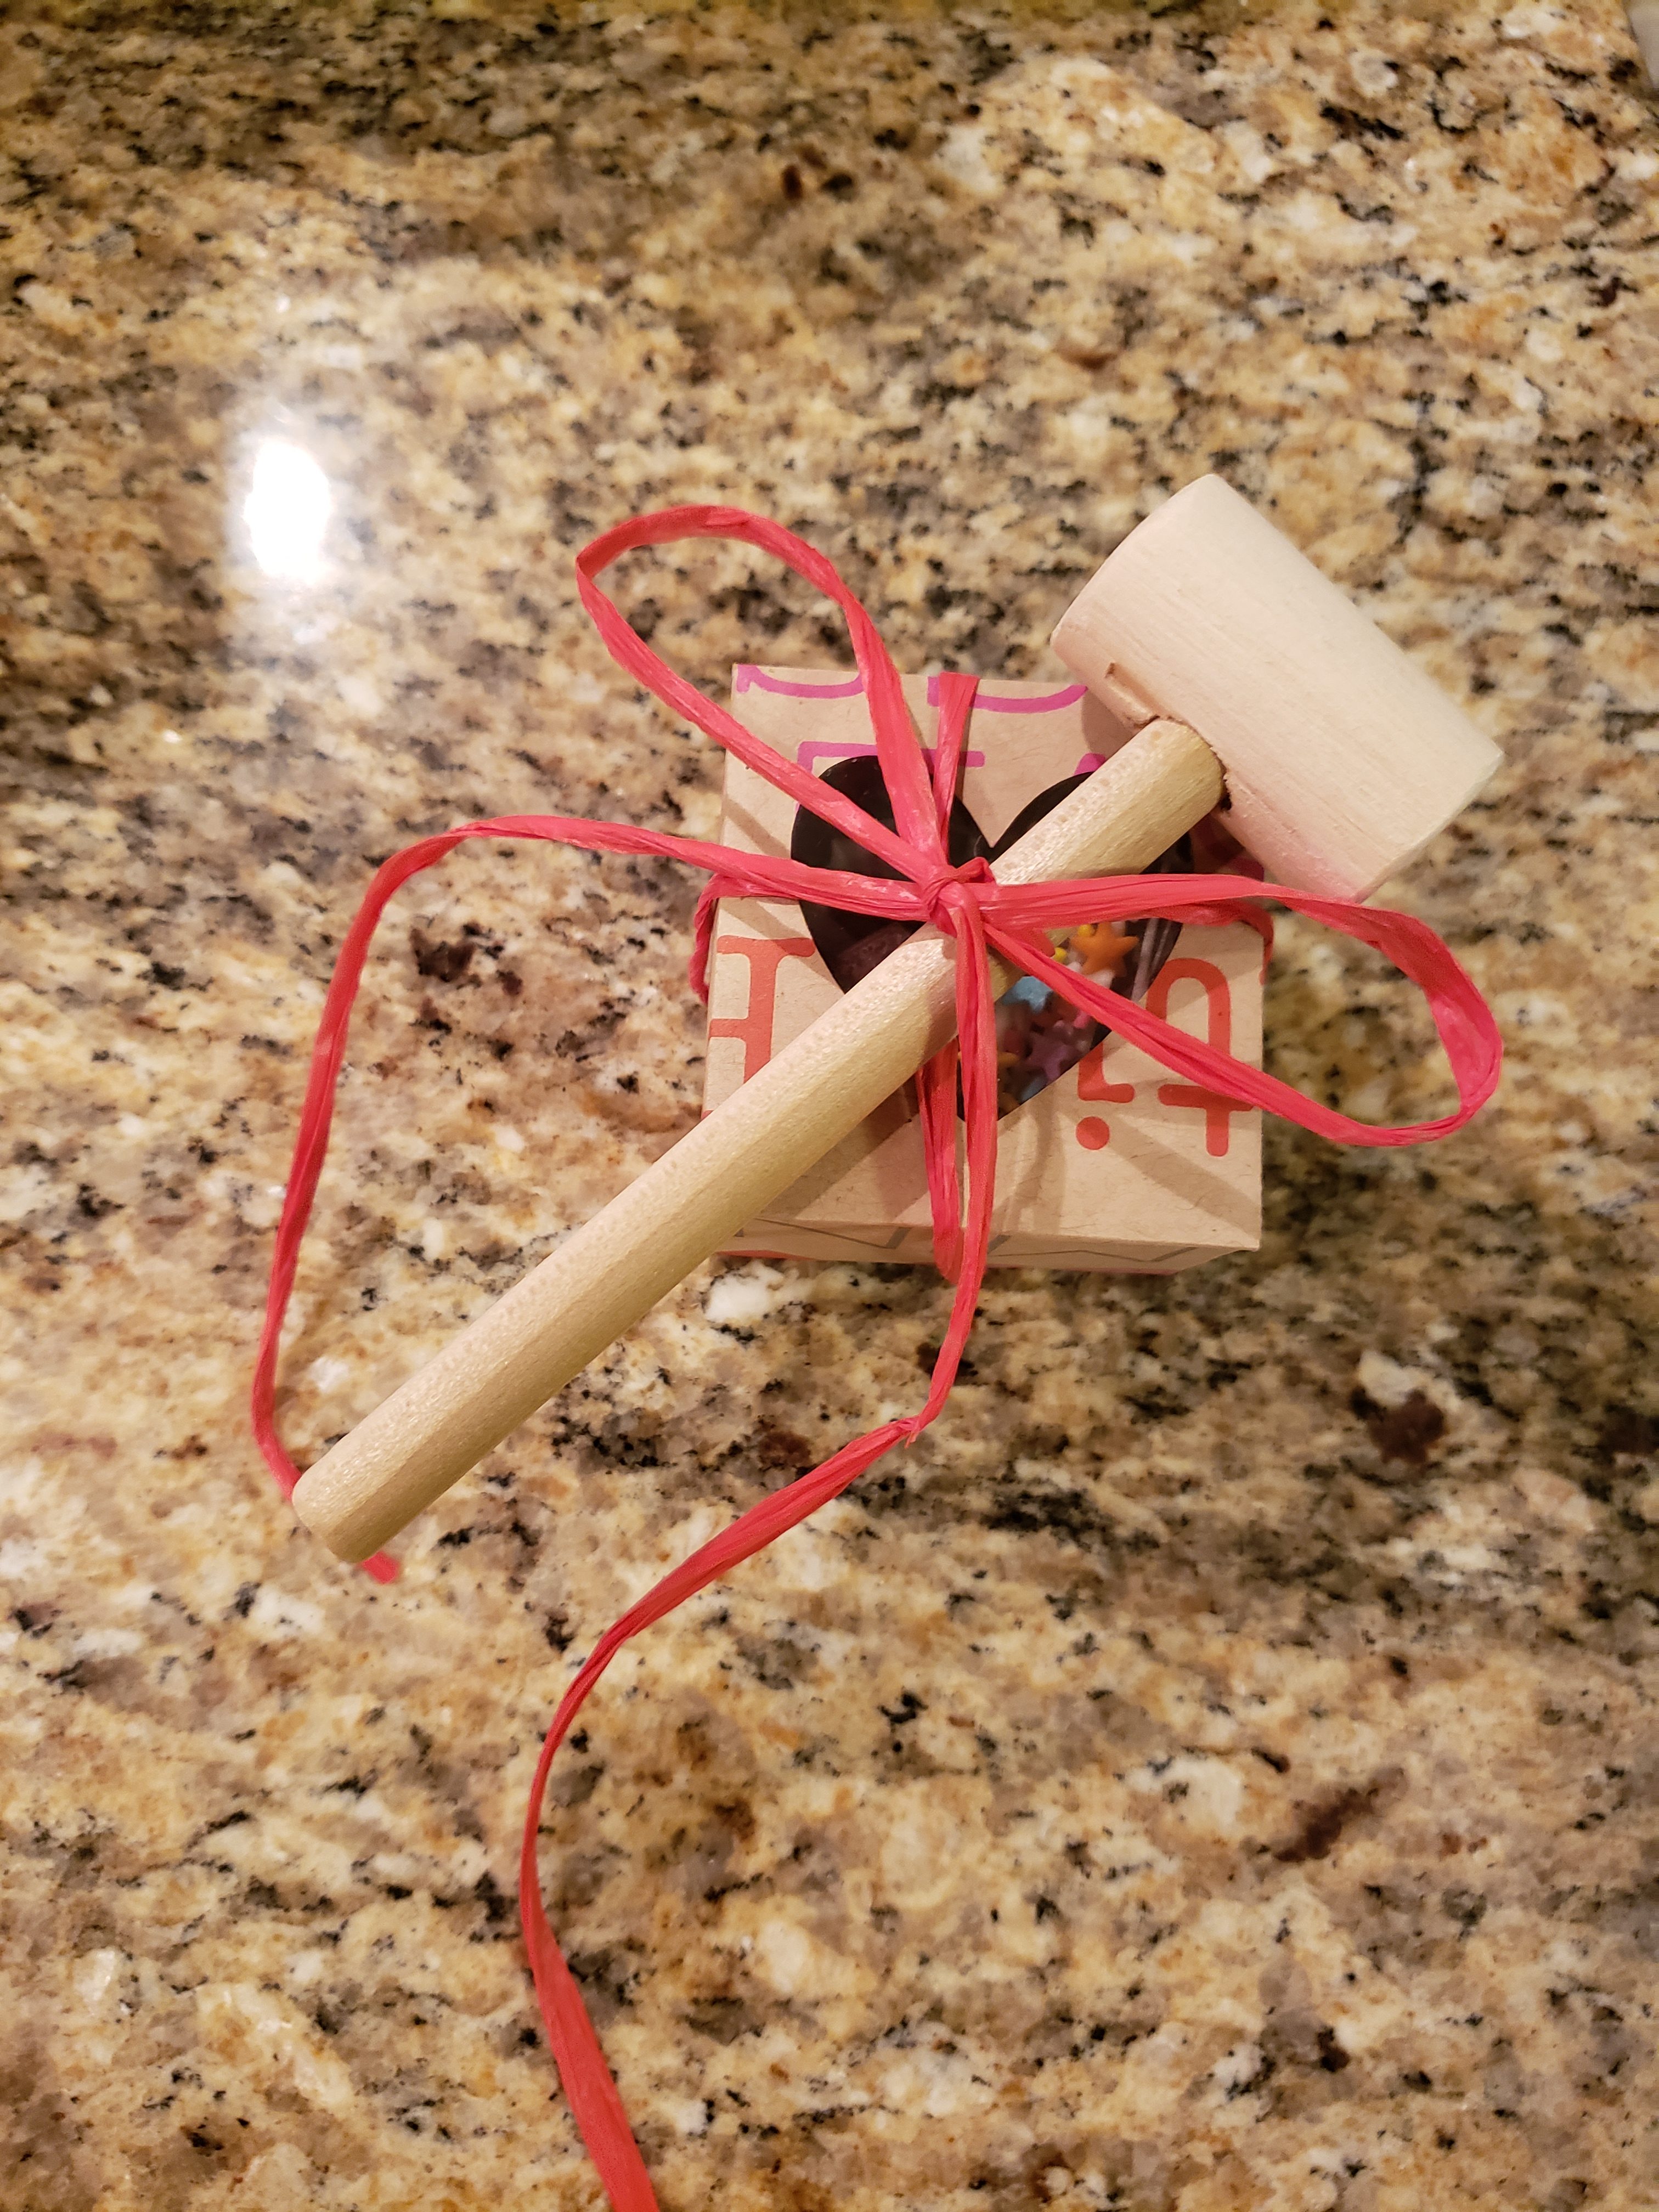
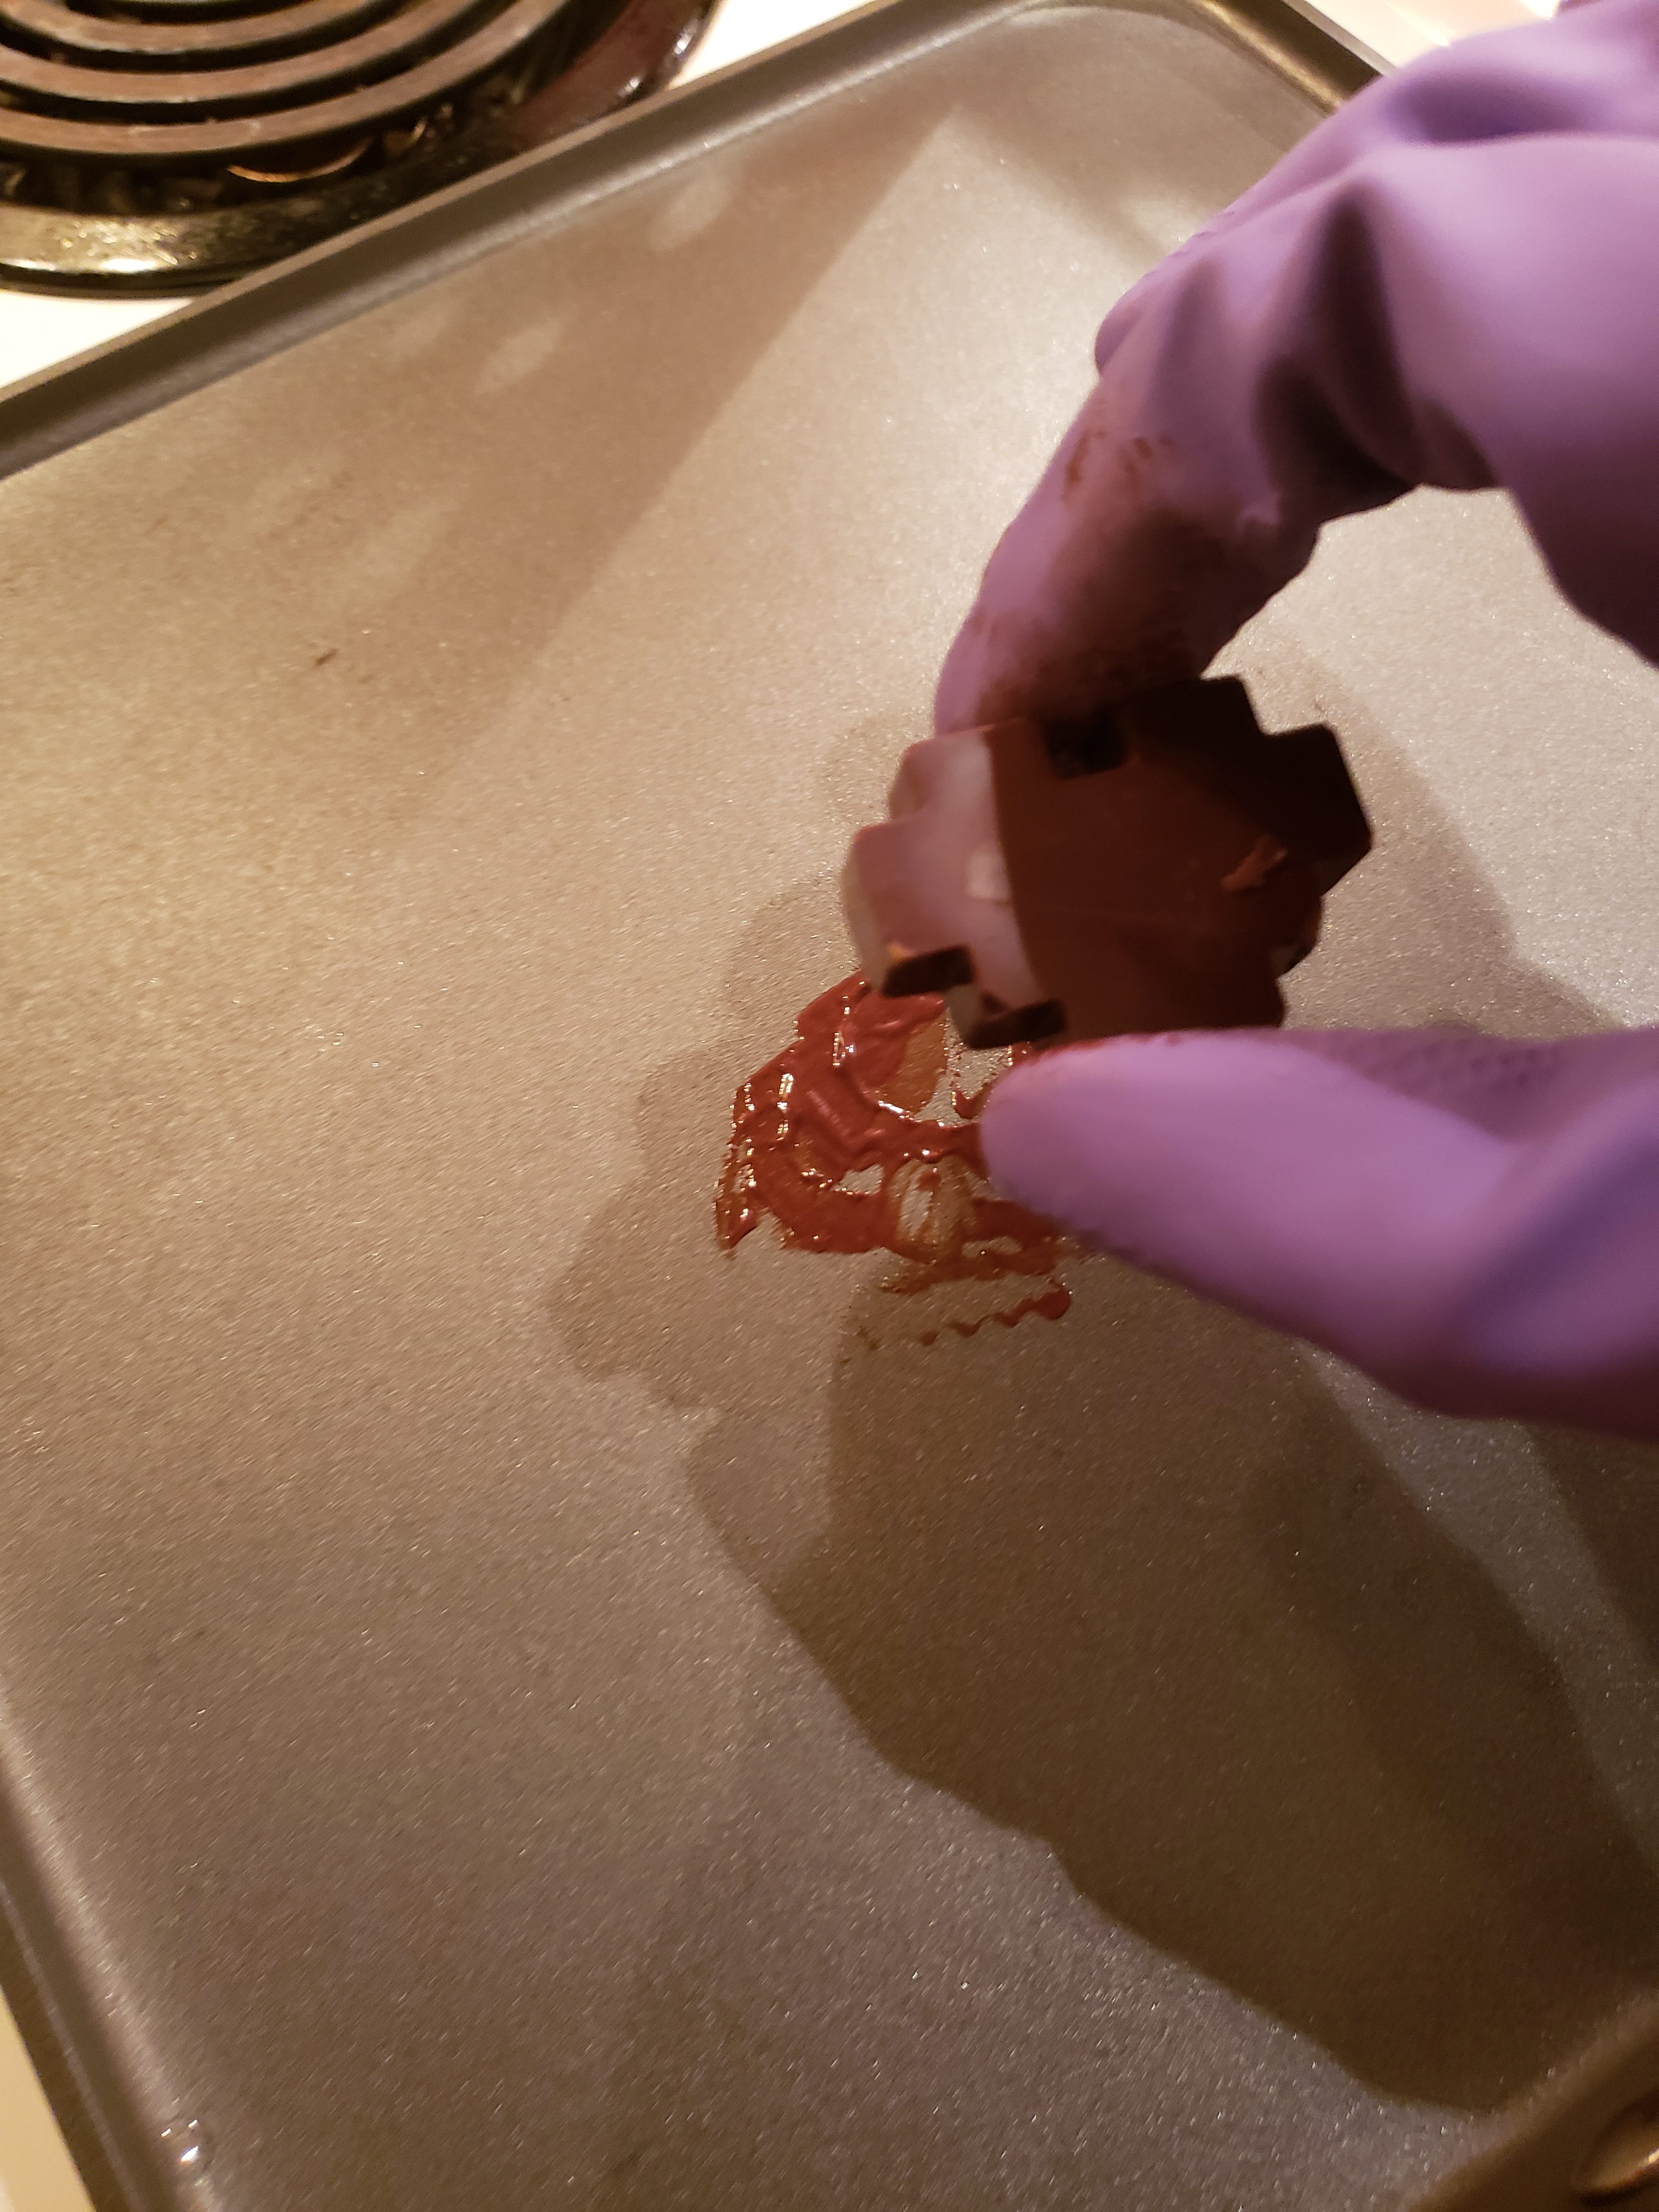
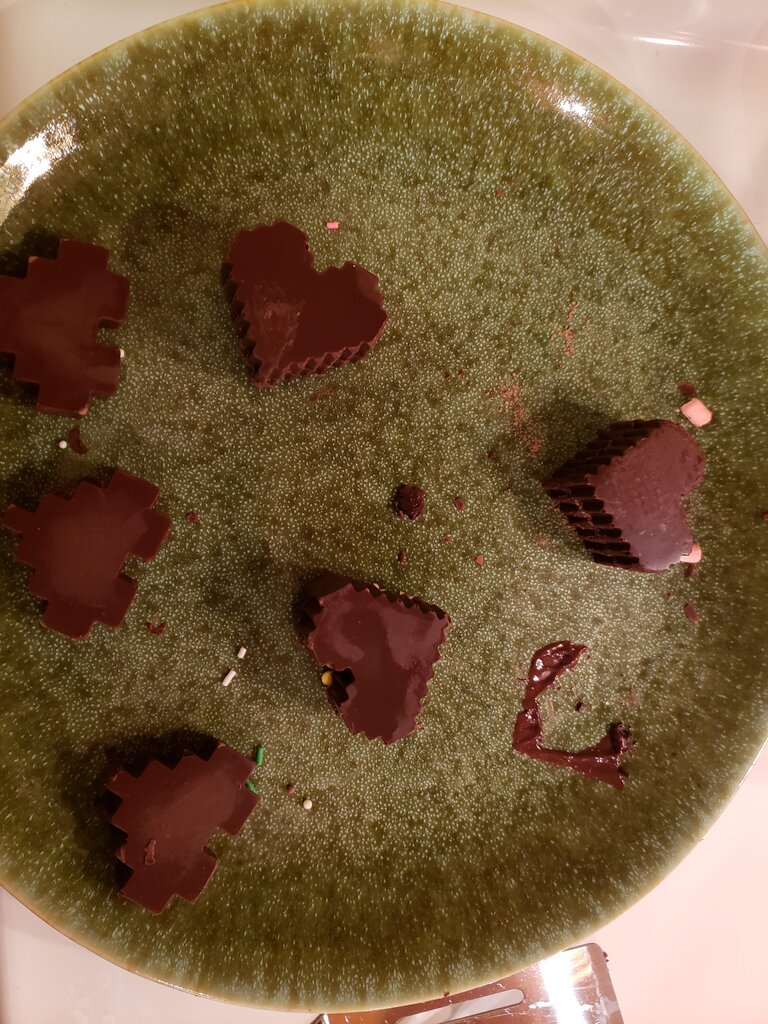
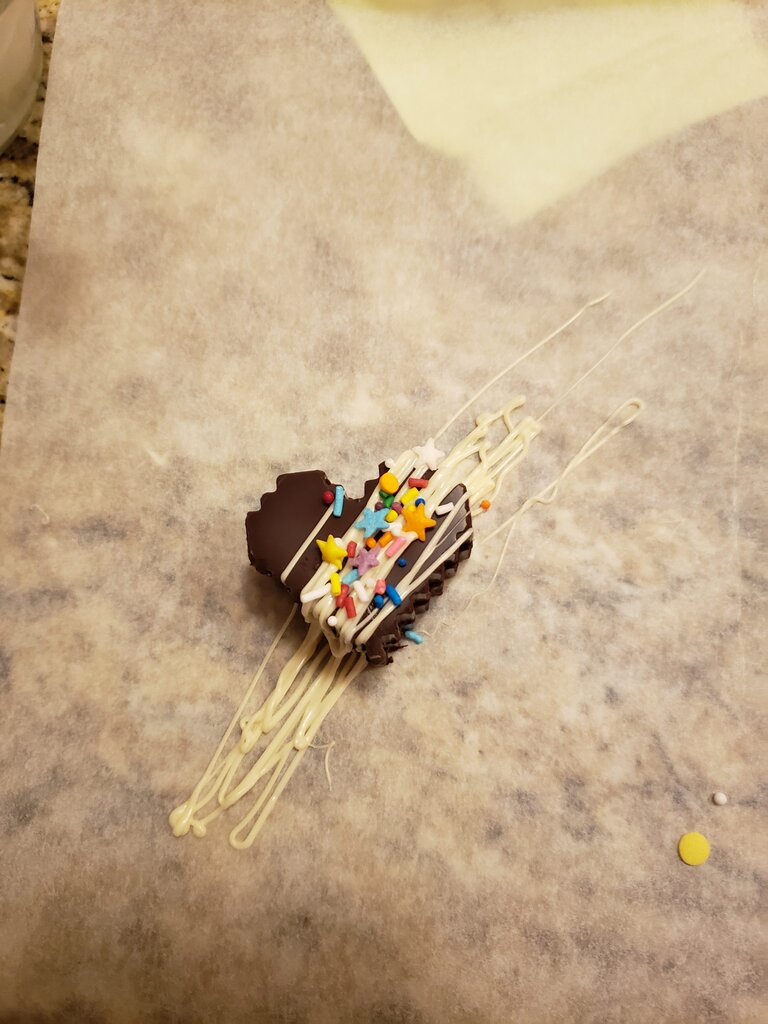
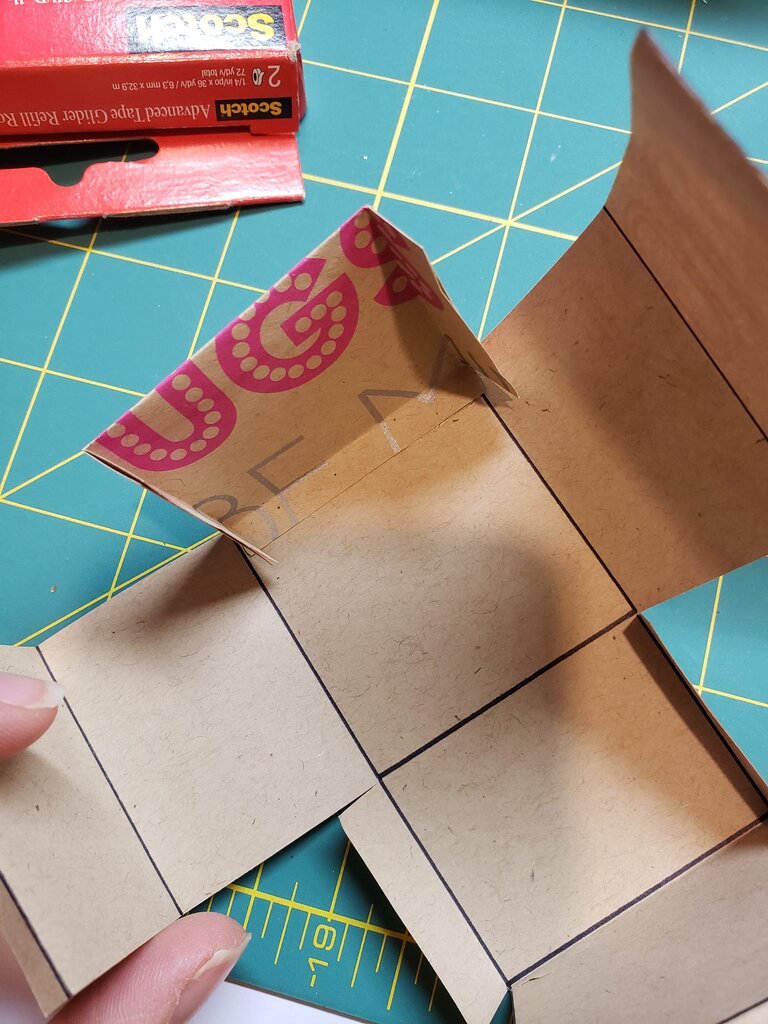
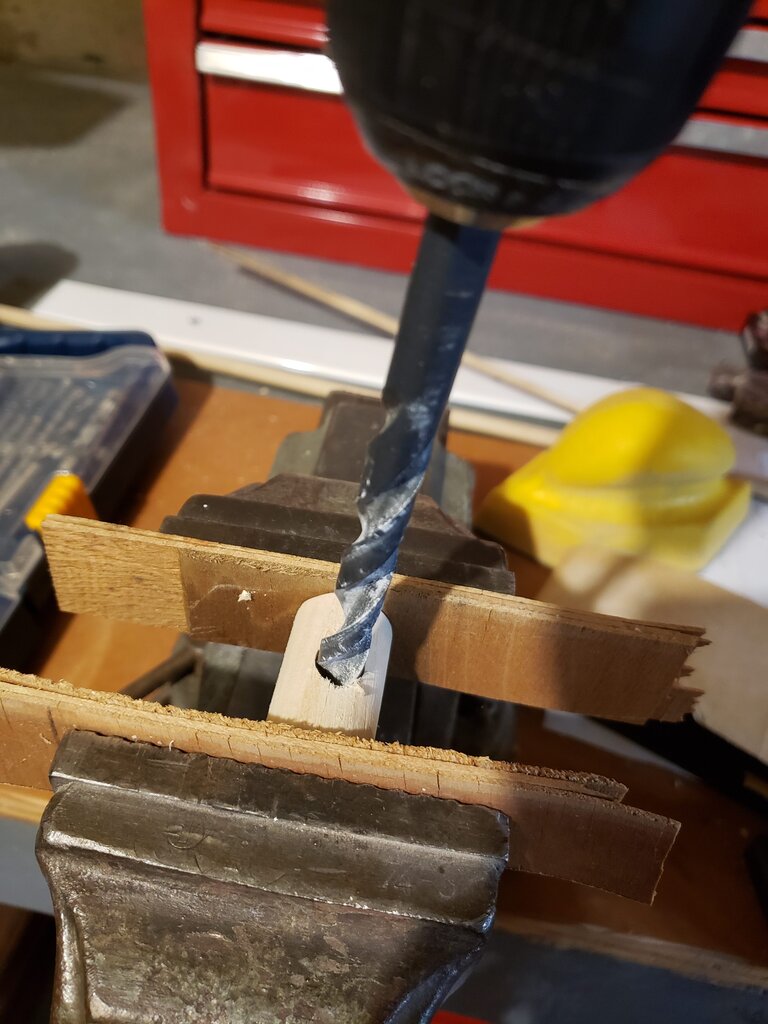
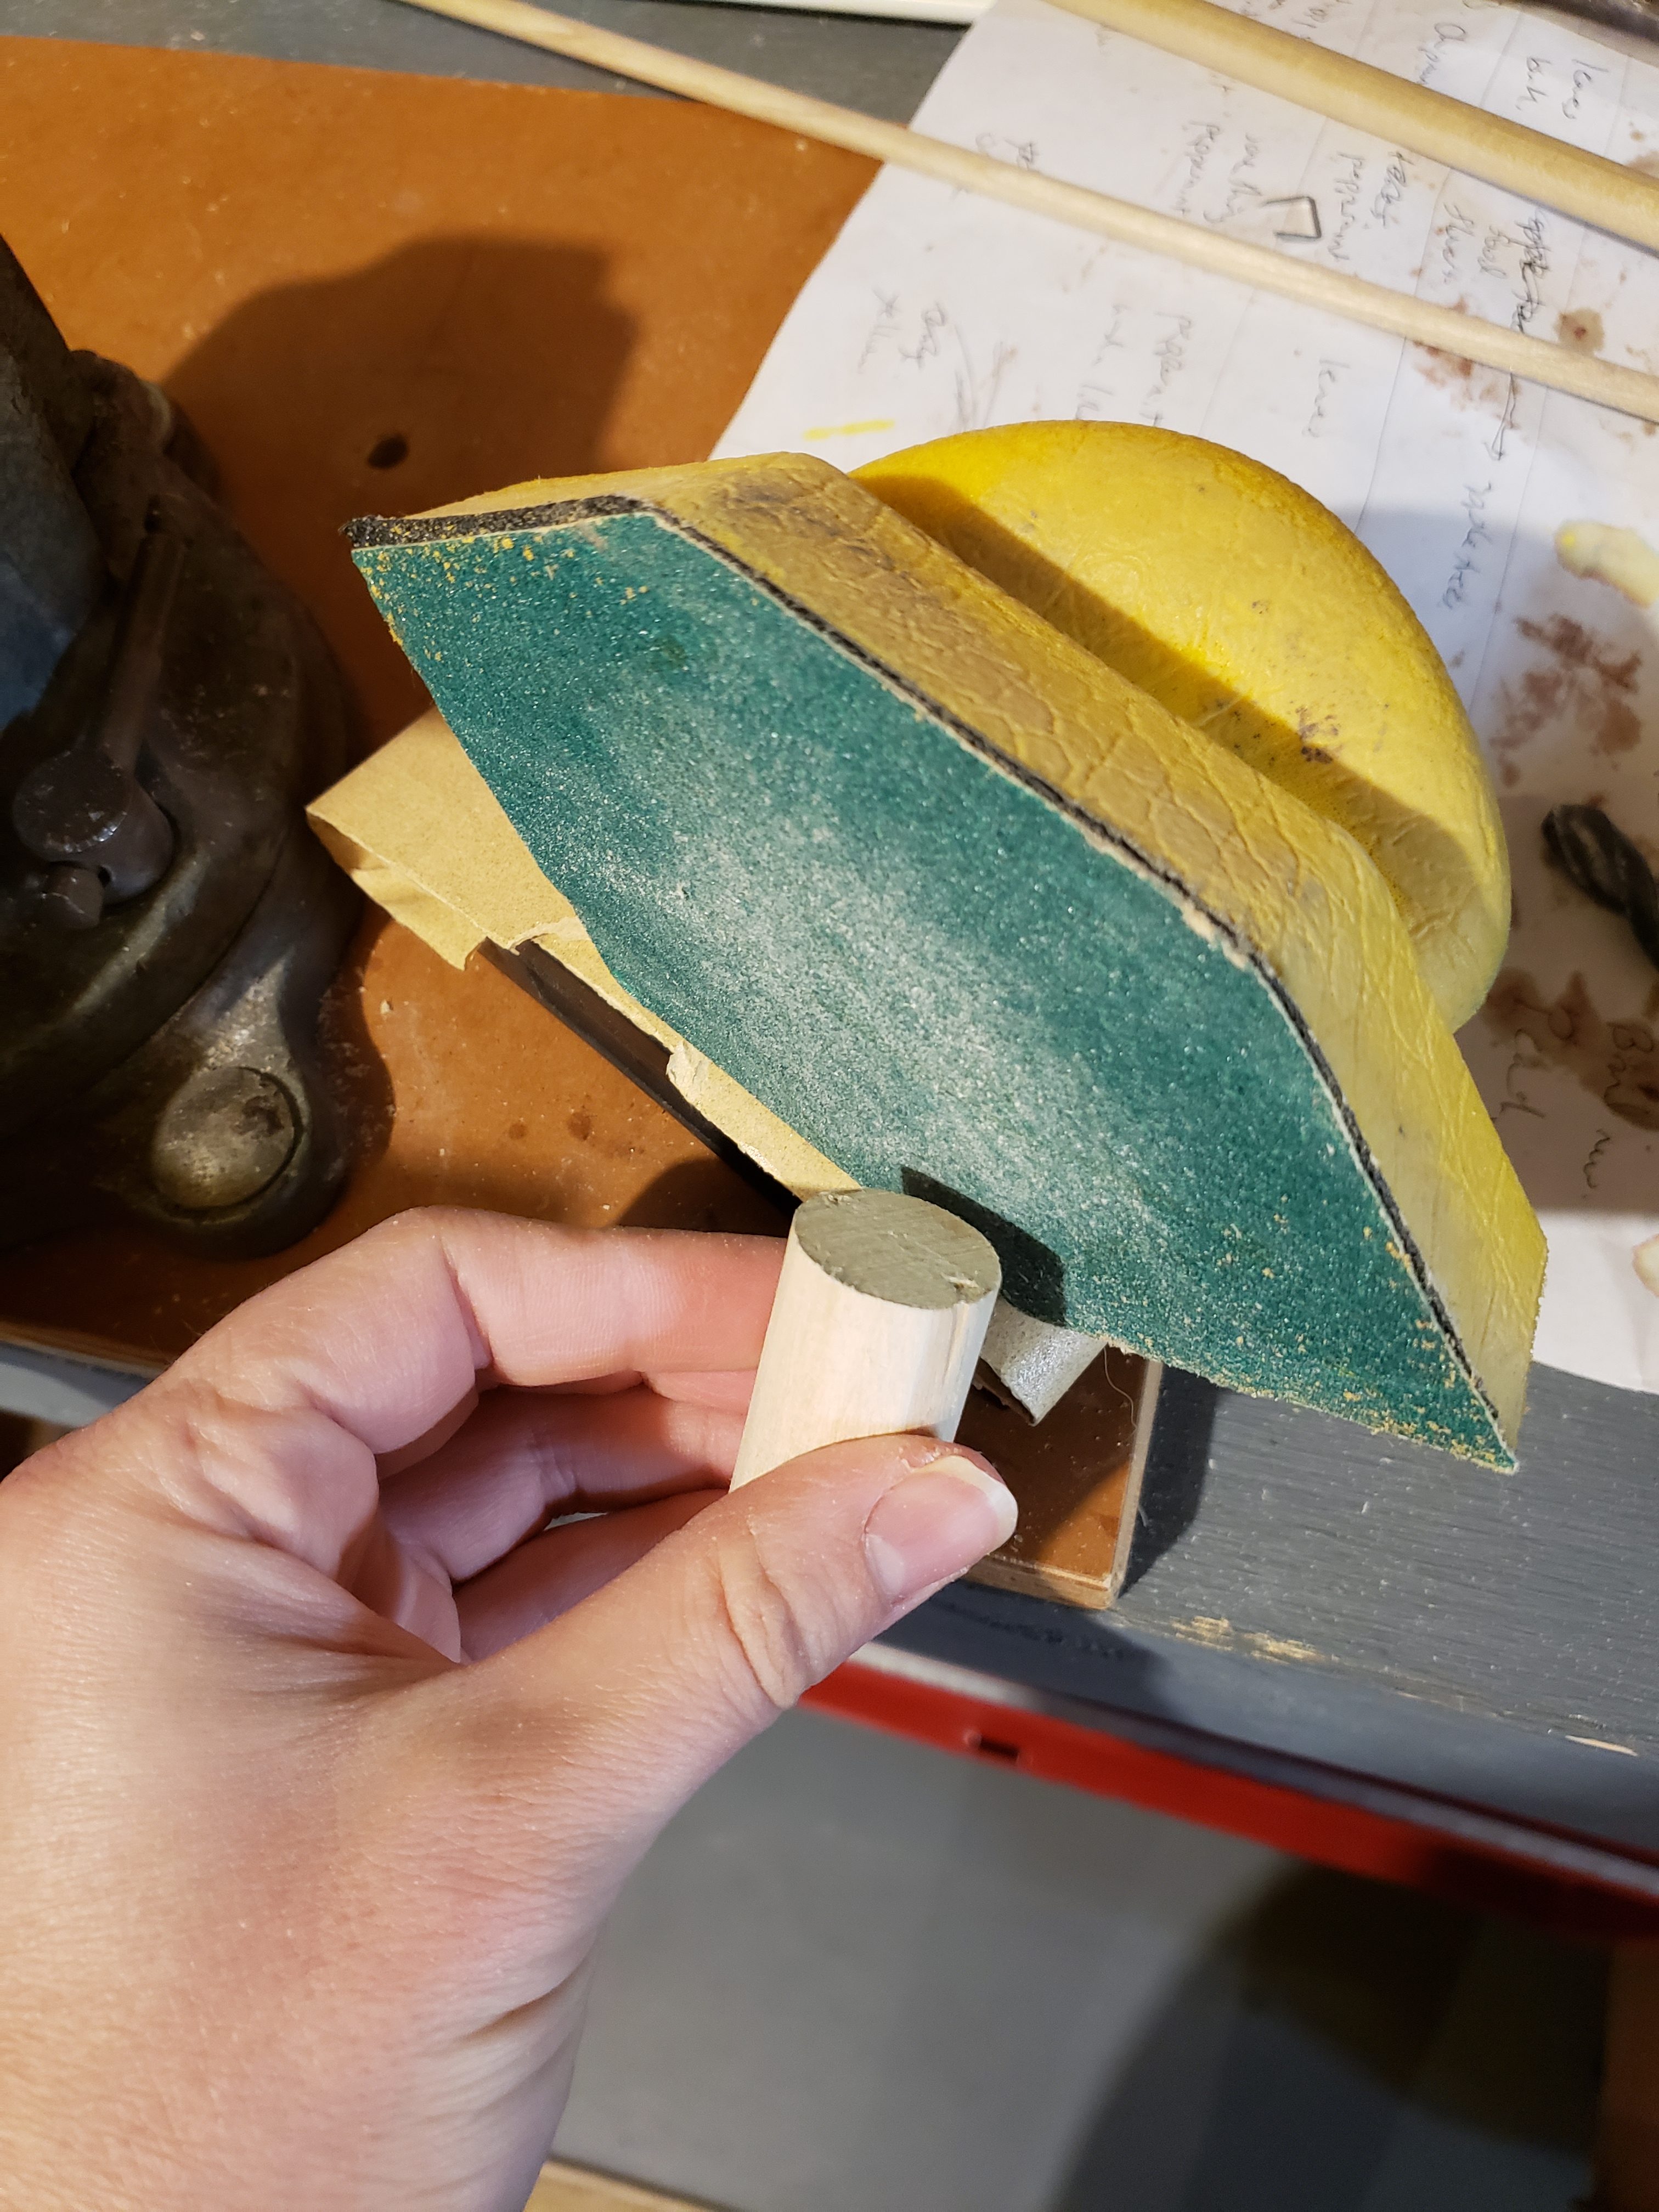
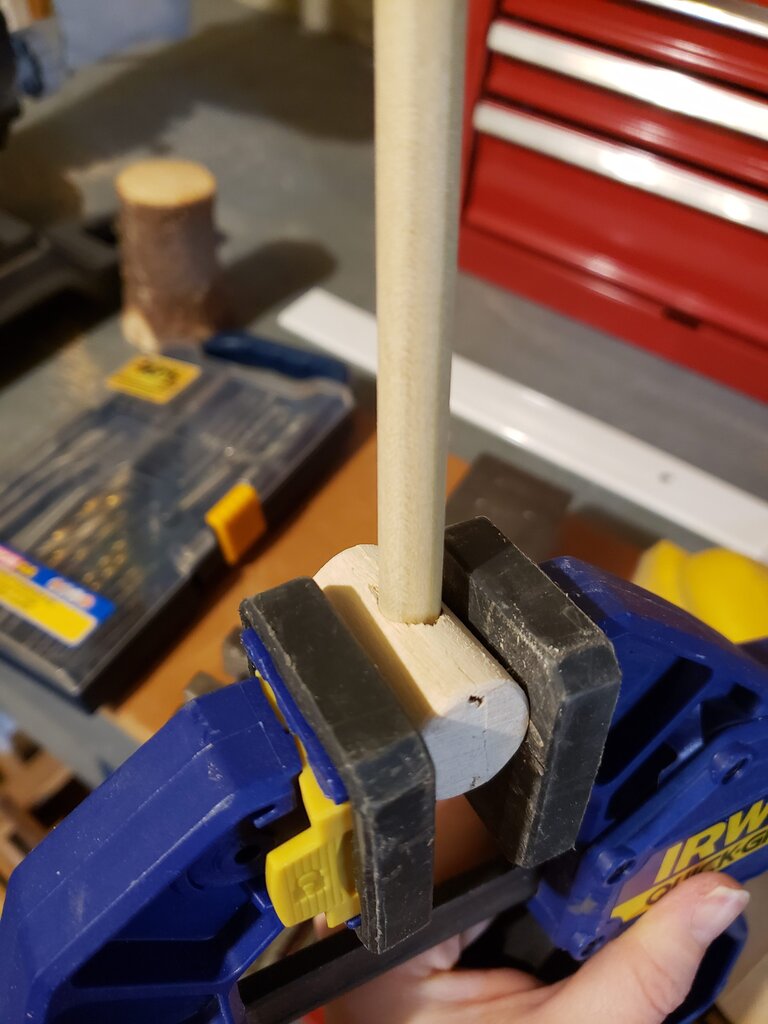
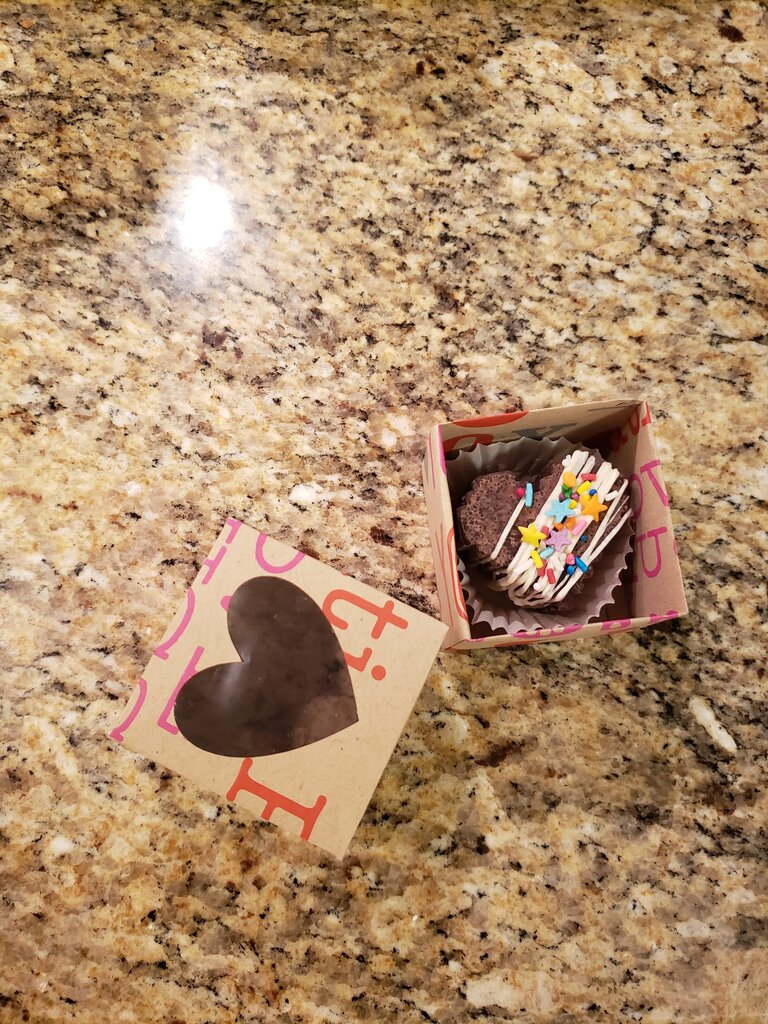
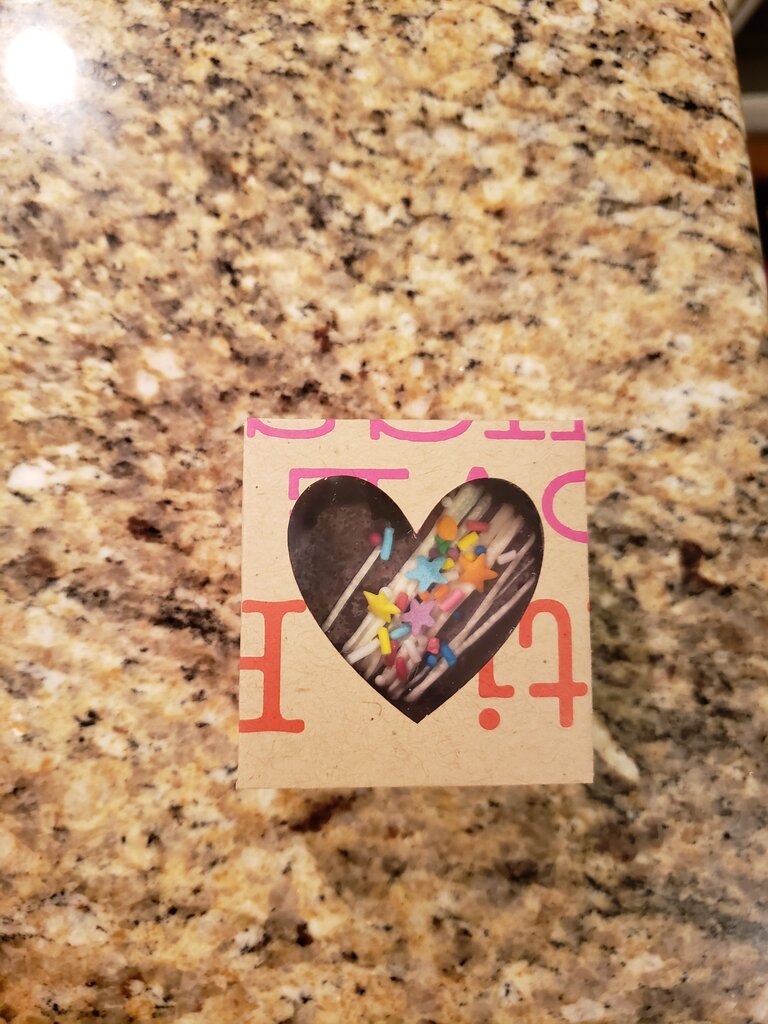
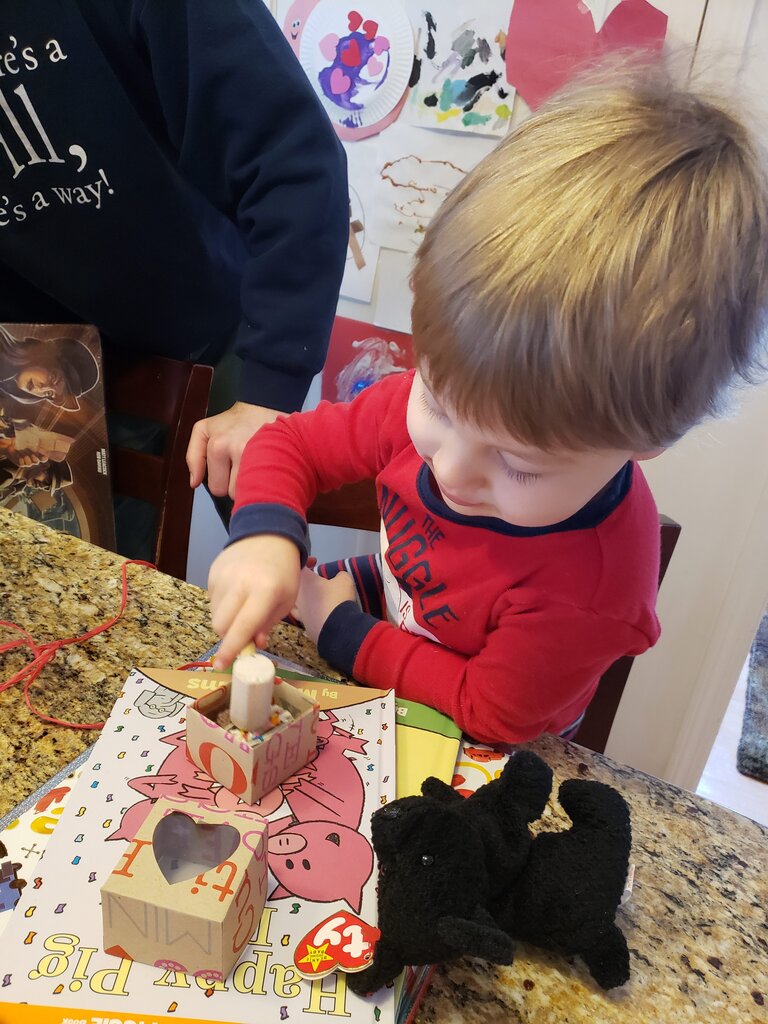
No Danycon would be complete without swag (or as our siblings have started calling them during the pandemic “care packages”) and this year was no different. We wanted to make the swag this year a little taste of Japan (some place I can only dream about and hope to visit someday). The swag boxes were filled with Pocky, Konpeito (the Japanese sugar candy that soot sprites eat!), vegetarian ramen (from Mike’s Might Good Ramen, so definitely not Japanese…), tiny felted chibi totoros, reusable travel utensil sets (with chop sticks – I think Miyazaki would approve), bags of “rolling Danycon” (inspired by the Okazu roll and write), copies of Sushi Go, a Studio Ghibli themed puzzled pint that Mark and Erin created, supplies for cookie decorating and of course Danycon shirts. In retrospect I might have gone a wee bit overboard this year…
Swag opening!
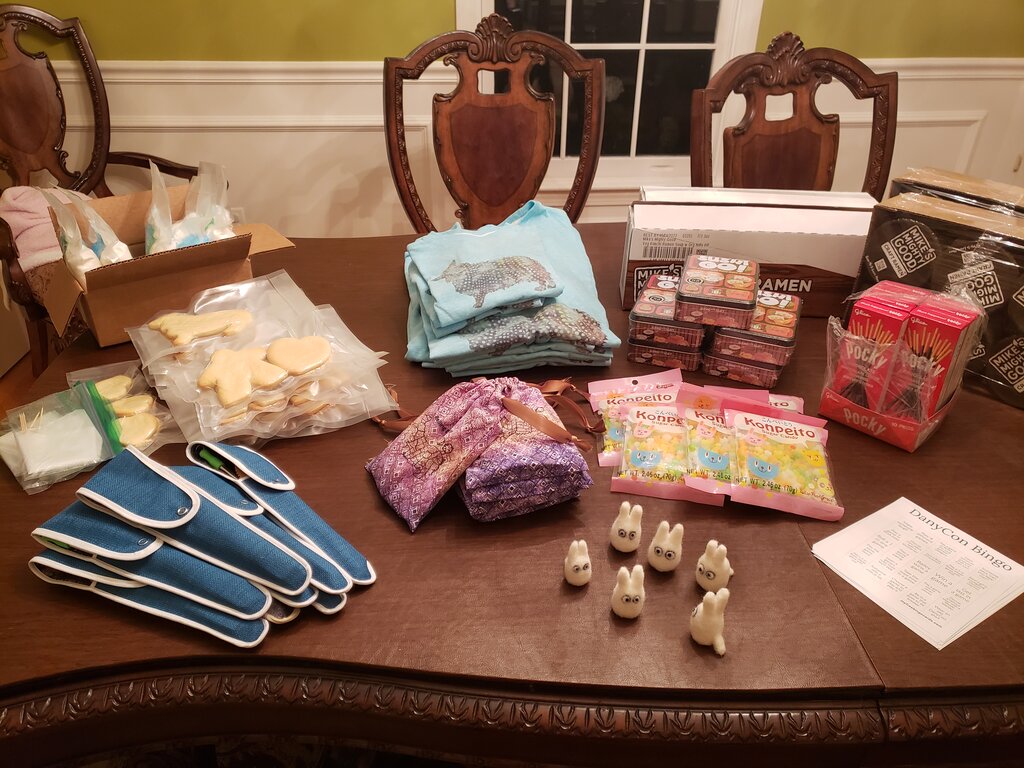
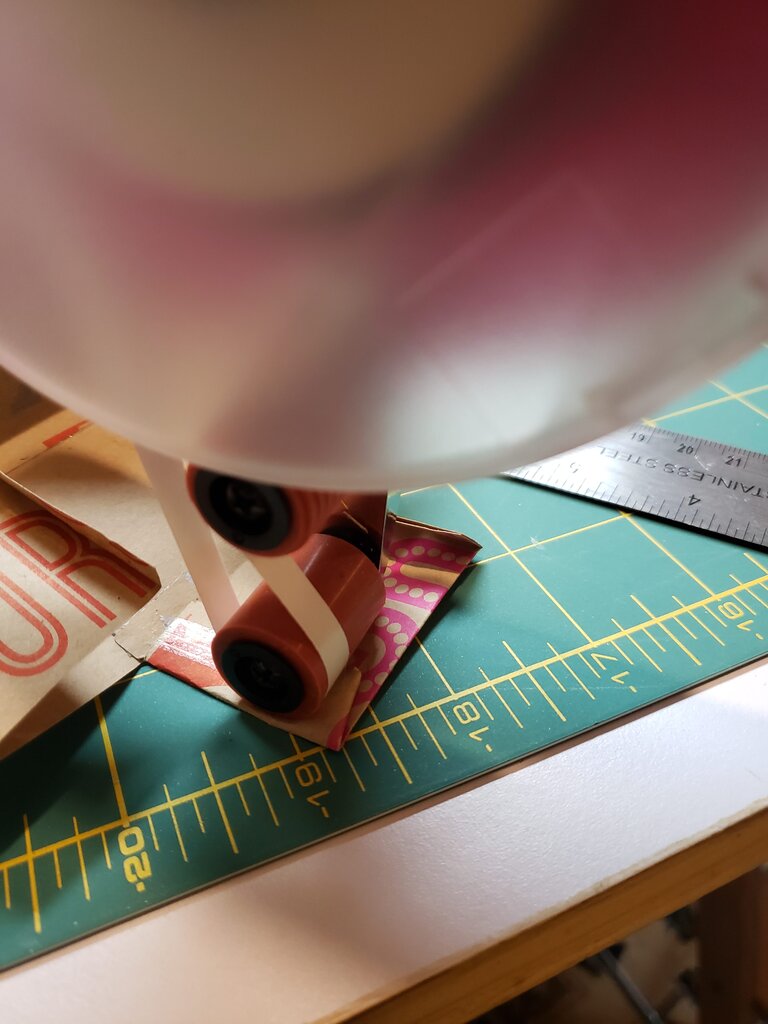
Swag bag packing prep
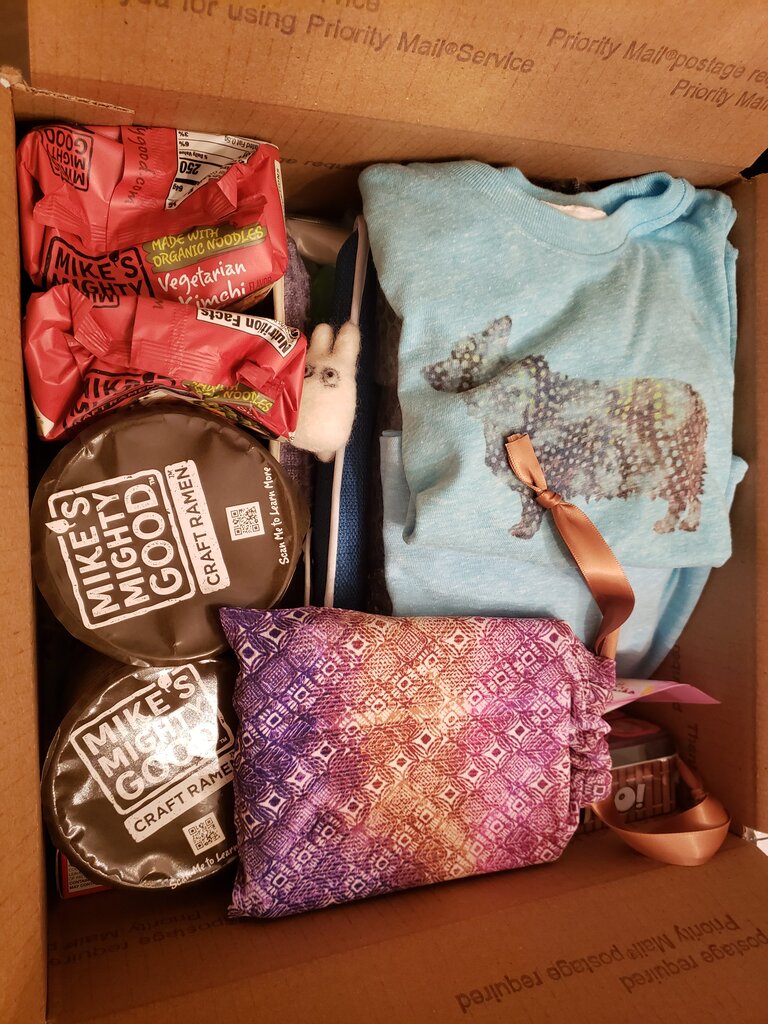
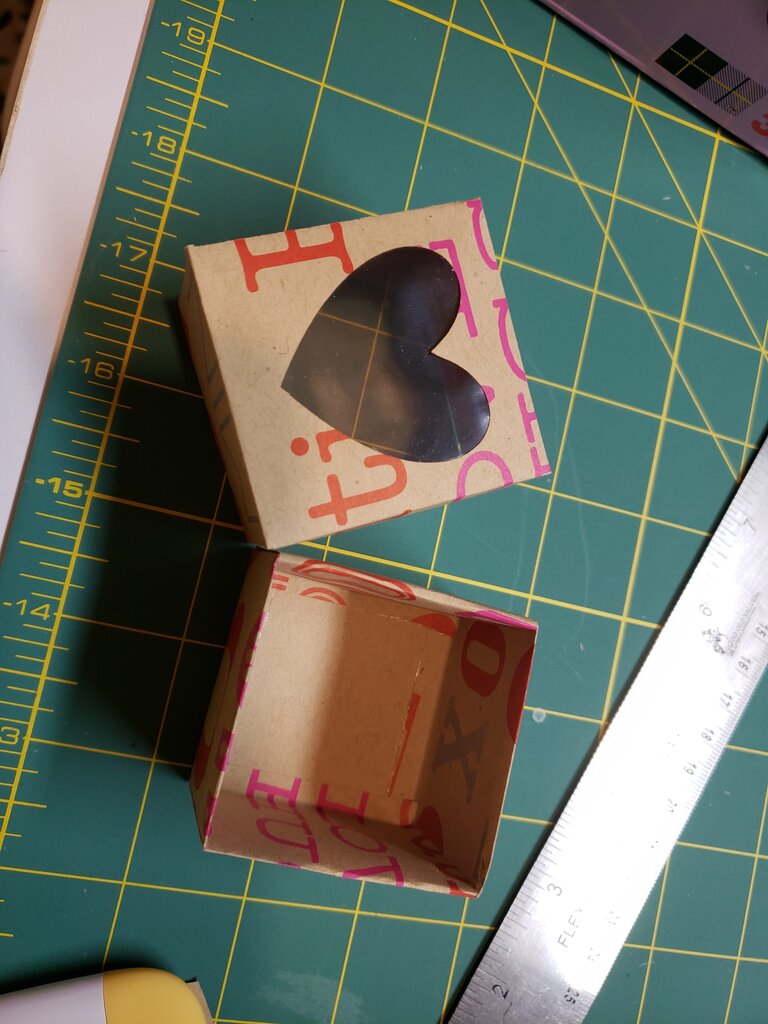
One box ready to ship out
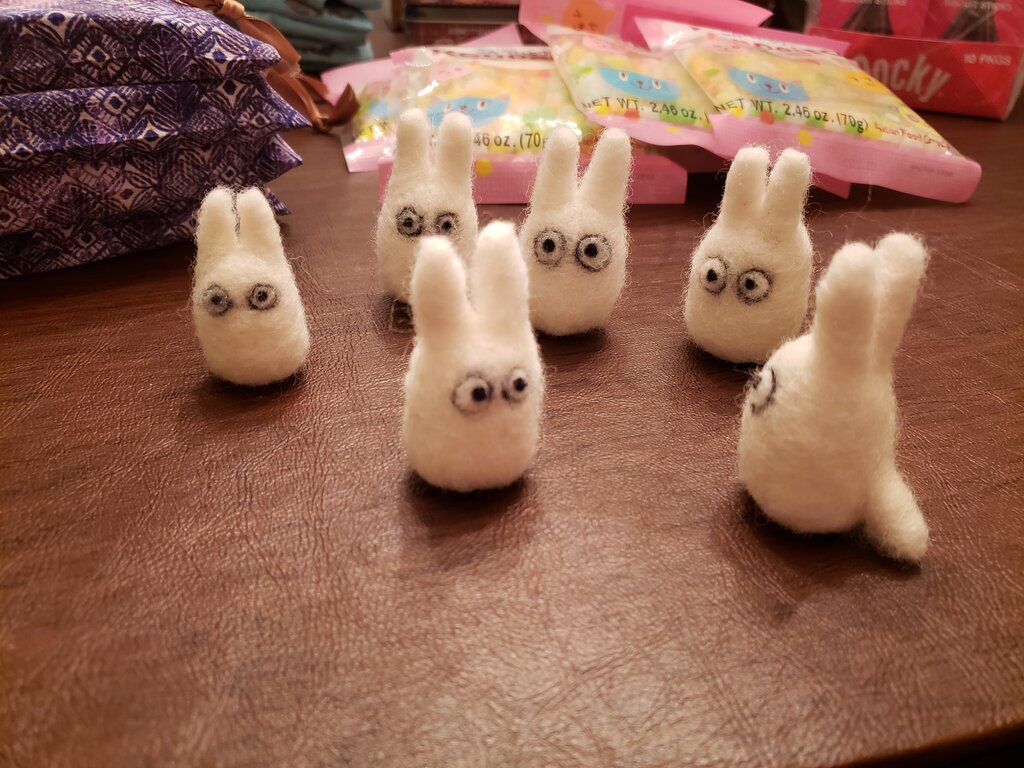
Totoros saying their farewells
Activities
Bingo
We can’t have a Danycon without Bingo. Will started with the version we came up with for Danycon and Friends and modified it. The most difficult items were ending up in a tie game.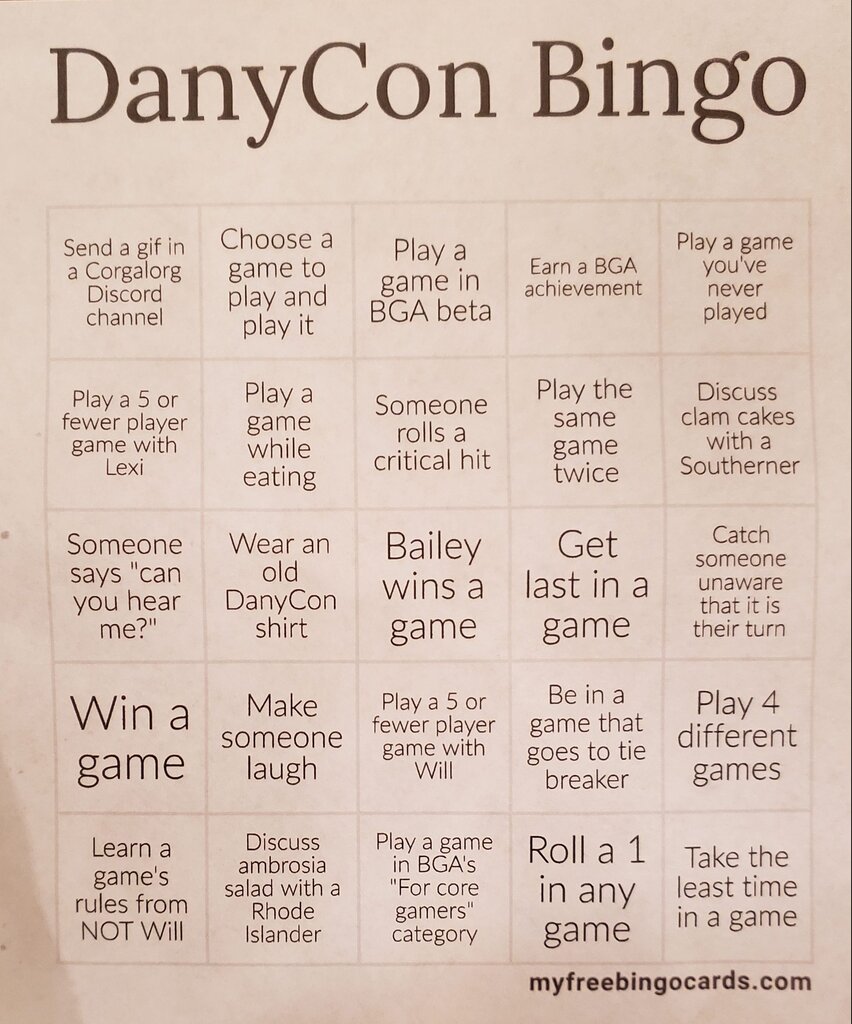
Puzzled Pint
Erin and Mark made us a super fun “Puzzled Pint” that was Studio Ghibli themed! We all had fun with the great puzzles they came up with for us. If you want to try it yourself… you can head on over to the official Puzzle Pint website where it is posted!
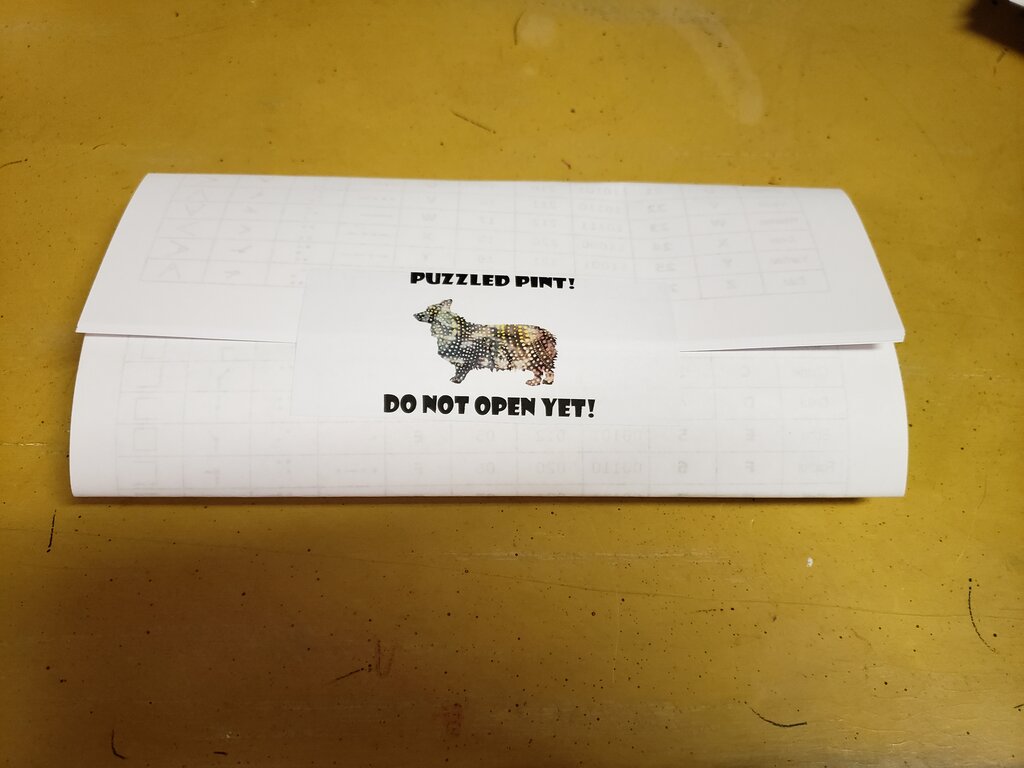
Puzzled Pint!
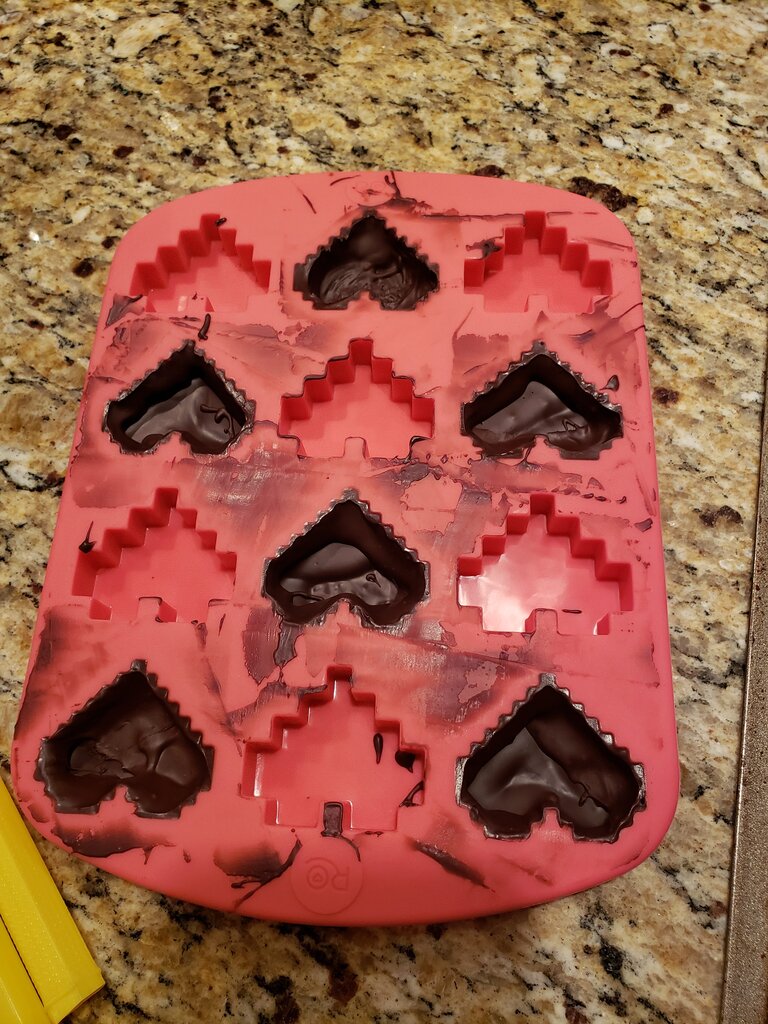
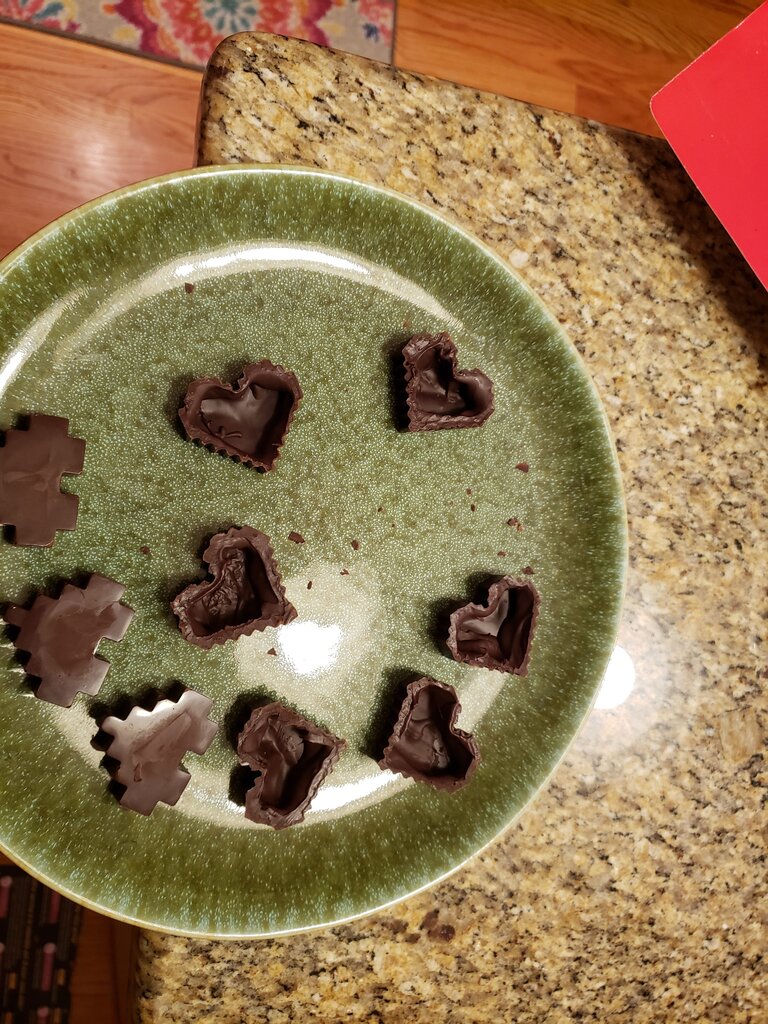
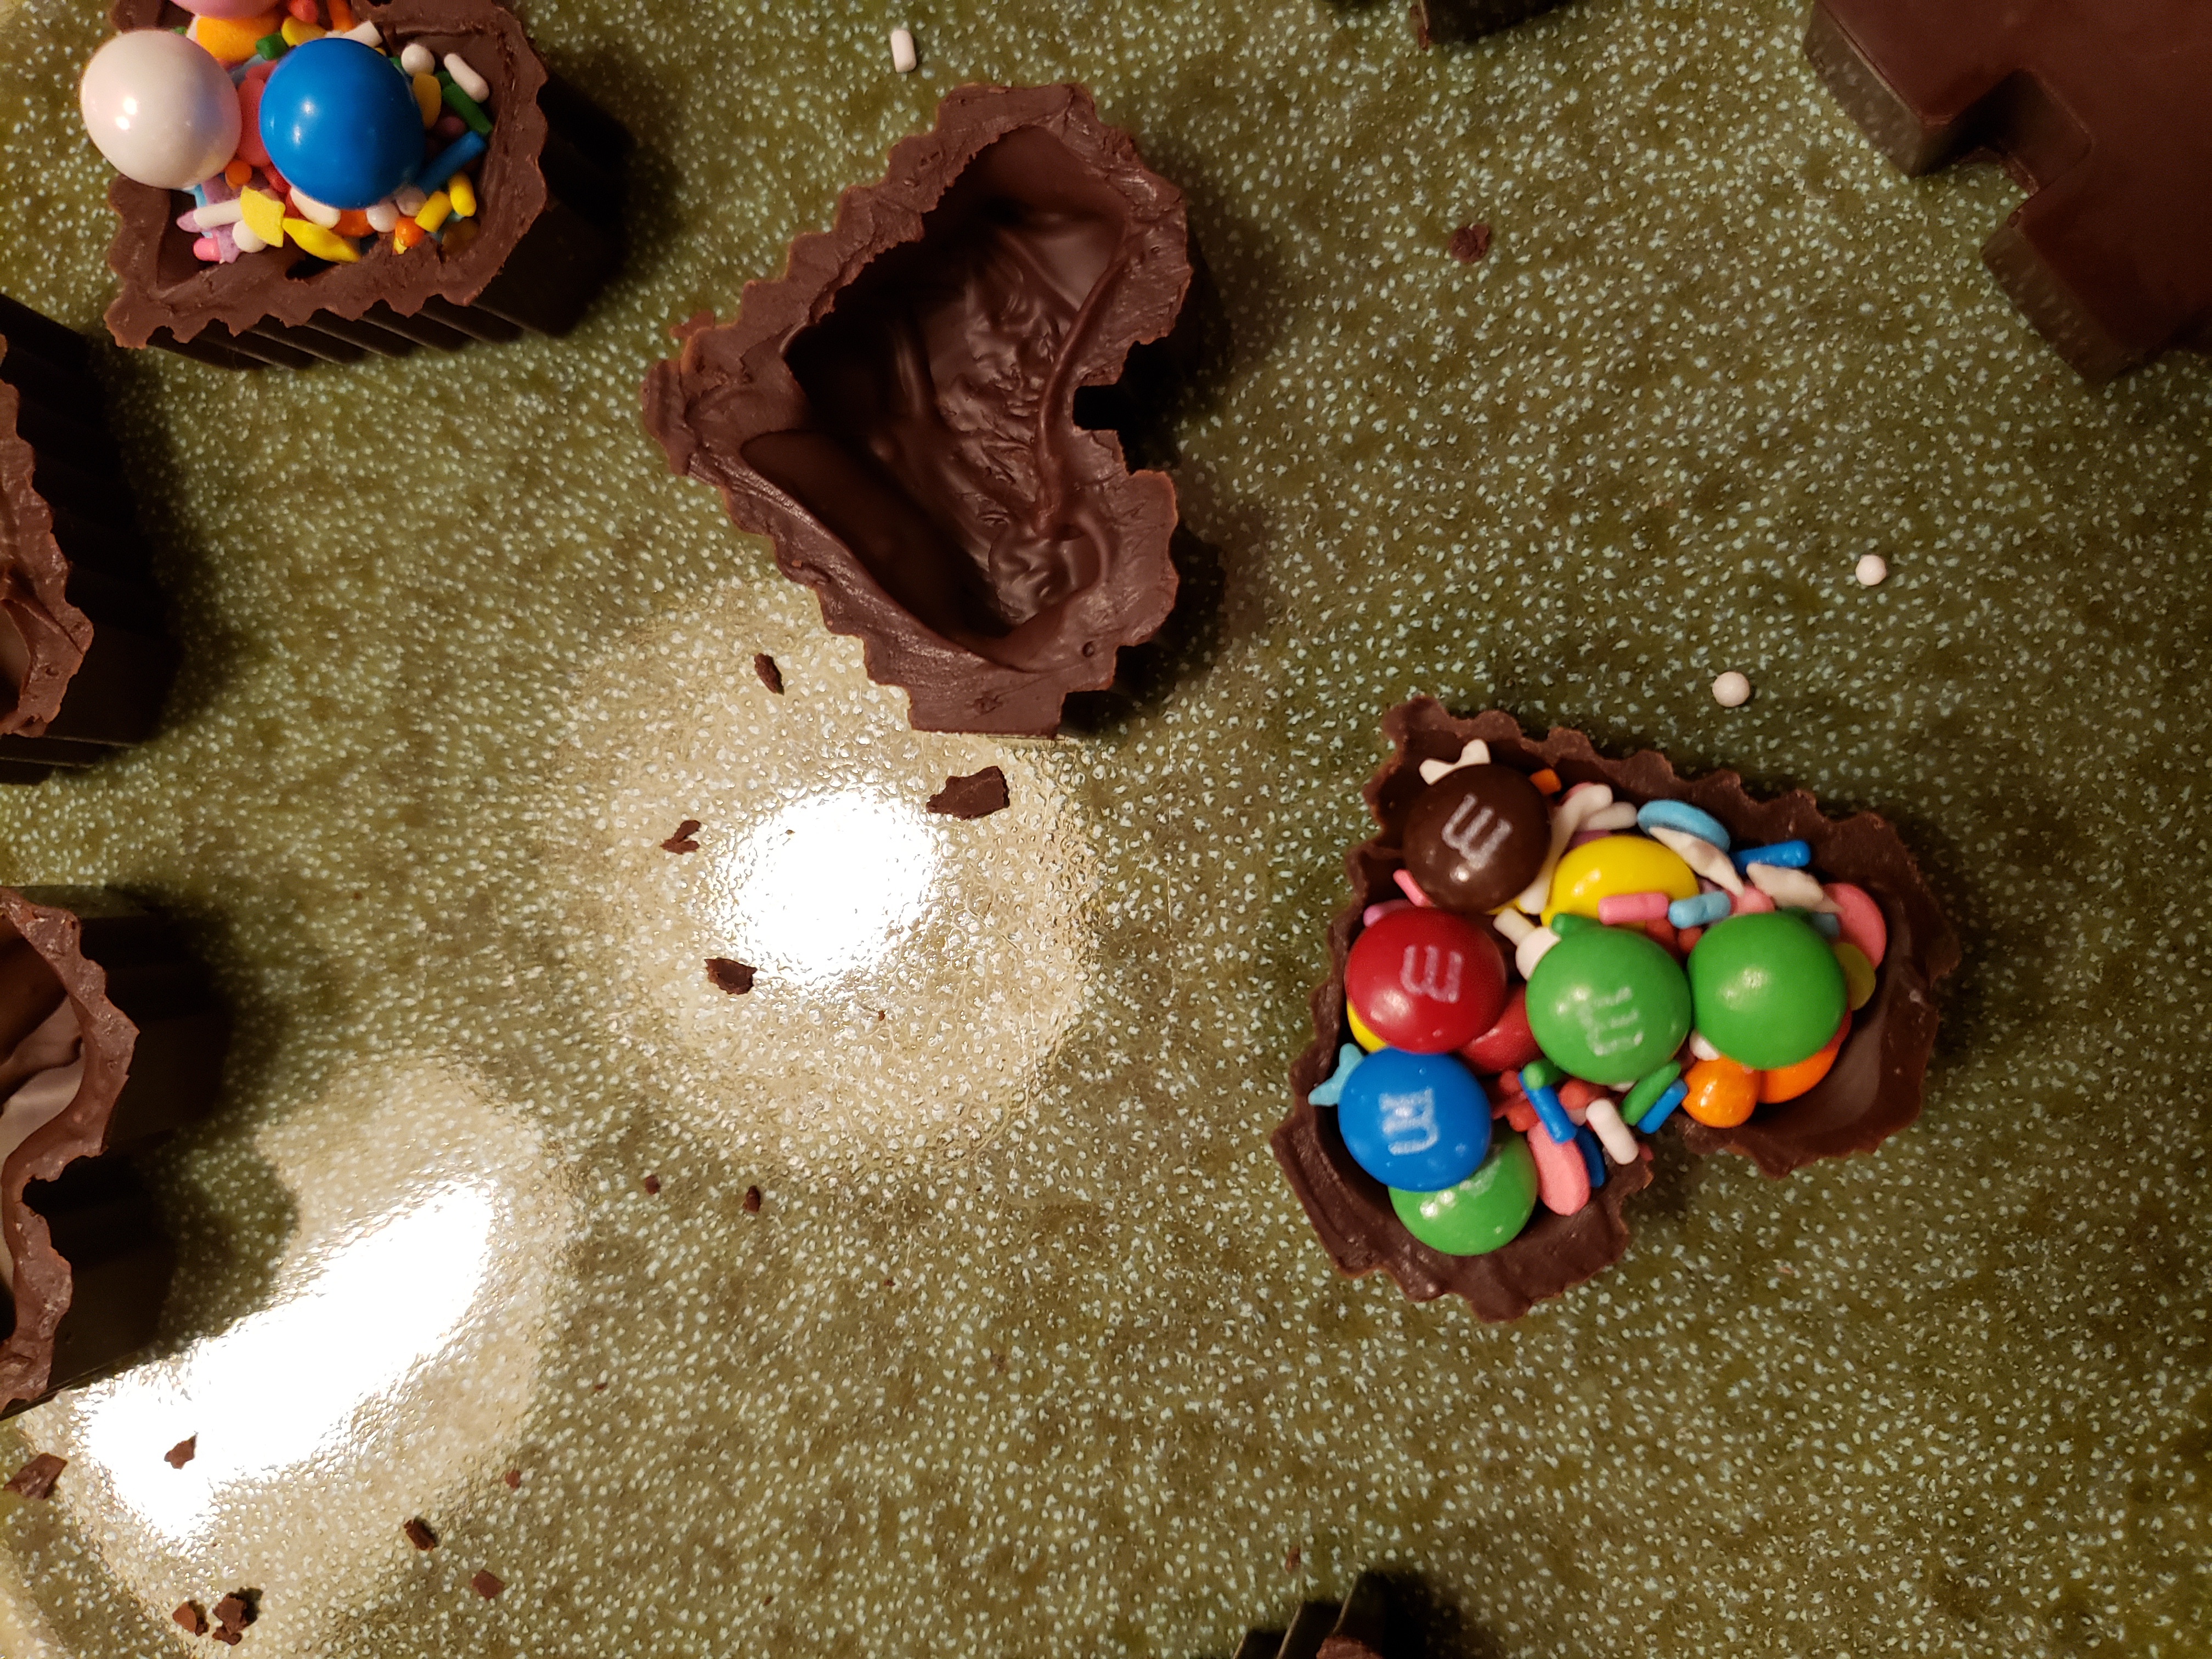
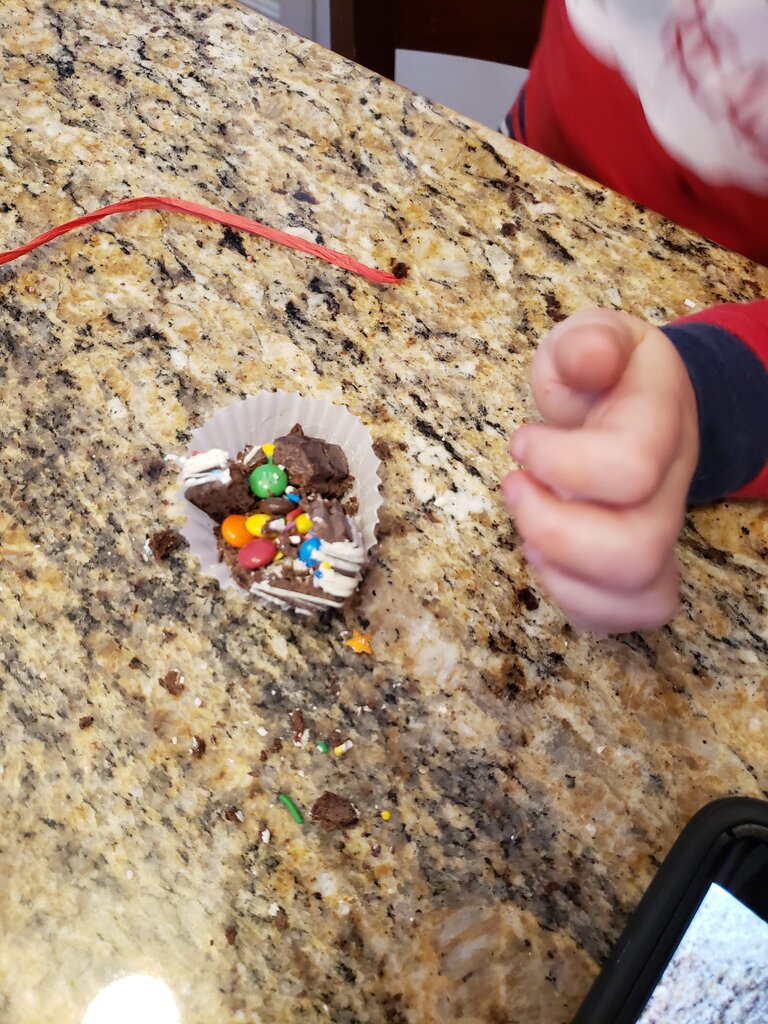
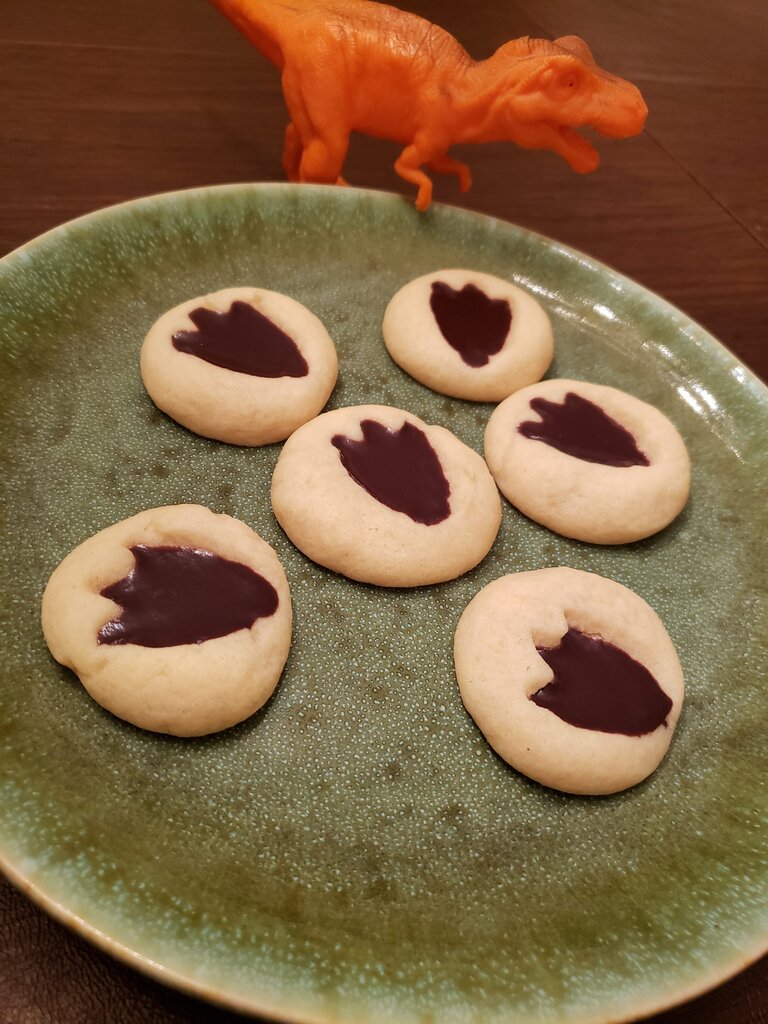
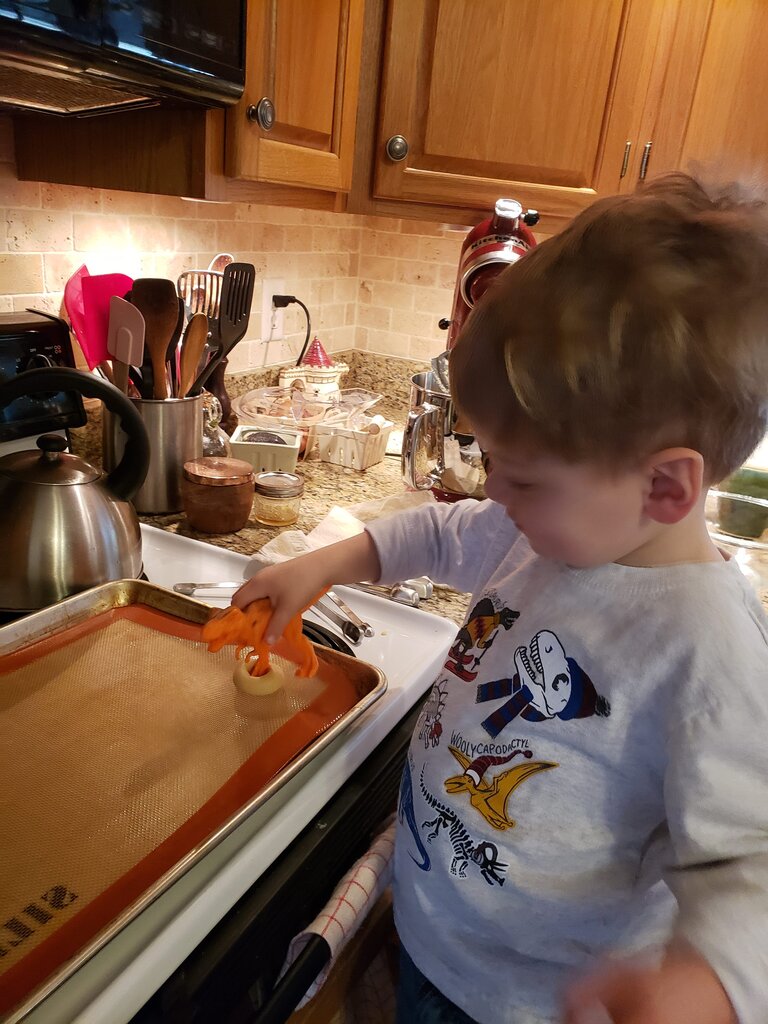
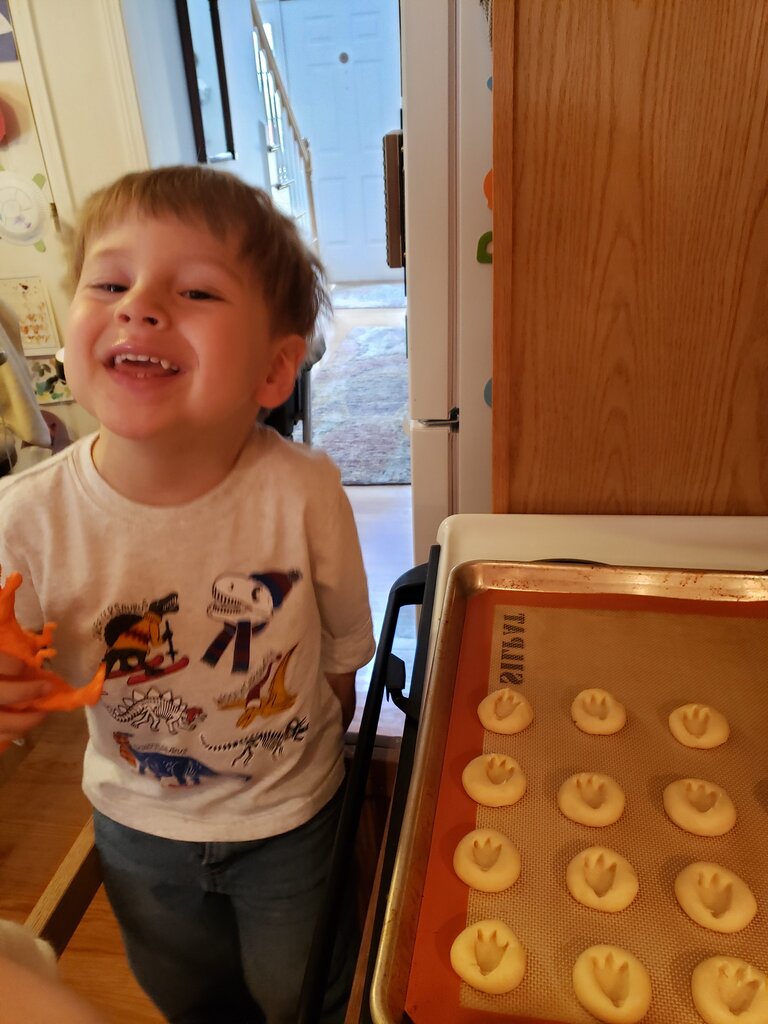
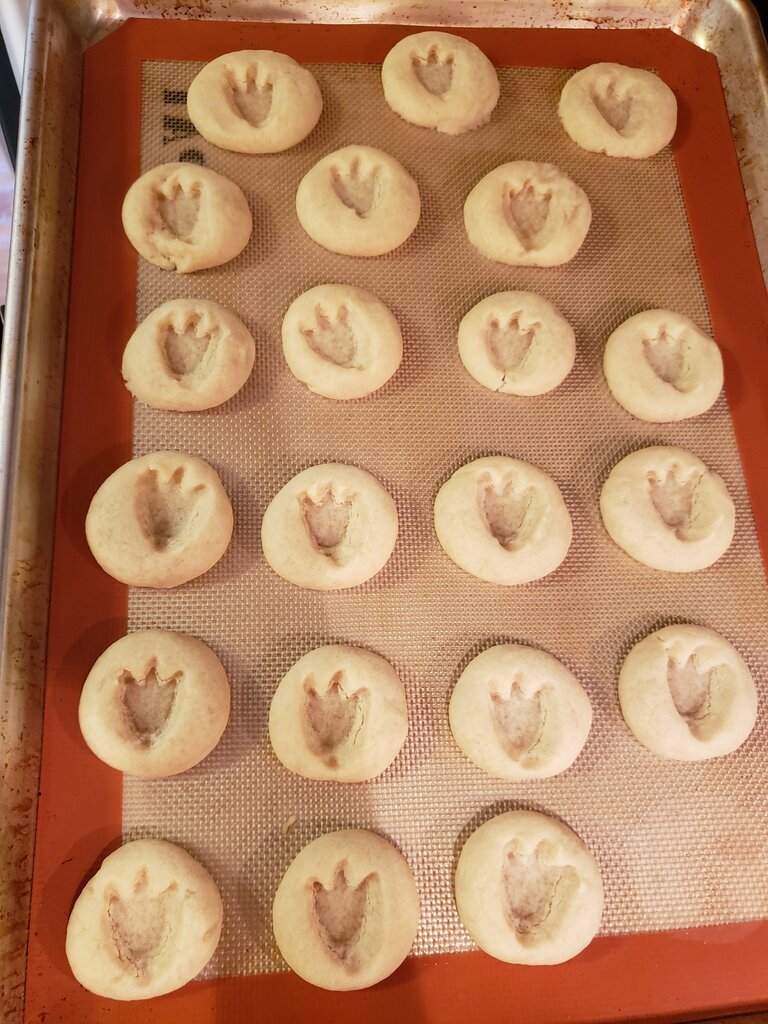
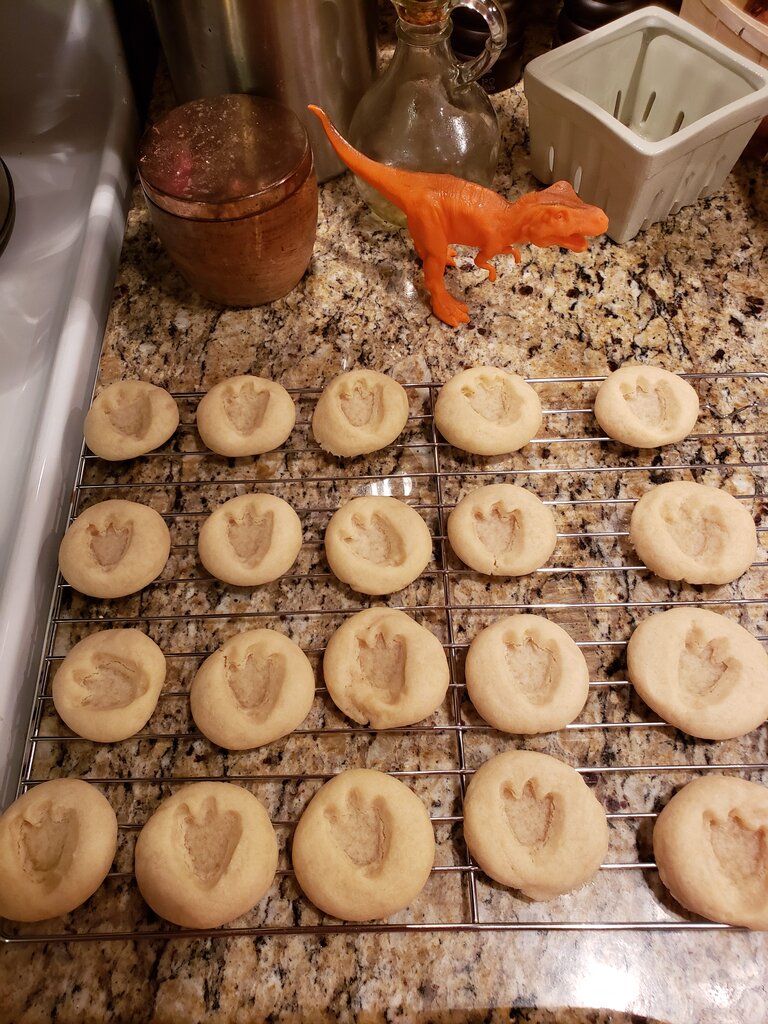
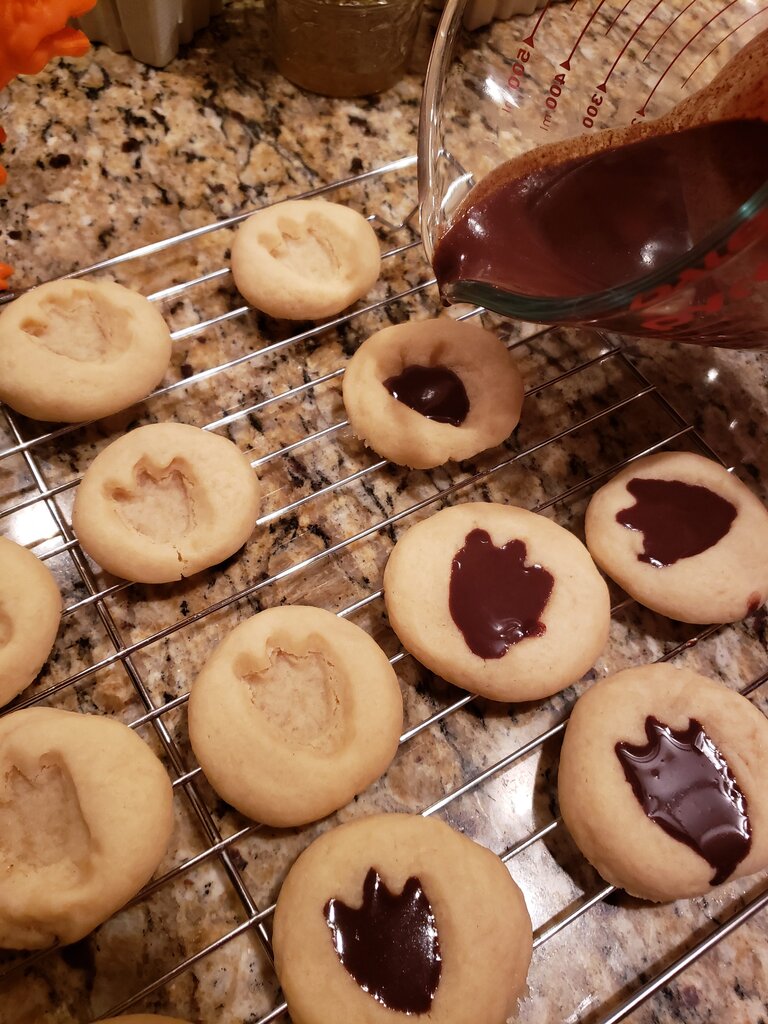
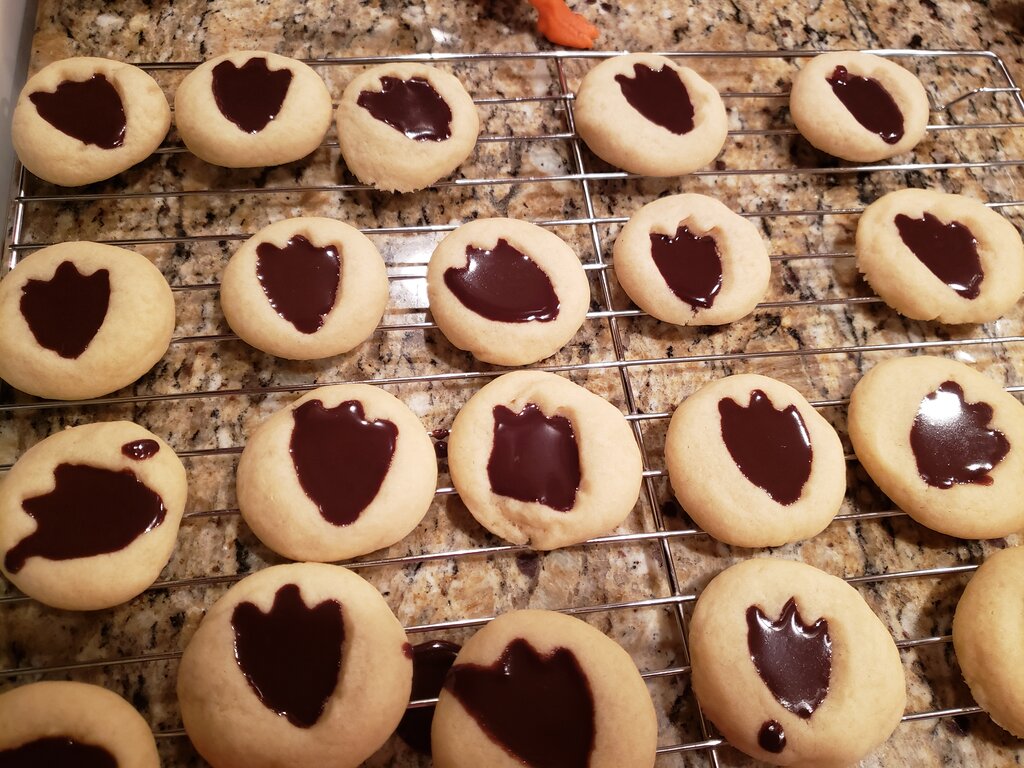
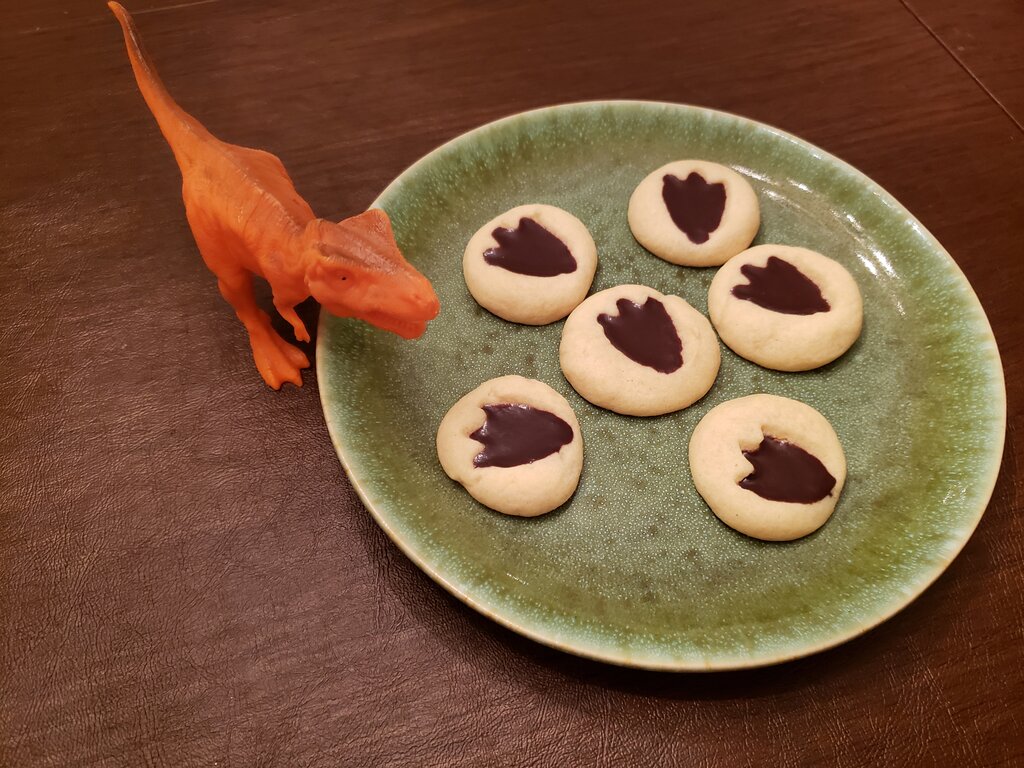
Cookie Decorating
I wanted to do an interactive craft since the felting was such a hit. I decided on cookie decorating – which I’ve wanted to host for a while! I’ll have more details about that on an upcoming post.

Cookie decorating!
D&D
Will and I had fun creating another D&D adventure on our drive from Texas to Nashville. We based it loosely on Howl’s moving castle (the first Studio Ghibli movie I ever saw), where there are two factions fighting a meaningless war over a prince (that you find out was turned into a scarecrow). We split into two groups again and Will & I each DM’d one of the two warring factions. At the end the warring factions meet and Will and I finished the adventure DMing the final puzzle together. The twist this time was that all the characters were monsters masquerading as monster hunters. They each had to hide their secrets from the others until the end when they had to discover each person’s secret. It got silly really fast, when my team discovered Mandy was a vampire and decided to tie her up, to very little protest from her one unconcious and one concious teammate. I had a great time DMing the adventure, and I hope everyone had just as much fun playing! If you’d like to try to DM it yourself, the scenario is here.
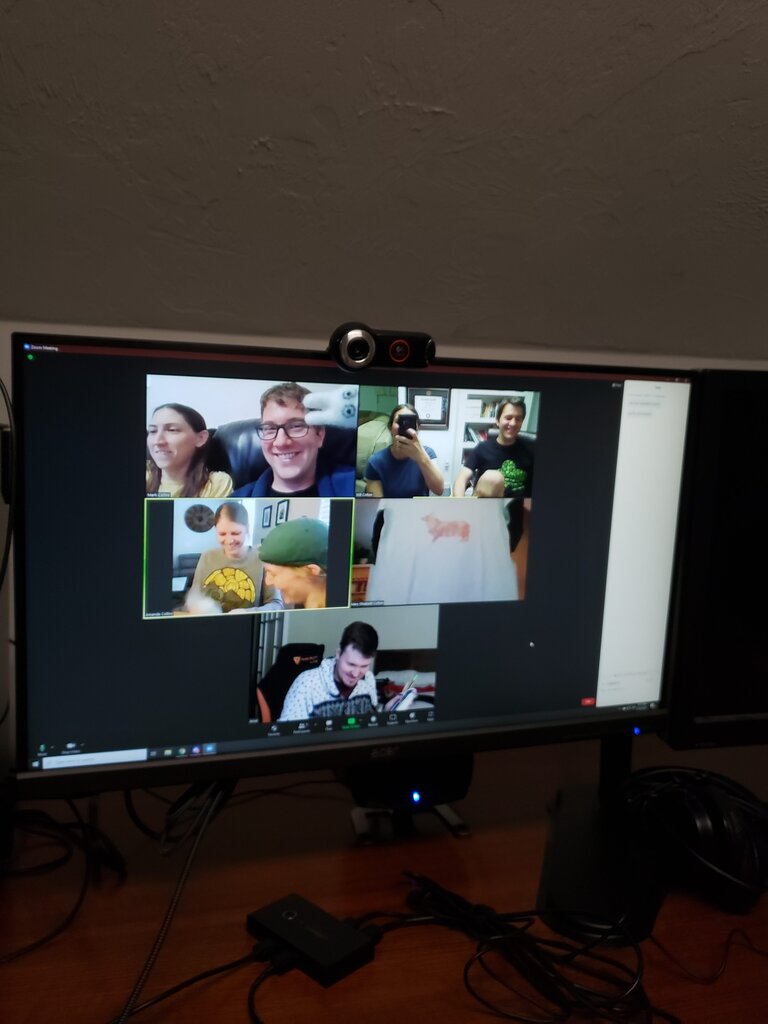
Group Dinner
Part of the fun of live and in person Danycon is spending time eating and hanging out with everyone. We decided to mimic this by sending everyone a meal they could prepare (Fancy Ramen) and eating together over zoom. Because of the time differences we scheduled it to start at 7:30 ET. I thought this part was very fun and added some nice face time in between our voice calls.
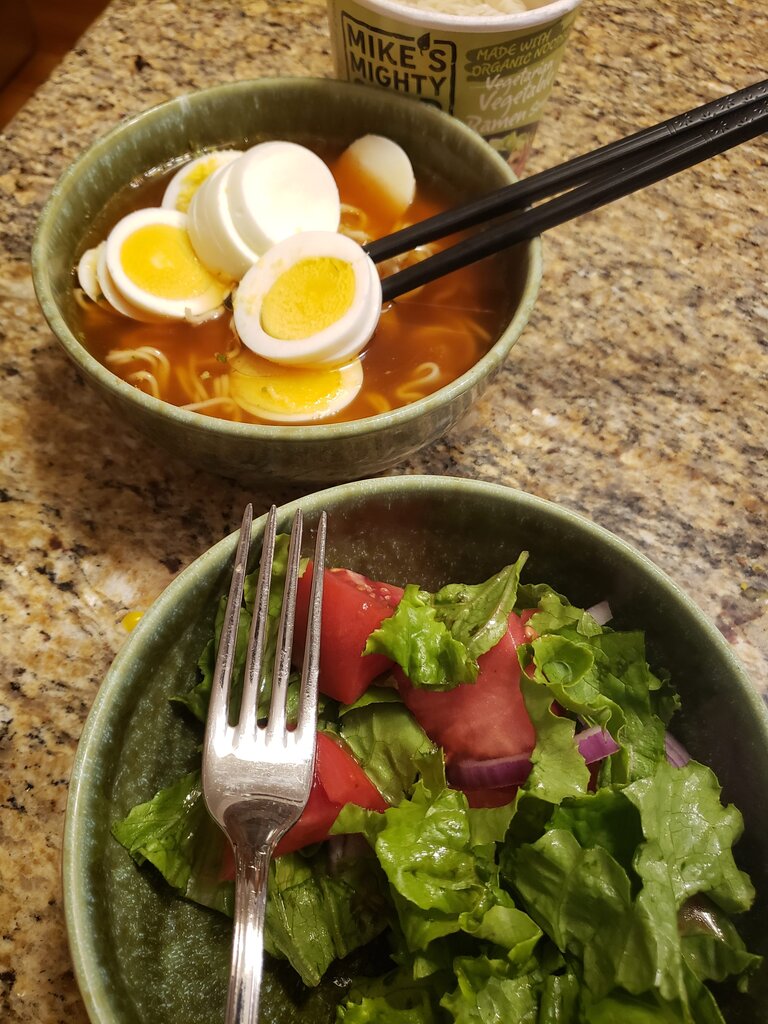
Ramen for dinner!
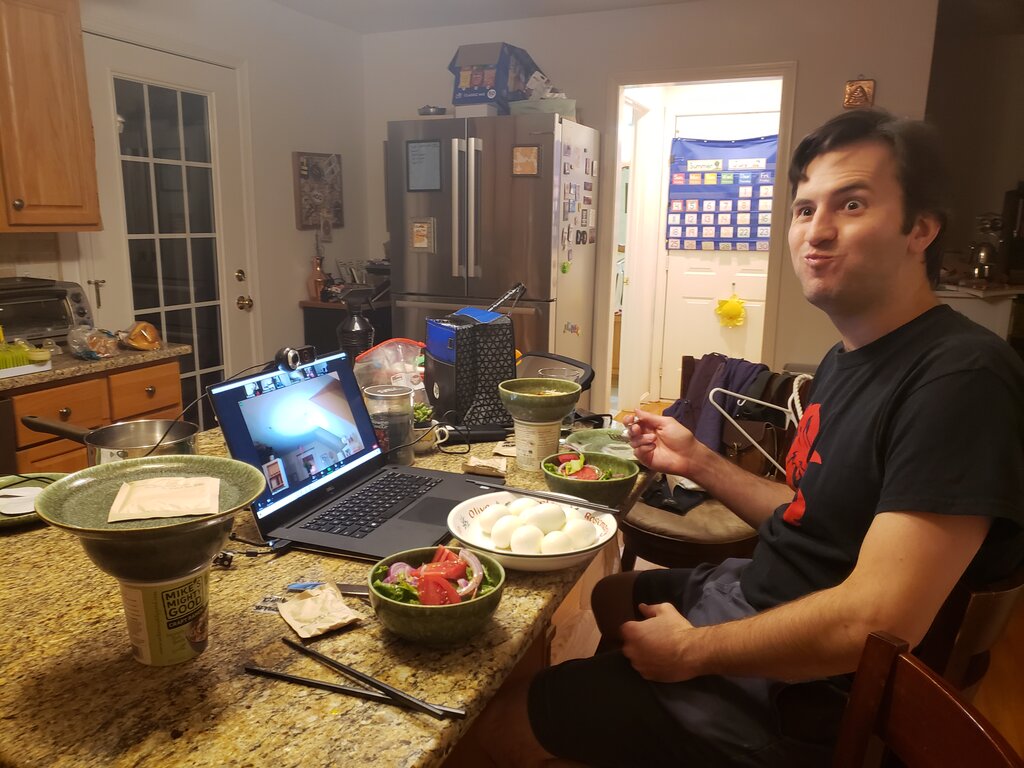
Yum!
Tournament
We thought we were going to have a full (virtual) house this year so rather than spending all our time in a tournament we decided to do a party game tournament! We ended up having only 8 people so we decided on just the following games:
- Hugo (this game was extremely silly and had us all laughing)
- Rolling Danycon (each person pulled and rolled 6 dice from their copy for the group, and then we rotated)
- Haiclue (this is a fun online party game that we discovered at virtual Danycon & Friends thanks to our friend Joe Huber)
We noted each person’s place in each game, added up the rankings for each person, and the lowest score won. This year my brother won!! AND he won Bingo! We declared him the winner of Danycon!
Serious tournament faces
Games
Another Danycon requirement is not playing nearly as many games as Will desires to play over the course of the weekend and I’m sure we checked that box this year! We did play lots of new games on BGA since they had so many new options! I think my favorite new game was called “Abandon All Artichokes” which was a cute mini-deck builder. It reminded me of Sushi Go in that is a quick, simple (adorable) game that mimics a game mechanic I enjoy.
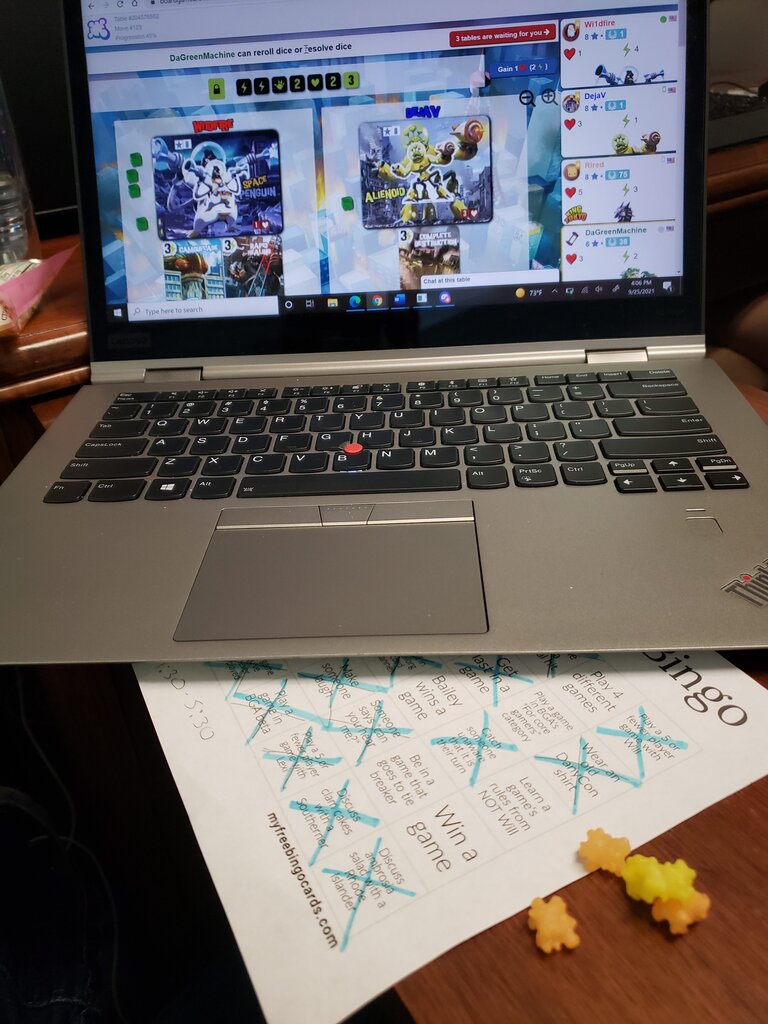
Virtual Danycon setup – note the Danycon Bingo, Konpeito and King of Tokyo.