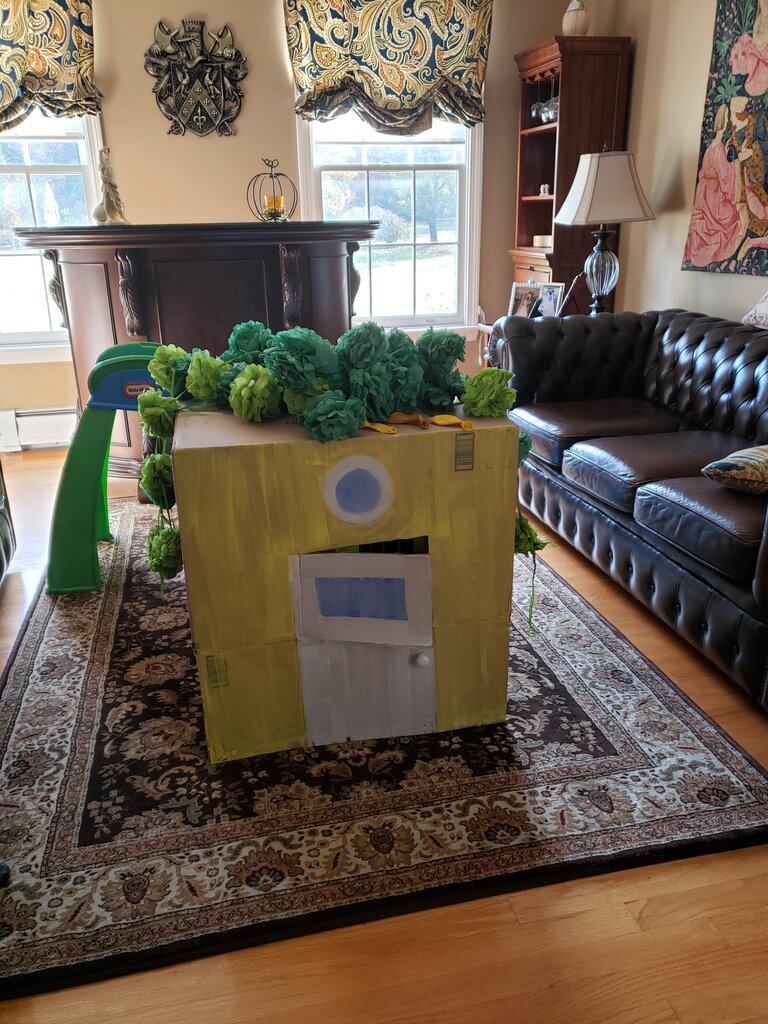
So… I may have accidentally turned Julius into a trash hoarder. Do you remember when I showed you the tutorial for the bow-tie farfalle pasta? You may also remember that I put the finished pasta in an upcycled Barilla Farfalle box for maximum realism. Well shortly after I gave him the pasta, Julius discovered the rest of my box of half finished play kitchen ideas. Some of the other ideas involved making a fake herb shaker from a Mrs. Dash bottle, and a fake mustard squirter from a bottle of French’s. He commandeered the bottles and put them in his play kitchen, so I could hardly tell him they were unfinished projects.
So a few weeks ago when my in laws came up I noticed he also had a cleaned out mayo container in his kitchen. The next day he had an empty soap bottle. Uh oh. I kept putting the containers into the recycling and they kept ending up back in his kitchen. That’s when I realized he was raiding the recycling for new toys. Uh oh. Then a few days later I asked him to take an empty bottle of cumin over to the recycling can for me, and he said “I really love it Mama, can I put it in my play kitchen?” Uh oh. That one I let him keep in the kitchen. But then he did the same thing with the cinnamon and chili powder containers that ran out a few days later. The “toys” didn’t stay in the kitchen either.
The spice containers he carried around everywhere as if they were treasured toys. He would pedal them around in the back of his tricycle and bring them into bed with them. I’m not making this up; this recycling affection is somehow a level worse than Forky from Toy Story 4. He eventually forgot about the spice containers (I found them neglected under the couch the other day) but that wasn’t the end. Over the next couple weeks I found a box of oatmeal, and a can of black beans show up in his kitchen. I am happy that he is imaginative and likes to give new life to recycled items, but I had to put my foot down at the black beans (you know, for safety reasons). He complied and returned the black beans to the recycling can, but then just this week I saw used shampoo containers show up in his kitchen, and I’m not even sure how those fit into the kitchen scenario.
I don’t have the heart to squash his creative recycling play, so I guess I’ll just have to keep sneaking things back into the recycling bin when he doesn’t notice. I really shouldn’t be surprised that the son of a self described crunchy hippie likes to make toys out of garbage. Outwardly I’m concerned, but deep down I’m a little bit proud.
I was going to show you another Valentine craft today, but instead let me show you a favorite activity of Julius that has to do with upcycling. Much like what happened with newborn Julius, I couldn’t get newborn Patricia to latch so I ended up pumping in the hospital. In the hospital they give you these teeny tiny colostrum bottles to pump into. They work for about a day until your supply increases and then you need a couple of them every pumping session at least. So at the end of your hospital stay you’re left with 20 of these teeny colostrum bottles and nothing to do with them (except discard them). For both Julius and Patricia we also were given plastic syringes for feeding which also became useless quickly. Well, like Julius, I can’t throw out something that I might find a good use for. So I took the bottles and syringes home and figured that worst case I could recycle them at home. Luckily, the first week I was home from the hospital, I came up with an idea for them.
Toddler Color Mixing Water Play
What you’ll need:
- blue, red and yellow food coloring
- small clear plastic bottles of various sizes (I used colostrum bottles)
- plastic eye droppers (I save these from old infant vitamin bottles)
- plastic syringes (I hope I don’t need to say this but make sure these do NOT have needles…)
- water
- a plastic tray or aluminum baking sheet
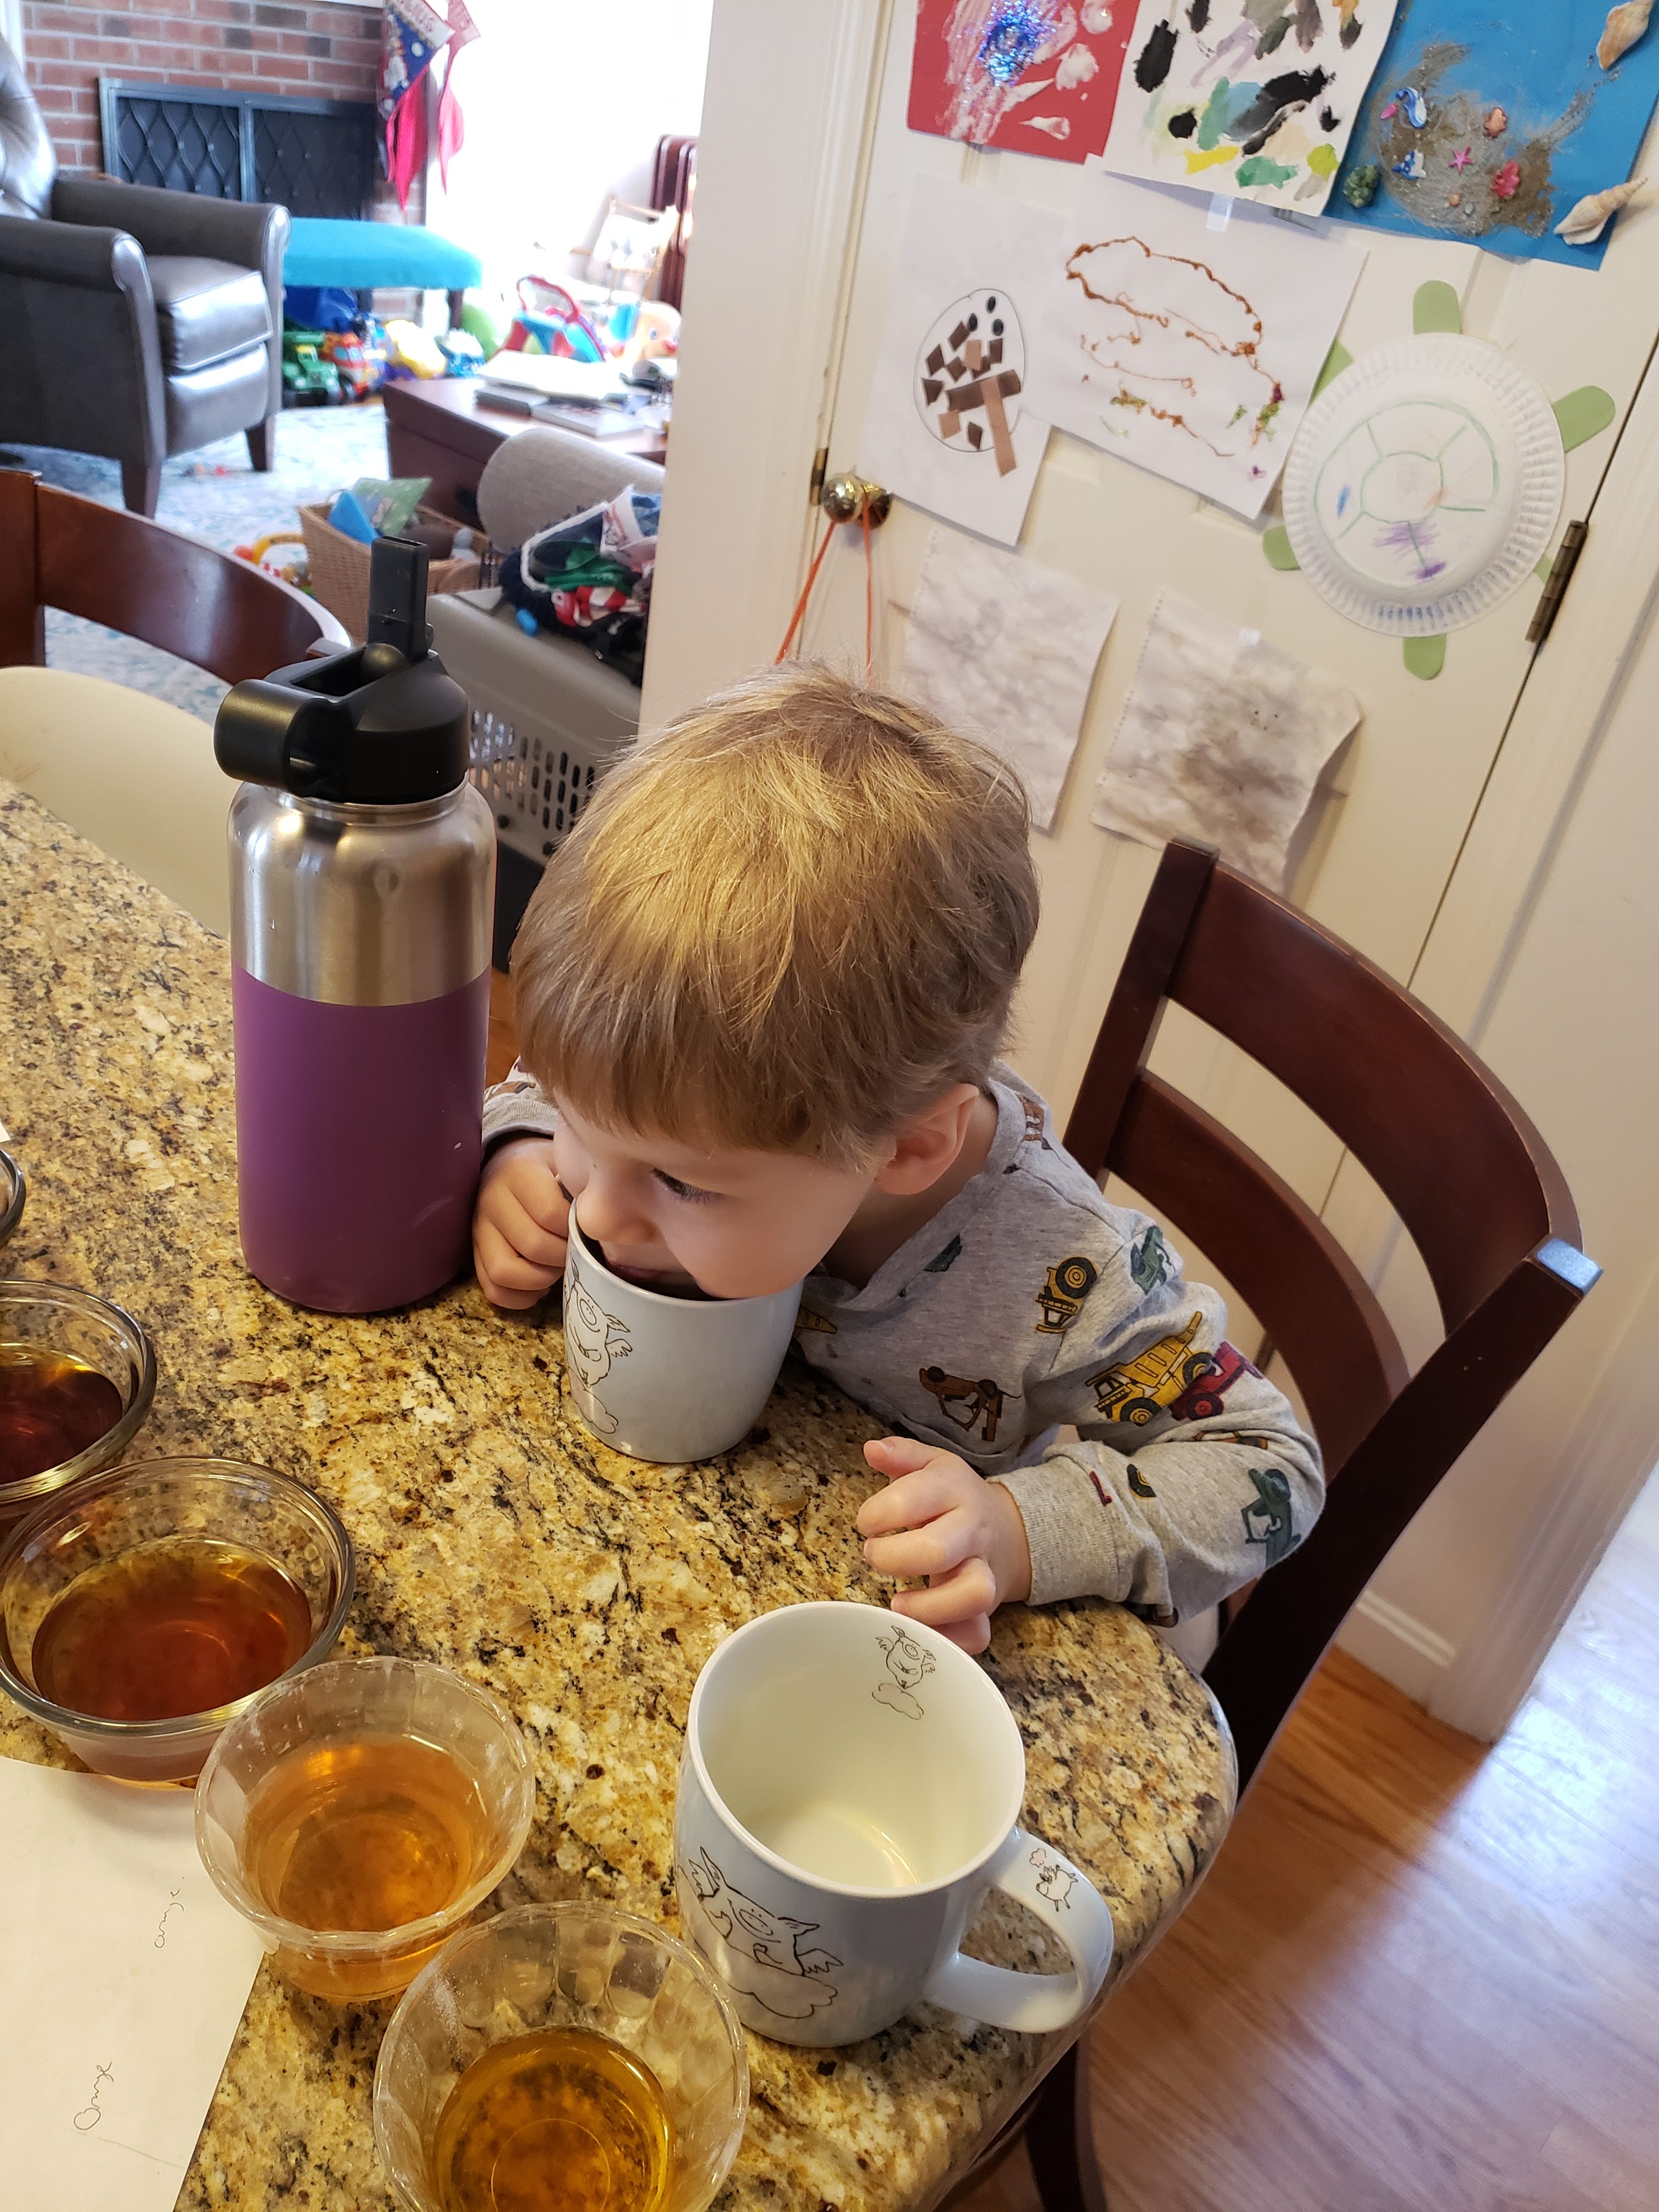
- Fill 3 containers with a few teaspoons of water.
- Add a couple drops of red, blue and yellow to each of the 3 bottles respectively.
- Allow child to experiment. Julius liked to mix the colors with the syringe and see what color each would make. He also liked to move the colors between the bottles with the syringe and eye dropper.
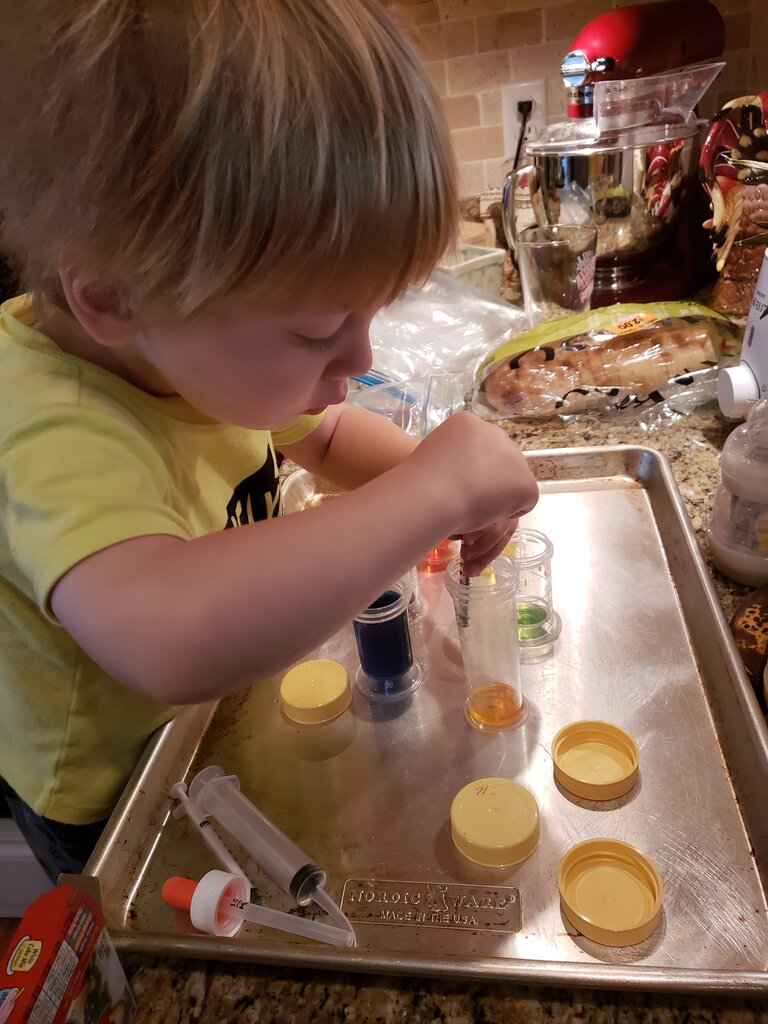
Little scientist.

Check out how cool those colors look!
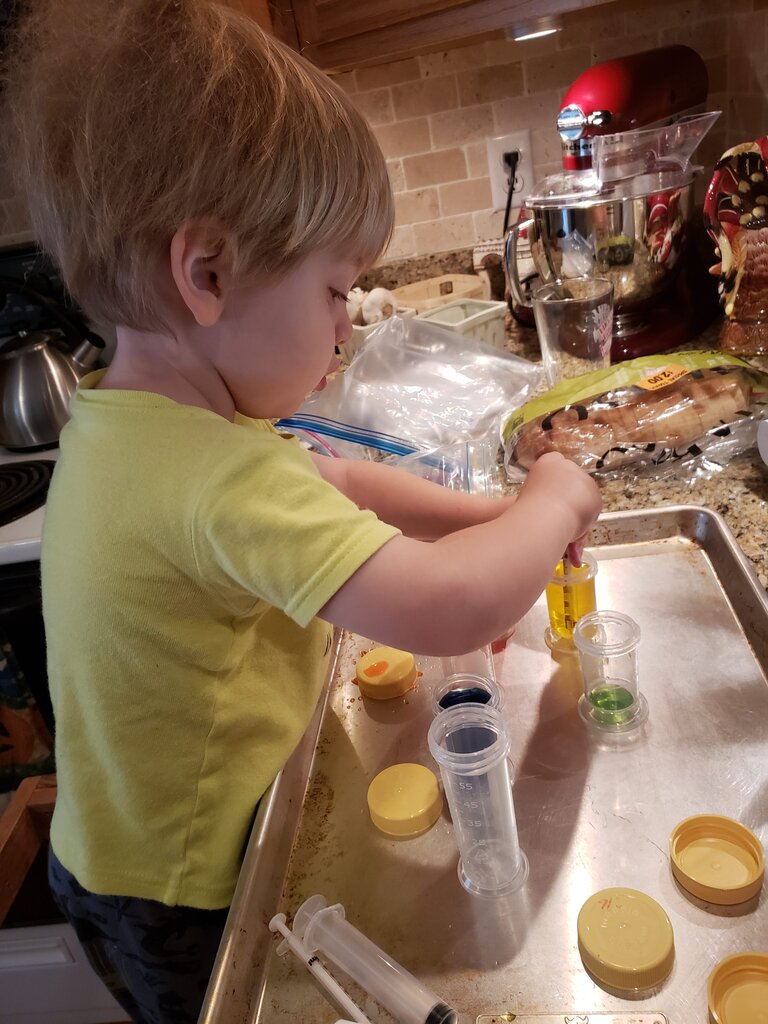
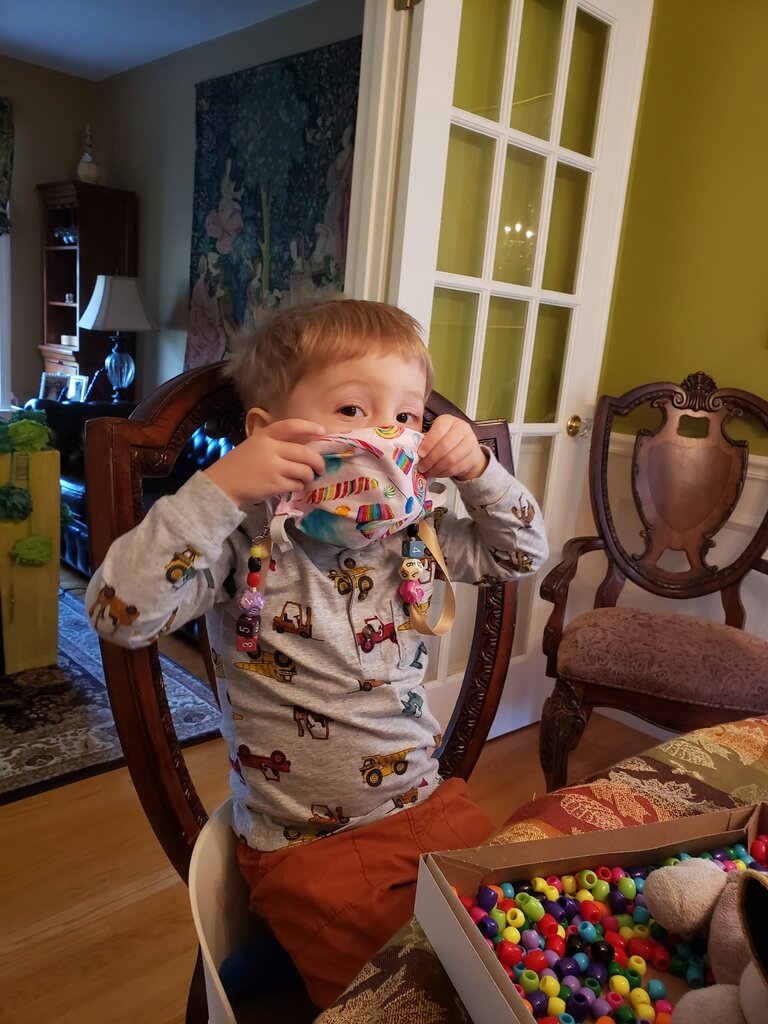
Julius 2 hair cuts ago… did I mention that filling syringes is great motor skill practice too!
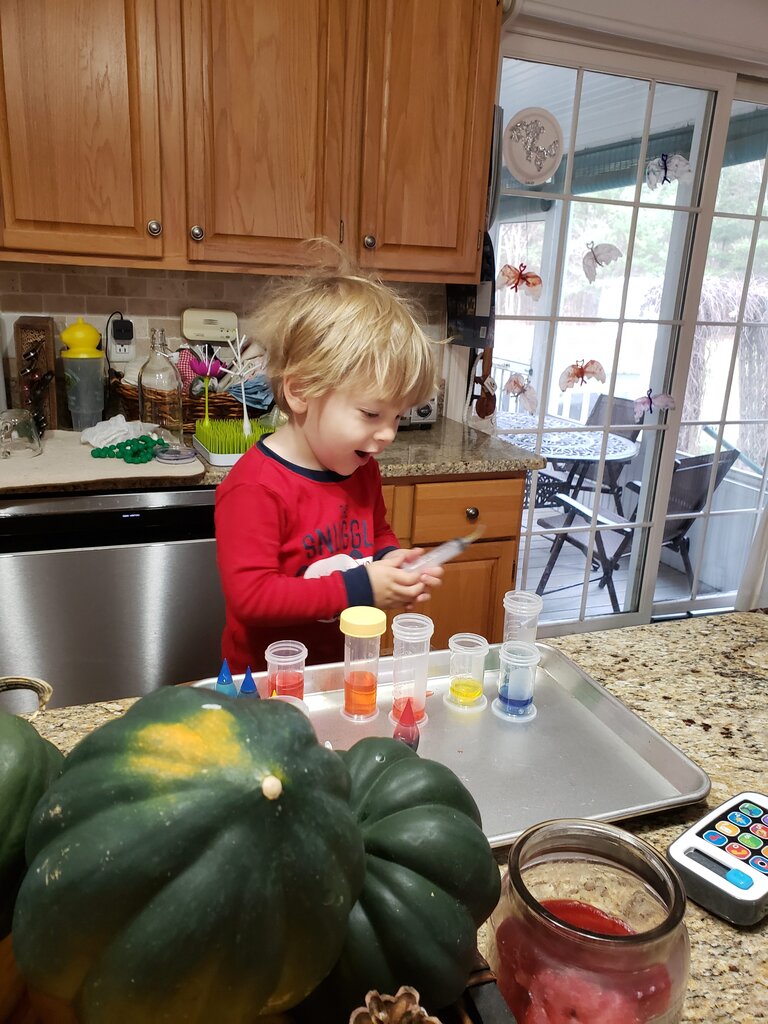
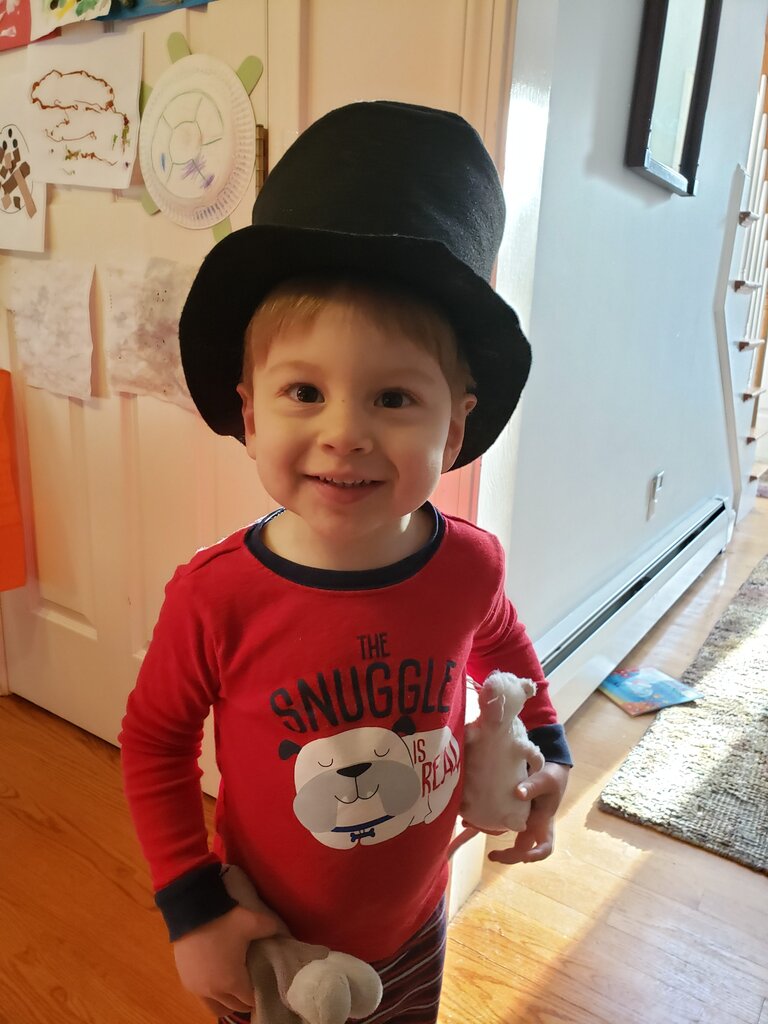
Different day, hair even more Einsteinian. Look at how excited he is!