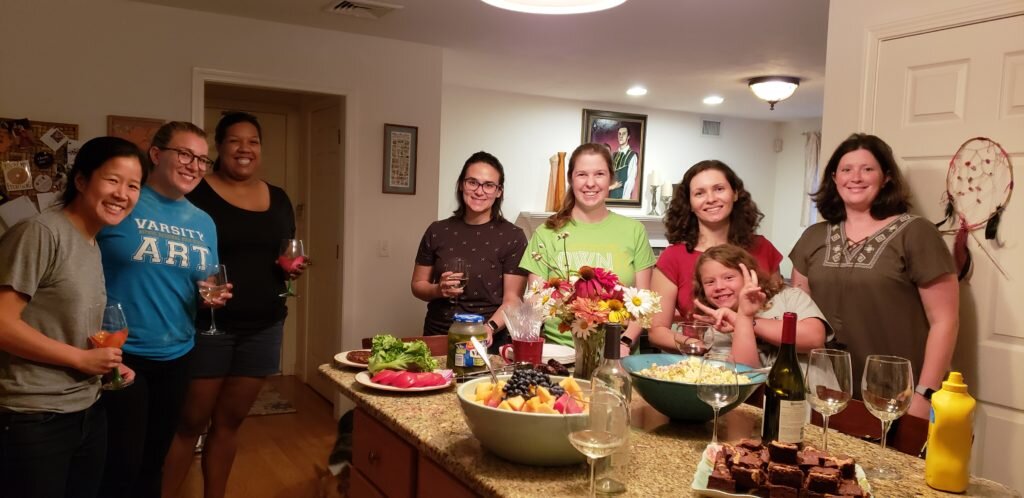
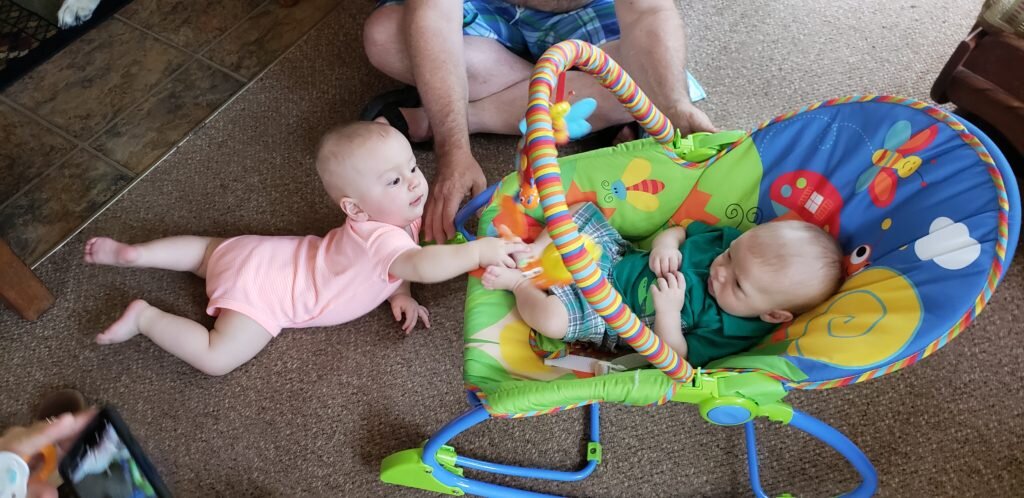
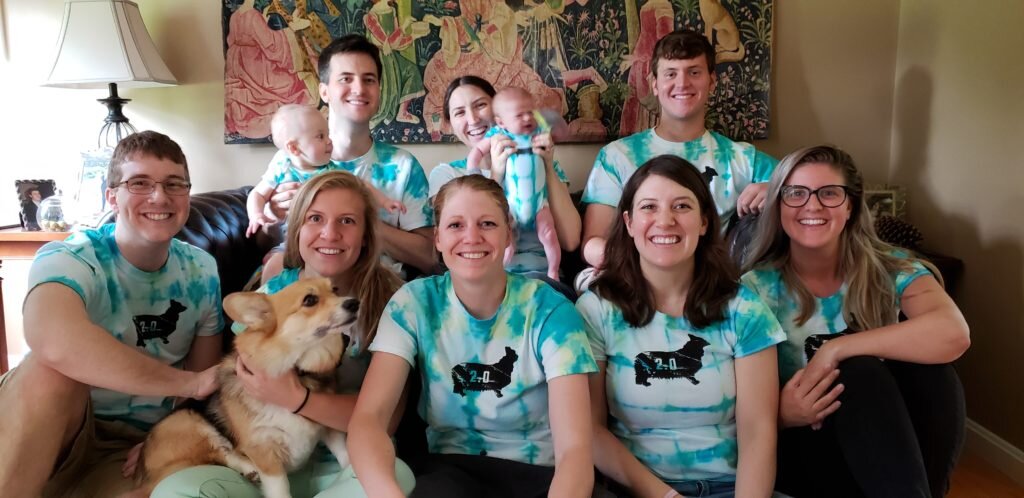
We had an awesome time last month hosting Danycon 2.0! We had 83% attendance this year, though we missed Lauren and Andrew who were busy planning their wedding which is only a month away! As an added bonus, attendance this year included the two newest Danycon members – Finnegan and Julius! Some rough weather in the south delayed several sets of flights, but luckily everyone made it to Lancaster by the wee hours of Saturday morning for a full day of fun on Saturday.
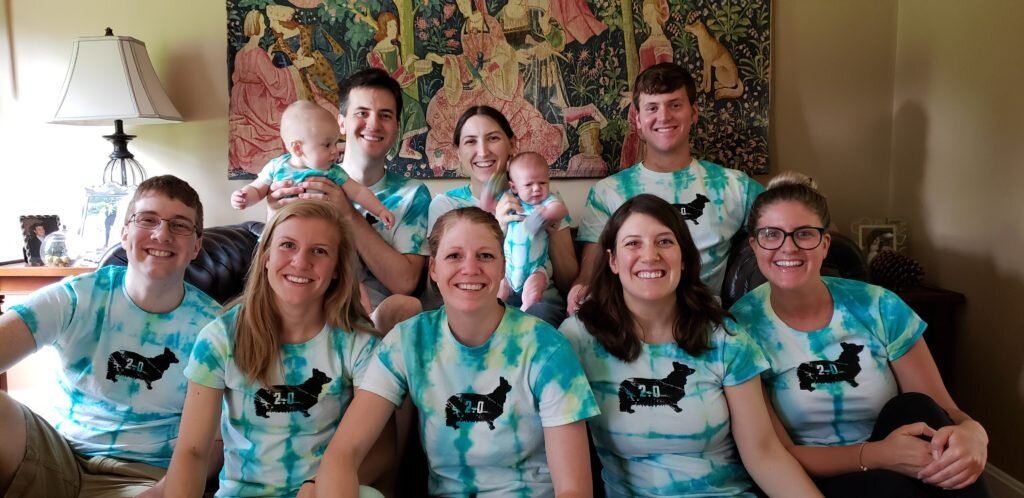
The whole gang! (Minus Dany – it was impossible to get adults, babies and dogs in one decent photo.)
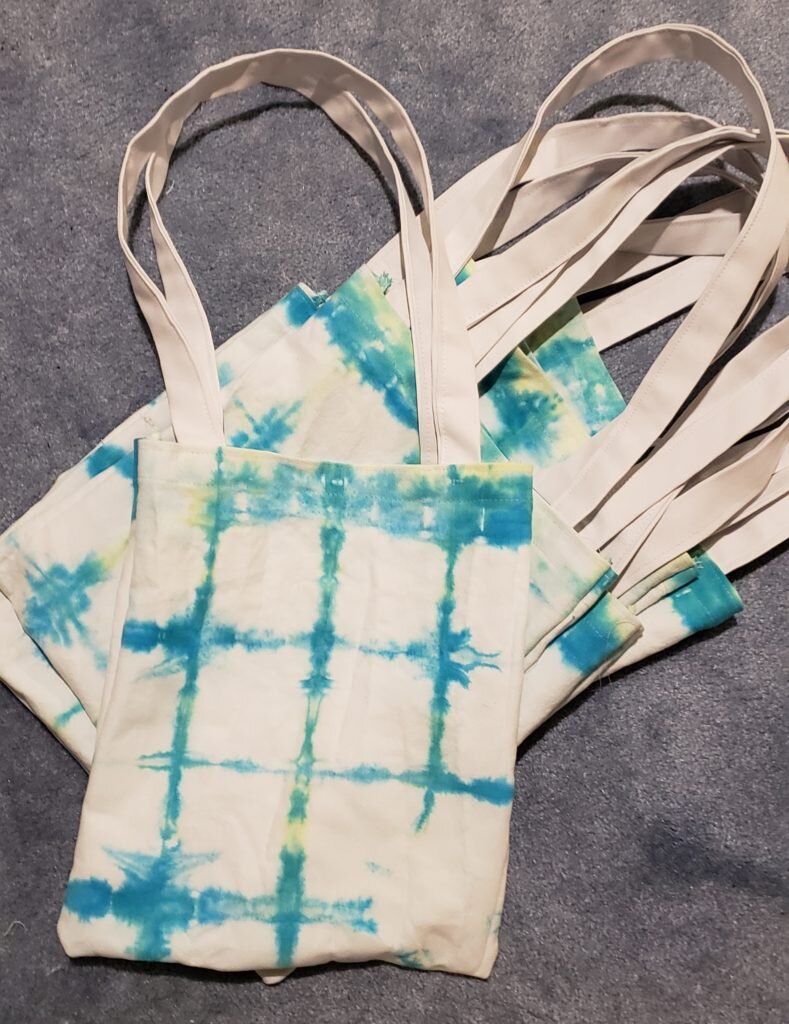
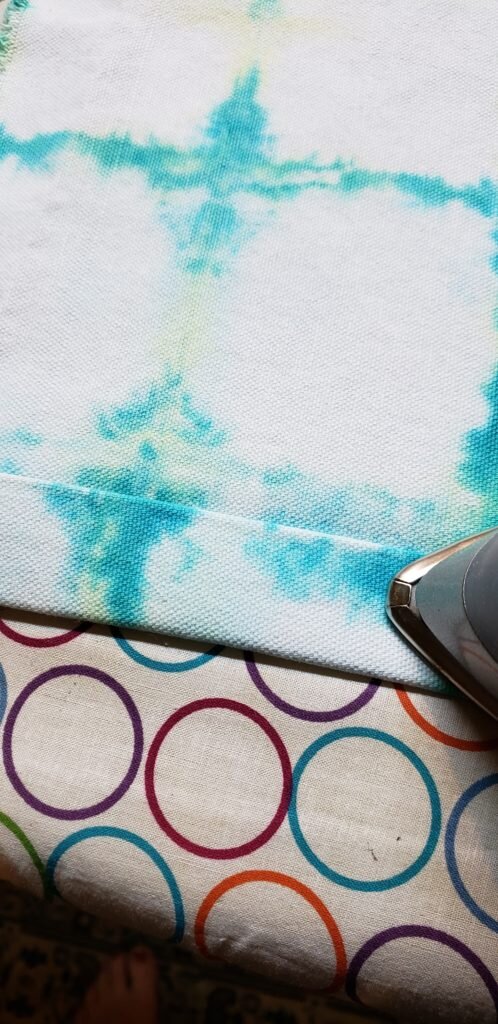
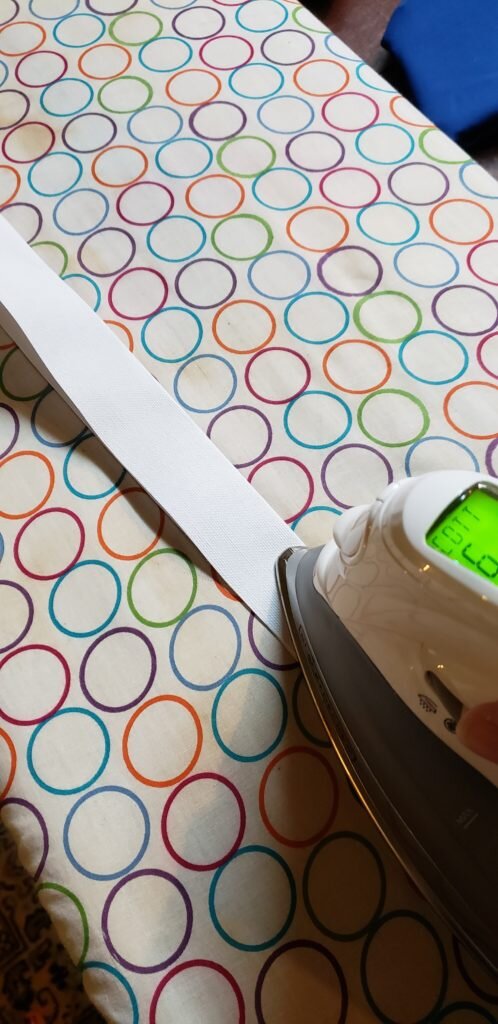
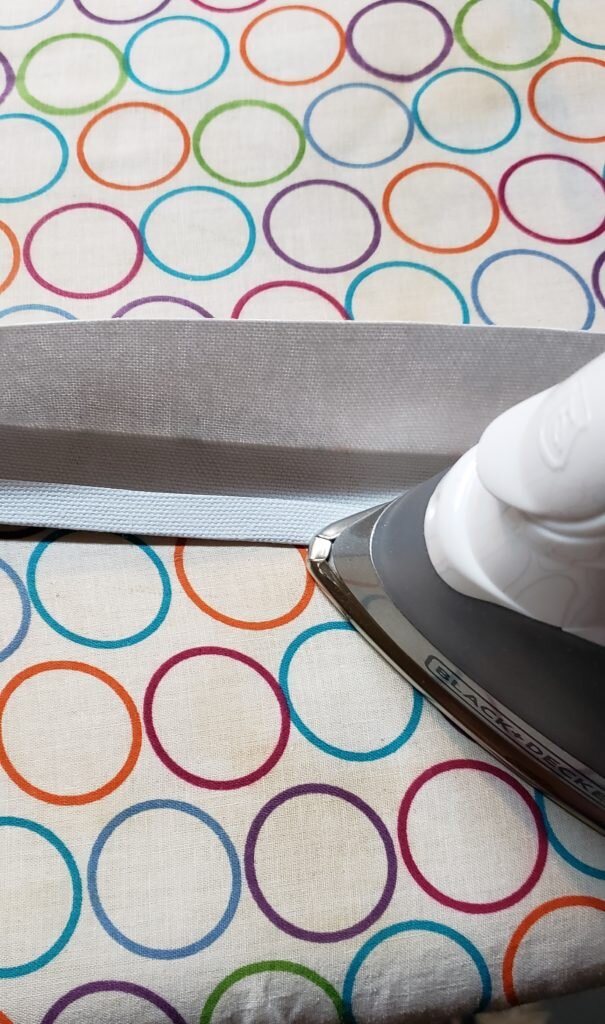
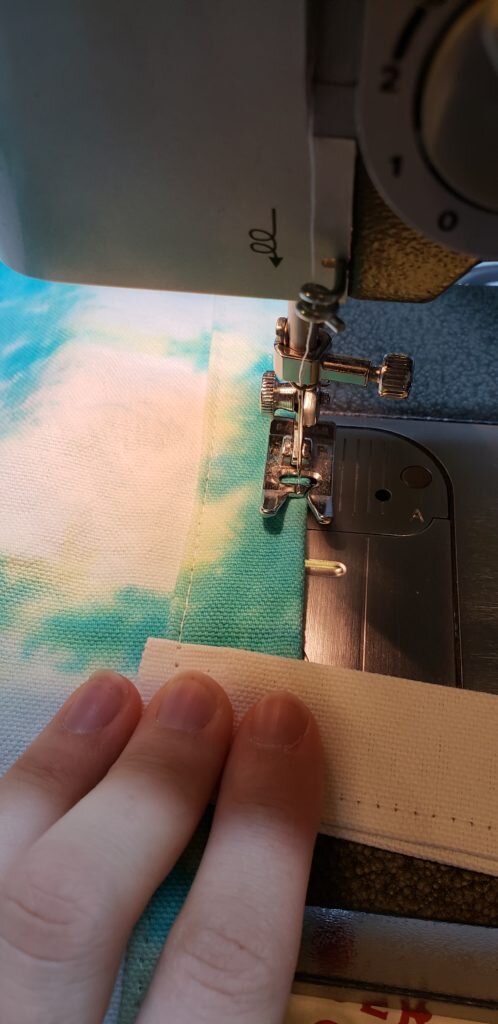
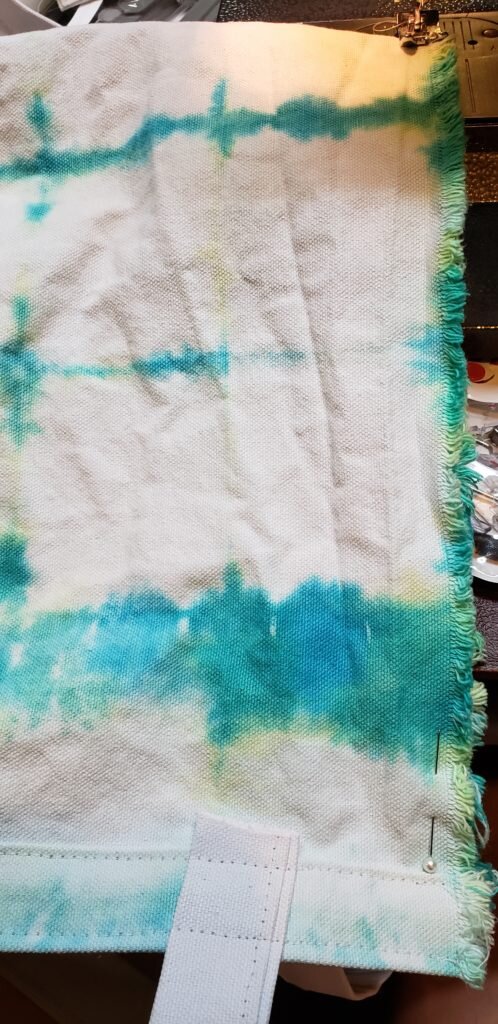
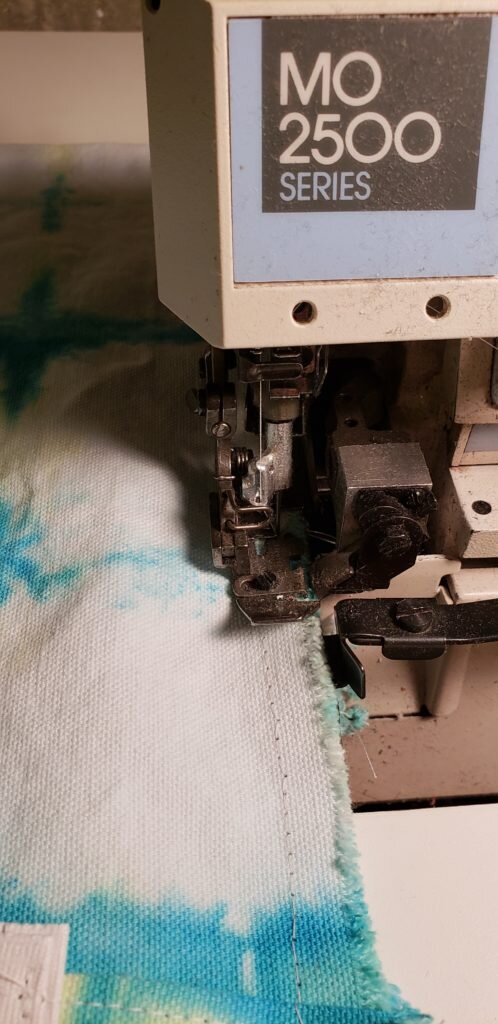
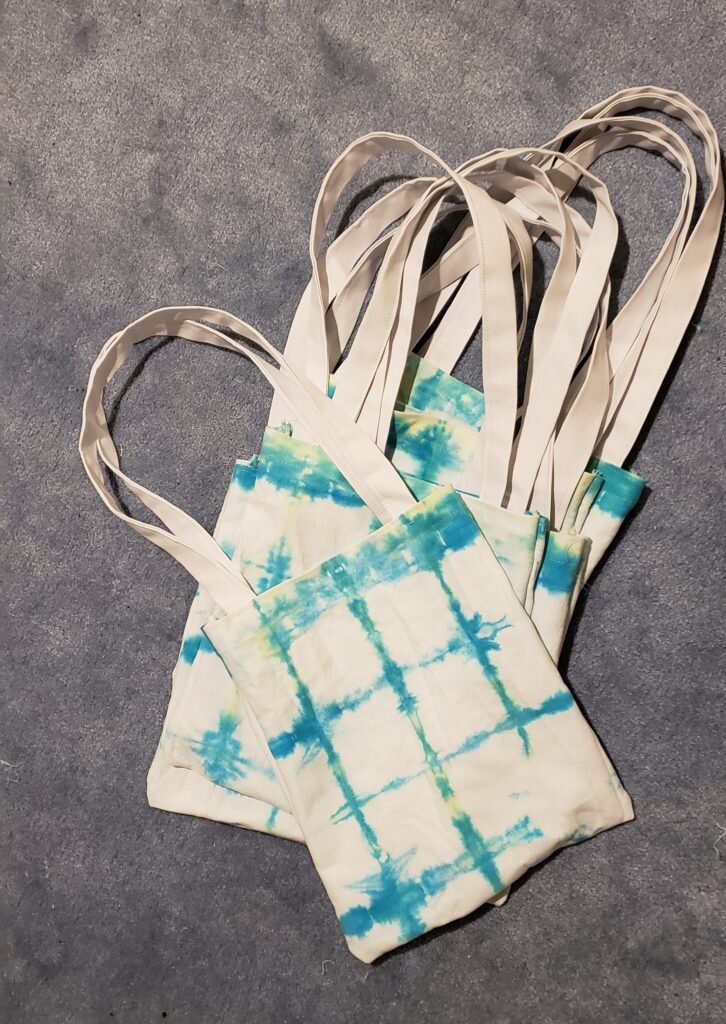
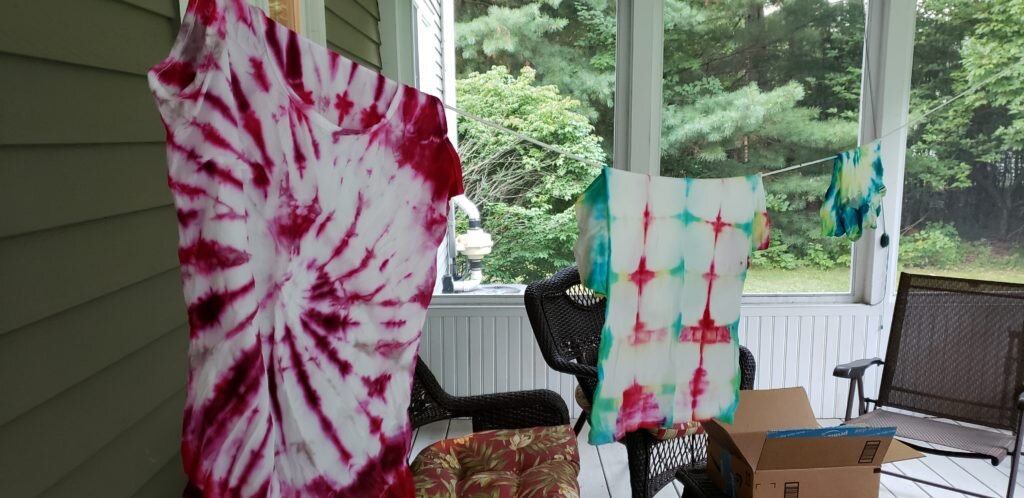
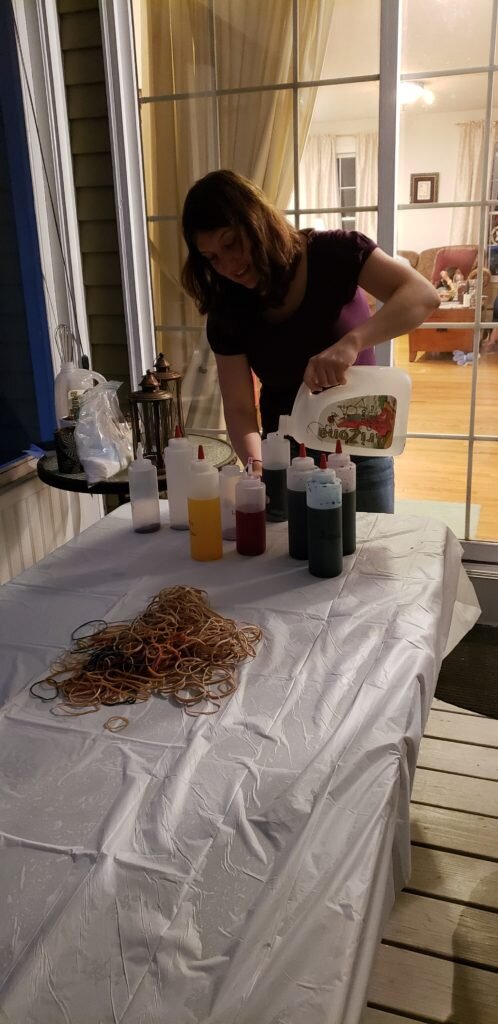
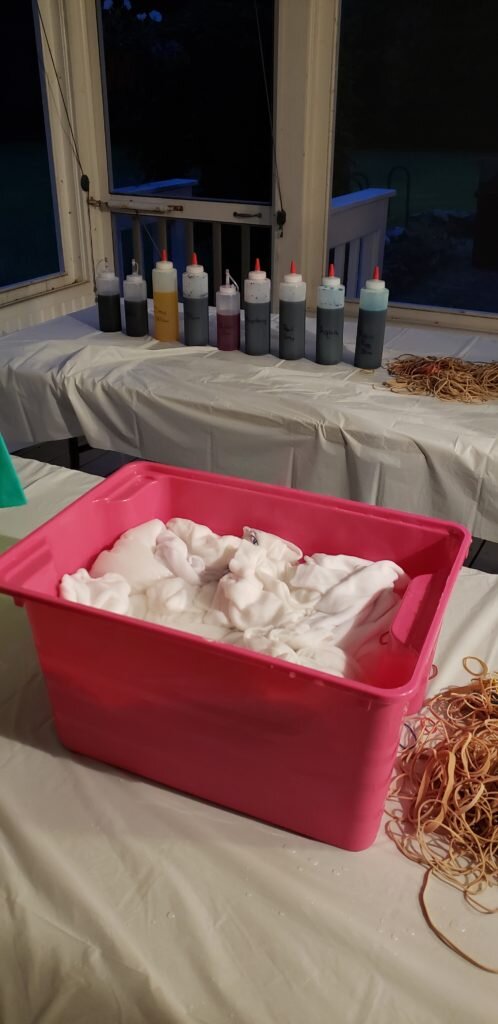
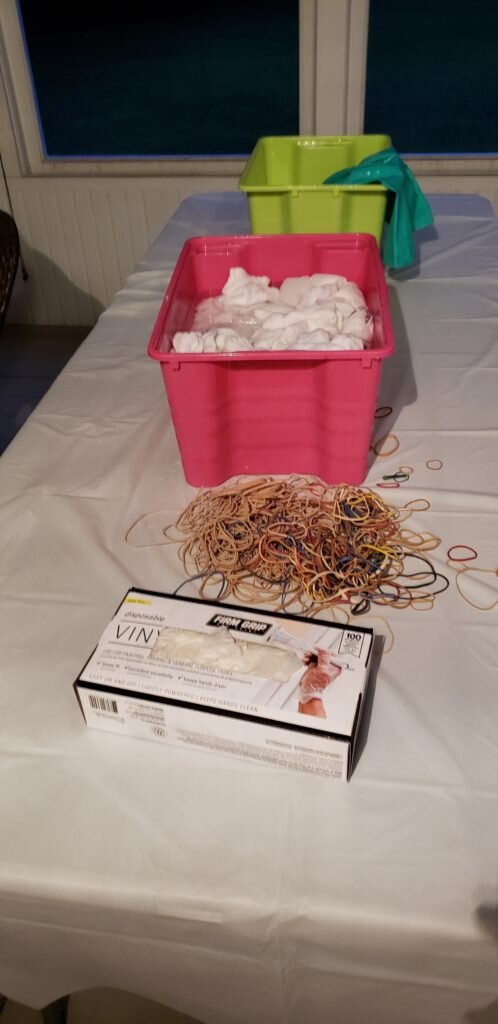
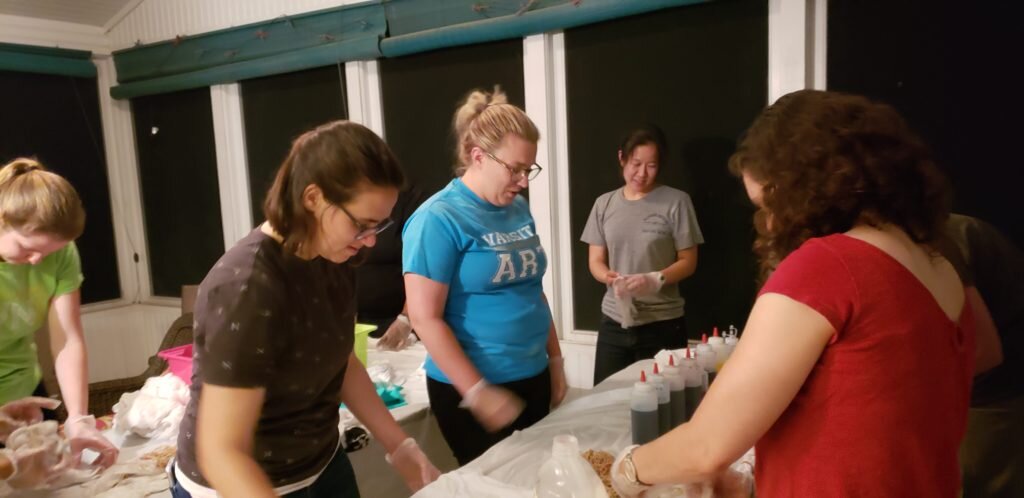
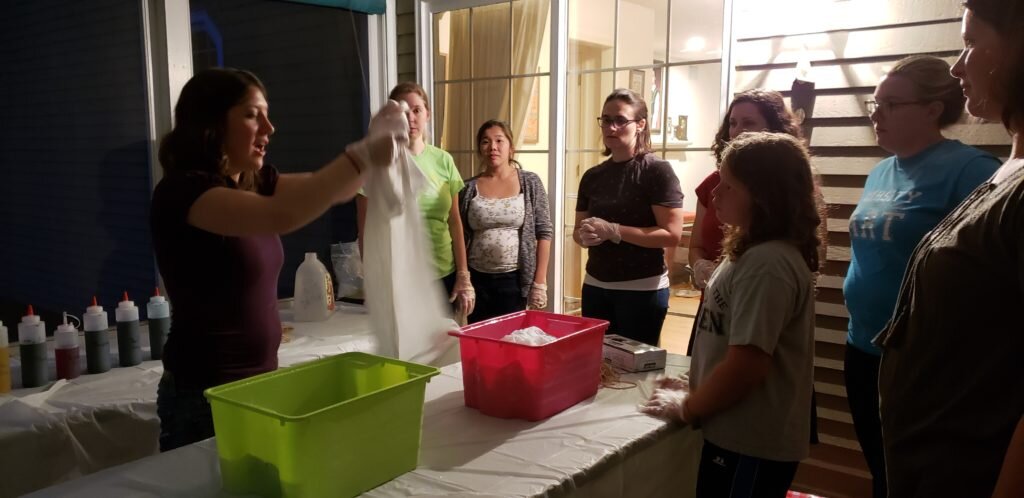
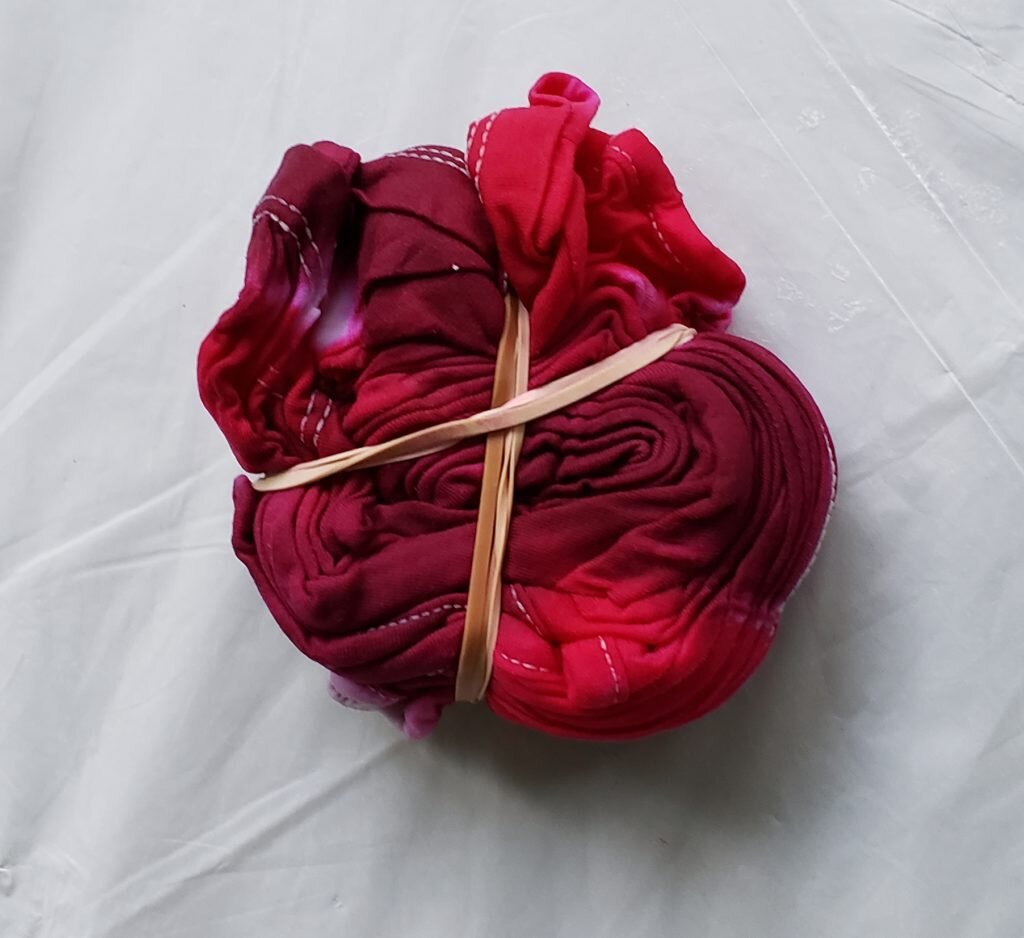
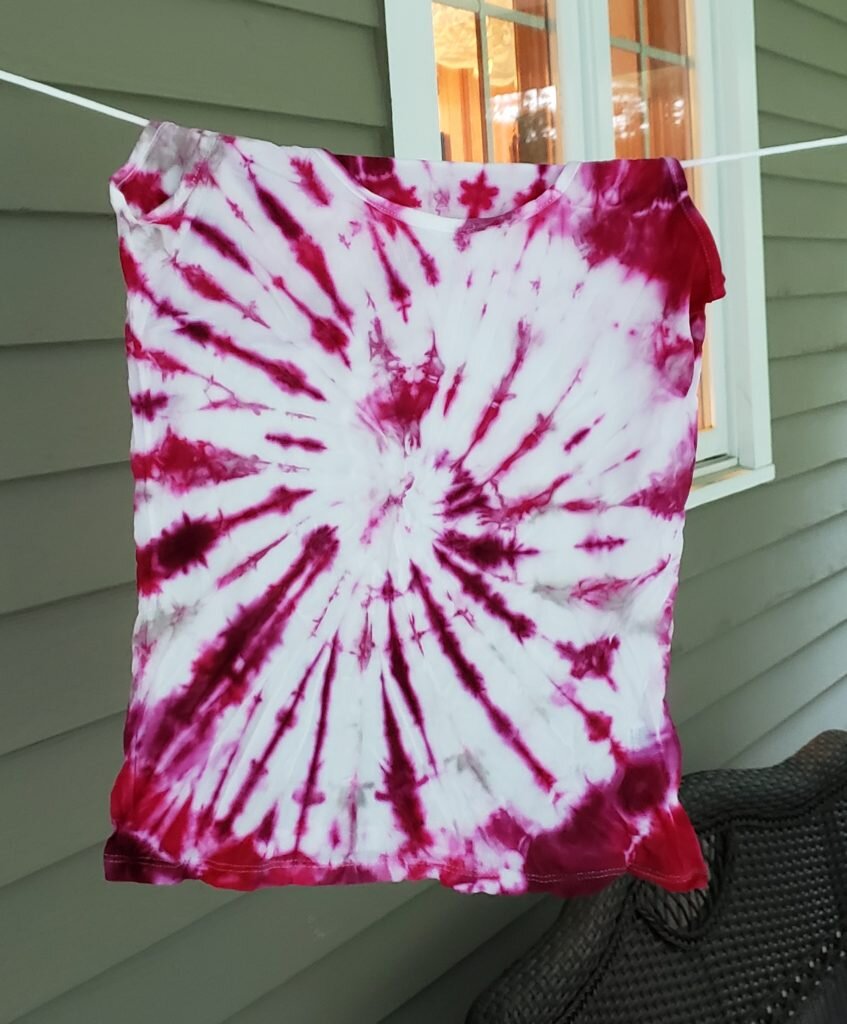
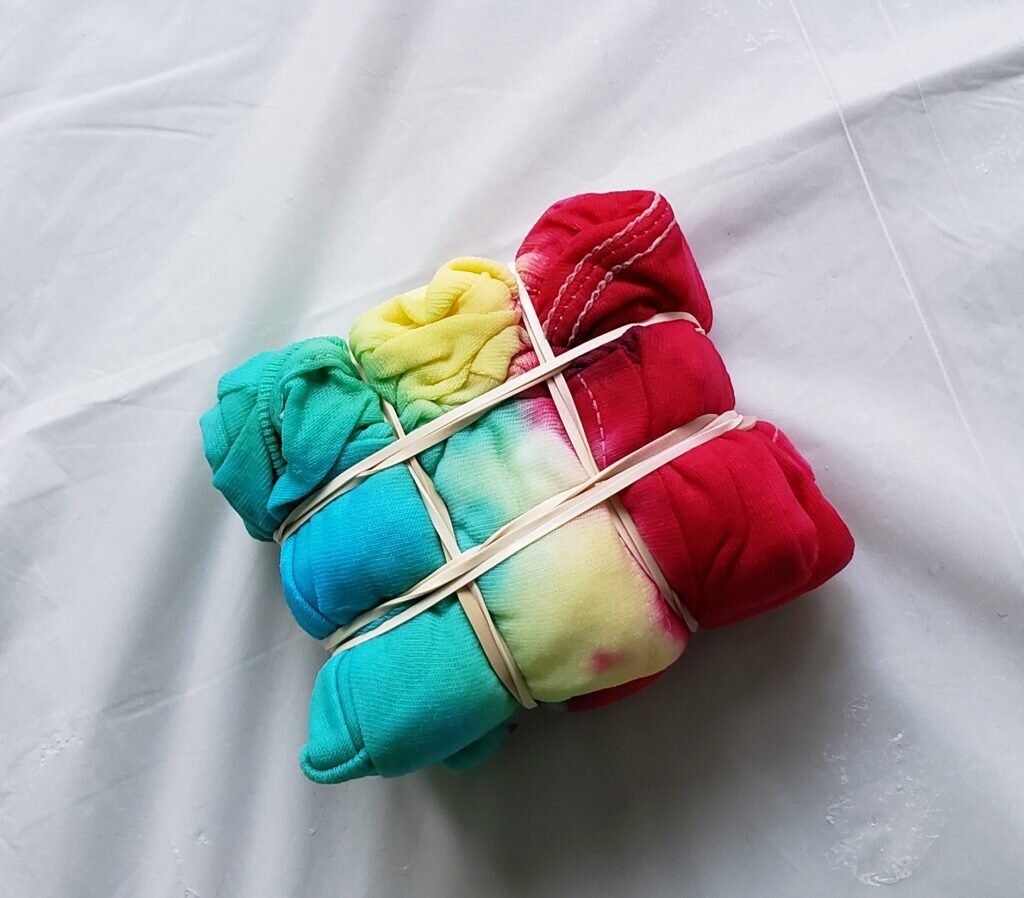
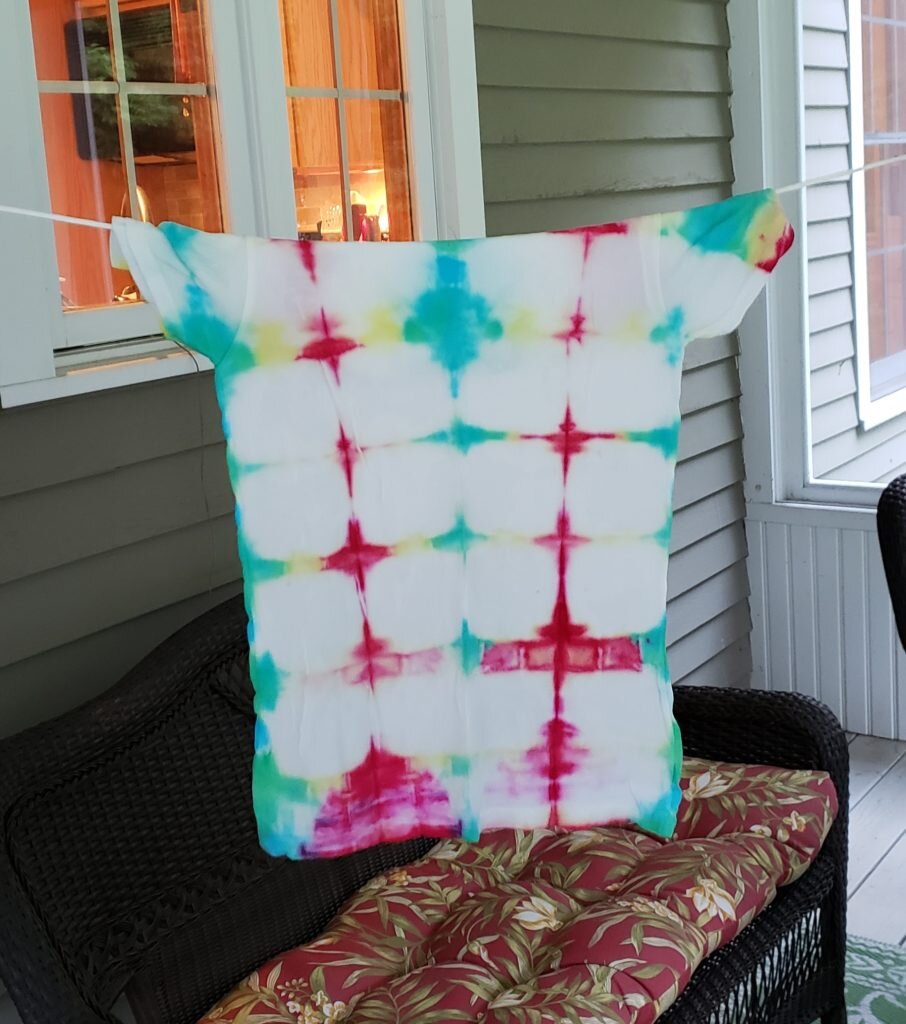
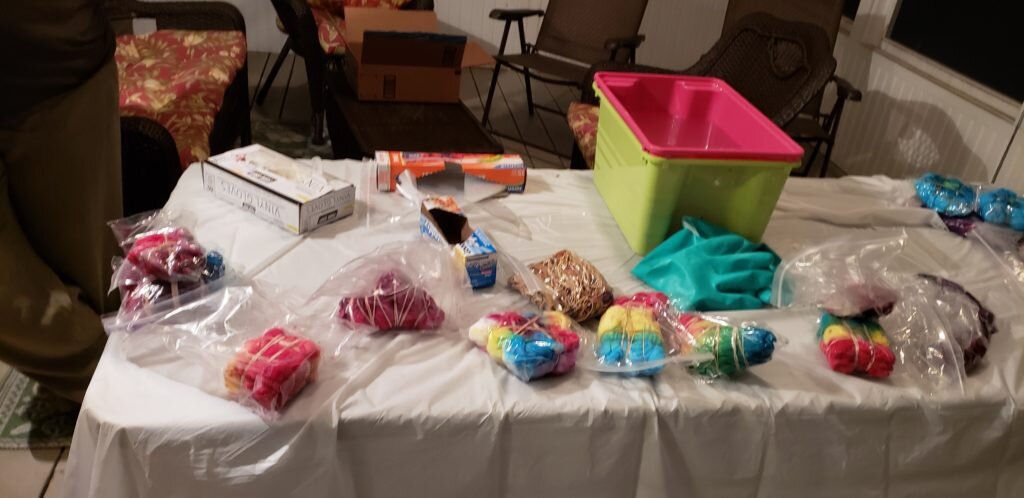
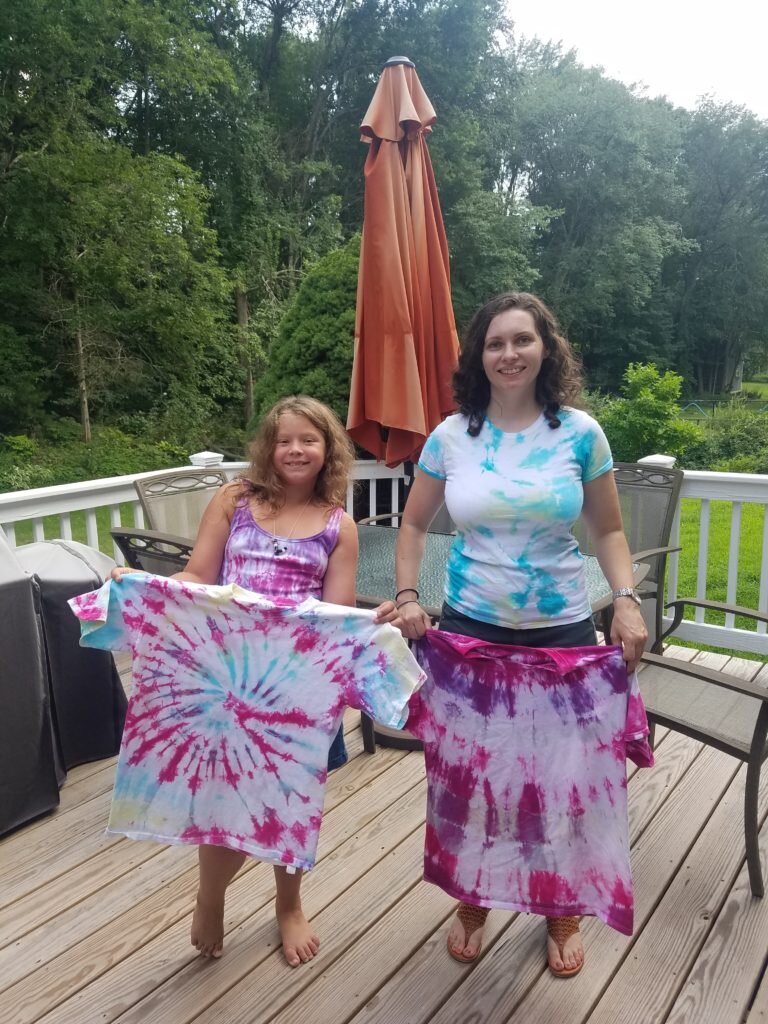
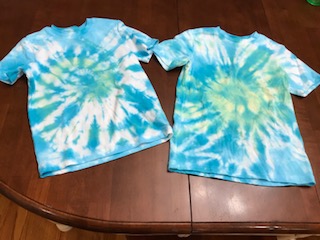
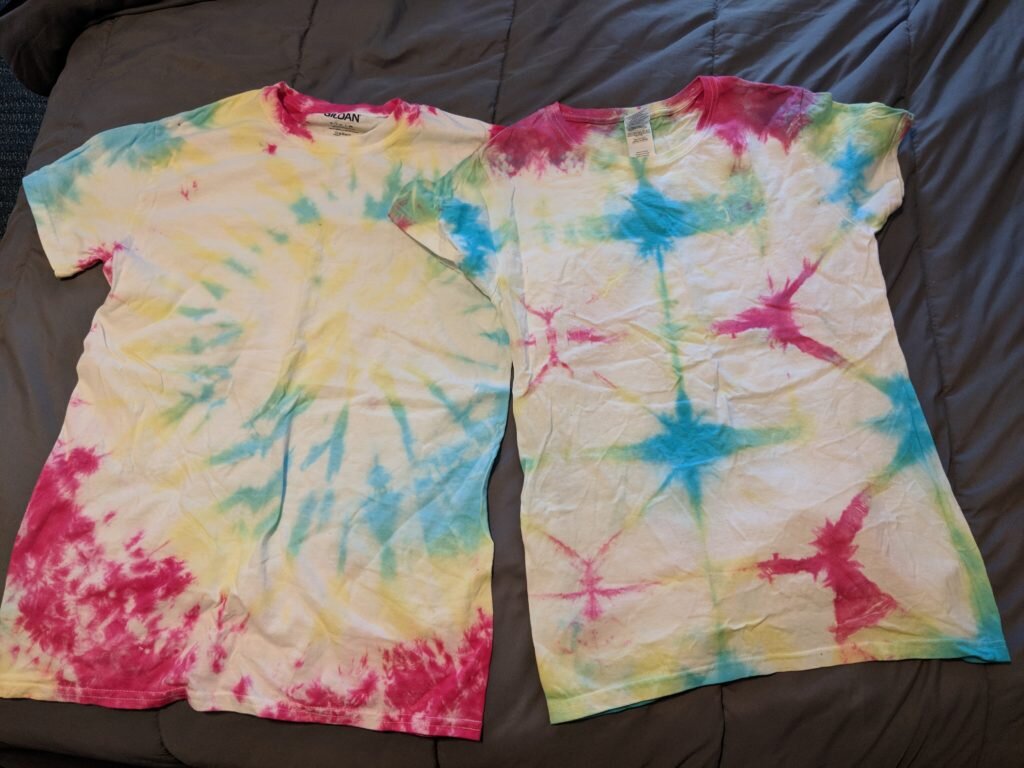
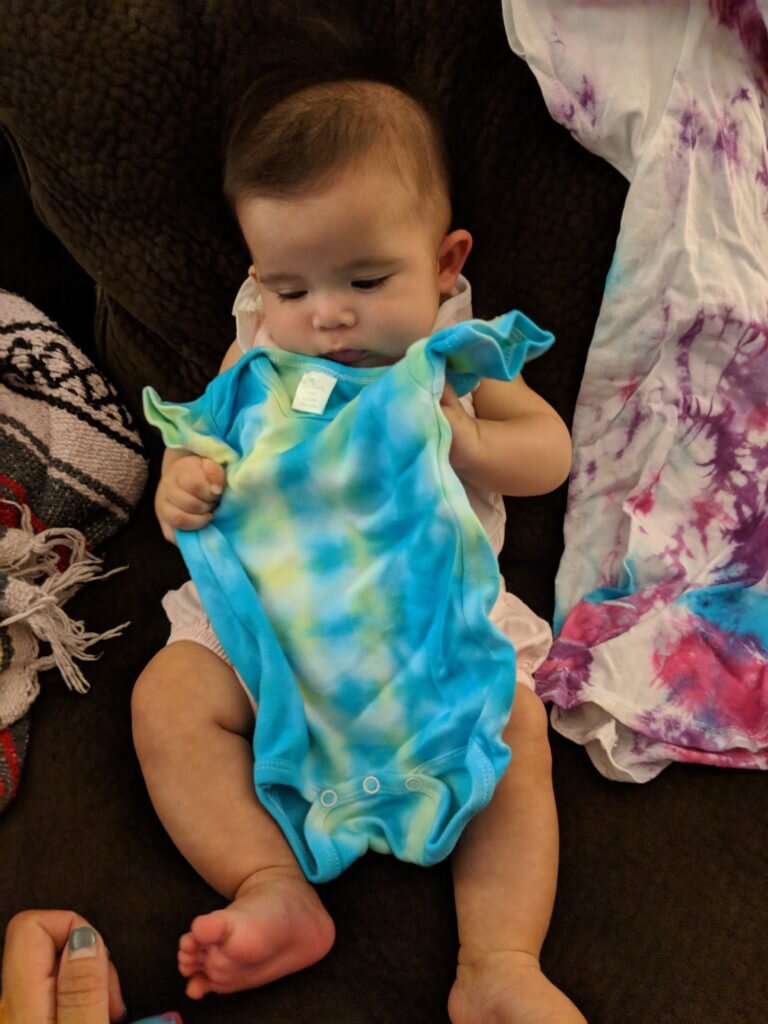
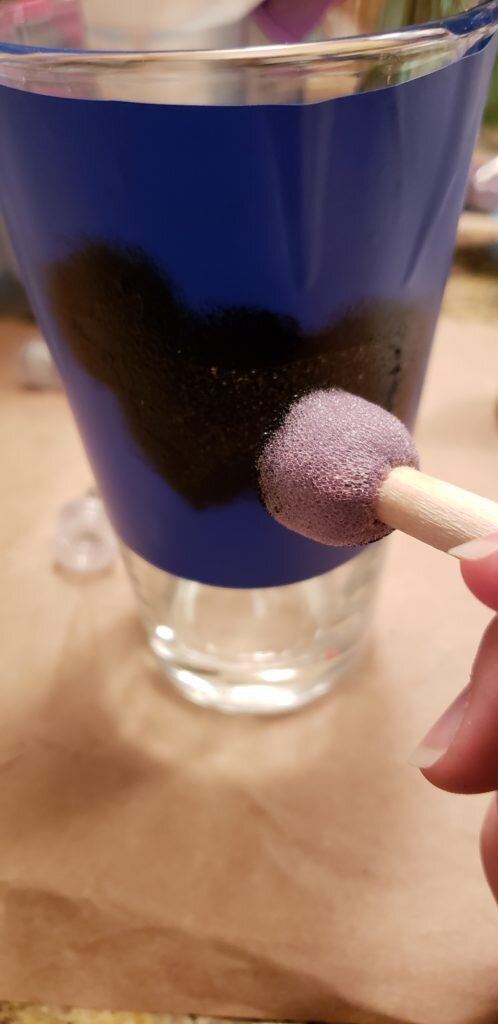
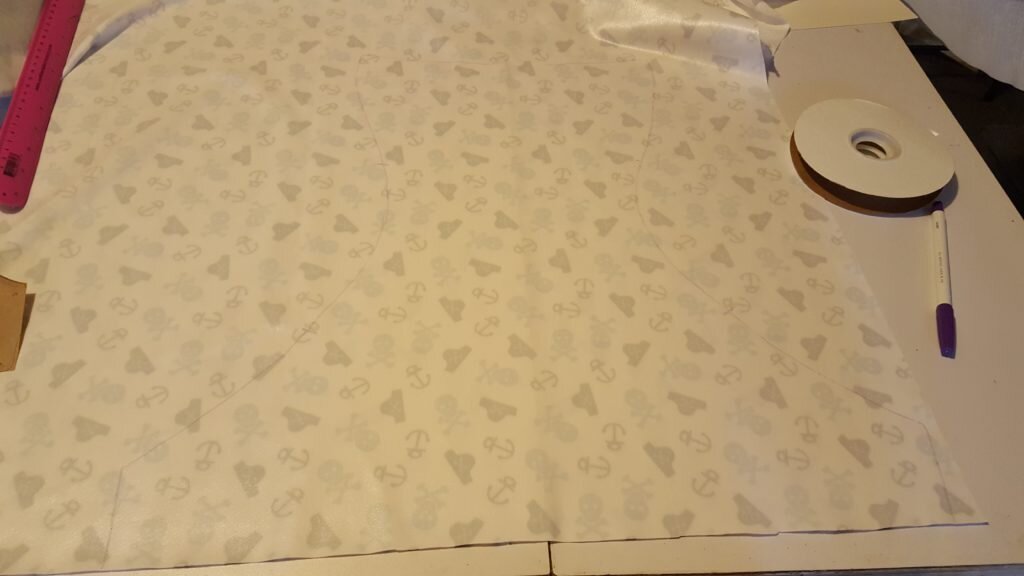
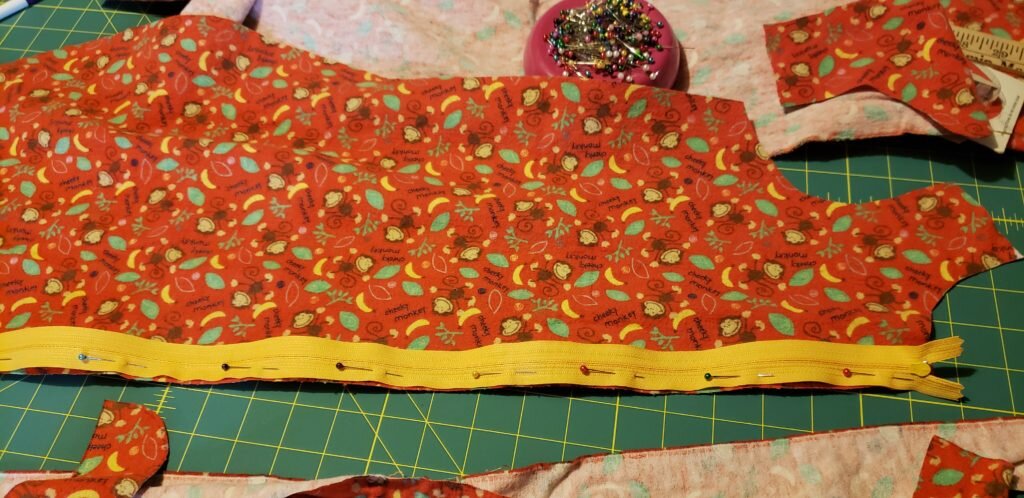
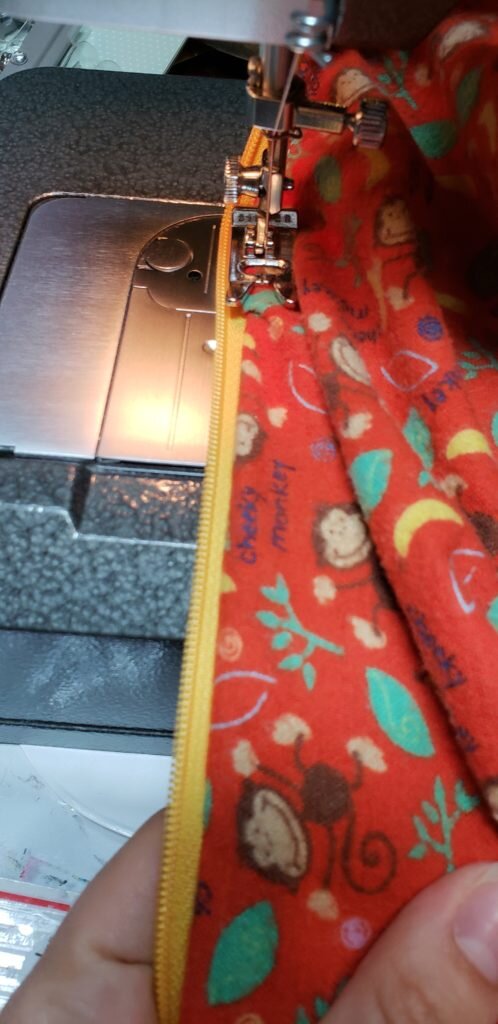
For the theme this year I was stumped for a while, then inspiration struck. If you couldn’t tell by my tie dye party post, I’ve become a bit obsessed with tie dye. I went all out on tie dye for Danycon this year, and tie dyed shirts and bags for everyone before the event. Will was not surprised and has remarked since that I’ll probably tie dye everything cotton in the house before the year is out. He’s probably right, so he better hide his boxers.
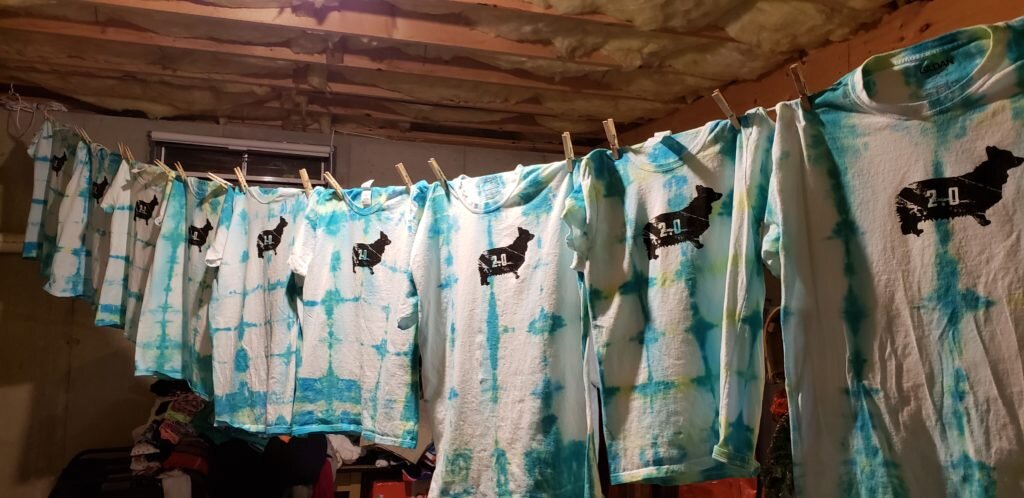
Dyed shirts hanging in the basement to dry.
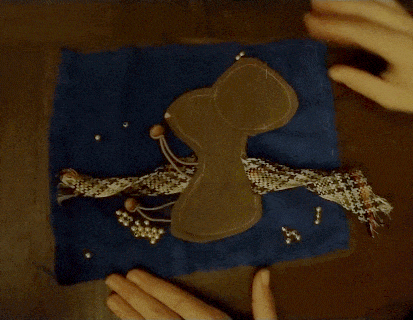
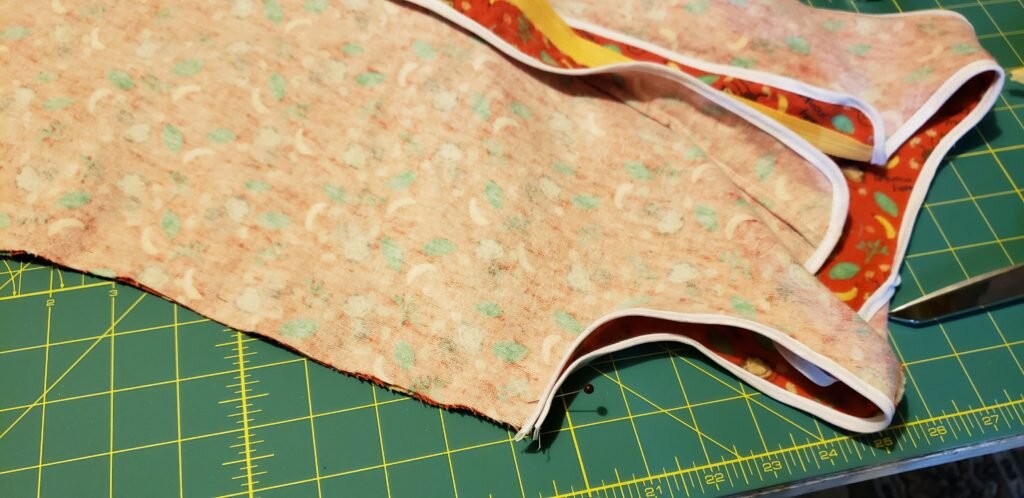
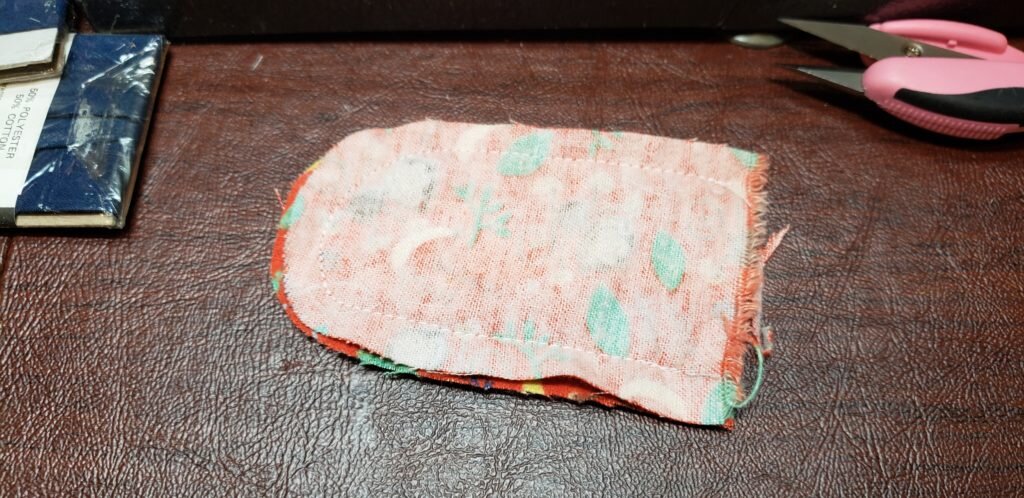
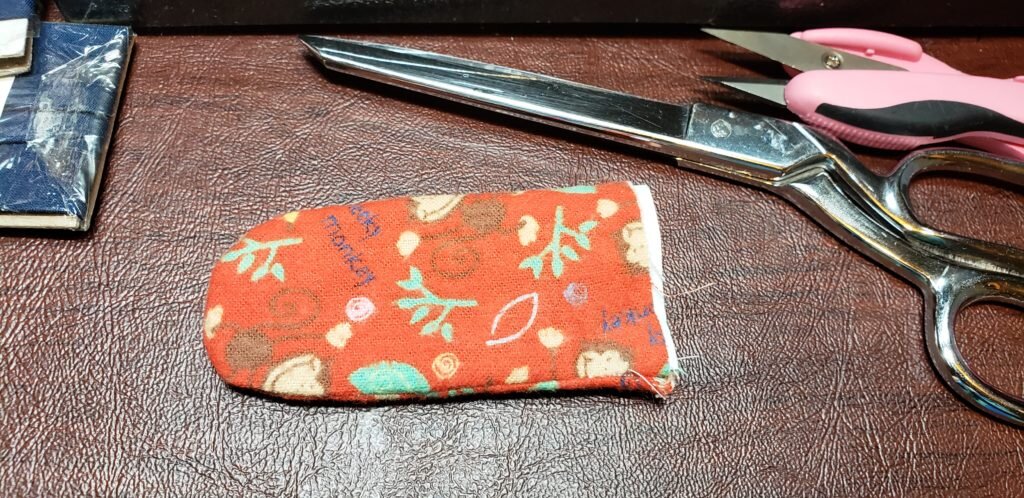
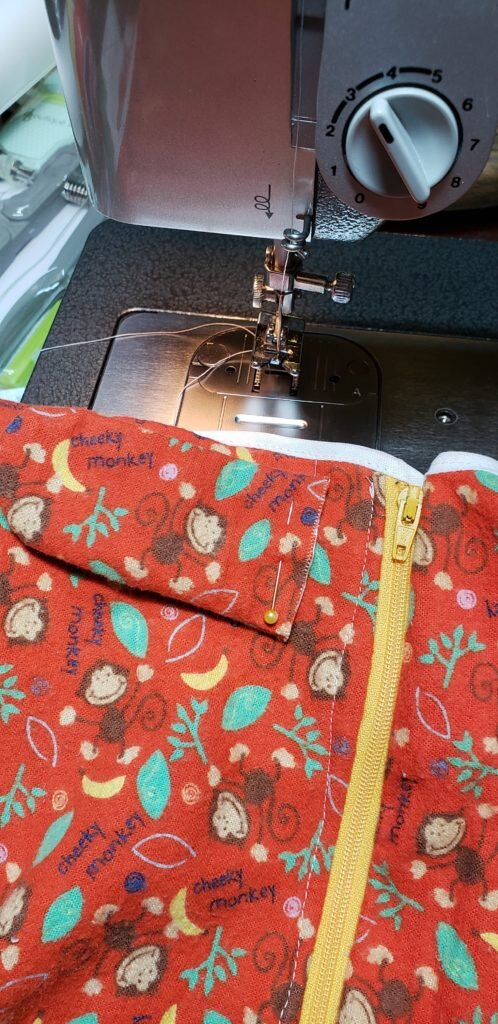
Welcome bags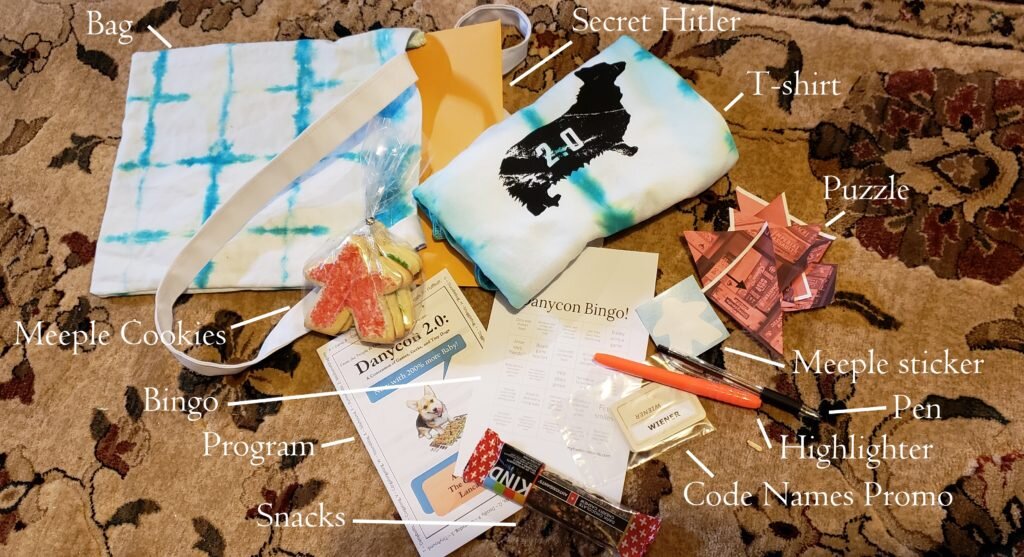
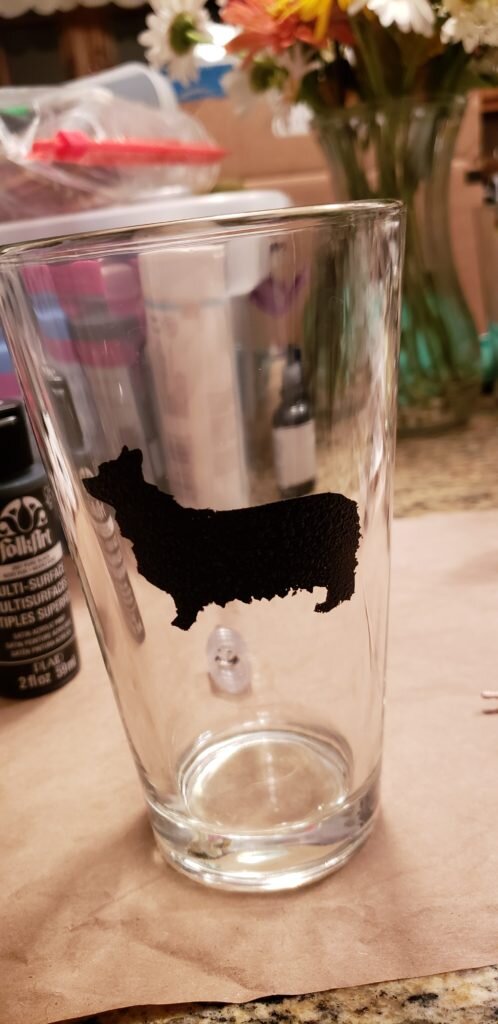
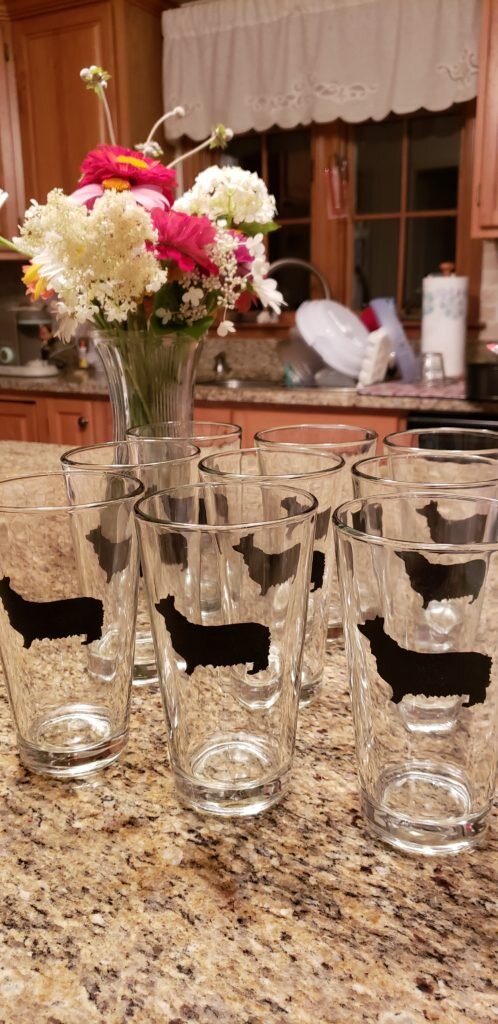
The event kicked off with the opening of welcome bags on Saturday morning. Along with the usual programs, t-shirts and board game freebies Will & I included a puzzle hunt. We put together a series of puzzles the lead everyone around the house to the final answer which revealed personalized Danycon cups filled with candy. In addition to being a prize, the personalized cups allowed us to cut down on plastic cups or excess dishwashing.
As for the puzzles, the idea was to force everyone to work together. The clues alternated different combinations of people required to figure the puzzles out. All the puzzles were pretty darn awesome (if I do say so myself), so I’ll just tell you about my two favorites. One of the sets of clues lead everyone to the tool chest in the basement. Once unlocking the tool chest one drawer yielded a box that read “EAT ME” filled with letter shaped cookies. A second drawer revealed glasses and a sign that read “DRINK ME”. My sister’s terrified exclamation at seeing the signs for consumption was something like, “And here is where it gets real…” The indicated person had to determine what spice was overwhelming the cookies, or extract overwhelming the drink. They then found the next clue in the spice cabinet inside the spice or extract bottle specified.
The other clue I thought was very silly is that one person got a clue that said “you are a special egg”. The first joking answer someone gave, to smash the box of eggs, was actually the right one, though they spent a lot of time looking in the vegan egg substitute box. Eventually they discovered that one of the eggs was lighter than the others and was actually hollowed out. They smashed the egg to reveal a note with a part of the final clue.
Tournament
This year we decided to do a full on tournament instead of the Happy Salmon tournament we had last time. Each round consisted of a different number of players. We “seeded” the bracket with Rolling Japan and put everyone into a bracket. The first round was 4v.4 Captain Sonar, followed by 2v.2 Codenames, and finally 1v.1 Villaa Paletti. The last round we intended to do an epic Galaxy Trucker battle, but it was sadly left at work. Instead there was a (power couple) face off between Mandy & Bailey in Villa Paletti which is like Gaudi meets Jenga. Bailey was the ultimate champion of this year’s tournament.

Mary Elizabeth and Mandy look on as Bailey makes one of the final moves of the game.
Menu
Friday
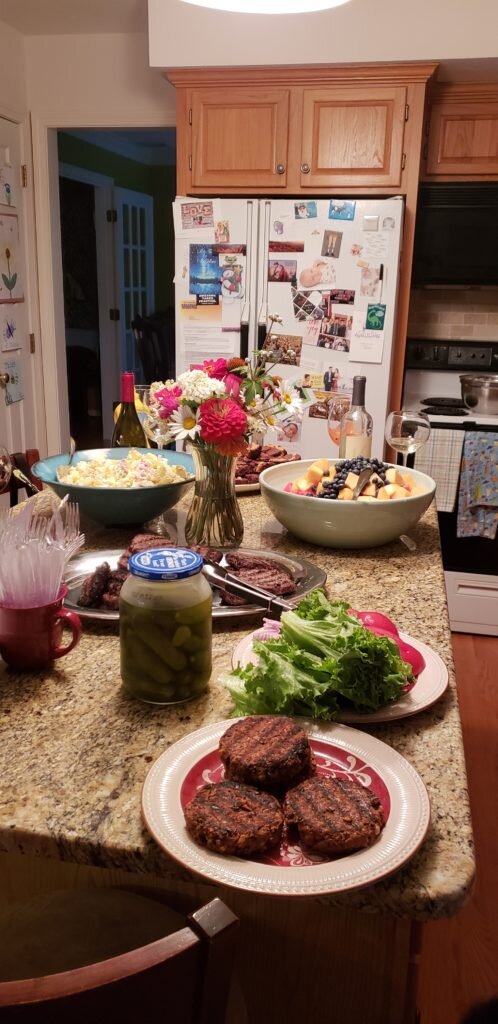
Dinner
- Pulled pork with homemade pickles
- Veggie burgers
- Carrot salad
- Caprese salad
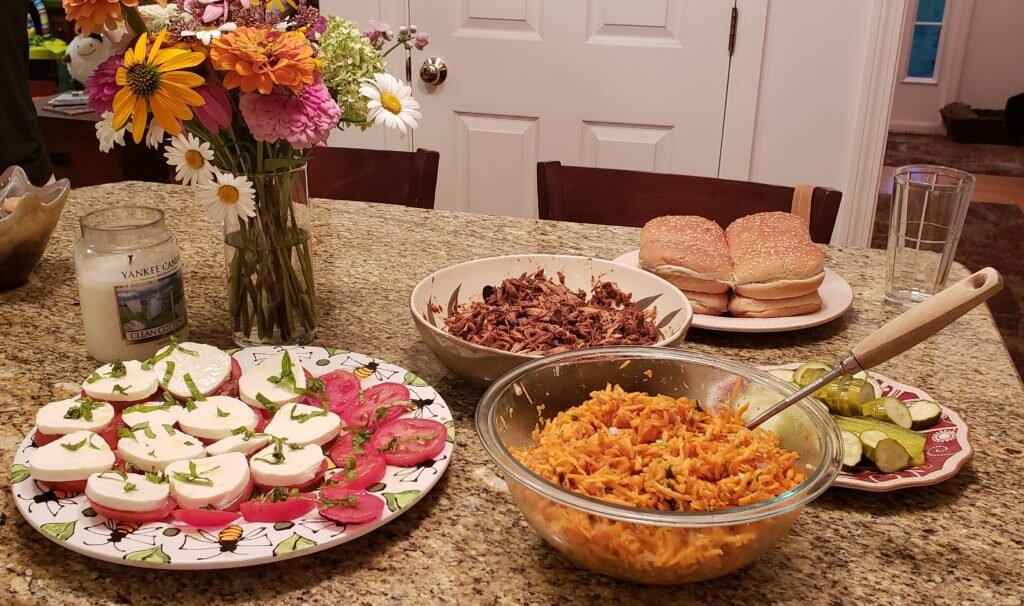
Pulled Pork, caprese salad and carrot salad dinner
Saturday
Breakfast
- Oatmeal bake with peaches (I used almond milk instead of dairy and vegan egg replacer instead of eggs)
Lunch
- Curried chicken salad
- Green and red leaf salad with red onion, avocado, and tomato
Dinner
- Veggie kabobs (mushroom, peppers, onions, tomatoes)
- Teriyaki steak kabobs
- Italian chicken kabobs
- Risi bisi
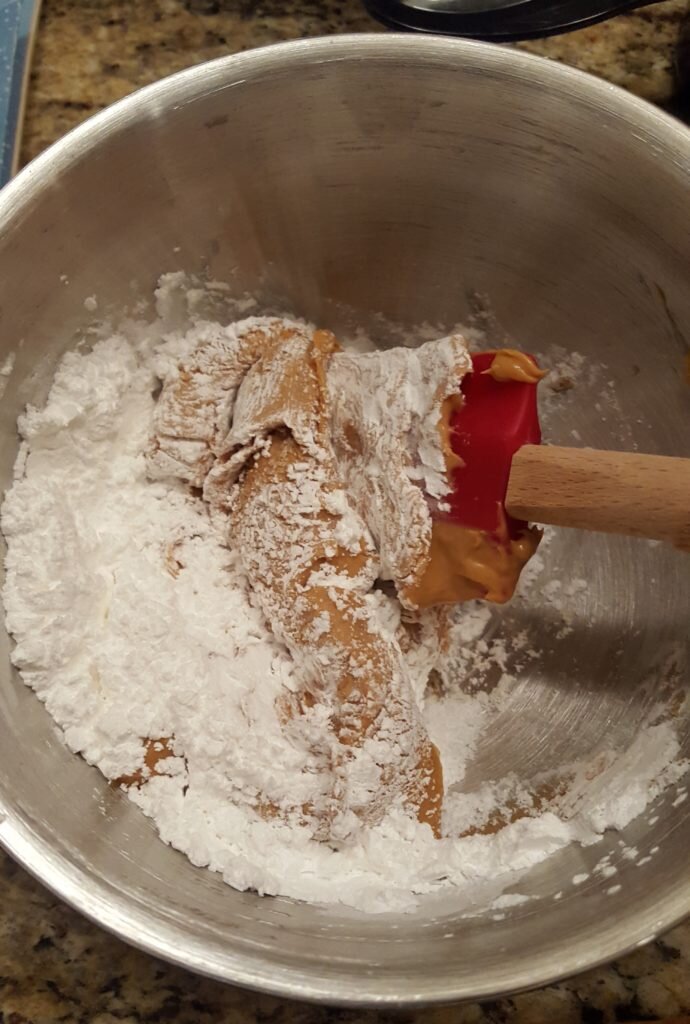
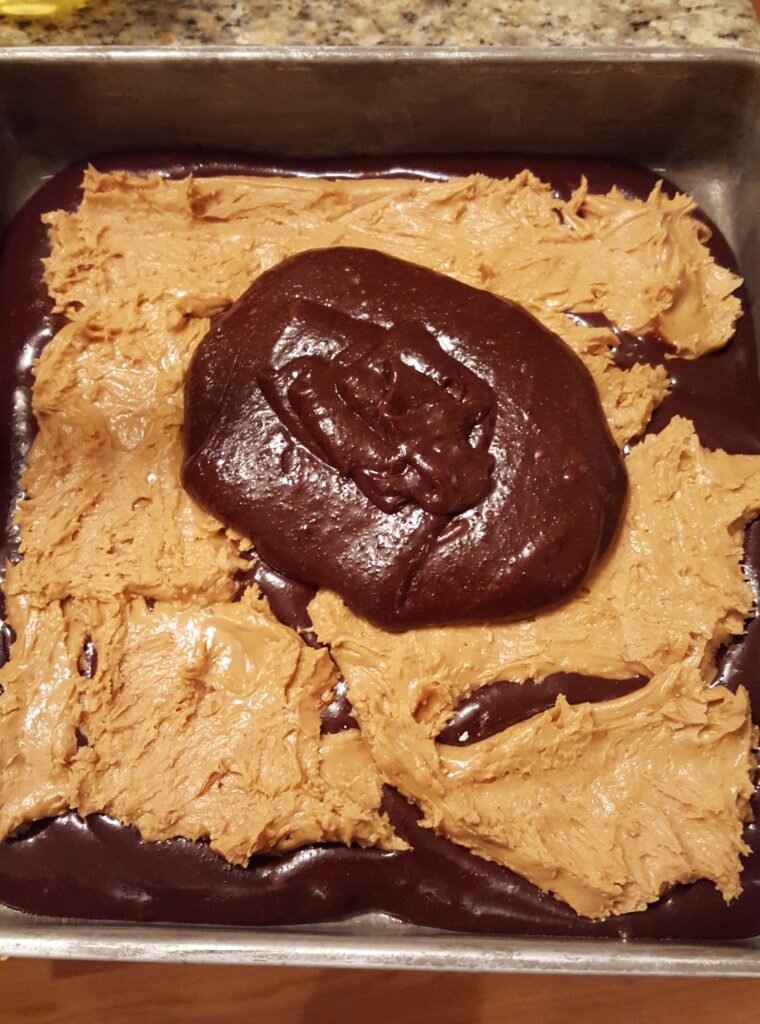
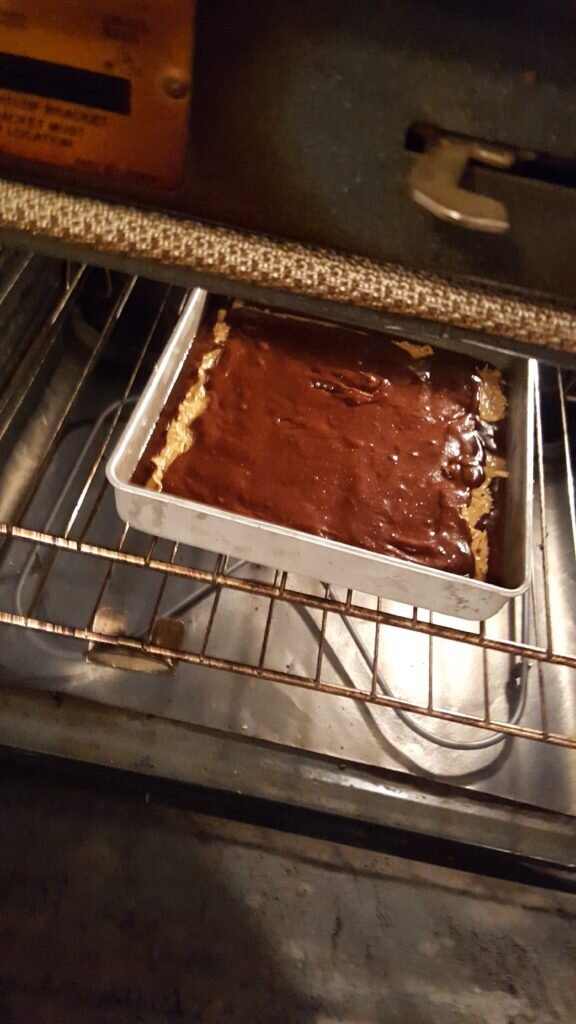
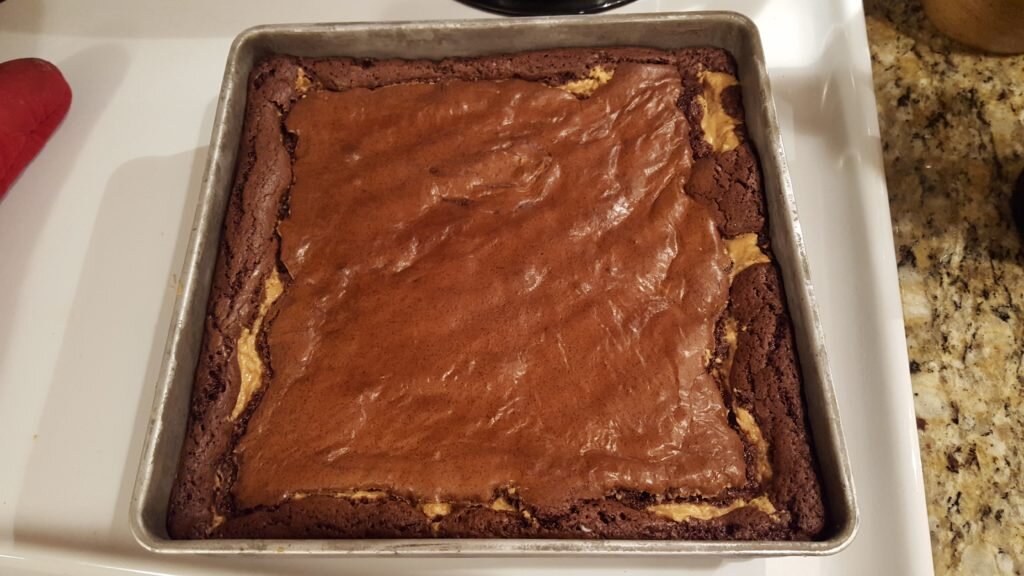
- Peanut butter brownies
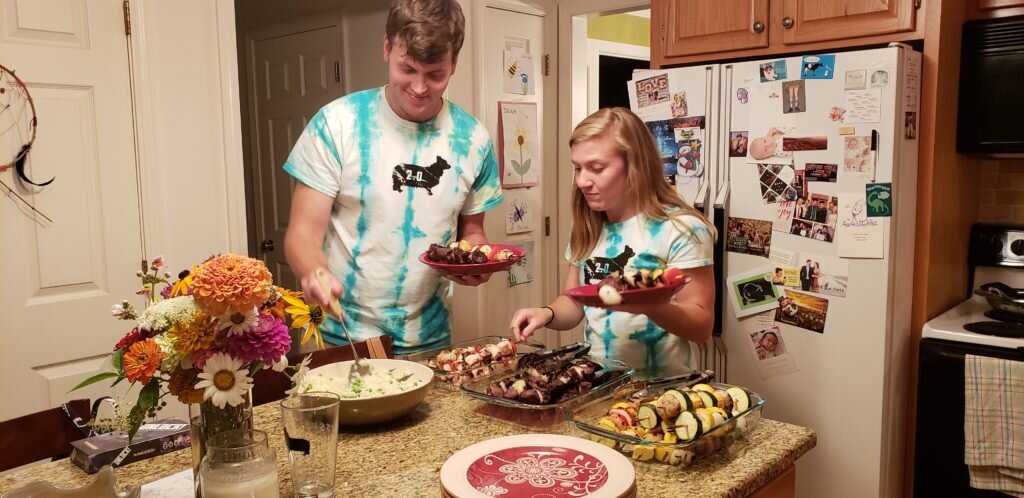
Jesse and Mandy dig into kabobs & risi bisi
Sunday
Breakfast
- Scrambled eggs (or vegan eggs) with cheese and chopped veggies leftover from the kabob’s
- Plums and peaches
We can’t wait for Danycon III!!
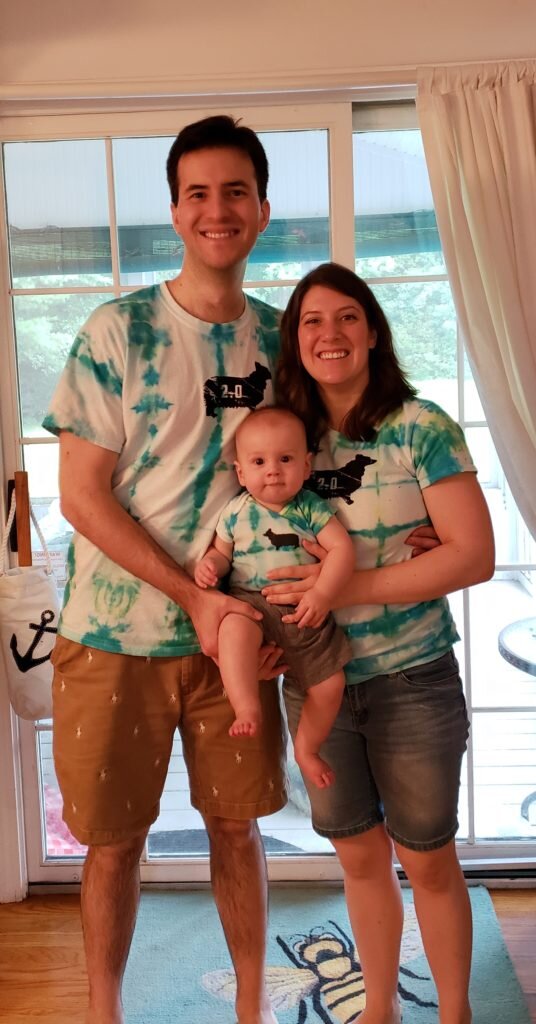
By popular request here’s the photo with Dany!