
I hope you all had an amorous Valentine’s day…
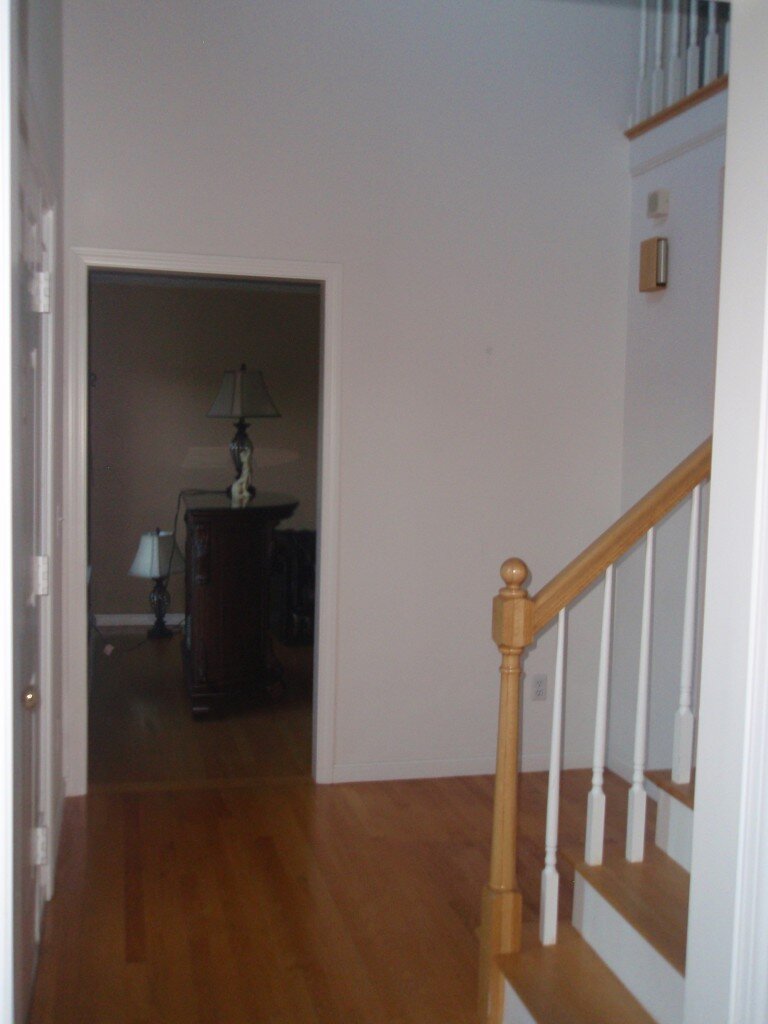
Our front hallway has been fairly boring and white since we moved in. Painting this area is so daunting that I doubt I could even suggest it to Will without causing some sort of heart malfunction. So instead I’ve been trying to make the space less boring without the use of paint.
For starters we got some purple and blue rugs. I really love them, they already make the space less boring. We also added my old desk from the apartment, a thrift store vase filled with pussywillows, and some assorted decorations from home goods.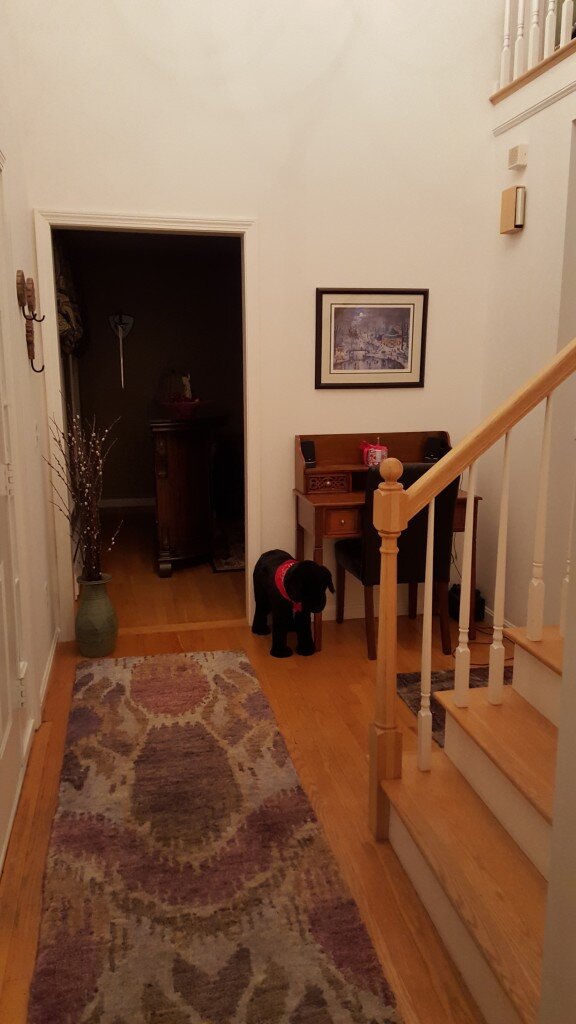
Then we added a couple paintings found at thrift stores, yard sales, and even one we received for our wedding.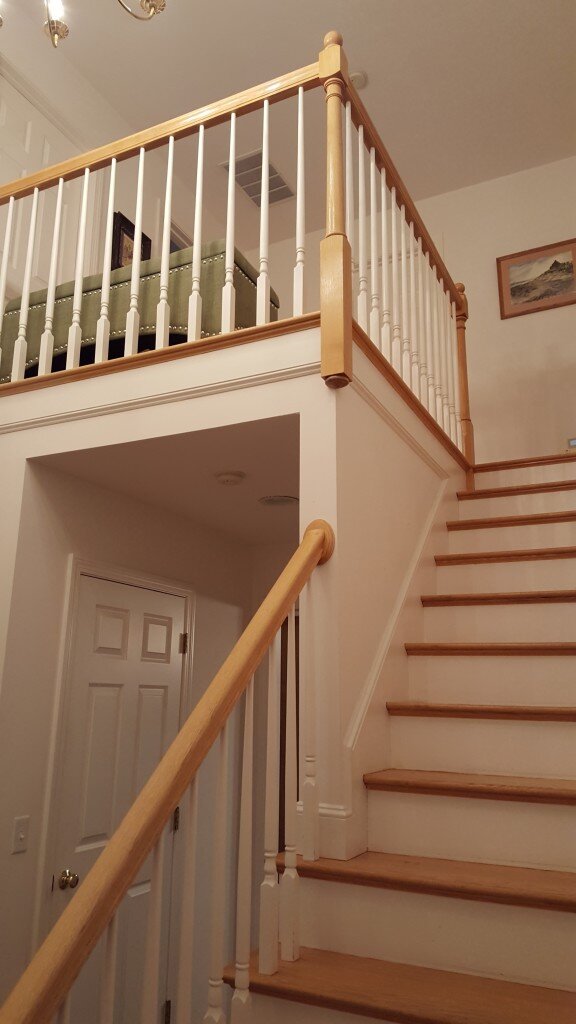
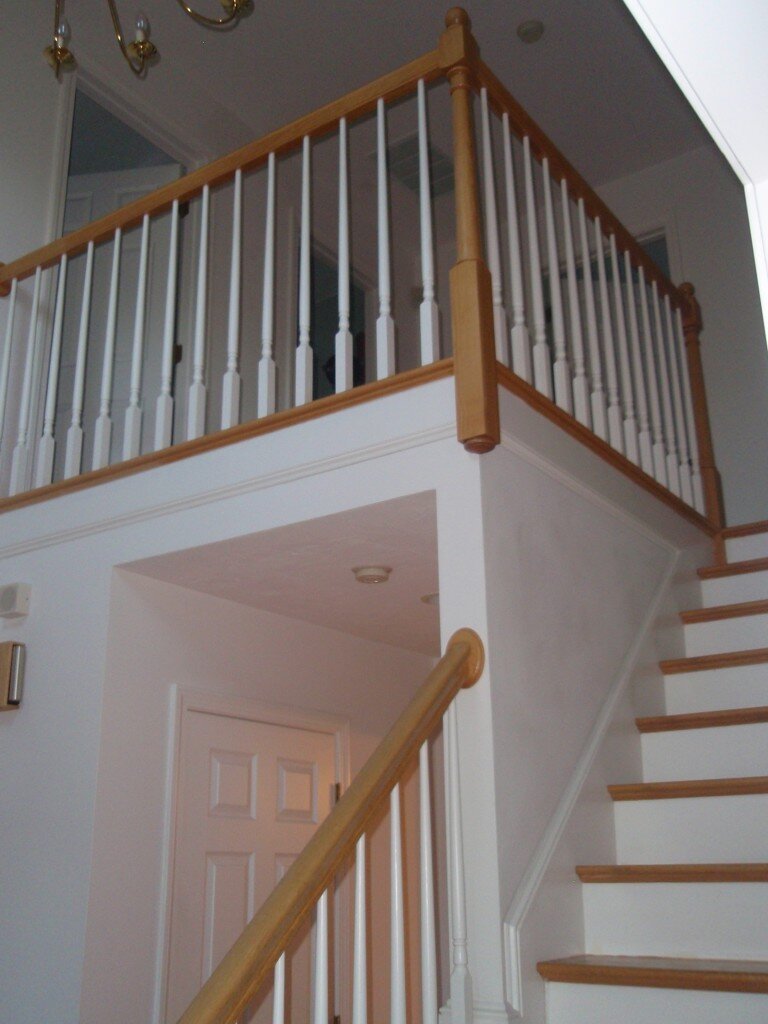
Then we added a rug and bench to the upstairs space, which was always just sort of open and awkward.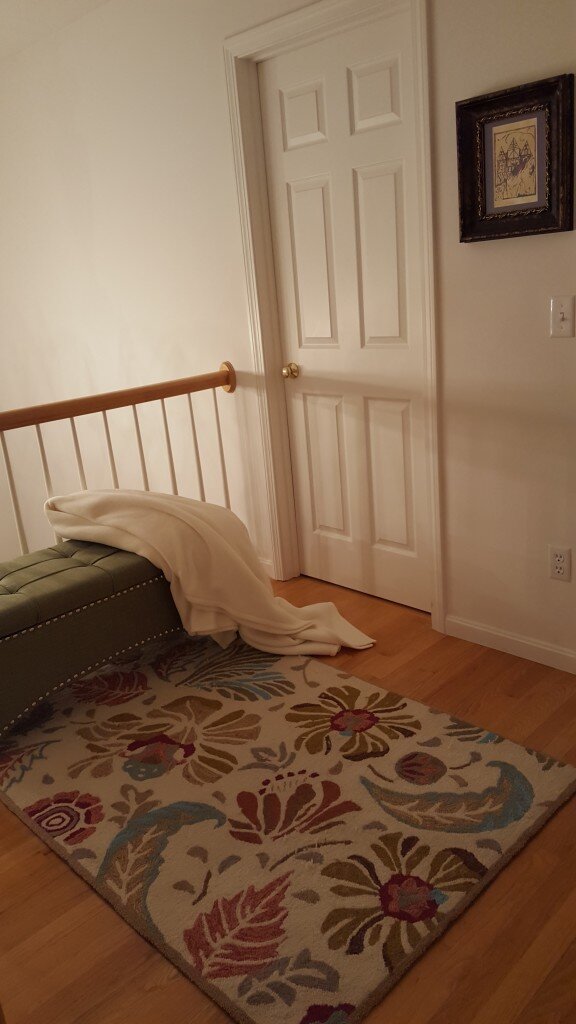
After those changes I was pretty happy with the entrance for a while… until about the 100th time I walked upstairs. At that point I had been incepted by some pictures on Pinterest and once again thought the hallway was too white. I didn’t think I wanted more art on my walls, but we have a dearth of photos in our house so I decided a rotating gallery wall would solve that problem.
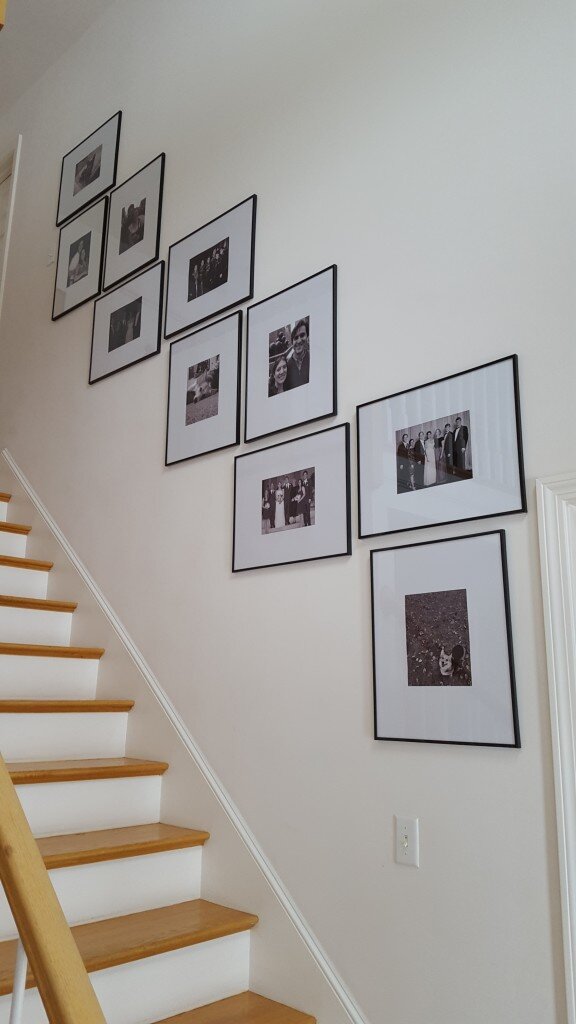
To avoid having to figure out how to color coordinate all the photos I decided black and white was the easiest, most dignified, way to go. And of the gallery walls I’d seen on Pinterest, my favorites were the ones with matching thin black frames and large white mats. I went to several Michaels stores and finally found a fairly reasonably priced frame that I liked. Strangely each store had a different selection and this particular frame doesn’t even appear to be in their online database. We waited for a 20% coupon day to buy the frames (which were originally $17 a piece) and got 10 of them for $136. Pretty pricey, but nothing compared to the cost of real artwork…
After obtaining the frames I stalled for a while and left them sitting on my green bench in the hallway. Eventually the combination of the boring white wall and the pile of frames cluttering the bench annoyed me into motivation. I drew a sketch of how I wanted to hang the frames in paint.net. (I realized later that I could fit 2 extra frames if I spaced the frames a little differently, but this was my starting point.)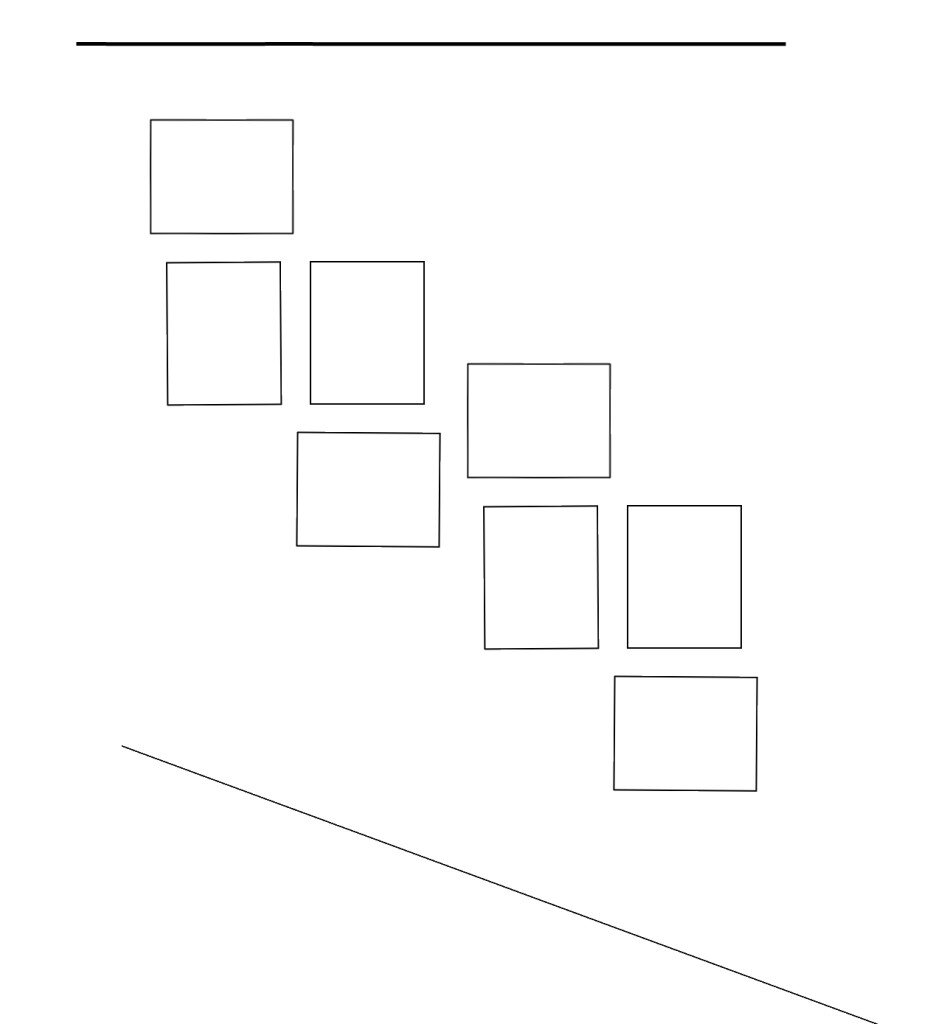
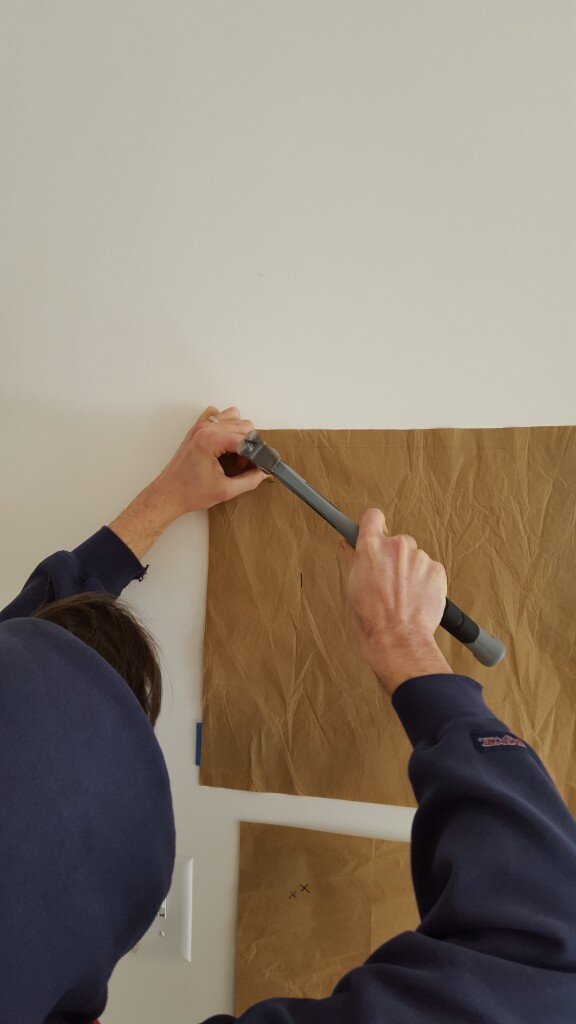
Hanging all those frames perfectly straight was going to be a challenge. To make matters worse, the frames I had purchased did not use picture wire but instead “D” ring hangers. This meant I had to level the two d-rings before I nailed into the wall, rather than readjusting the frame once it was on the wall. So I went to work creating 10 paper mock-ups that I could use to measure out frame spacing and nail placement. I re-used my favorite brown recyclable paper leftover from amazon packaging to create the mock ups.
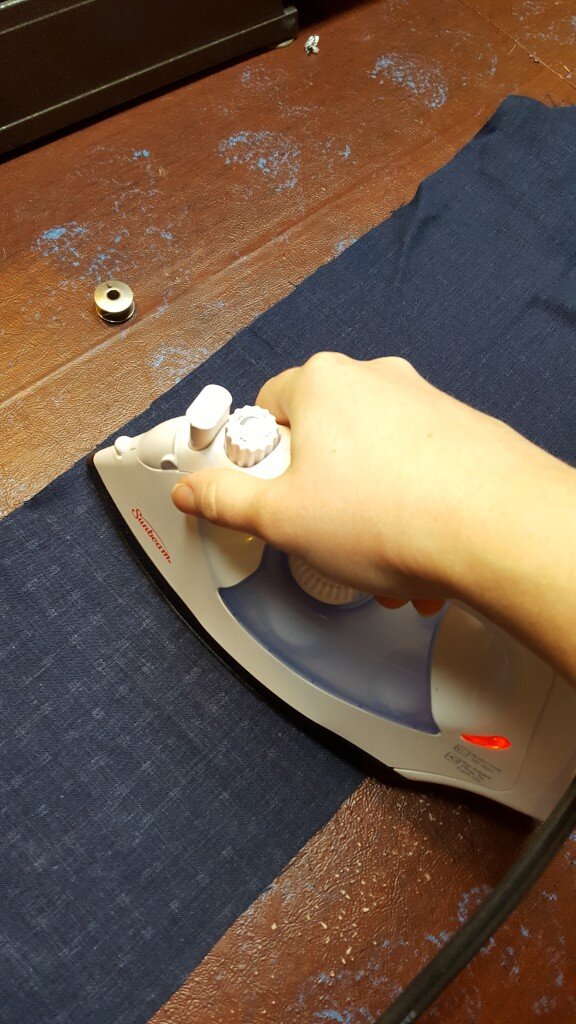
I first ironed it flat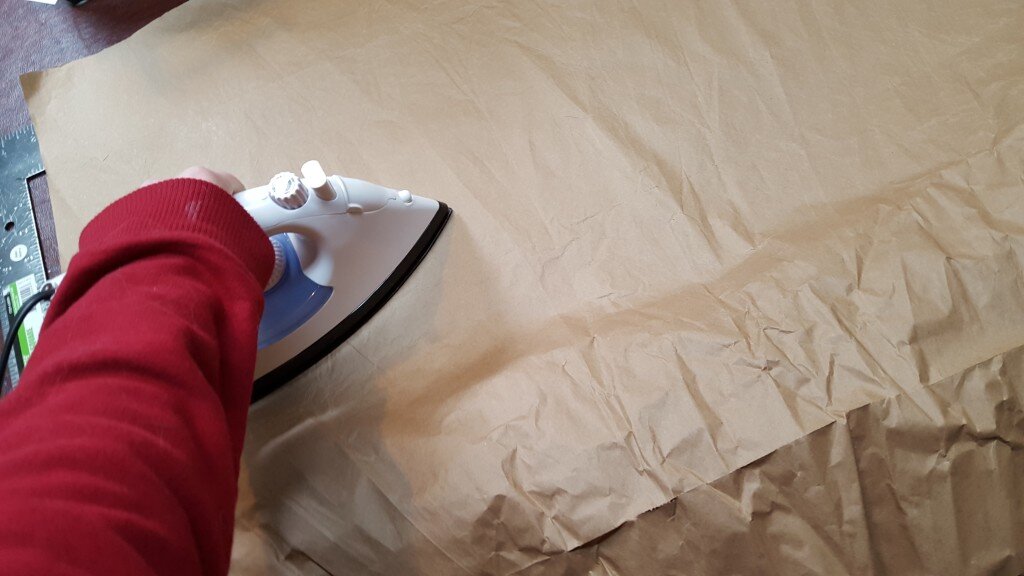
Then I traced out my 16×20 frame on the paper and cut it out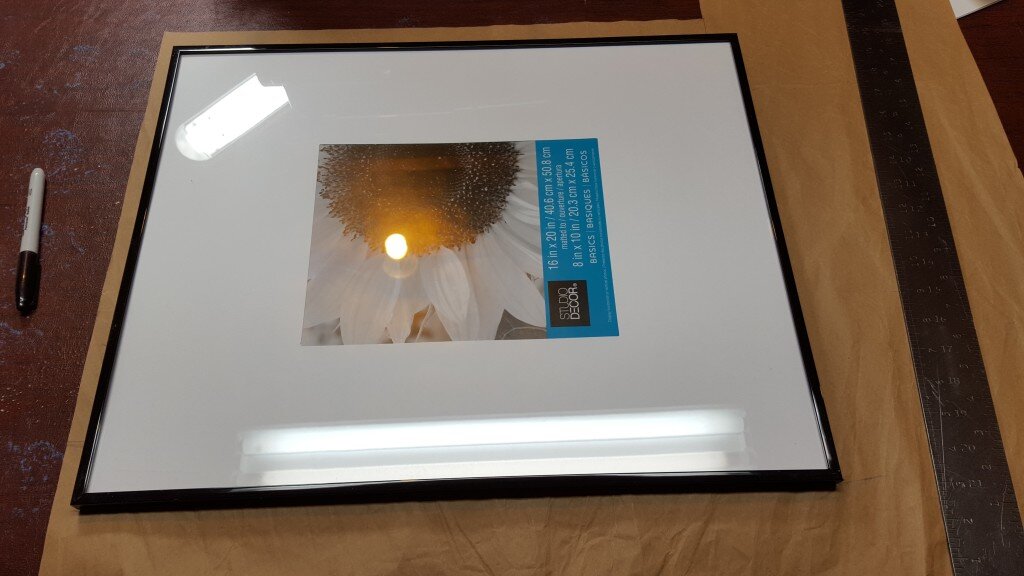
Next I added the marks for the nail holes based on the d-ring position. Because the position of the d-rings varied from frame to frame, I had to number each piece of paper and each frame.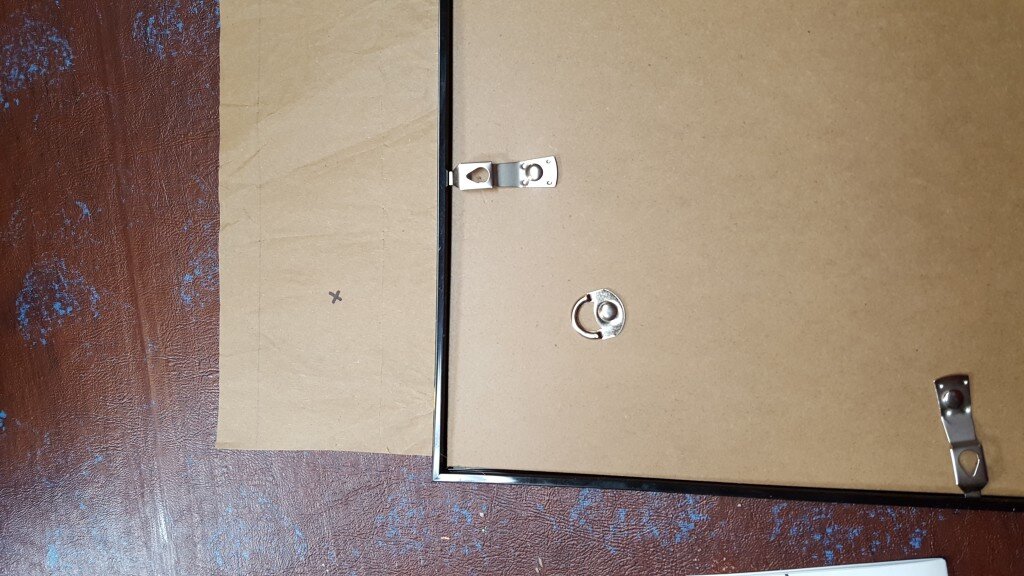
I put loops of painter’s tape on the back of each mock up so I could easily re-position.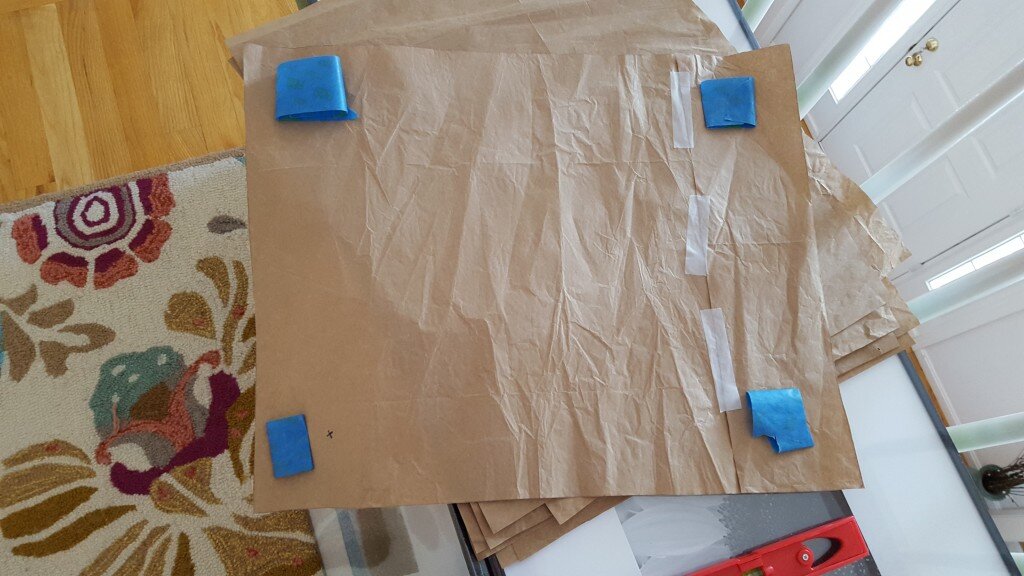
Then I employed my husband’s help and height. He helped me level and space all 10 mock-ups on the wall. (Note that I kept the frames above where a railing would sit since we should probably add a railing someday.)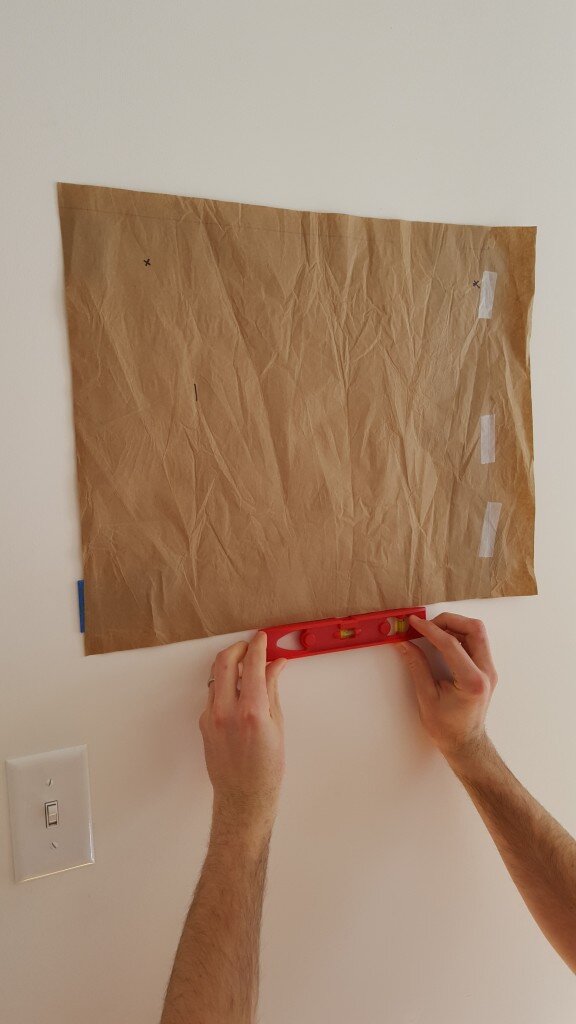
When I was satisfied with the layout, my husband nailed hooks into the walls right through the mock-ups (I usually use the tools, but even I will admit that I was a teensy bit too short for this task).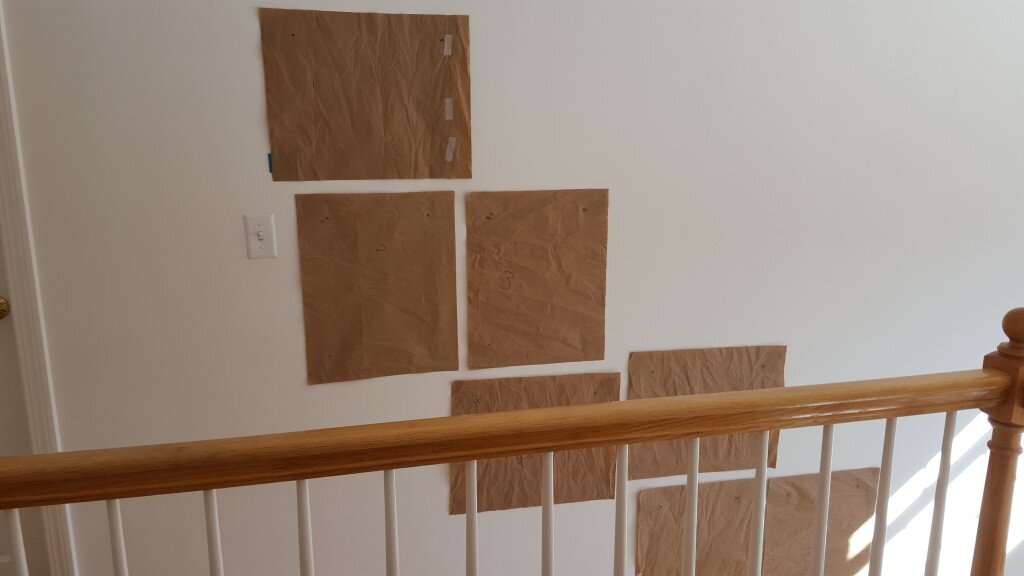
I printed 10 8x10s at Walmart (after deliberating for a couple hours) and added a picture to each frame.
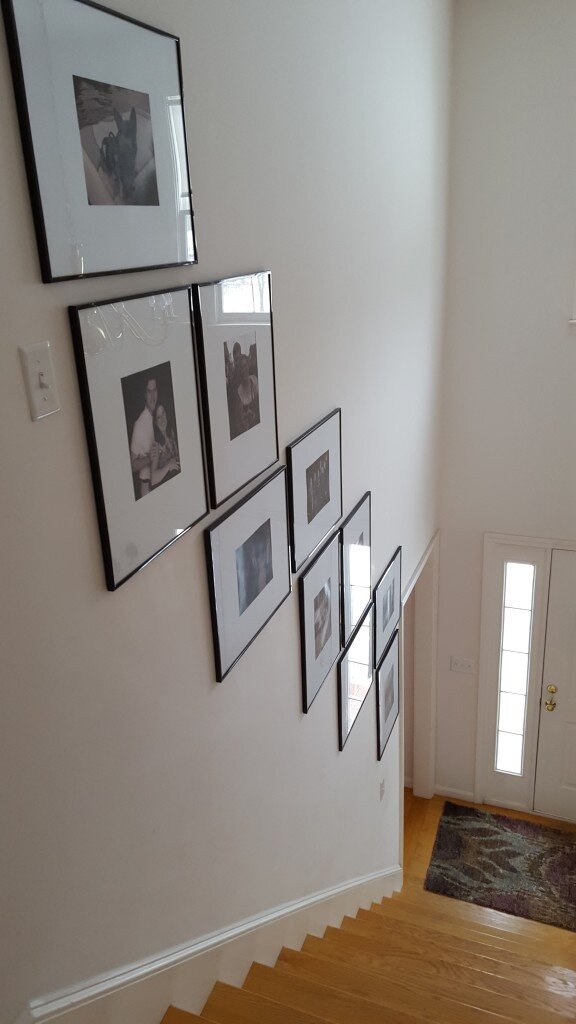
My husband then hung each on the wall in its numbered location, removing the paper before hanging. (Though this seemed nearly impossible to do initially, my husband became a pro at this).
Here’s the finished wall! I now feel like I actually have something to admire while sitting on my bench!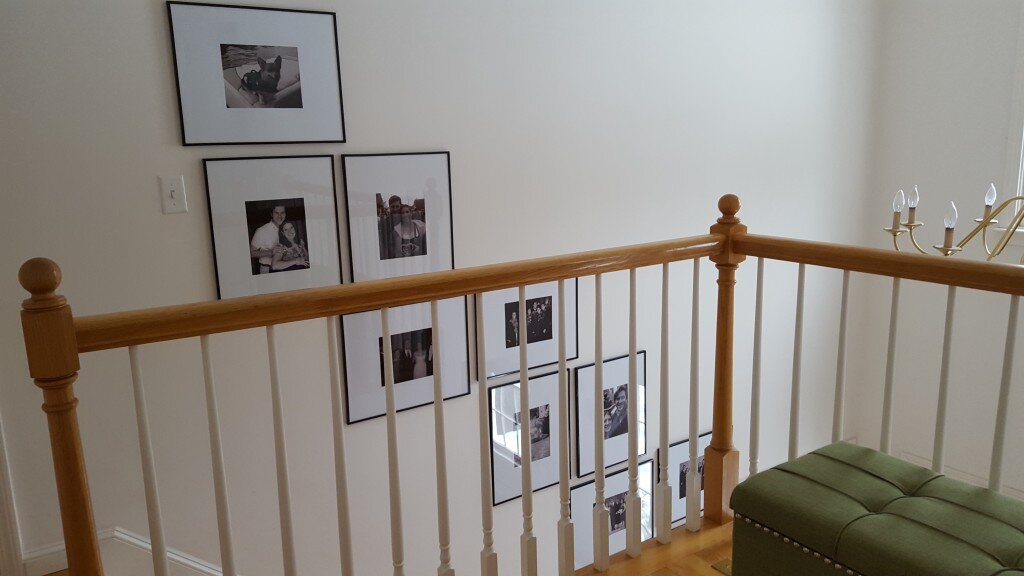

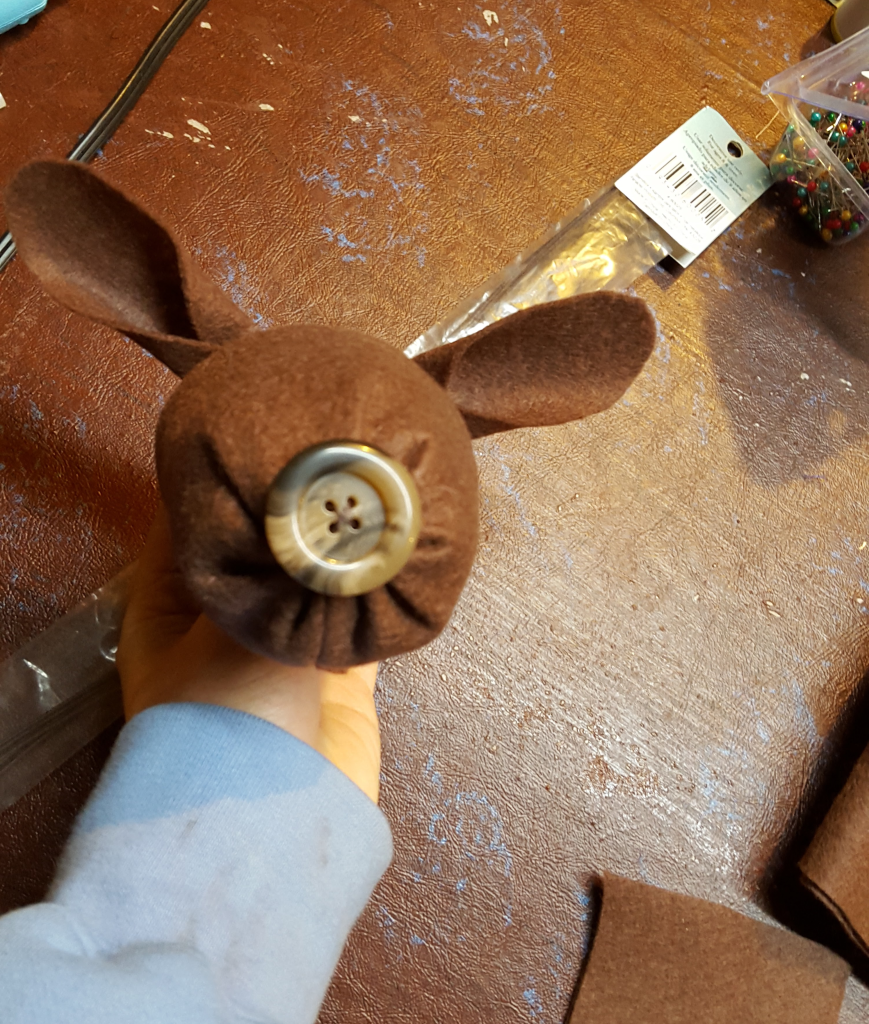
 I repeated this process for each color.
 I repeated the same process with the other set of cups and the white paint.
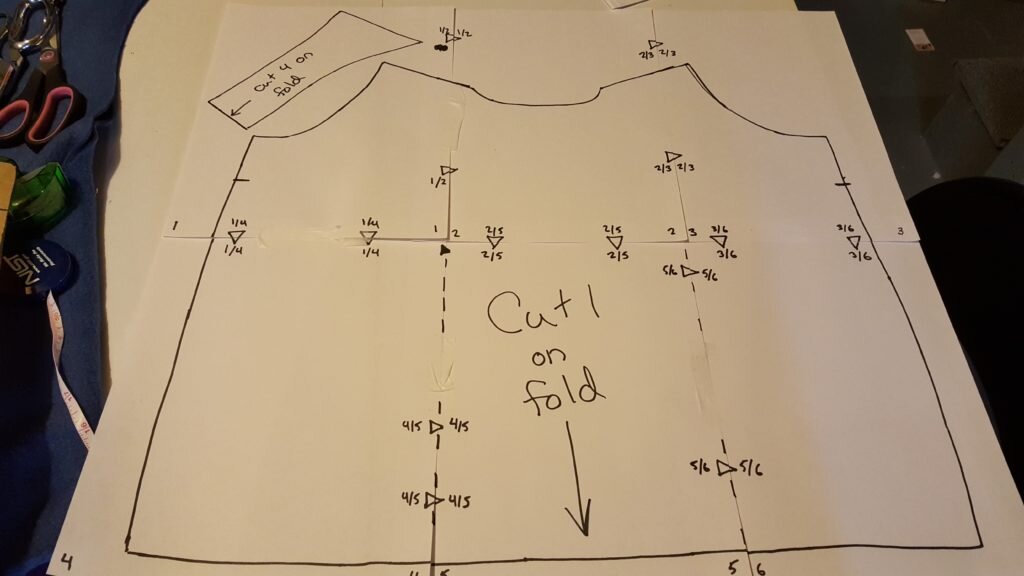
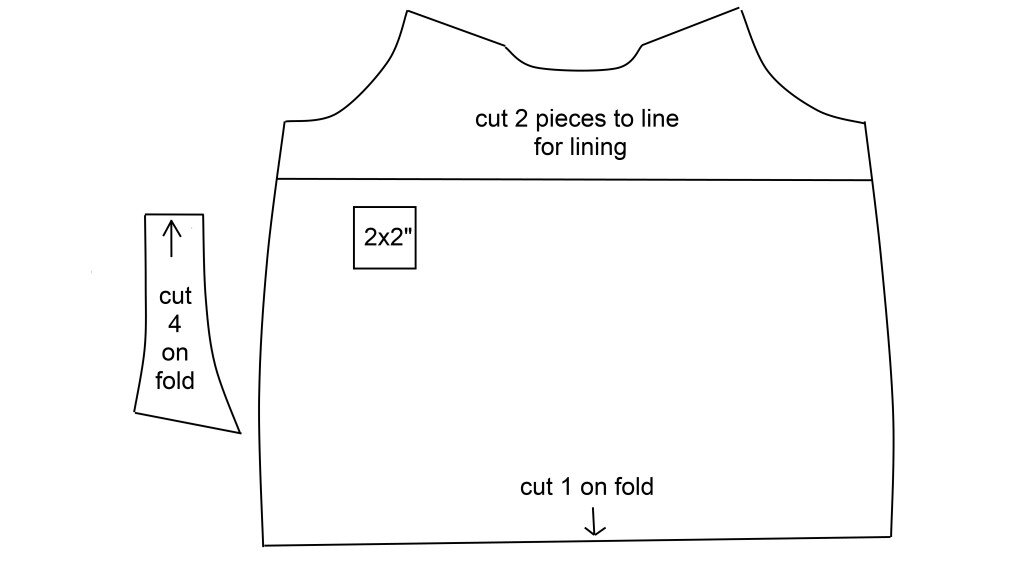


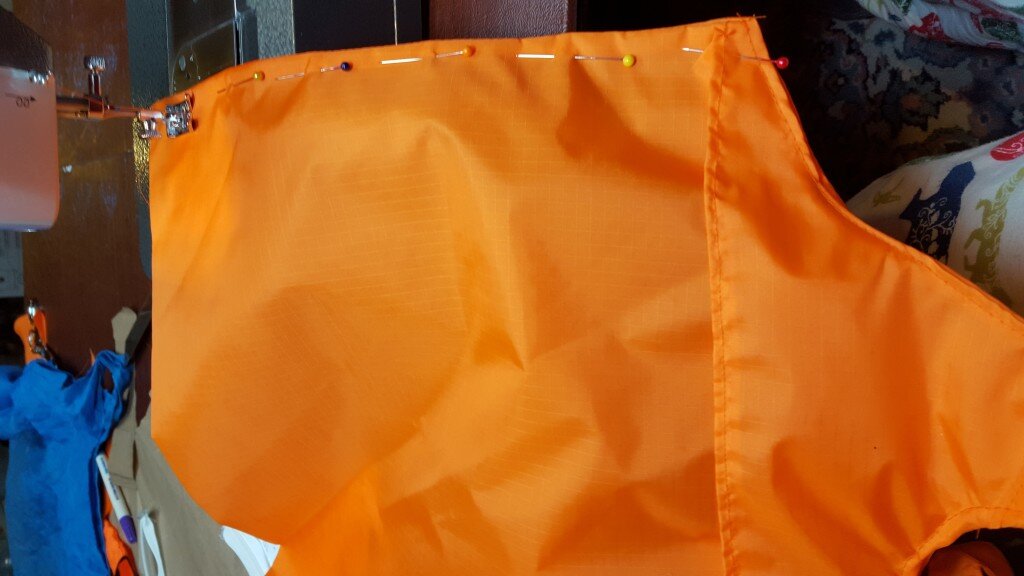
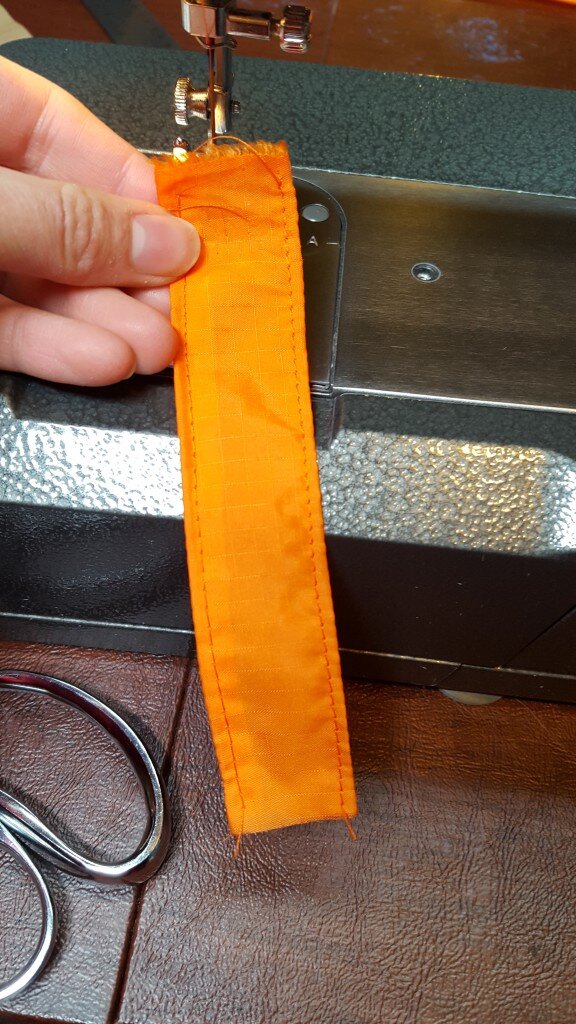
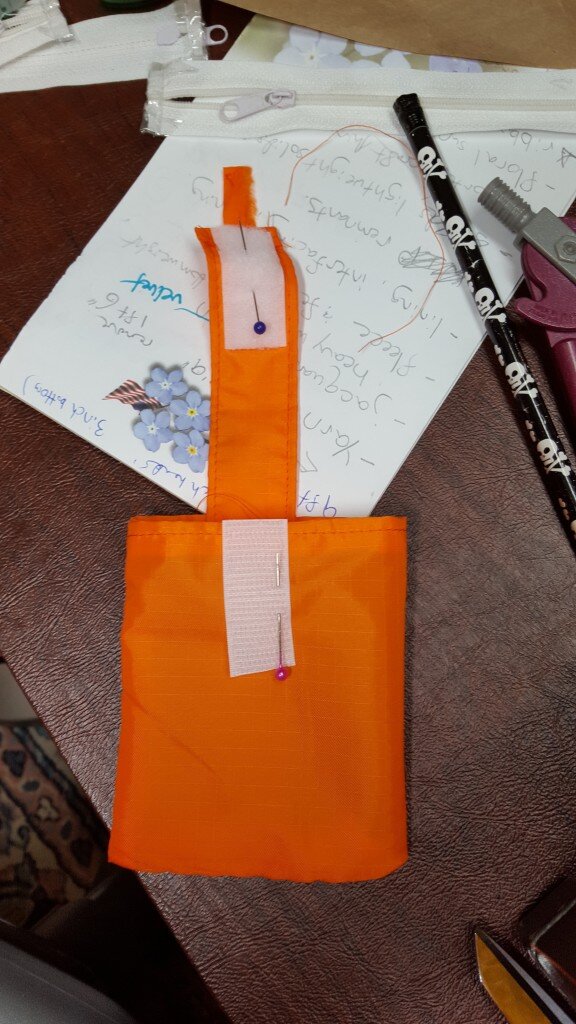


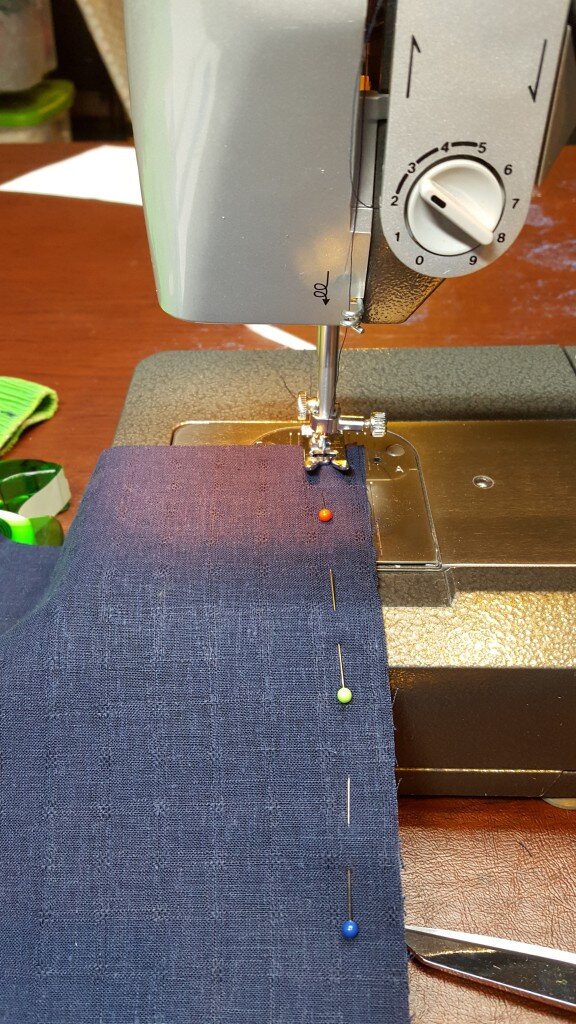
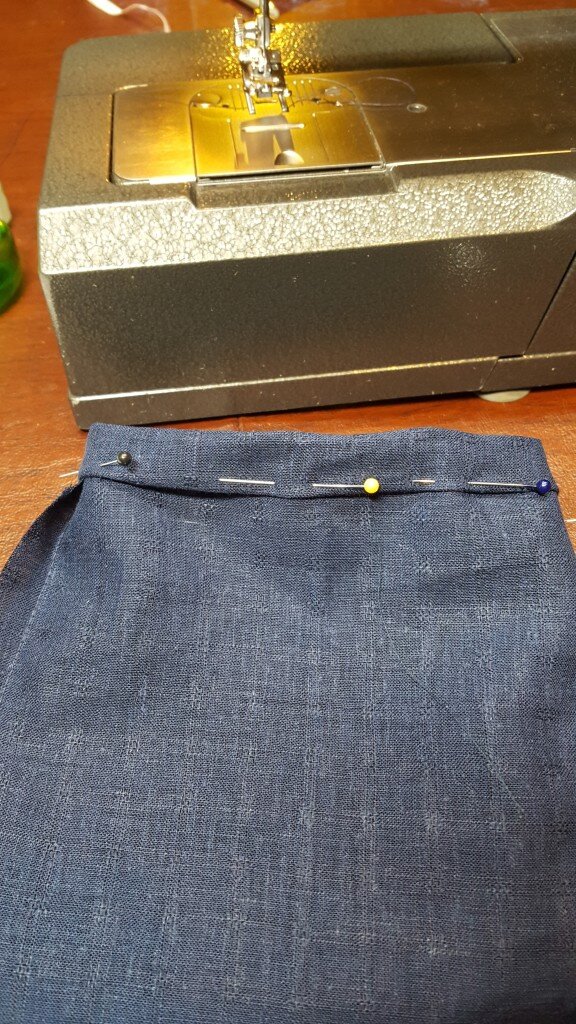
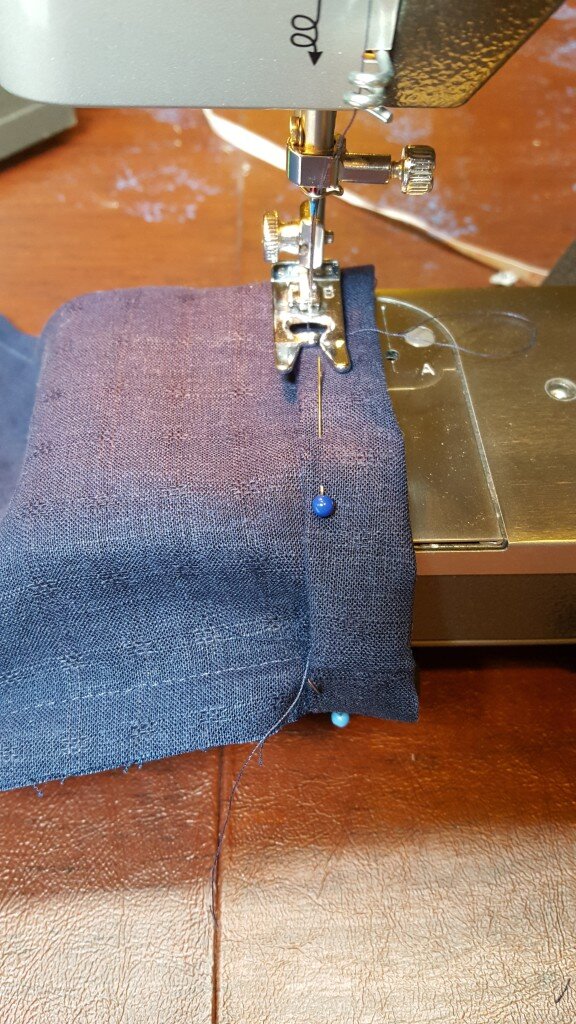

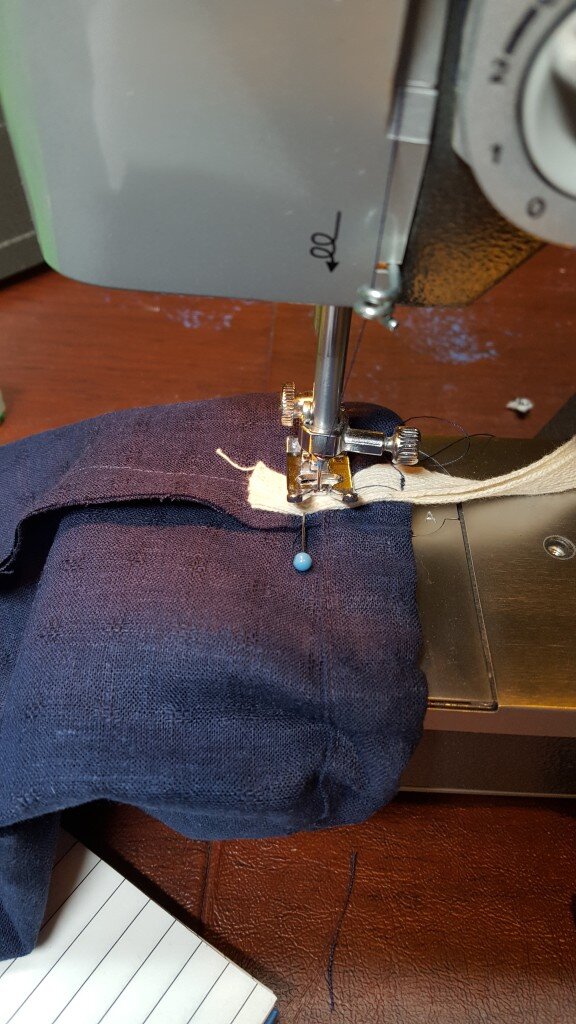
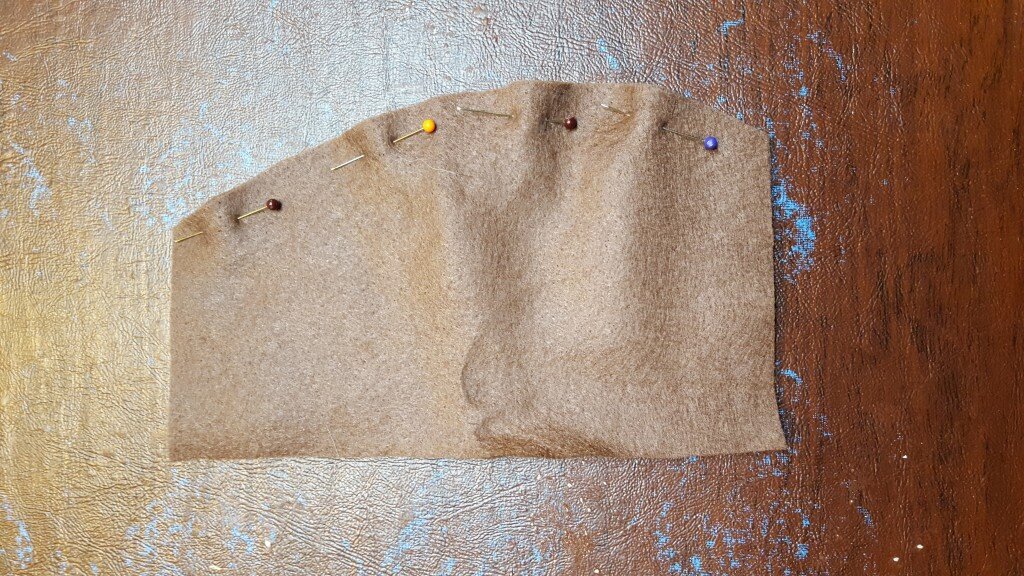
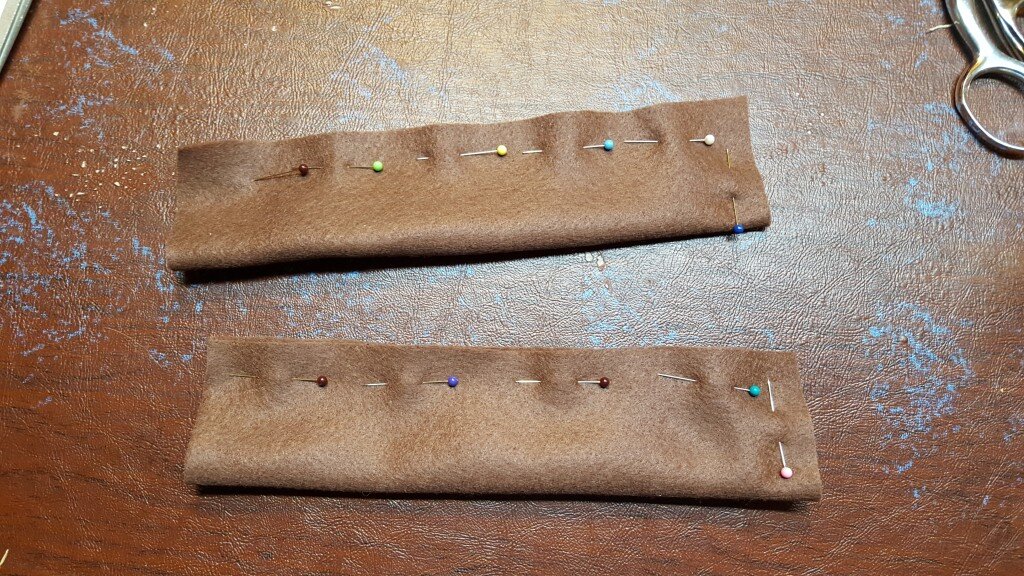
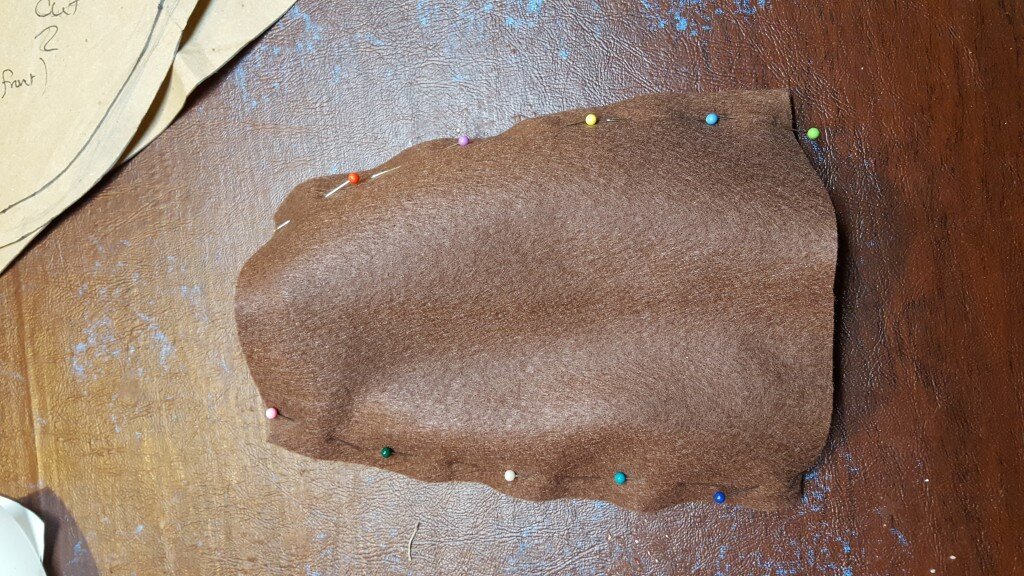
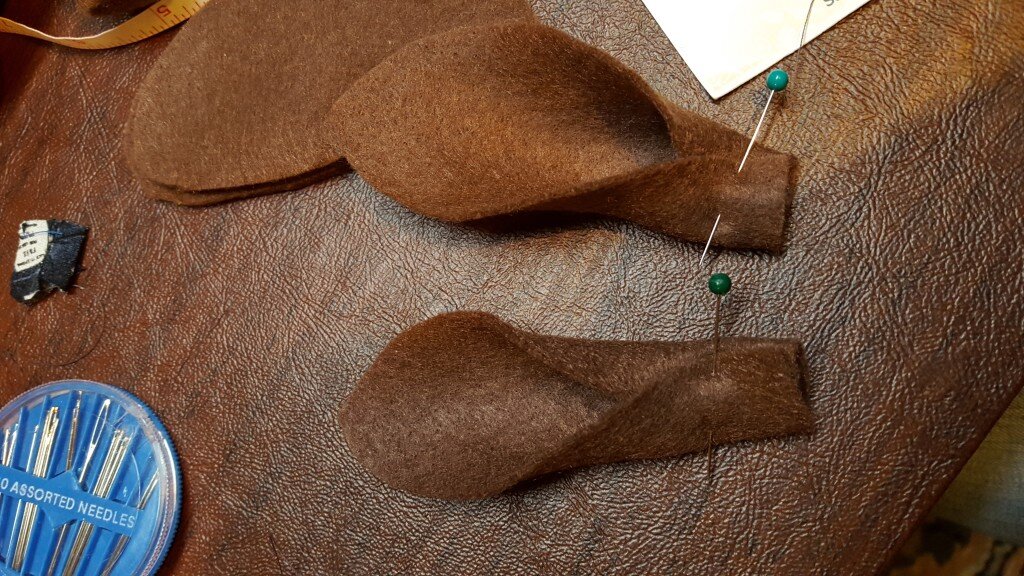
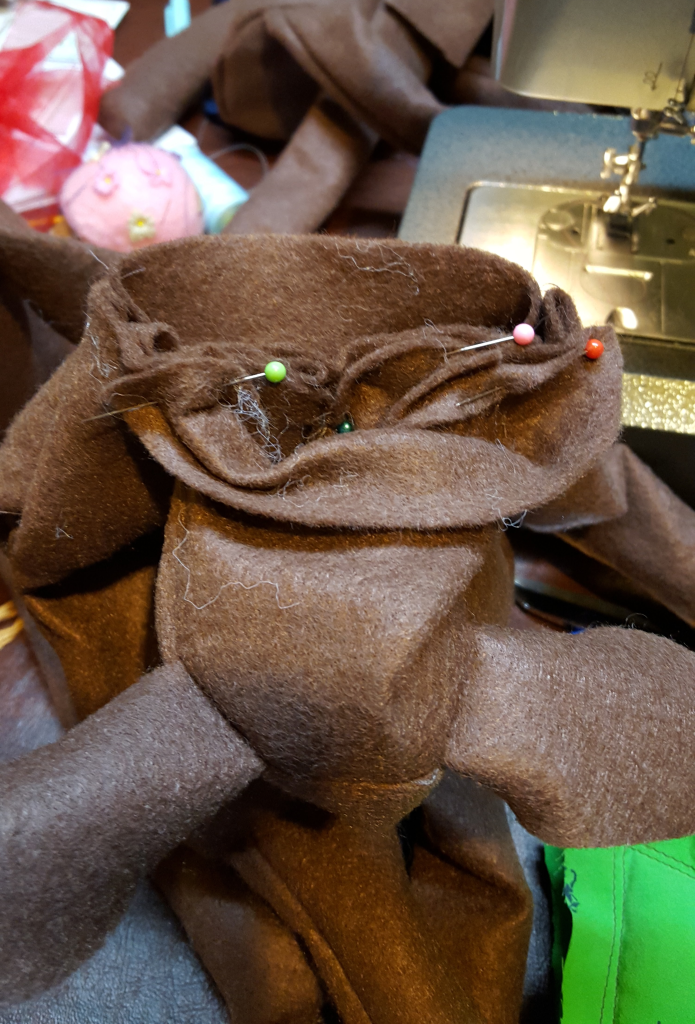
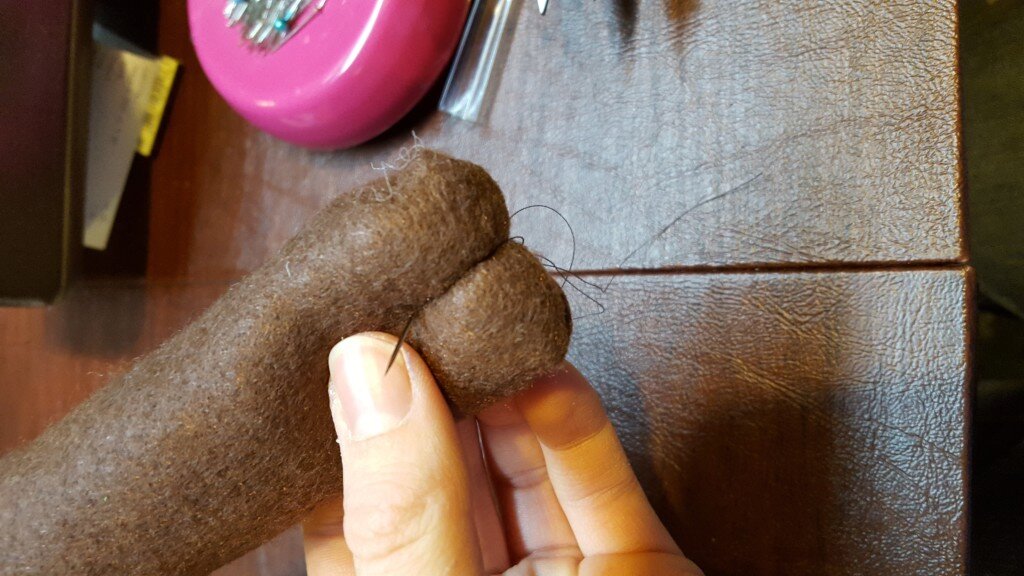
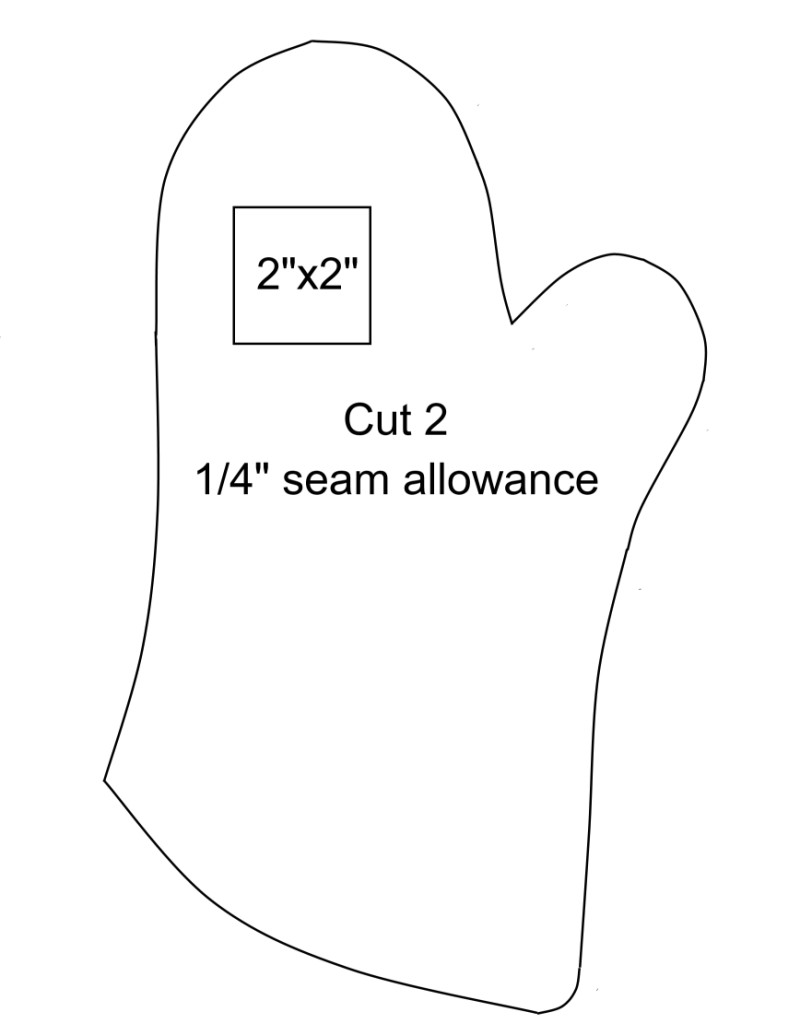
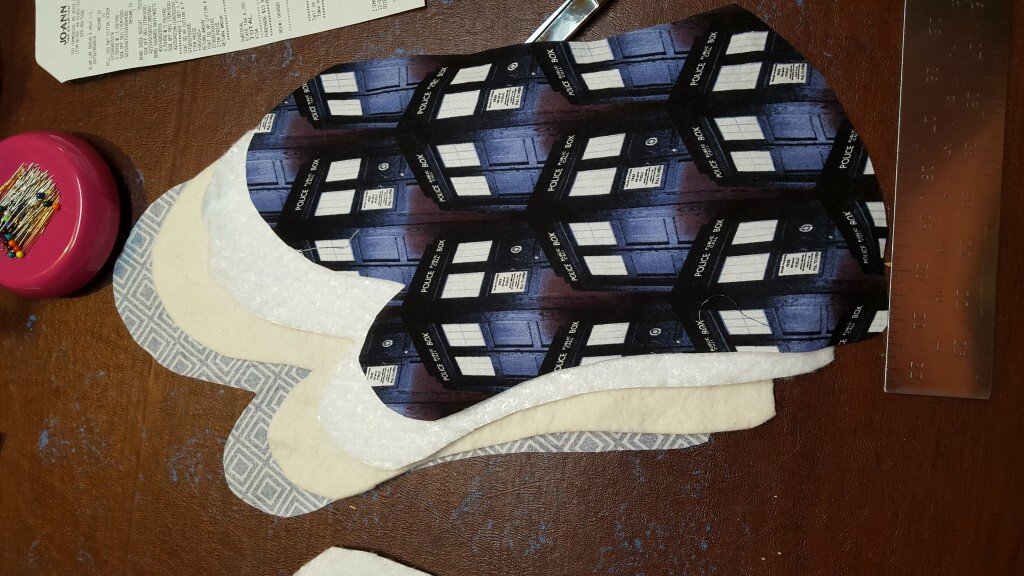
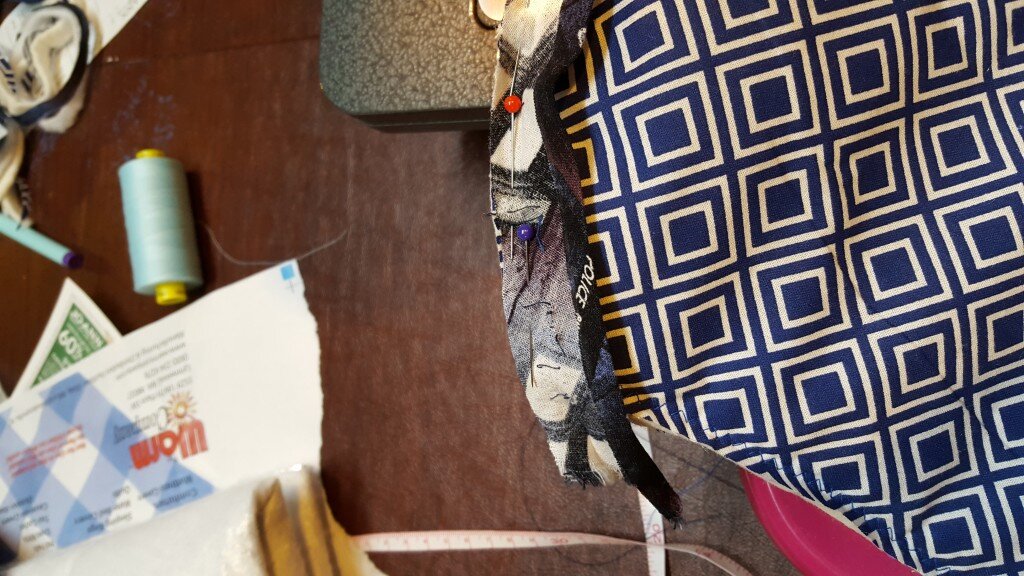
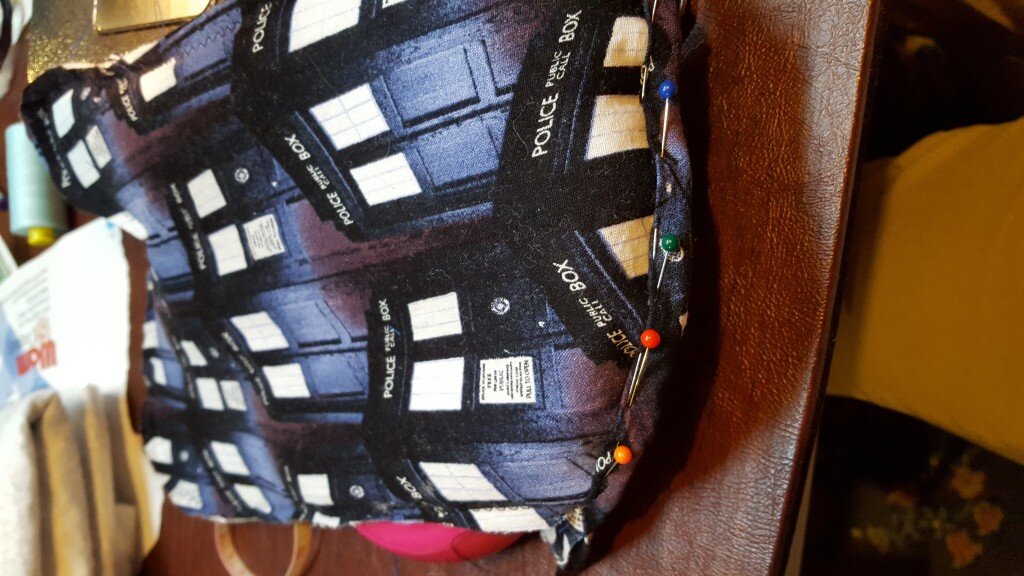
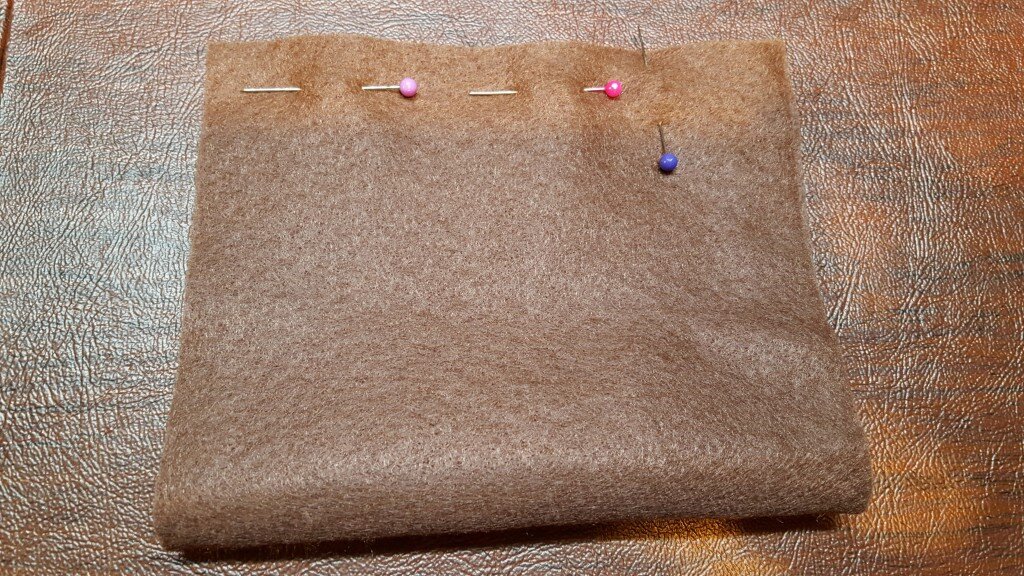 Pin & stitch, leaving 1.5 inches opened.
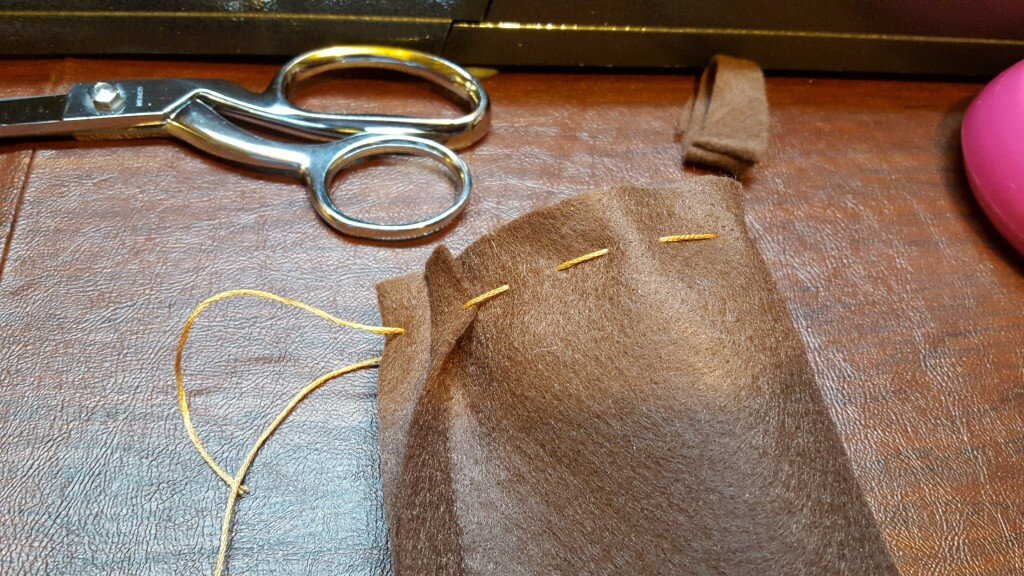
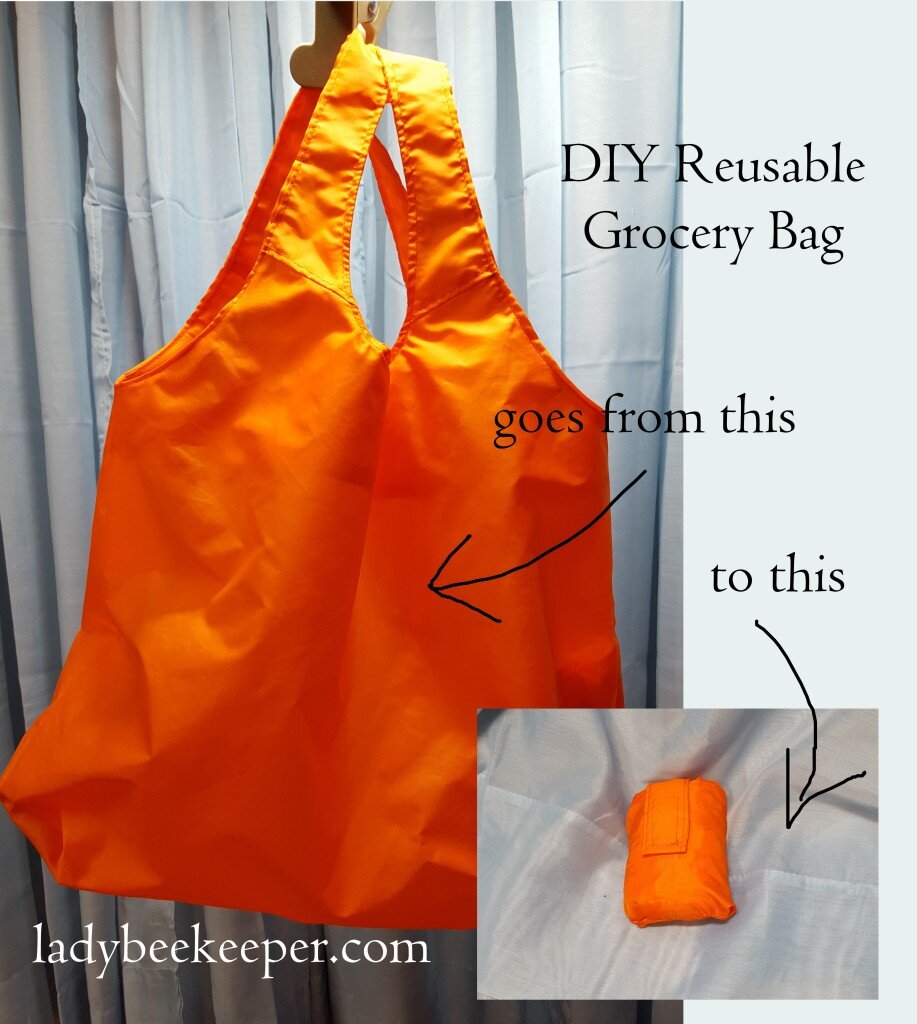
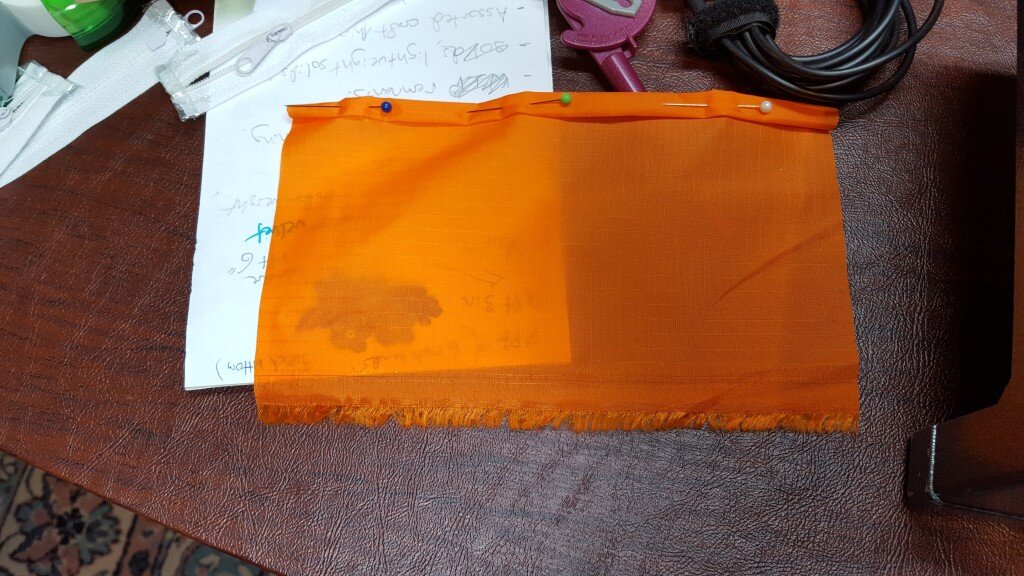
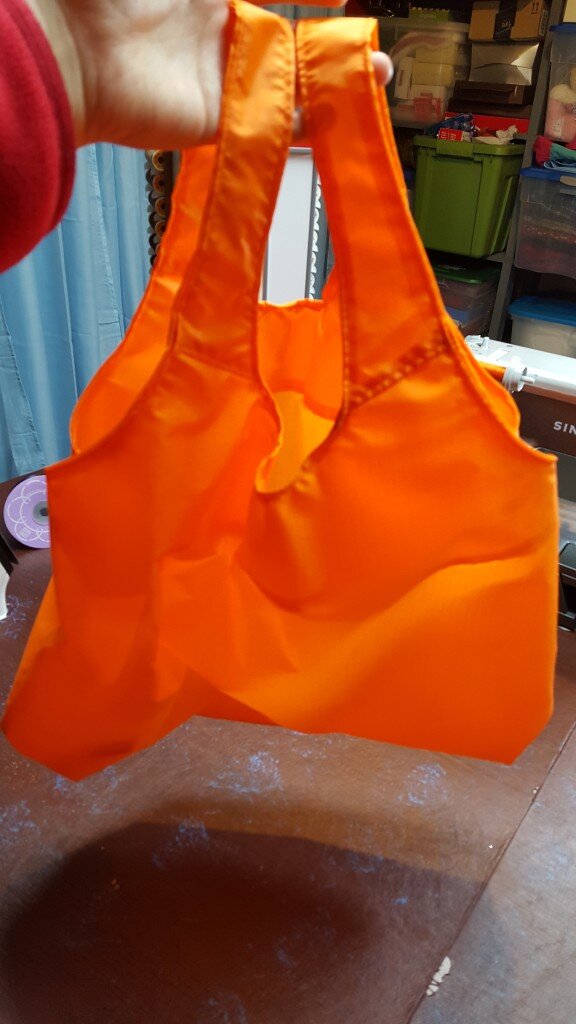
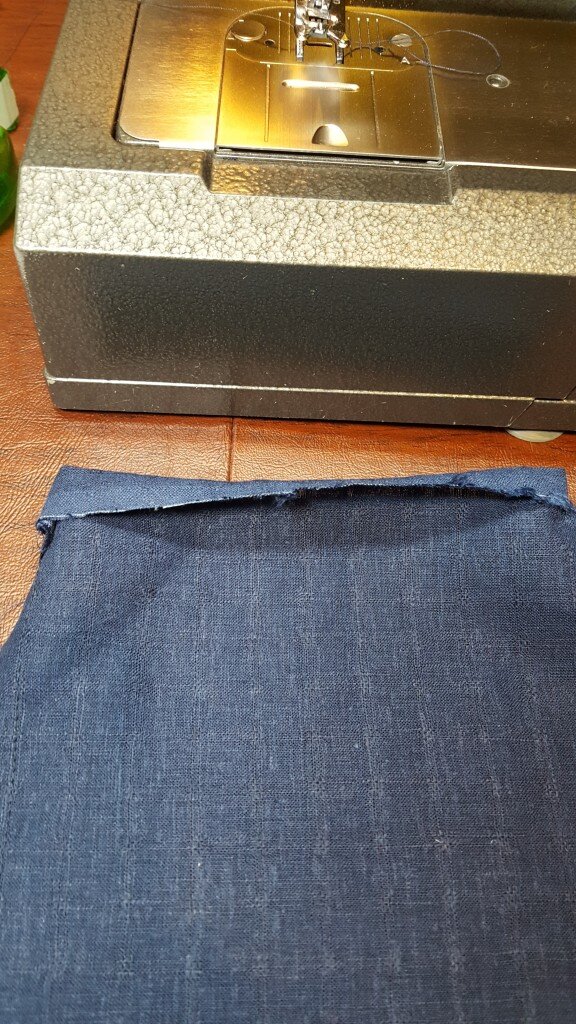
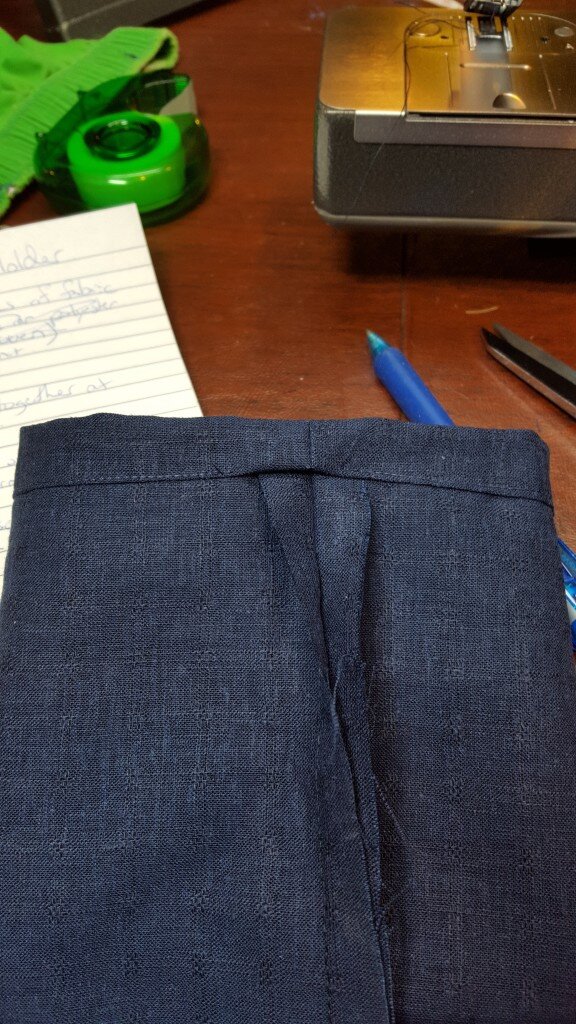
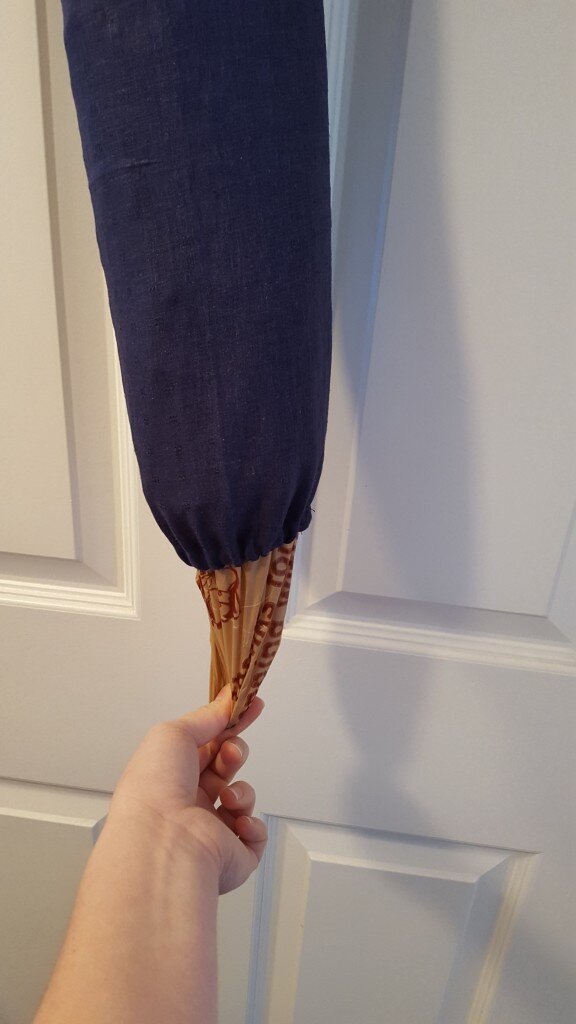
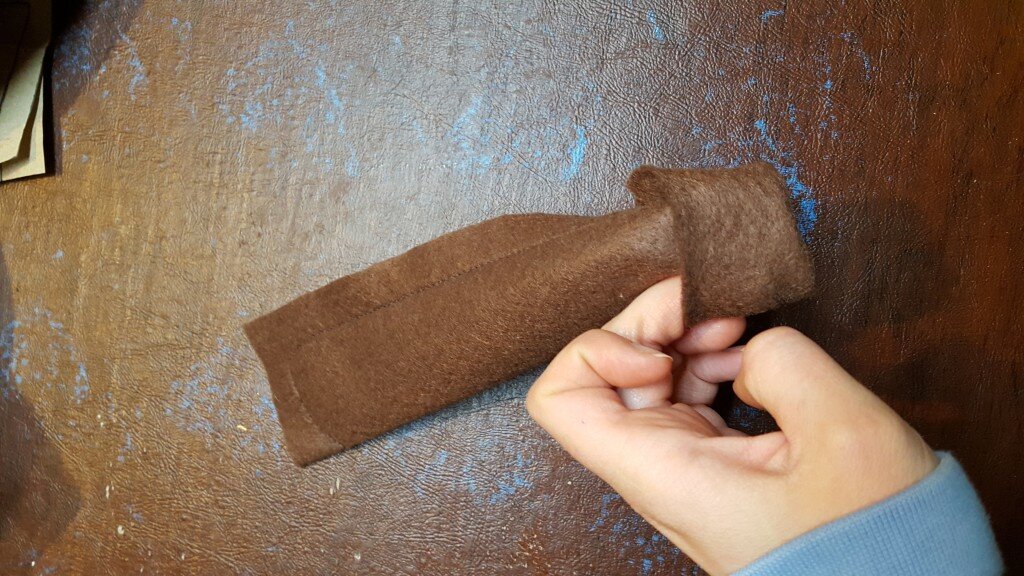
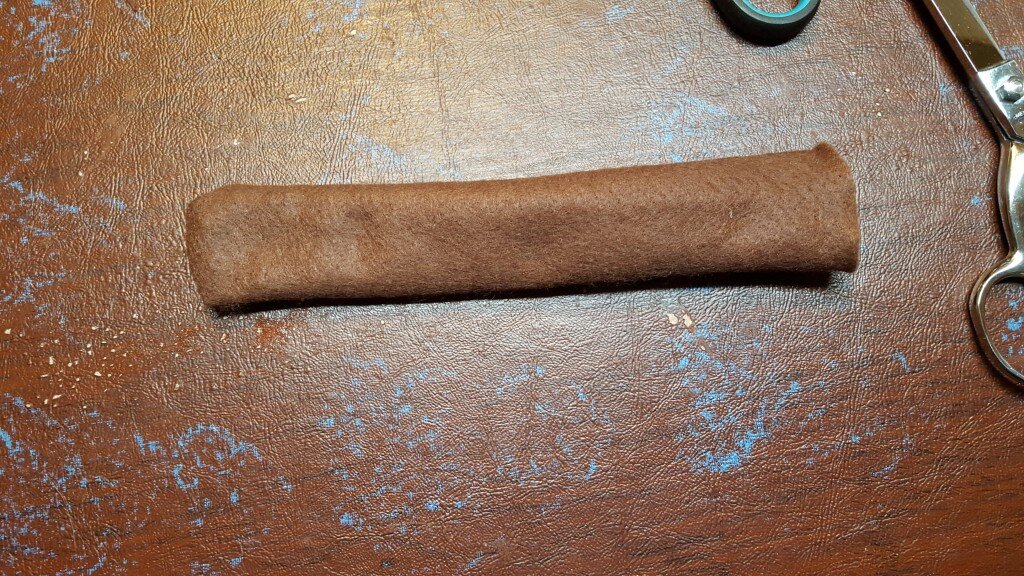
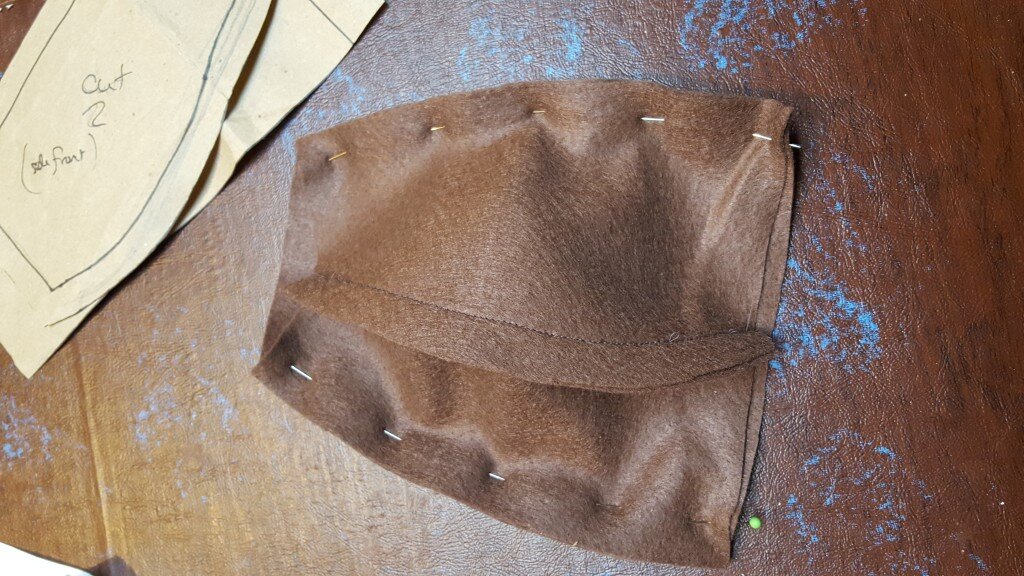
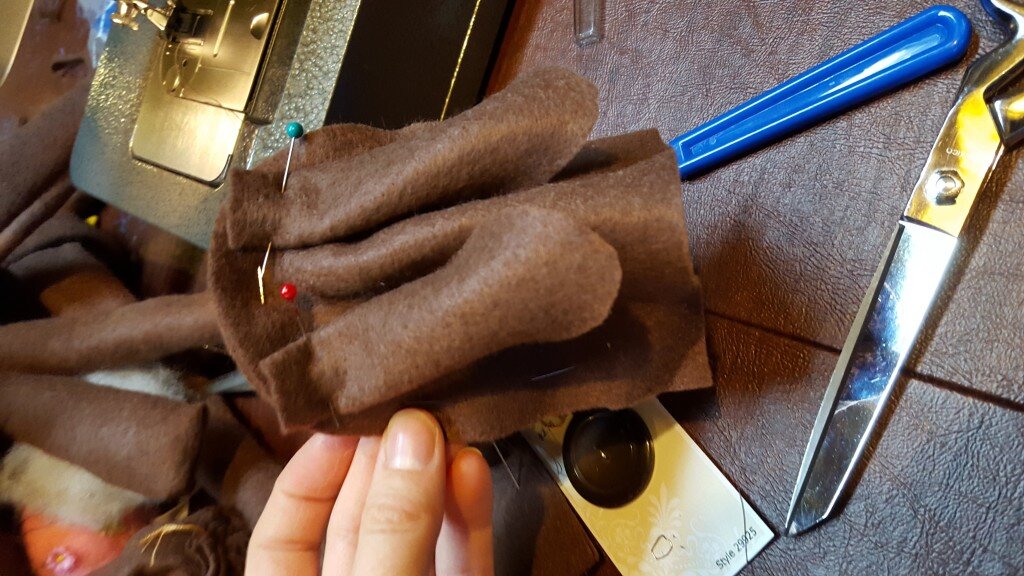
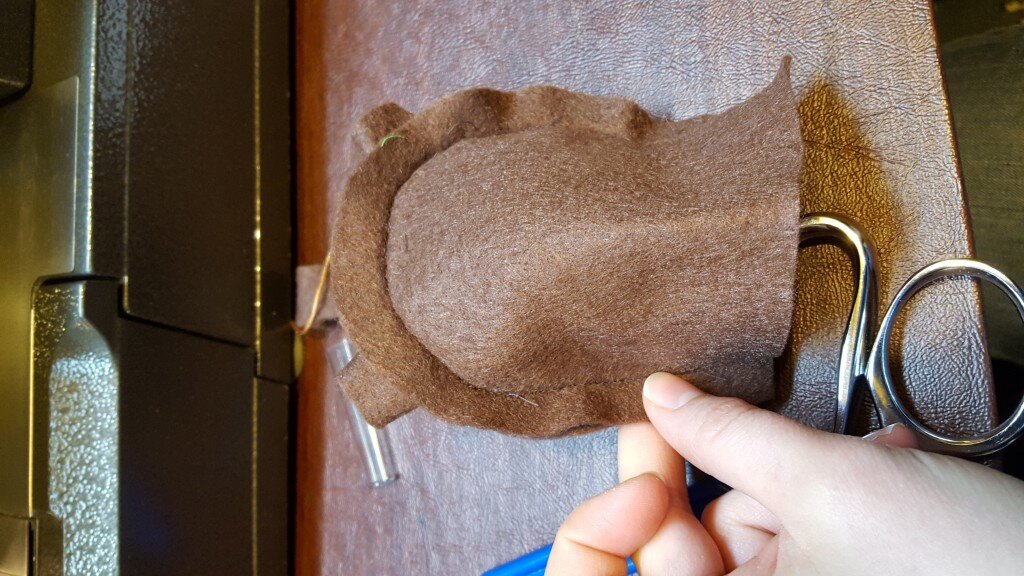
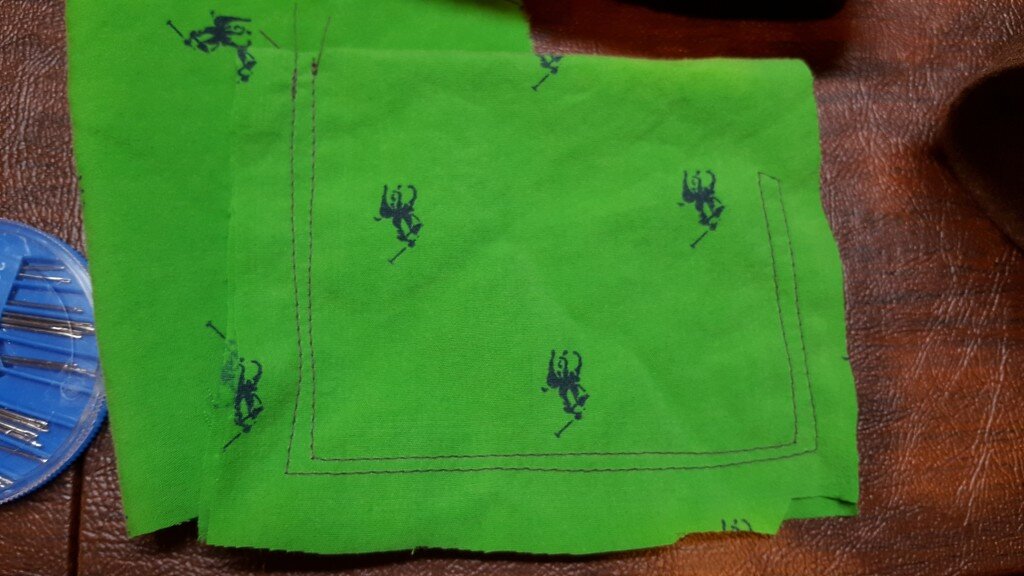
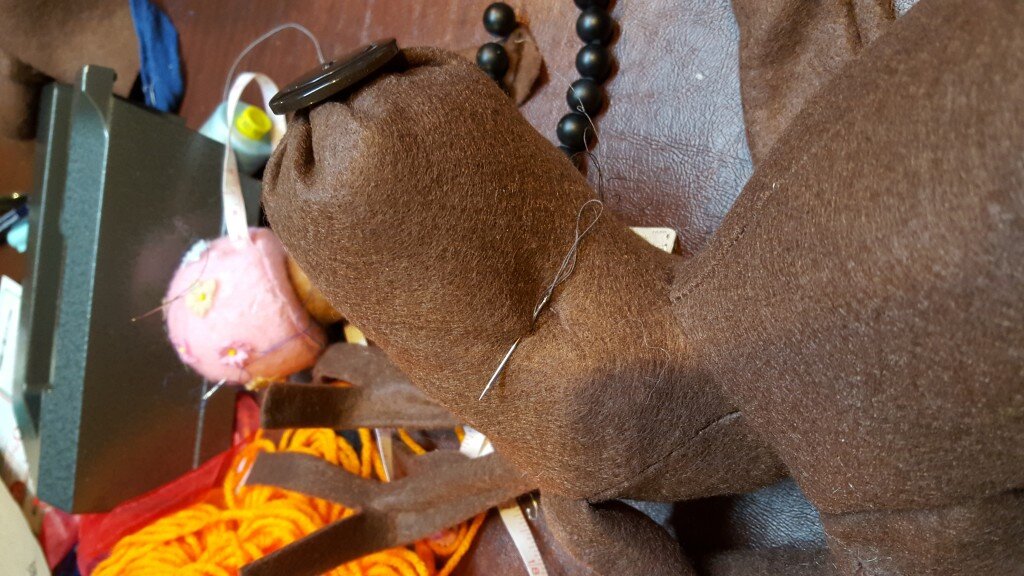
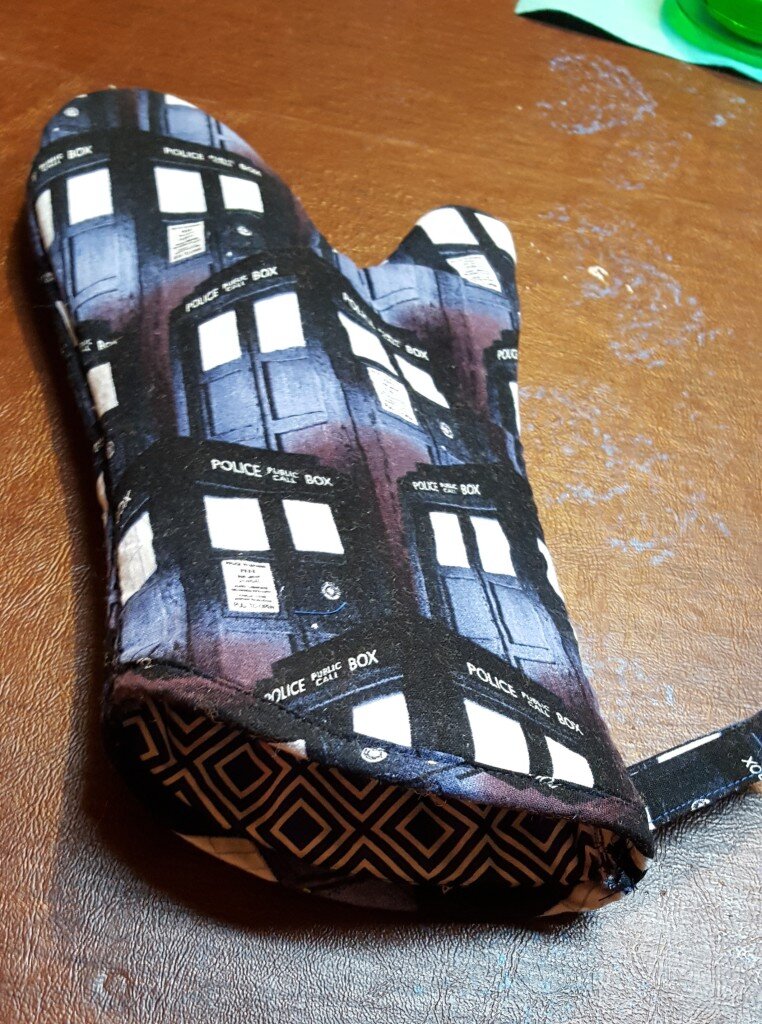
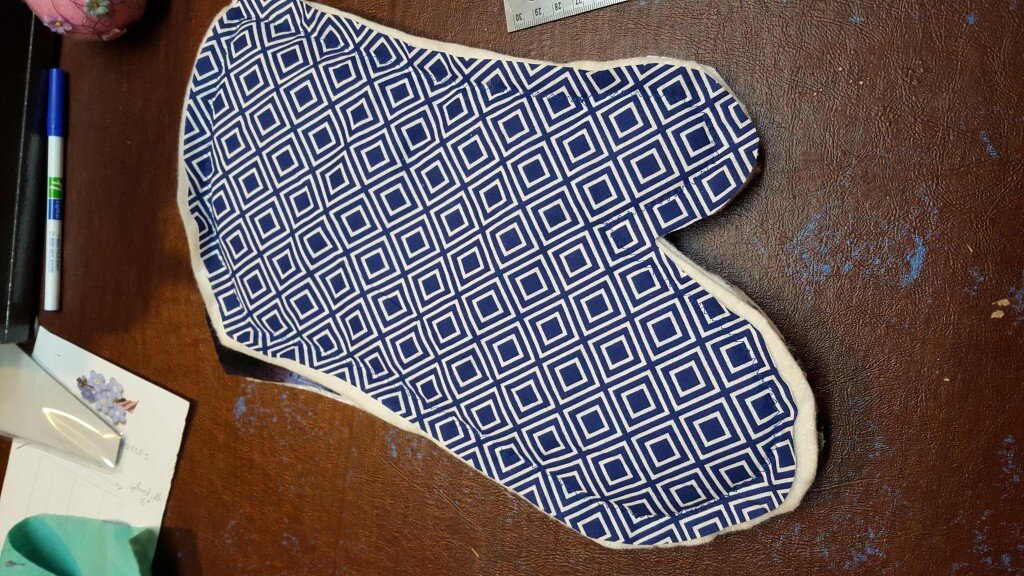
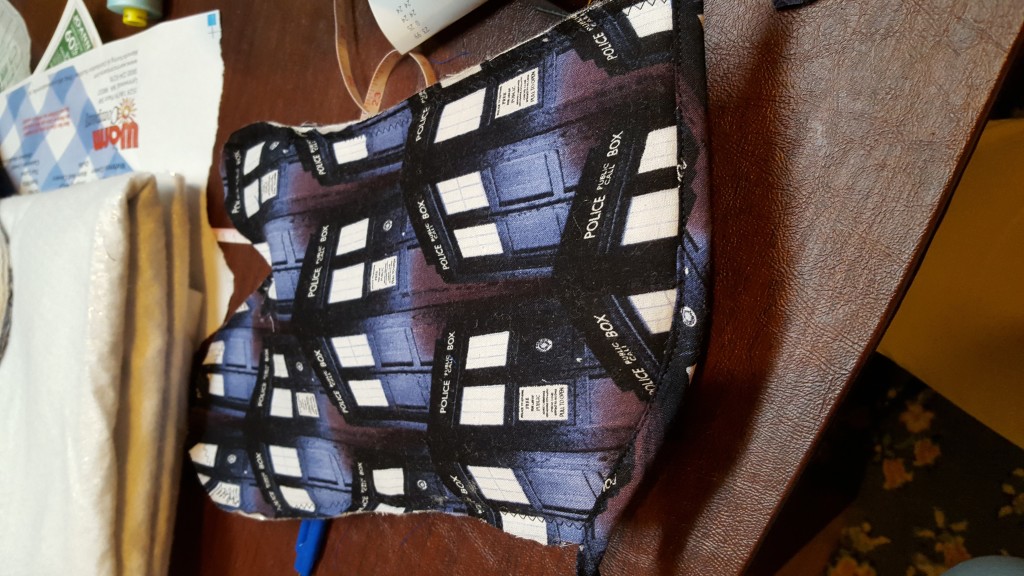
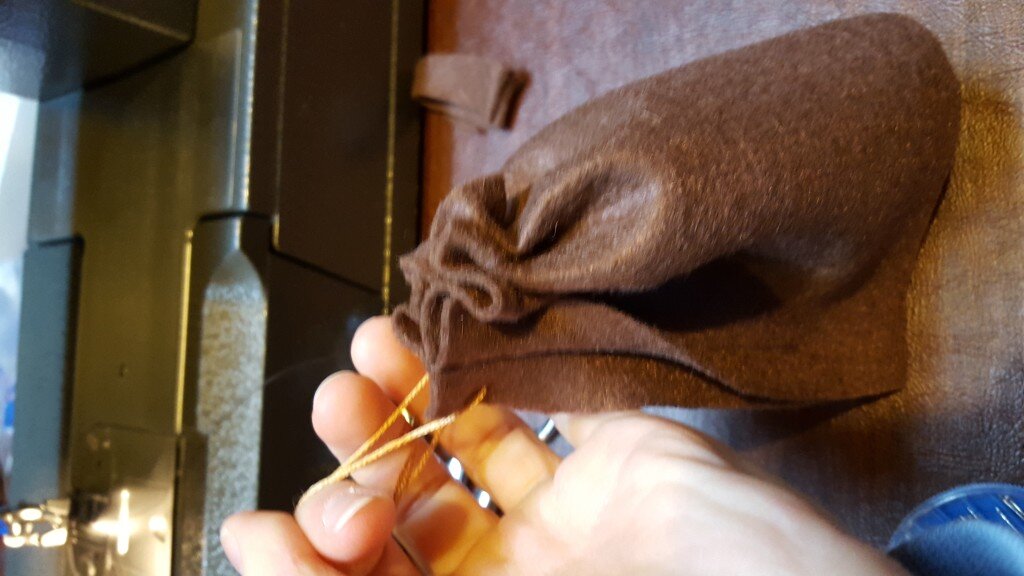 When folded right side out it will look like this.


