
I’m going to pretend I hit submit on this when I actually wrote it….
Ahhhhhh! It’s only 9 days til Halloween!!! I’m in full panic mode. We had Patricia’s daycare Trunk or Treat last night which is always a blast. It is also when I always aim to have the kids’ Halloween costumes done by. I finished Patricia’s costume 10 minutes before we left and I don’t consider Julius’ done but Julius seems to only want a cape to be a vampire so maybe I am done.
Julius and Patricia actually picked a theme that works together! Julius wanted to be a vampire and Patricia said she wanted to be “a cute bat”. We decided those were perfect costumes, no notes. Julius said his costume HAD to have a black cape with red inside because that’s what all vampires wear. (He is now realizing that’s what Dracula wears but whatever.) I bought everything for his costume (except the teeth) at the thrift shop (dress pants, dress shirt) including a couple of red and black flat sheets that I turned into the cape. The shirt and pants can be completely worn again because they are great quality! Total I spent less than $20 on his costume.

Kids’ Vampire Cape
What You’ll Need:
- 3 yards of black material
- 3 }yards of red material
- 1/2 yard of peltex 70 ultrafirm interfacing
- clasp (I used a large sized metal hook and eye)
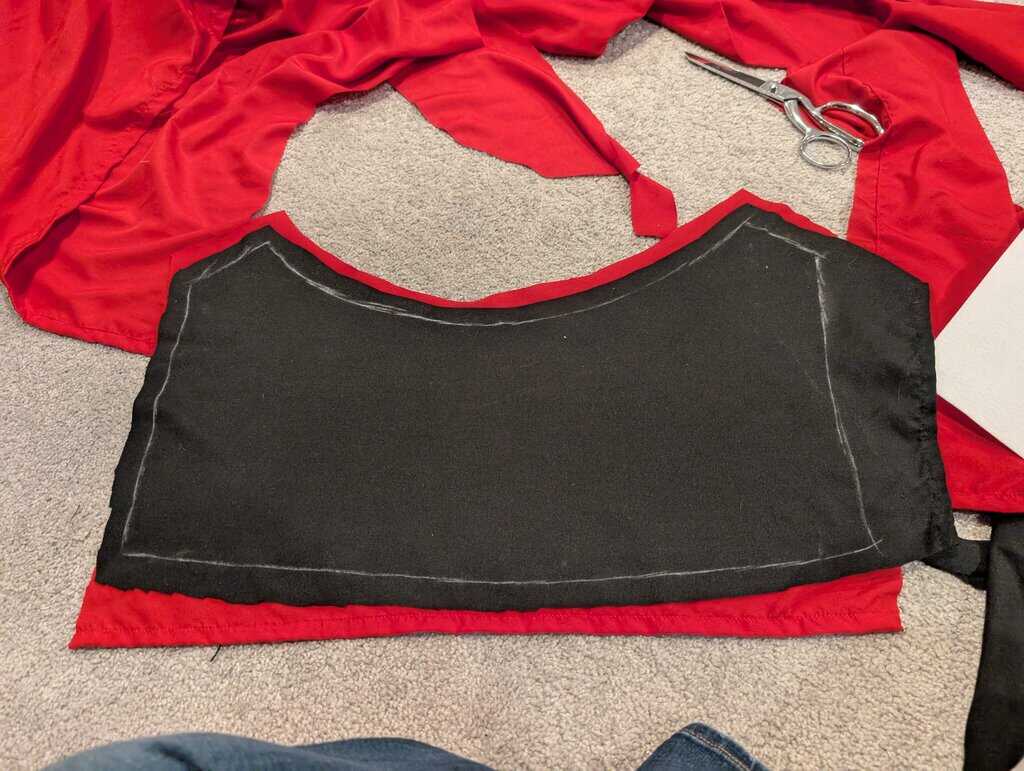
1. I started by measuring Julius’ height from his shoulder to his calf. I also measured an appropriate width for his neck (but I did this by measuring below and around the collar of his dress shirt collar. This helped me keep it loose enough).
2. I took the neck width number and divided it in quarters then I drew a shallow curve the length of the quartered width from above on top of the red fabric folded in half. I measured down from that line the height measured above to form a panel for the cape.
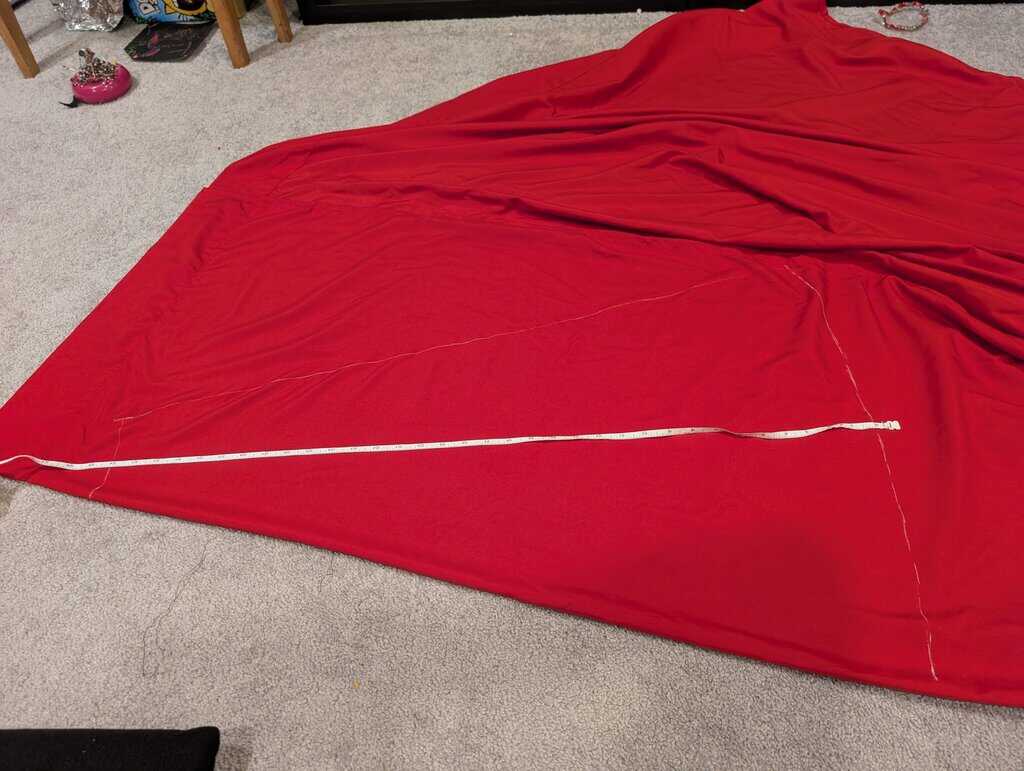
3. I repeated steps 2 but no longer on a fold and with a more elf-shoe-like-curve to my line for the front of the cape.

4. Cut the same pieces out in black.
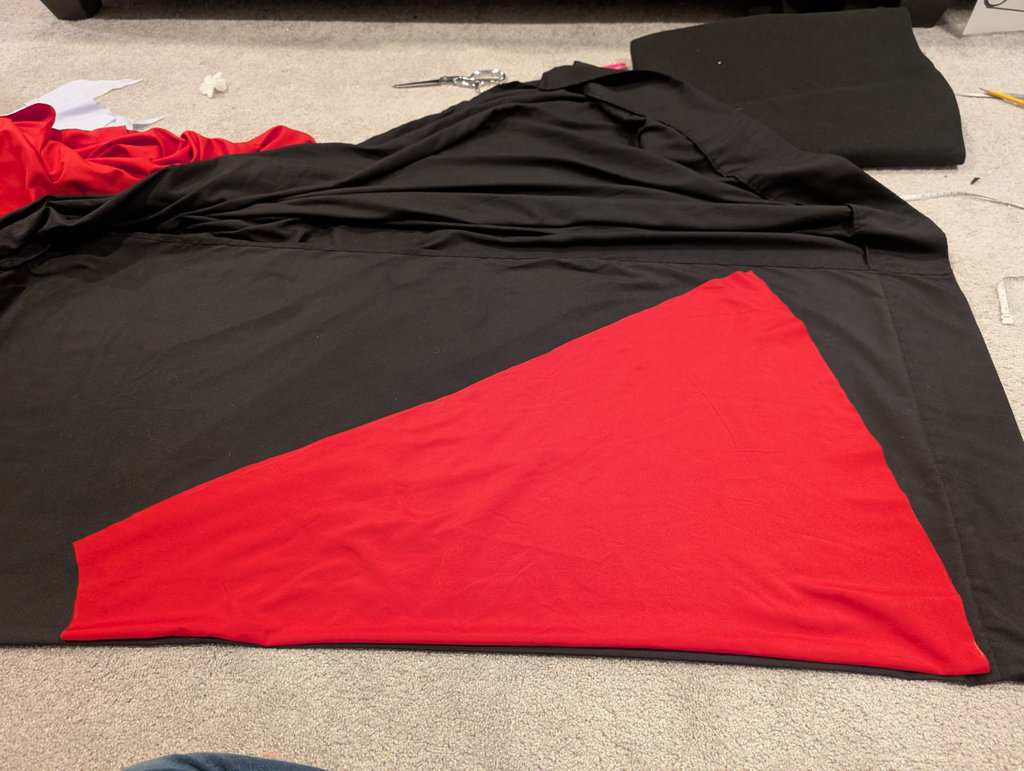
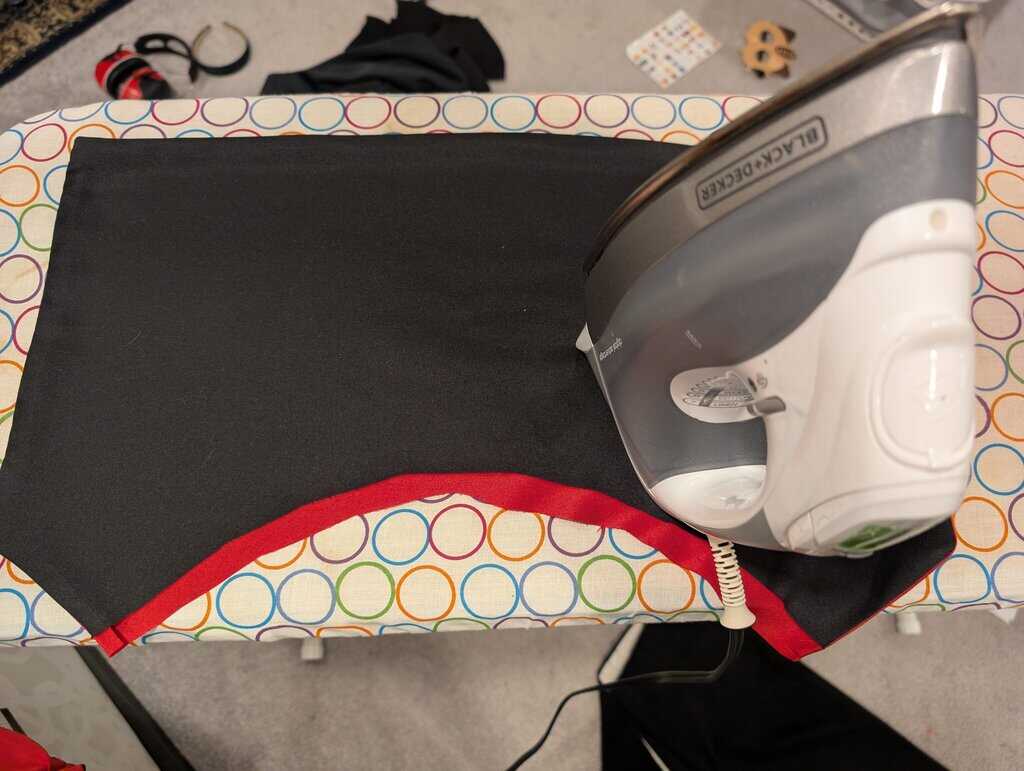
5. I sewed the pieces from step 3 on either end of the piece in step 2. Repeat for both black and red sides of cape

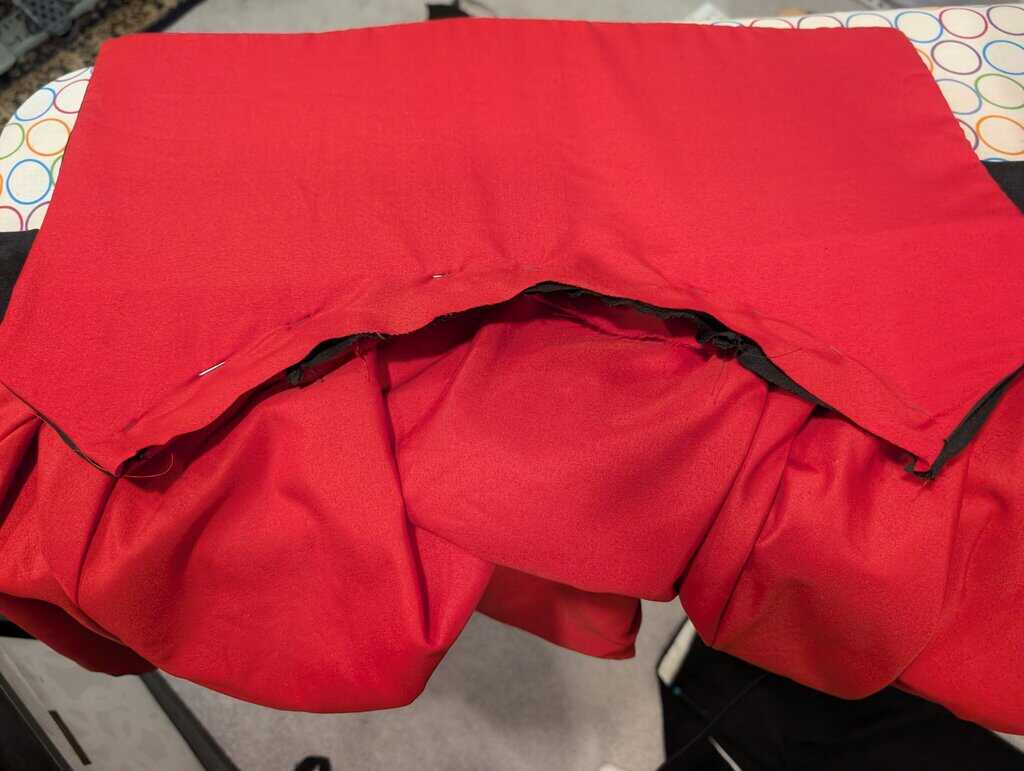
6. Place red and black pieces right sides together then pin and stitch around the whole cape leaving the neck completely opened.

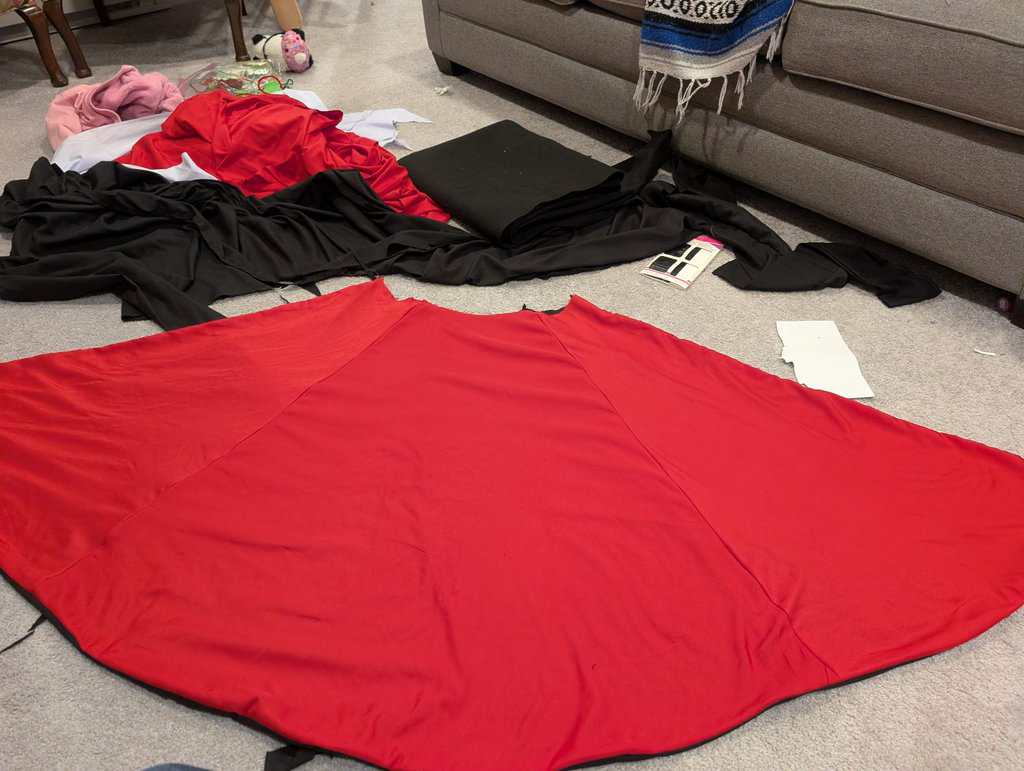
7. Turn right side out and press.
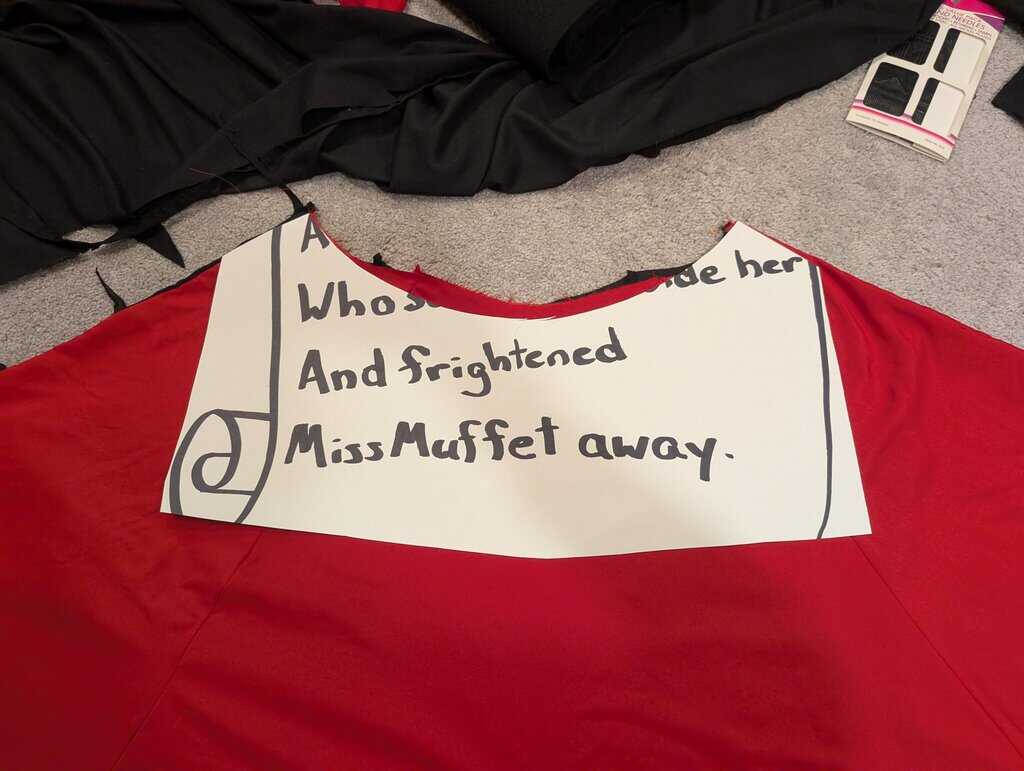
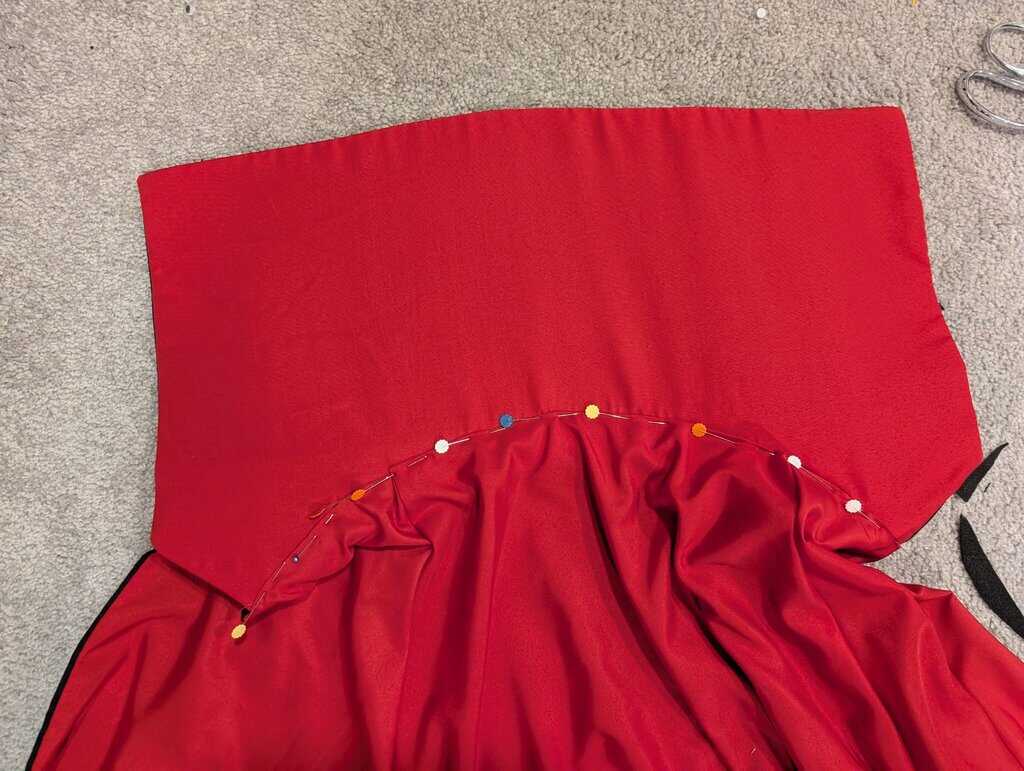
8. Cut out your collar from interfacing using the shape in the picture. You will need to adjust so the length of your collar matches the underside of the pattern. I made a template of scrap paper first.

9. Cut a piece of red and black fabric with seam allowance beyond that of the collar.
10. Stitch red and black collar fabric together leaving the neck portion opened.

11. Turn right side out, press and stuff with interfacing.
12. Pin entire unfinished side of collar to cape on black fabric only. Stitch.
13. Turn collar up and fold under red fabric on the cape to cover the unfinished edge. Stitch thru the folded under portion (using red thread on the top of your machine, and black thread in the bobbin.)
14. Finally add a clasp of your choosing – I didn’t have anything else in my stash that matched so I used a large size hook and eye, which made it easy for Julius to get on and off himself.

15. Scare up some fun!


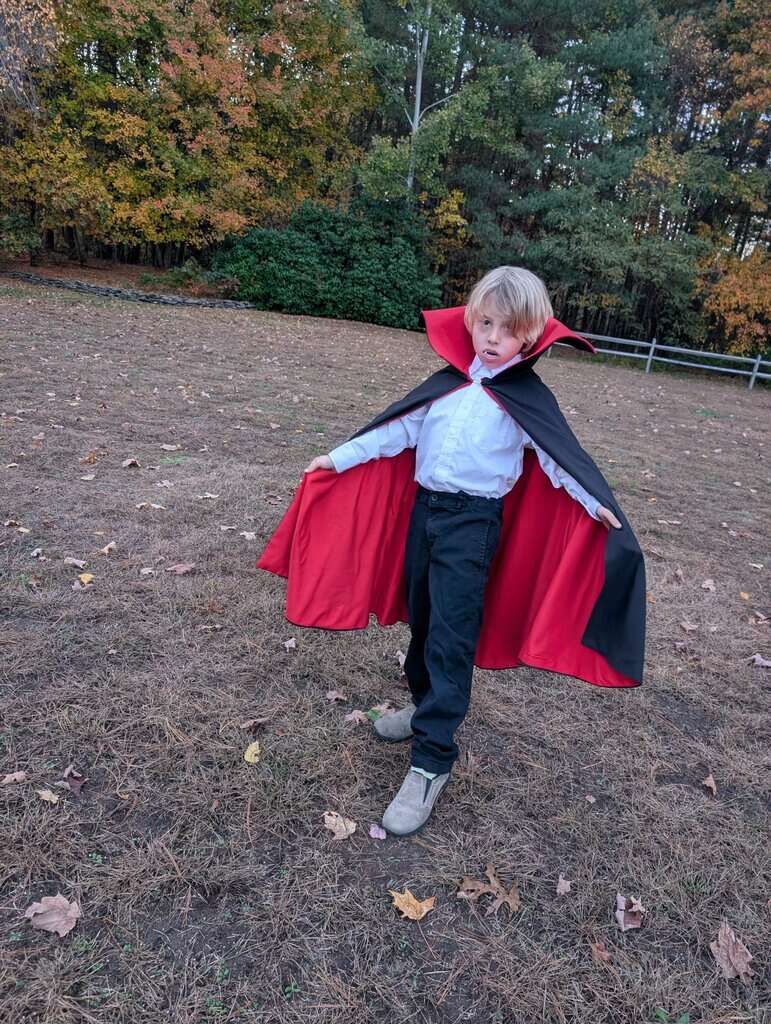
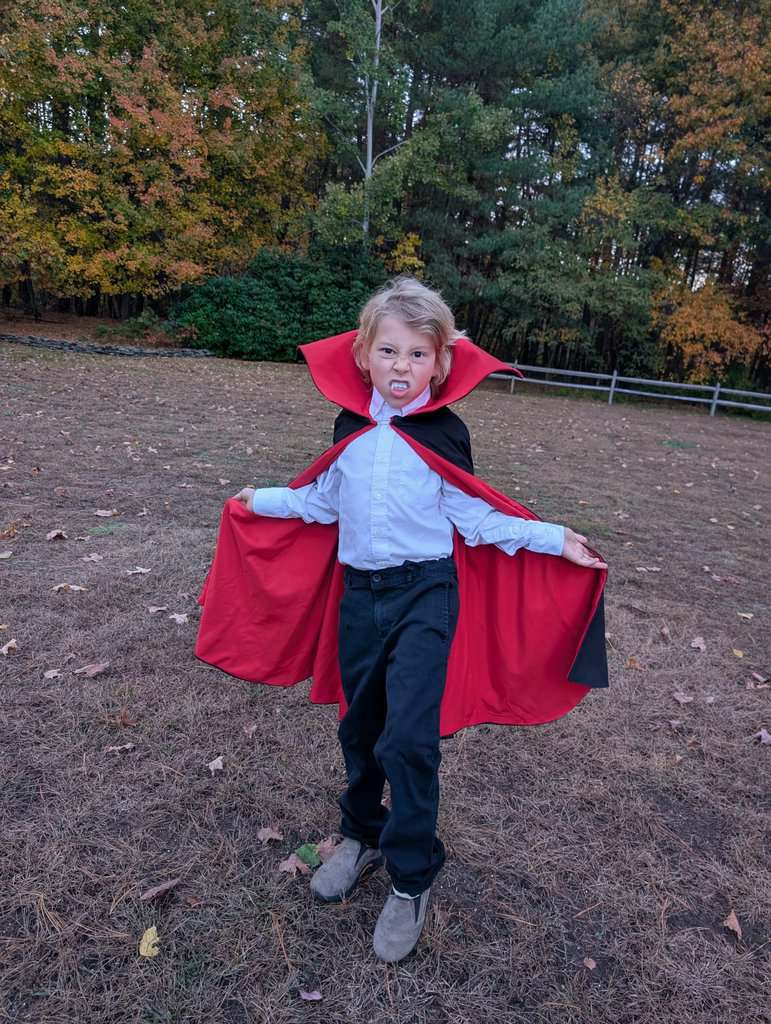

The cape came out so well!
Thank you! Julius was pretty excited about it and I think that’s what made it worth it.